My neighbor Carmen recently got us (and by that I mean me, because really, Allen will never touch the thing…) a bread machine! I love it! I’ve been wanting to get one since we were in Florida this last time. Our neighbors Lyne and Terry had one and it smelled so good. They bring down their own flour every year from Canada because they don’t like the way American bread tastes. Anyway, I’ve been comparing models, and Carmen said she really wanted to get us something for sort of a housewarming gift, so, I’m the proud new owner of an Oster 2LB. Expressbake Breadmaker.

my very first loaf… i was excited and couldnt wait to try it.
I started with the
traditional white bread in a 1.5LB loaf and it came out delicious. Then I moved on to the flavors… I’ve mostly used the recipes that came with the breadmaker but I’ve also ventured into Google territory for some yummy ideas.
I made a super scrumptious cheddar/garlic/herb type loaf that we ate one day then the next day sliced and drizzled with EVOO and stuck on the grill for a few minutes – SO good! We had the bread with a bacon-wrapped pork loin…yum!

Cheesy, garlicky, herby goodness… Please excuse the bites off the top, i couldnt help myself…
I tried
Honey Wheat because that’s the kind of bread we like on a daily basis, but the recipe was a 2LB loaf, which is just too big for sandwiches. And I had not mastered the art of slicing by then. The next day we took off for
Tahoe so it was moldy by the time we got back.
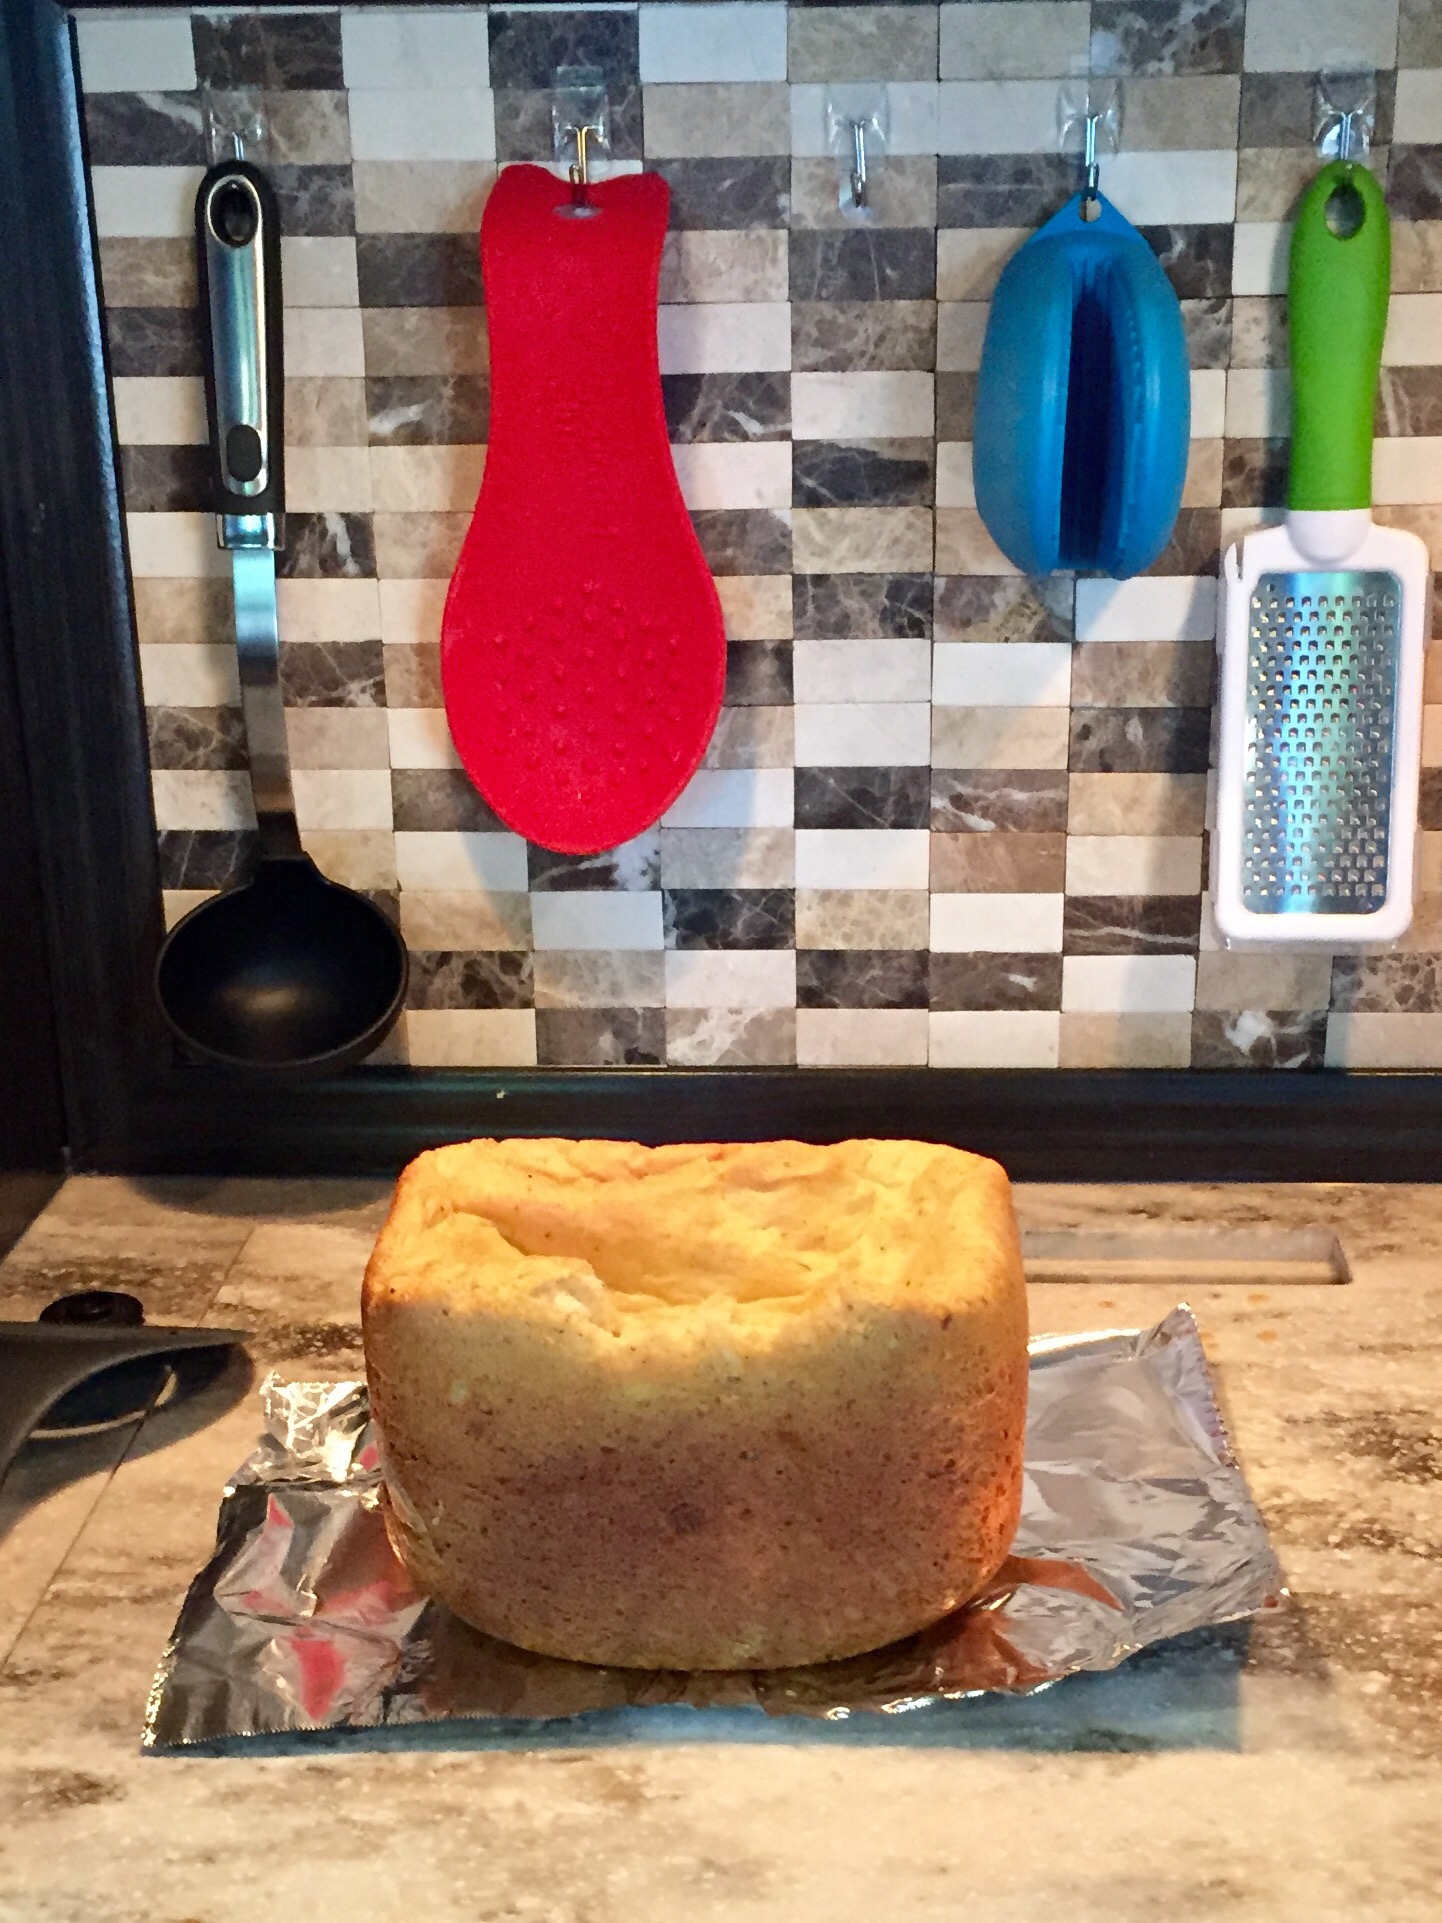
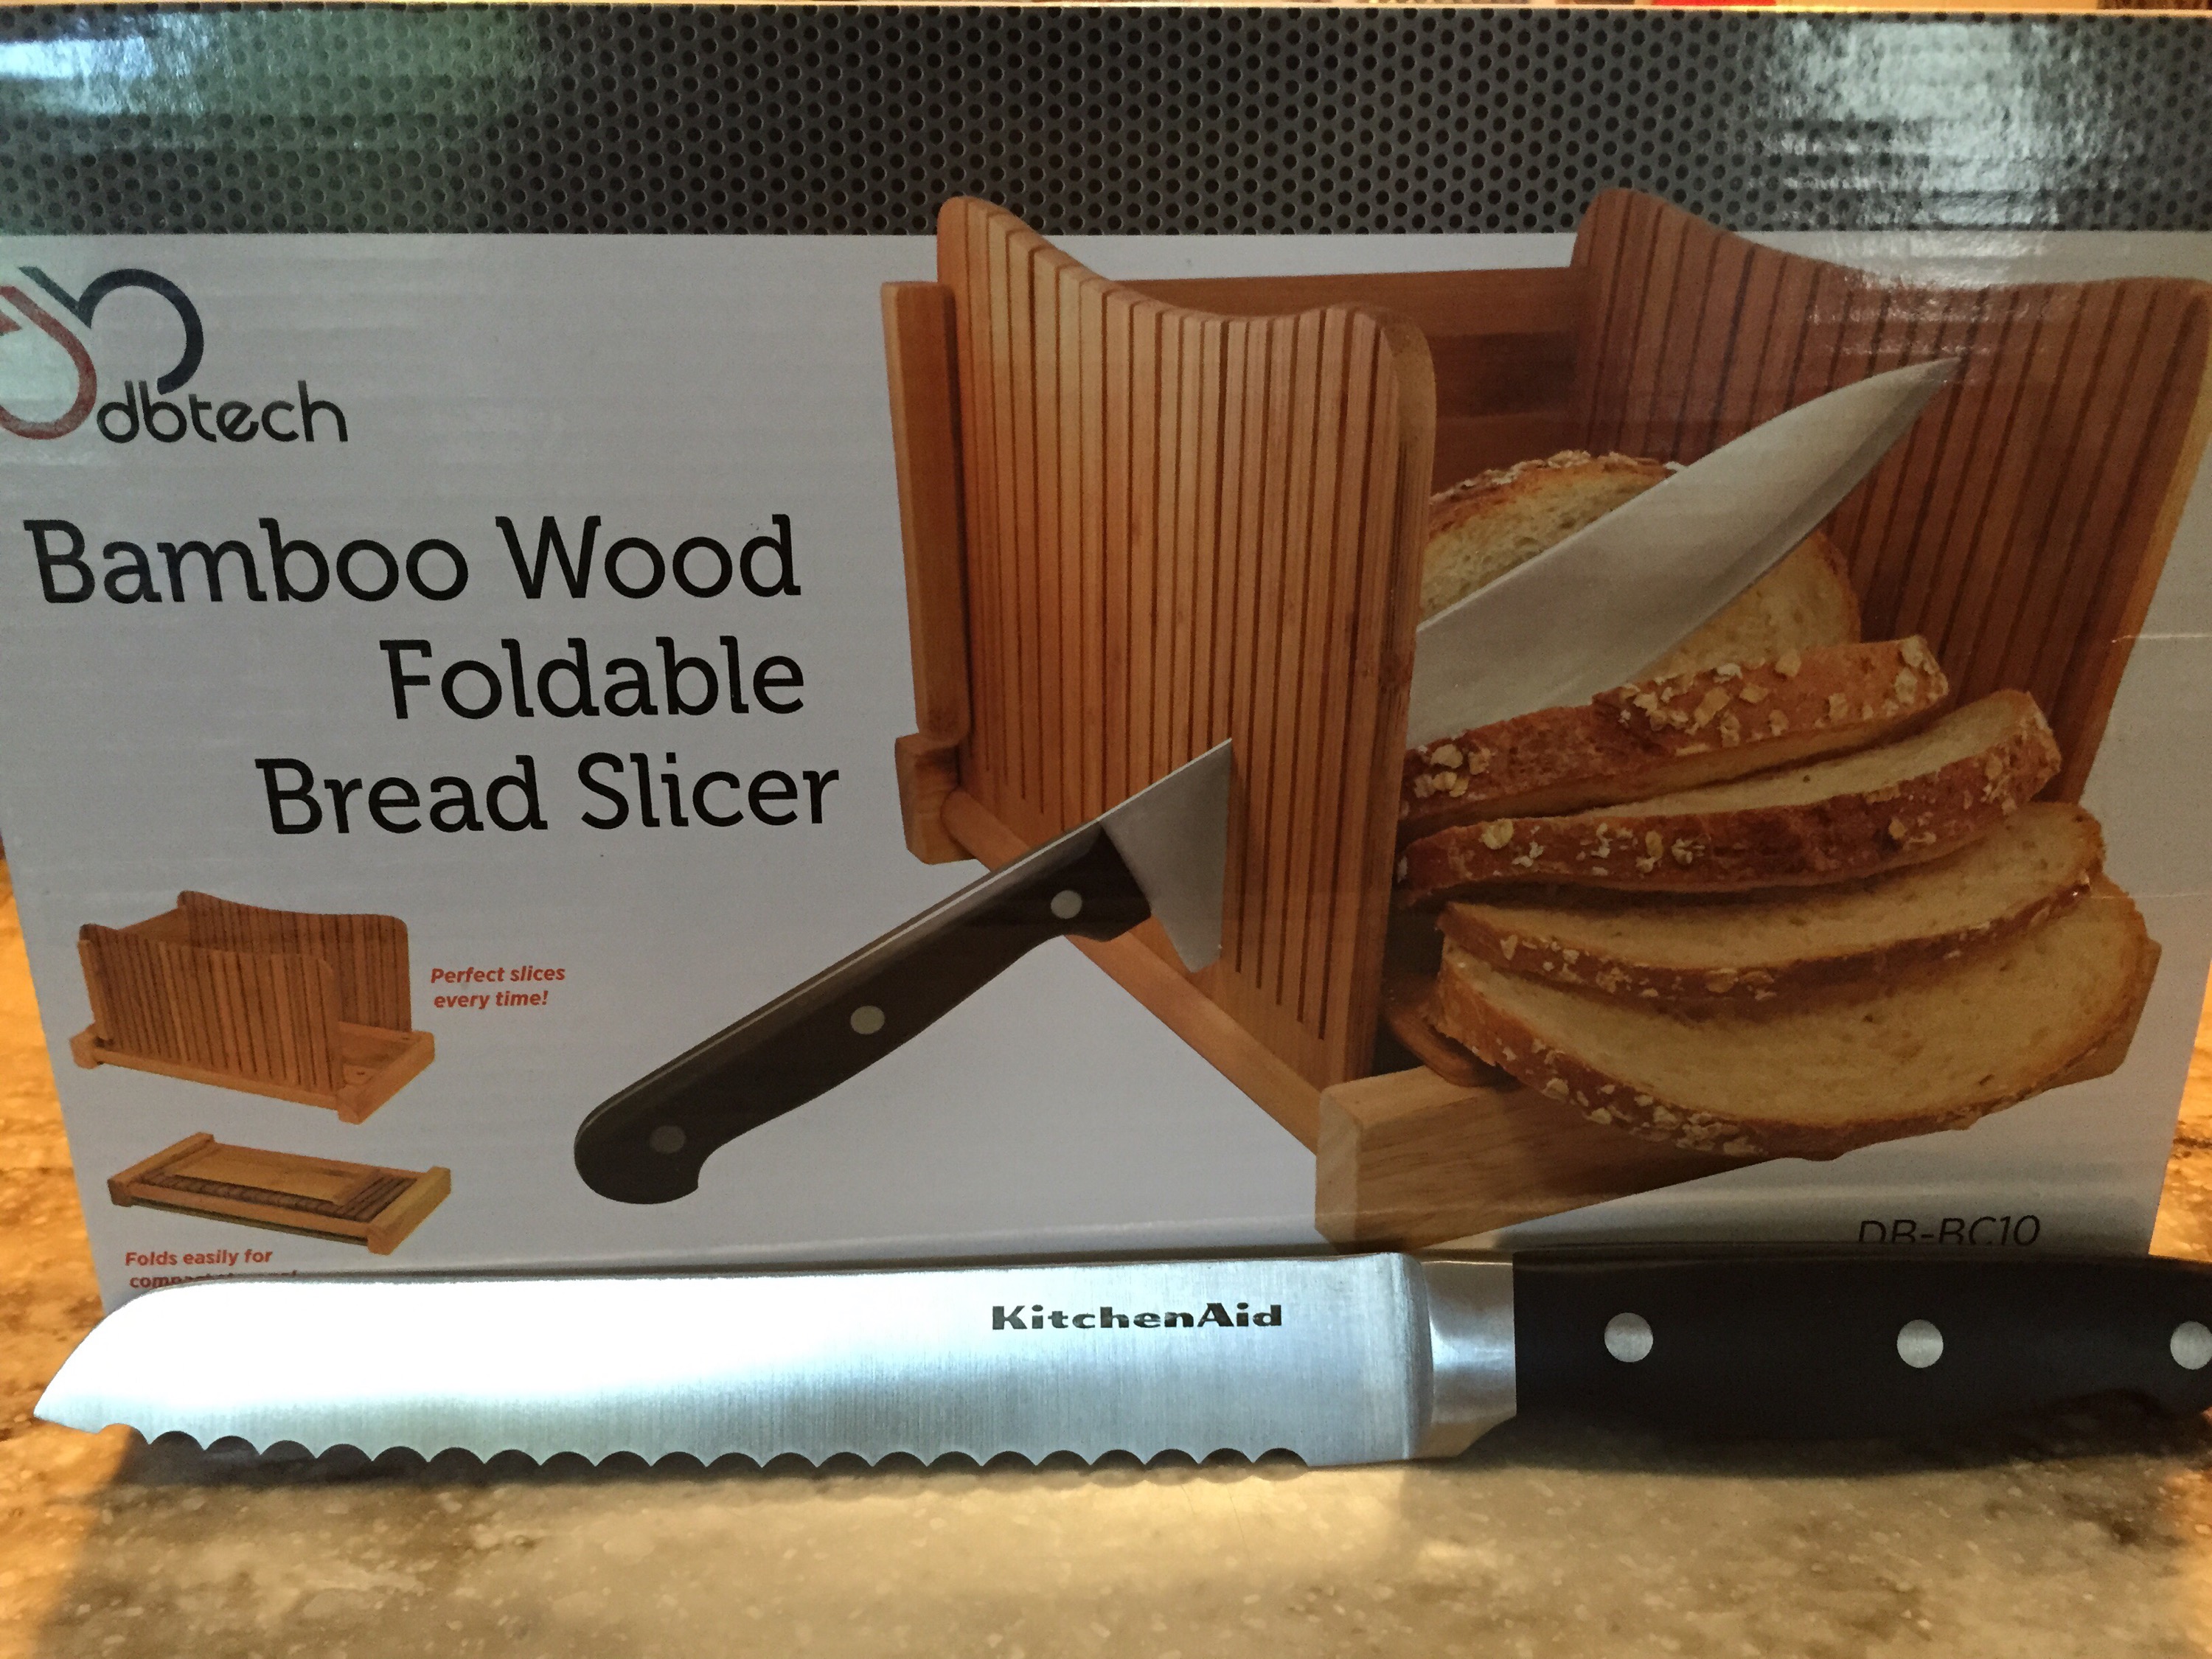
 The latest was a 1LB Italian garlic and herb loaf which came out perfect! It’s the perfect size for sandwiches. (Allen’s taken two to work already.) And I let it cool longer this time before slicing. I also didn’t use my fancy bread knife and bamboo bread slicer that I bought.
 I just used a non-serrated knife I got from the Dollar Tree a LONG time ago, and it worked great… Surprising, but true… So we have decided that the 1LB loaves are the way to go… My goal is to never buy grocery store bread again.
On another note, I felt my very first earthquake ever!!! I went to school (this super expensive one) out here in San Francisco for 4yrs and never felt one (I think I was on a barstool for most of them…) and then last year we were out here for about 5 months and I didn’t feel one then either. This one was crazy! I was laying in bed with Charlie, probably blogging or Pinteresting, and it felt like someone hit the camper. It actually felt like Allen backed up and hitched up to the camper, but I knew he was at work. So I thought A) someone was trying to steal our house with me and the dog inside! or B) one of these tourists driving a rental RV must’ve clipped our nose… Charlie and I both ran outside but nobody was out. All was quiet. I texted Allen and he then informed me it was an earthquake, that they felt it by the tower too. Yikes! But it was a smaller one, nobody was hurt, so that was good.
Begin Rant:
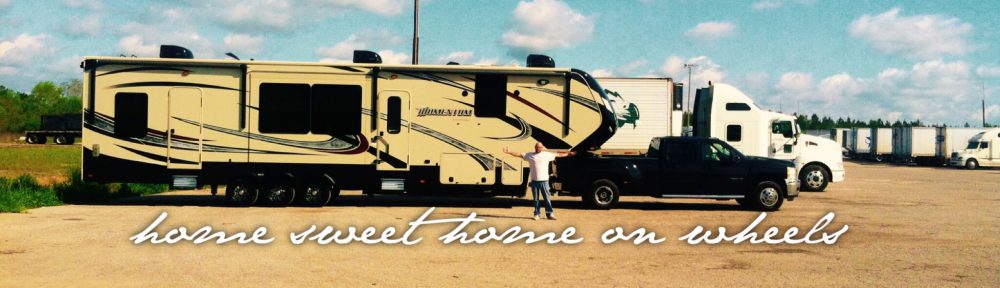
I’ve also been on the phone trying to order parts for the camper from Grand Design. We have a 2015 Grand Design Momentum 385TH. We just bought it at the end of March. It’s still brand new. You’d think it would be fairly easy to get simple parts for it. Almost two weeks after sending the first “inquiry form” to Grand Design, we finally have parts on the way! (I honestly thought they would have excellent customer service being that they are still a new and fairly small company…)
While I was back at my mom’s house for my brother’s funeral and Allen and Charlie drove from Texas to San Francisco alone, a yellow pole at a tiny gas station jumped up and grabbed onto the ladder on the side of the camper, yanked it a little and busted the red light that’s back there. So we need a light, and the bottom brackets that hold the ladder onto the camper.
We wound up having to get the part numbers from Grand Design then call a dealer to order them because Grand Design is not set up to sell directly to actual people. I find this silly. Luckily, Shelly at Lazydays RV in Florida was super nice and helped us out. I probably should’ve called Palm Beach RV since that’s where we bought the camper, but oh well.
Anyway, while I was on the phone with Amanda at Grand Design I had her switch me over to Jerry in warranty (yes, I’m on a first name basis with these people). I spoke with Jerry multiple times when we were in Louisiana trying to take care of the radio/tv situation. Grand Design had the bright idea to put some Furrion products, and some Haier products in here. (To save money I presume..) But they don’t communicate well with one another. The radio in the living room is also a DVD player and that wasn’t working so Jerry sent us a new HDMI cord. It worked then, but in hindsight I don’t think the cord was the issue. We still have the same problem with having sound and no picture when we play a DVD but now we just unplug the TV then plug it back in. It’s the cheap Haier TV. In the garage (toy hauler) there is a car stereo that also plays DVDs. But it constantly sounds like it is skipping around a CD in there or trying to spit one out. Jerry also sent us a new radio that we swapped out. That worked for a while. I noticed Monday that it started making noise again. So he is supposedly sending us ANOTHER radio to swap out and says if we have more issues we will have to take it in to have it looked at. I’m trying to avoid that because we live in here full time and I’d rather not live at a dealership for days. Also, the closest Grand Design dealer is in Sacramento. And Allen will not be commuting to from Sacramento to San Francisco to work! Anyway, last time, Jerry took forever to send anything out, I mean he said he sent it then a week later I called to see where it was and he still hadn’t sent it. So fingers crossed he actually put it in the mail yesterday!
End Rant.
Before we left for Tahoe, Allen’s buddy was flying home for the weekend and gave us a 10LB bag of potatoes. (He lives alone. Why he would buy a 10LB bag of potatoes eludes me. I’ll have to talk to him about that.) Anyhow, I’ve been looking at this bag all week. Then I decided that instead of letting them go bad, maybe I could freeze them. So I Googled… Then I made some frozen hashbrowns (you just dice them, drop them in boiling water for about 2min, drain and cool them, bag them and freeze them) and some frozen fries (same as above but you also fry them in oil for about 3min after blanching and drying, then cool, bag and freeze). Easy peasy. I still have over 5LBs of potatoes left but at least I got rid of some of them!

skinny fries

potato wedges (I sprinkled them with season salt when I took them out of the oil.
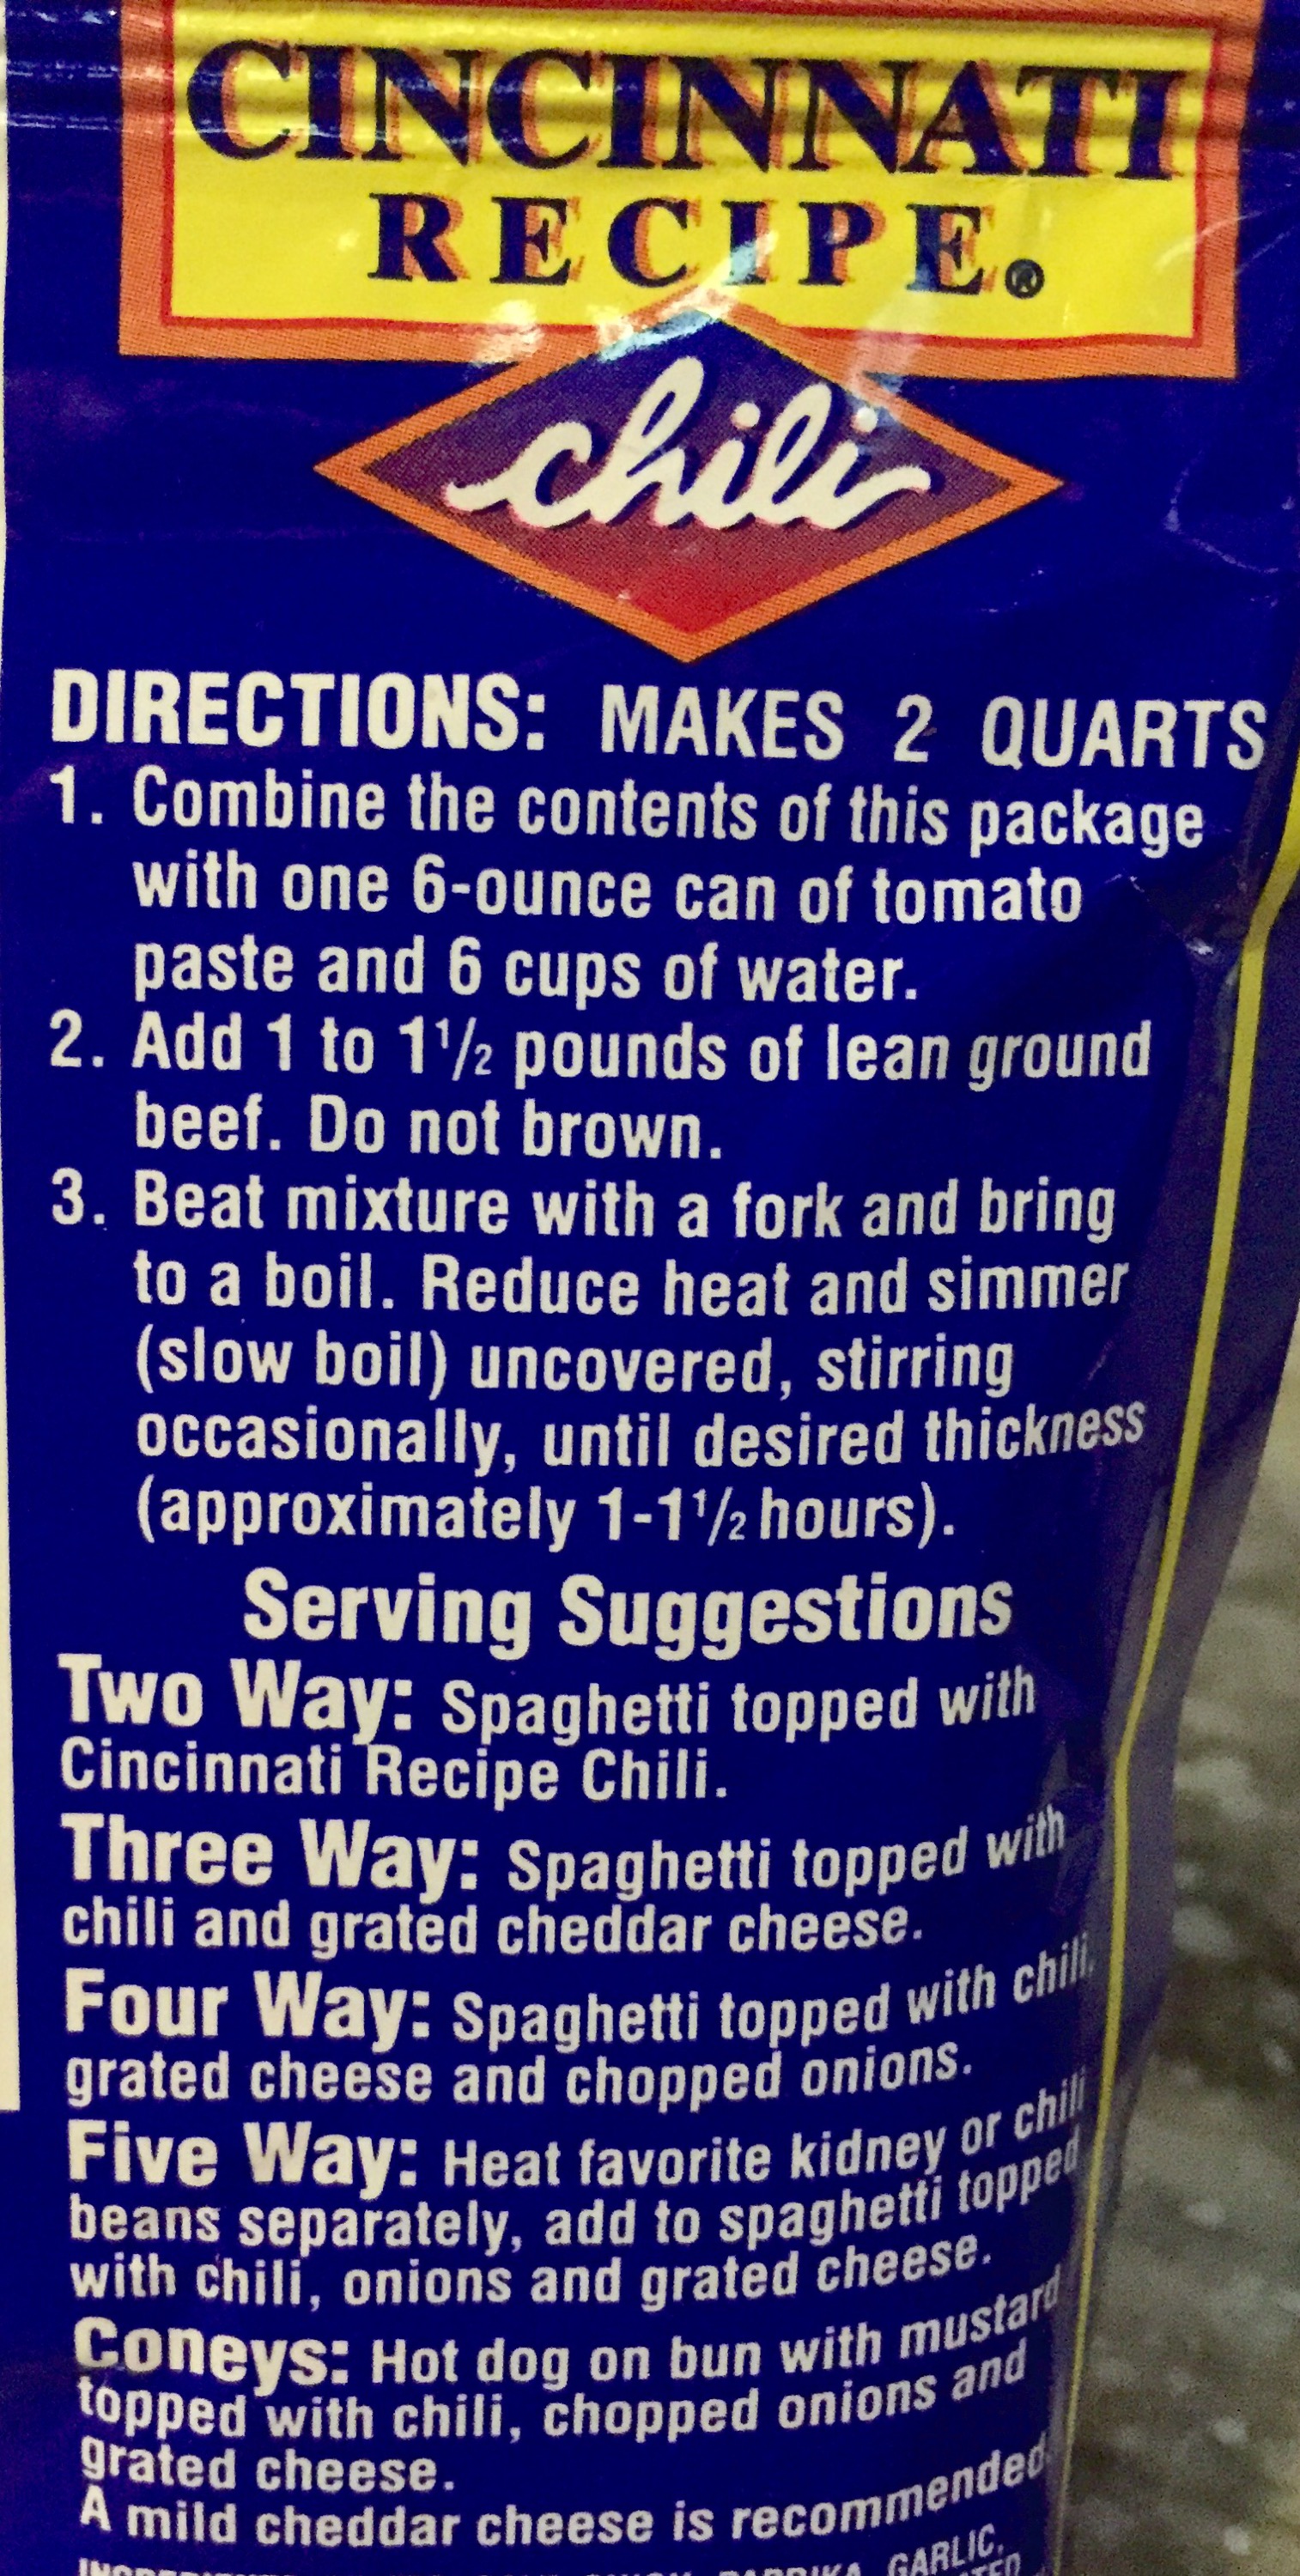
Last night I made 3-ways for dinner. Technically, 4-ways. If you don’t know what that is, it’s because it’s a
Cincinnati thing… We are weird like that. It doesn’t matter where we move to, where our
domicile is, Allen will always love 3-ways and goetta. (I on the other hand despise goetta… The taste, texture, cooking it, yuck!)

Every time we go back to Cincy we have to pick up a couple packs of chili mix…

I like 5-ways. Allen likes 4-ways. Everyone likes a good 3-way. 😉
The night before last, I came up with a new concoction that was pretty tasty… Rum and Kool-Aid!
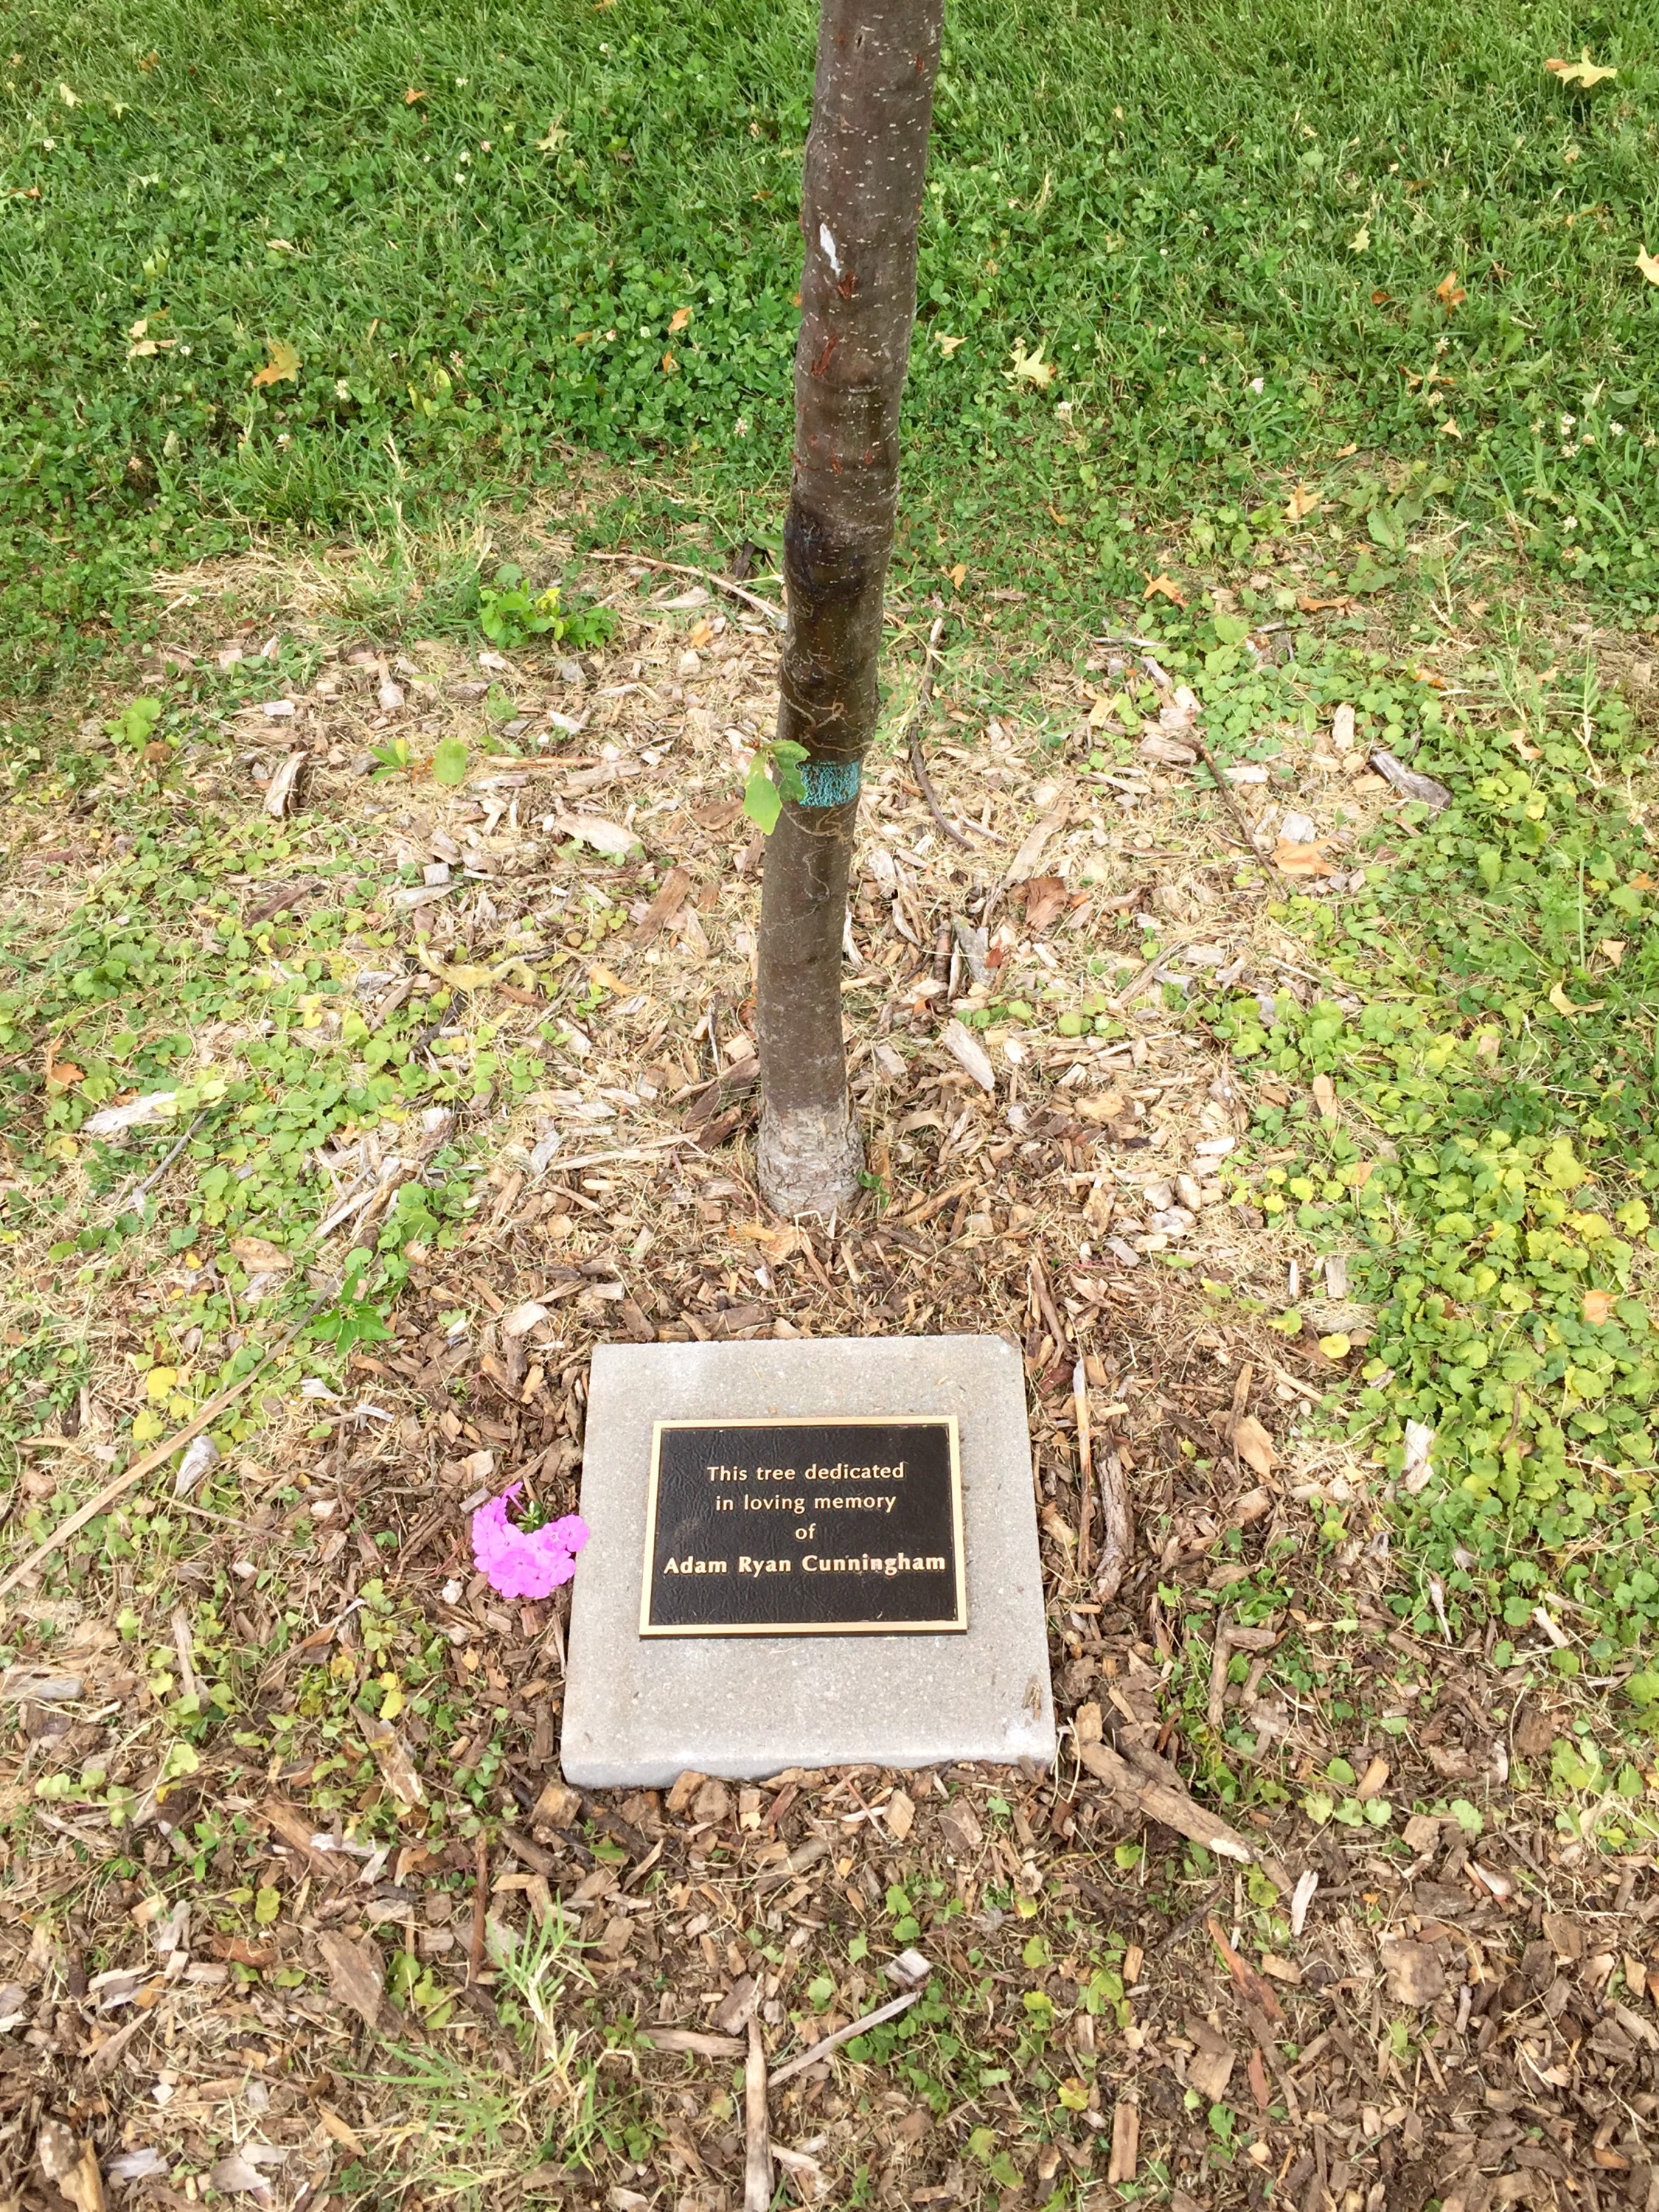
My brother loved Kool-Aid so I named this
“Ode to Adam”…


I promise, Charlie didn’t drink with us!
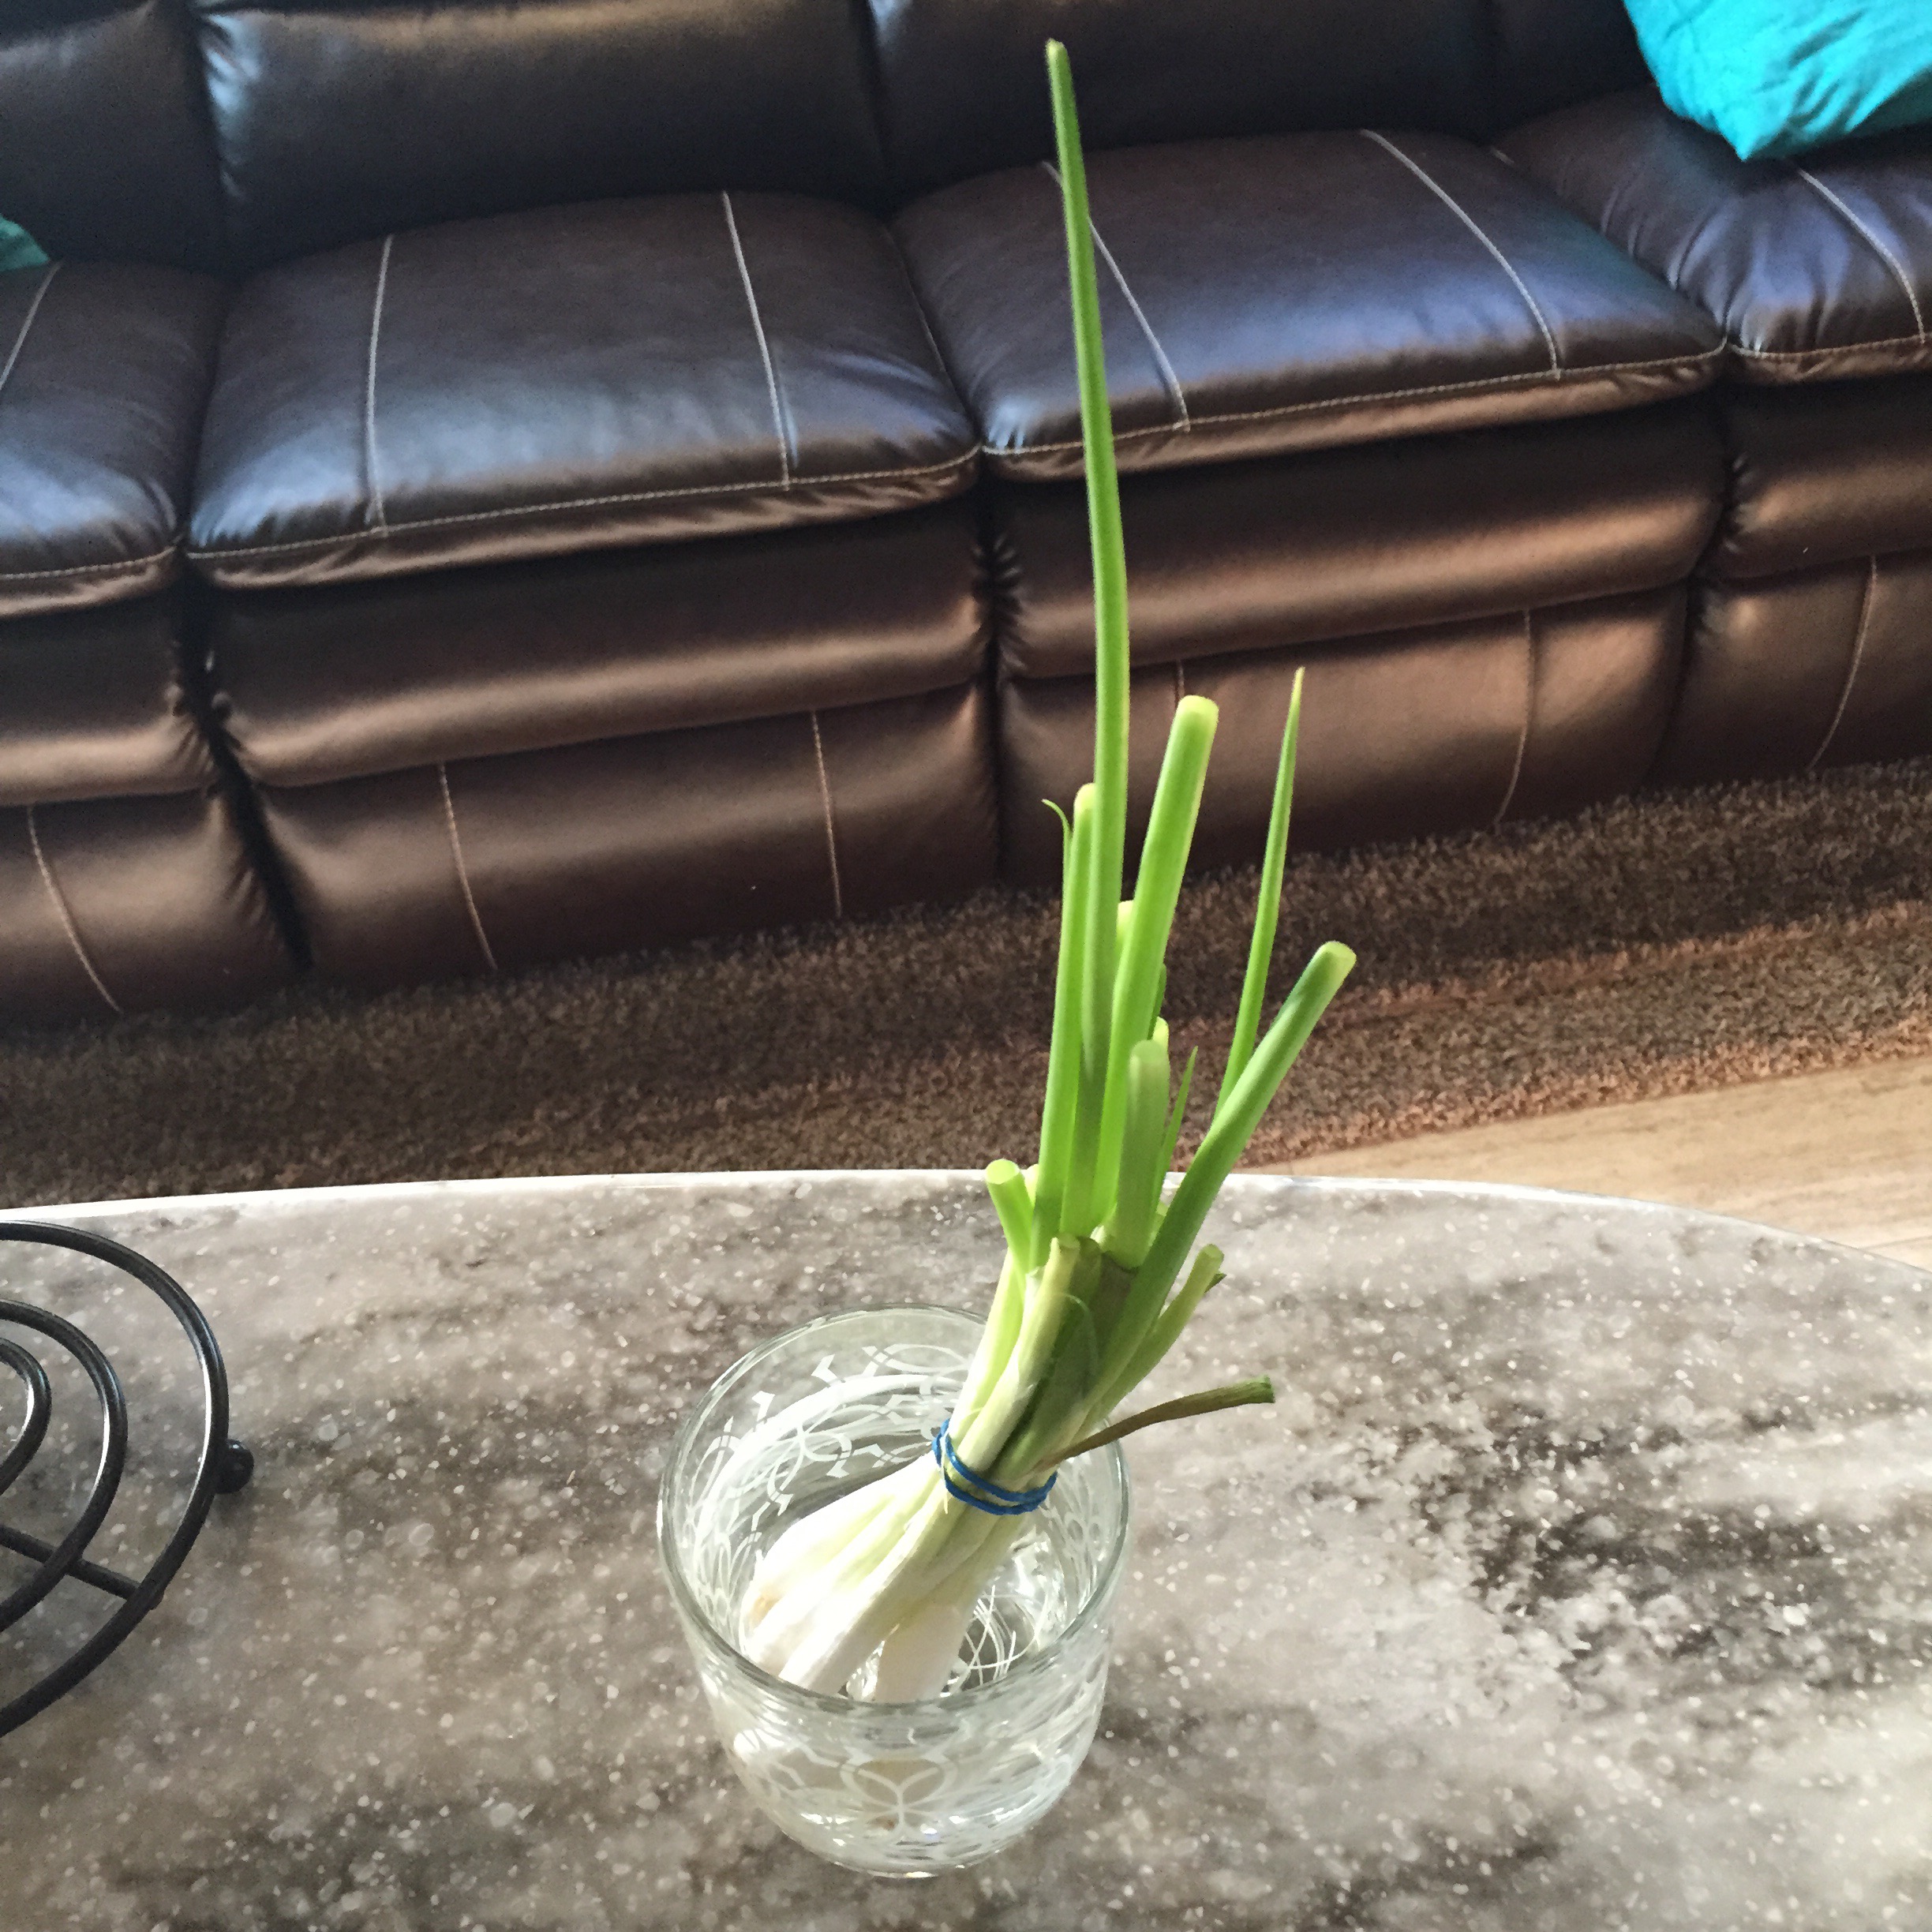
Oh! And I almost forgot, I started
growing my own green onions a couple weeks back. It is super easy. You just stick them in a glass of water after you use most of the green parts, change the water every couple days, and they grow on their own. Love it. This is my second round. After a while they get weaker and can’t stand up on their own, so you do have to start fresh after a couple of uses.

Thursday

Monday
They grow fast!
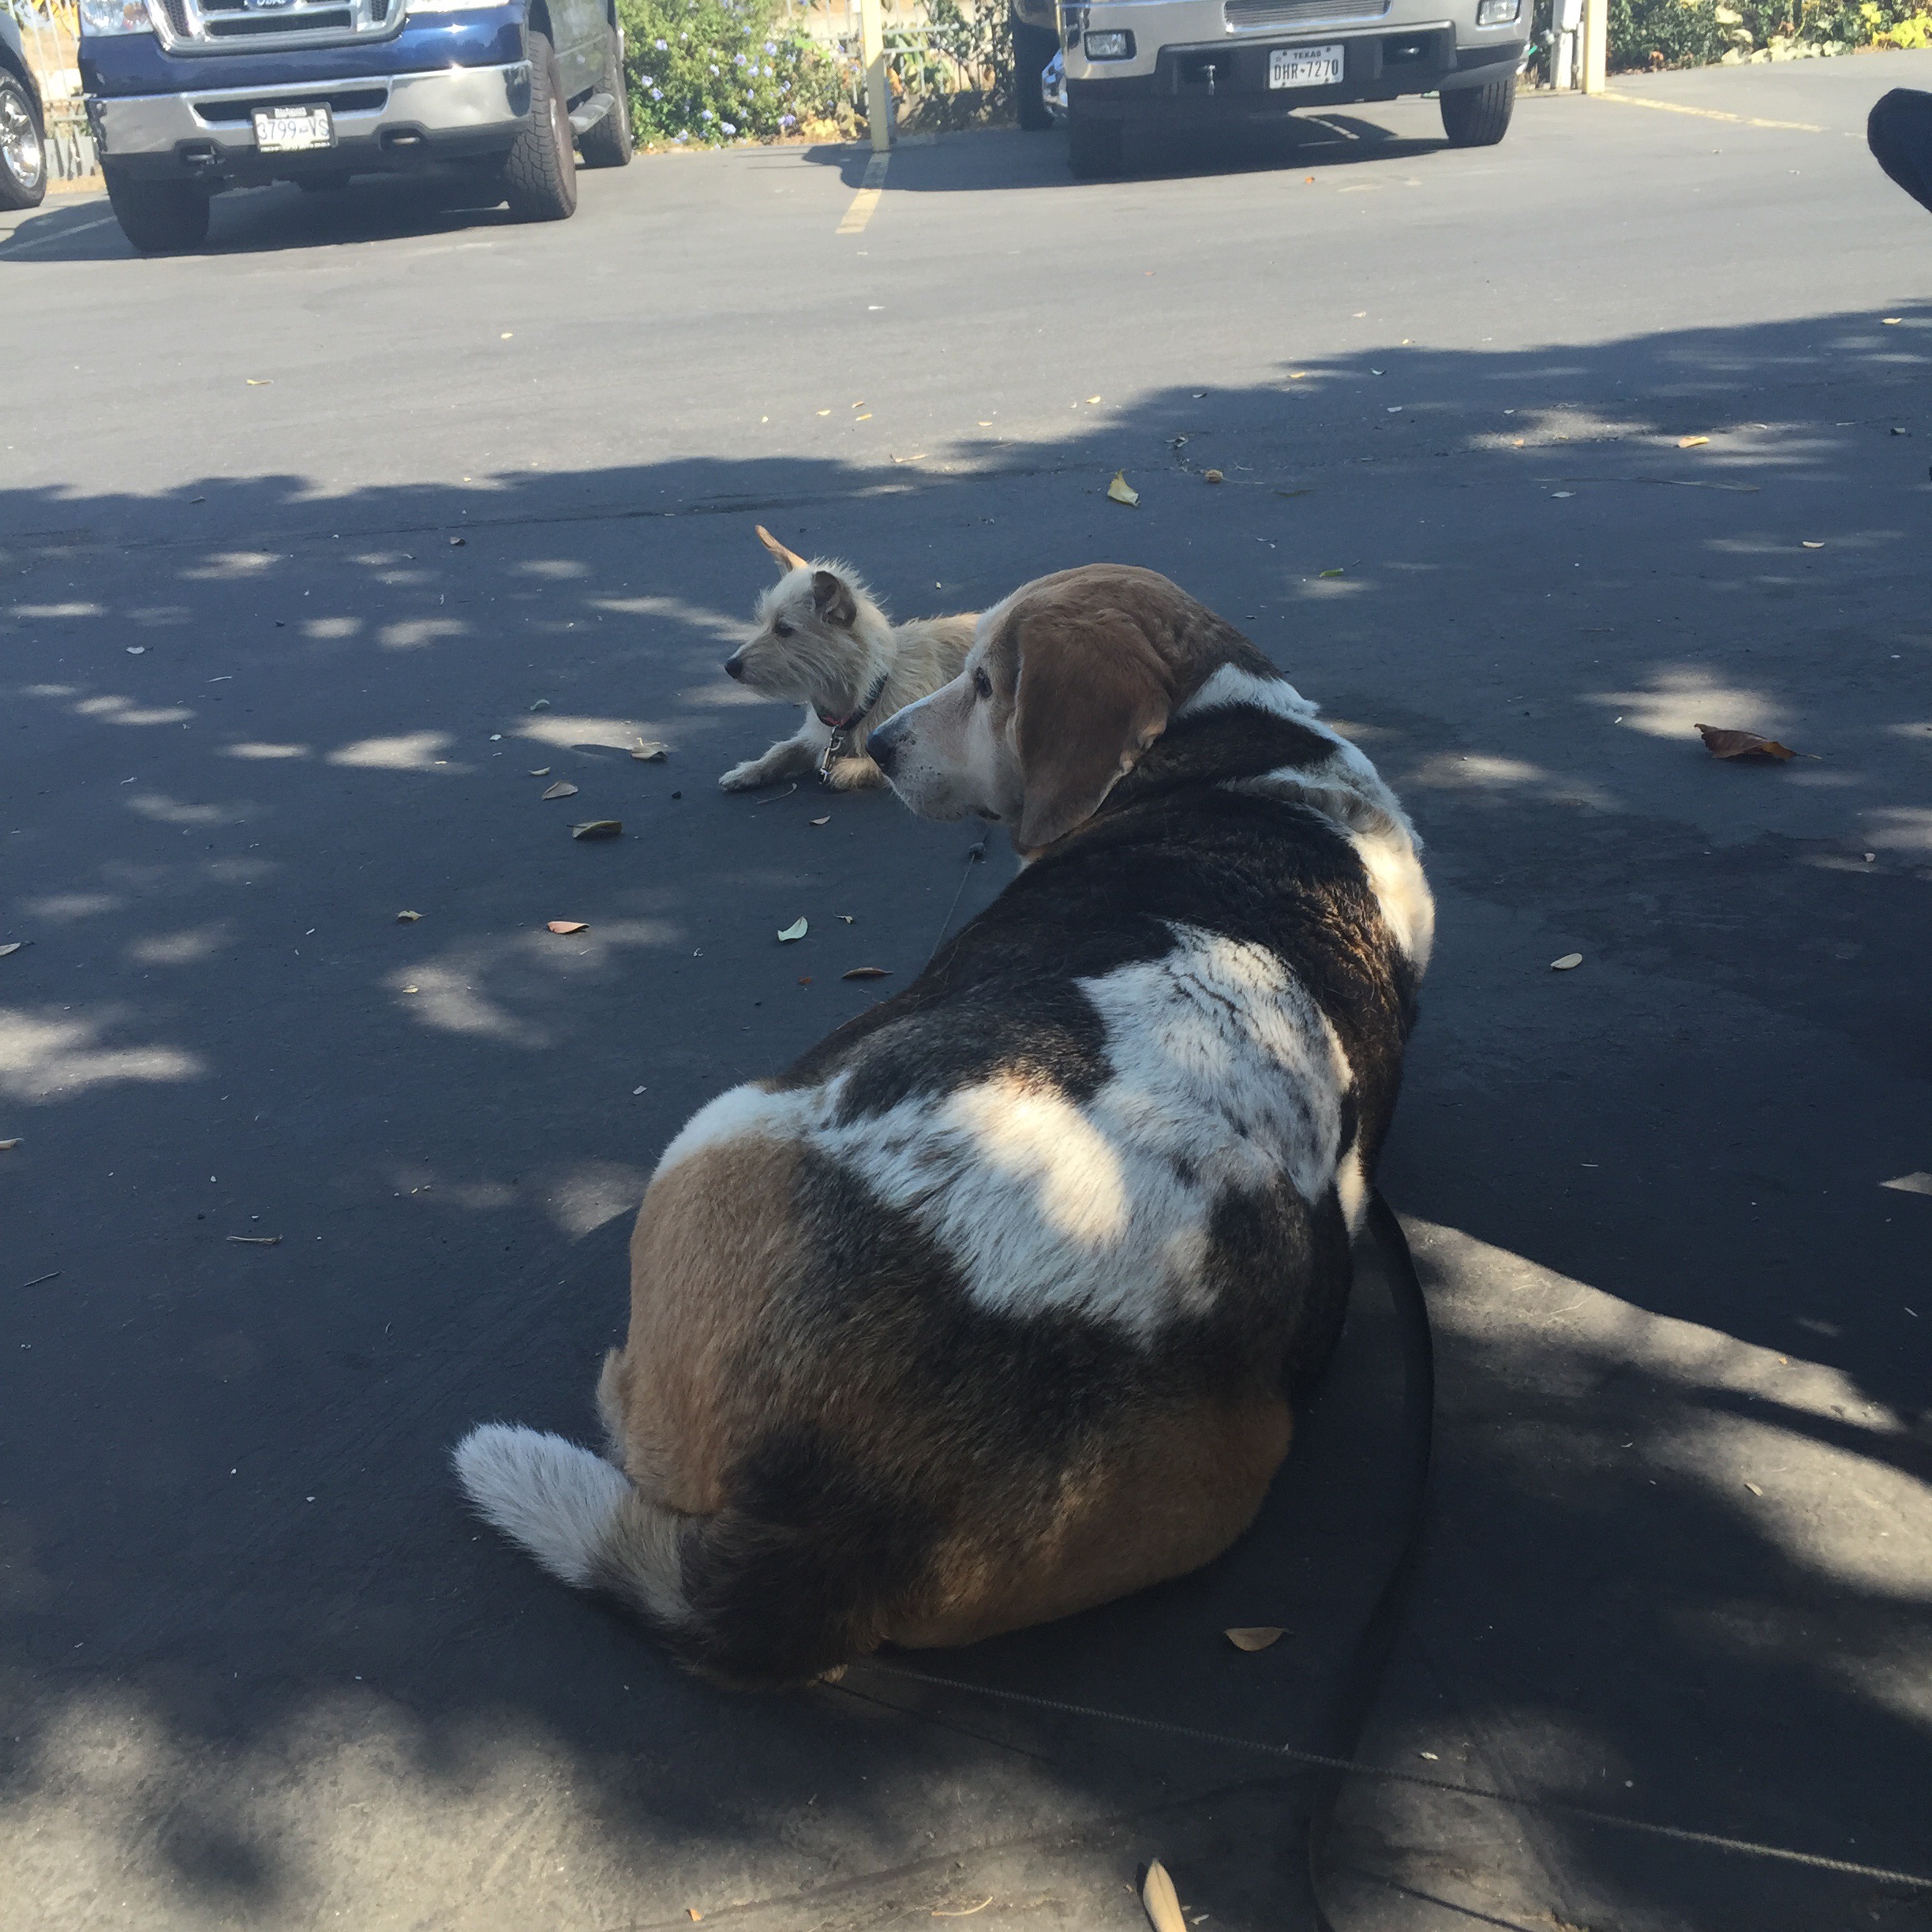
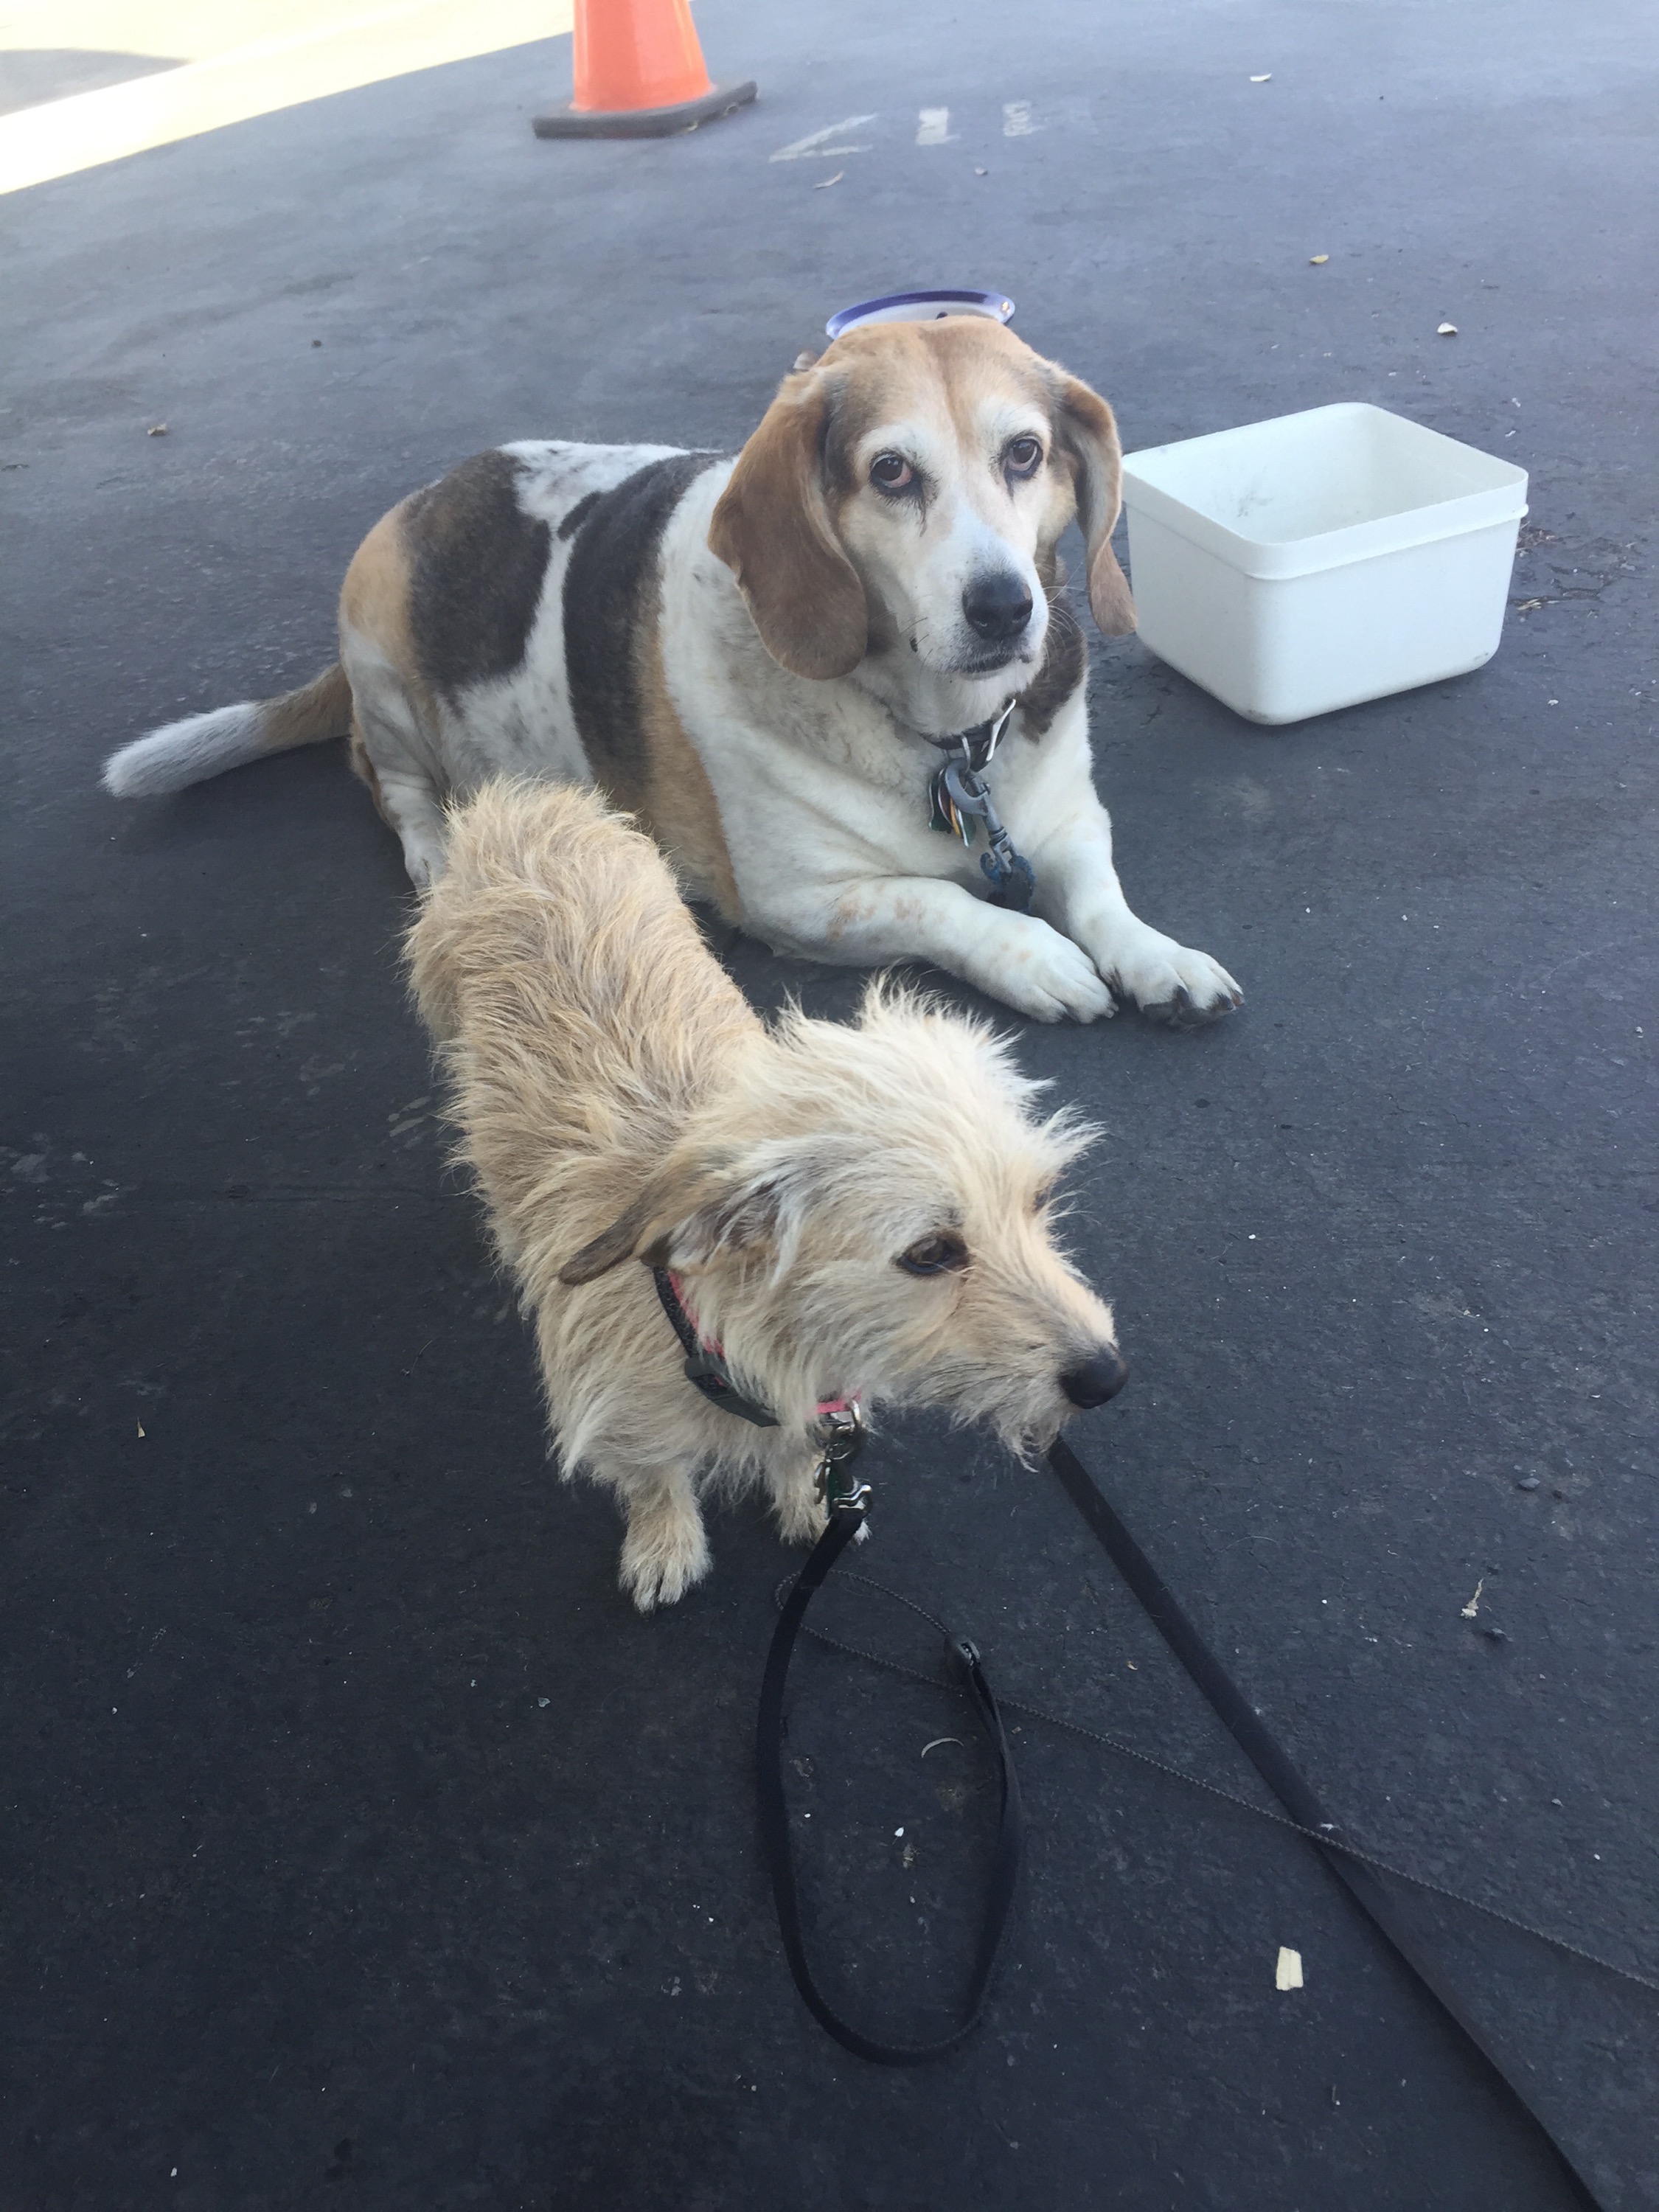
And just for fun, here are a couple shots of
Charlie hanging out with her buddy Samantha in the old parking lot that is our “yard” here at
Candlestick RV Park…


37.715473
-122.382719
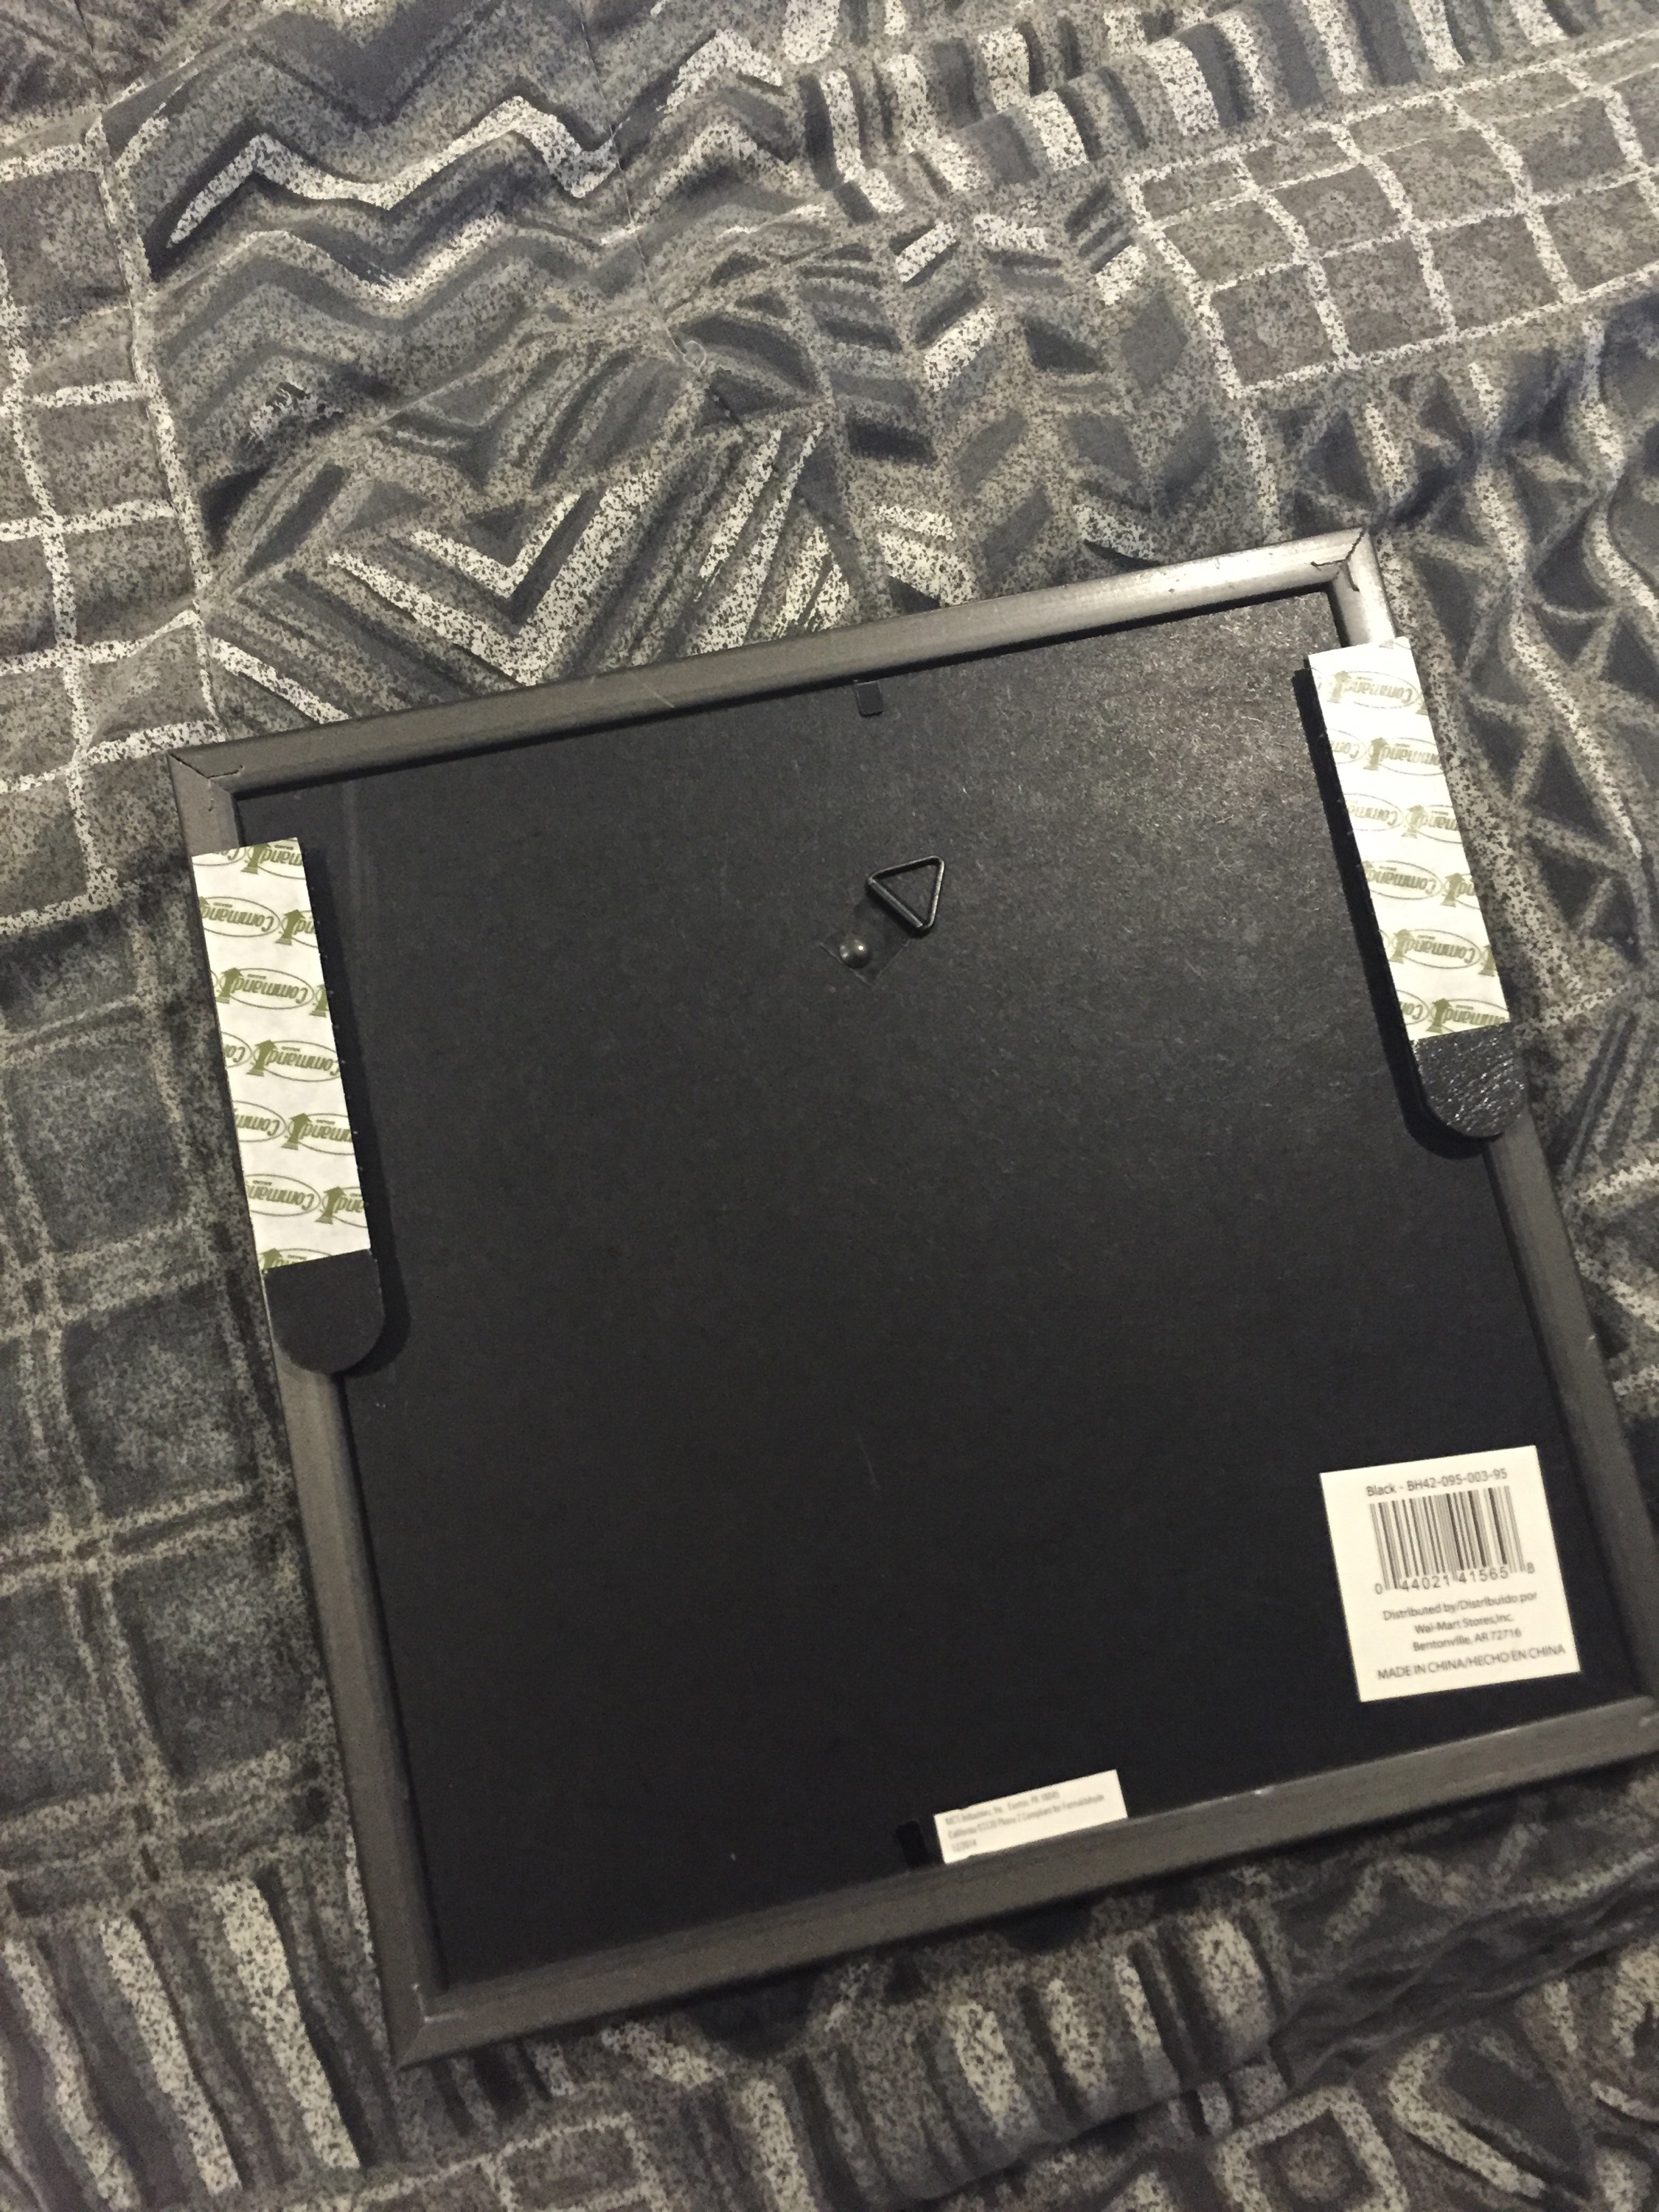
 And the DIY for those is here.
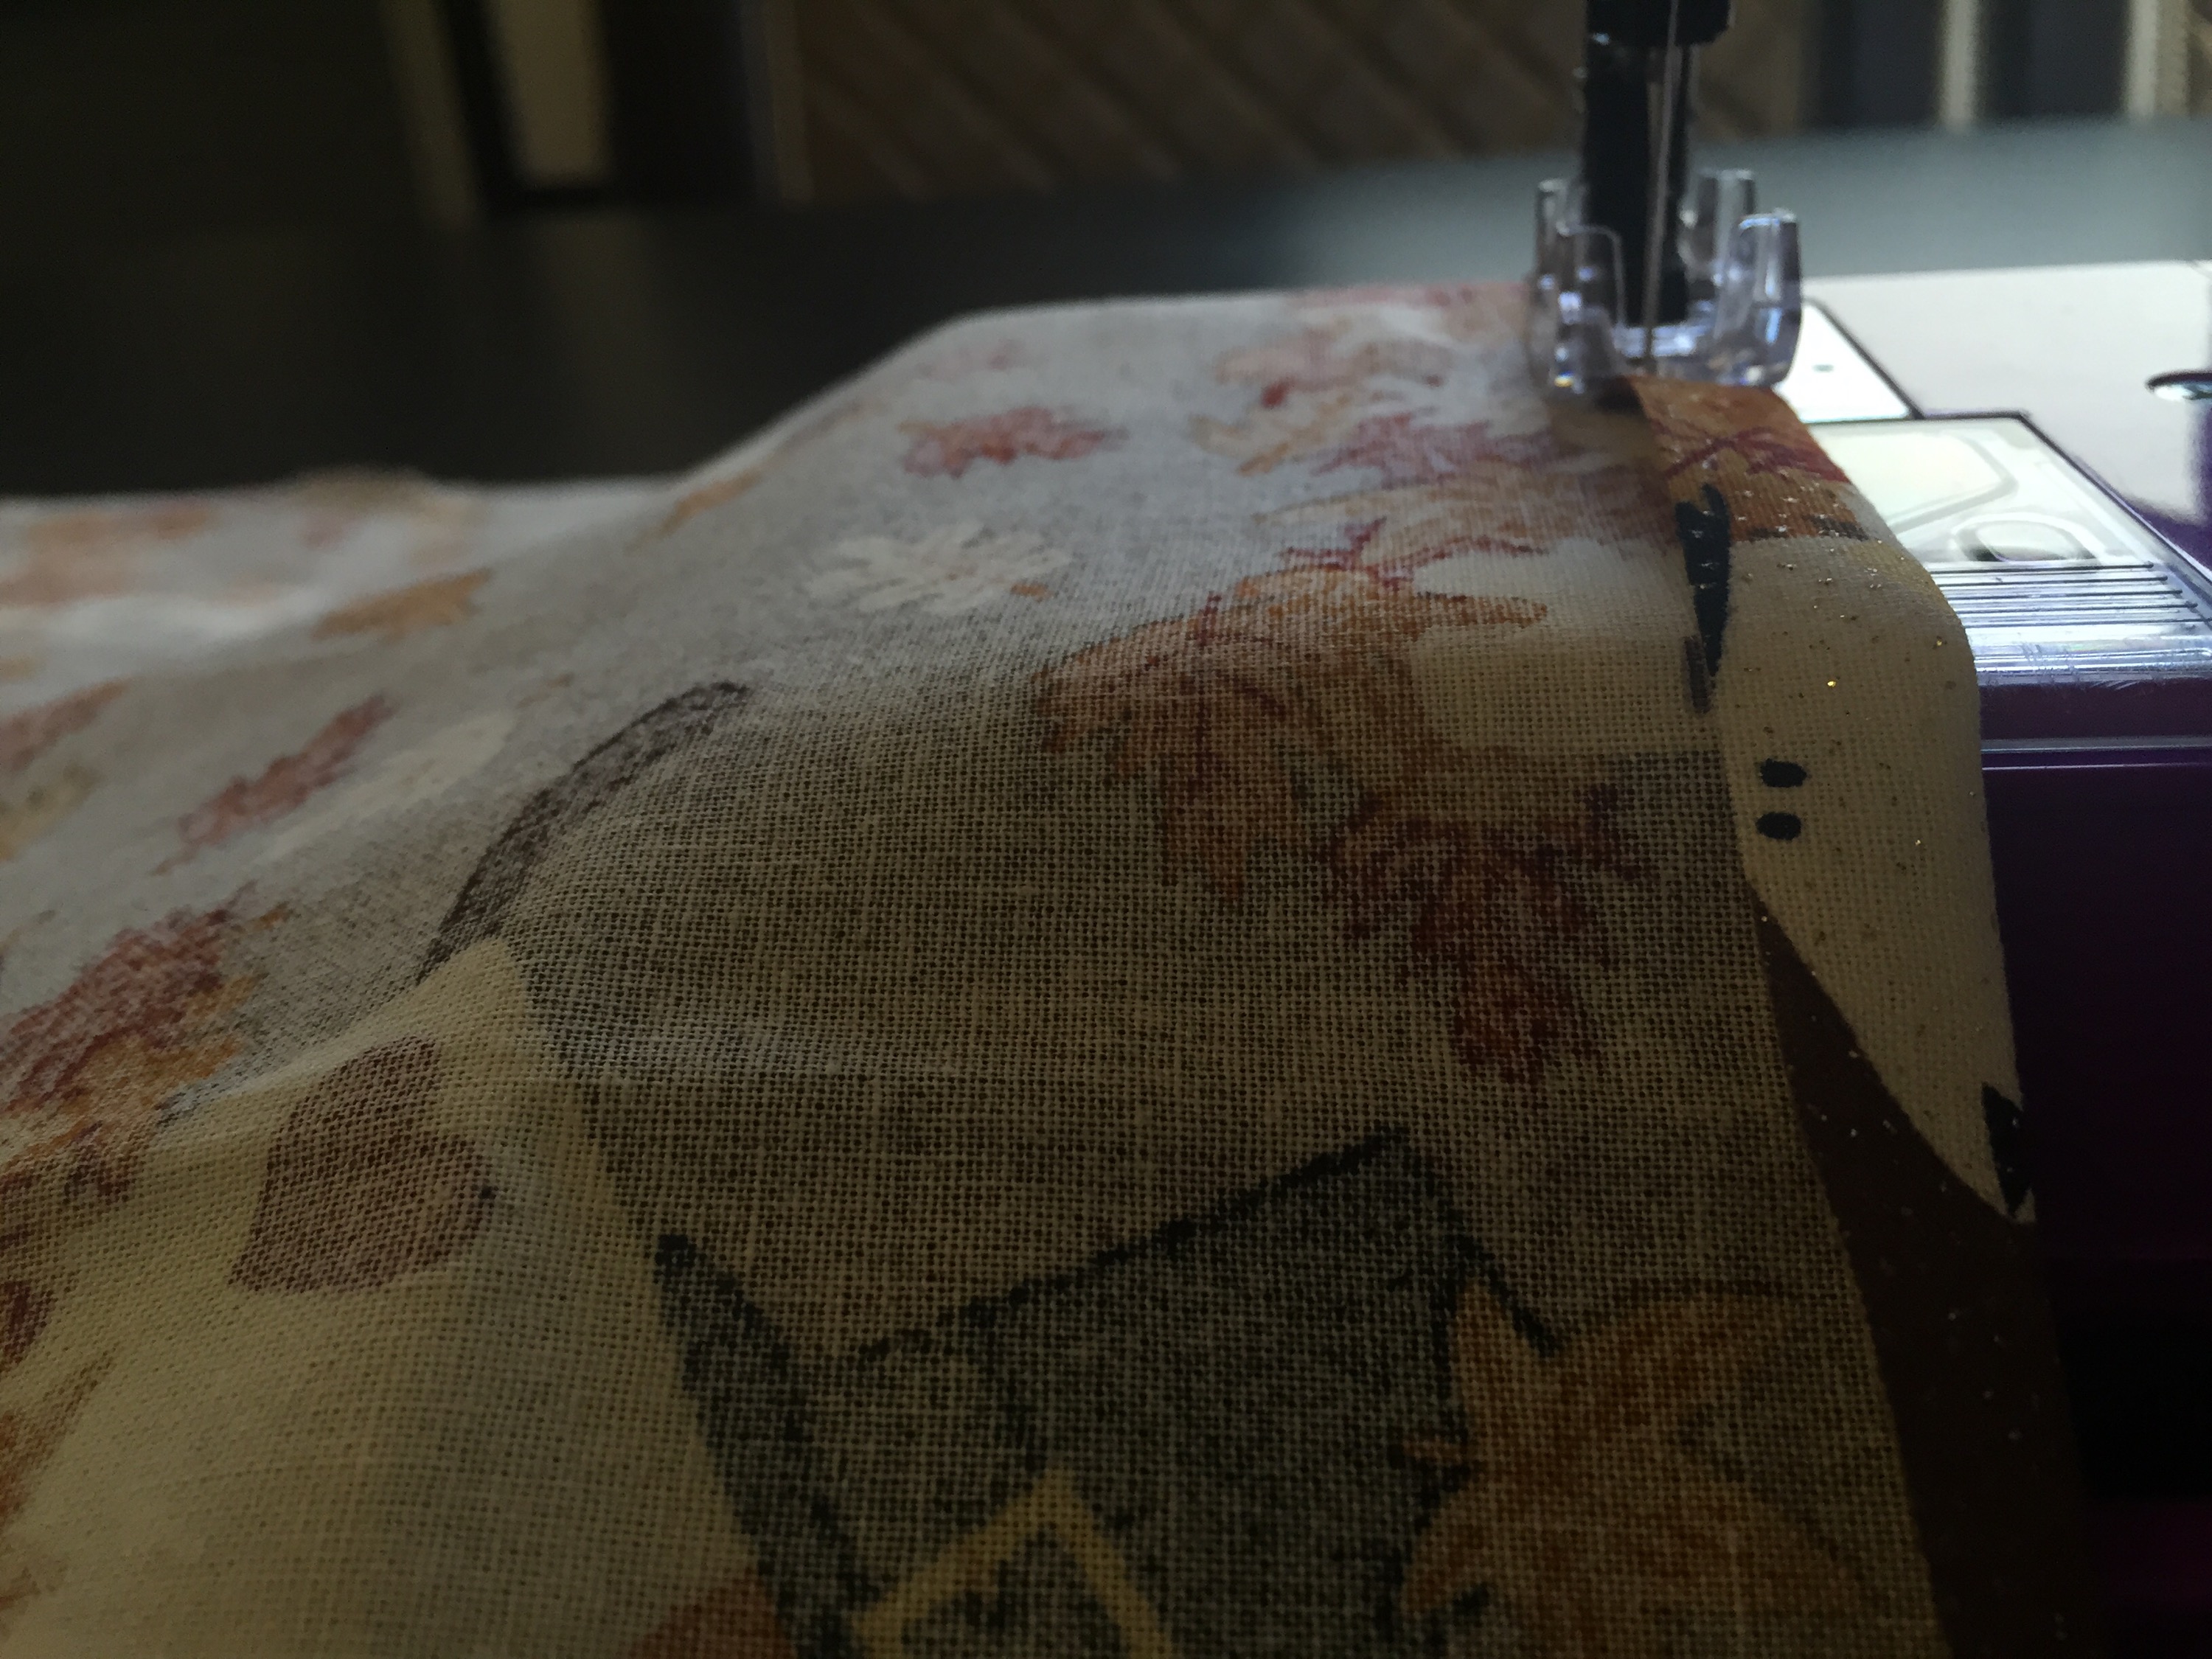
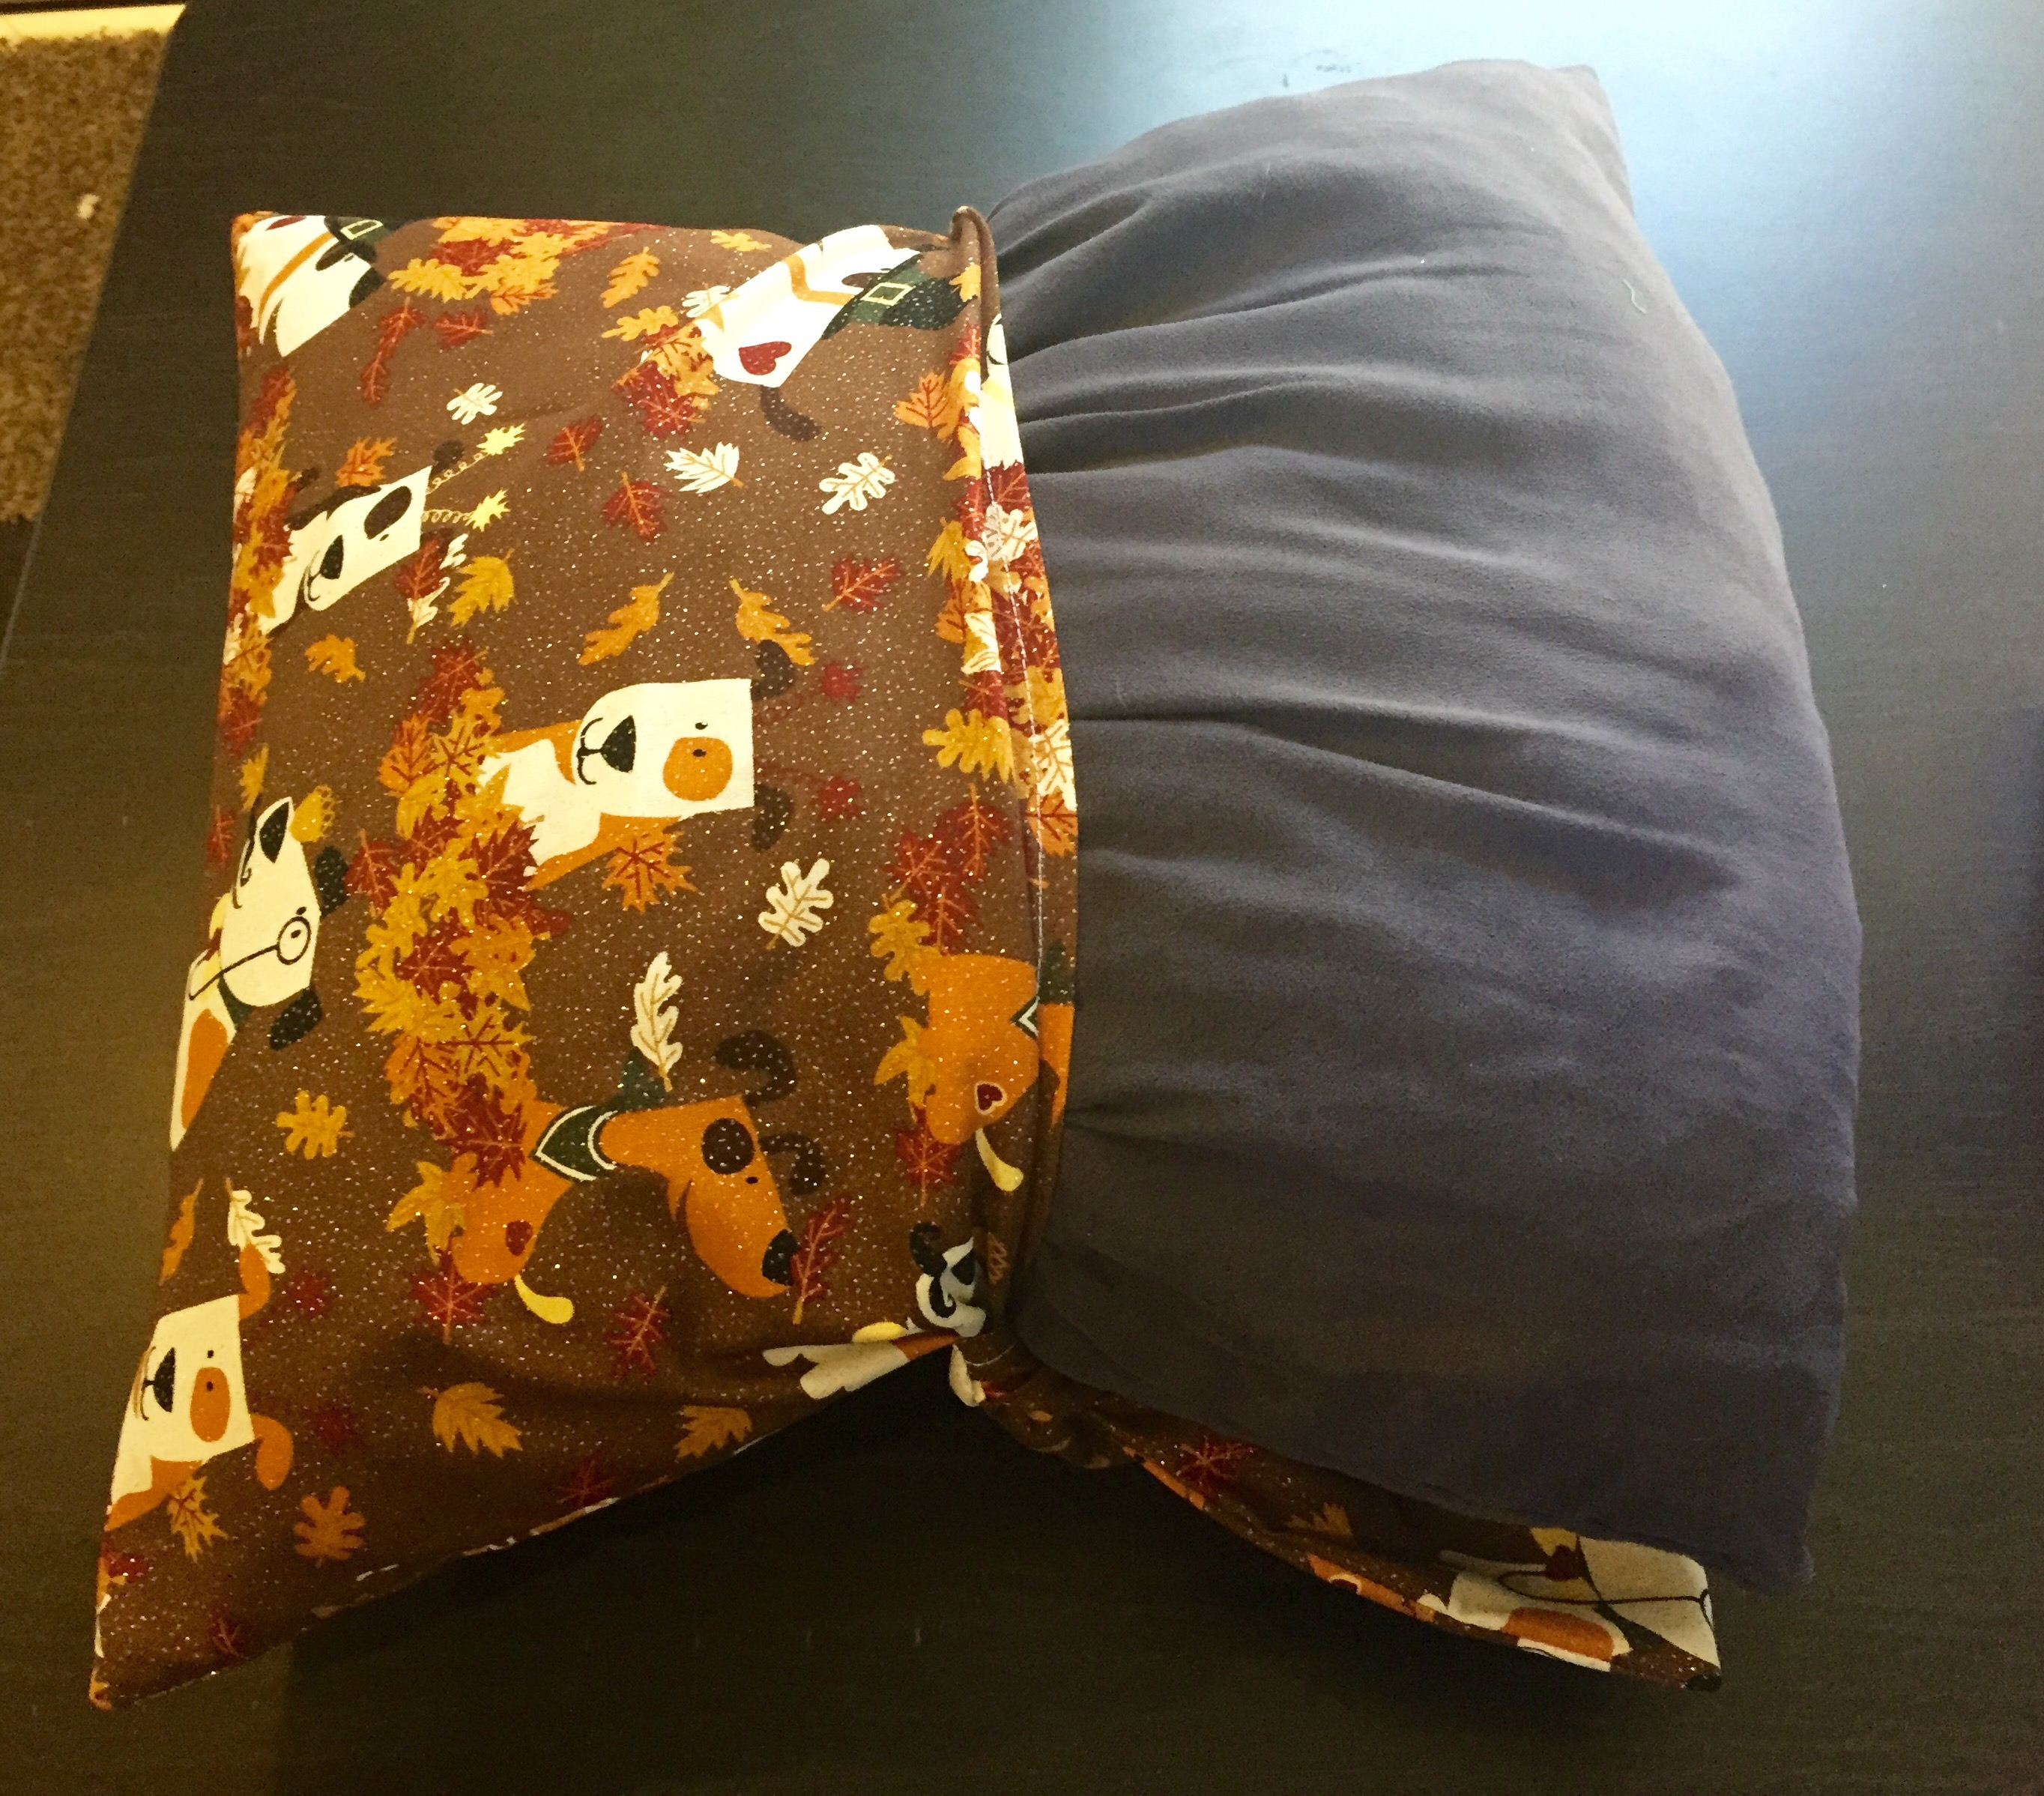
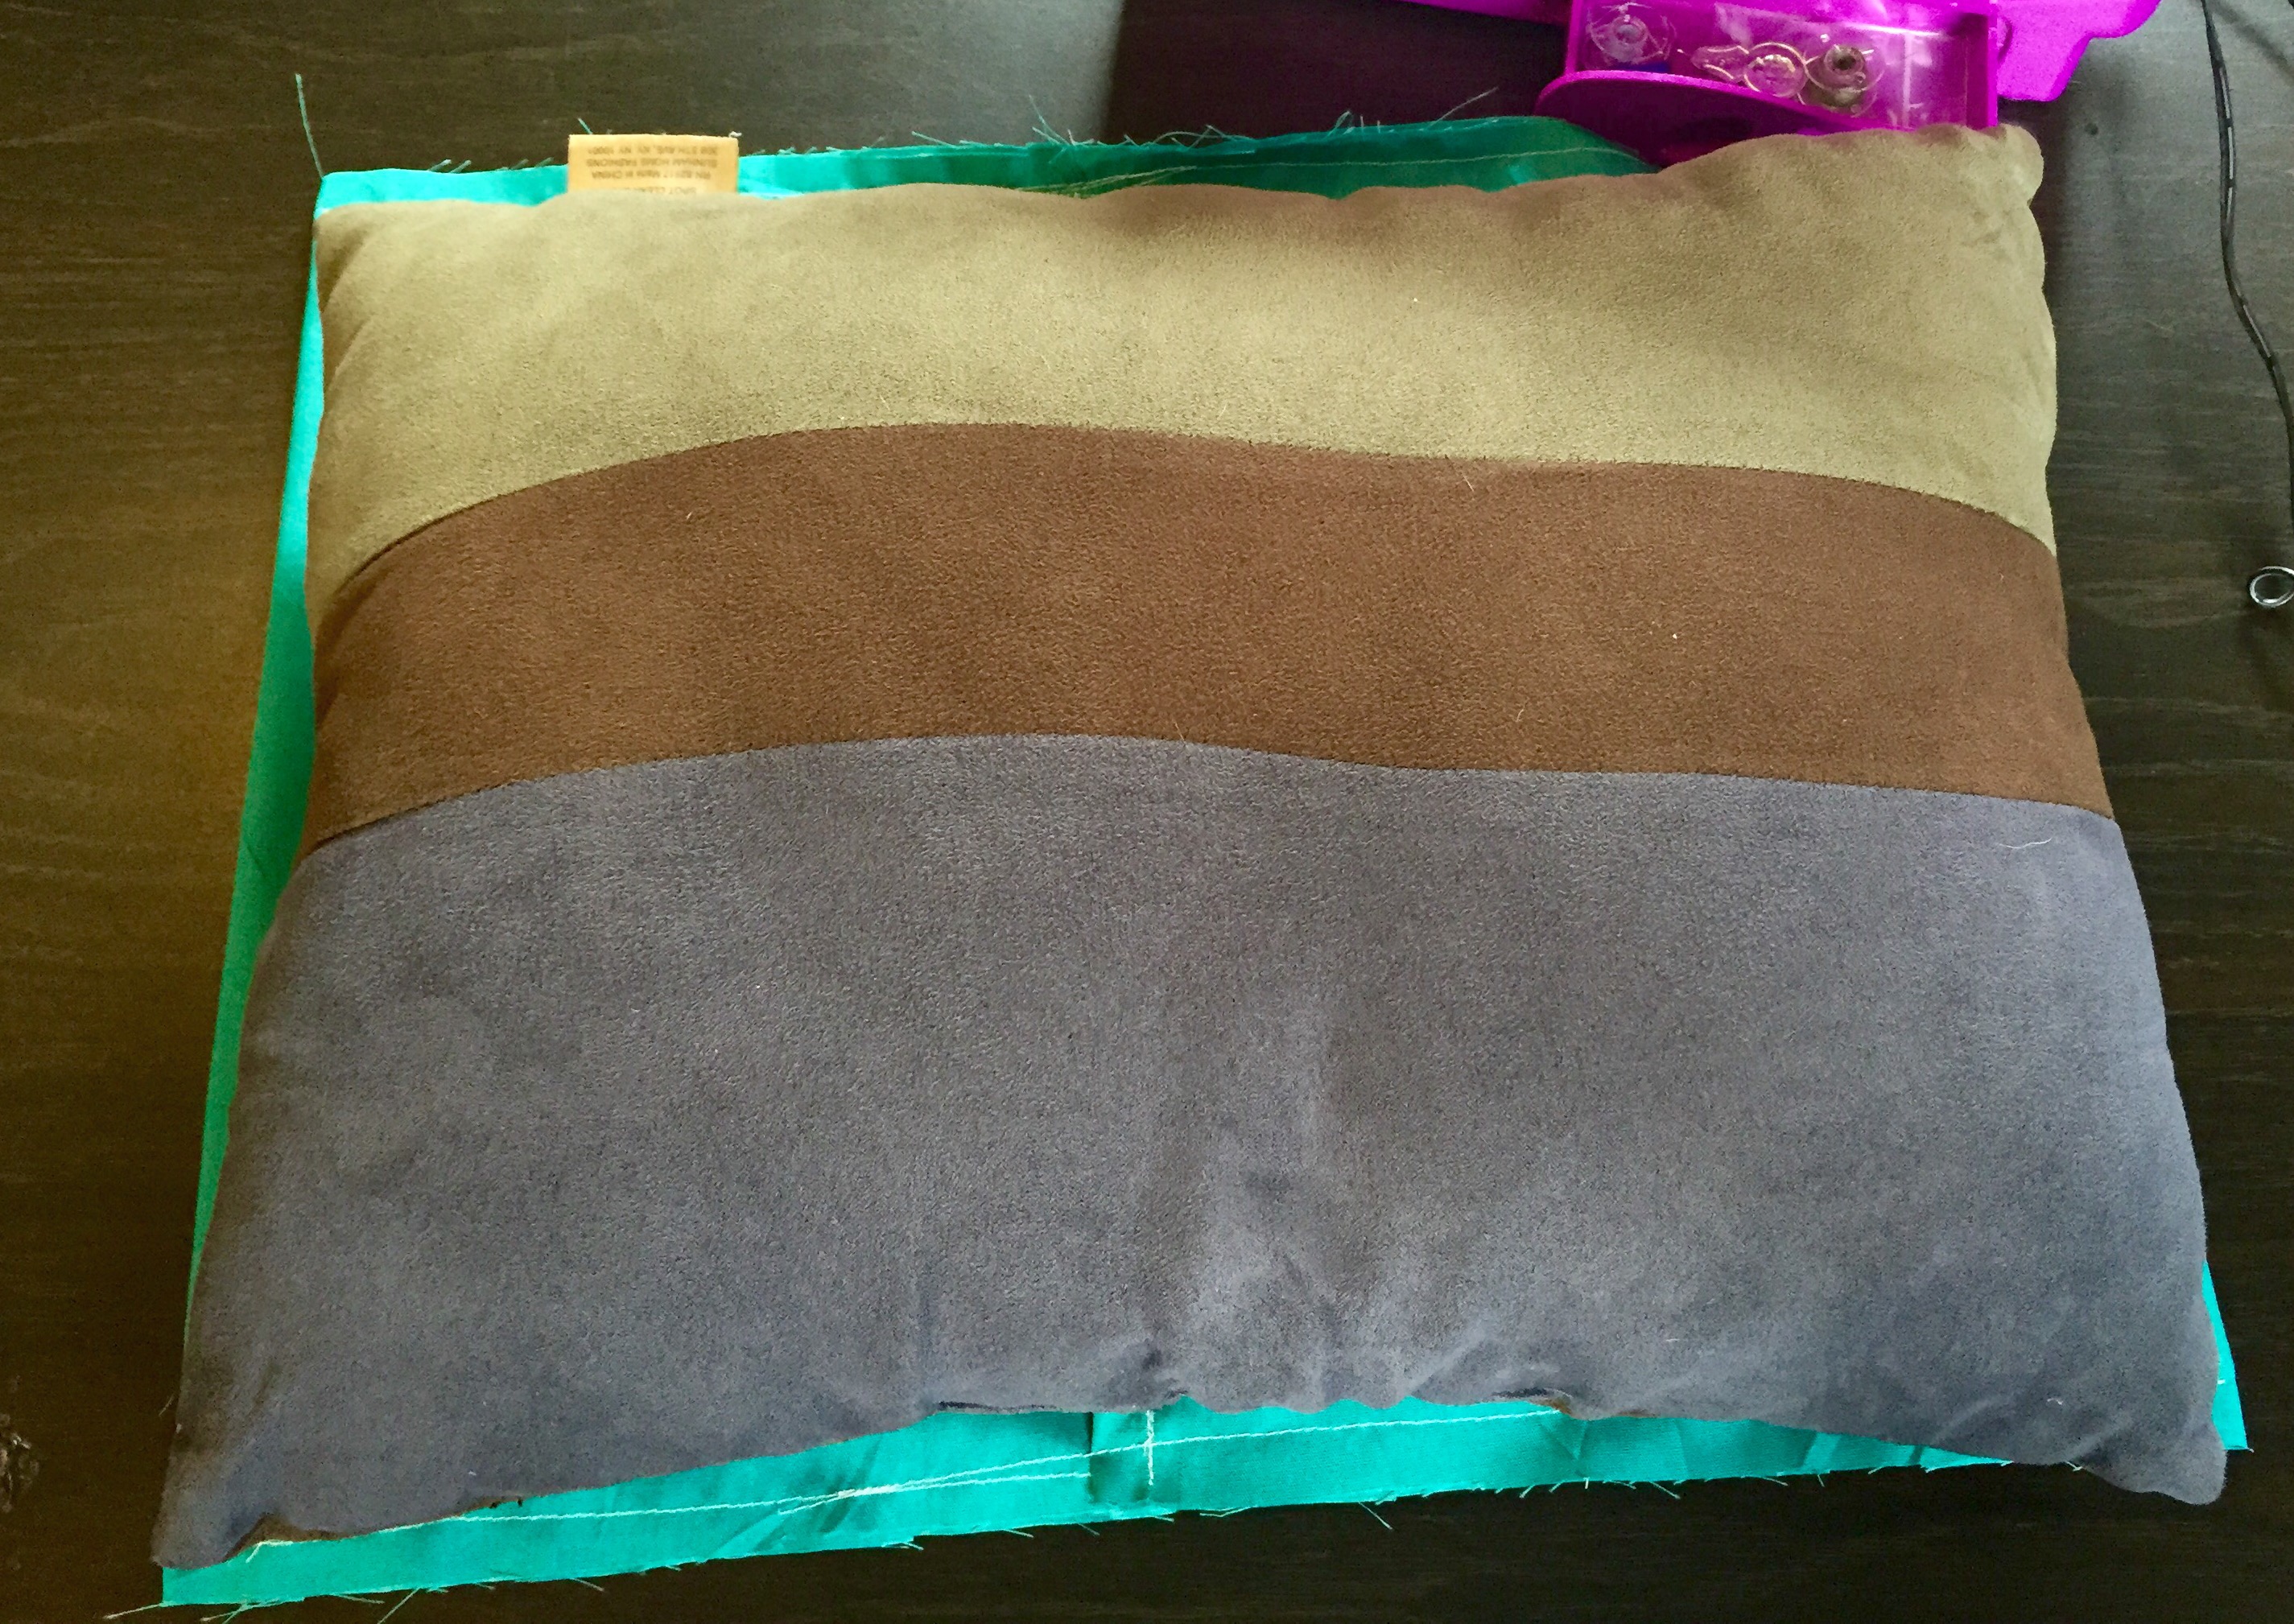
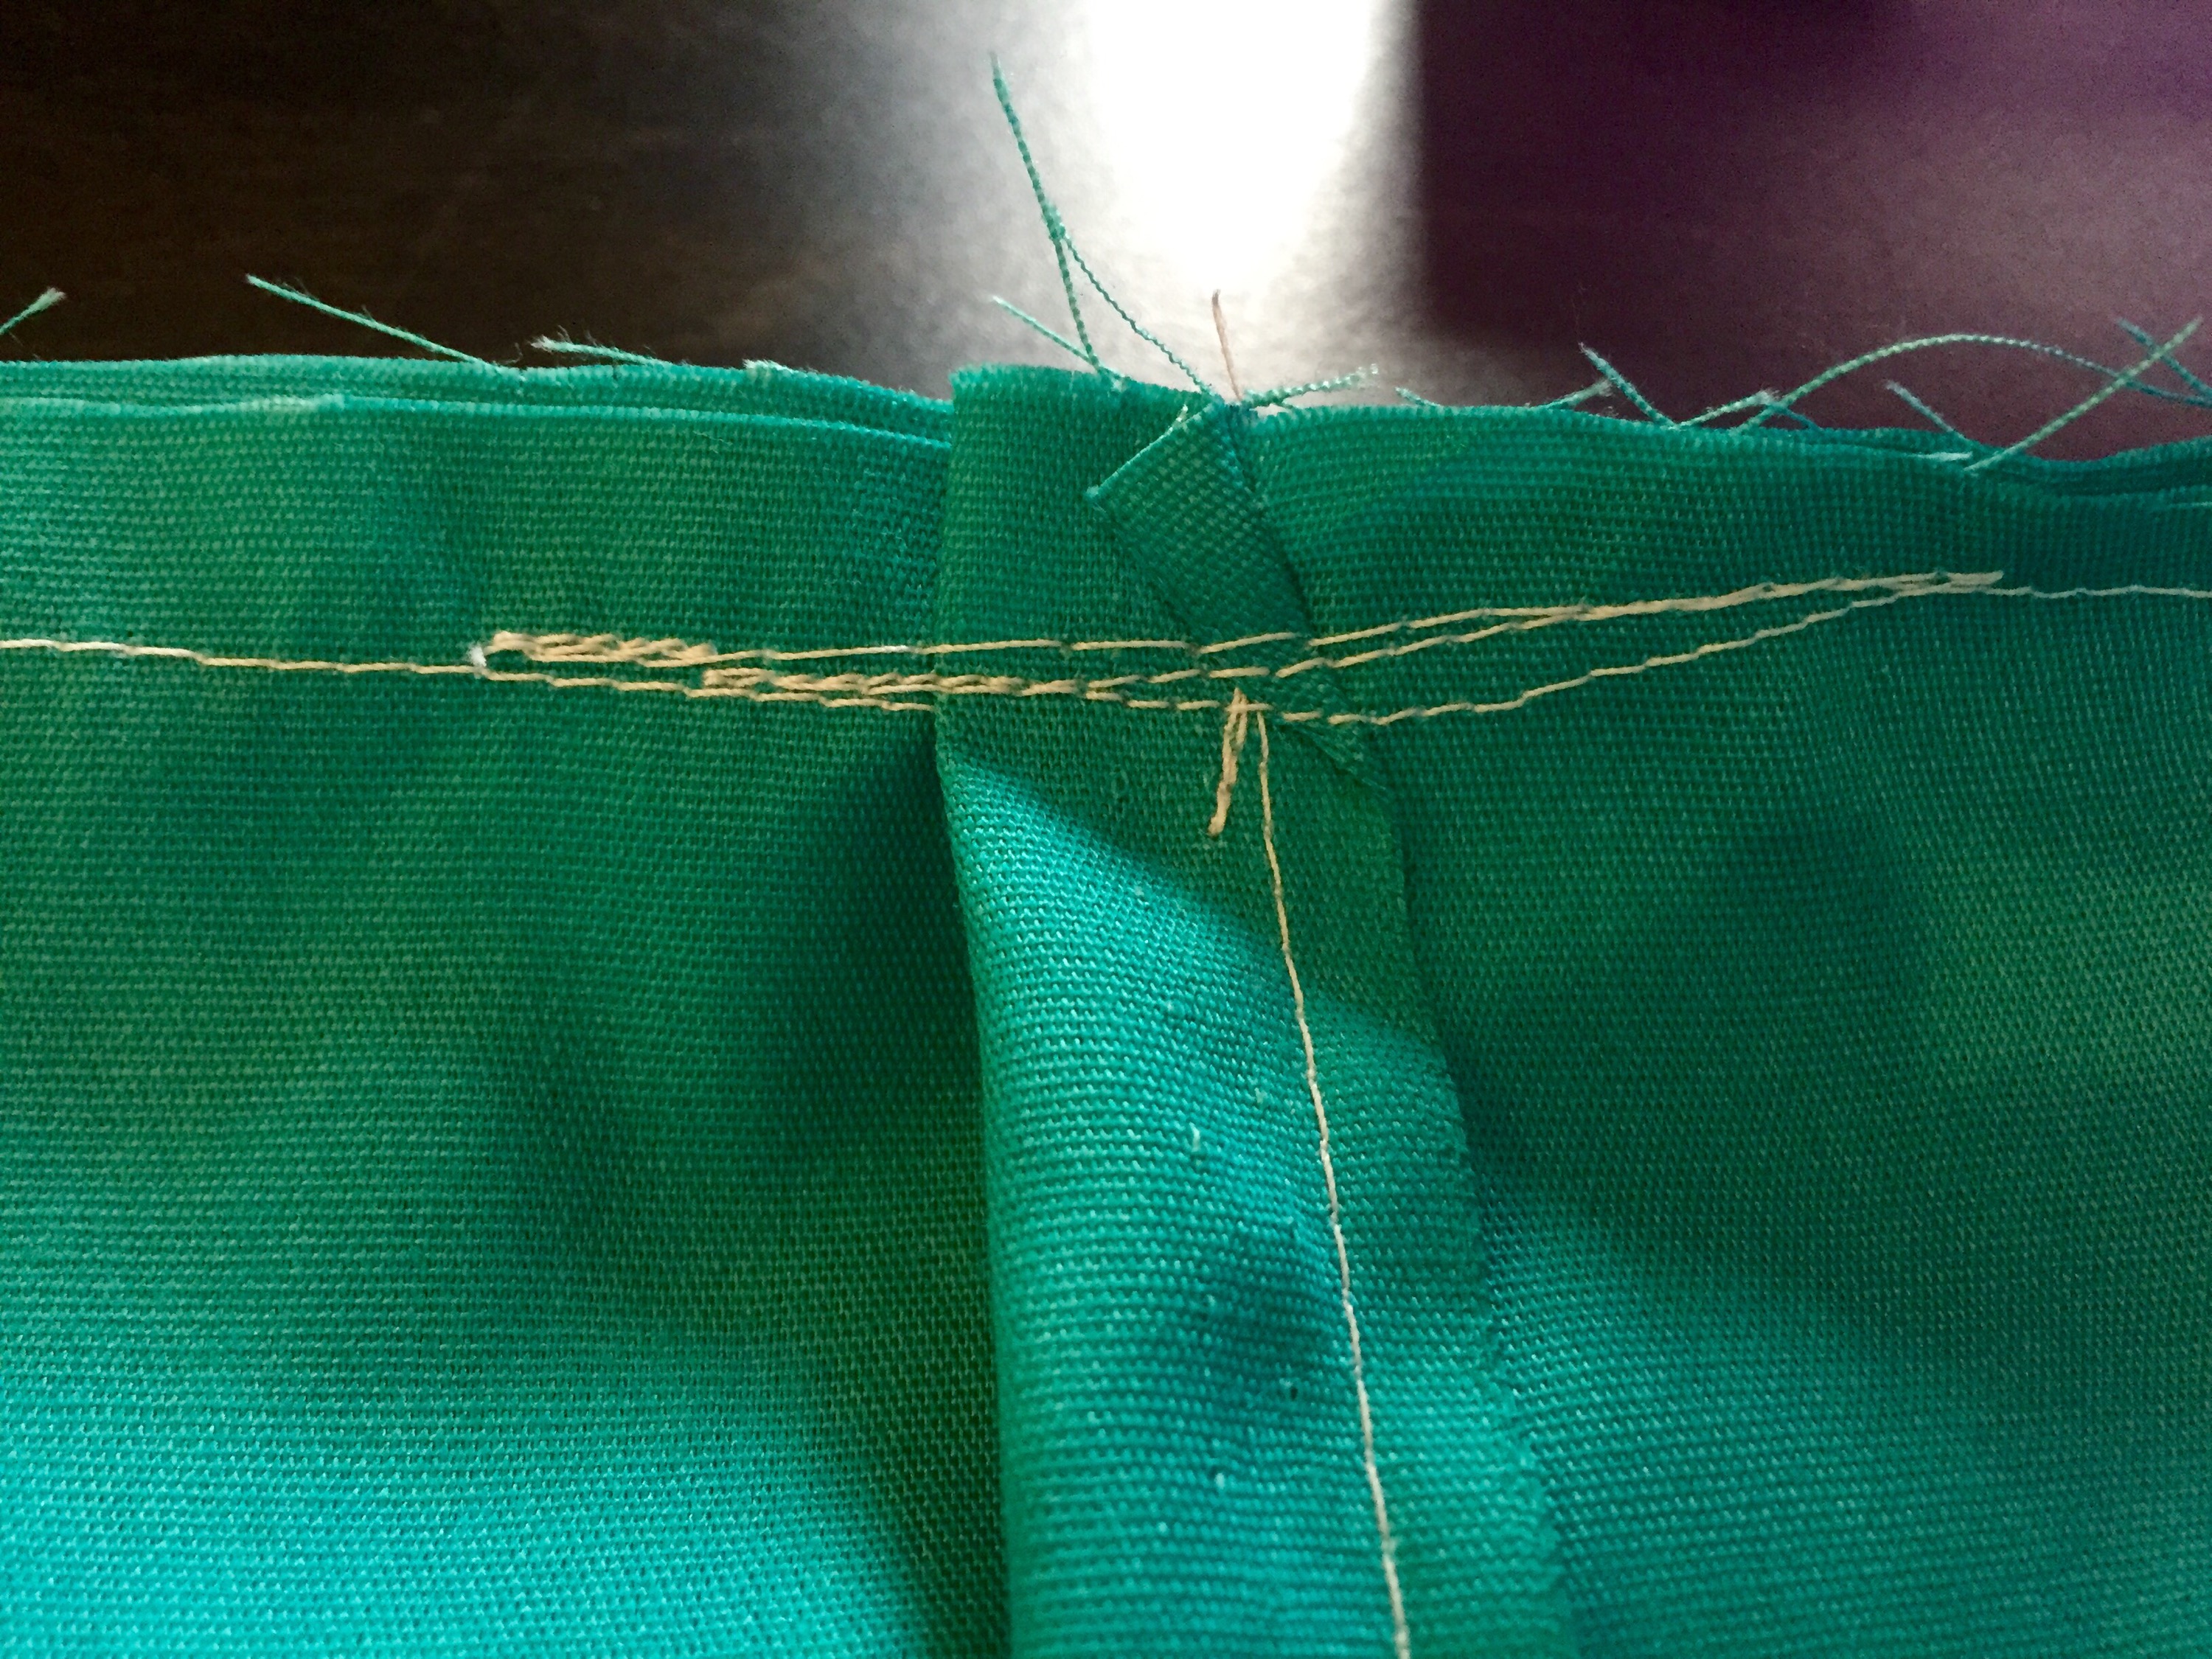
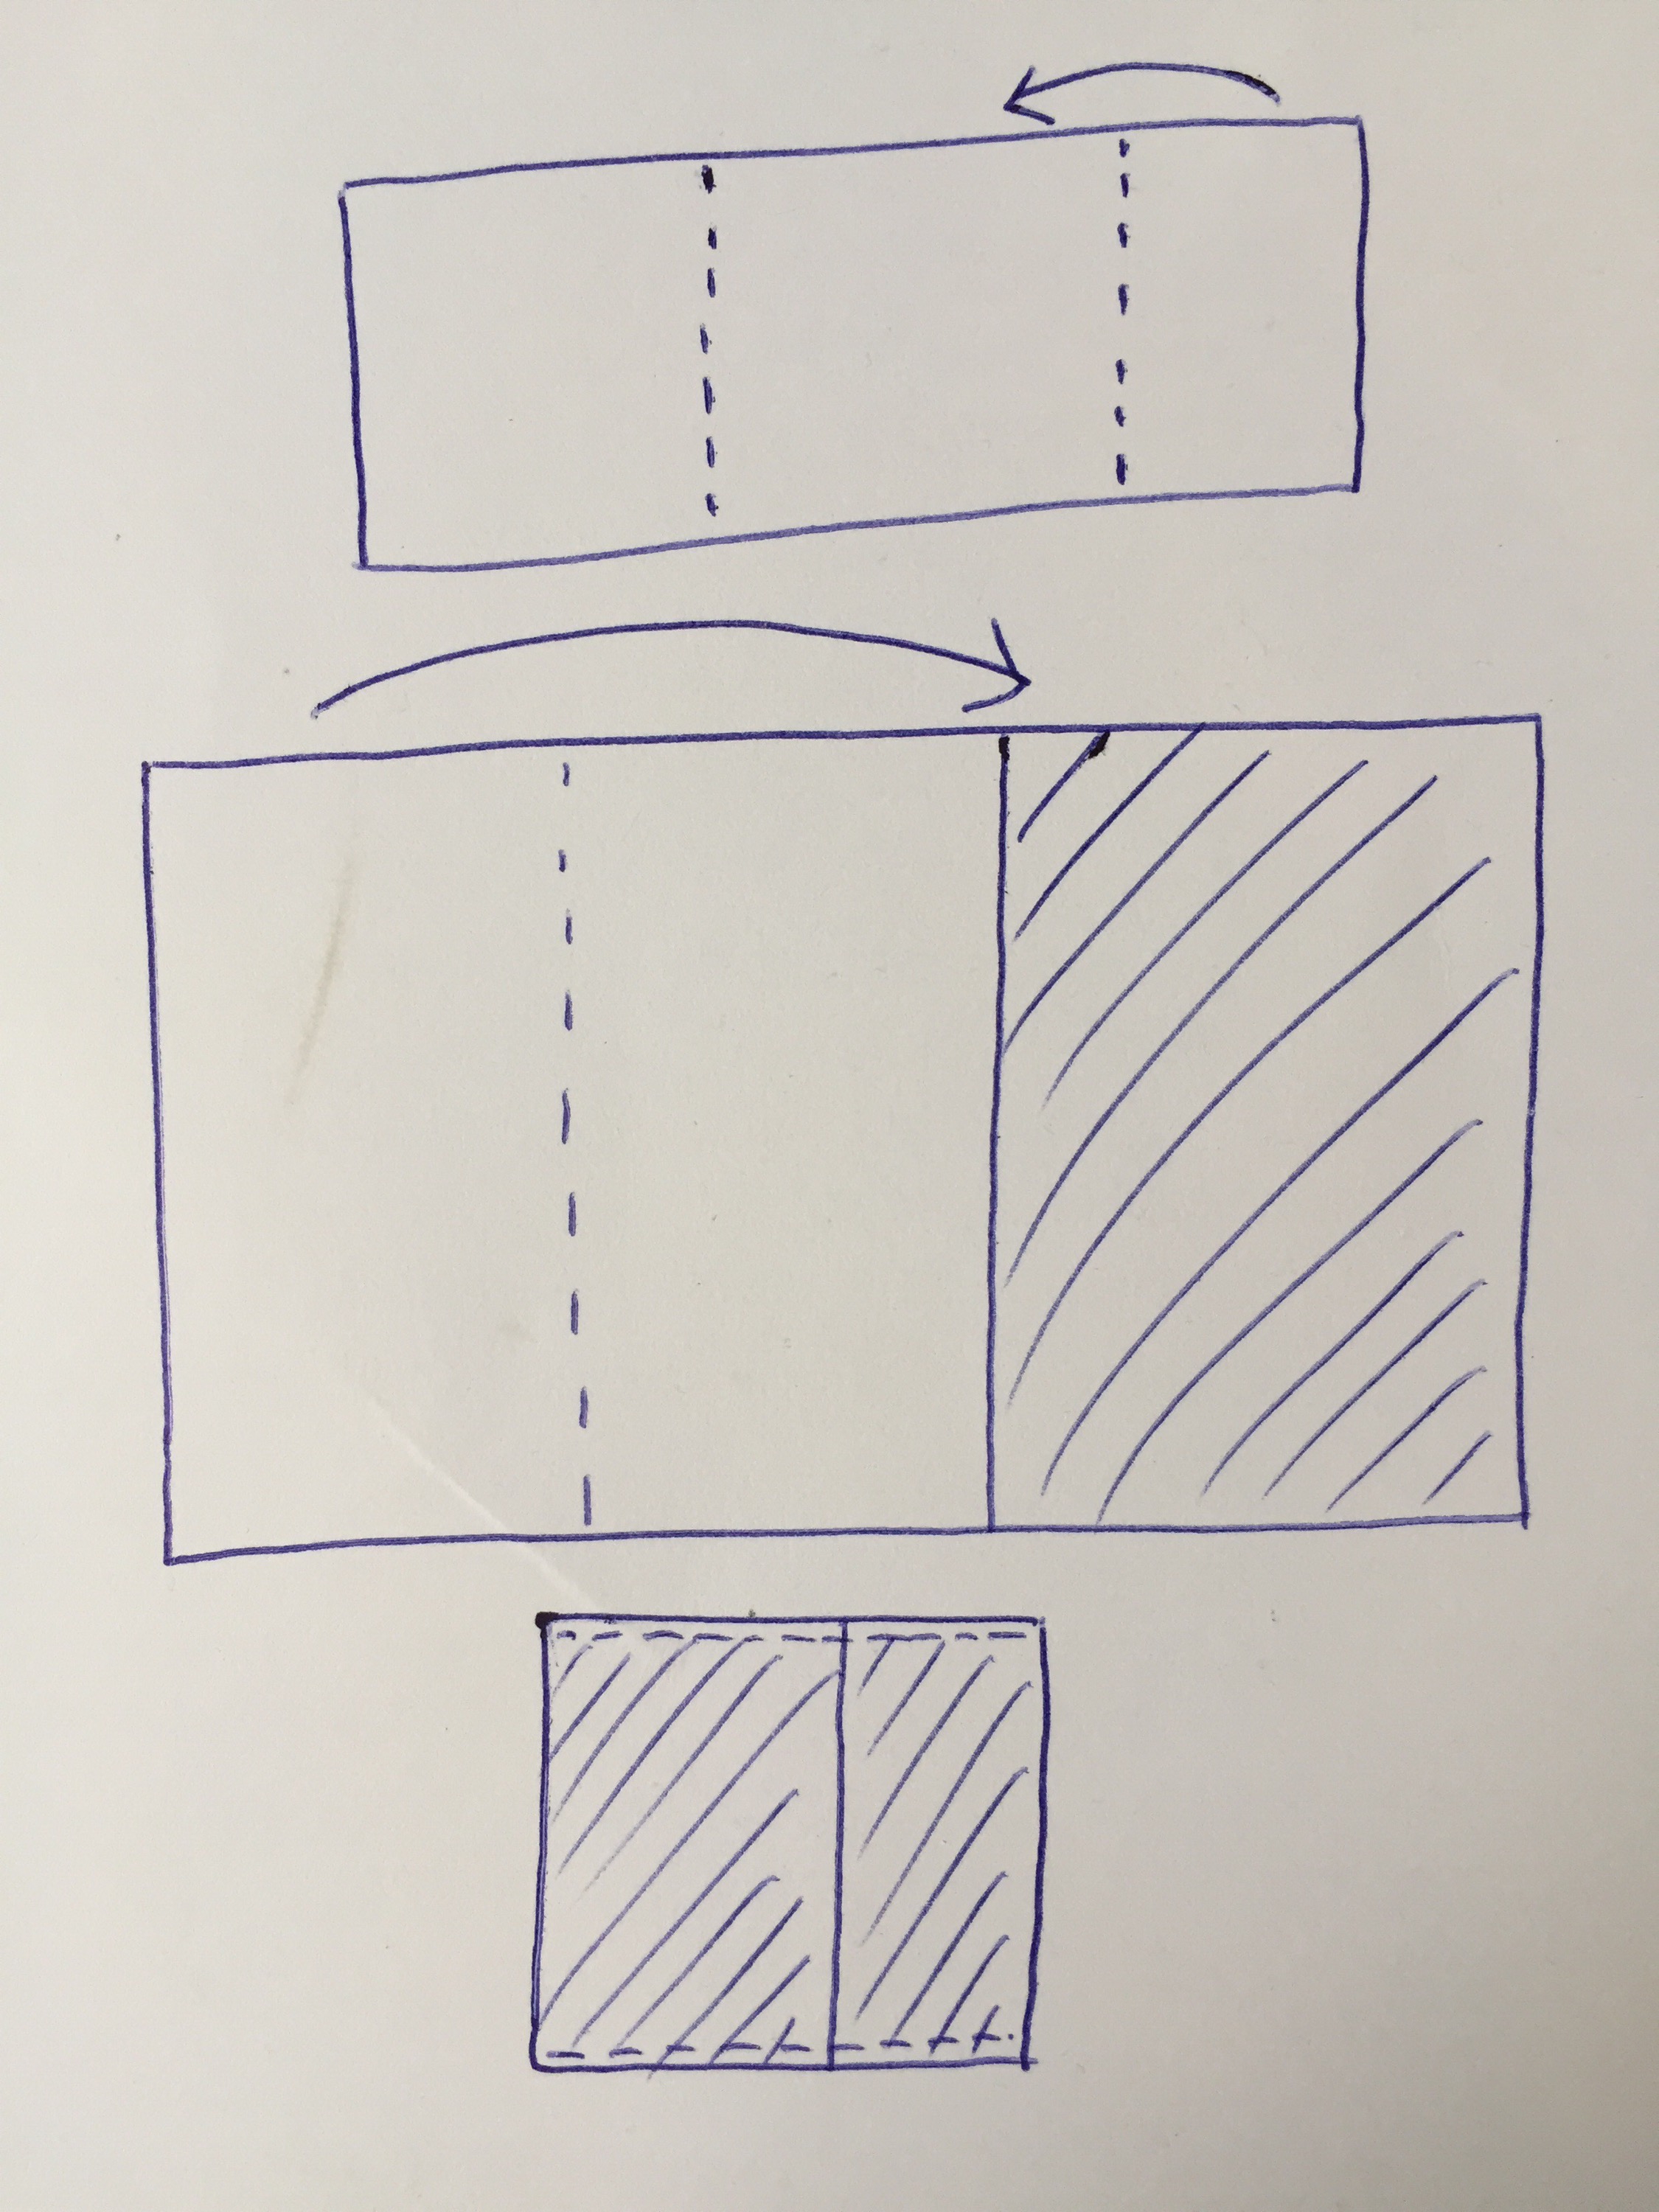
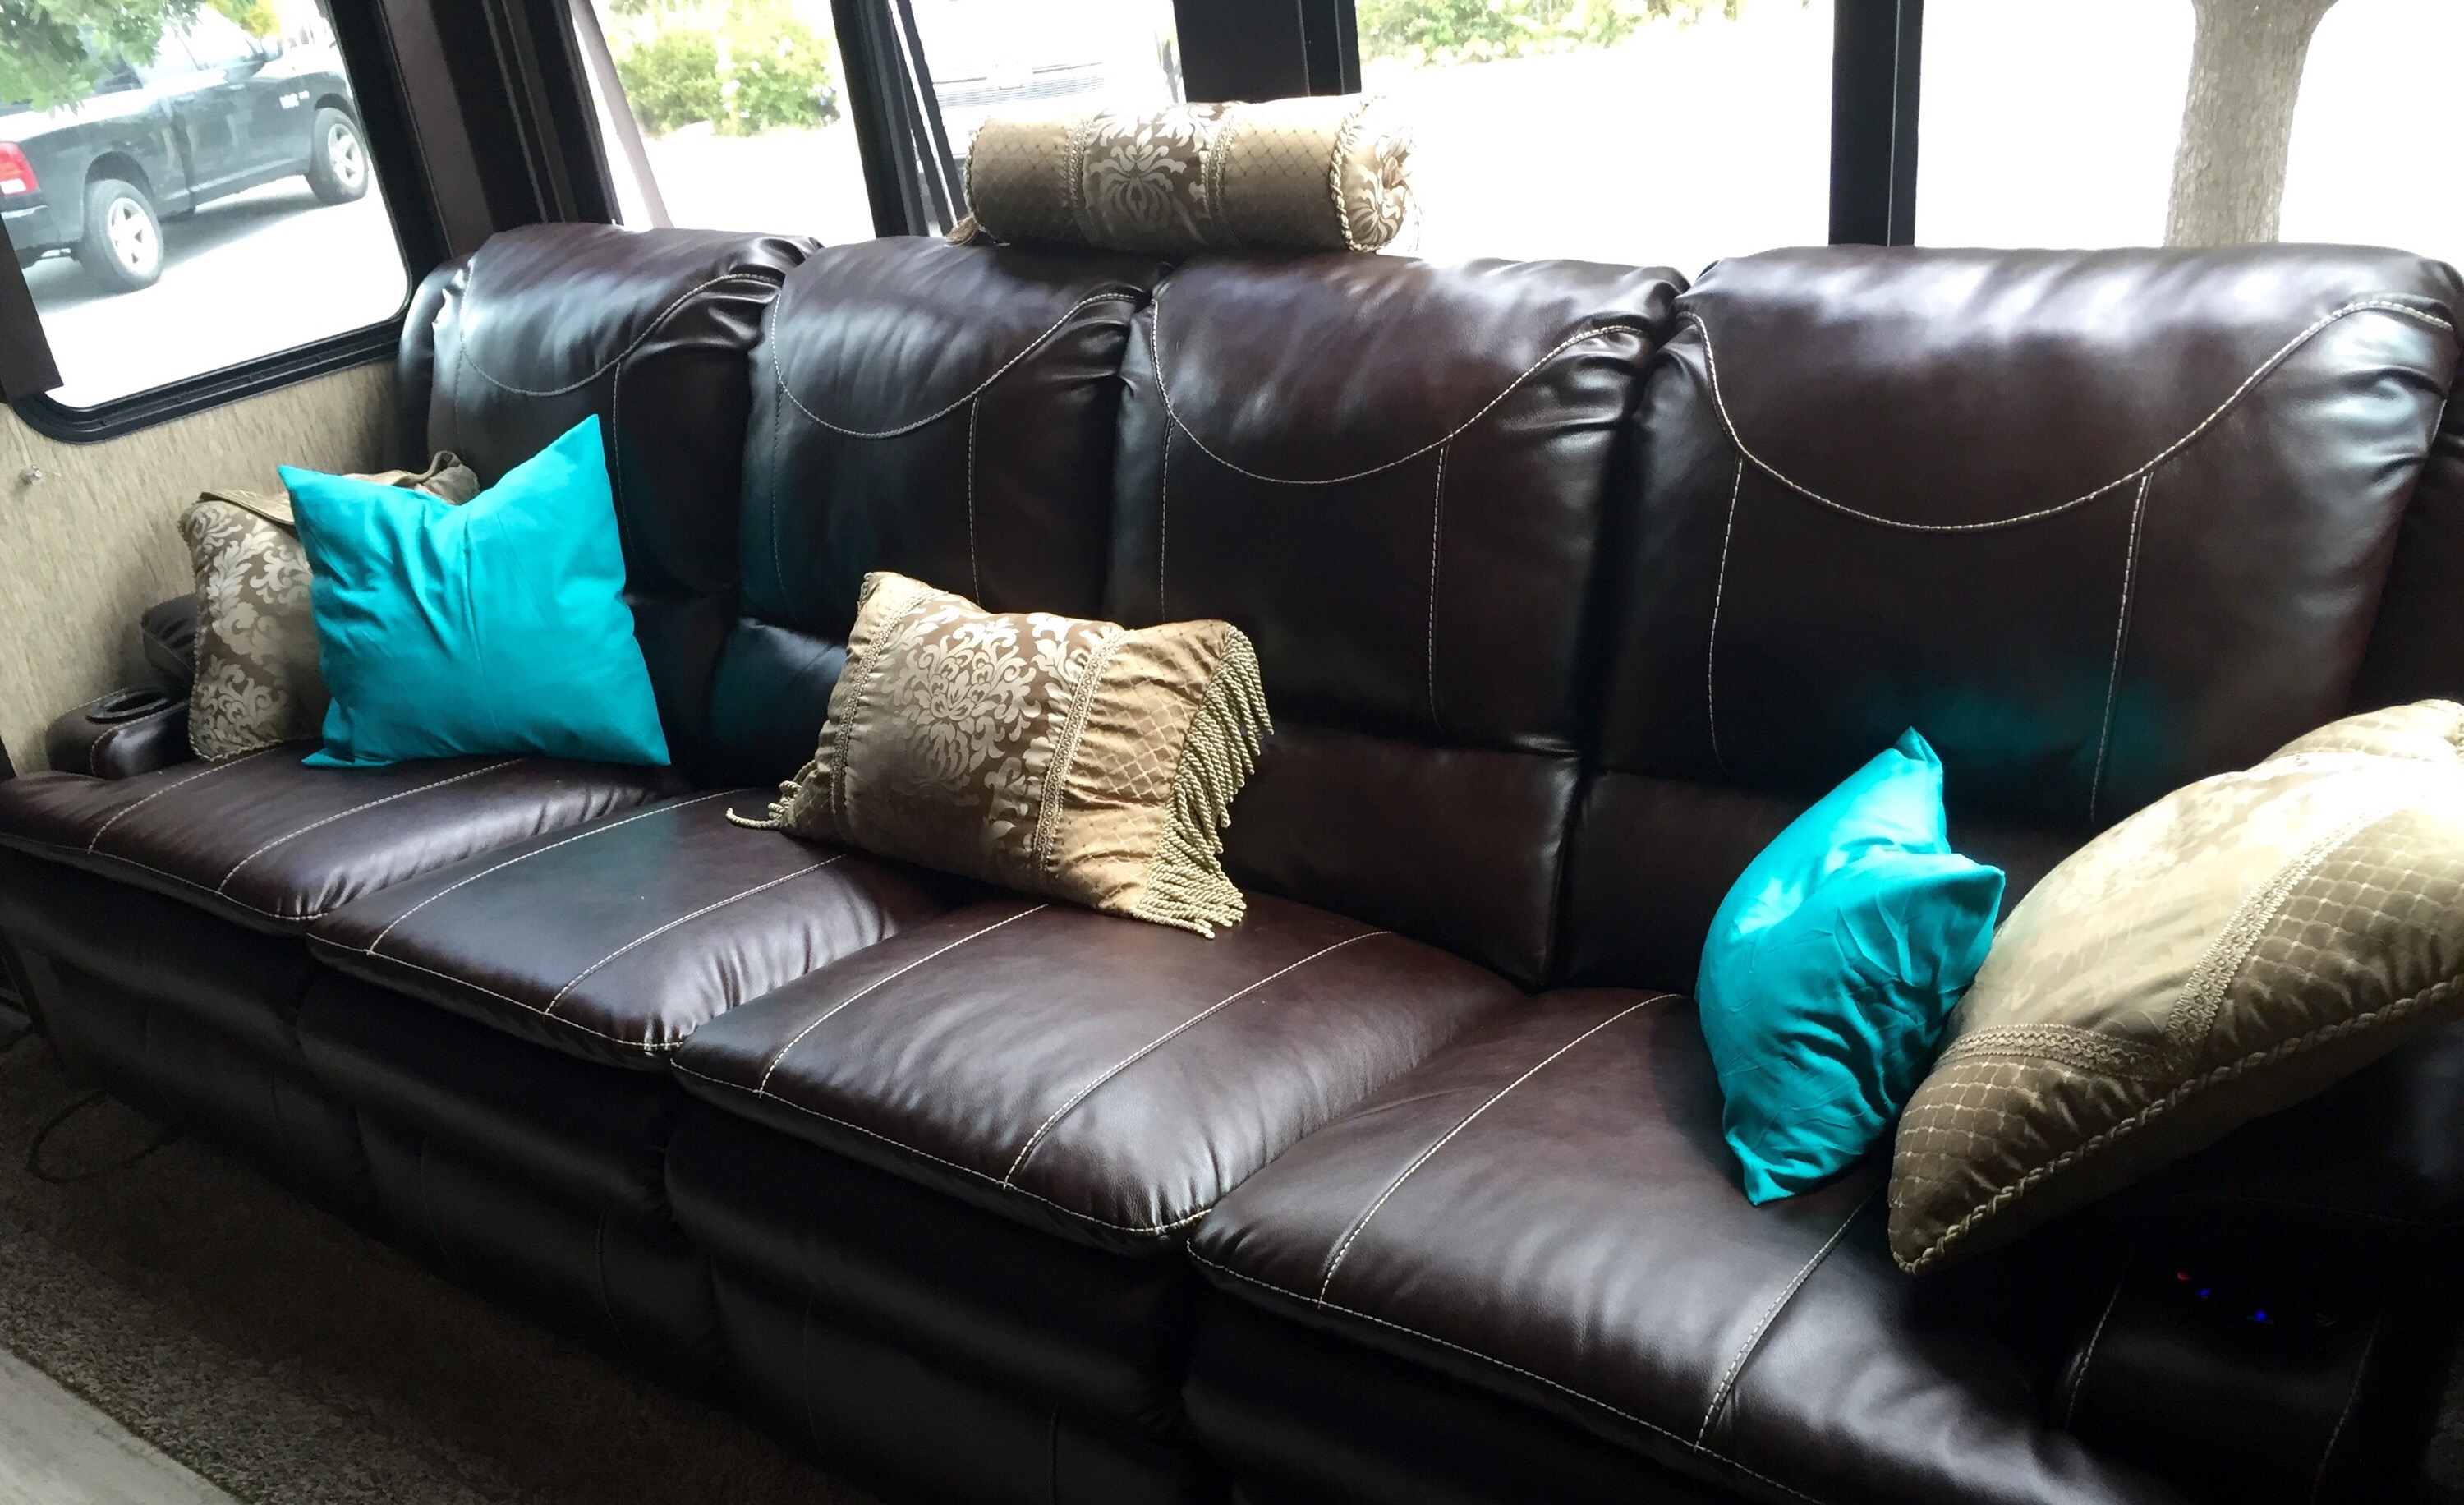
 Then I folded it, right sides together, in almost thirds, overlapping the ends, to make the entire size 16″x16″.
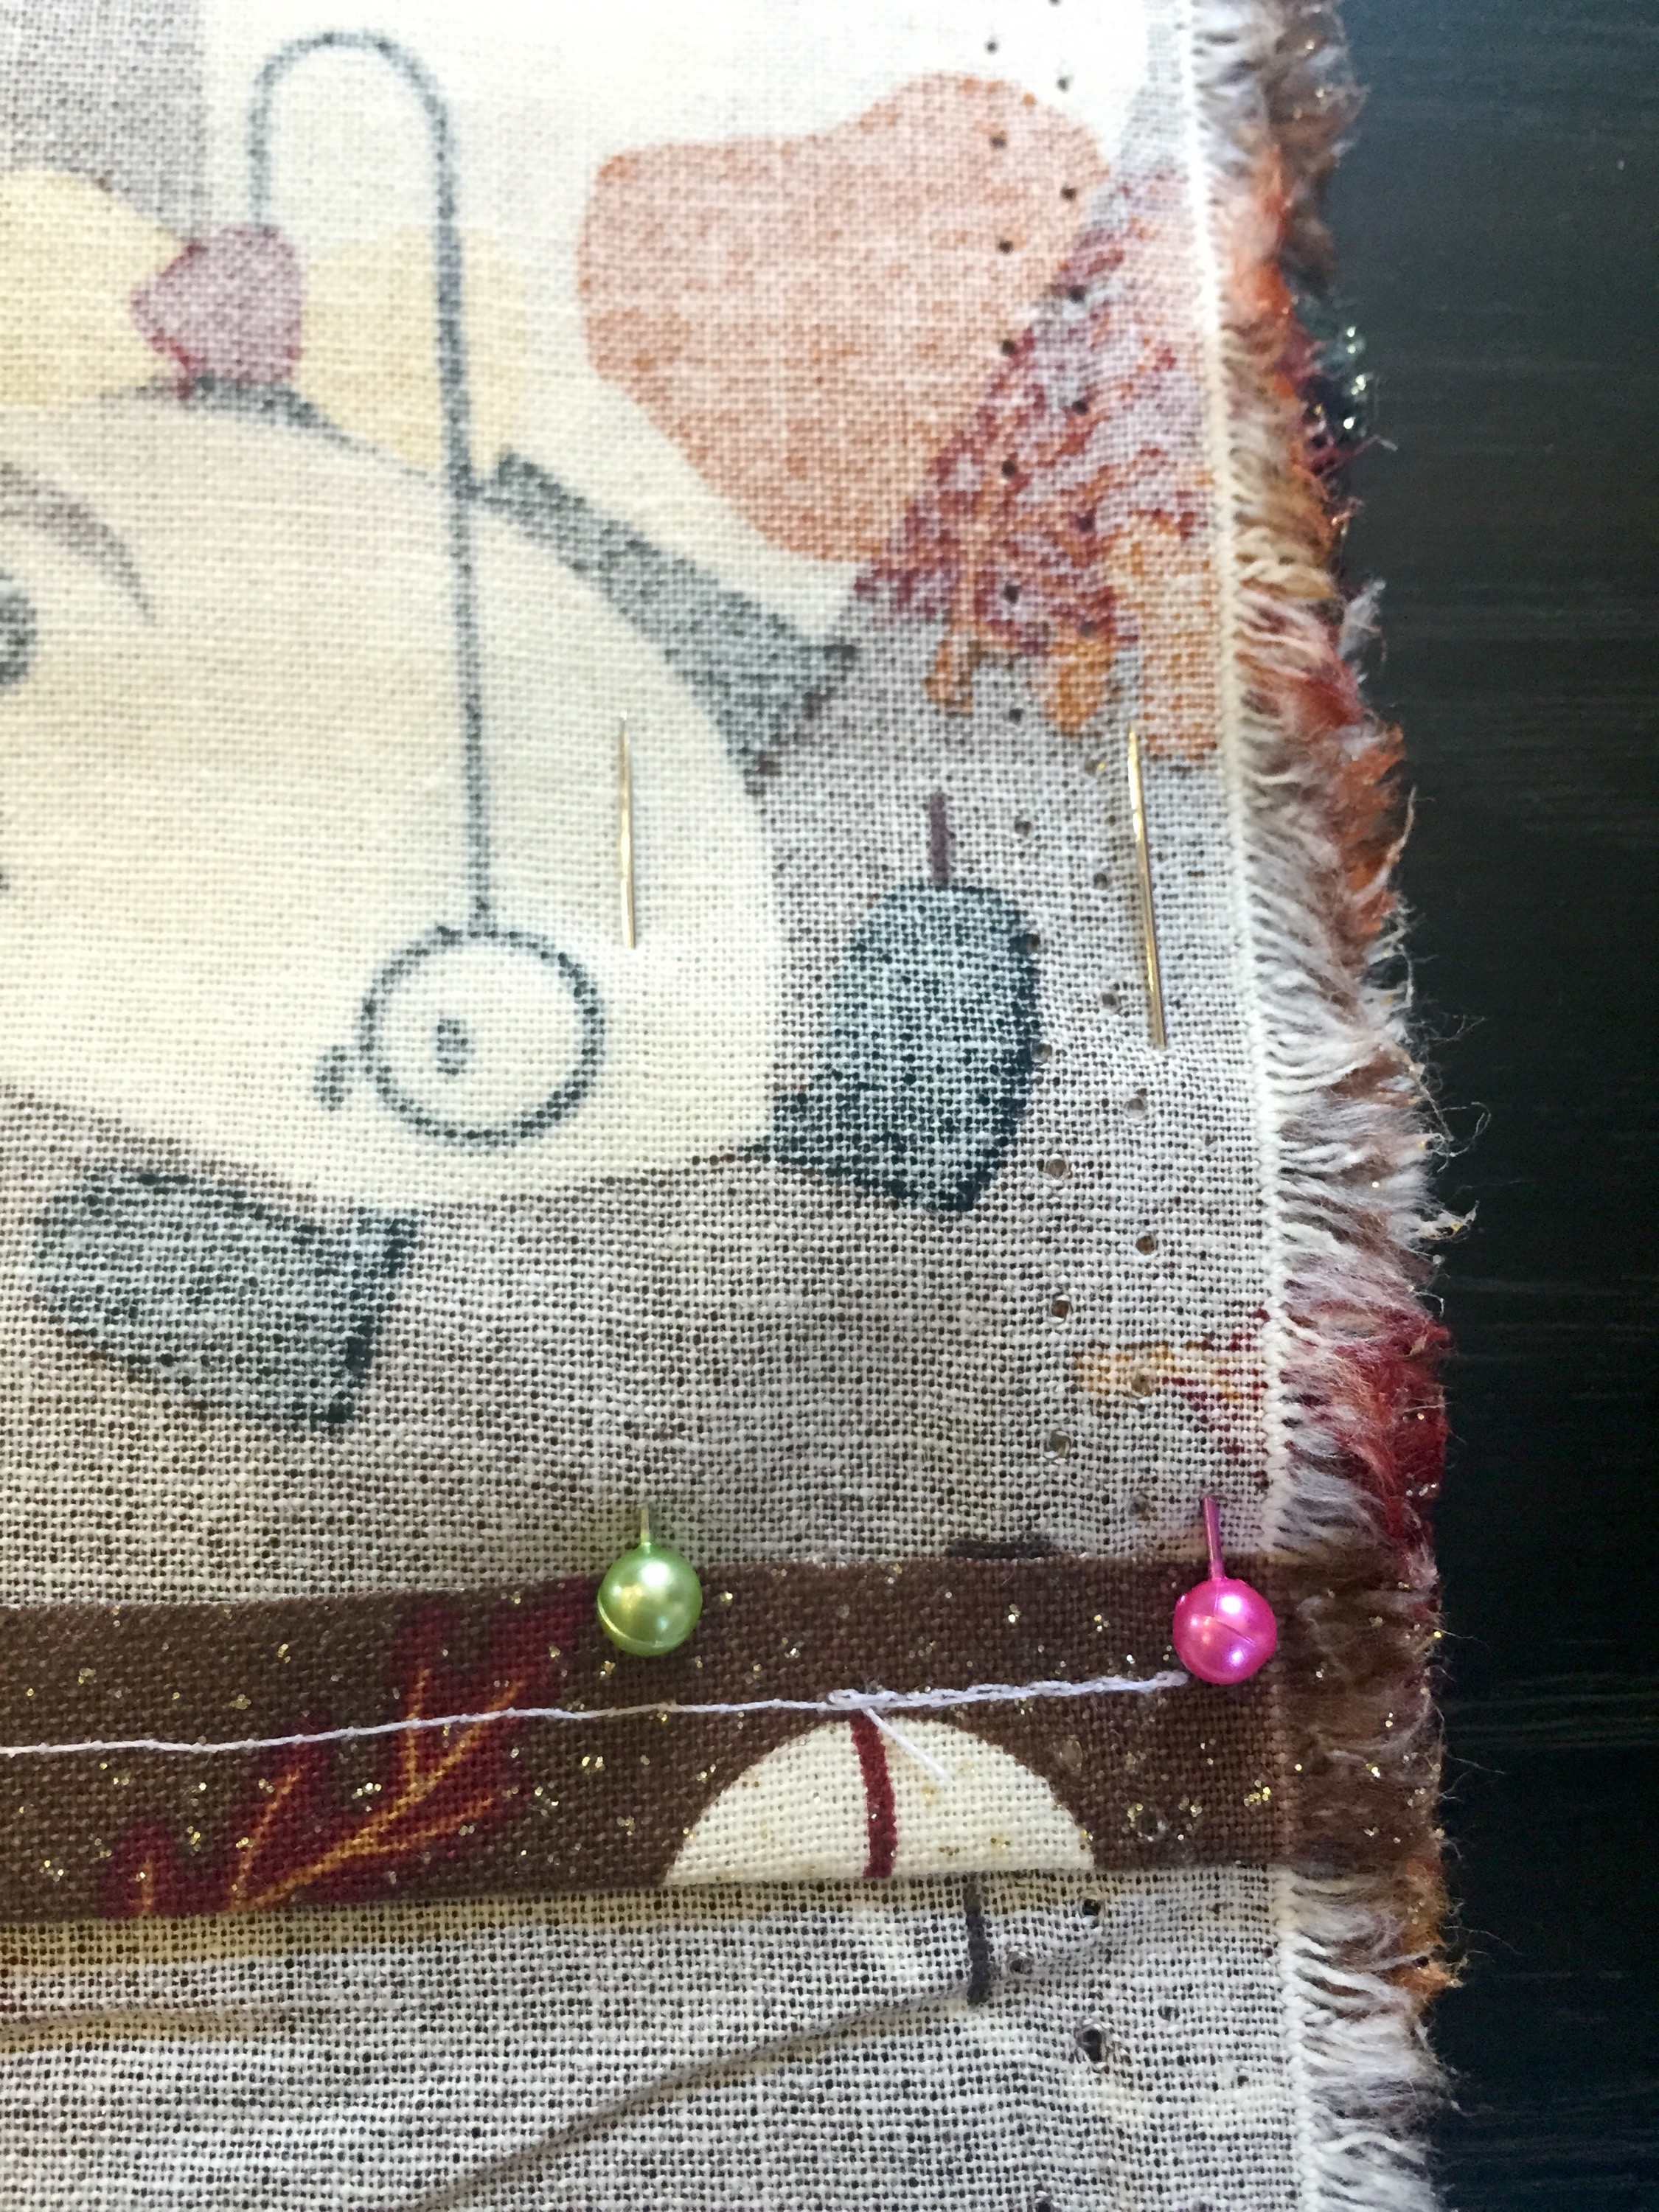
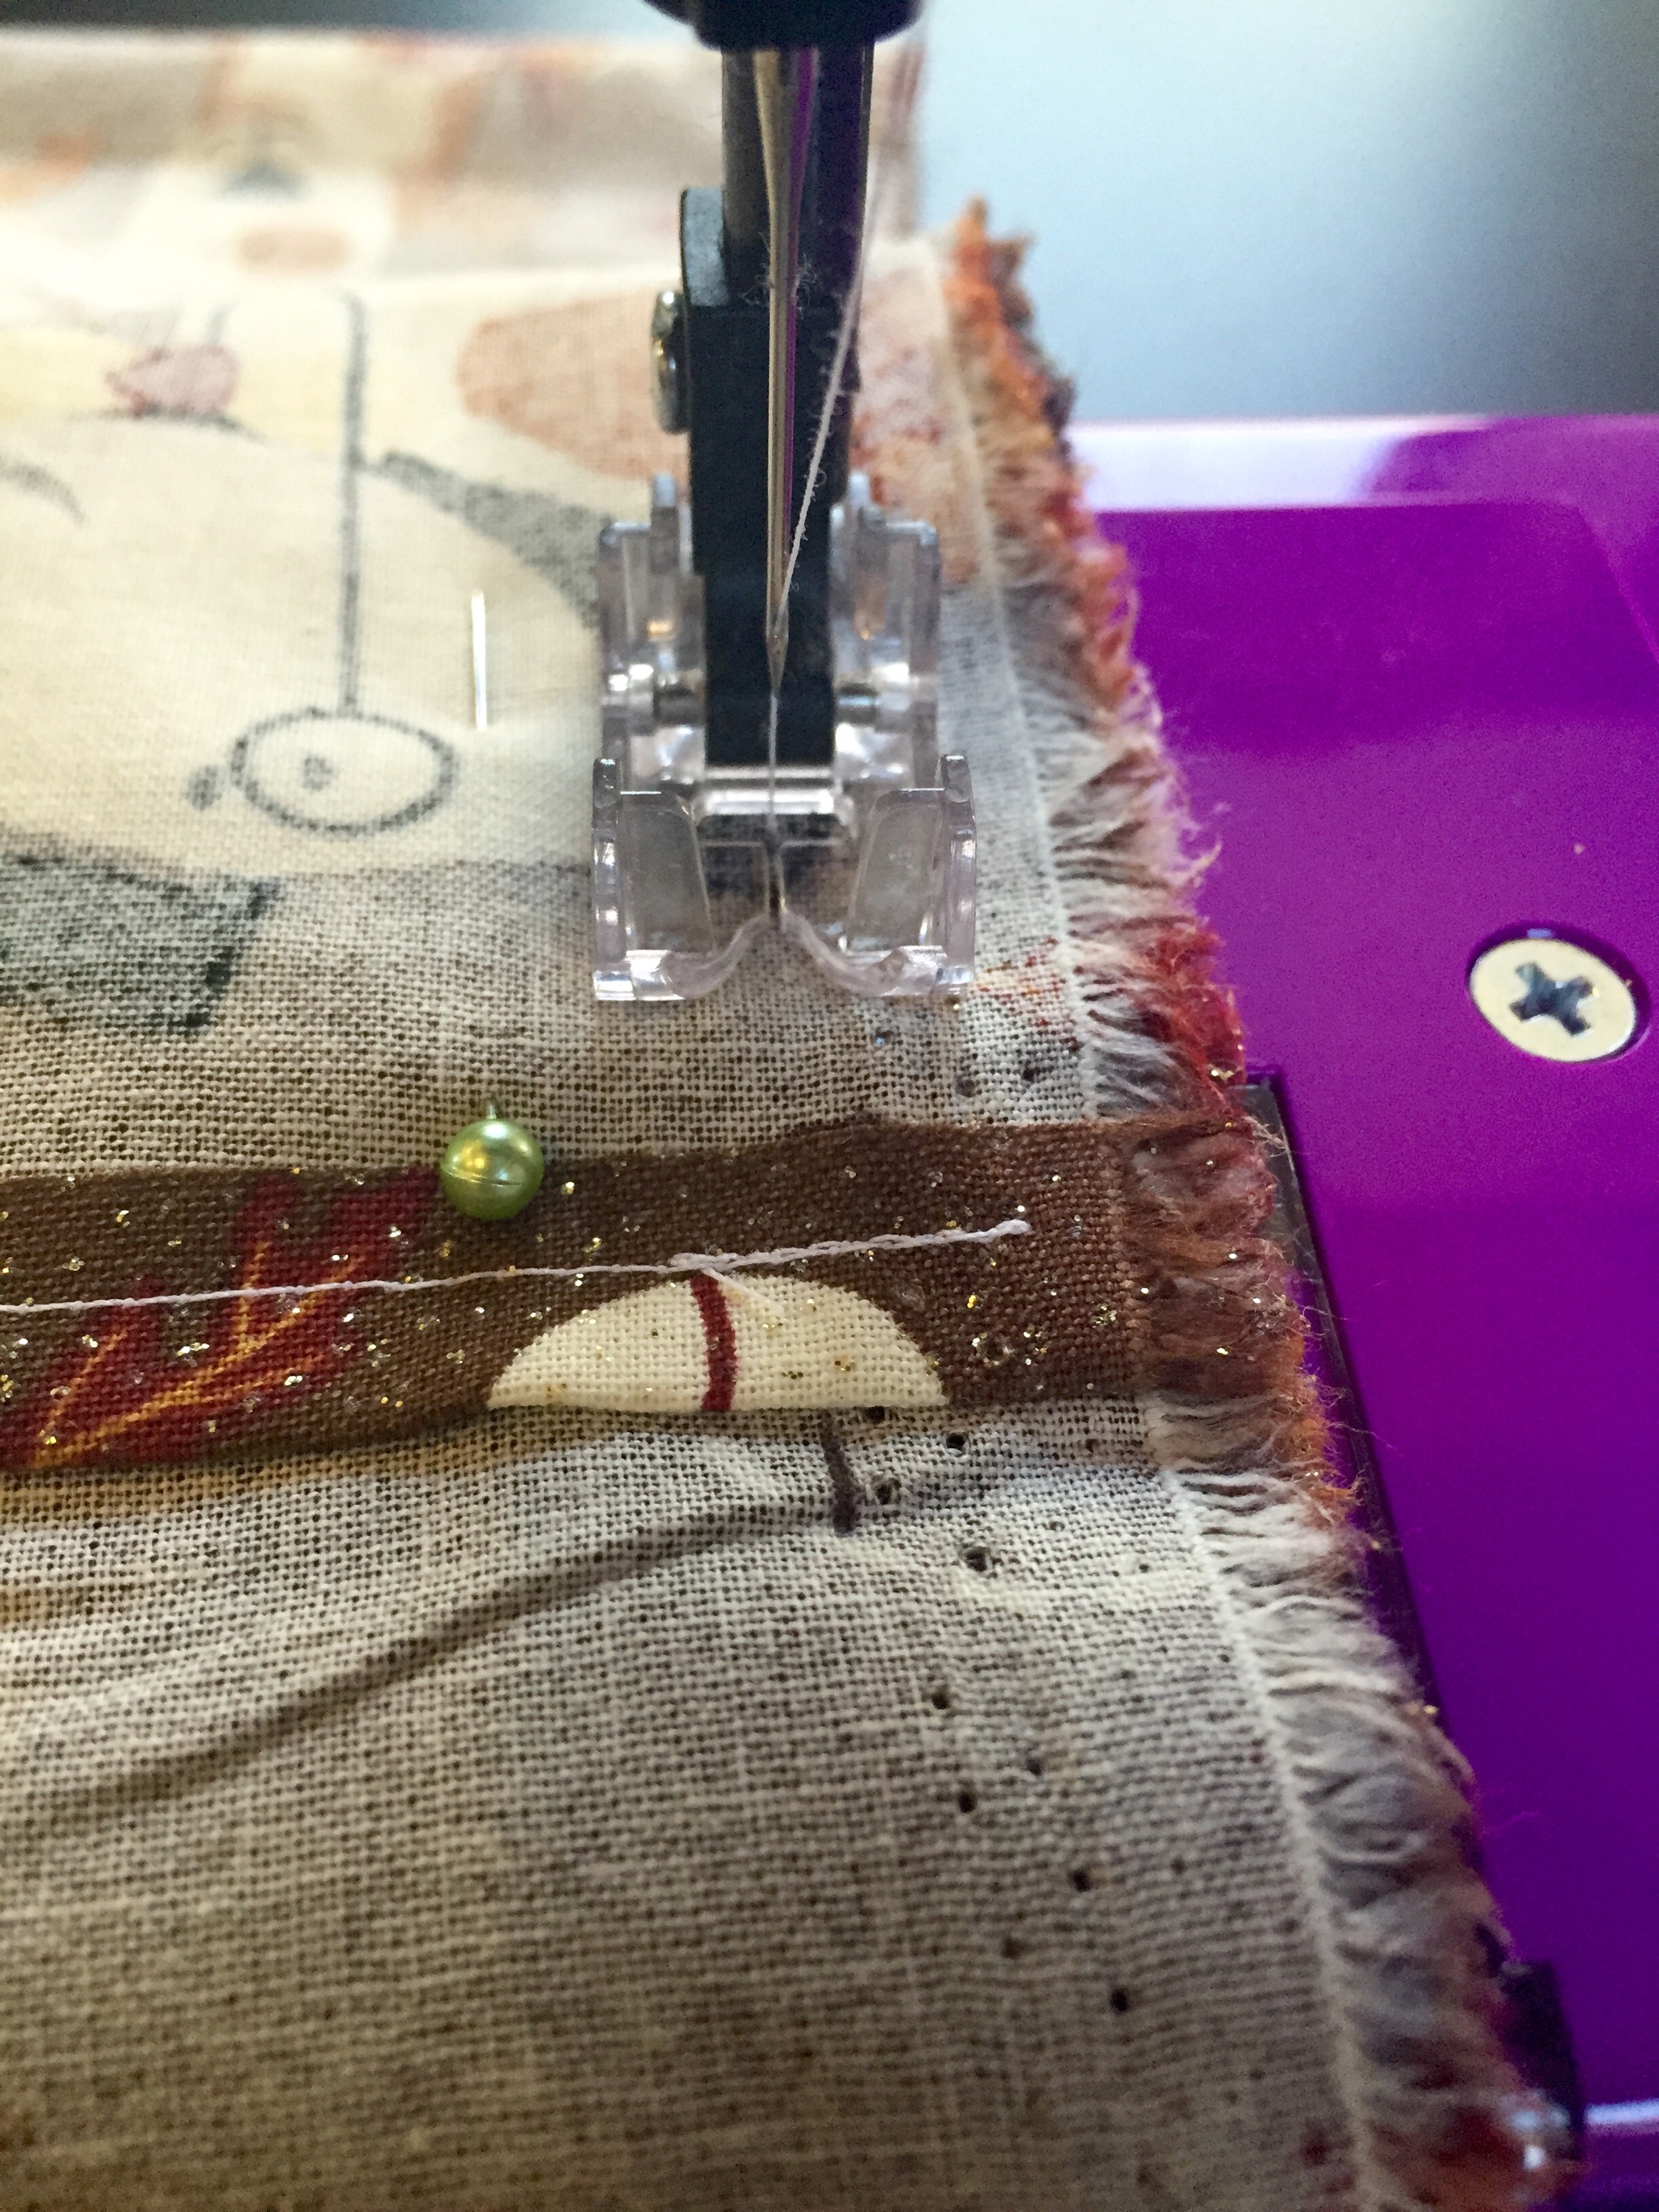
 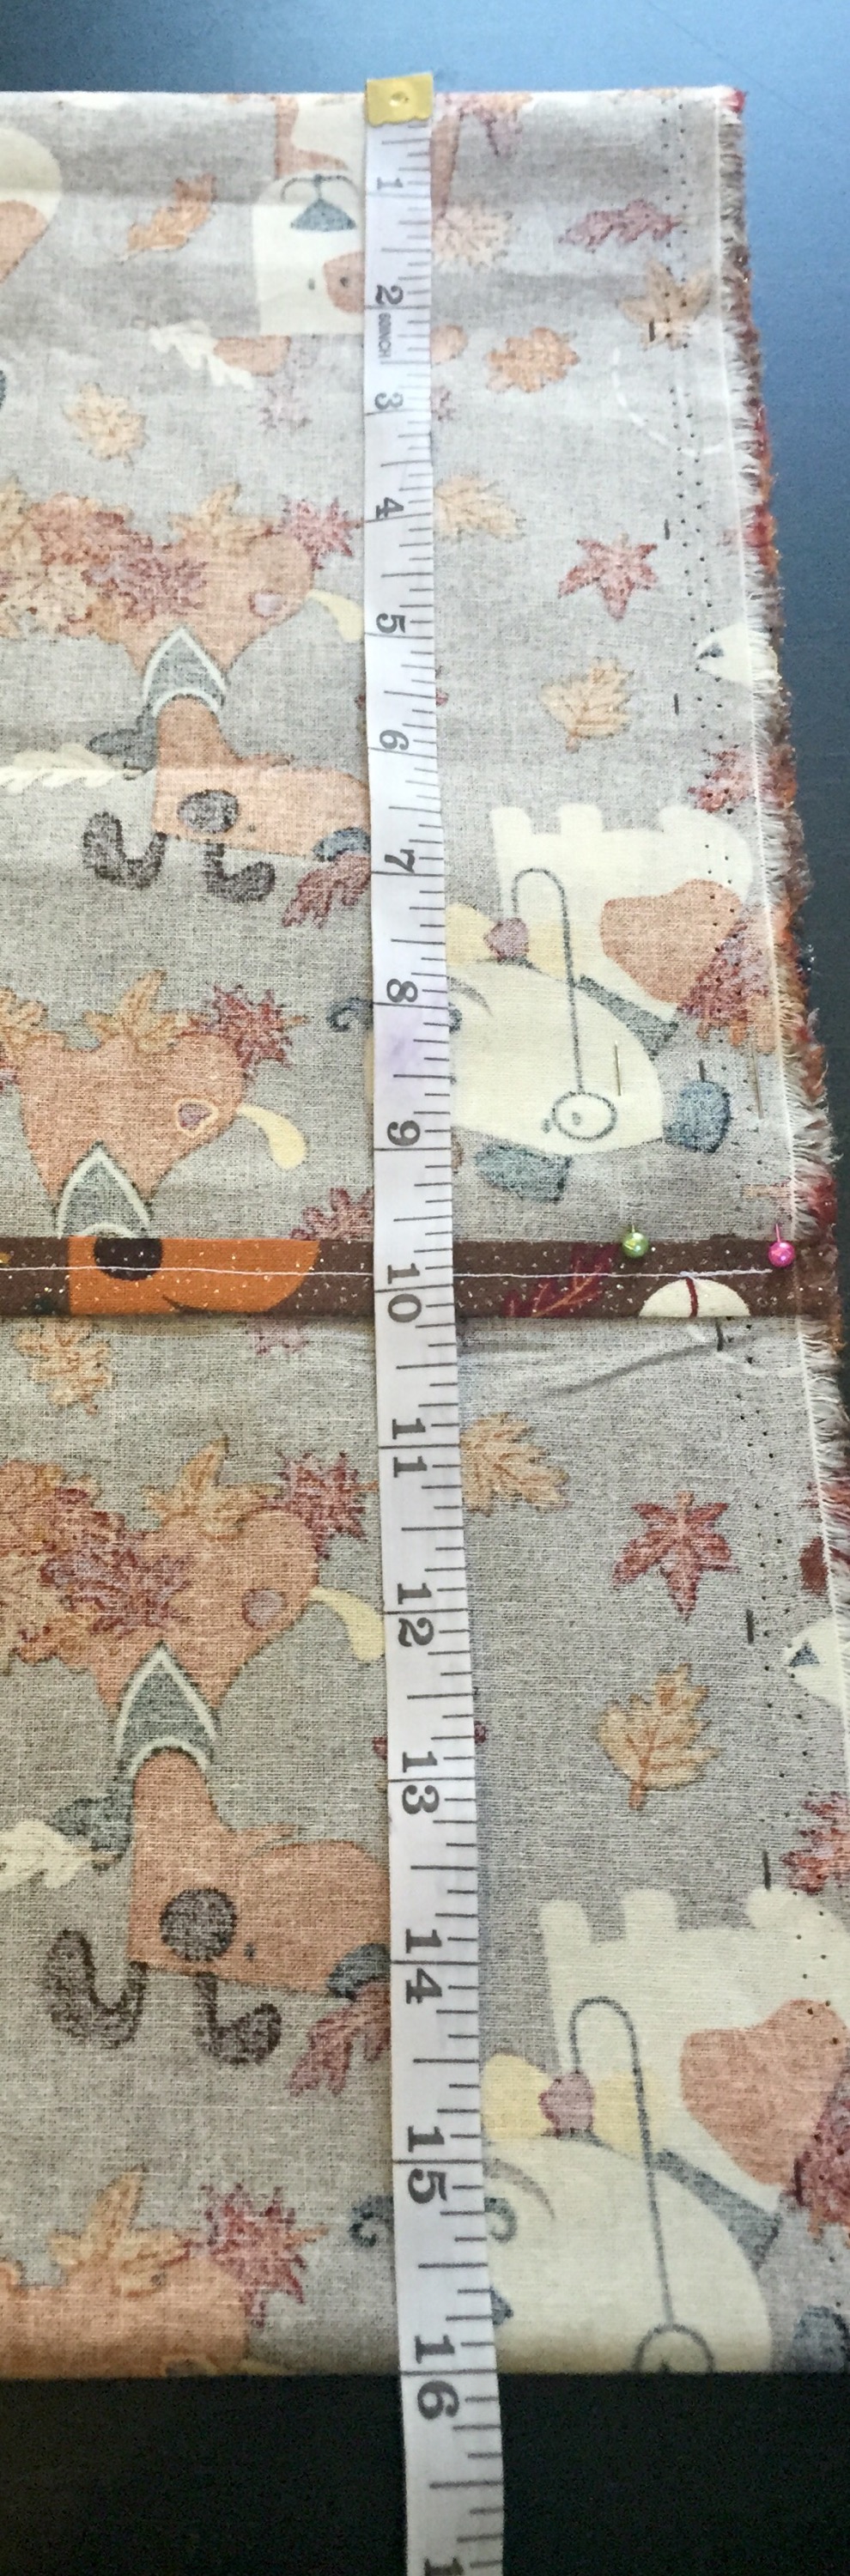 Then I pinned it in place on the overlap. Then I sewed each edge.
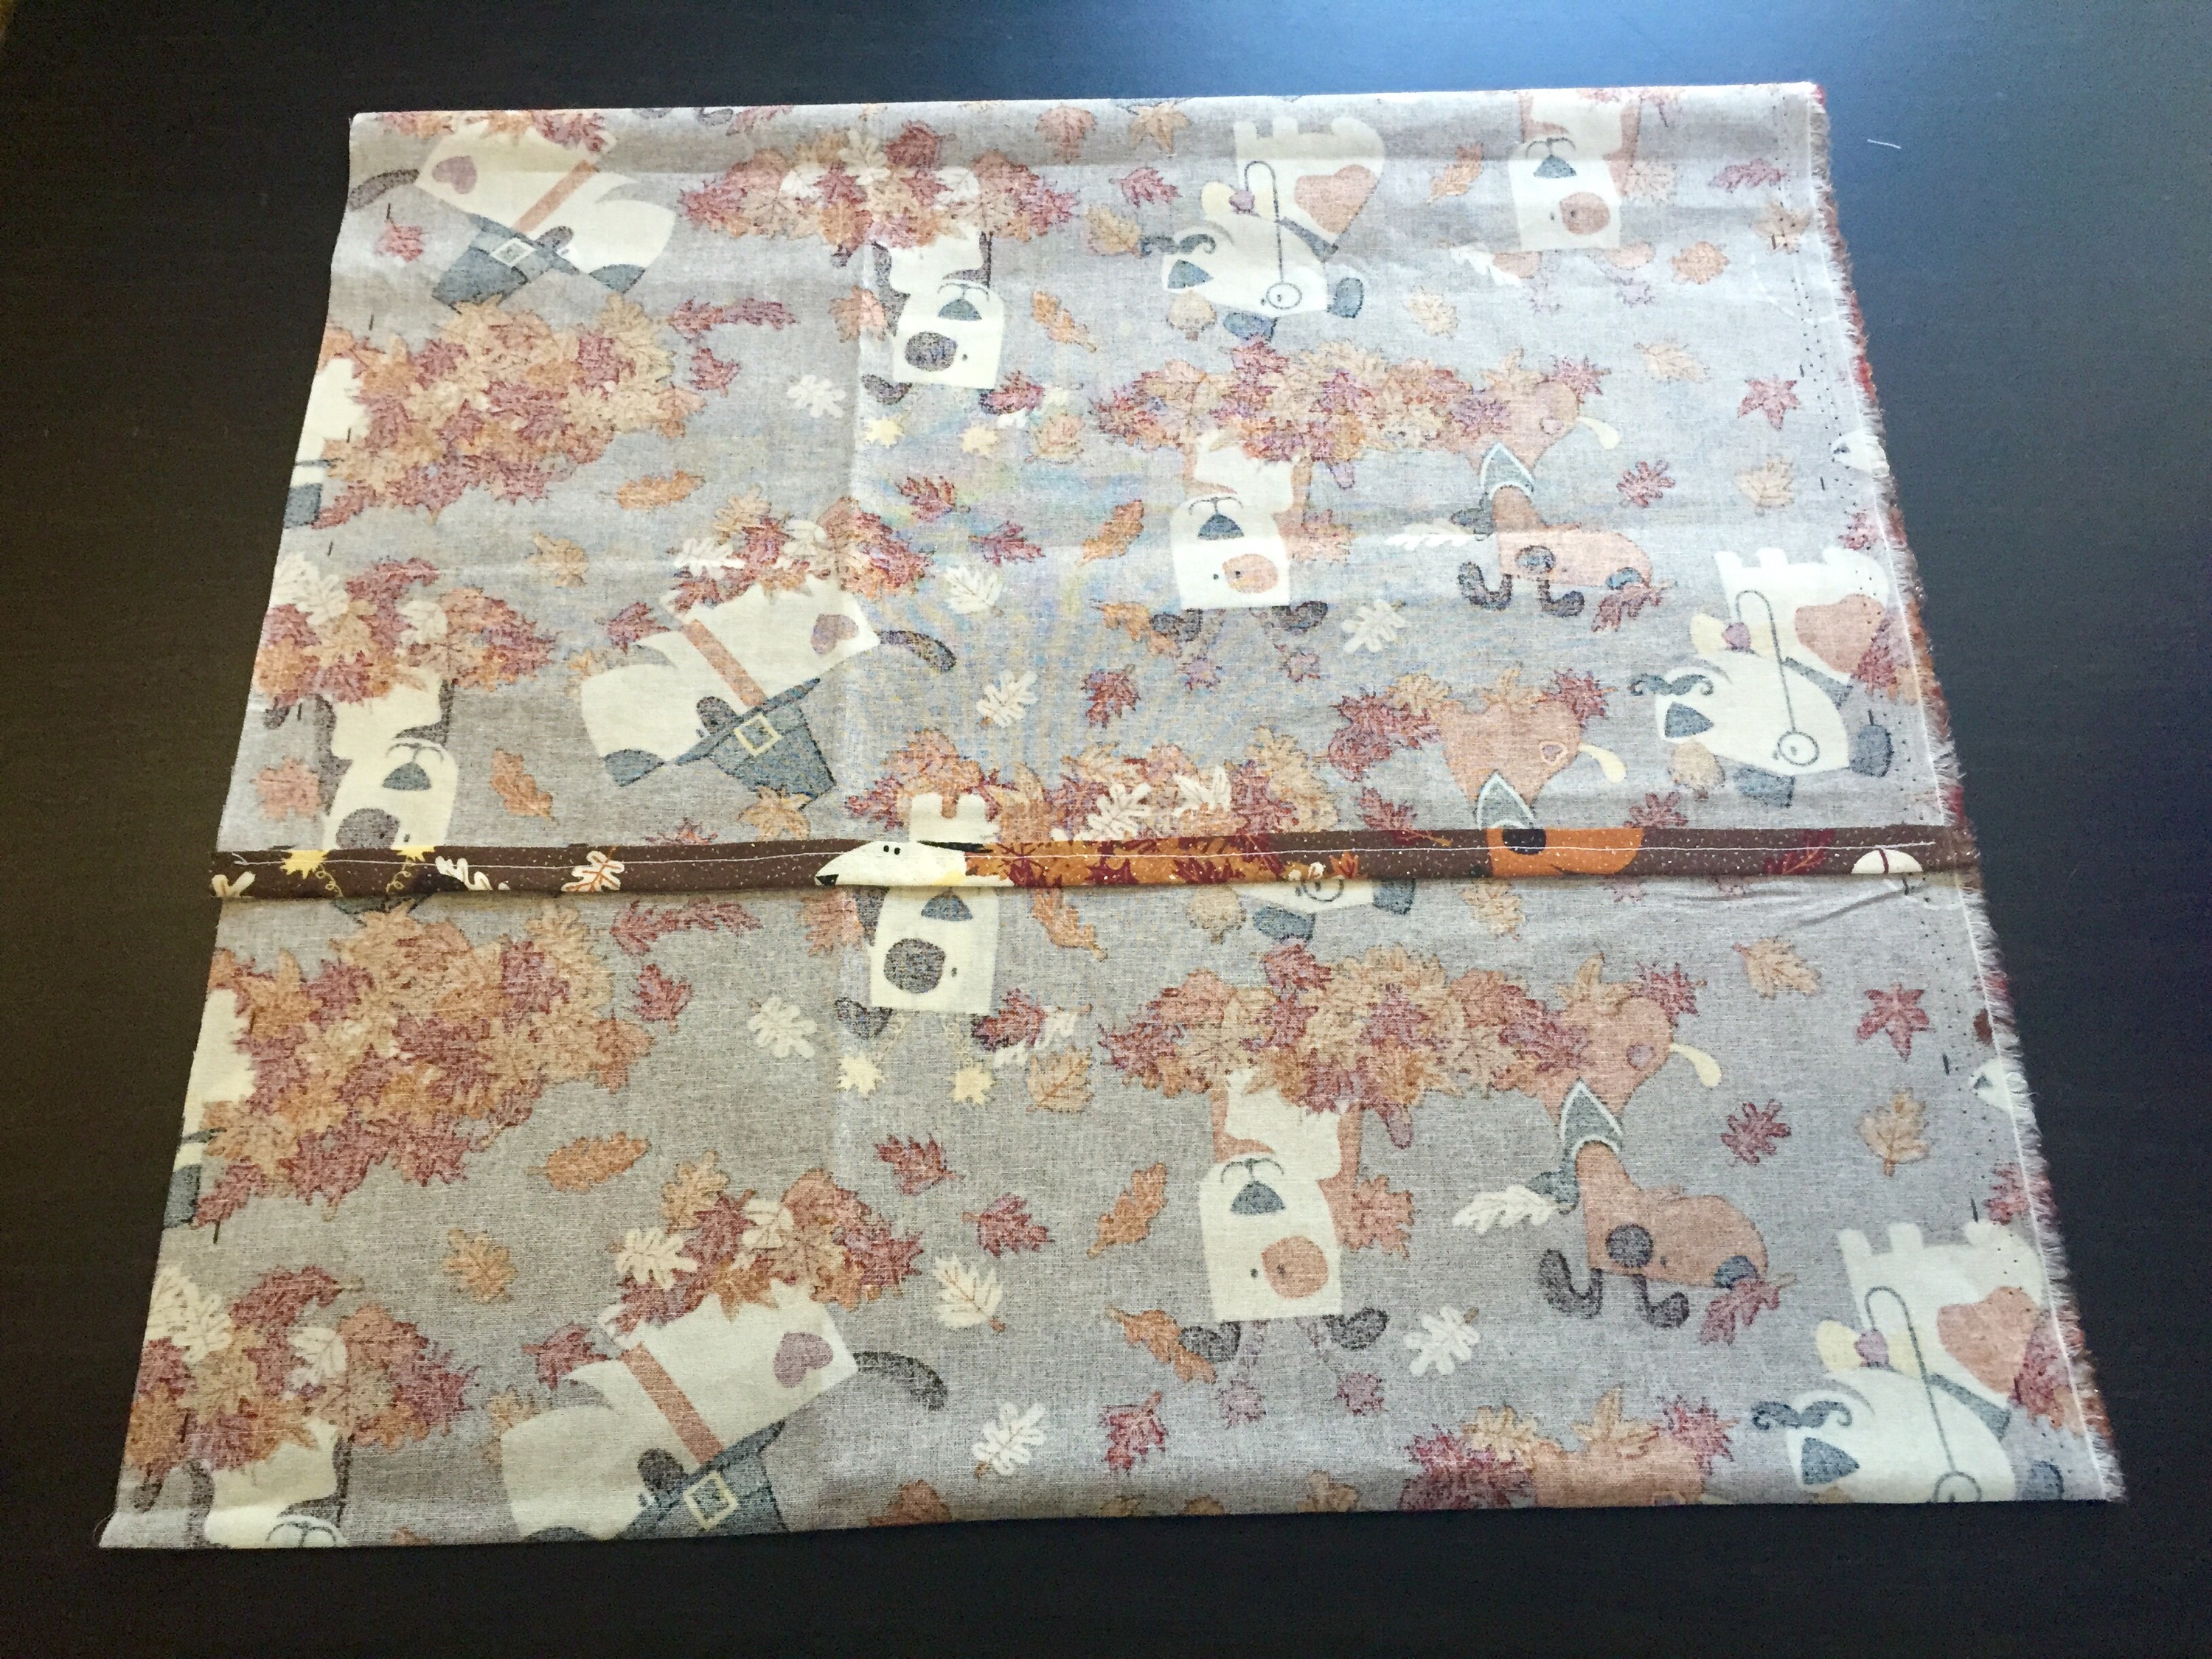
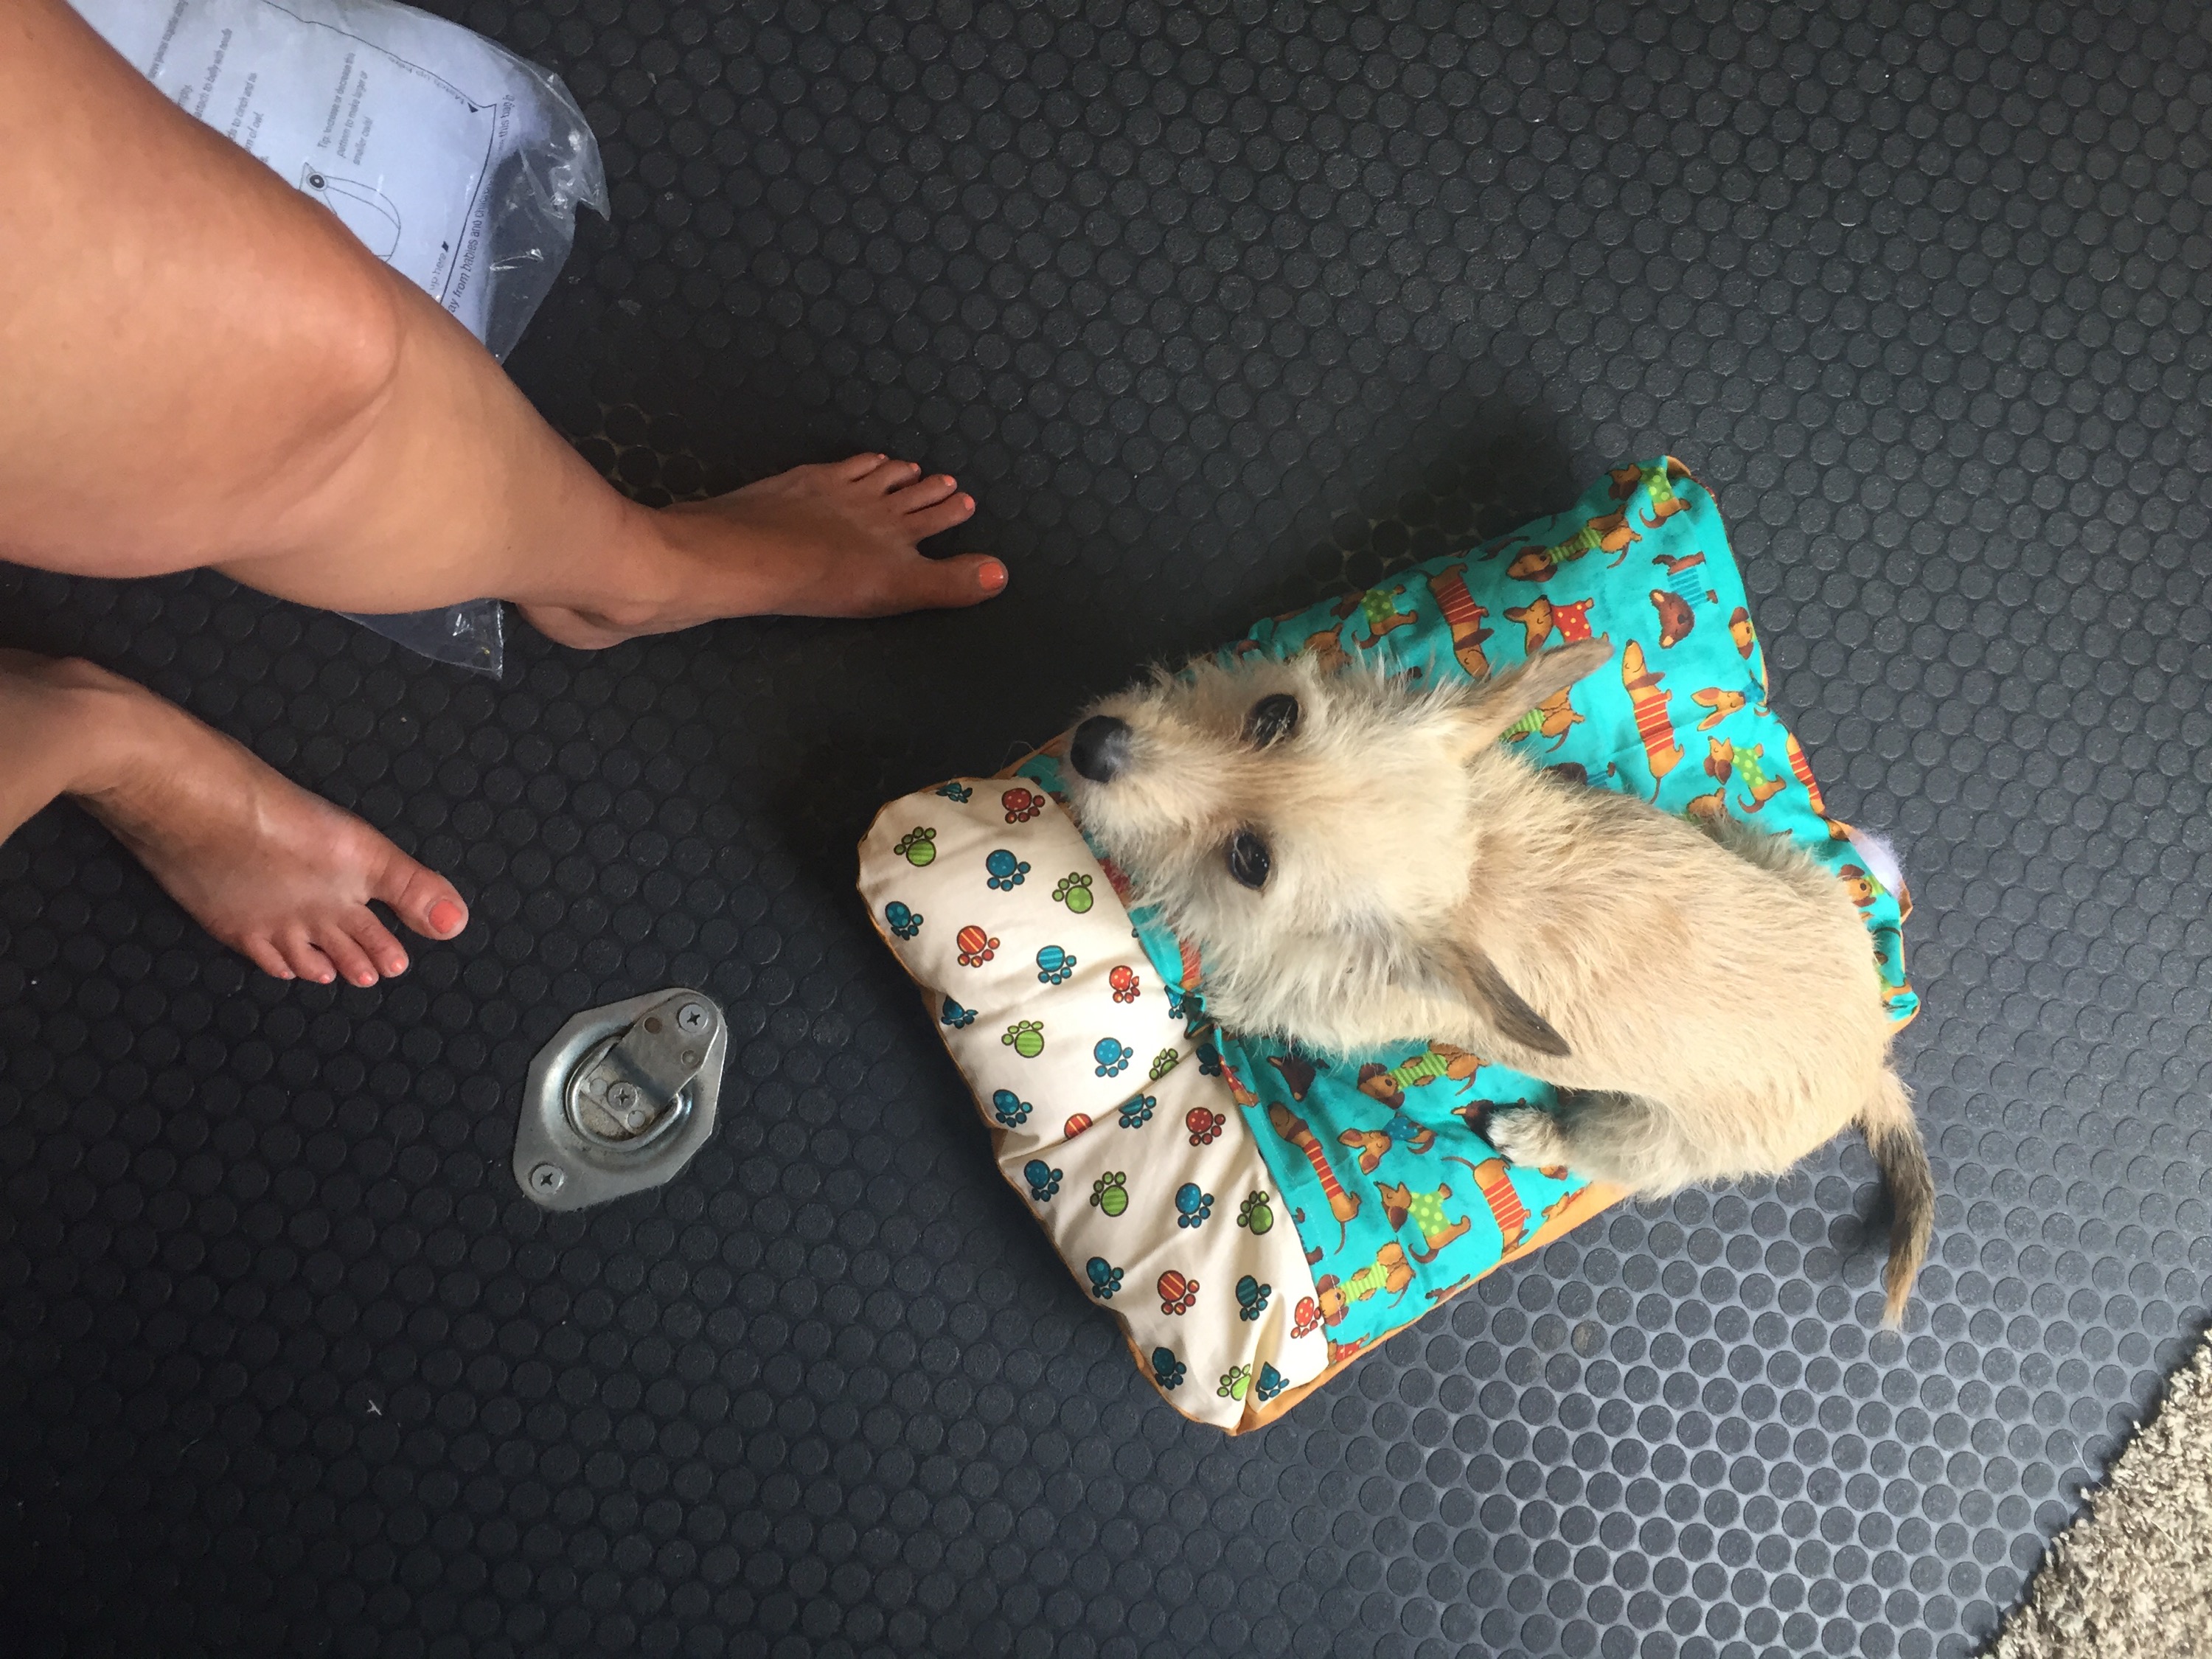
 Next, flip it right-side-out. And stuff the pillow in!