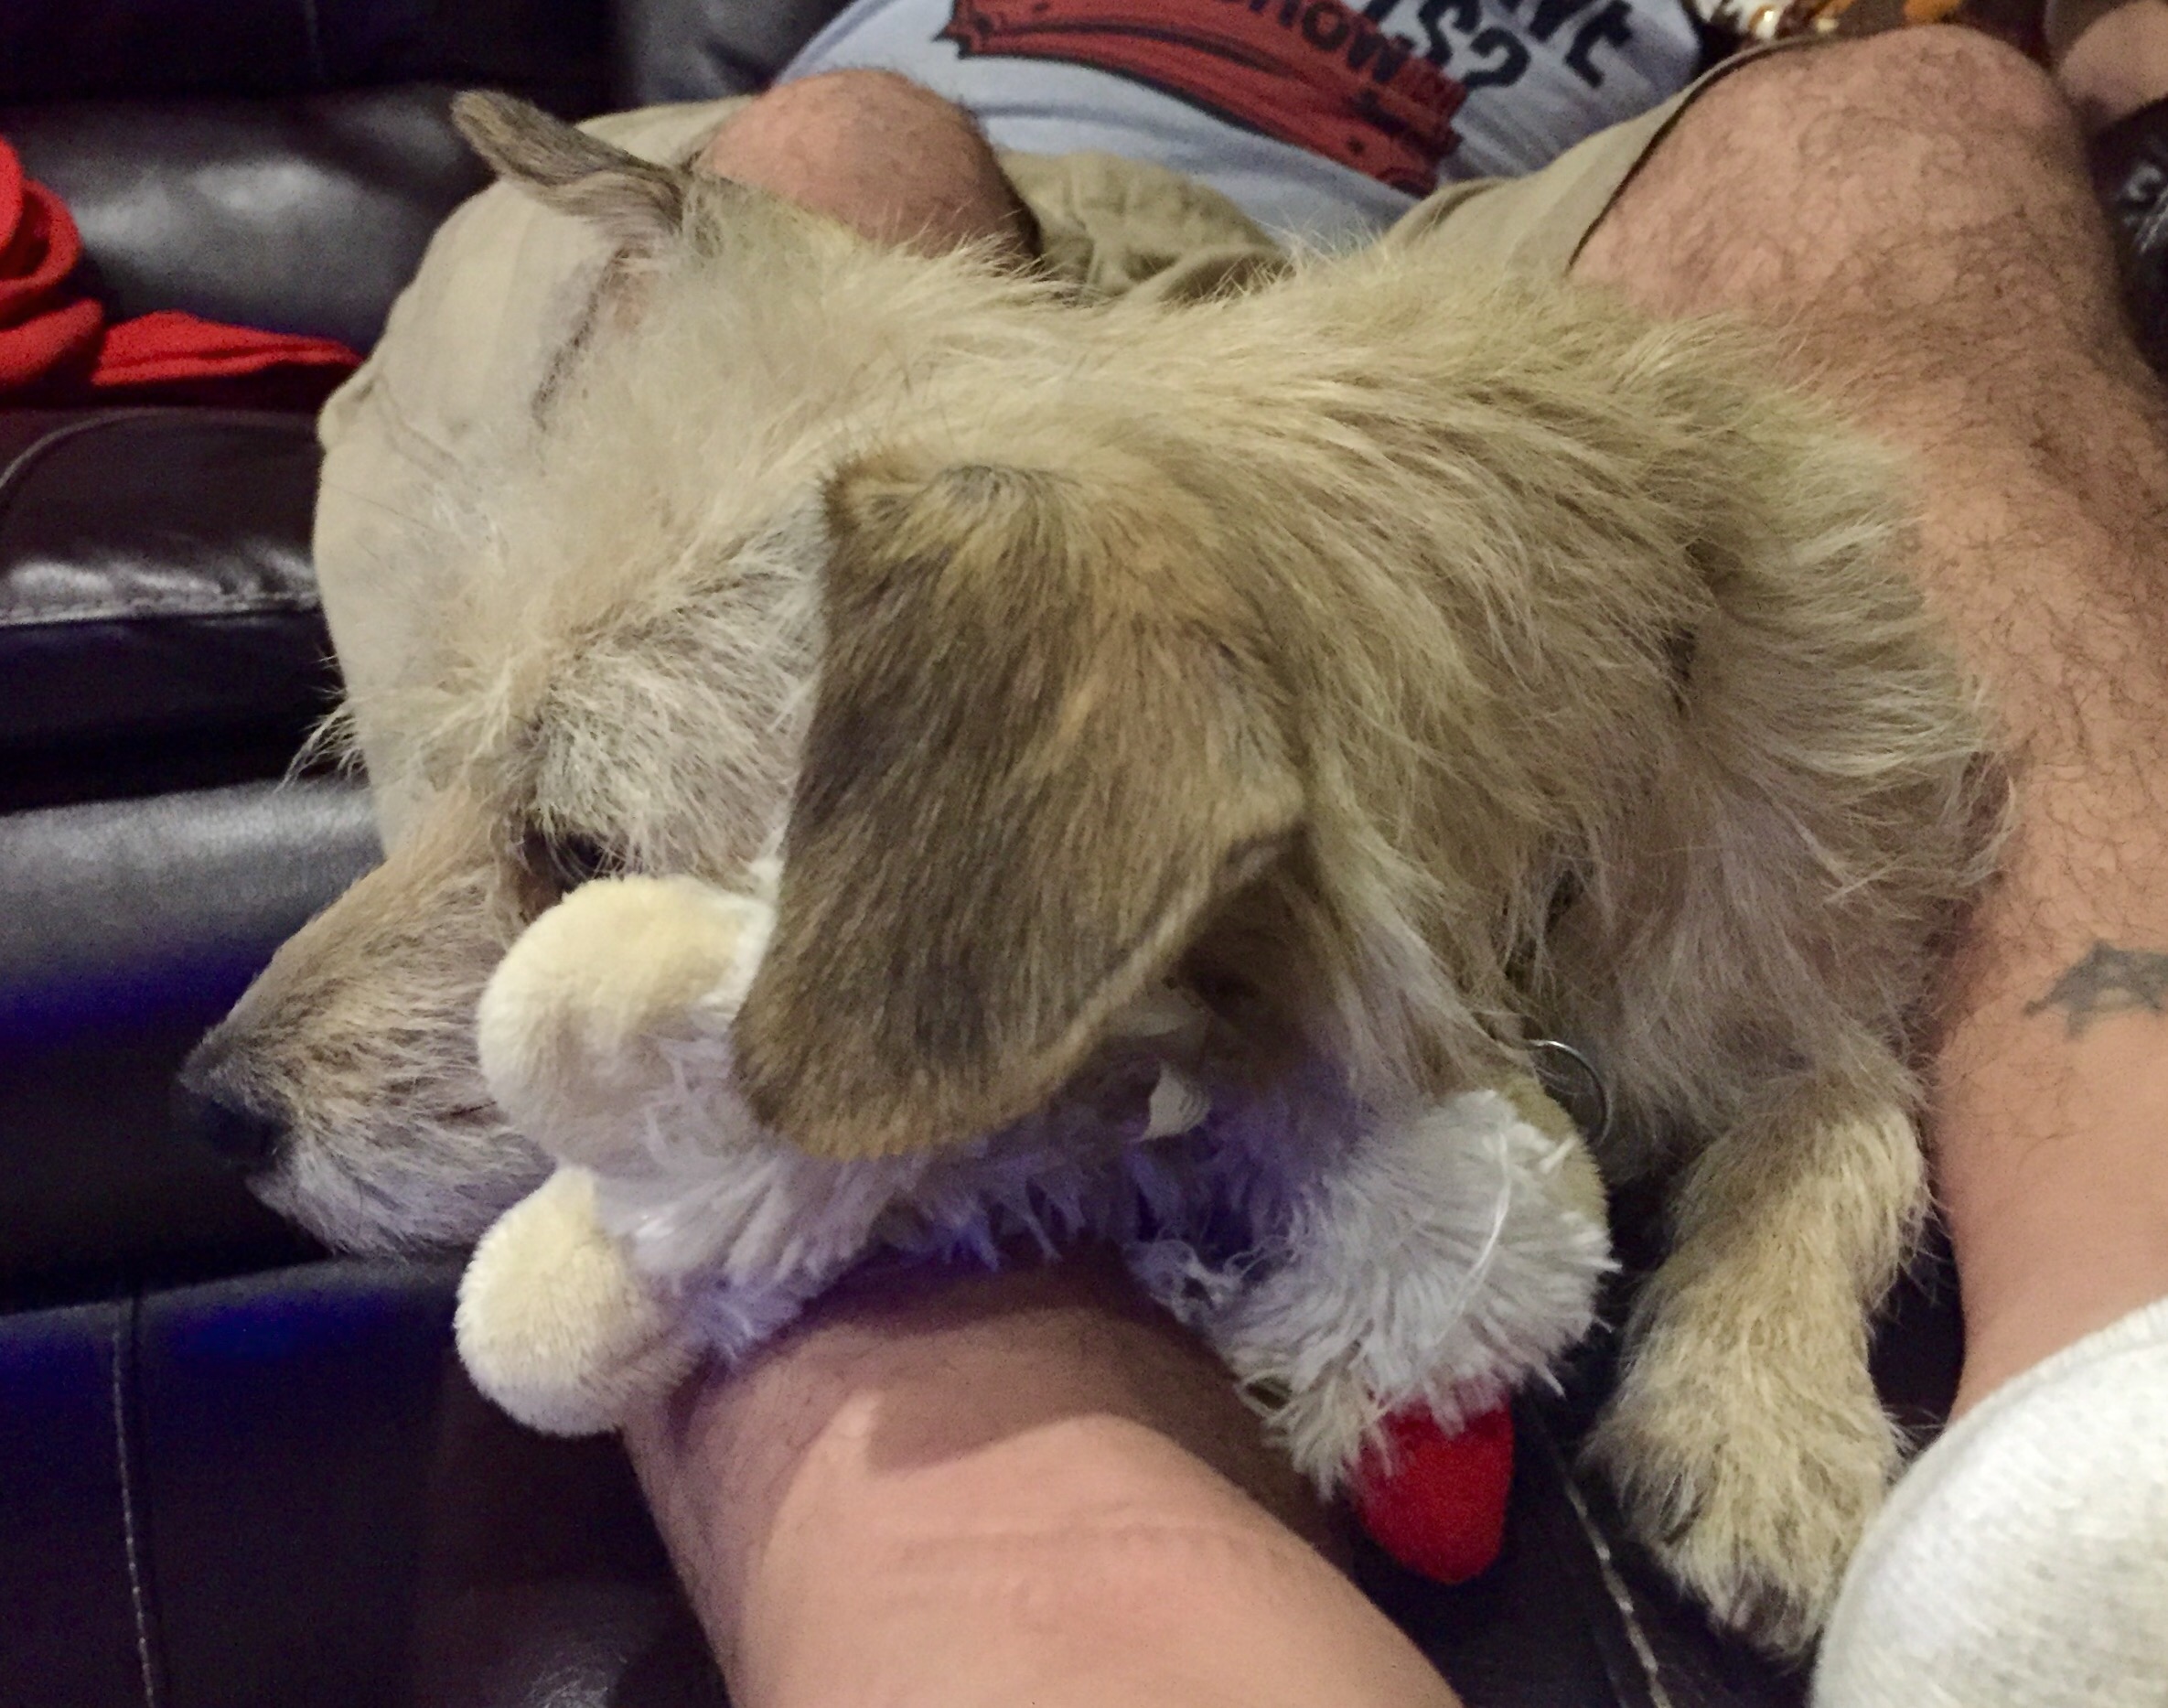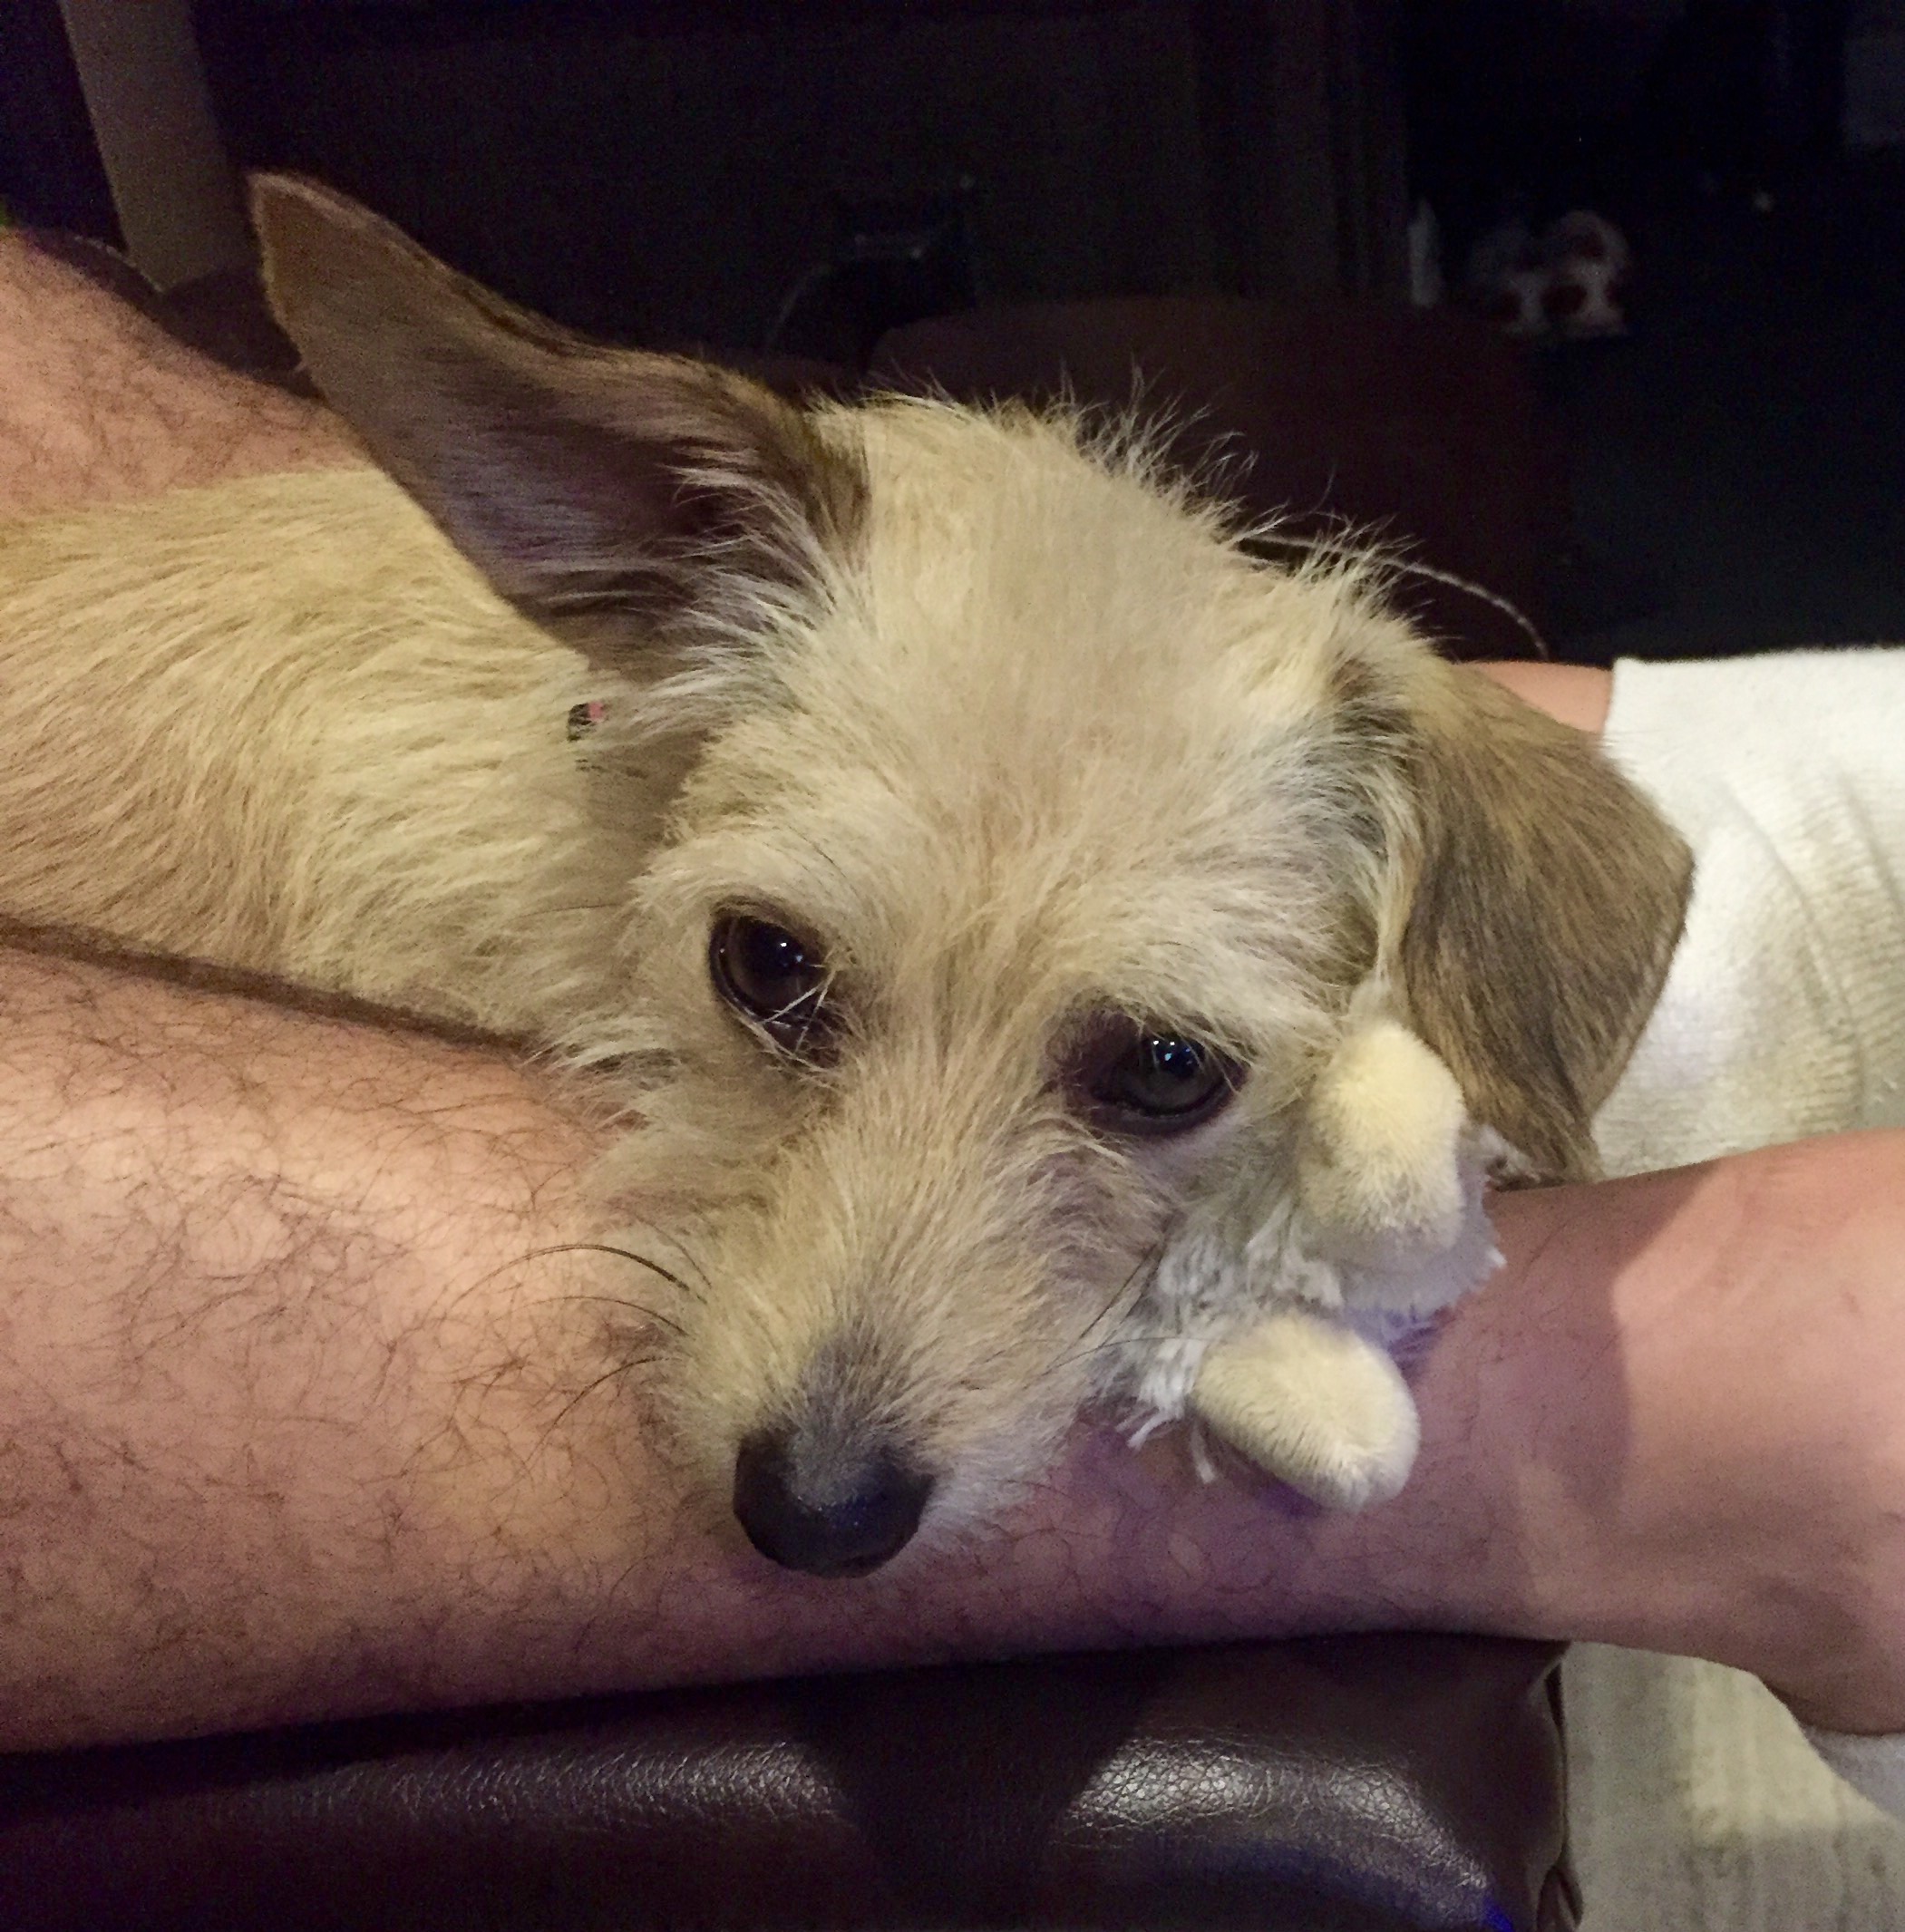
I have to start off by saying that Charlie is THE BEST camper-sized puppy I could ever wish for! 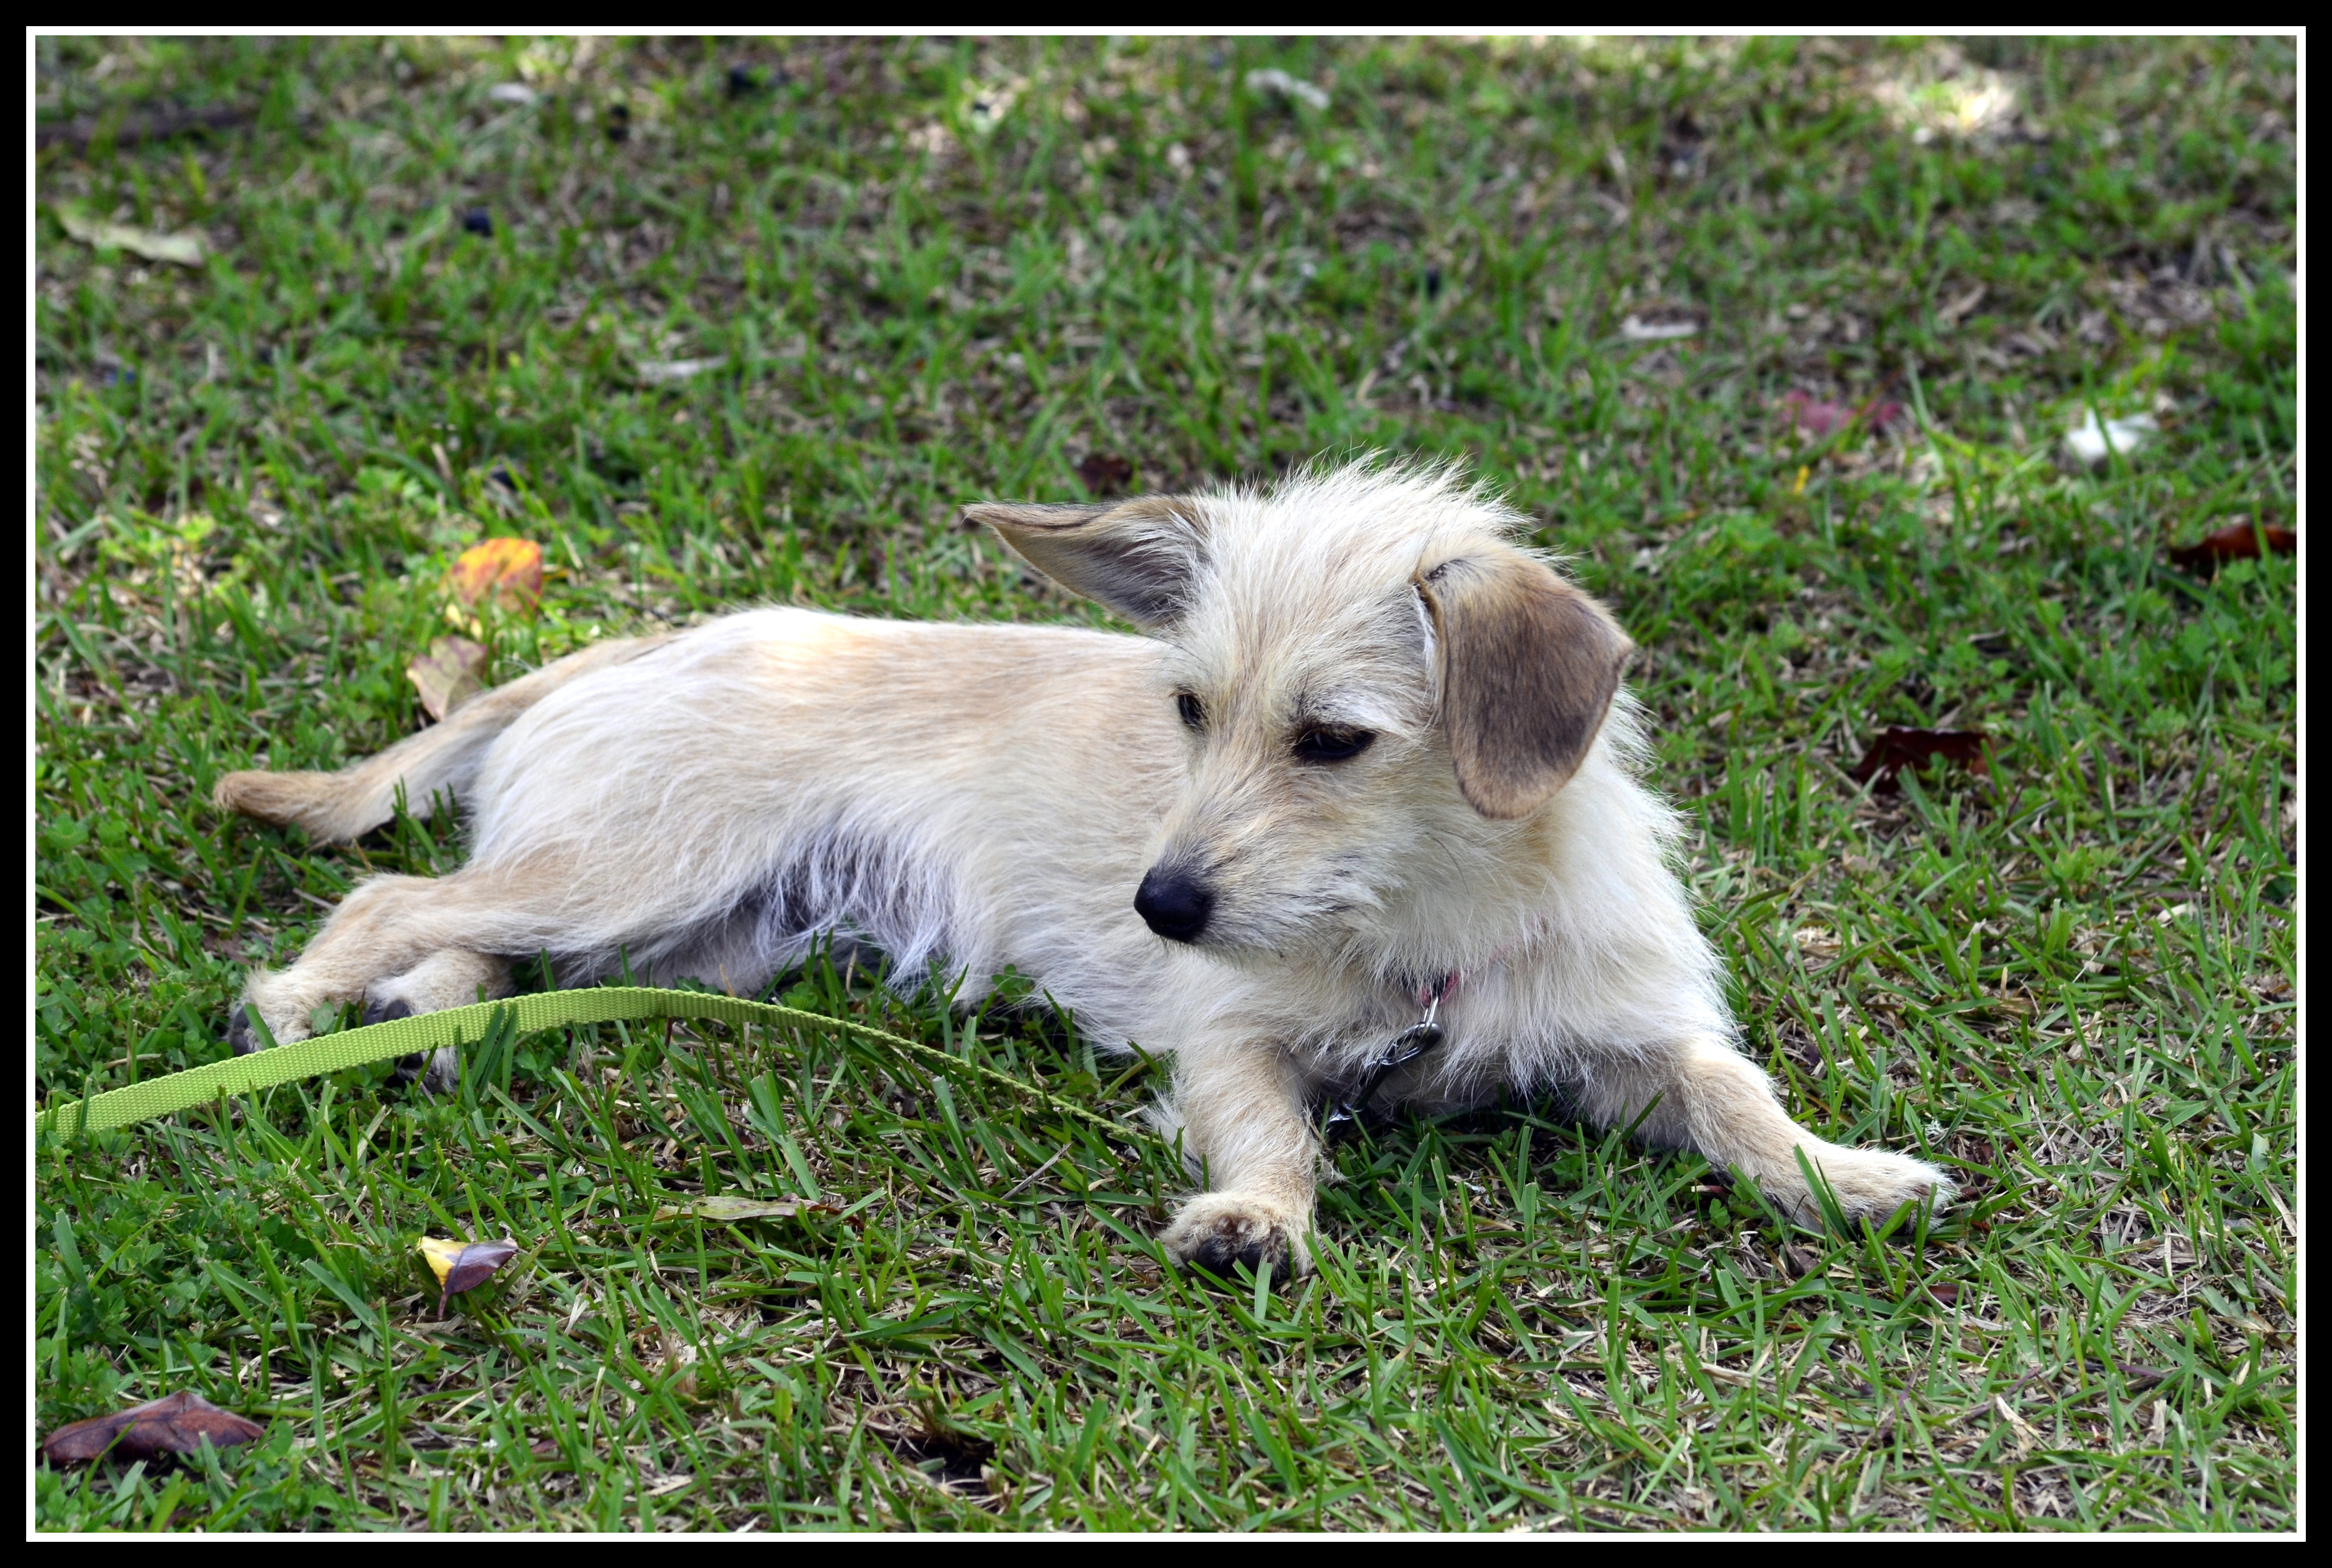
Now, moving onto camper-sized THINGS…
Living full-time in a camper takes some adjusting to but overall I love it. Before I moved in with Allen for good I went through all my clothes and got rid of half of them. Then I went through again and got rid of another half. I still probably have too much, and I TRY to live by the rule that when I get something new, I need to get rid of something, but that doesn’t always work out perfectly!
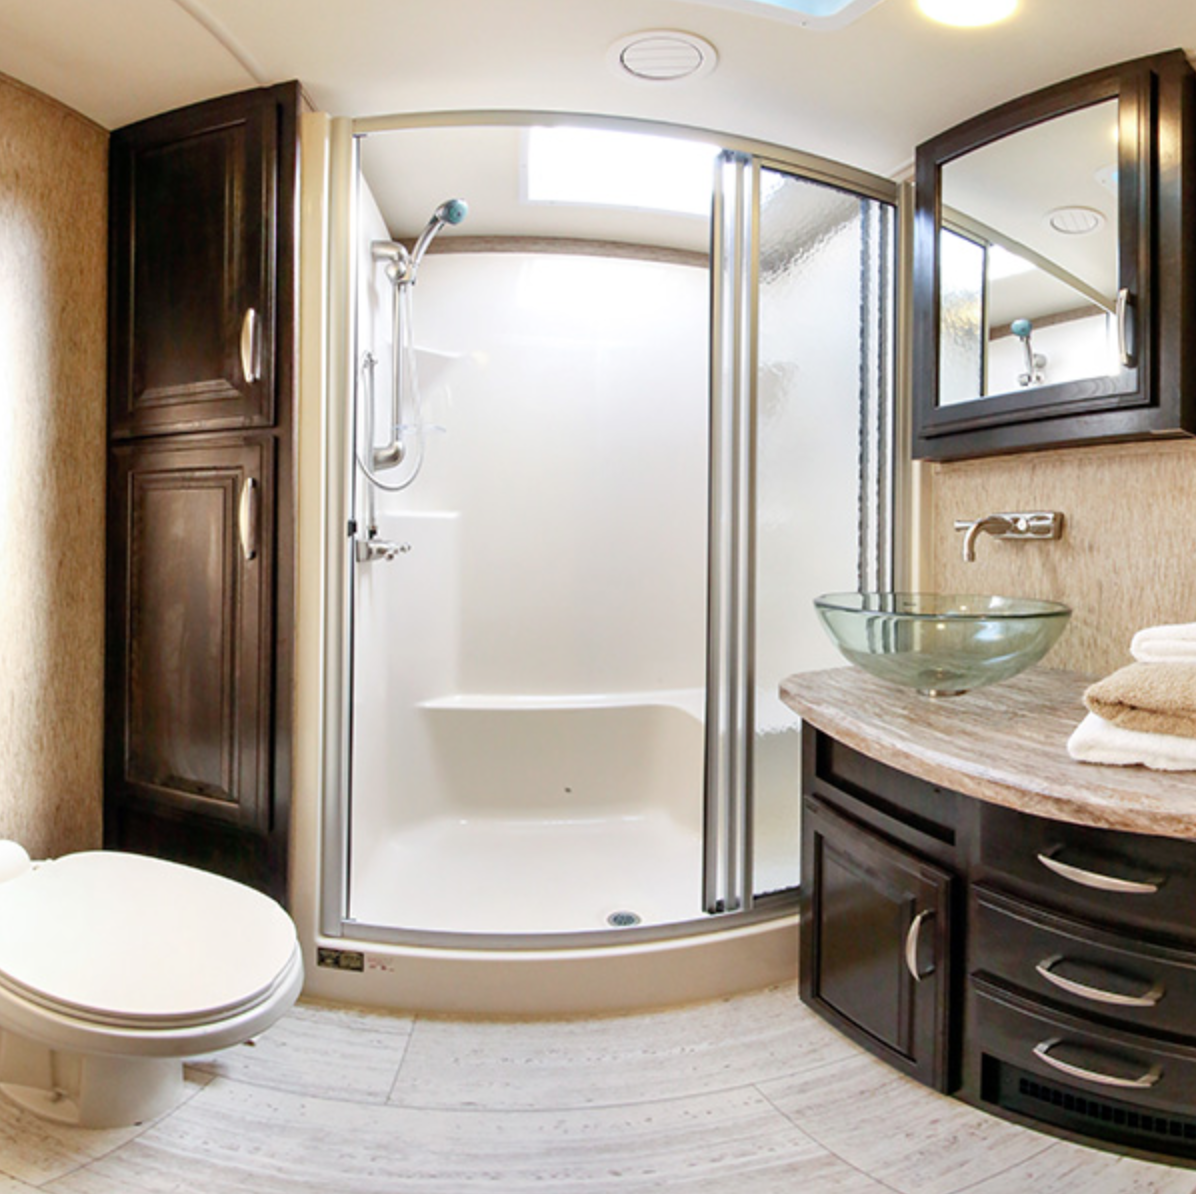
The biggest challenge for me is staying tidy. Just ask Allen! He sometimes starts twitching (slight exaggeration) coming in the door from work if I have crafty stuff on “his side” of the bench, and let’s not forget walking into the bathroom if I’ve forgotten to put my makeup and hair stuff away… (Let’s just say my tidiness is a work in progress!)
You know that saying:  Well… This is more like it:

True that!!!
But in a camper, you need to be organized and live by this rule or things can get out of hand rather quickly!
So here’s a list of some of my favorite things that work well for me in our camper. Some I have, some I just really want!
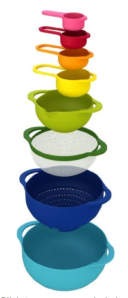
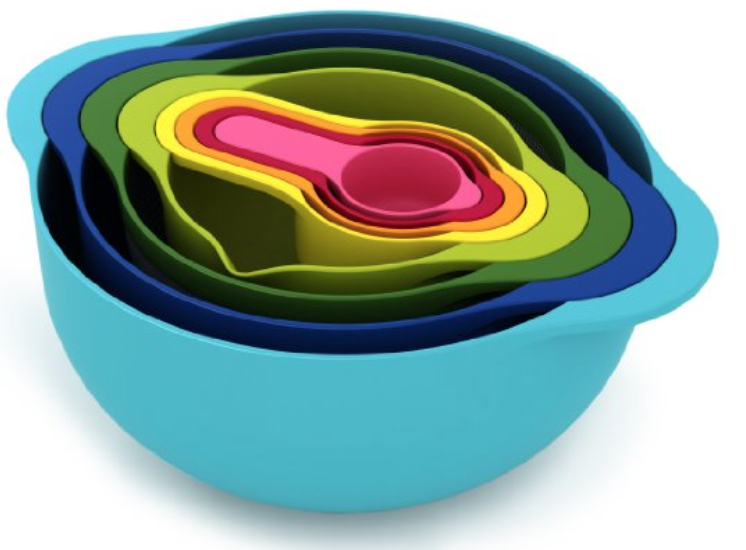
- I have a set of nesting mixing bowls and measuring cups just like these, but I got mine from Aldi (it’s a discount grocery in Cincinnati) and I only paid around $15. This set is $30. The only thing I wish is that my green bowl had the same little pour spout-that’s kinda nifty!

- These Magma nesting pots and pans look SO nice! A dream come true! They all stack neatly inside of each other and there are two removable handles so they don’t get in the way! I am in love with them. I’m REALLY hoping my wonderful mother gets us these for Christmas! I saw them first on Shore Looks Nice.

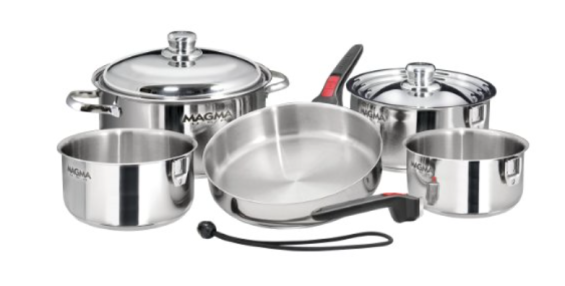
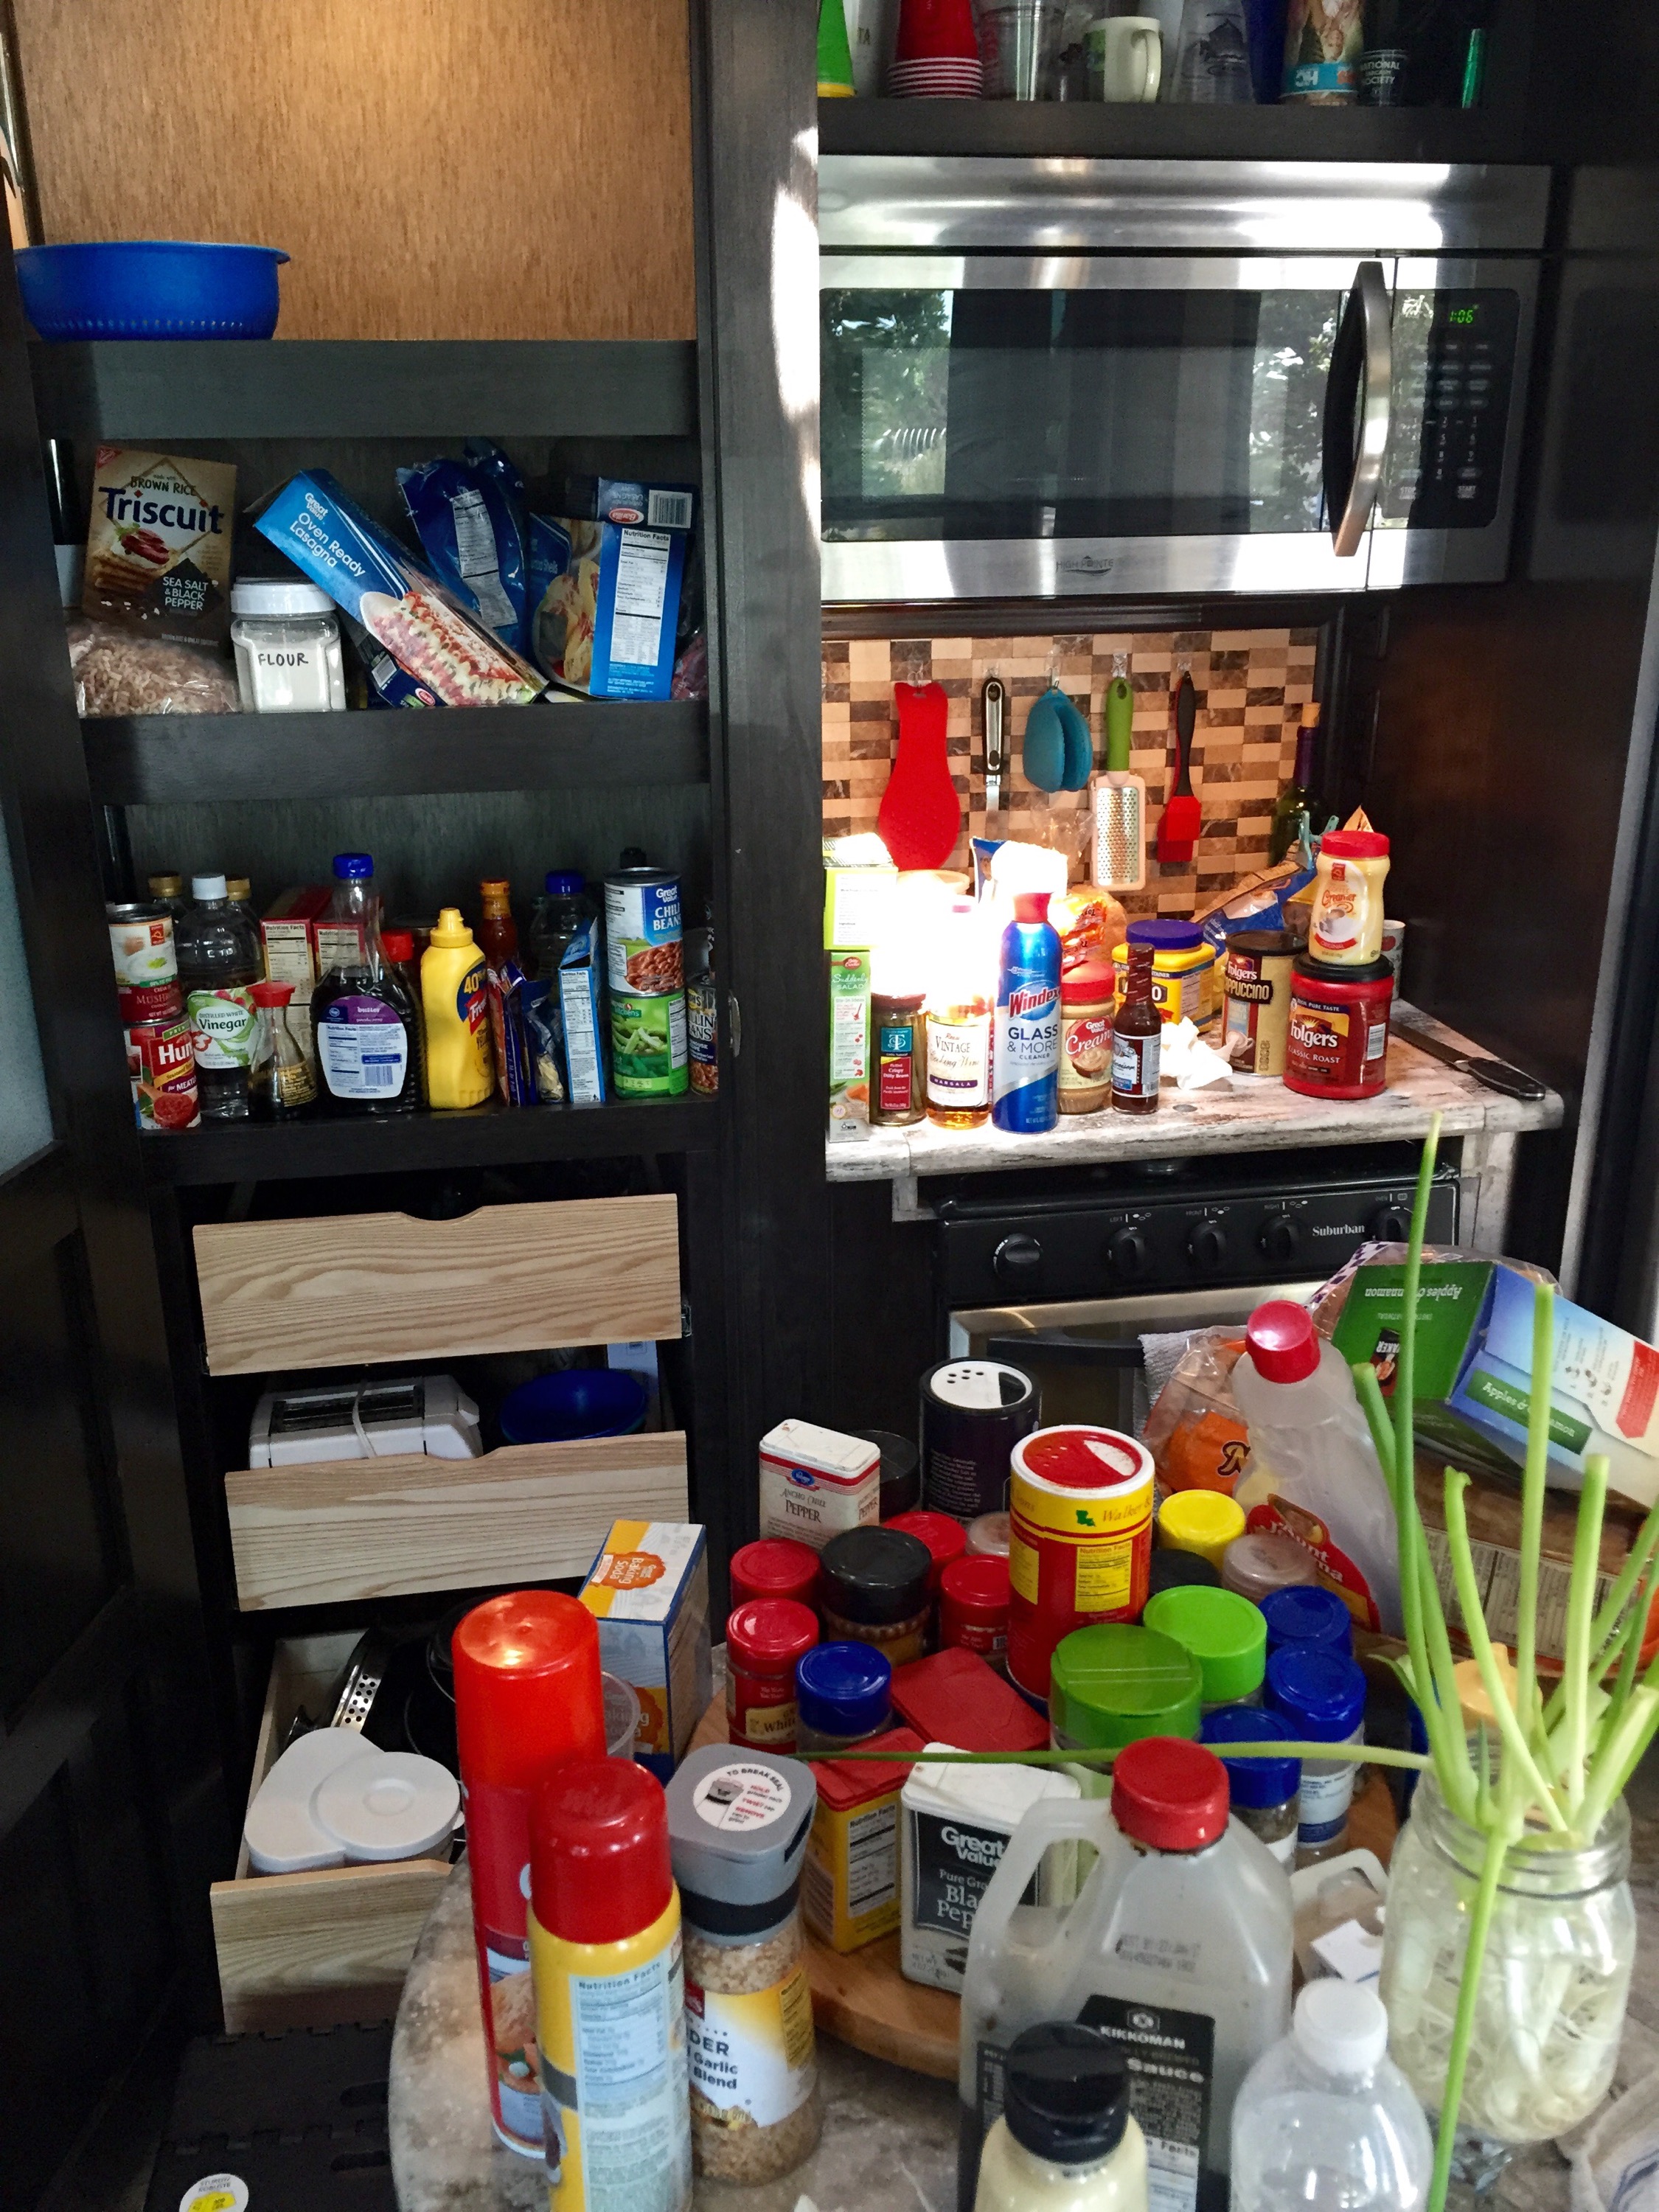
Considering my drawer for pots and pans (and my coffee pot) looks like this currently, I can only imagine how amazing these would be! 
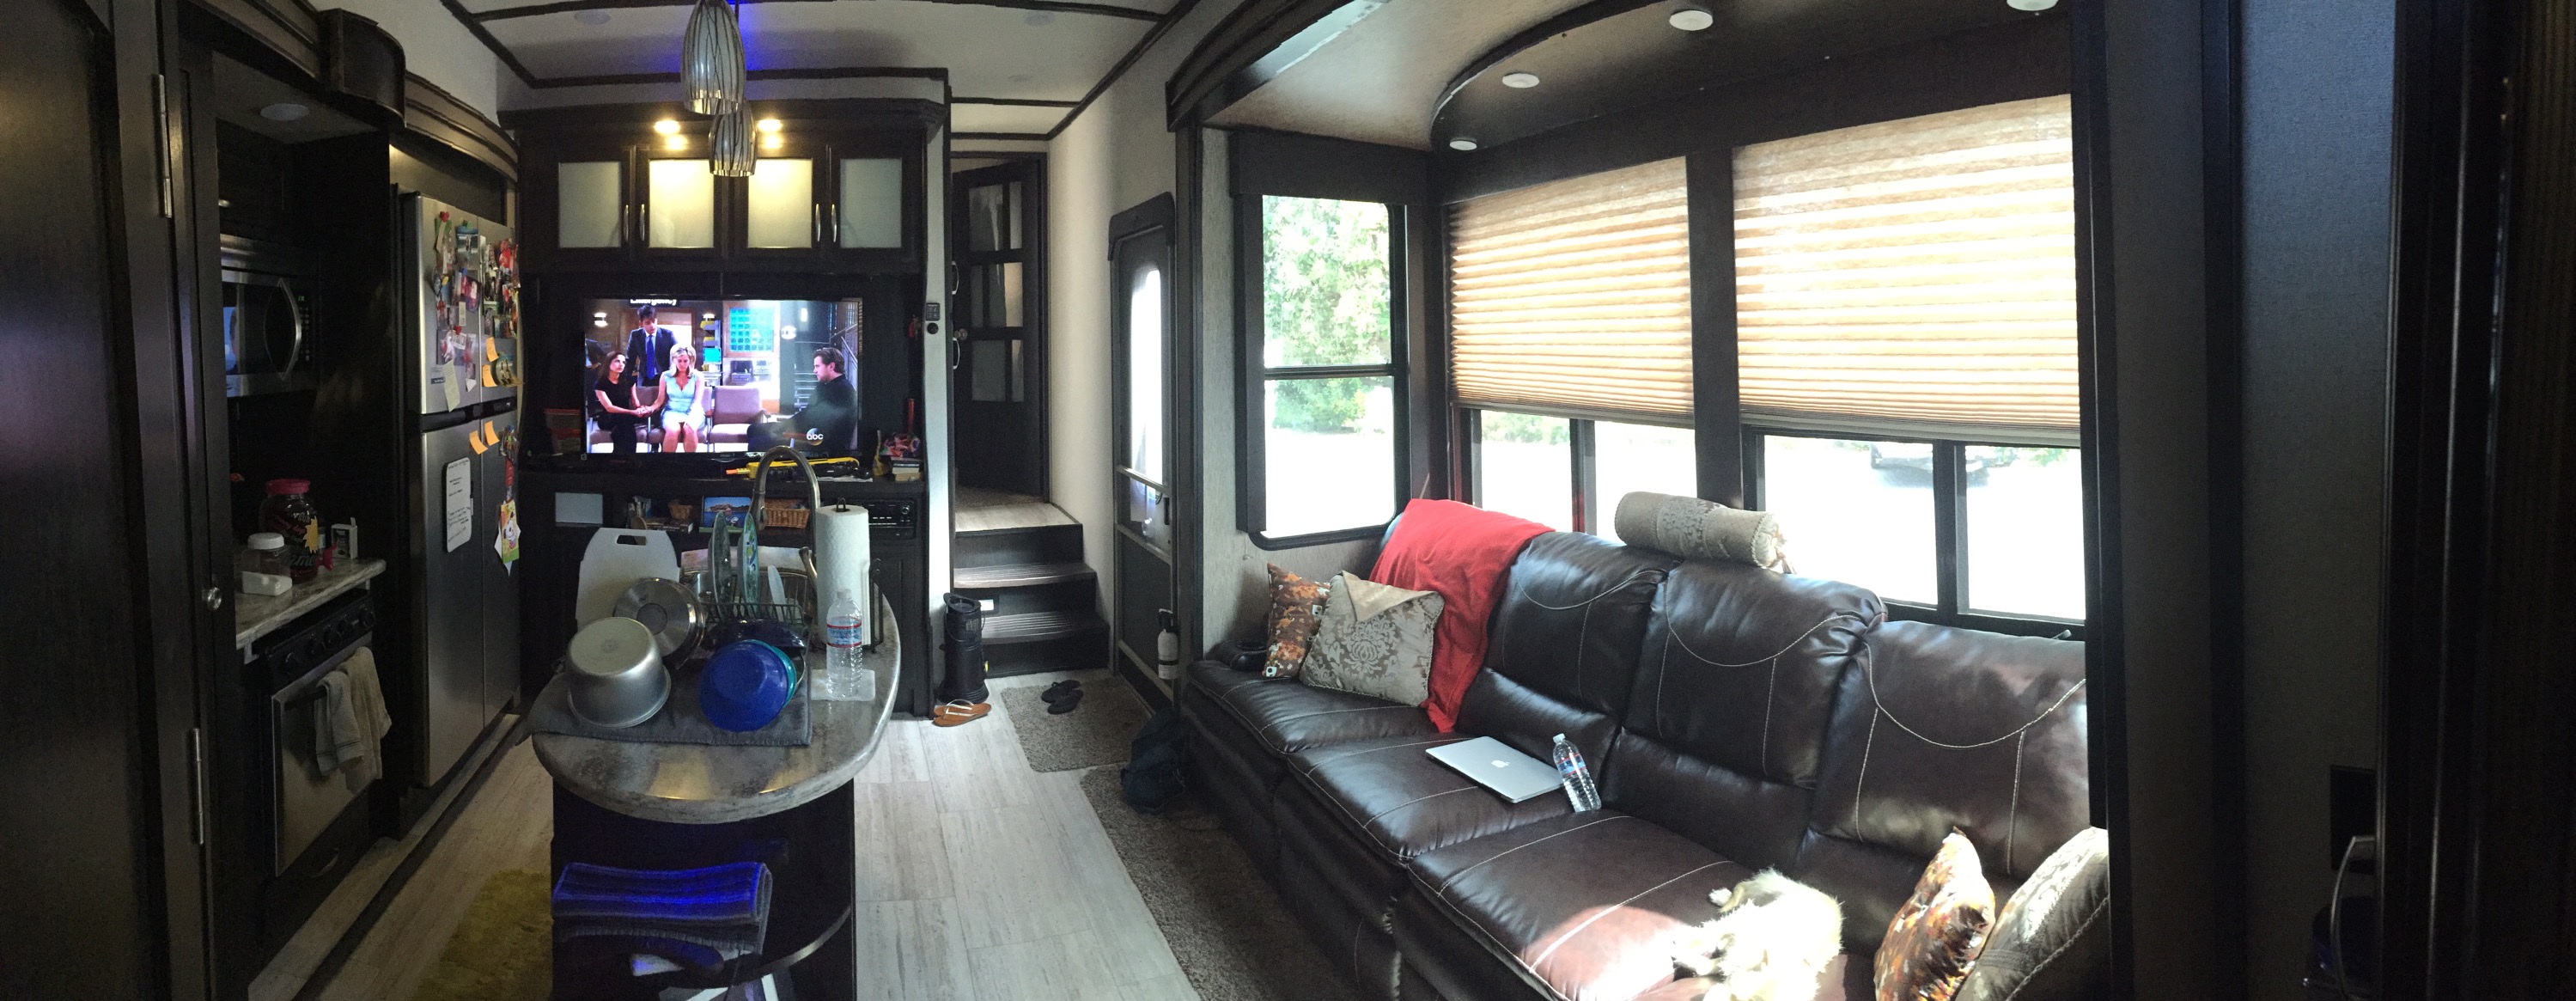
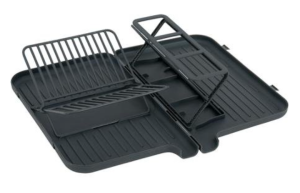
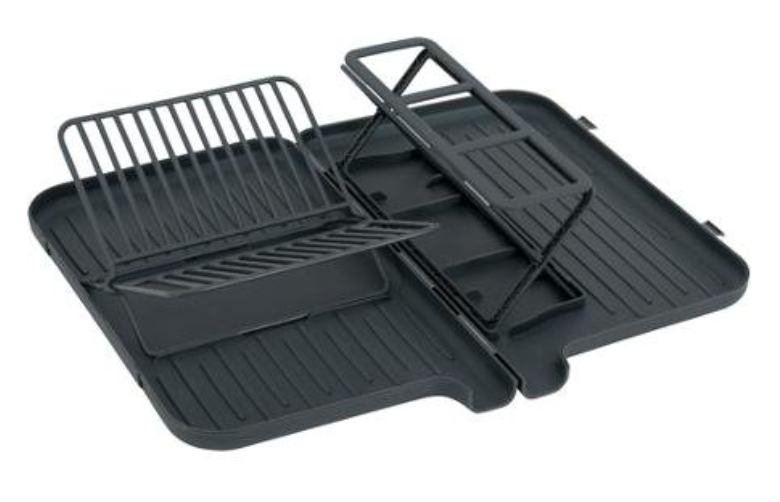
- When we had the other camper, I would do dishes and set them on a dish towel on the stove, leaning against the wall to dry. But with our new camper, the sink is on the island, which means there is no wall to lean plates and things against to dry. So one of the first things I bought was this drying rack. It folds up and fits under the sink when I’m not using it.
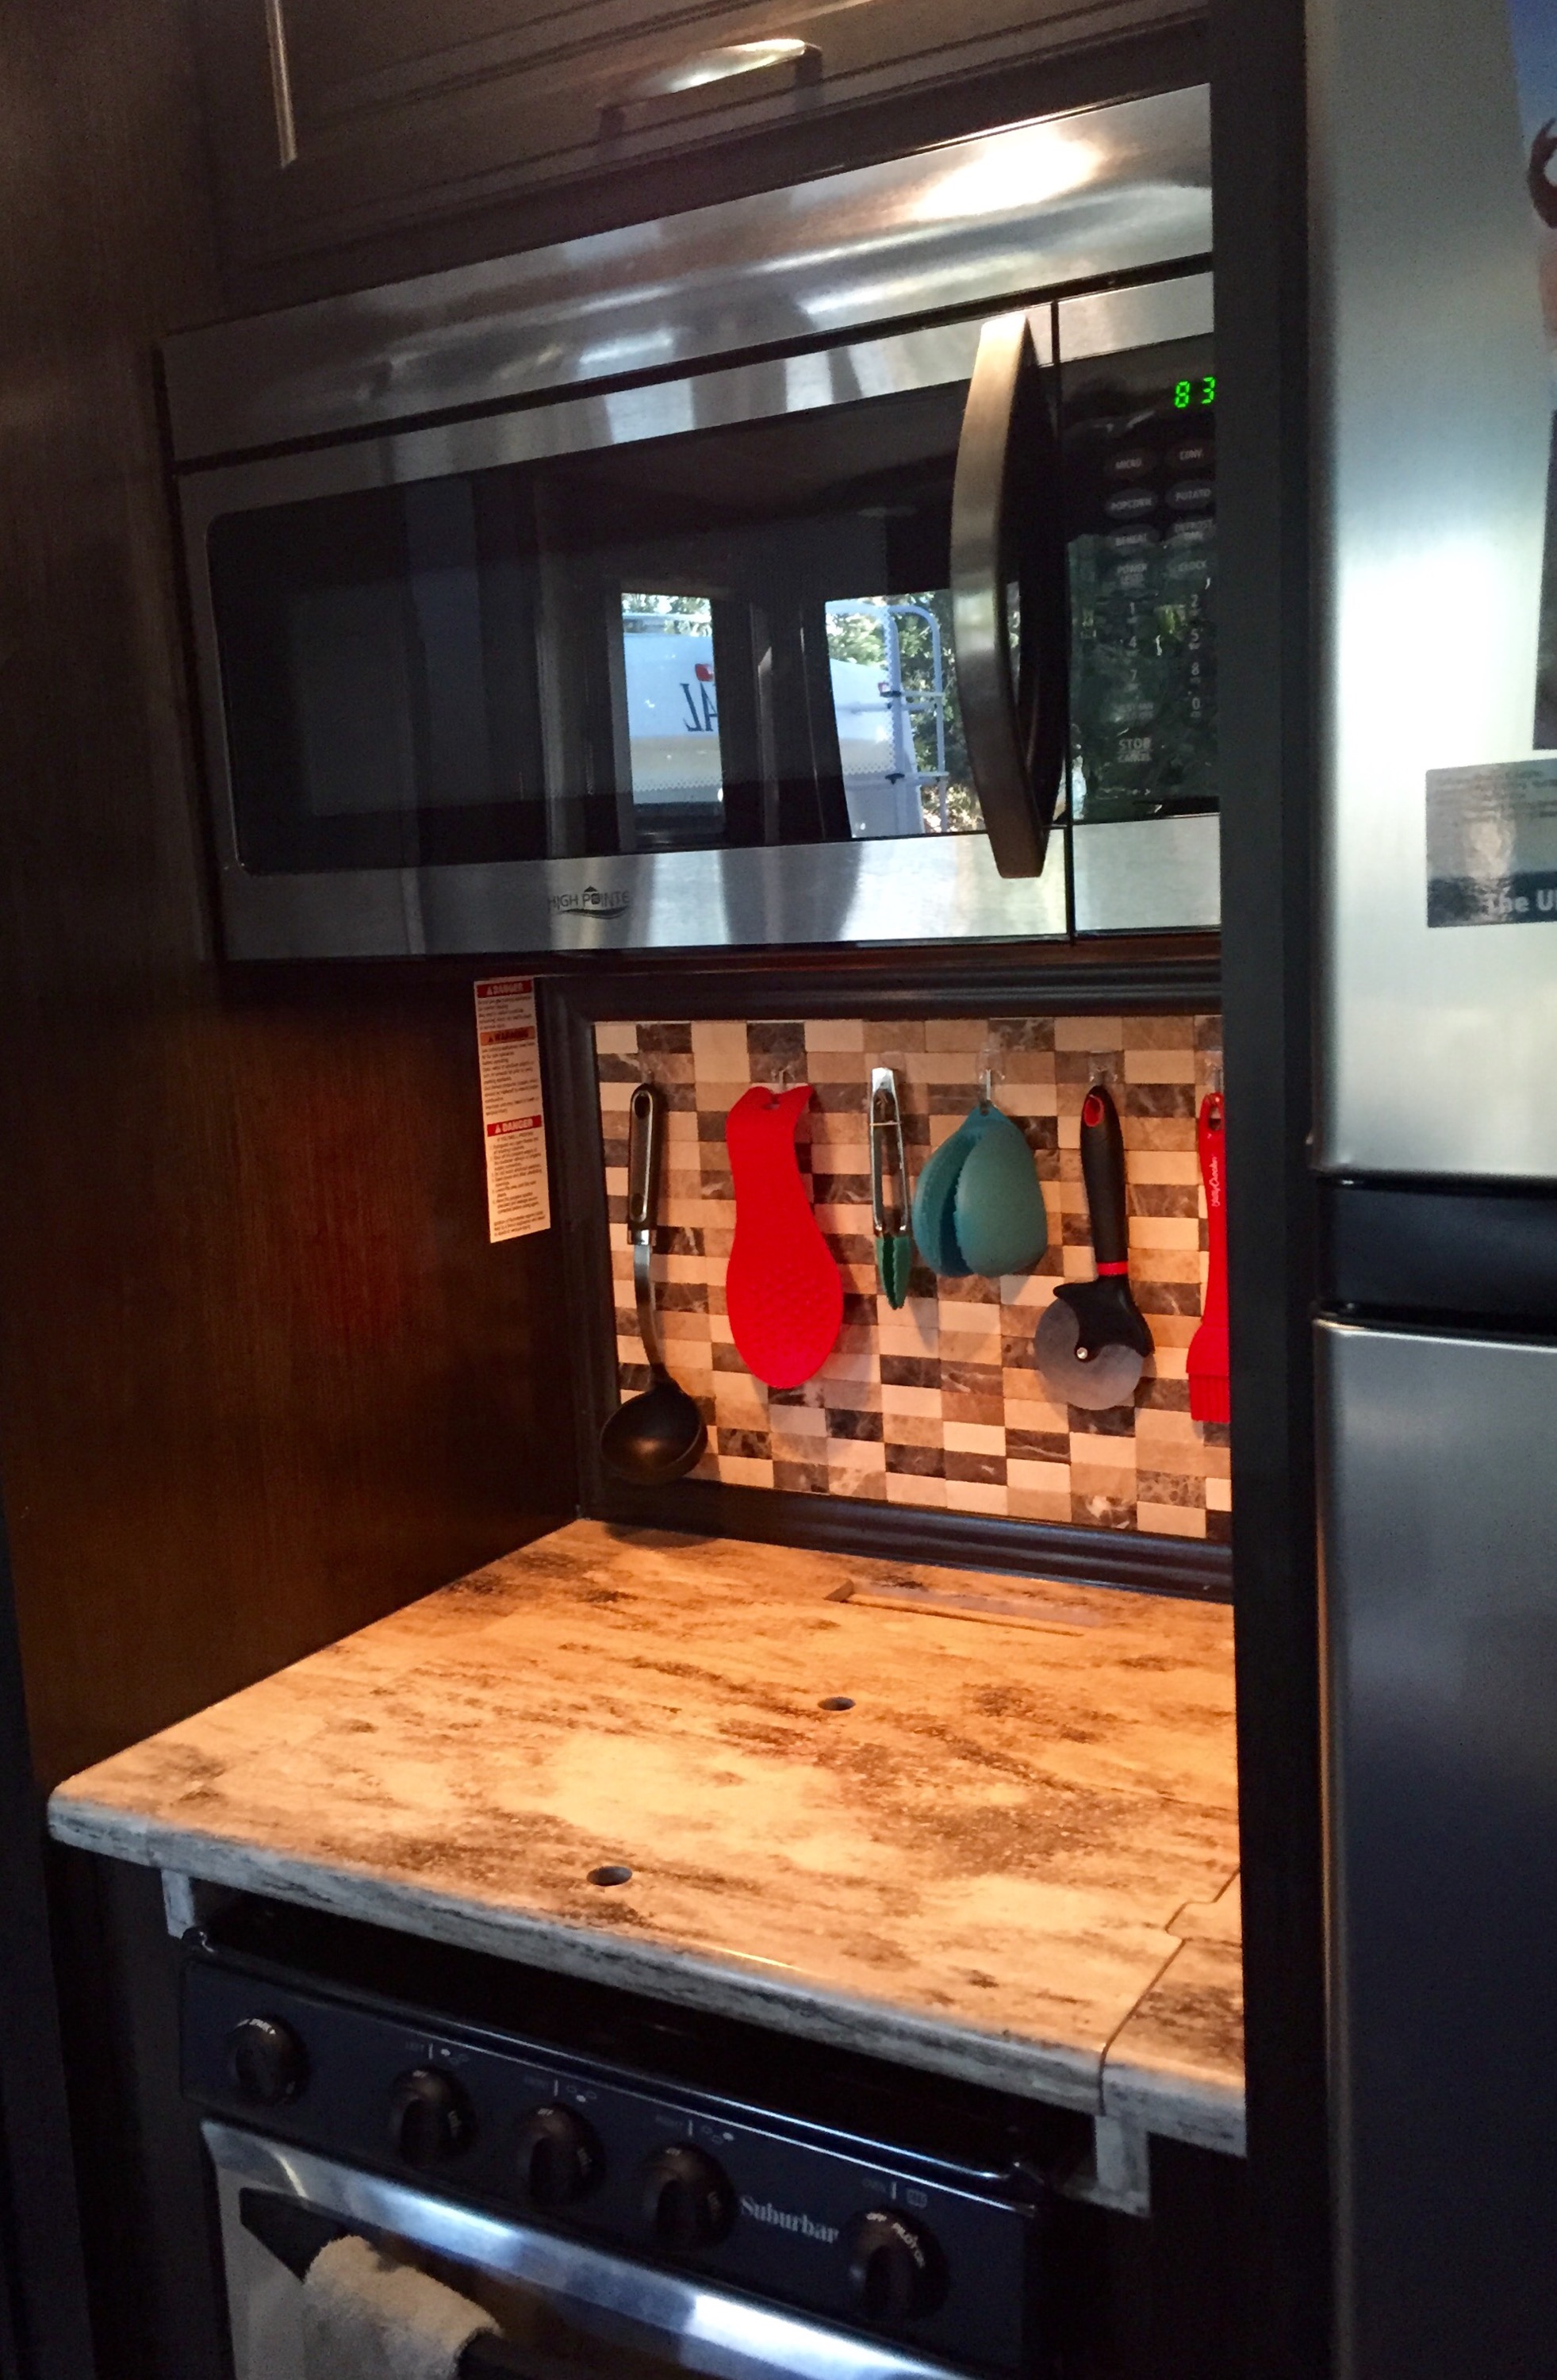
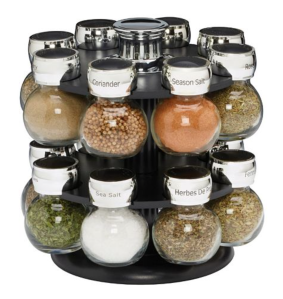
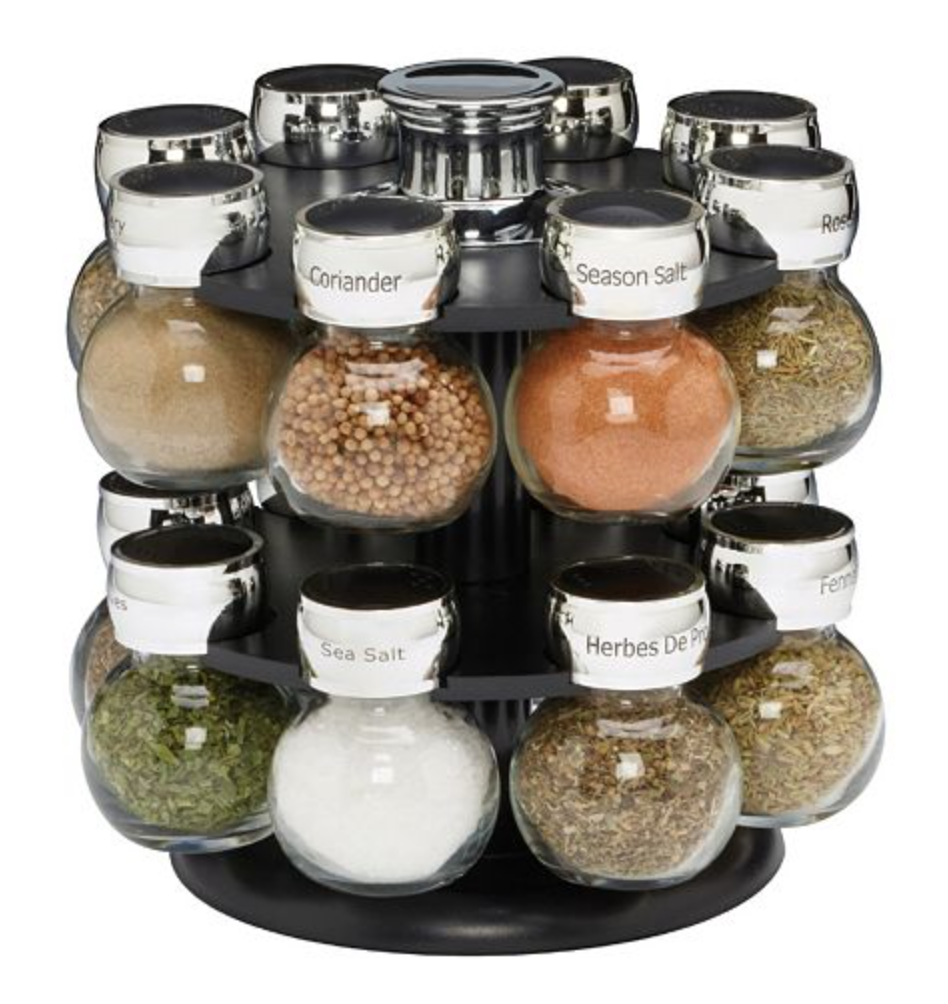
- I’m also in DESPARATE need of a spice rack! I cook dinner almost everyday. 6 days a week, if not 7 sometimes. And I use a LOT of spices. Right now I have them all stacked/falling off of a lazy susan on a shelf in the pantry. I bought this spice rack from Kohl’s when we were in Waynesville, but when I got it home I realized how cheaply it was made so I returned it.
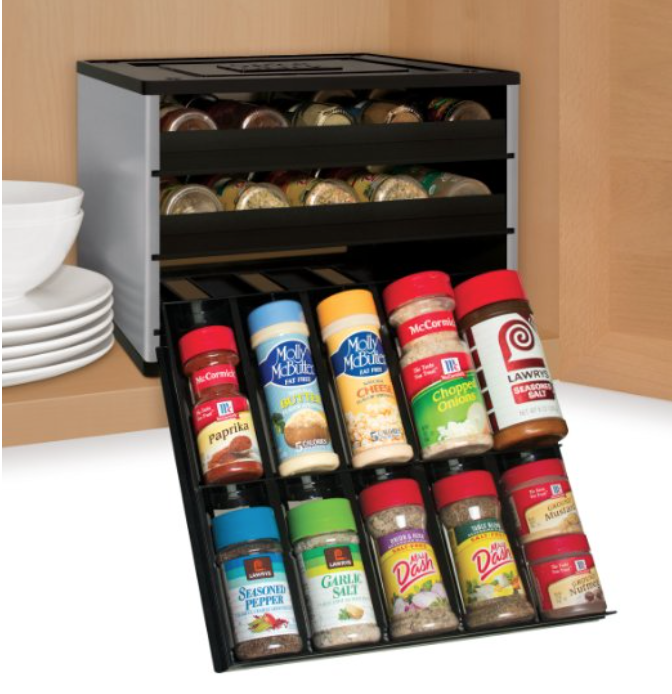
 Now I’m thinking maybe this will work out better. I can stack things on top of it, and even though it’s not as fancy looking as the one above, I can use my existing spices!
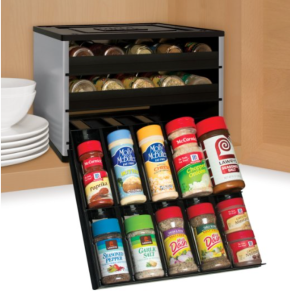
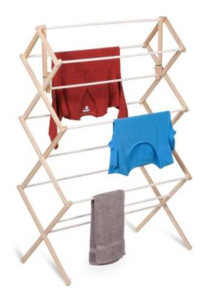
- I absolutely love our washer/dryer combo, but sometimes I don’t have the patience to wait for things to dry all the way, OR they just don’t. This mostly happens with jeans and heavy sweatshirts. So I picked up this drying rack and it gets a lot of use!
- And, even though it’s not storage related, I think it’s fair to mention that I’ve found some really decent dishes at Big Lots. I usually look in the picnic section for plastic plates and bowls. And I try to find thicker, better quality ones that will last a while. We had some black ceramic dinner plates and bowls that Allen loved, but it was just too much of a hassle to have to stack paper plates in between them every time we would travel so they wouldn’t break that I finally gave them away. He’s still a little sad about it! But it wasn’t practical (sorry babe!)
- I don’t have this shoe holder but I want to make one. My friend recently sent me some fabric and I think some of it might work out really well for a shoe holder! I’m sure it wouldn’t be TOO hard to DIY!
- I know they probably sell the “pop-a-bag” things that hold your plastic grocery bags, but you can just as easily make one yourself. I made mine out of an empty Clorox Wipes container. I just stuffed the bags inside and tore off the little plastic prong-y things. Super easy! I used to have them in a tissue box and that worked too! Here’s the pop-a-plate and pop-a-tissue. (I don’t have or want either one of these, I think they are kind of a waste of money, and now I don’t have anywhere to put them.)
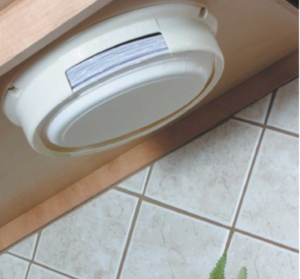
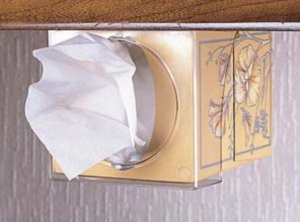 These are both at Camping World.
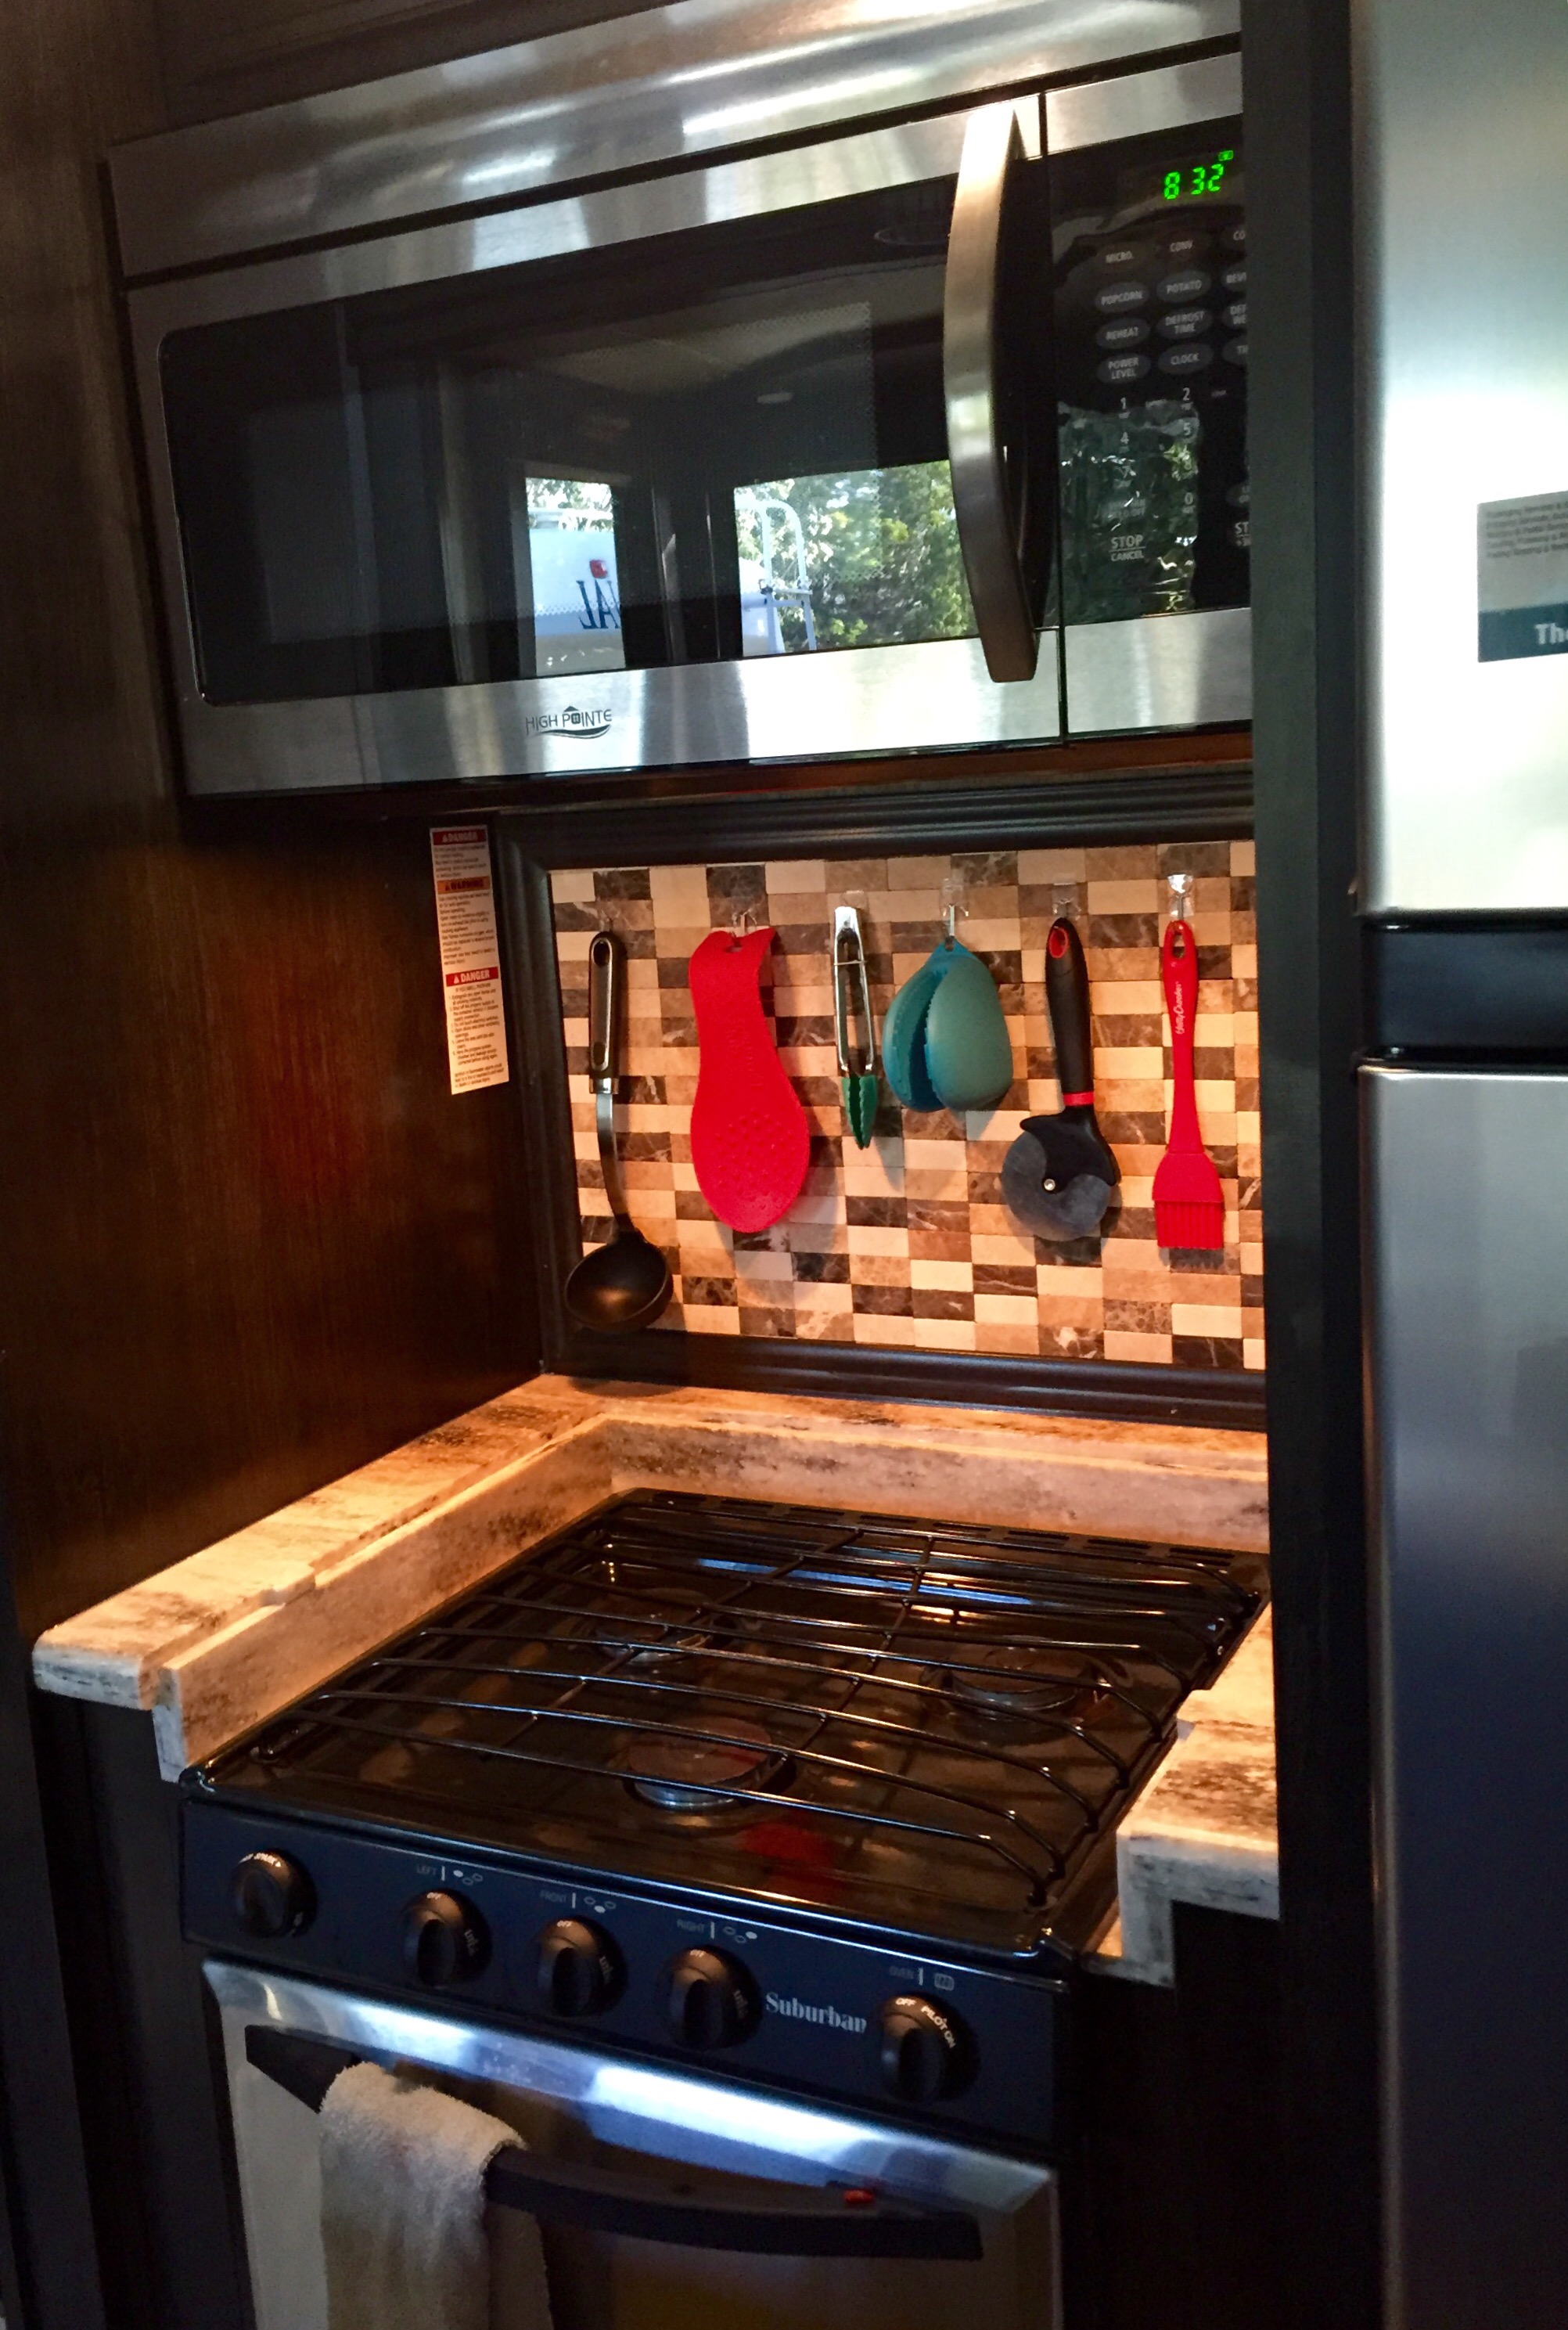
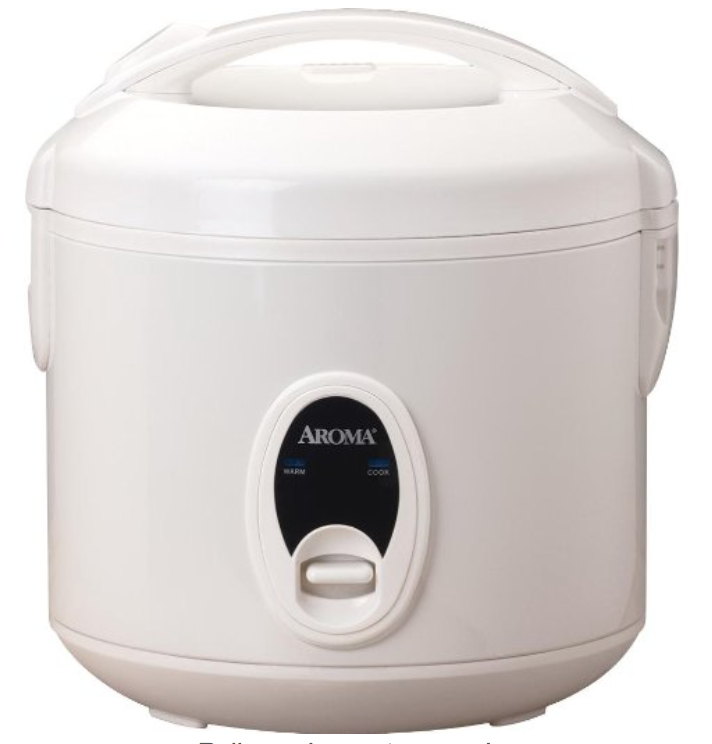
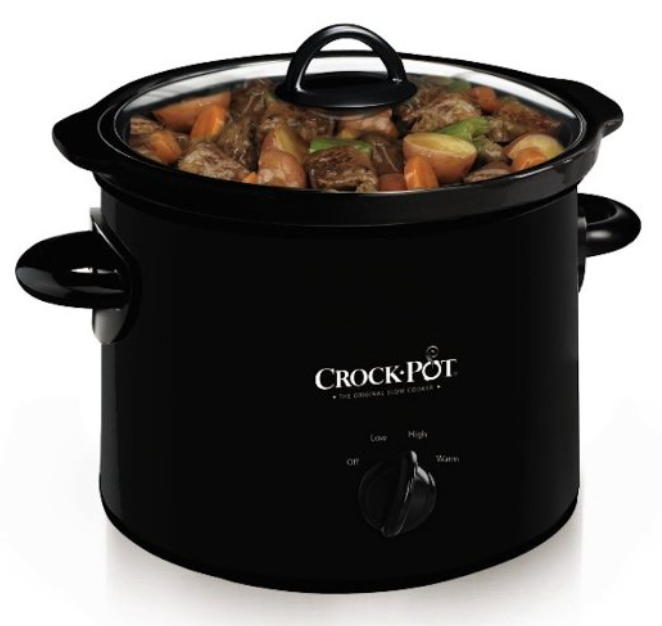
 - Some kitchen appliances that I can’t really function without:
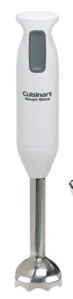
Immersion Blender (I actually found this at Goodwill for $3!!!)


If you have any ideas that I missed or some favorite camper-sized things of your own, please share!