
Making your own heated water hose is easiest when you don’t NEED it! When you have to make one in 20 degree, windy, snow, it’s no fun at all! (We’ve done that twice…) But this time we got smart about it! We decided to make it while it’s warm so we could take our time and do it right. Here’s what you’ll need:
- Preferably 2 people, but you could do it with one.
- A hose in your choice of length (ours is 50′ since it seems like we always need a long hose in winter)
- Heat cord, available at Lowe’s, Home Depot, Menard’s, etc. (in a corresponding length, a little longer is even better in case you need to heat the spigot yourself)
- Electrical tape
- Foam pipe insulation
- Gorilla Tape or Duct Tape
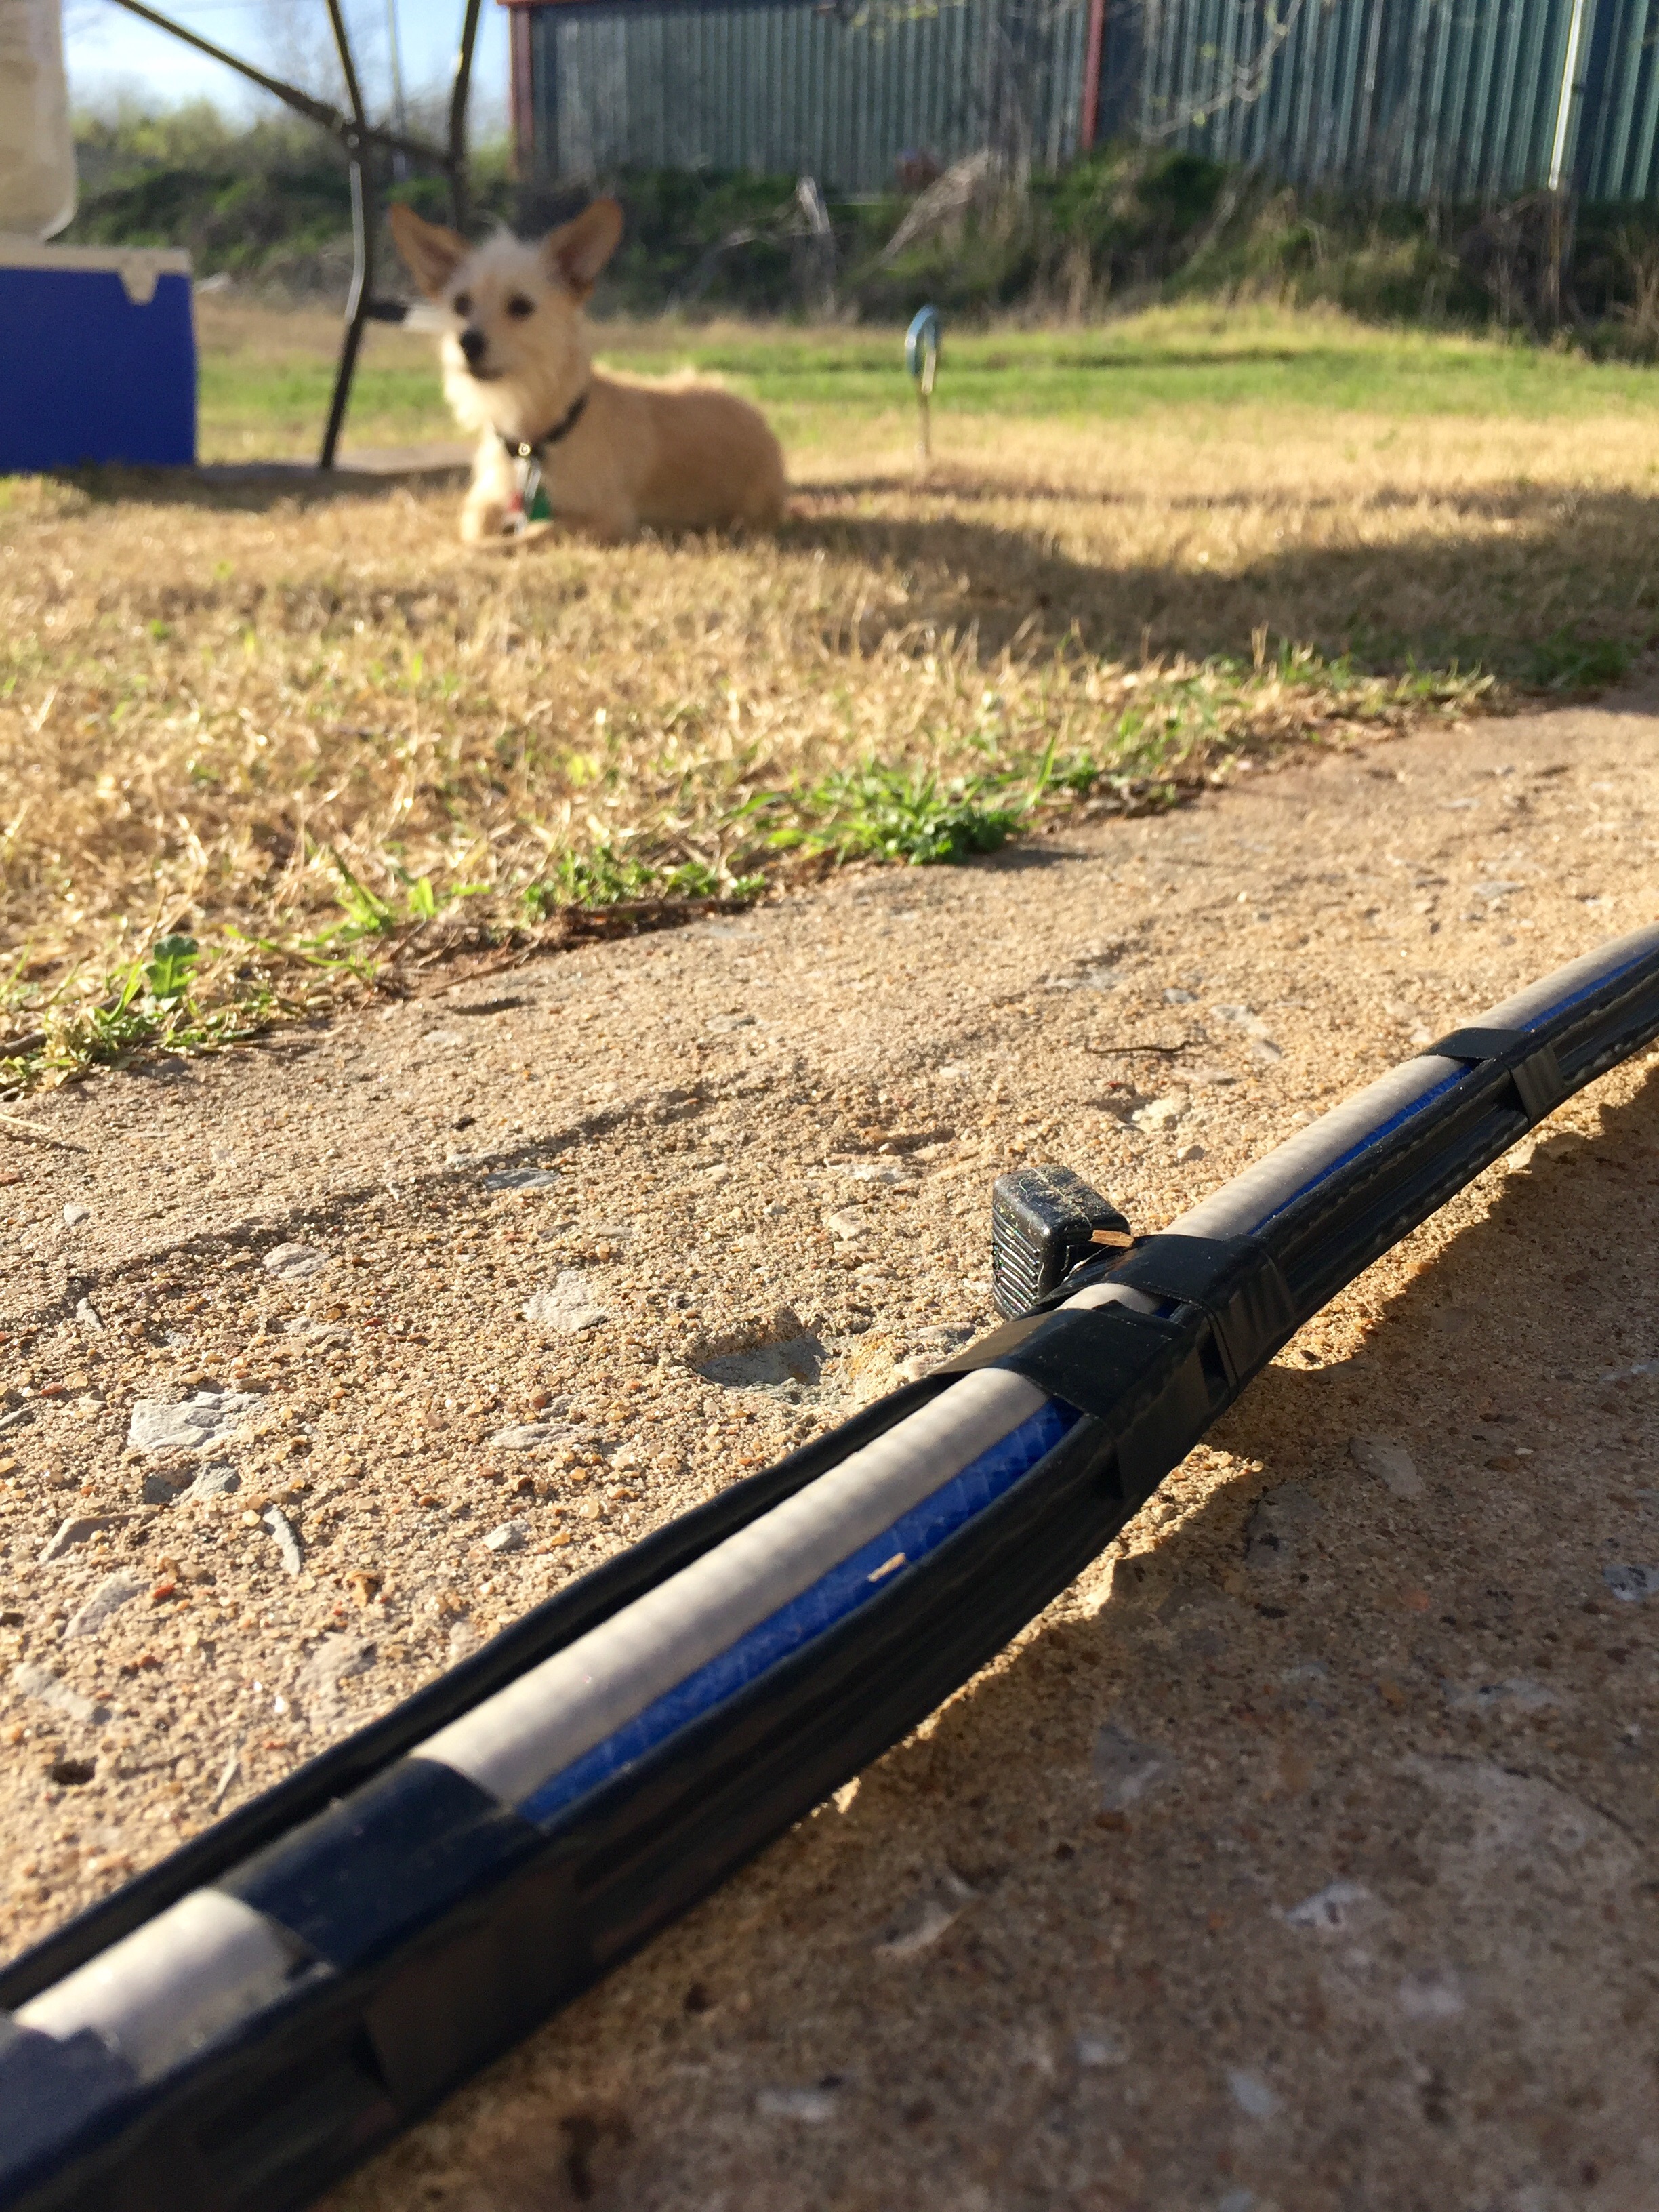
Start by laying out your hose and lay the heat cord out along with it.
 Use electrical tape to attach the two, spacing about every 8″ to a foot apart. If your heat cord is long enough, leave some hanging off the spigot end.
 Next, put your foam pipe insulation around the duo, trying to have the heat cord away from the slit opening. We bought 7/8″ foam and it fit our 5/8″ hose with the heat cord perfectly.
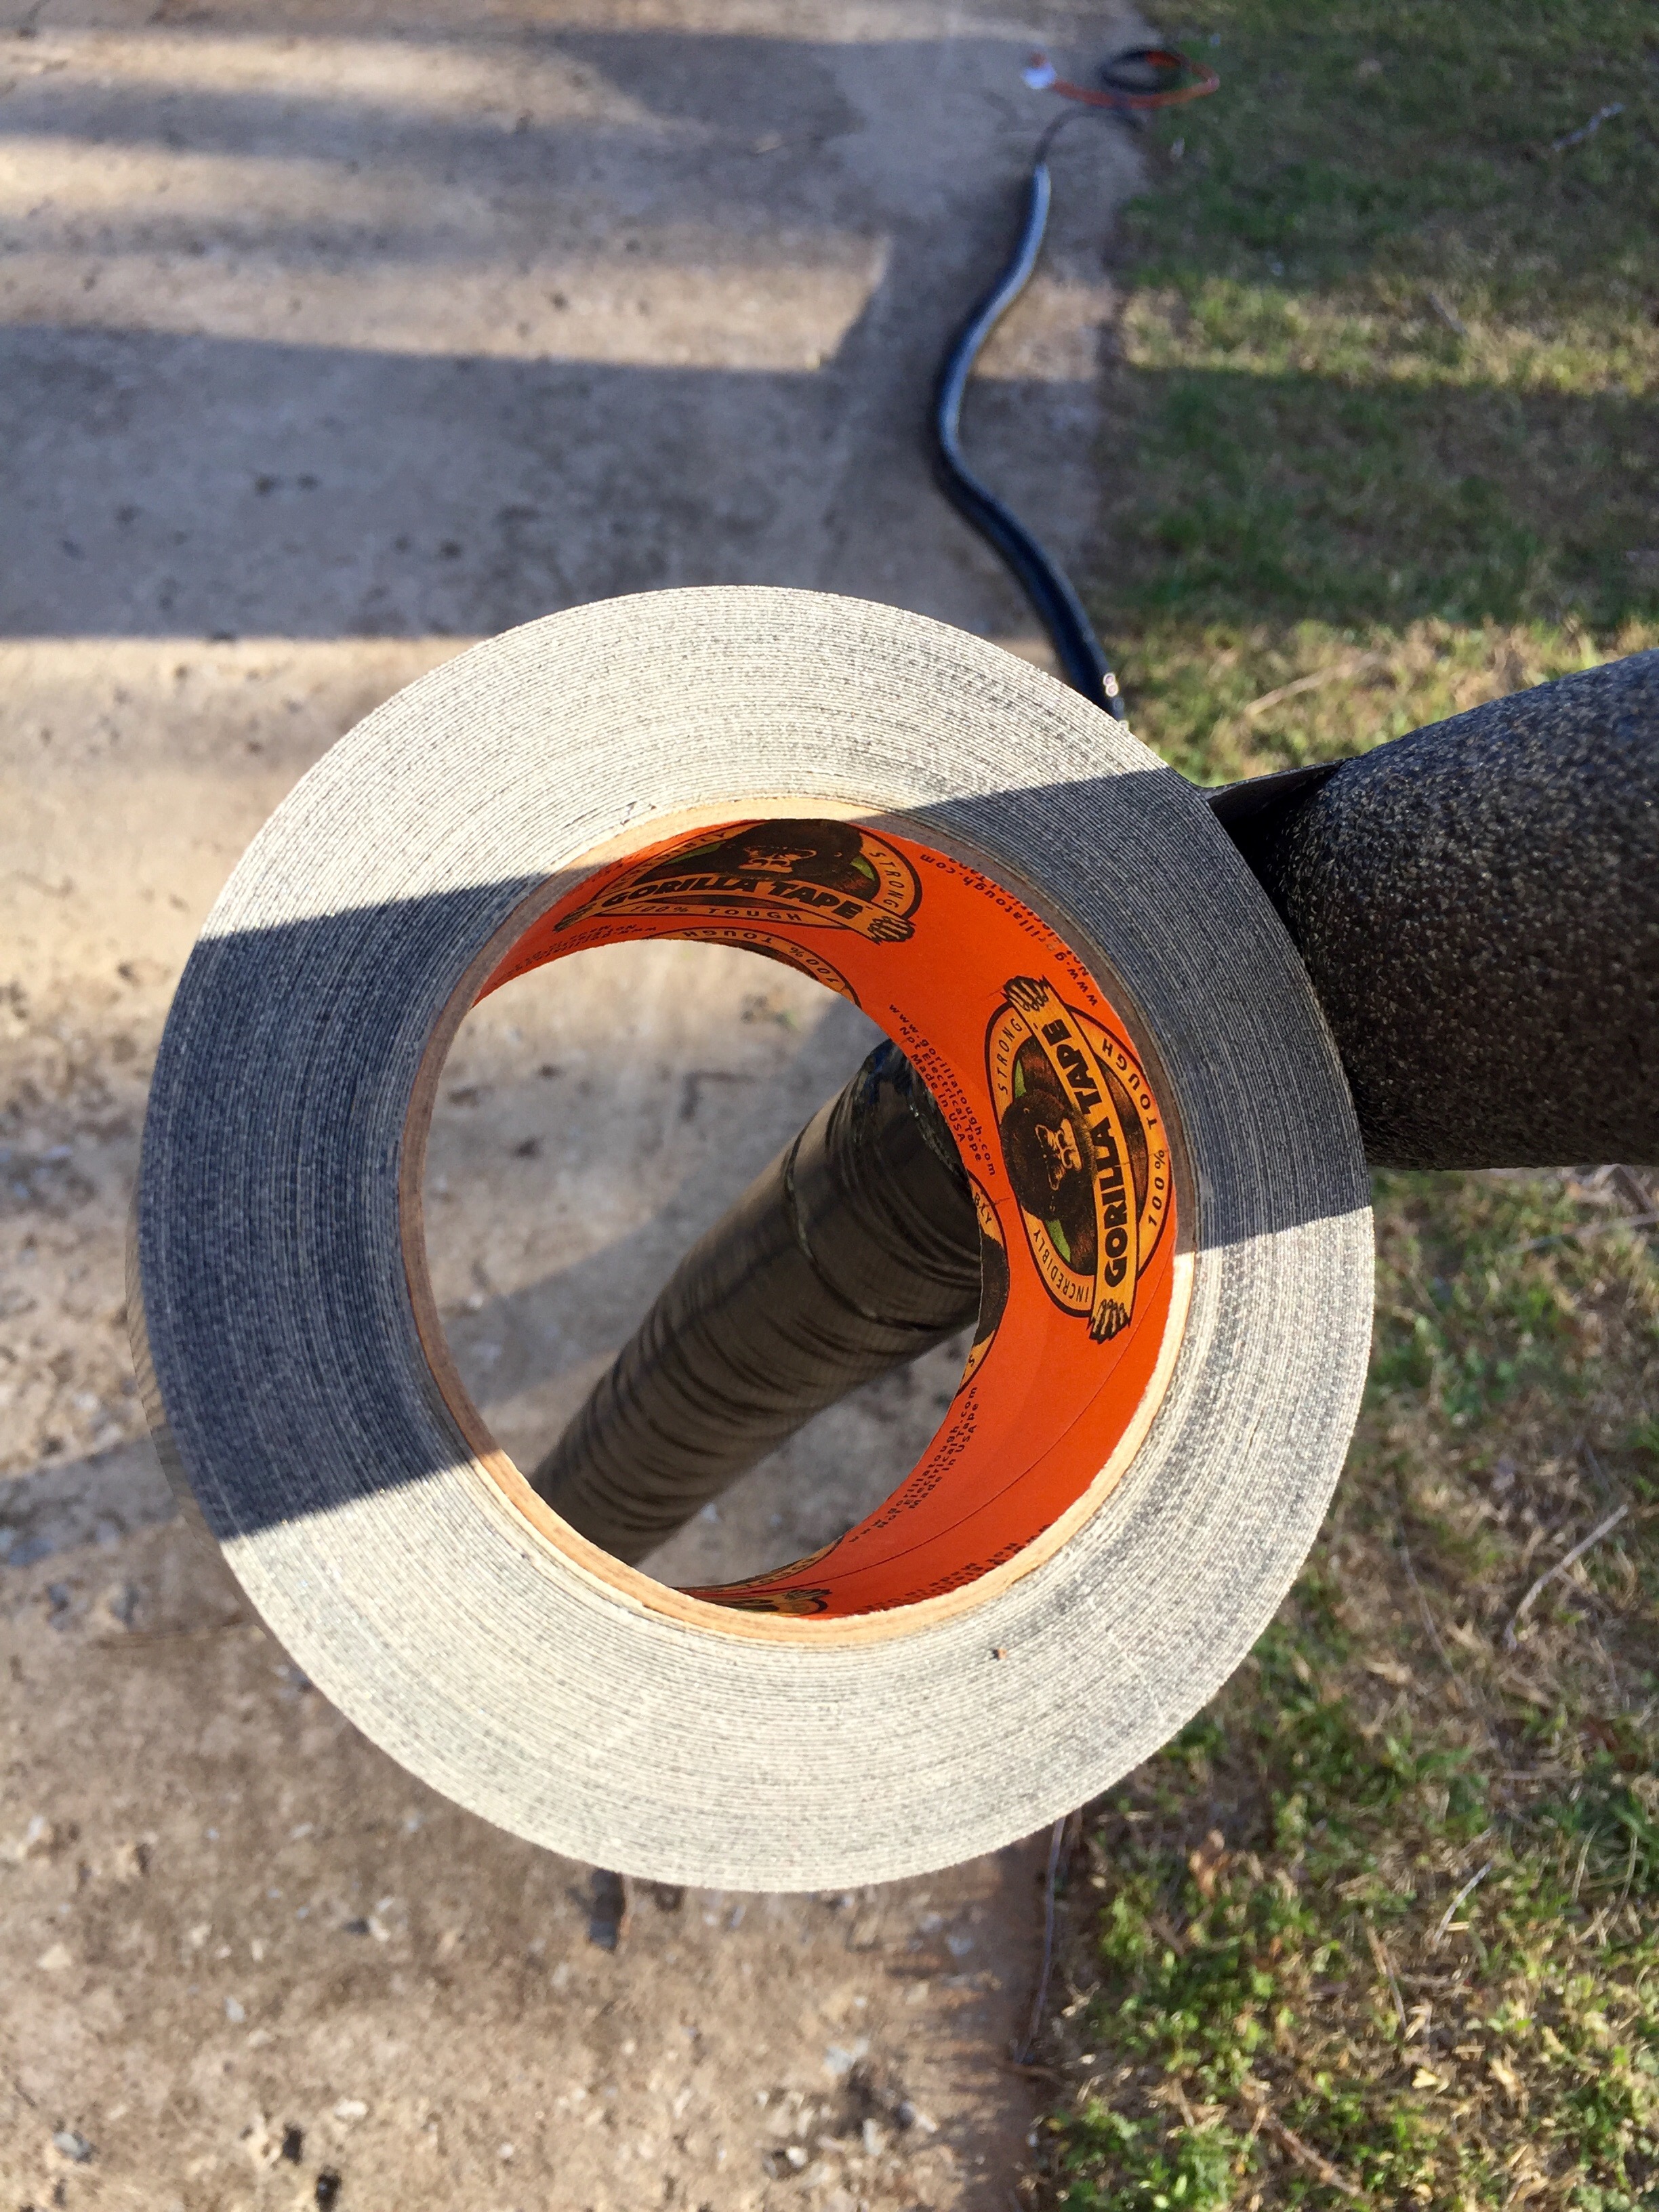
 Use the Gorilla or Duct tape and wrap the foam, overlapping each wrap to keep it waterproof.
 Done! We wrapped ours around a little wooden spool Allen grabbed from work to make it easier to store in the cubby.
 All-in-all our 50′ heated water hose cost us about $135 and took a couple of hours. At least we will be prepared if we get sent to North Dakota in November again!

Please be careful of using hoses like in this article. Regular white Rv hoses or thin garden hoses, can and will get too hot especially with heat tape on both sides. They are not meant to be in contact with a heat source and I have seen them cause fires. Use white pex pipe, find it at plumbing or hardware stores.
LikeLike
Pingback: Ultimate Guide to Winter RVing: Where to go to Escape the Cold and Tips for Surviving the Cold! - Follow Your Detour