Rachel tested. Allen approved.
I’m really proud of this pesto! It was my first try and it came out really tasty! We had it last night for dinner… Continue reading

Rachel tested. Allen approved.
I’m really proud of this pesto! It was my first try and it came out really tasty! We had it last night for dinner… Continue reading
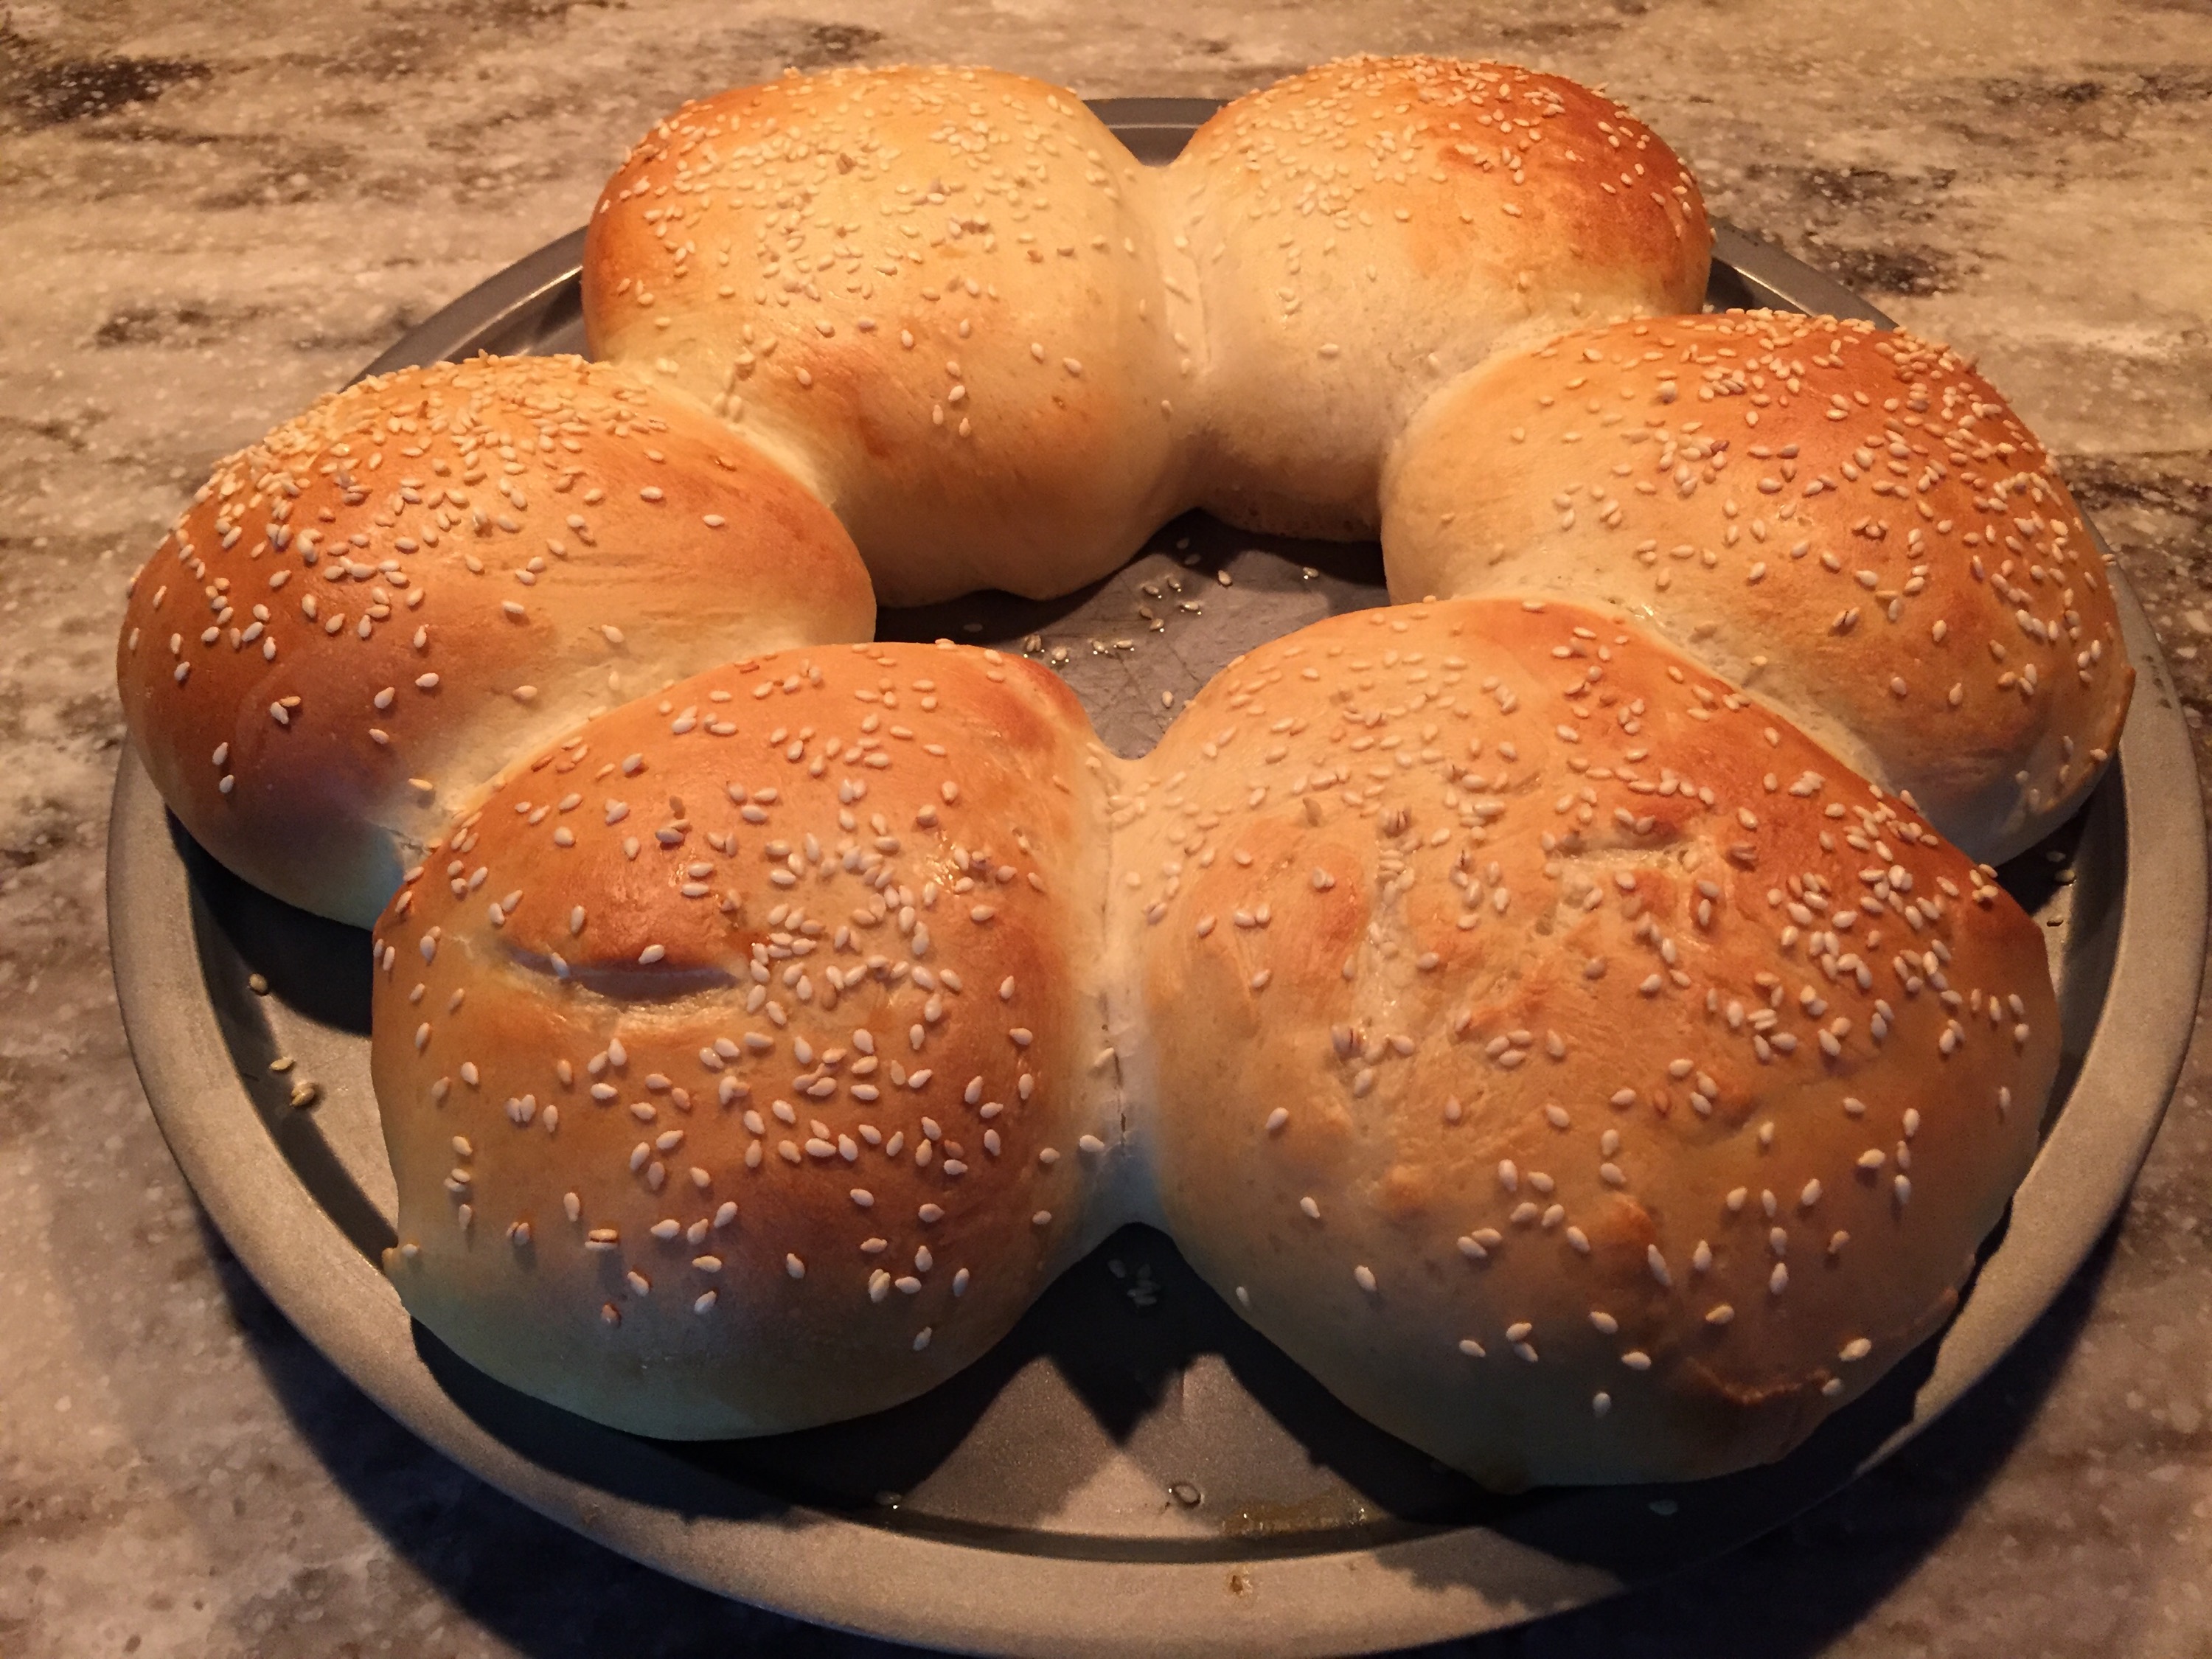
Hamburger buns that is.
Homemade hamburger buns.
Big homemade hamburger buns.
I’m still trying to get away from buying bread at the store. If I can make it at home then I know what’s in it, it’s cheaper, and it tastes better. So I just did a Google search and found this recipe on So Very Blessed.
Here’s what I did:
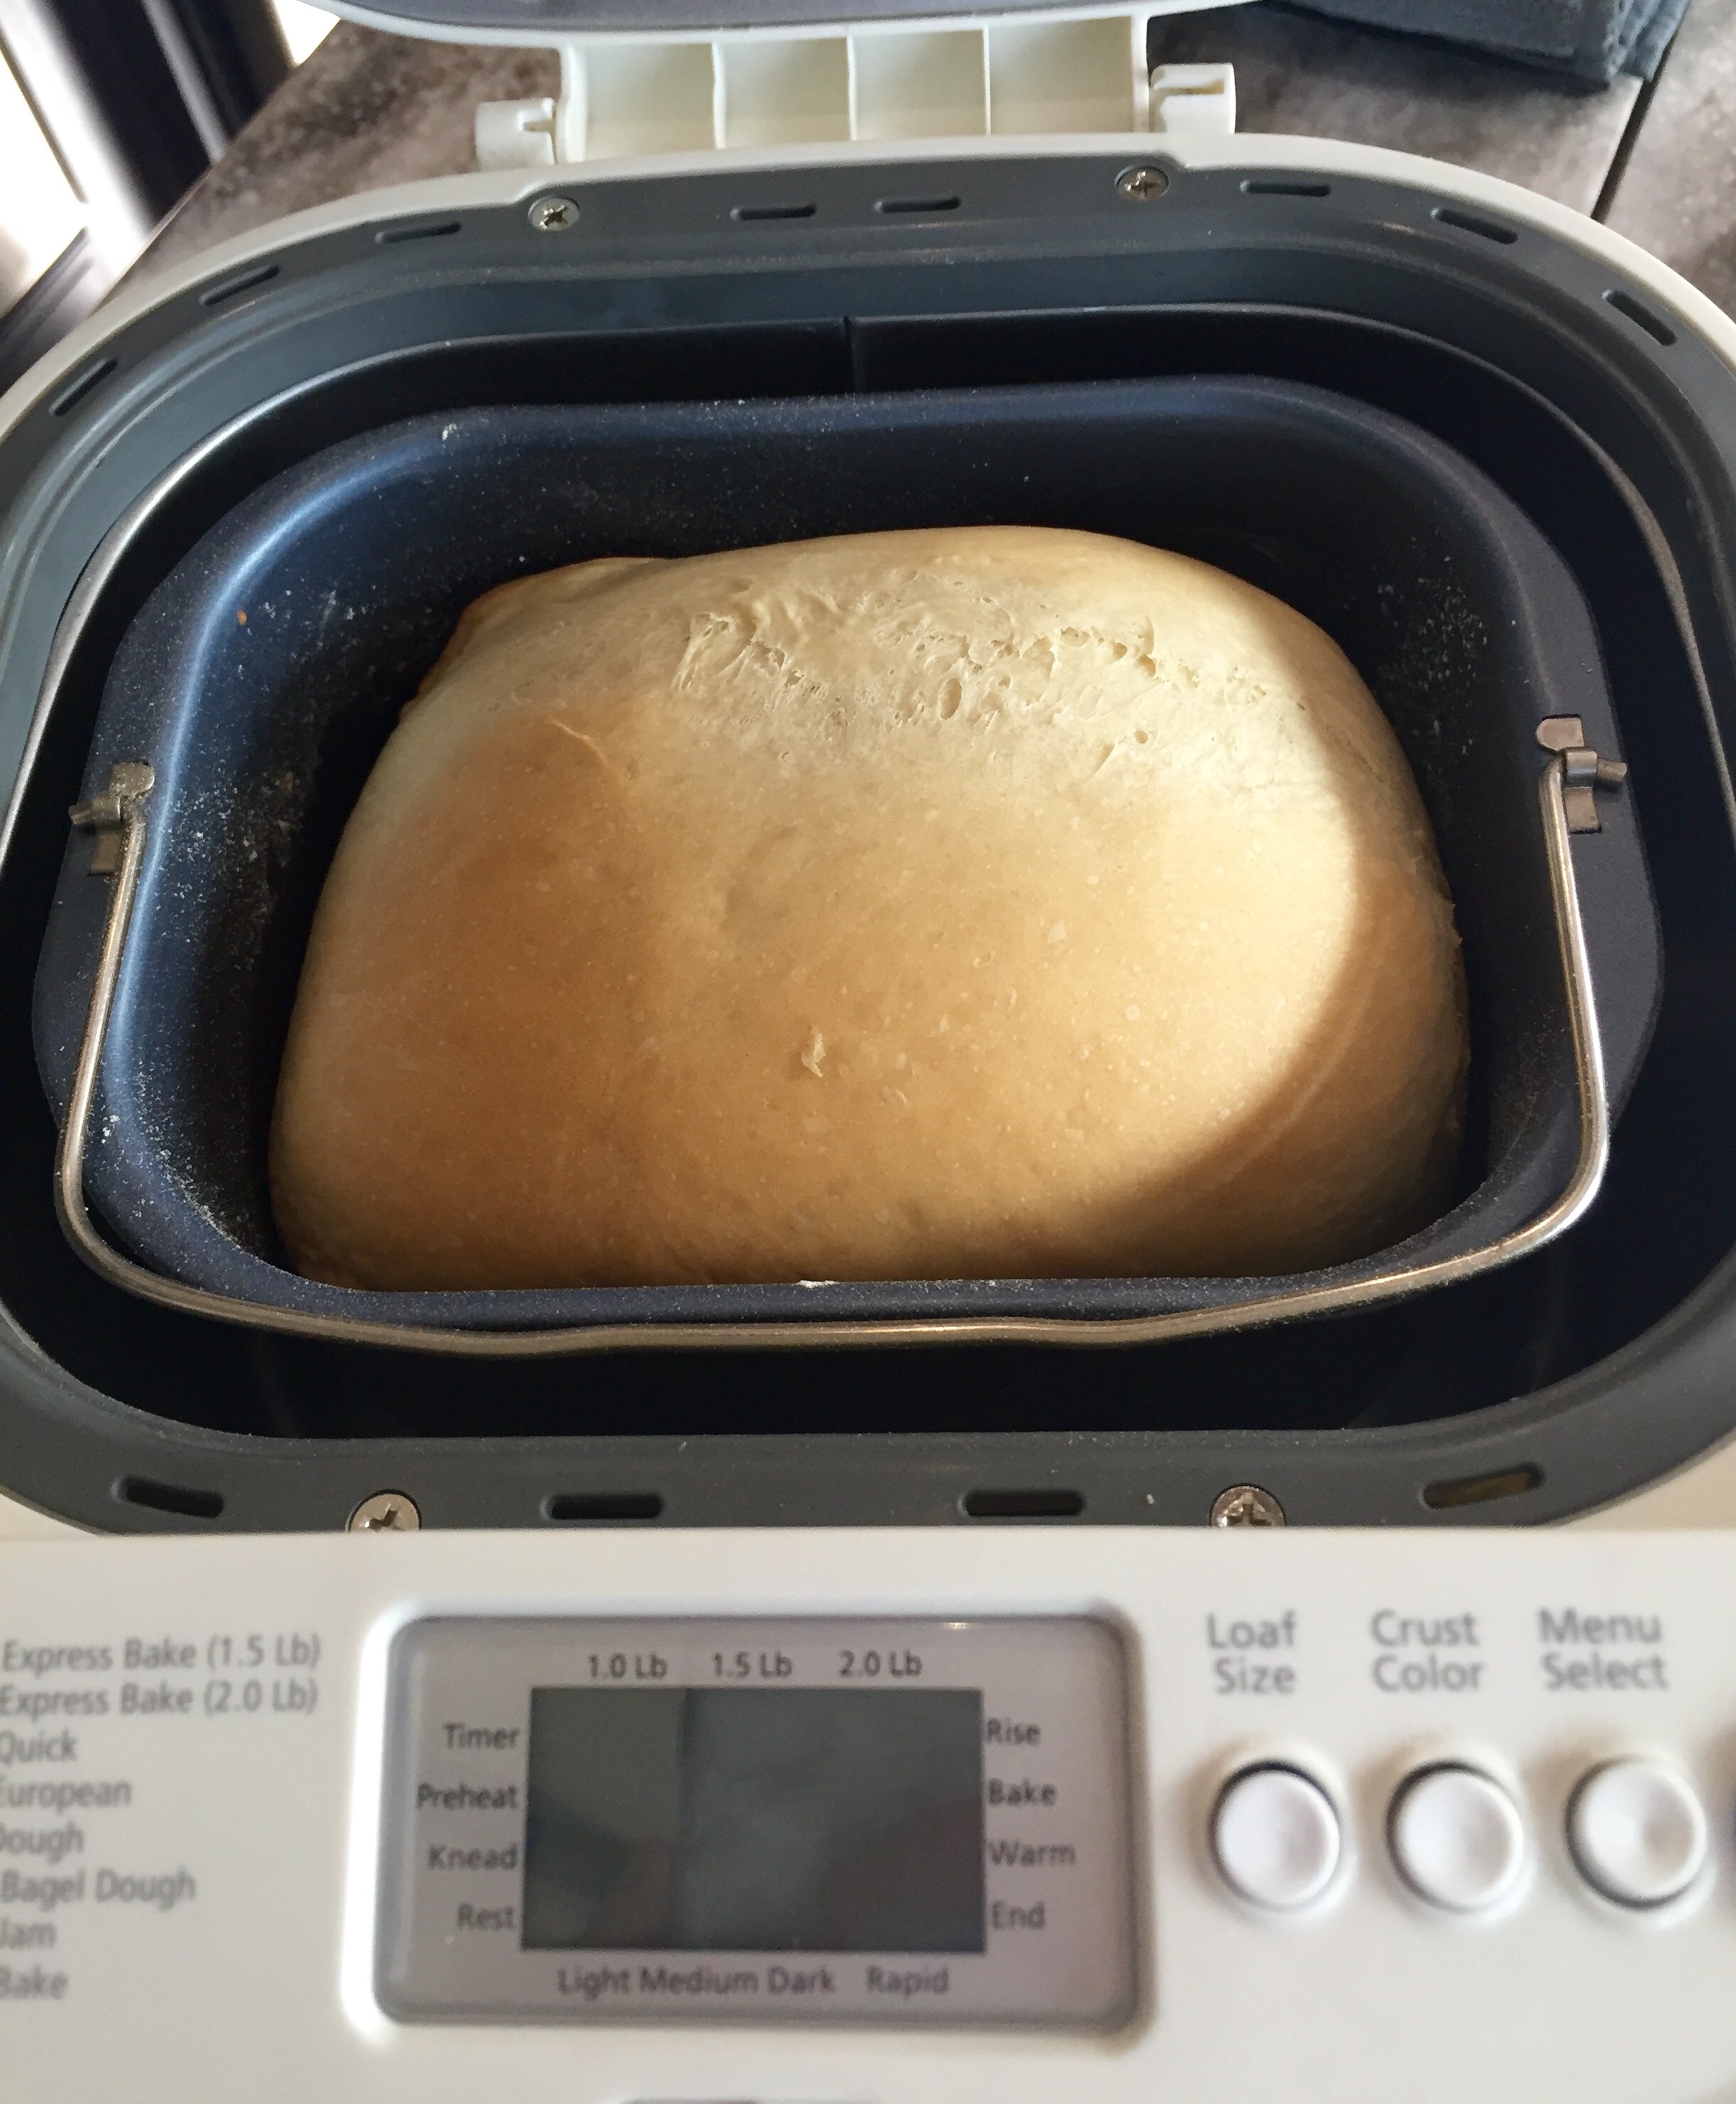
Put all these ingredients in the bread machine in the order you are supposed to.
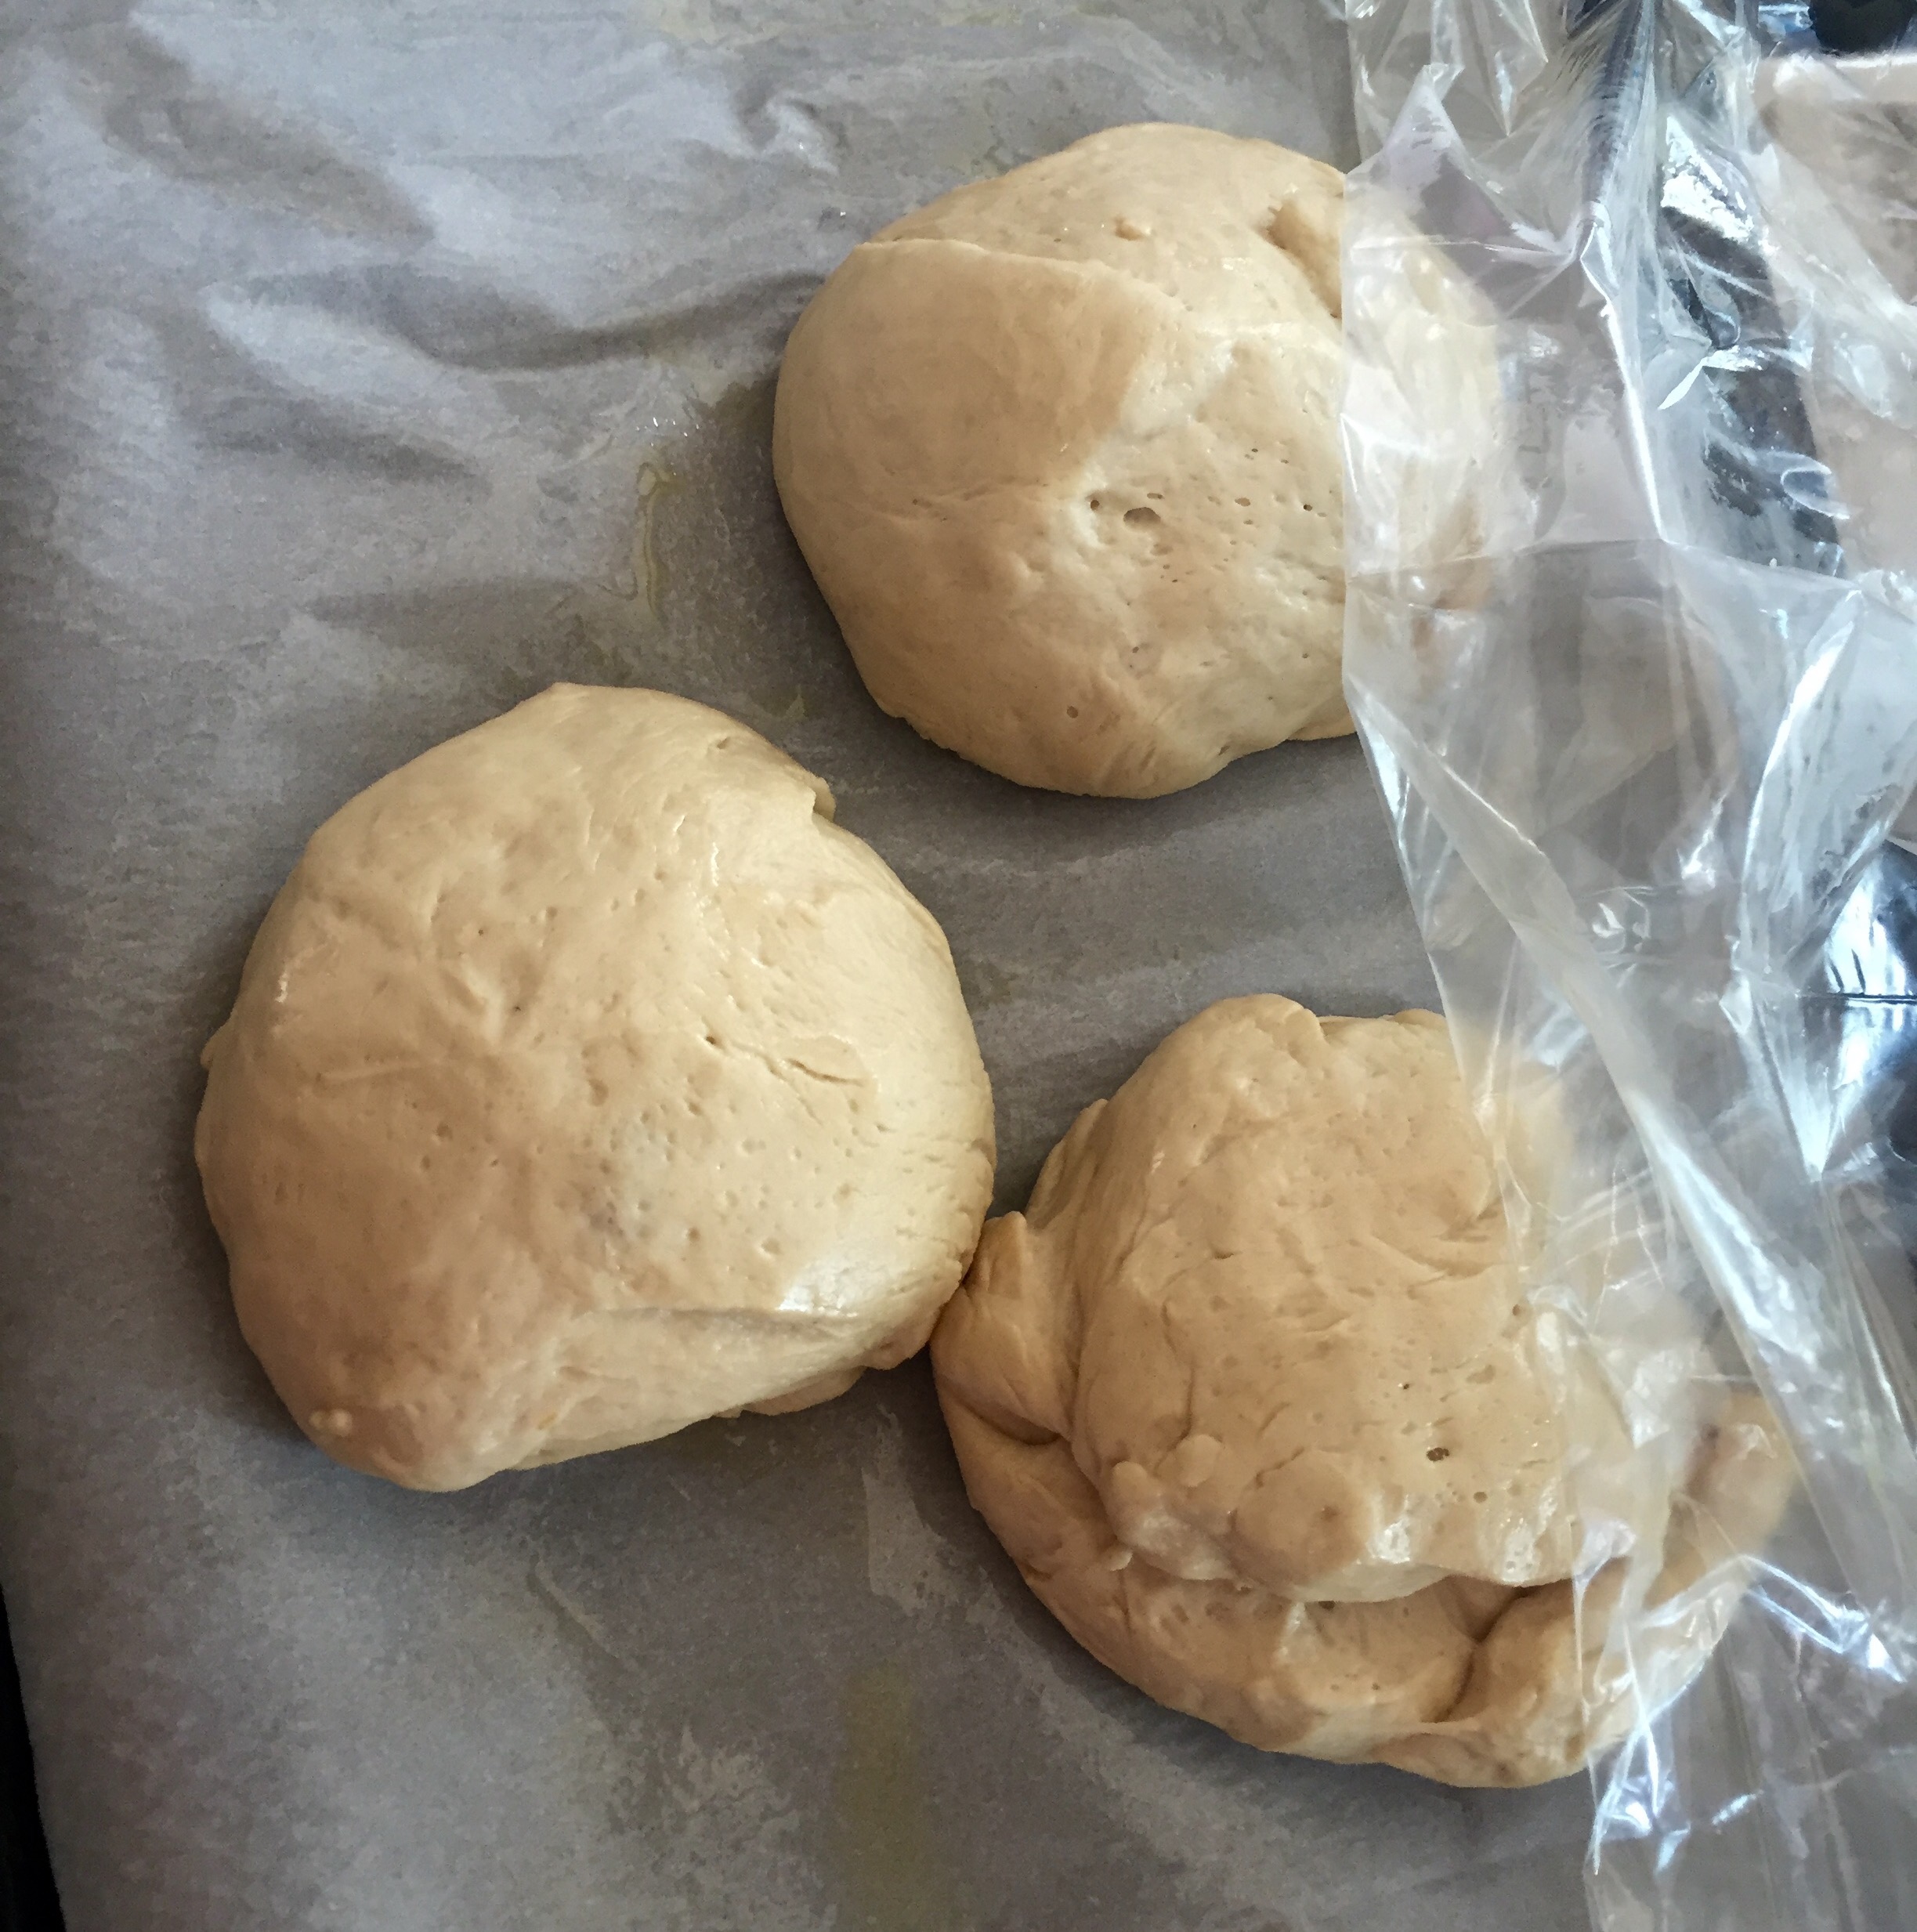
Set your machine for the “dough cycle”. After about 2hrs, whenever it’s finished, take the dough ball out and divide it into 6 – LARGE – (or 8 if you want smaller buns) equal parts. Shape into a bun. (Make a round ball and kind of pat it down a little.) Put these on a greased baking sheet, cover with a towel and let them sit for almost an hour. They will puff up a little.

After the hour, brush them with an egg wash (1 egg white with 2tbs water) and sprinkle with sesame seeds. You don’t HAVE to do this, but I like it. You could do minced onion on top if you wanted, I think it’d be delicious, but I would wait to do the egg wash and onion until just a few minutes before they are finished because the onion will burn if you leave it in too long, then you have ruined buns!
Stick these puppies in a 400 degree oven (or a 375 degree convection microwave oven) for about 12 minutes. Keep an eye on them so they don’t get too dark.
I suggest letting them cool completely before slicing. We had chicken salad on these last night for dinner and tonight I’m grilling burgers for them. (delicious 1/2 turkey, 1/2 hot Italian sausage burgers… yum!)
For lunch yesterday, during the terrible Bengals game, we had those bagels I made the other day with some leftover chili I thawed out for lunch. (perfect for the rainy day we had here in Texas) Allen thought they were delicious, and he claims to not be a bagel fan! (He had two!) I’ll have to make them again soon!
BREAD
So I have still been searching for a recipe that makes really good sandwich bread. Even though Allen likes most of them, some more than others, I haven’t really found one fit for a pb&j… (And I love pb&j sammies!) But I stumbled across one 2 days ago. I can’t believe one simple step made such a world of difference!

a text from my boo yesterday at lunchtime
The trick is to put the hot water, yeast and sugar in the bread pan and let it sit for about 10 minutes. The yeast will foam a little. Then you add the remaining ingredients, set the machine to basic cycle with rapid crust. So. Delicious.

BAGELS
Also, I tried my hand at homemade bagels yesterday! I made them my version of Everything Bagels… I found the recipe on King Arthur Flour’s site (here). I cut the recipe in half since Allen isn’t a huge fan of bagels… Here’s my version and it made 4 normal size bagels.
Put all that in the bread machine and set it for bagel dough. Once it’s finished, cut the dough into 4 equal parts and shape into smooth, round balls. (Or try your best at smooth and round) Then place them on a baking sheet, lined with parchment paper, lightly greased, cover with plastic wrap and let them sit for about a half hour.
 During the half hour, mix together in a large, wide pan:
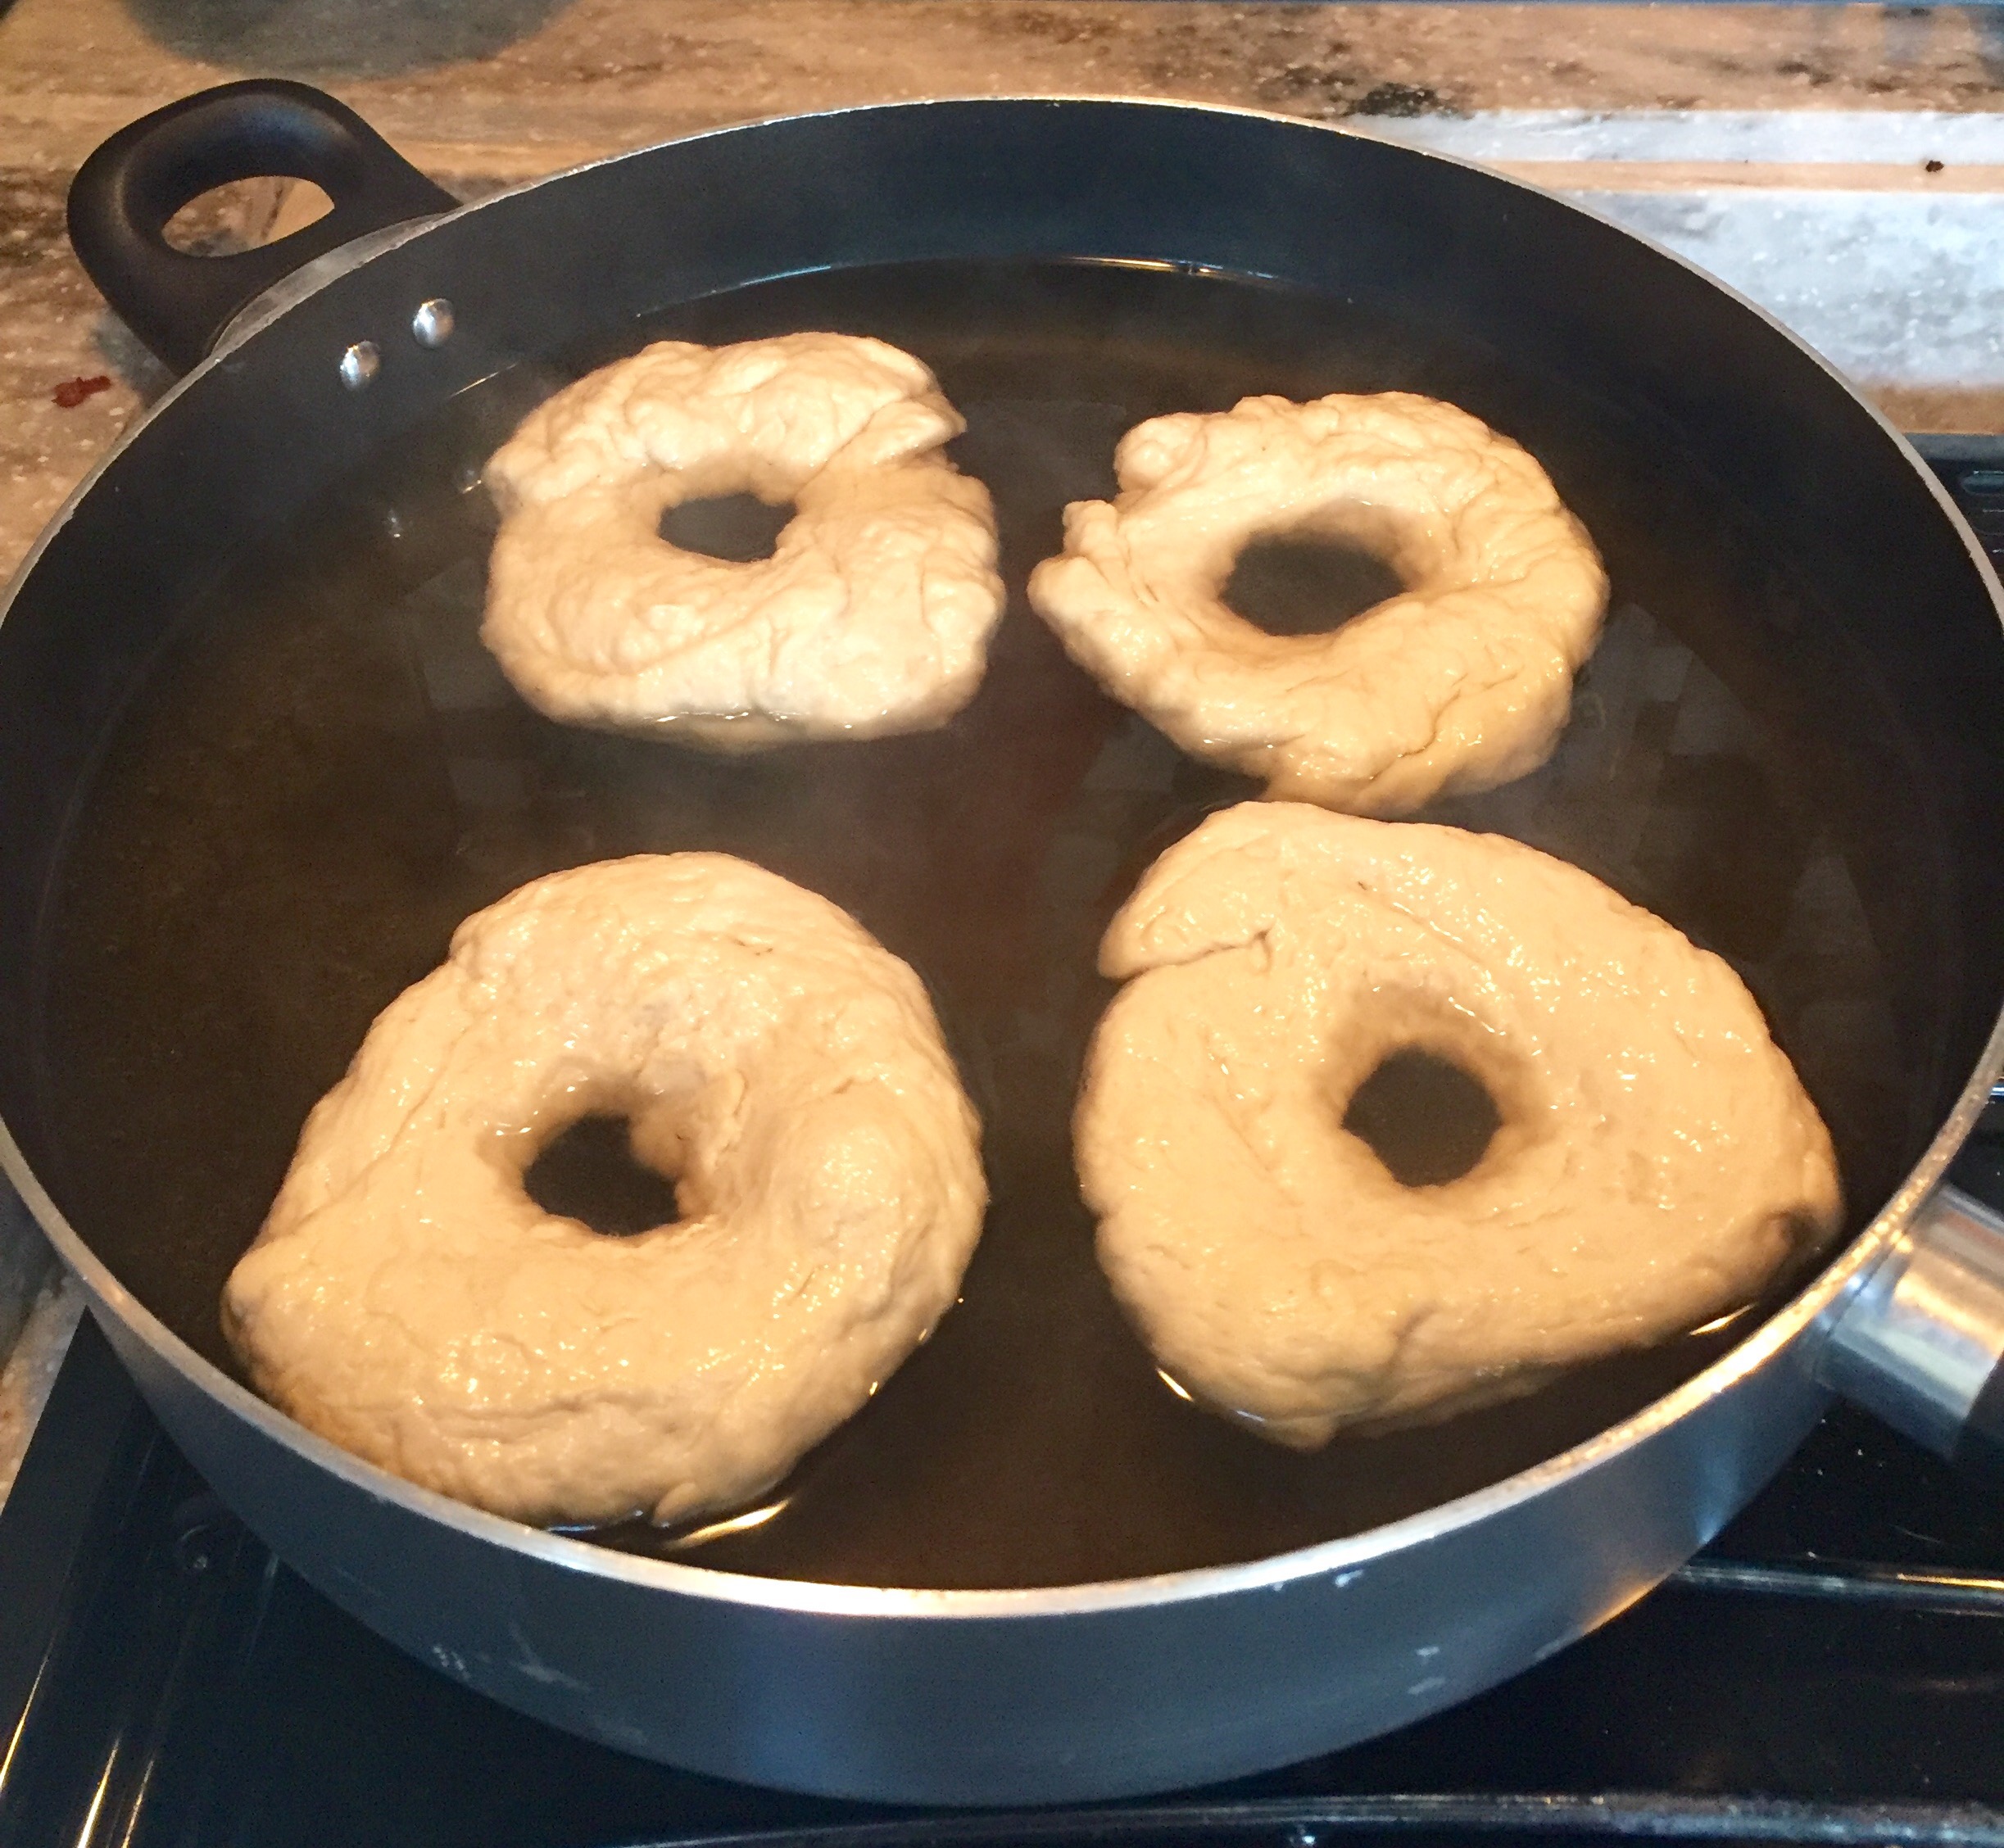
Bring all that to a boil then reduce it to a simmer. Preheat the oven to 425 (or convection oven to 400). Then poke a hole through the center of the doughball and twirl around your pointer finger until the hole is about 2″ in diameter. (Mine look perfect, right?)
 Put the bagels into the water bath. Cook, simmering, for 2 minutes on one side then flip them over and cook for another minute.
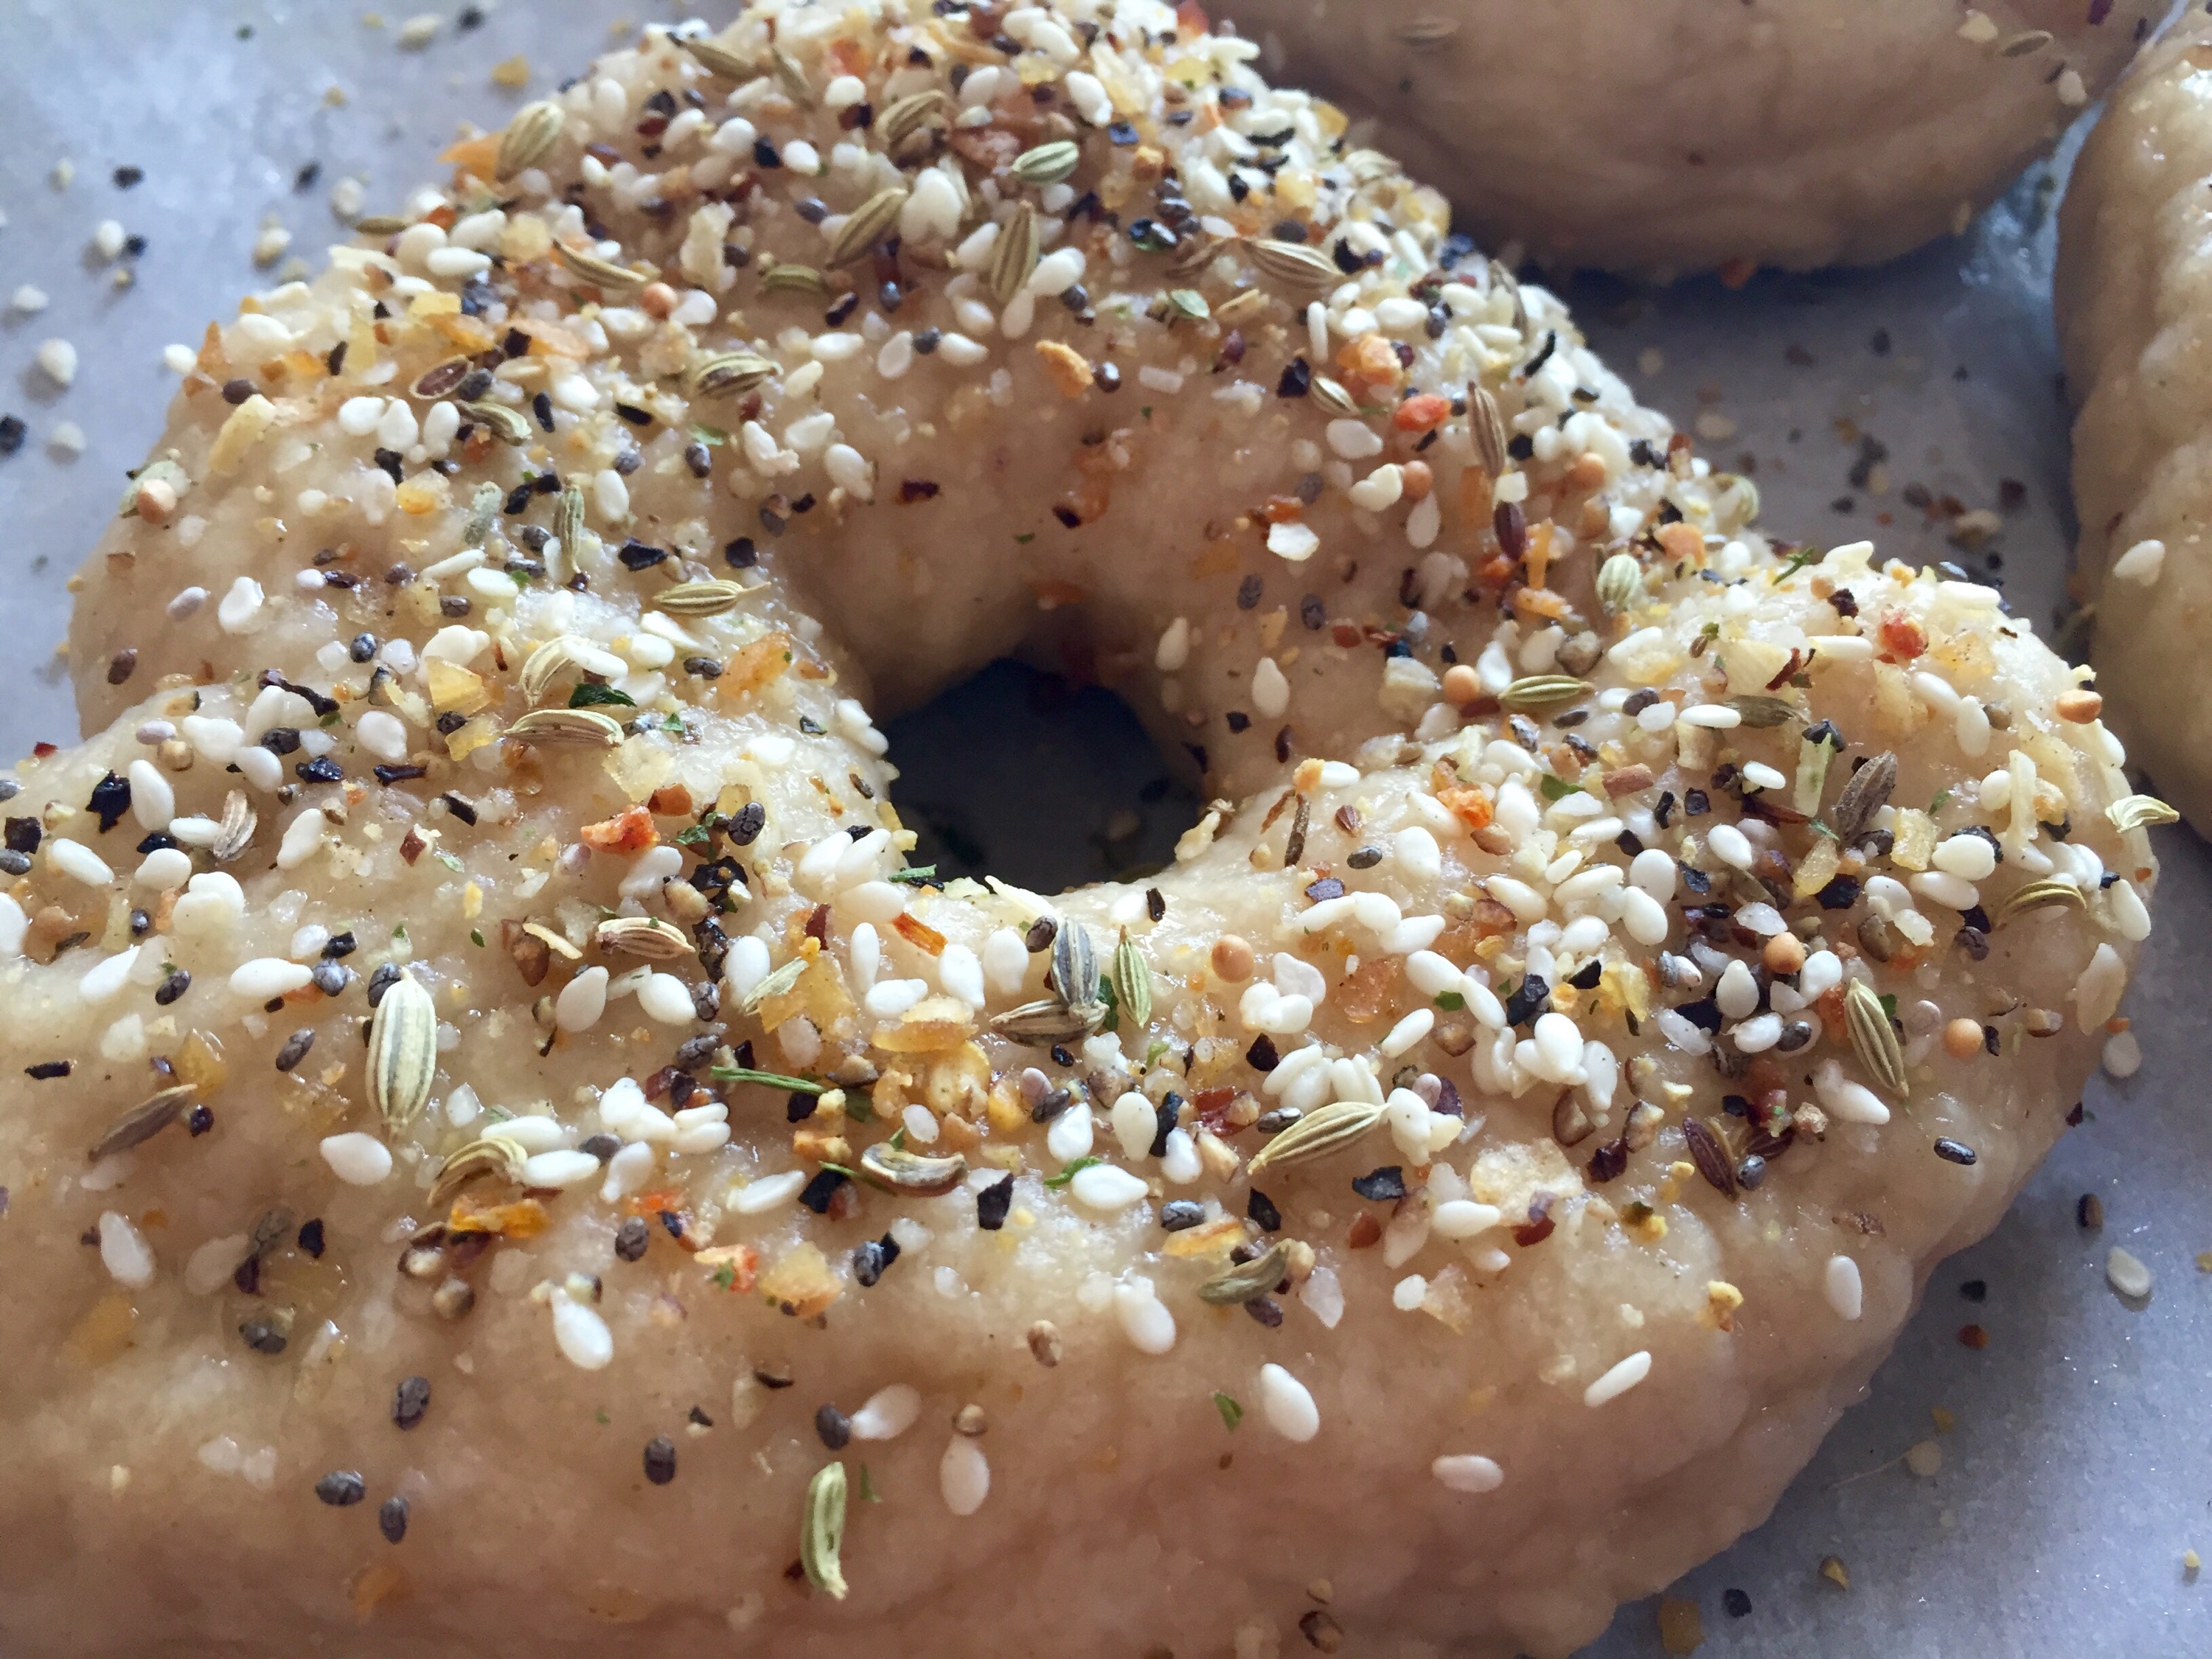
Take them out and place them back on the parchment lined baking tray. Sprinkle with seasoning if desired… (It’ll stick better if you brush the tops of the bagels with an egg wash first – 1 egg white mixed with 2 tbs water)
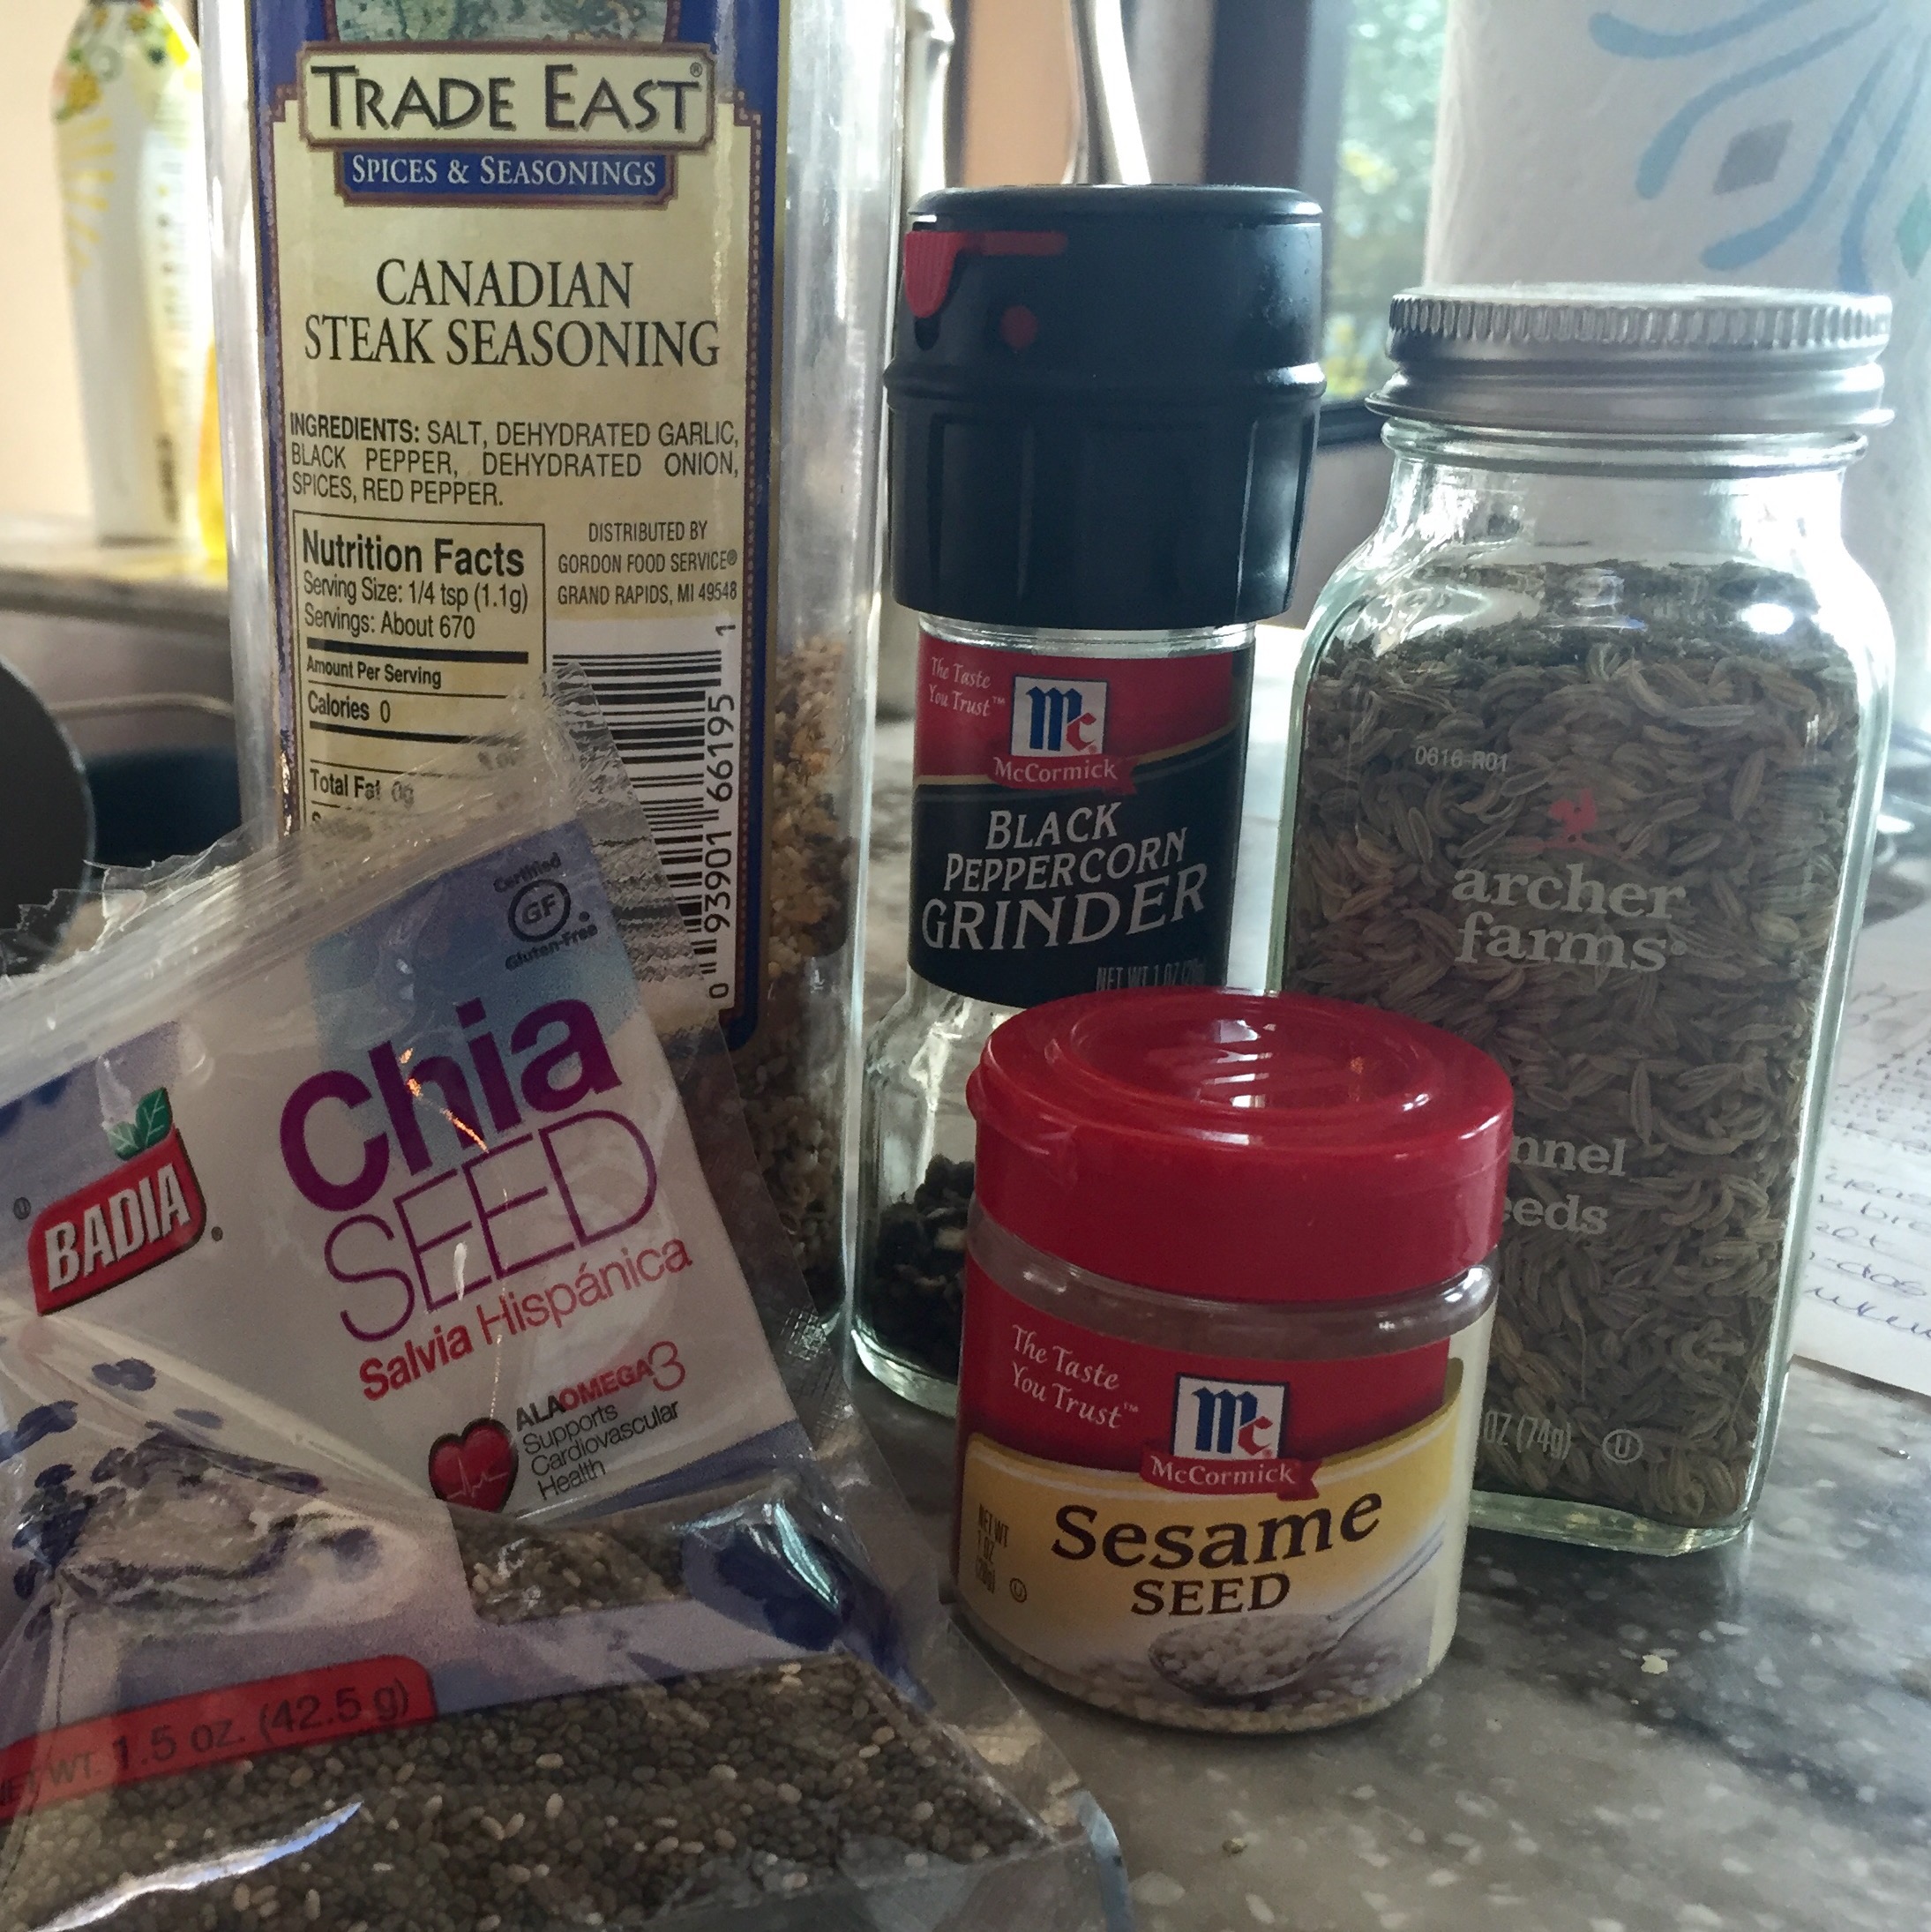
My “everything” seasoning mix…
 Bake them in the oven for 15 minutes, flip them over, bake 10 minutes more. Then if you still want them a little darker in color, flip them back over, right side up for about 5 minutes. Cool completely on a wire rack before slicing.
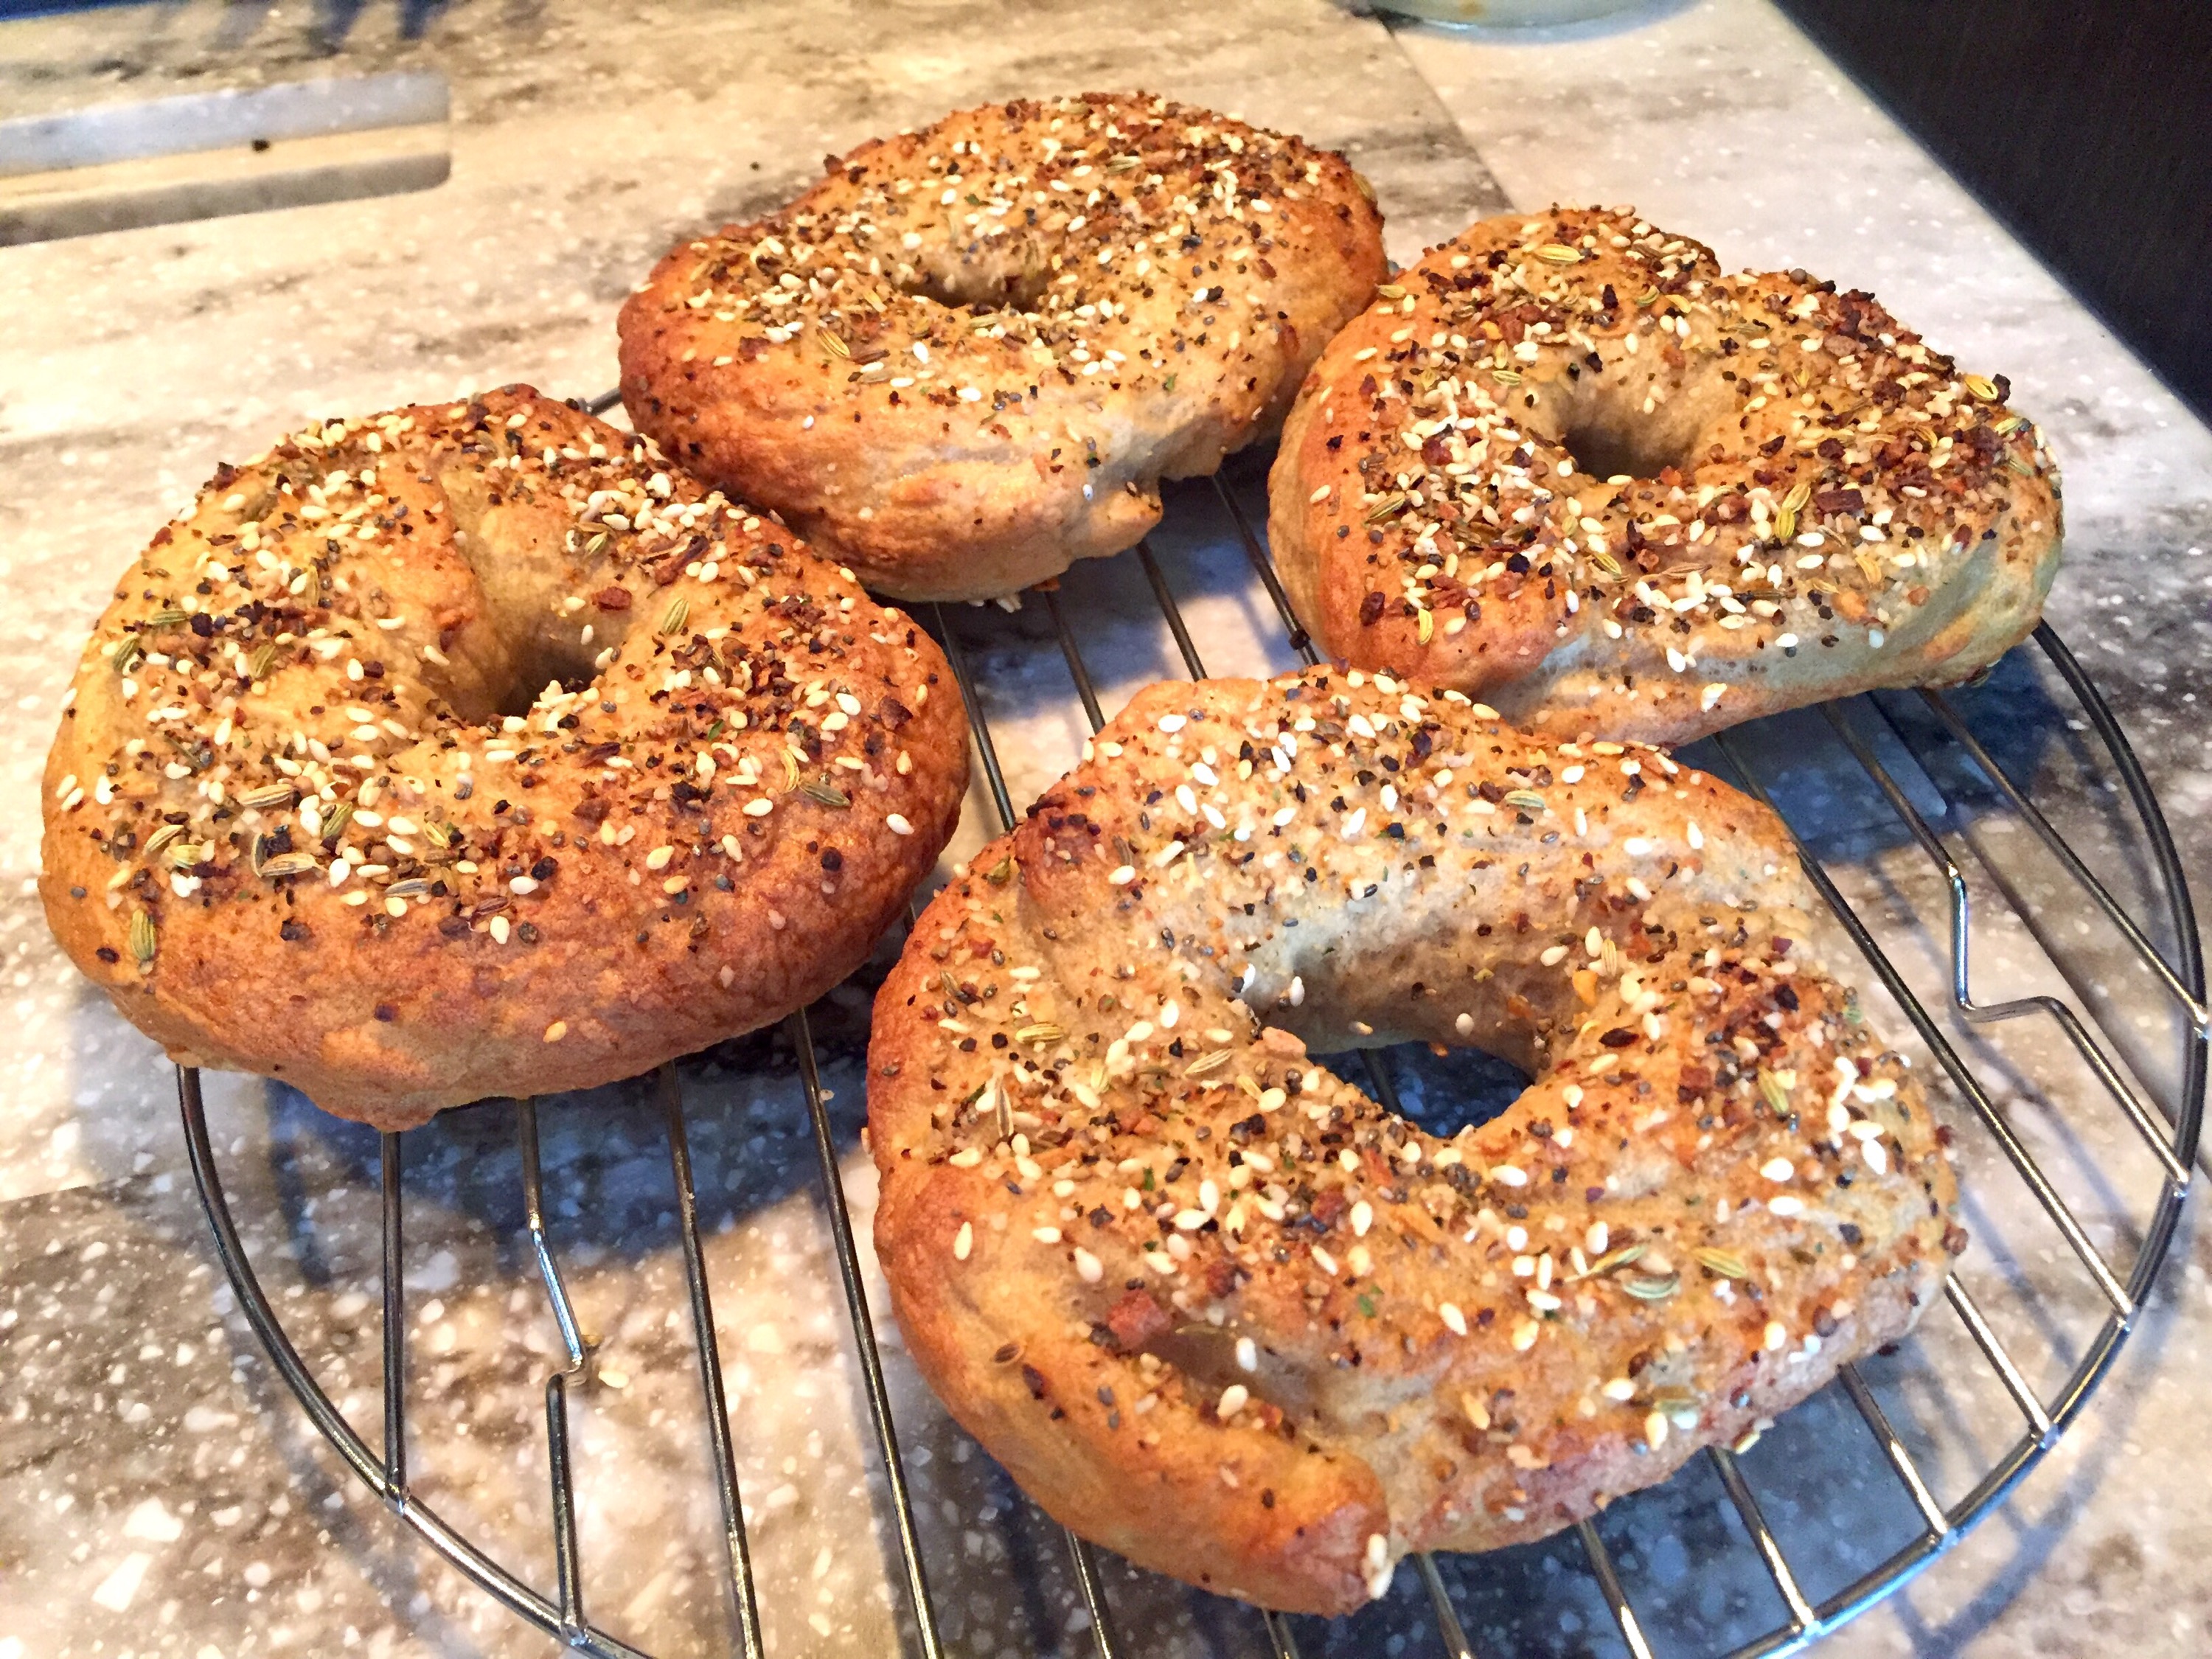
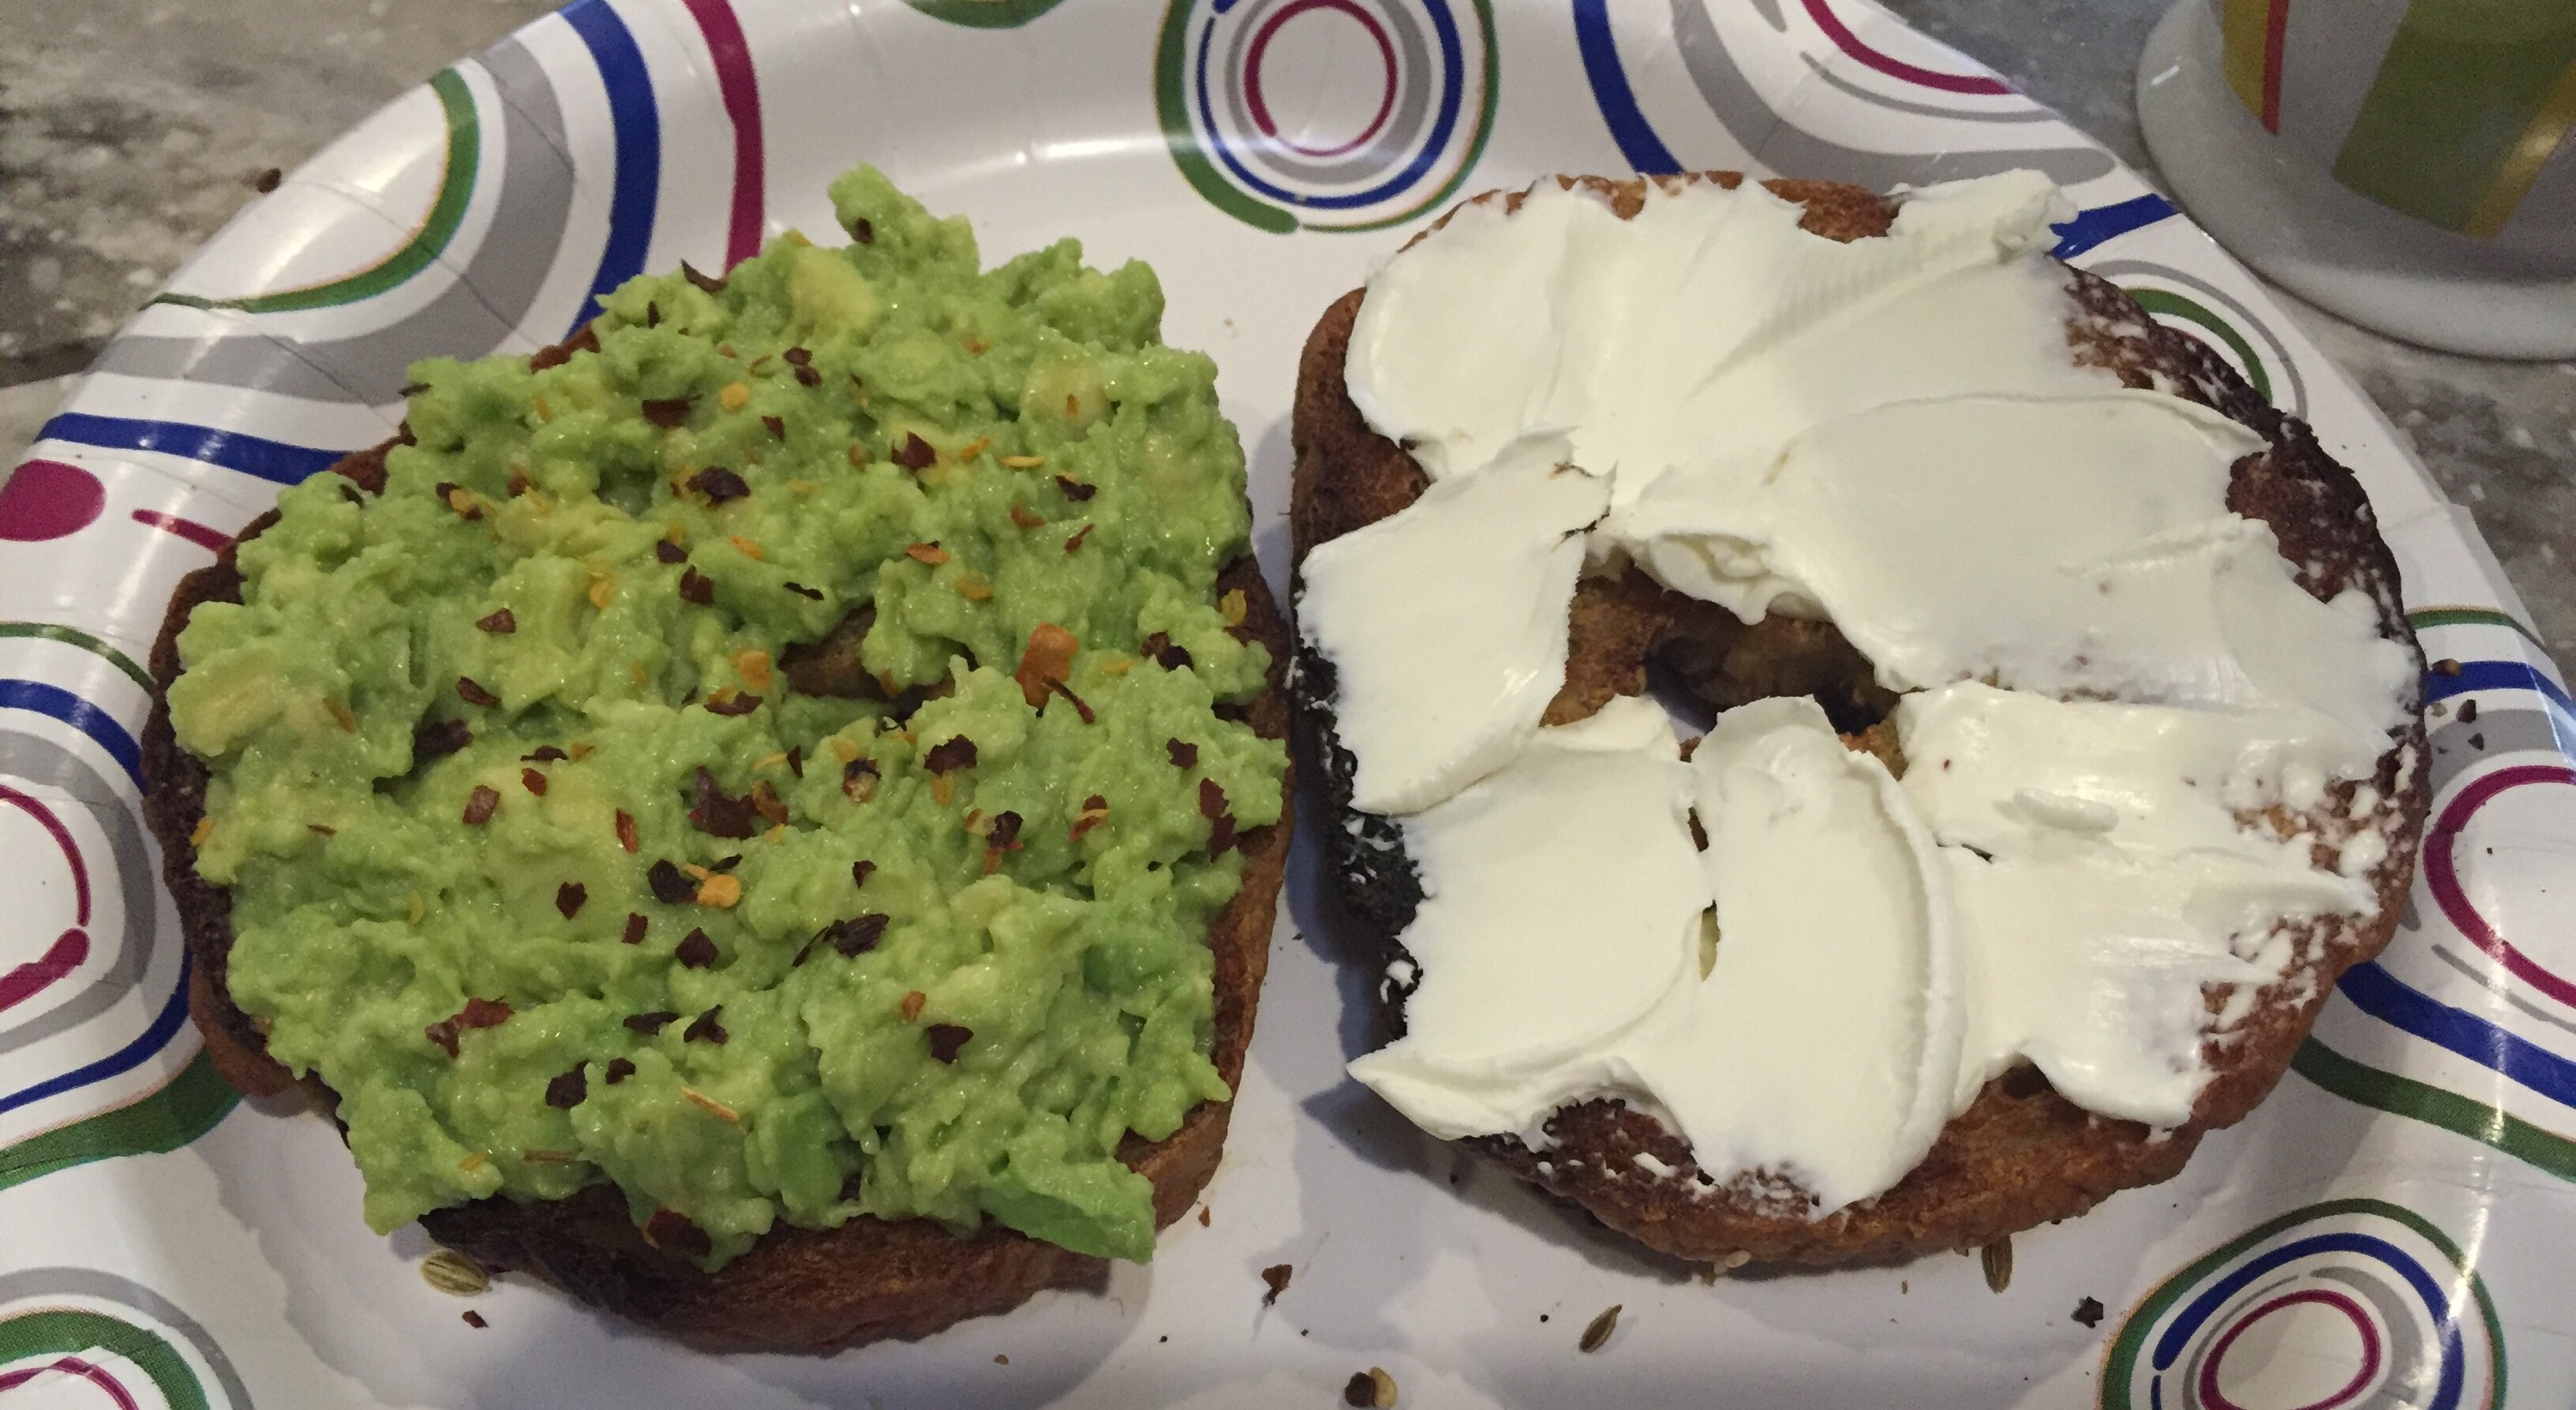 Yum! They are chewy and crunchy (after toasting) and they have that bagel flavor. The only thing I might change is my “everything” seasoning. I think it’s a little too salty. I want to hurry and eat these so I can make another batch!
I think I want this bread with a big bowl of chili for my last meal! It is SO good!
I made this chili bread yesterday with my Hillbilly Chili for dinner and Allen and I ate almost the whole loaf! We didn’t even bother to take the kneading paddle out, we just tore off chunks at a time…
I found the recipe on this website. It’s full of recipes for the bread machine. I’ve tried a few of them, and most work out, while some are complete failures (i.e.: Lemonade Bread!)
I was a little worried because it doesn’t call for any sugar, but beer has sugar in it… I modified the recipe a little bit to fit what I had available… Here’s what I did:
This makes a 1lb loaf. I set my machine to the french bread setting and a medium crust color. The basic/white bread setting would probably work also.
It’s perfect to munch on by itself, it’s spicy and delicious, but even better dipped in chili. If you’re in the market to try a new chili recipe, mine is pretty fantastic! You can find that recipe here. It would actually probably be good served with gumbo too… Maybe I’ll put that on the list for next week!
I’ve been compiling my favorite bread recipes in one spot, if you want to check them out and maybe try one this weekend.
Happy Friday!
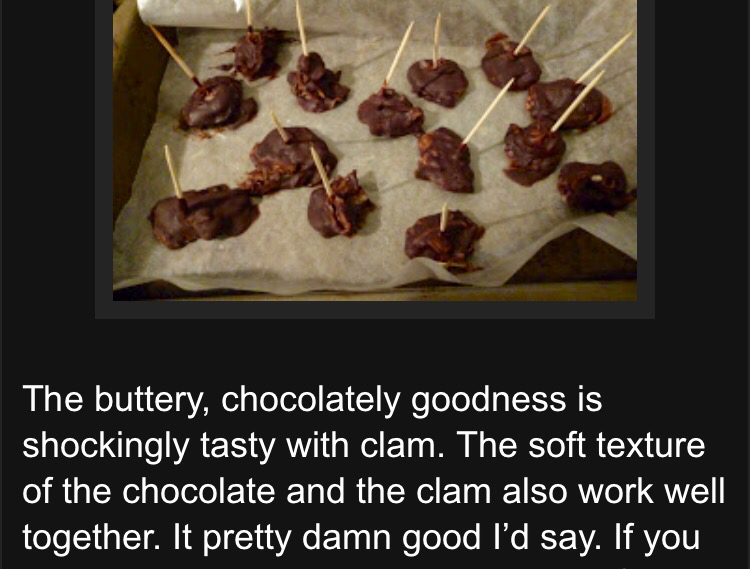
Not together of course. That wouldn’t be so delicious. But separately=yum!
Side note: if you WANT to try chocolate covered clams, here’s a random recipe!
Saturday Allen and I met my friend Dave for dinner at The Old Clam House. Dave and I went to the Academy of Art together about…. Oh, we’ll just say 7 years ago… And he lives in the city now.
**Disclaimer: I took none of the pictures of The Old Clam House, just borrowed them from Google.


He could not have picked a better place! The Old Clam House is the oldest restaurant in San Francisco. It started in 1861. If you’re ever hungry in the city I highly recommend it! We started with drinks of course. They have their own beer, brewed by Anchor Steam, so I had that. It was really good, a little lighter than Allen’s Lagunitas. It’s called Old Clam House Milwaukee Steam.
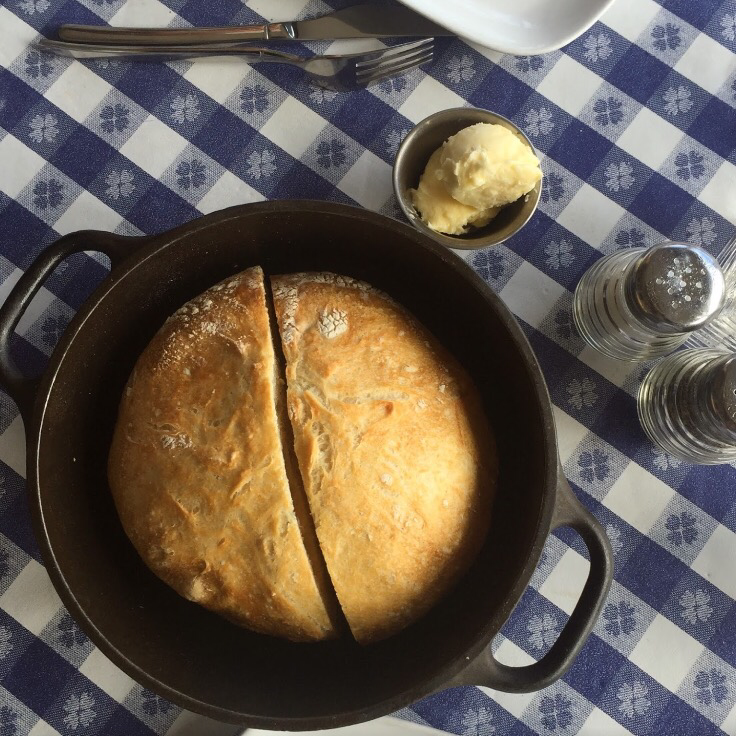
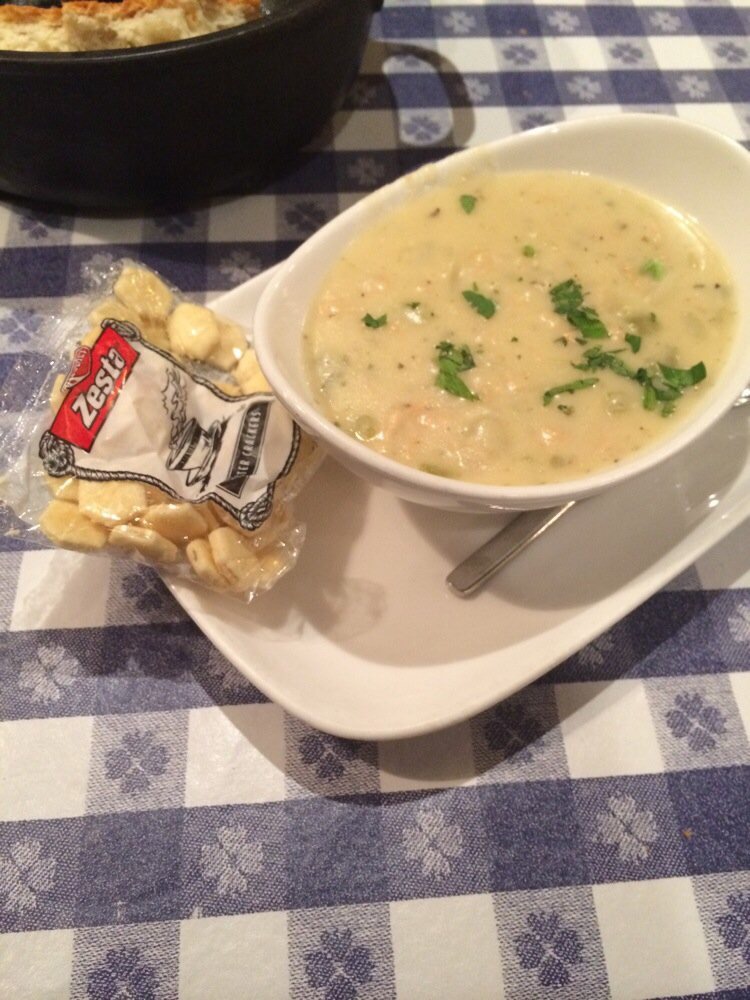
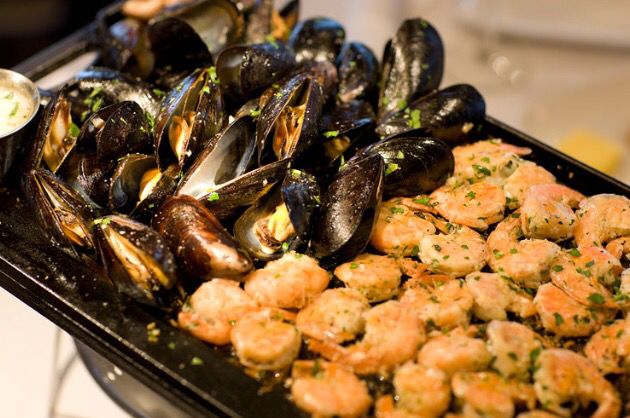 Then we had a sizzling iron platter of shrimp and mussels with butter to dip in. Dave hates that the place switched owners and they no longer serve sourdough bread, but they make this soda bread in a cast iron pot type thing that was really good (I wish I could make bread like that!)
 Next came the, I think, world’s best clam chowder. Oh my goodness. I want a bowl for breakfast as I’m writing this. Fantastic.
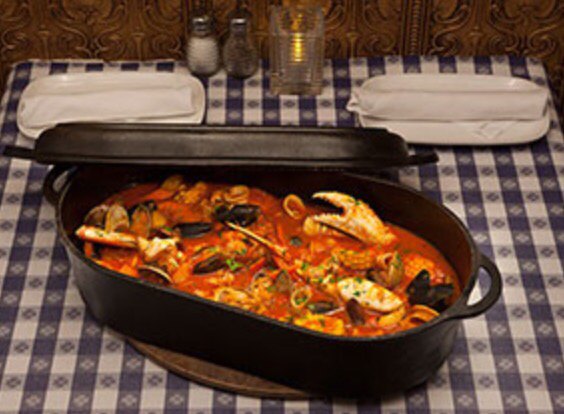
 Then I finally got to try cioppino! I’ve always wanted to but I was always a little iffy about it. It was really good! Allen liked it too. I was a TINY bit surprised he liked everything as much as I did.
 Thank you Dave for a wonderful dinner! If you’re up for it, check out some of Dave’s paintings!
Now for the Chocolate Zucchini Bread….

I did take this photo!
I found the recipe here: With The Grains
I modified it a little to fit what I had and cut it in half. I love it! The closest way I can think to describe it is it’s kinda like a chocolate muffin. It’s not too sweet. But it doesn’t taste like zucchini at all. I’ll definitely make it again. Here’s the version I made:
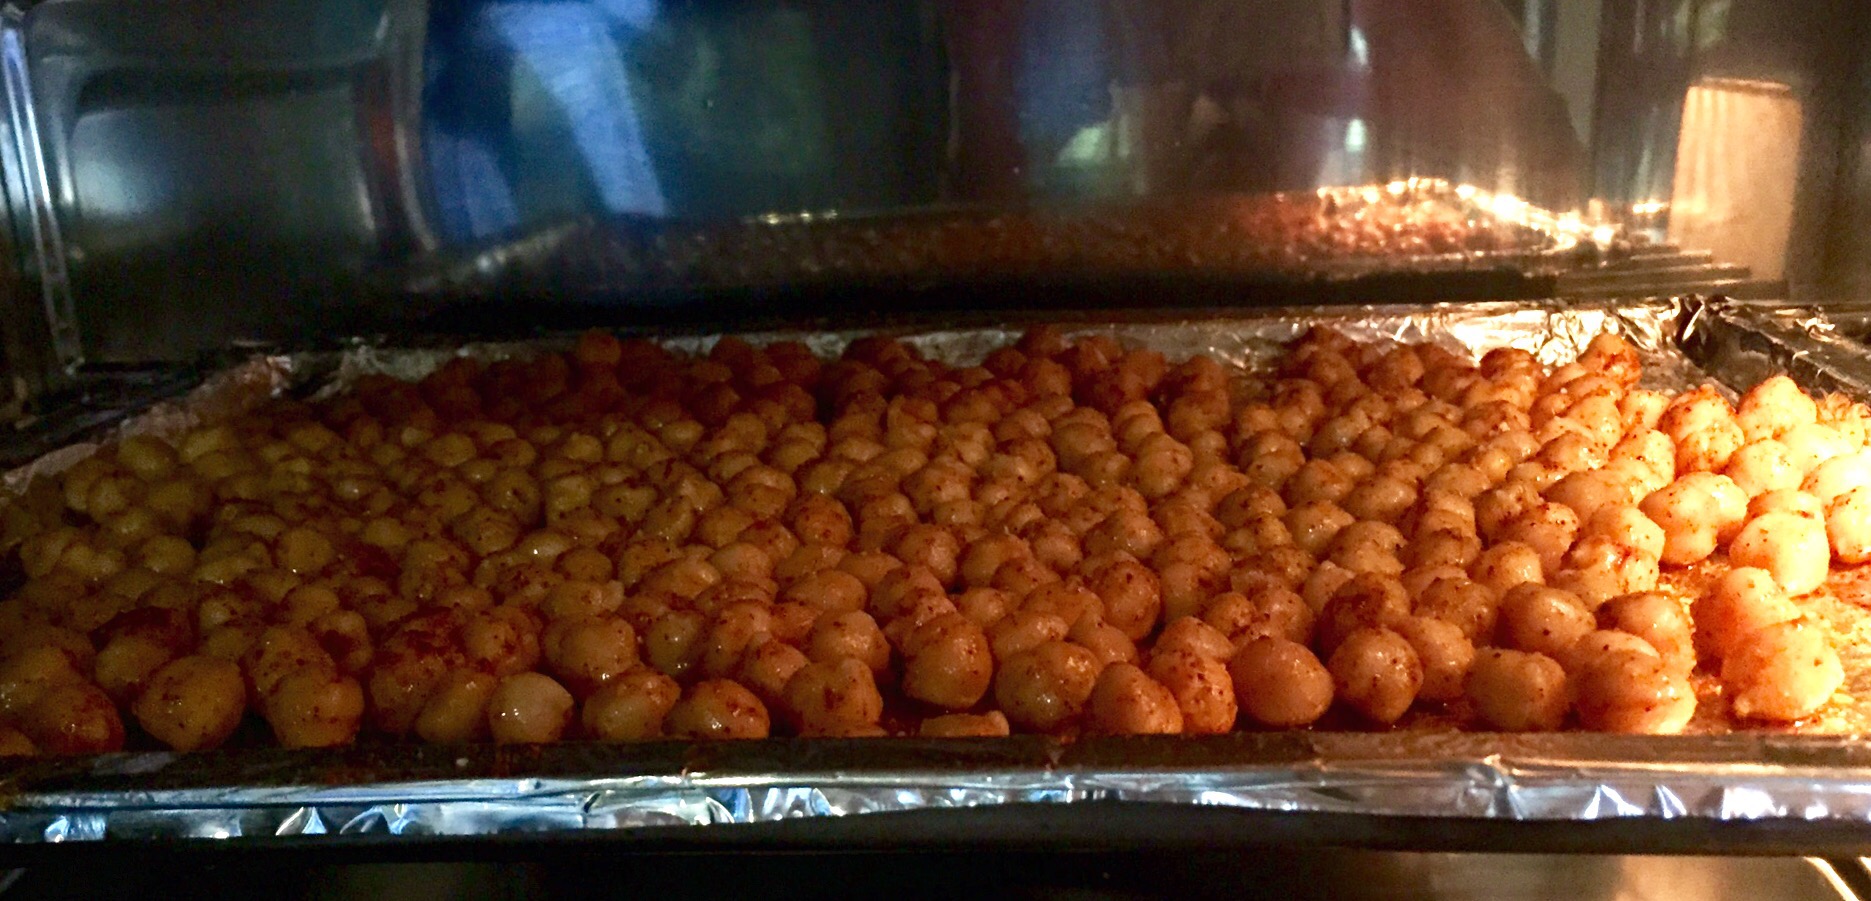
I’ve roasted garbanzo beans, or chickpeas, years ago. They are a crunchy, healthy snack and you can flavor them however you want.
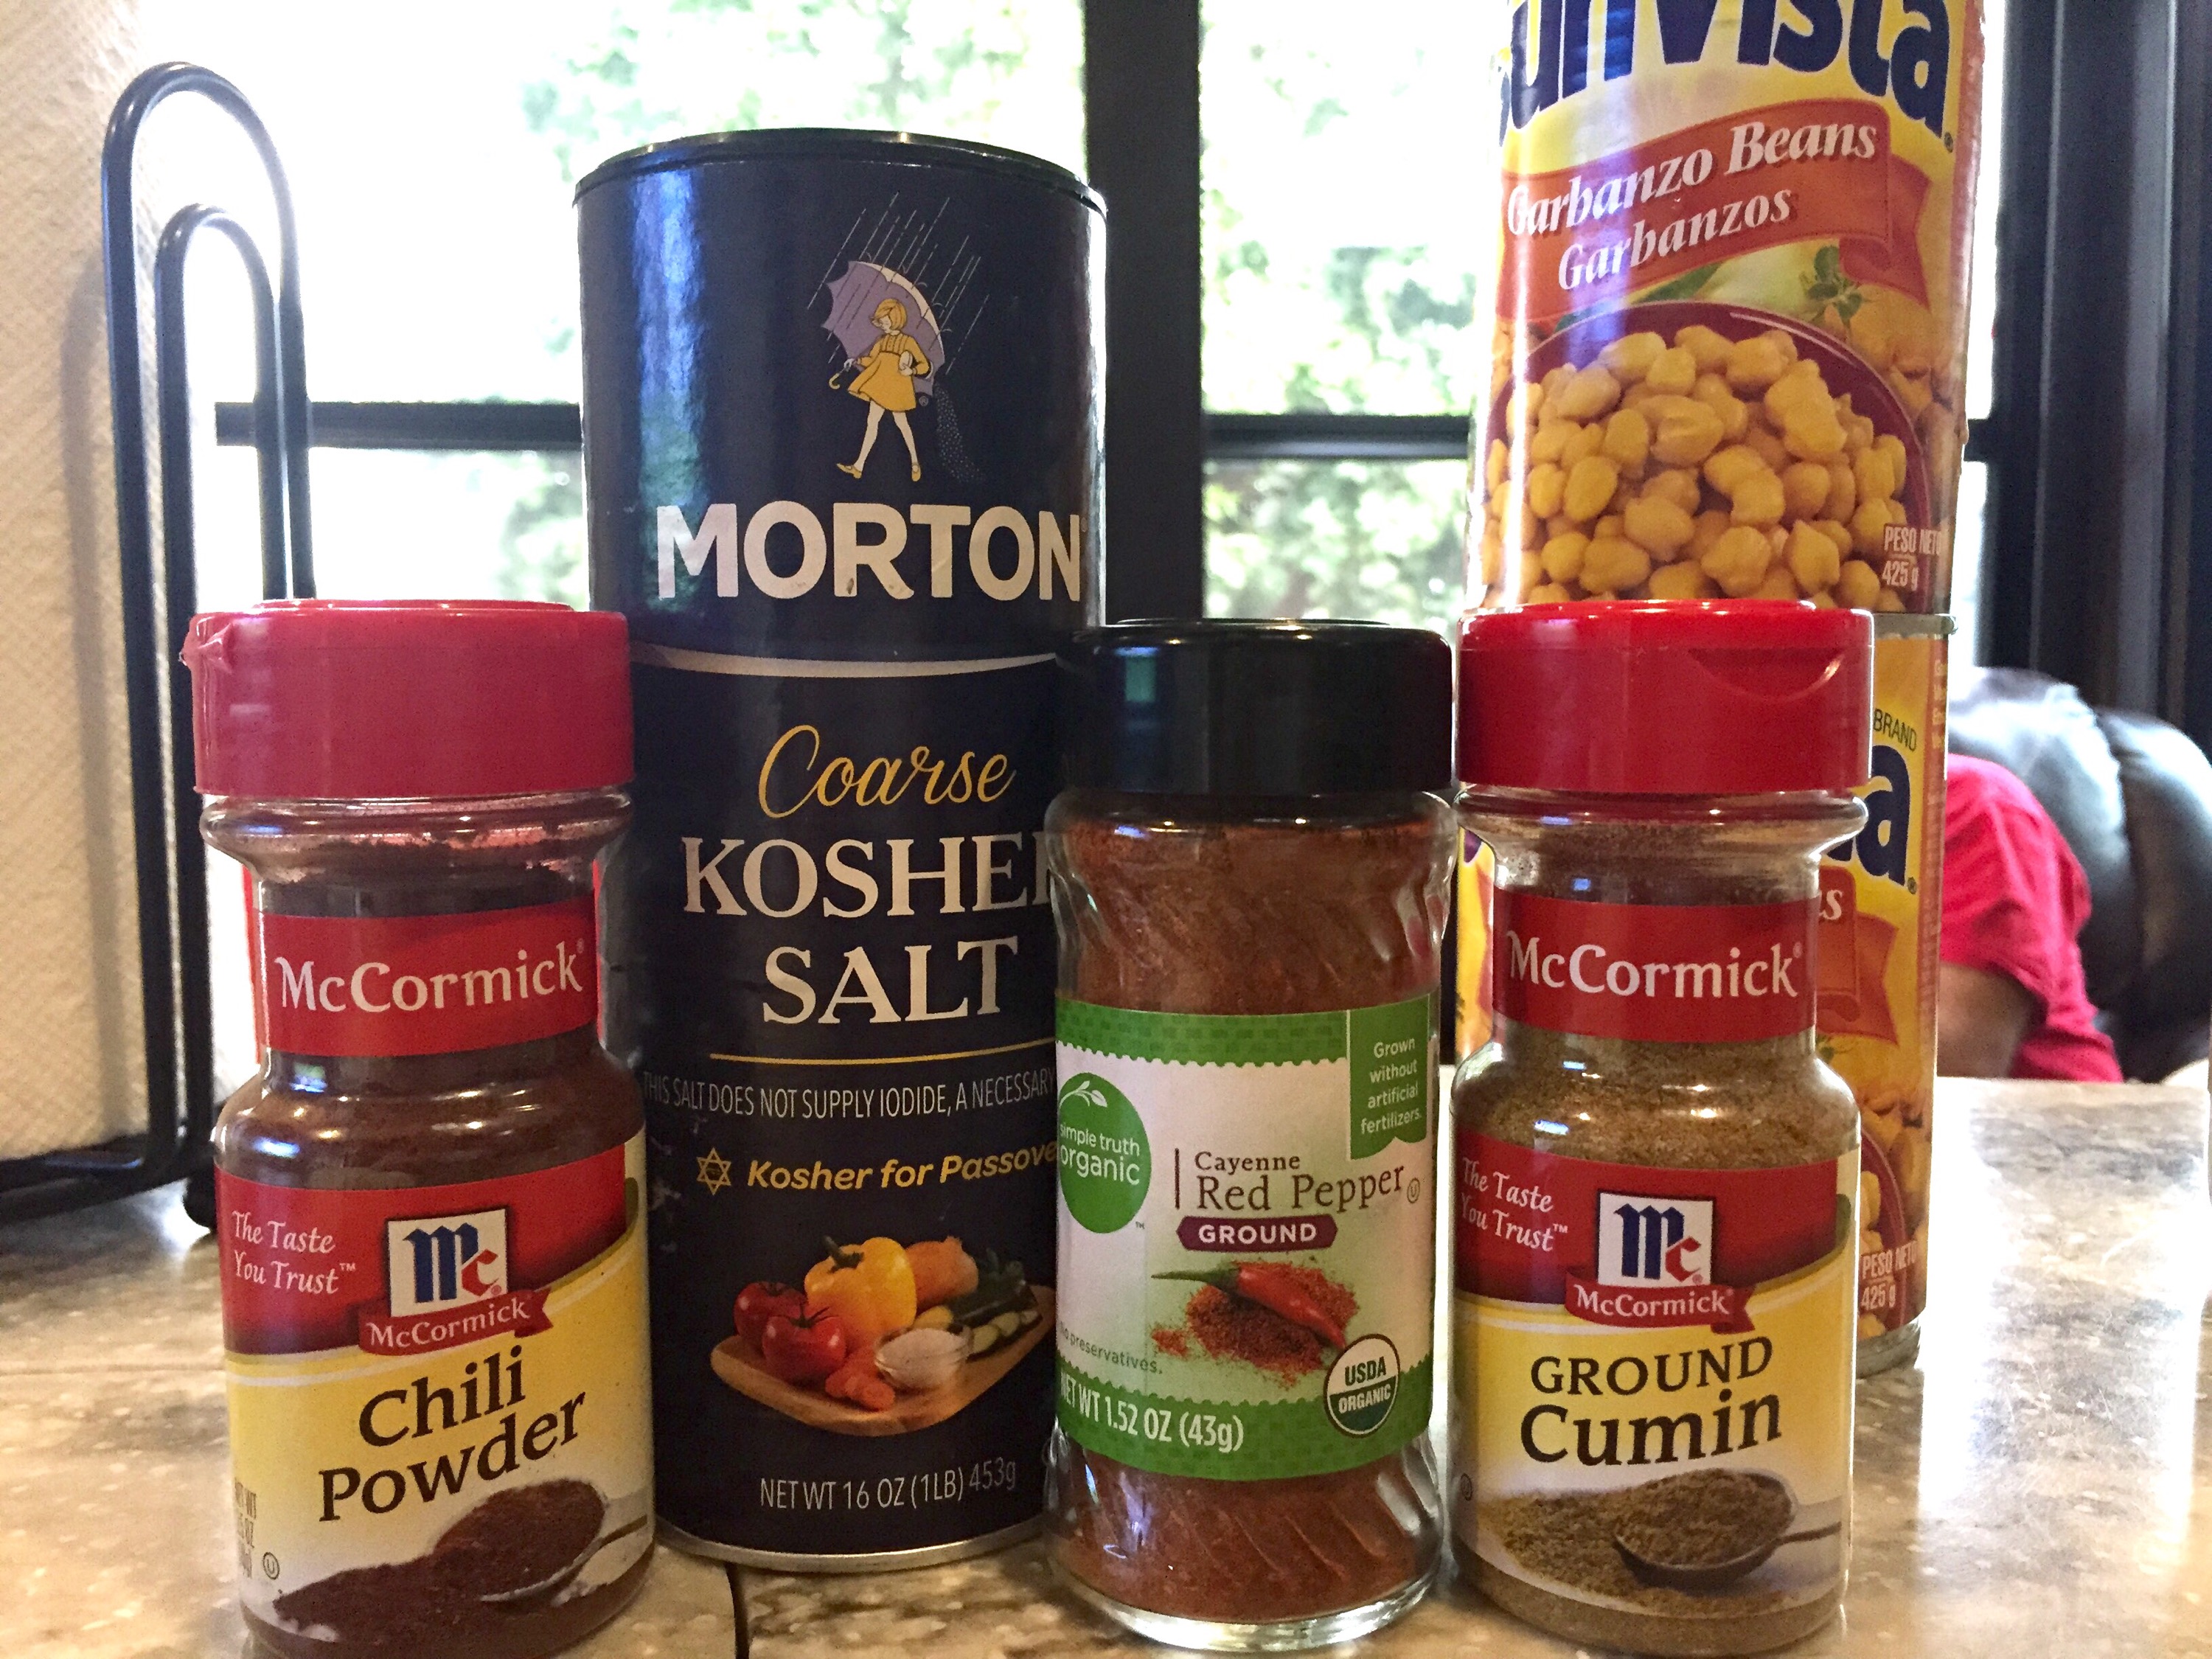
***Full disclosure: I never measure ingredients (unless I’m using my bread maker). I eyeball and account for my preference of how I want the dish to taste. Sometimes I will use my palm or pinch with my fingers, but it’s nothing I could communicate in an actual measurement. So I say, just go with what you think will taste good. Or measure.
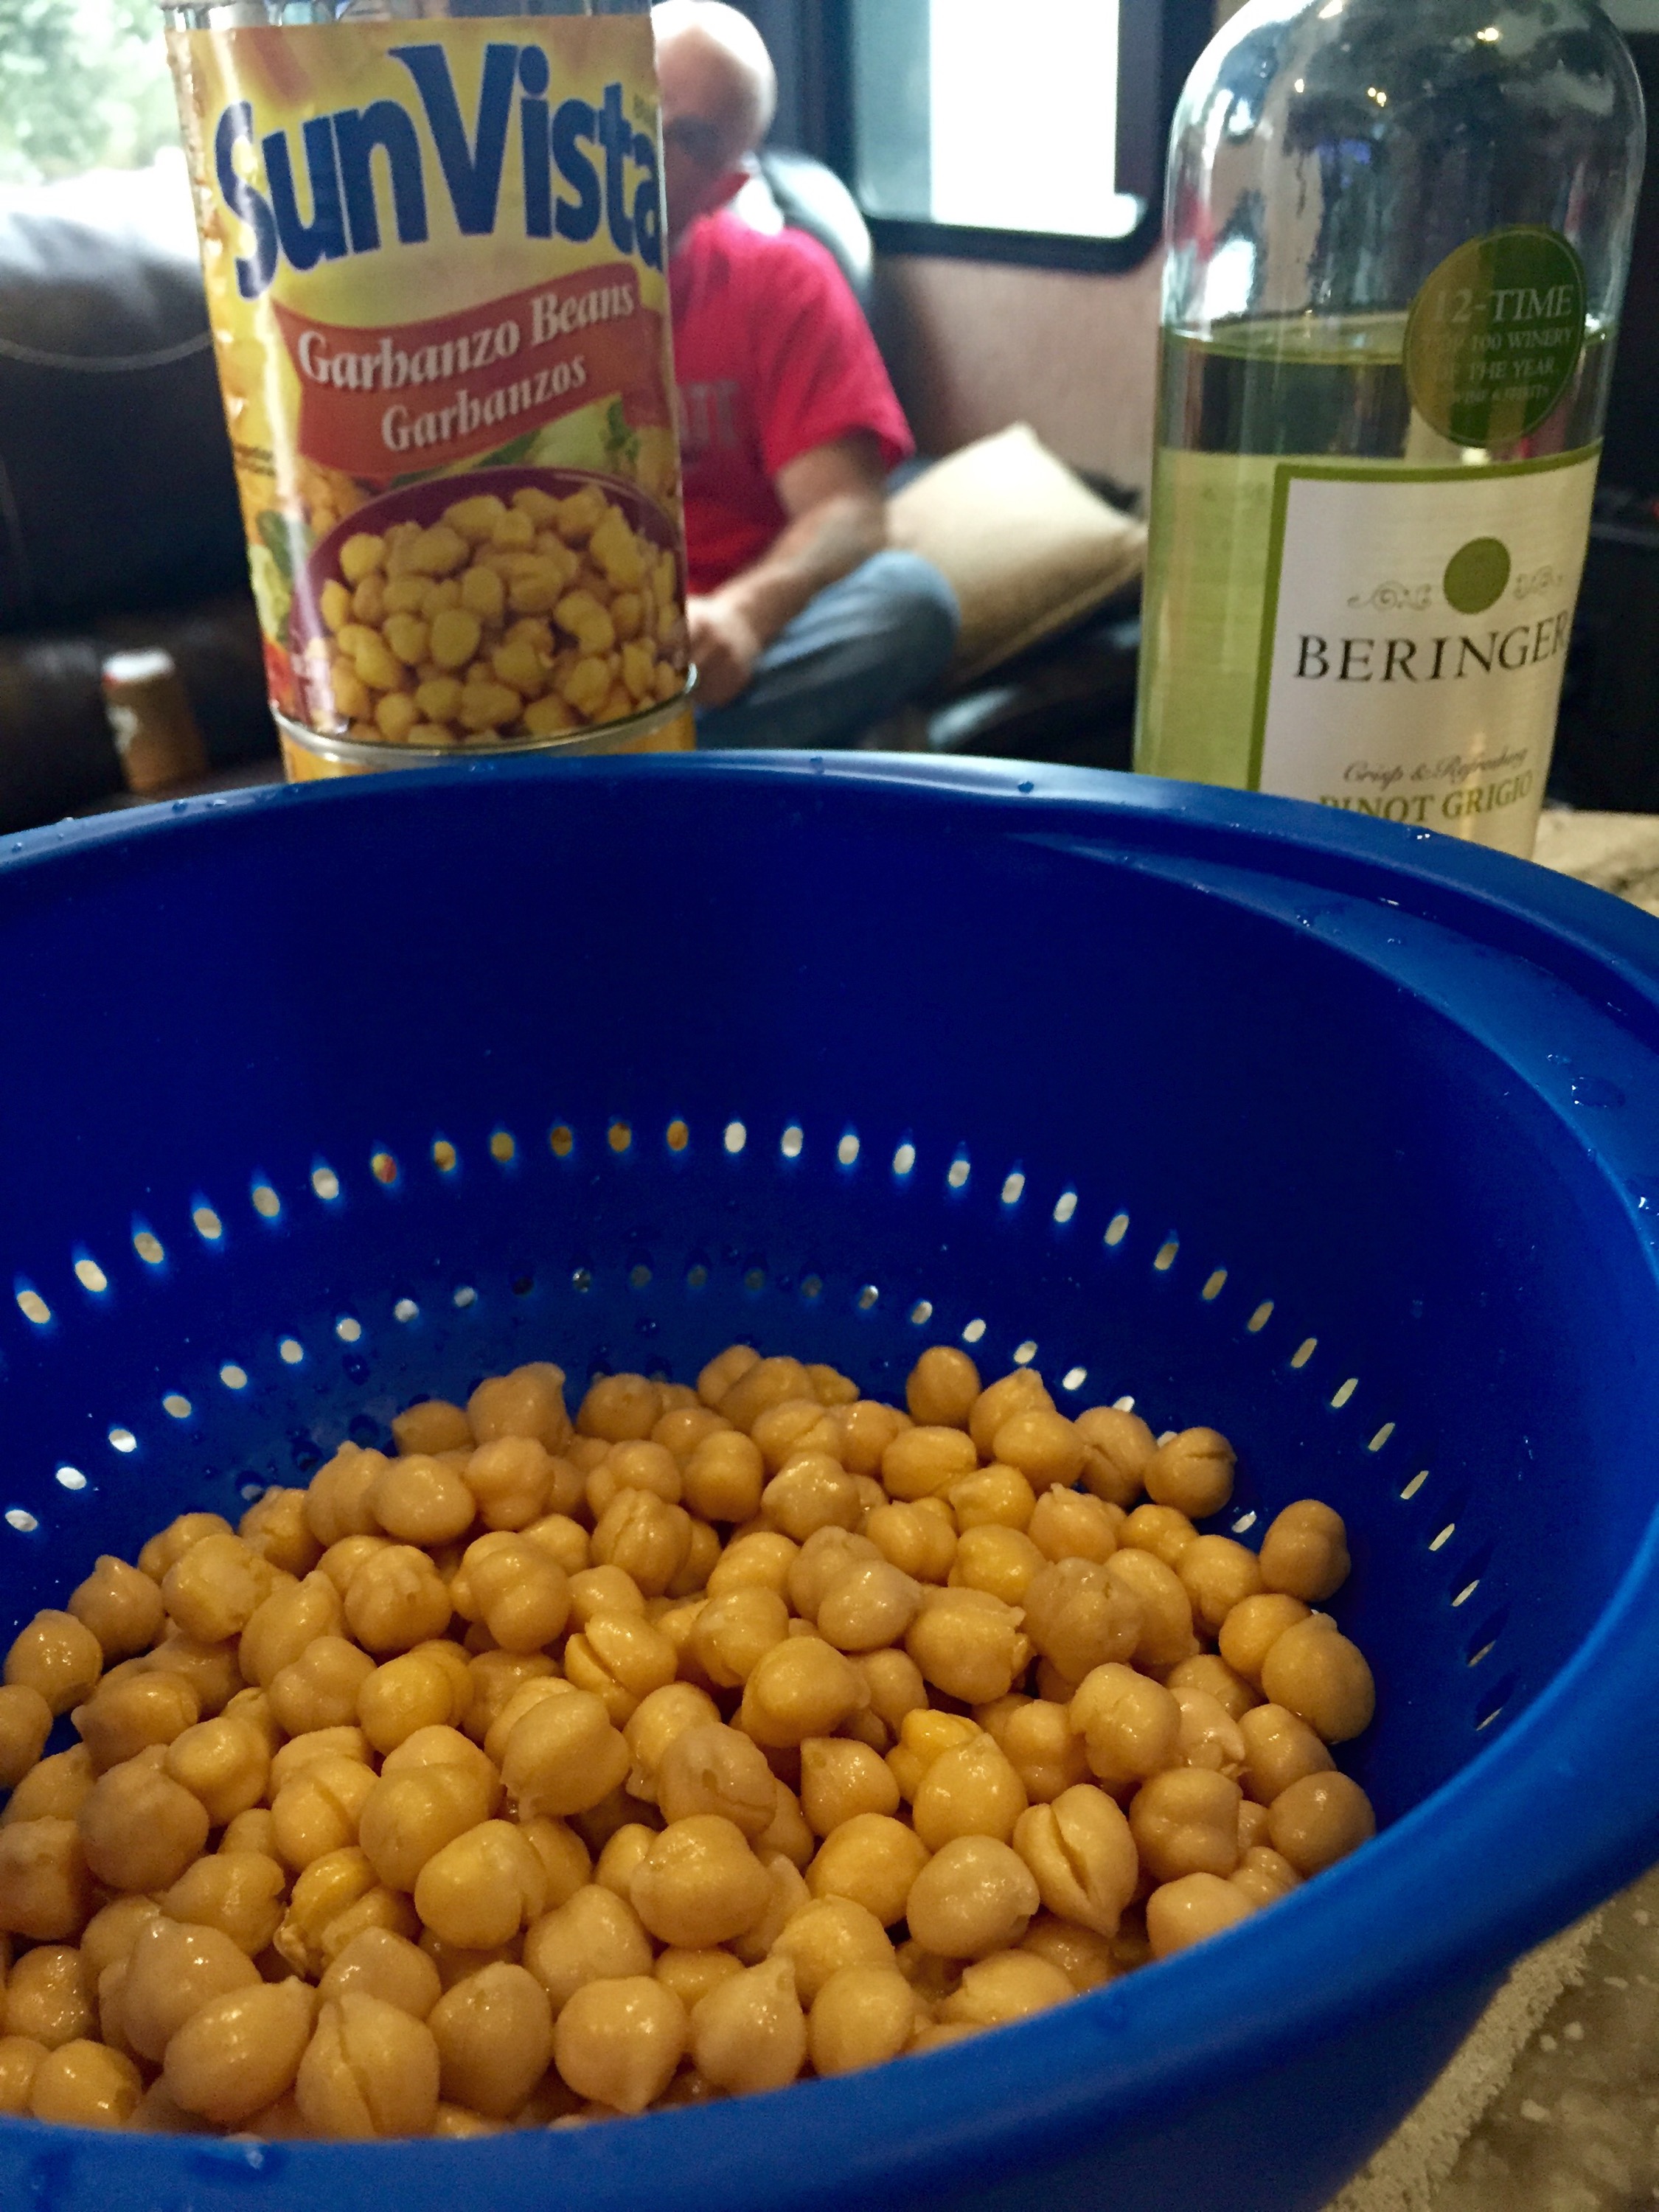
The wine is only for my sanity, not a part of the recipe!
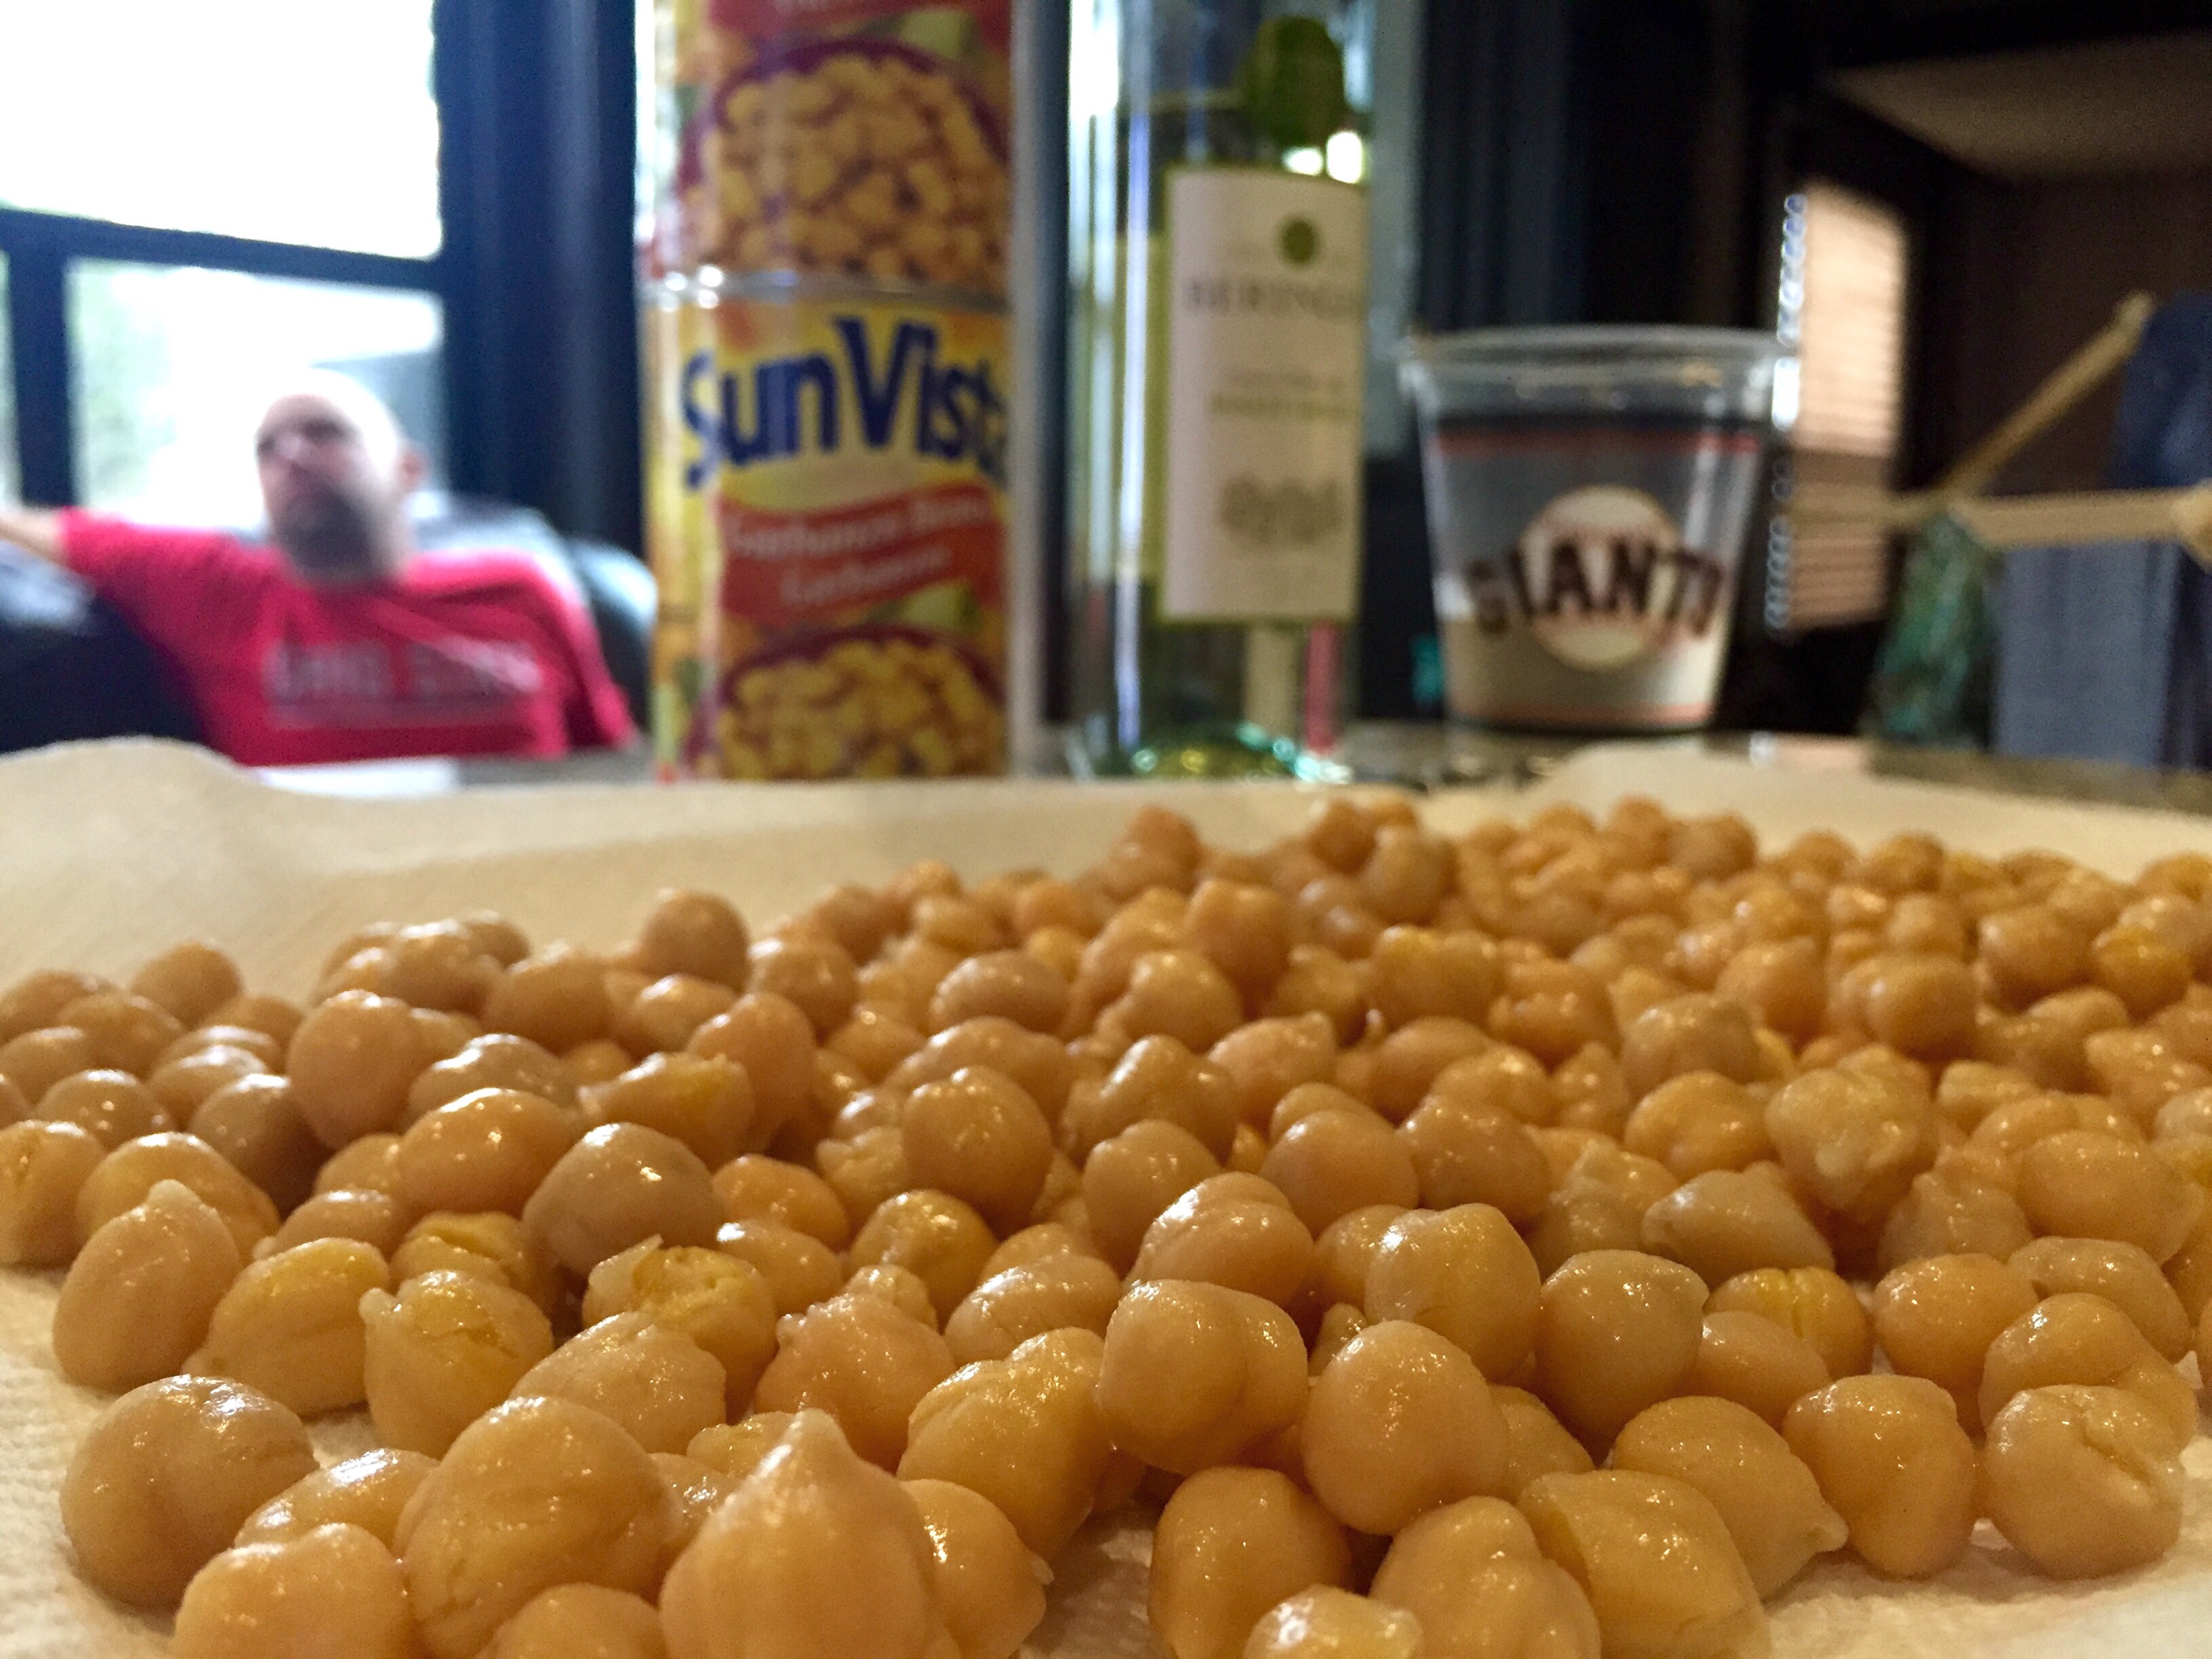

Anyway, if you’re in the market for a spicy, crunchy snack, and you’re not as crazy as my boyfriend, I say give these little guys a try!
Cheers to football Sunday!


Ever since we got the new camper with a convection microwave, I’ve been wanting to make homemade pizza.
My first attempt at cauliflower pizza did not turn out so well. The directions said to steam and drain the cauliflower, getting rid of the excess moisture, before grating it and maxing it with cheese and egg and shaping it like a pizza crust. I skipped the steaming and draining part so the “crust” never got crispy enough to hold together. I still want to try it again…
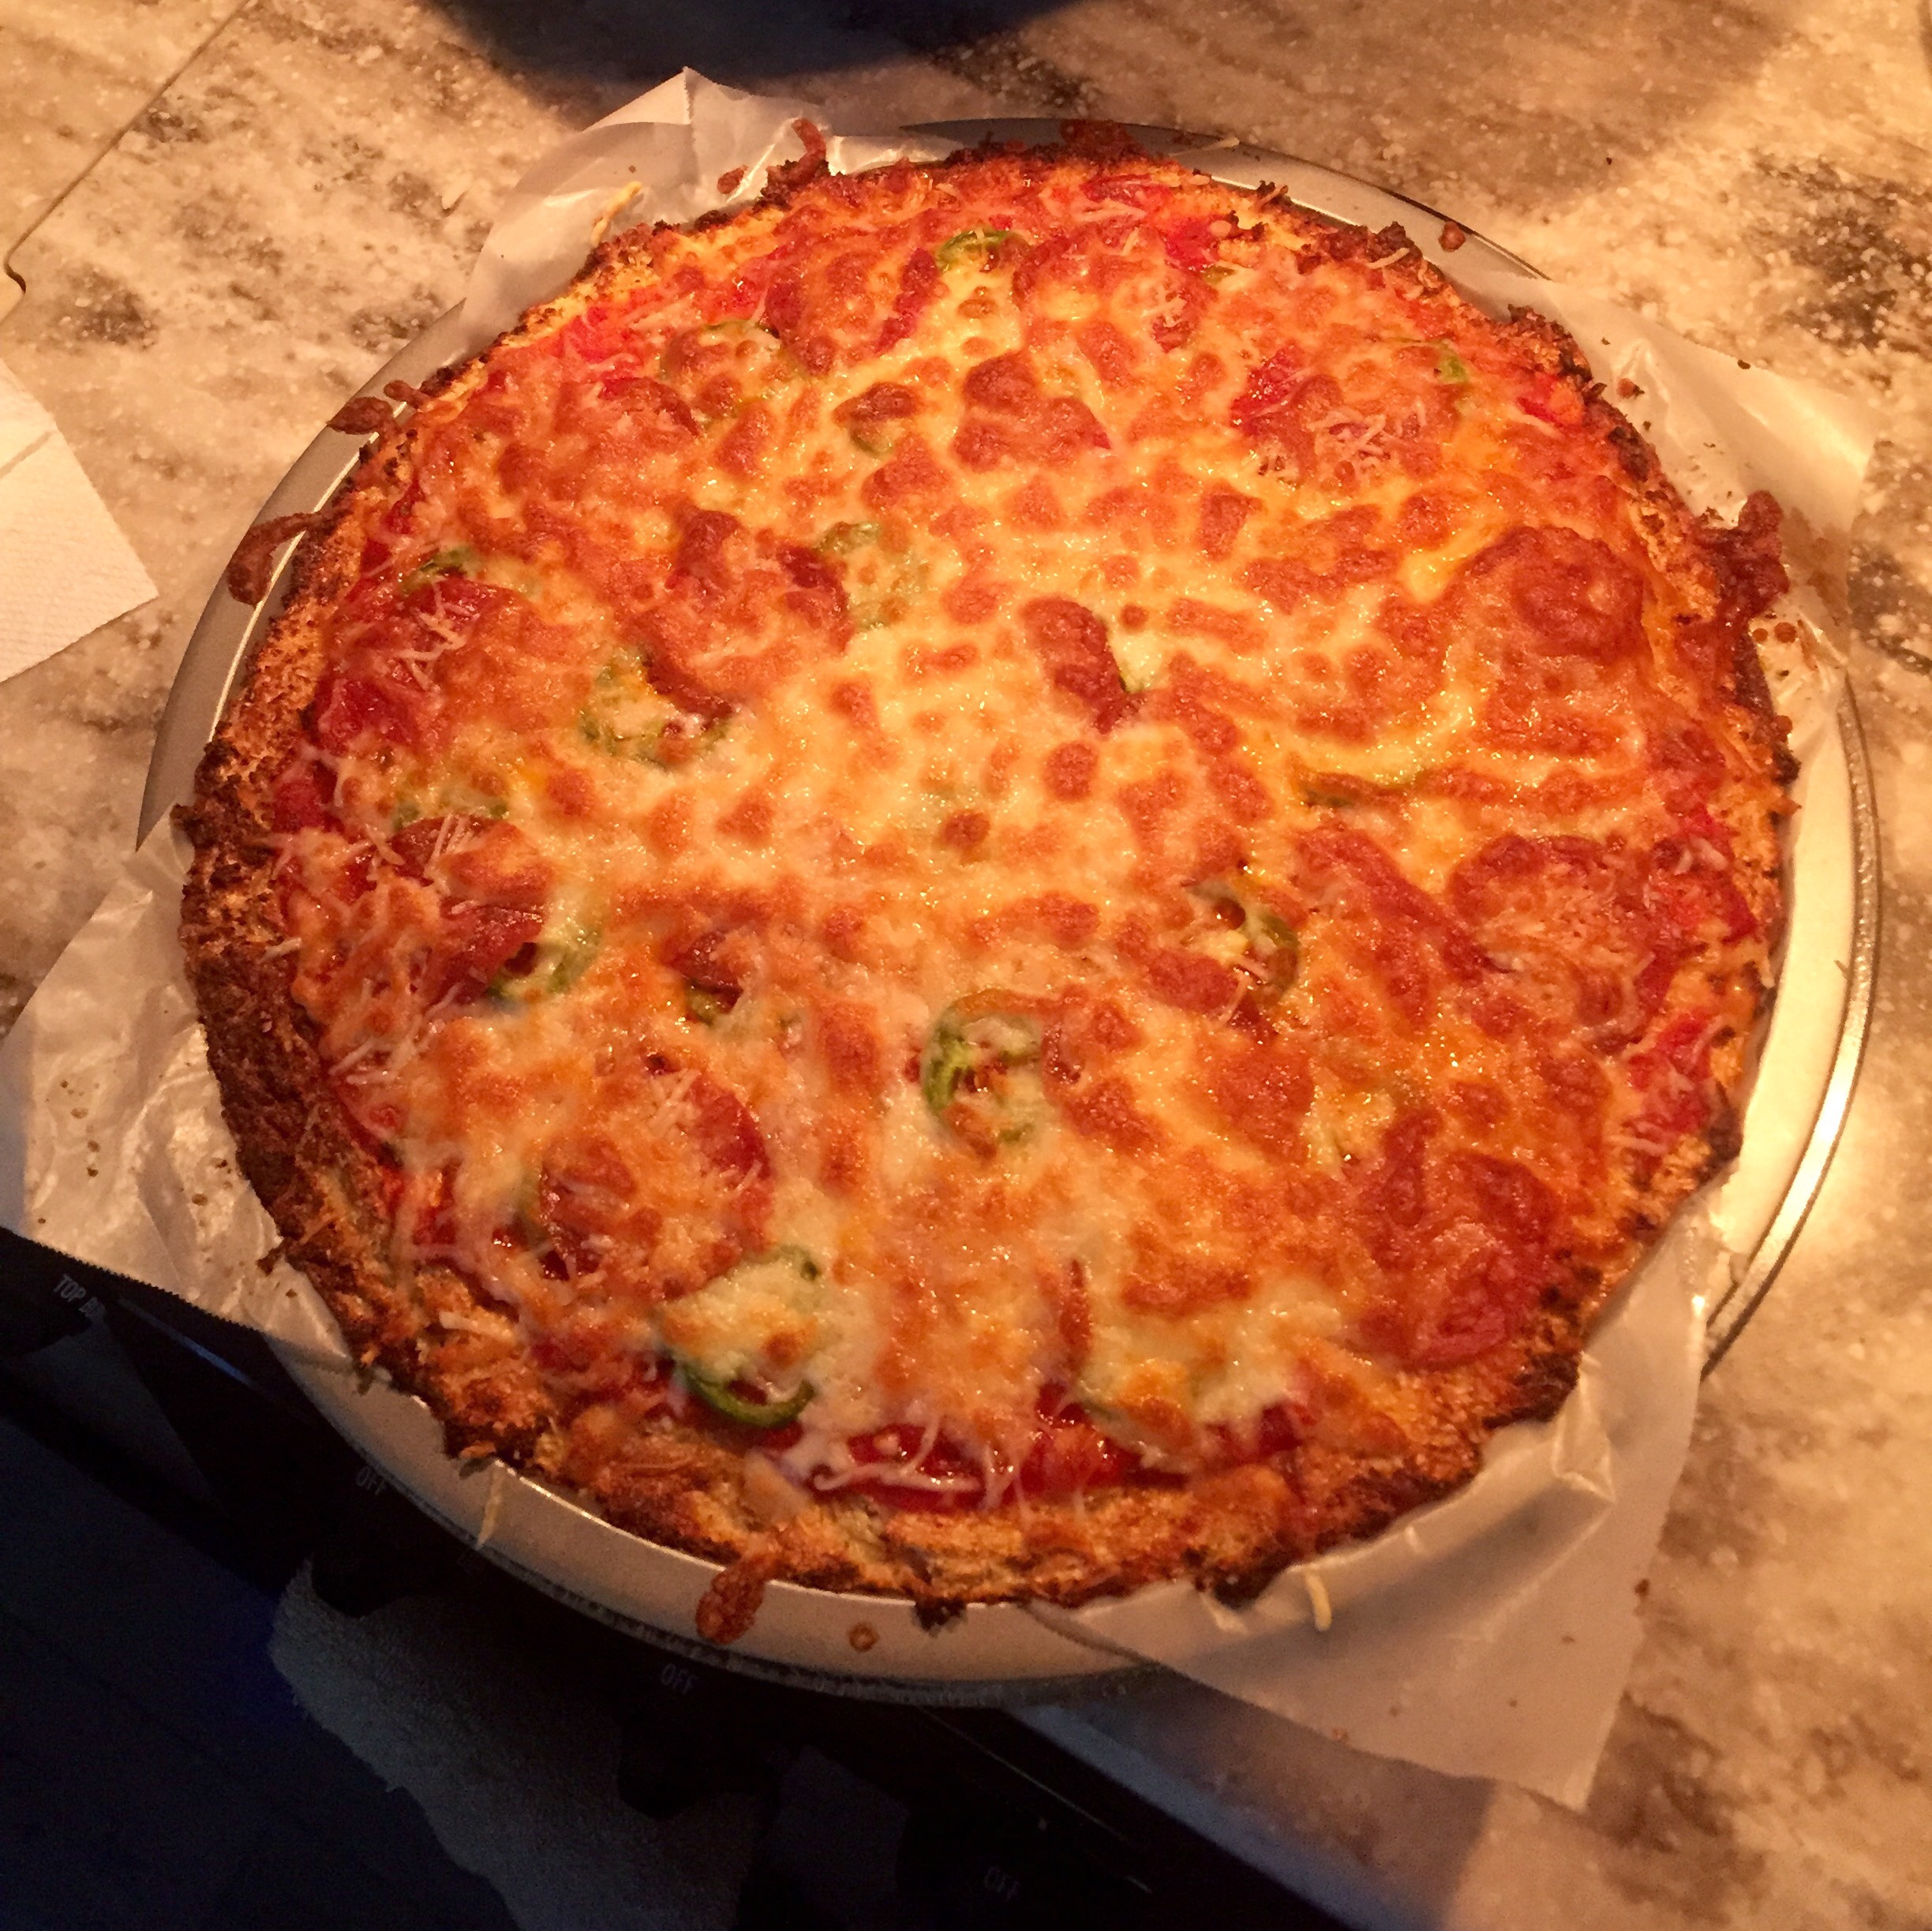
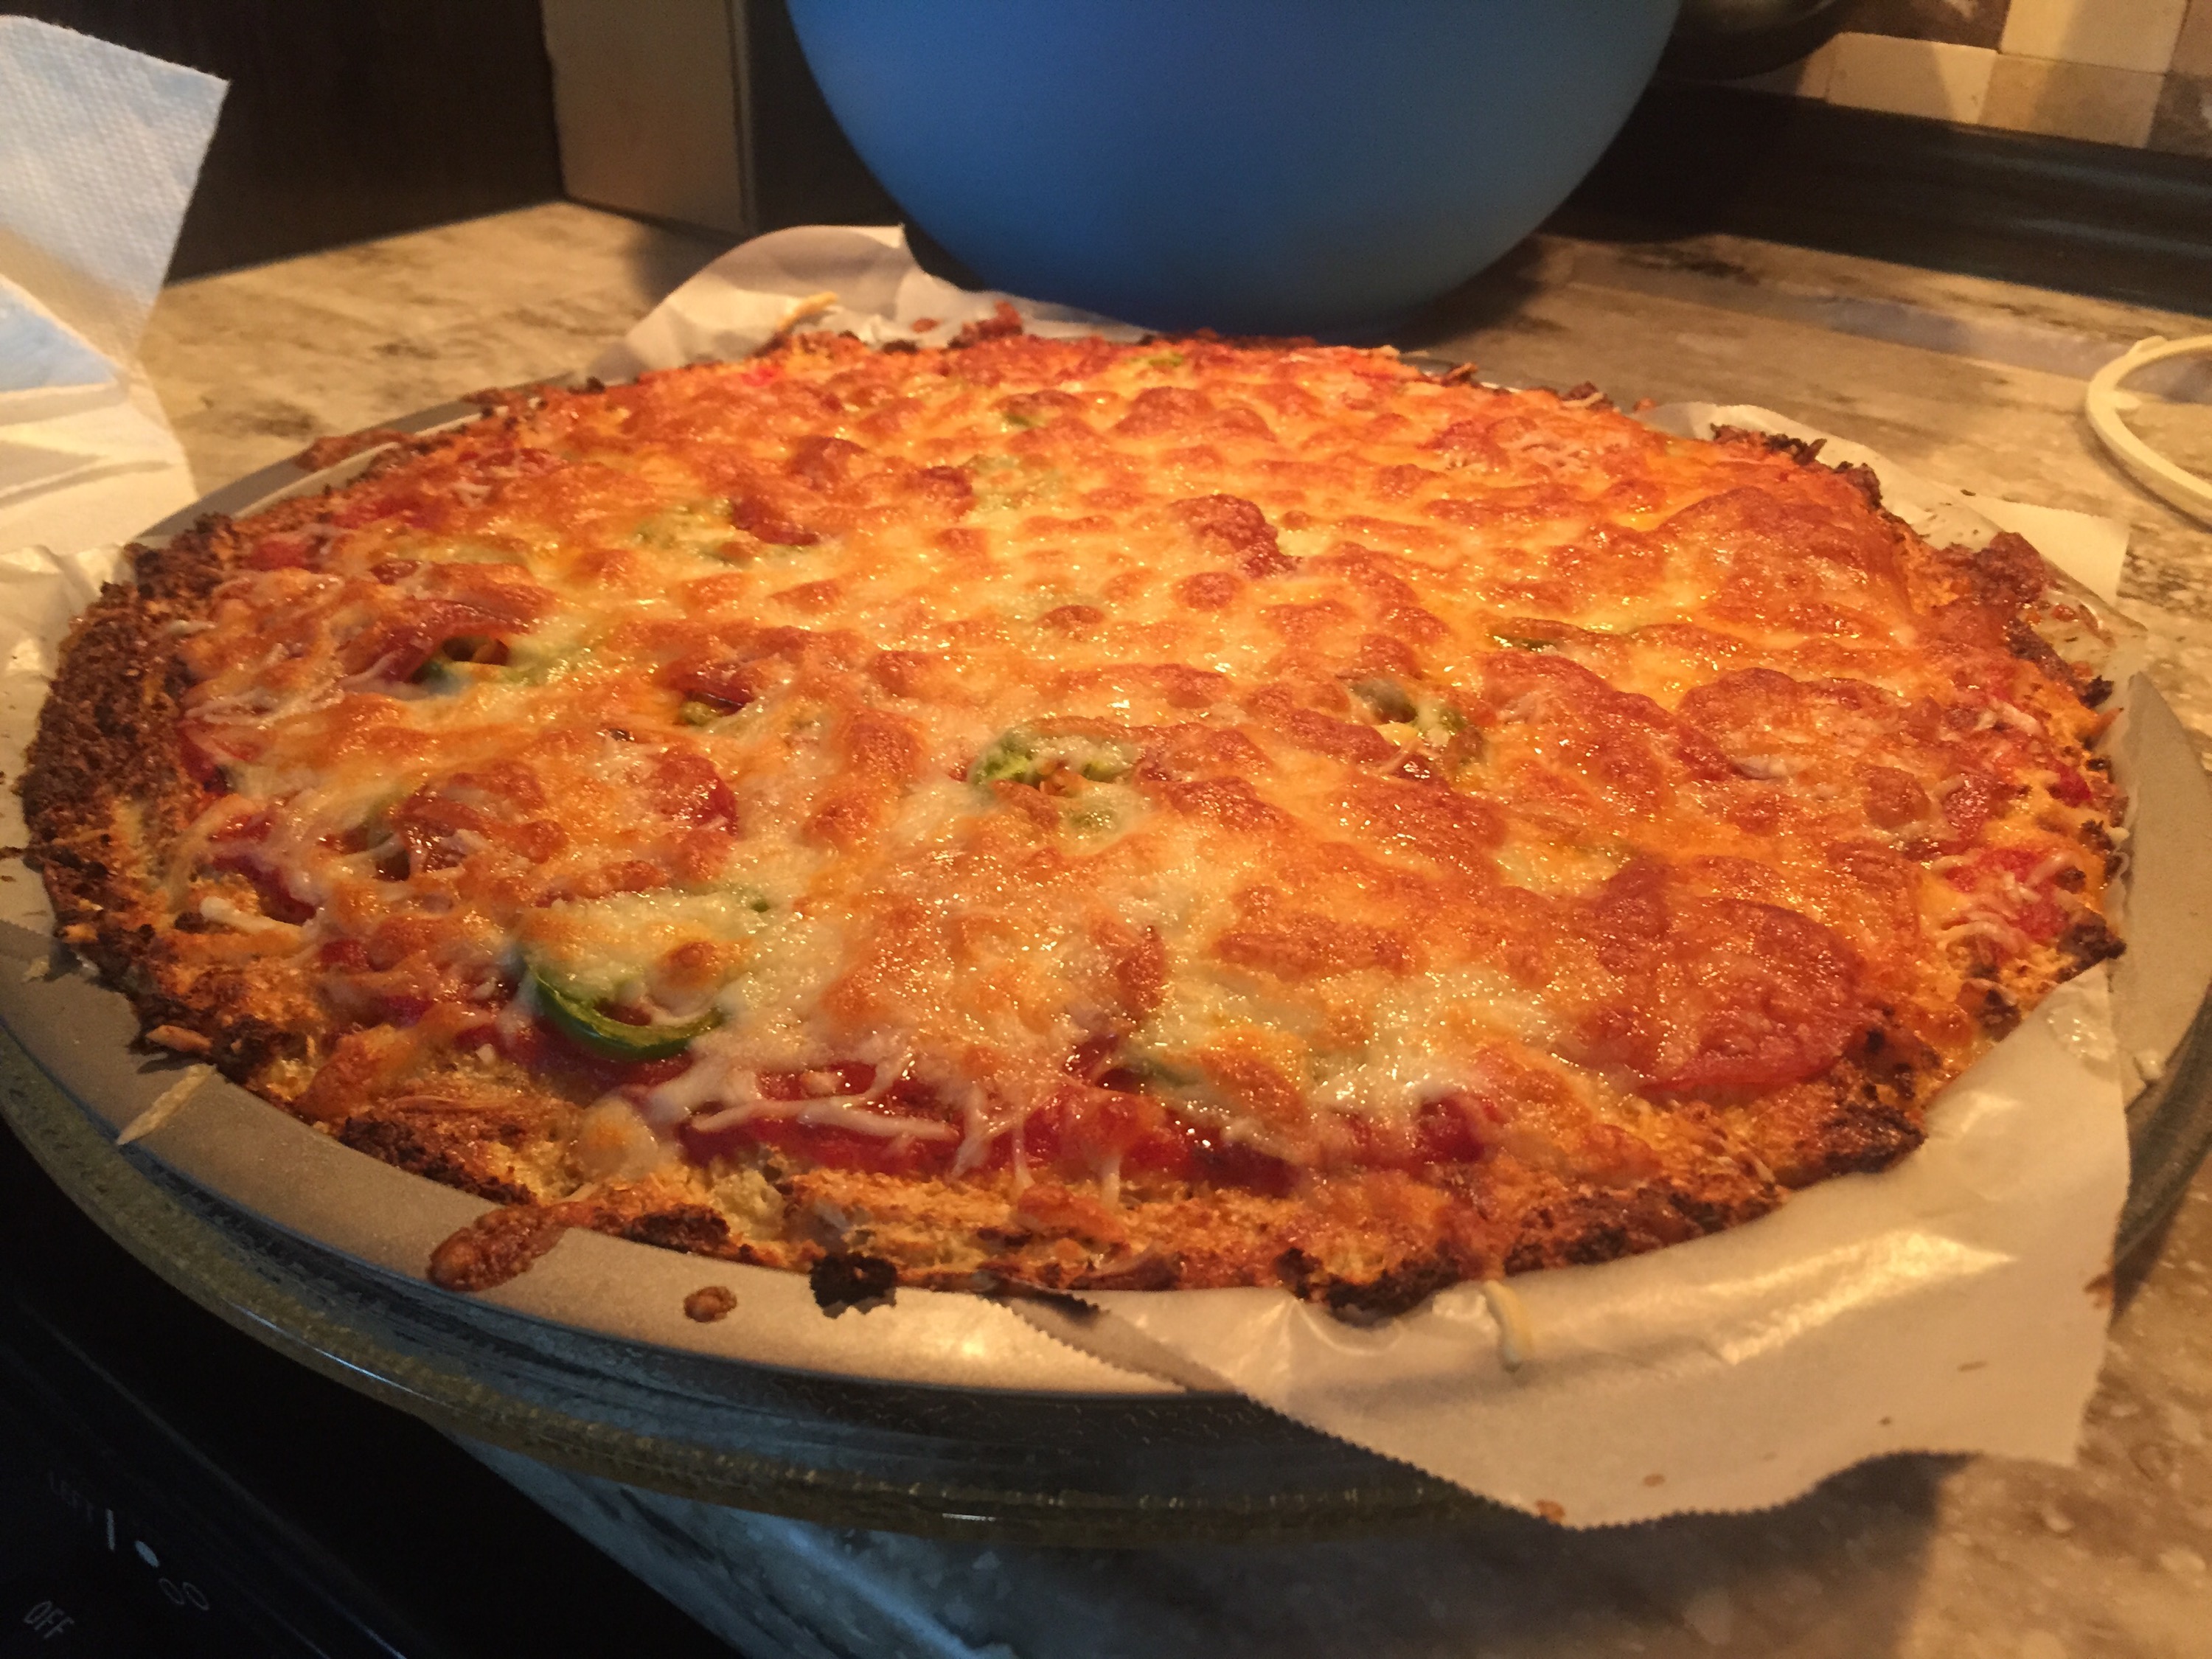
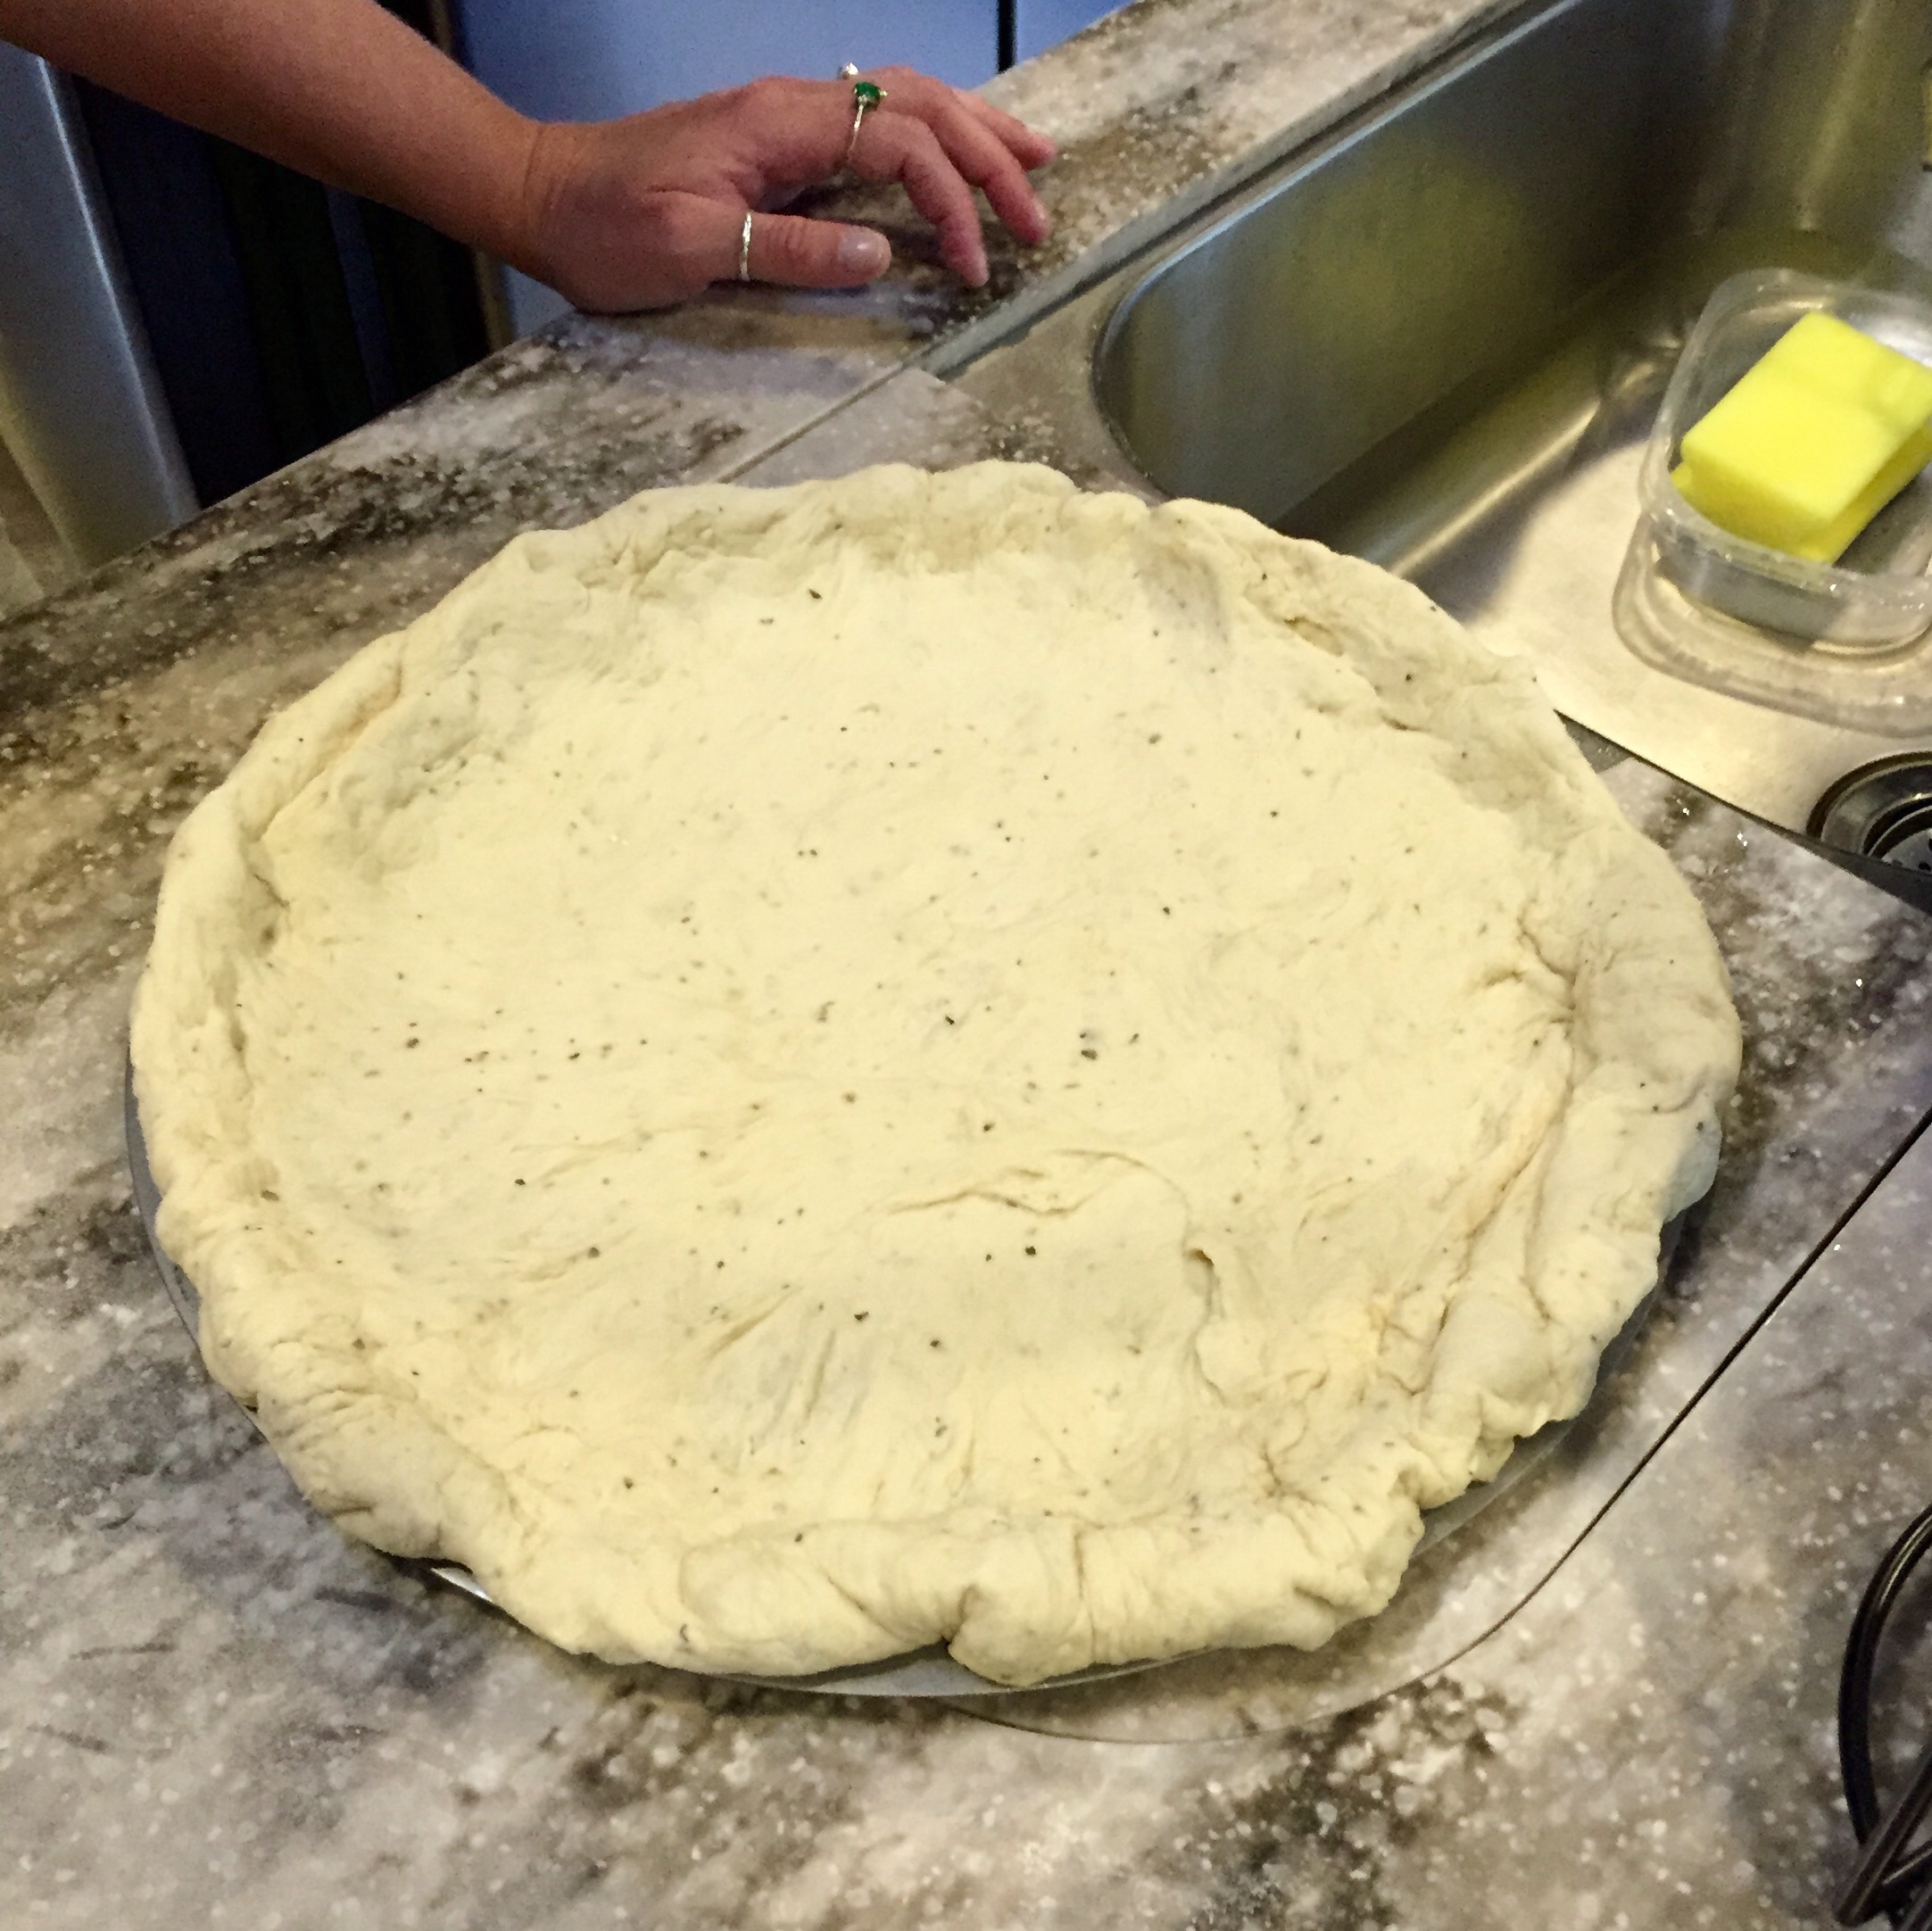
After that didn’t work, and I got the Breadmaker, I decided to make actual pizza dough. This time it came out super delicious! I think the only thing I will do differently next time is bake the crust on its own with no toppings for ten minutes or so beforehand, so it gets a little more done without the cheese and toppings getting too brown.

pepperoni, jalapenos, bell peppers and onions
 And by the way, Allen took his very first blog photos for this post! 😉 Good job babe!
Here is the recipe I used for the dough:
1.5 pounds: 1/2tsp salt, 3cups all-purpose flour, 1-1/2tsp active dry yeast, 1cup water, 2tbs EVOO, and I added about a tbs of Italian seasoning
***As I mentioned before, next time I will bake the crust on its own for about 10minutes THEN add the toppings. OR I could bake it in the regular oven. Since camper ovens are so small, they tend to burn the bottom of everything, since that’s where the heat comes from. We usually try to avoid using it altogether. But that might be perfect for pizza!
On another note about the camper oven: we discovered in the old camper, before we had a convection oven in our lives, that if you cover the oven rack with aluminum foil, it helps to distribute the heat a little more evenly, but it also takes longer for things to cook.
