We’ve settled in to Farr Park RV Campground here in Baton Rouge and we’ve been loving the food!
 Sunday we went to Sammy’s Grill to have some much needed and missed boiled crawfish… Yum! Continue reading

We’ve settled in to Farr Park RV Campground here in Baton Rouge and we’ve been loving the food!
Sunday we went to Sammy’s Grill to have some much needed and missed boiled crawfish… Yum! Continue reading
I thought I’d post some pictures Allen took while they were removing the tower at Fair Park. It’s crazy to me how big some of this stuff is!

the giant crane they used

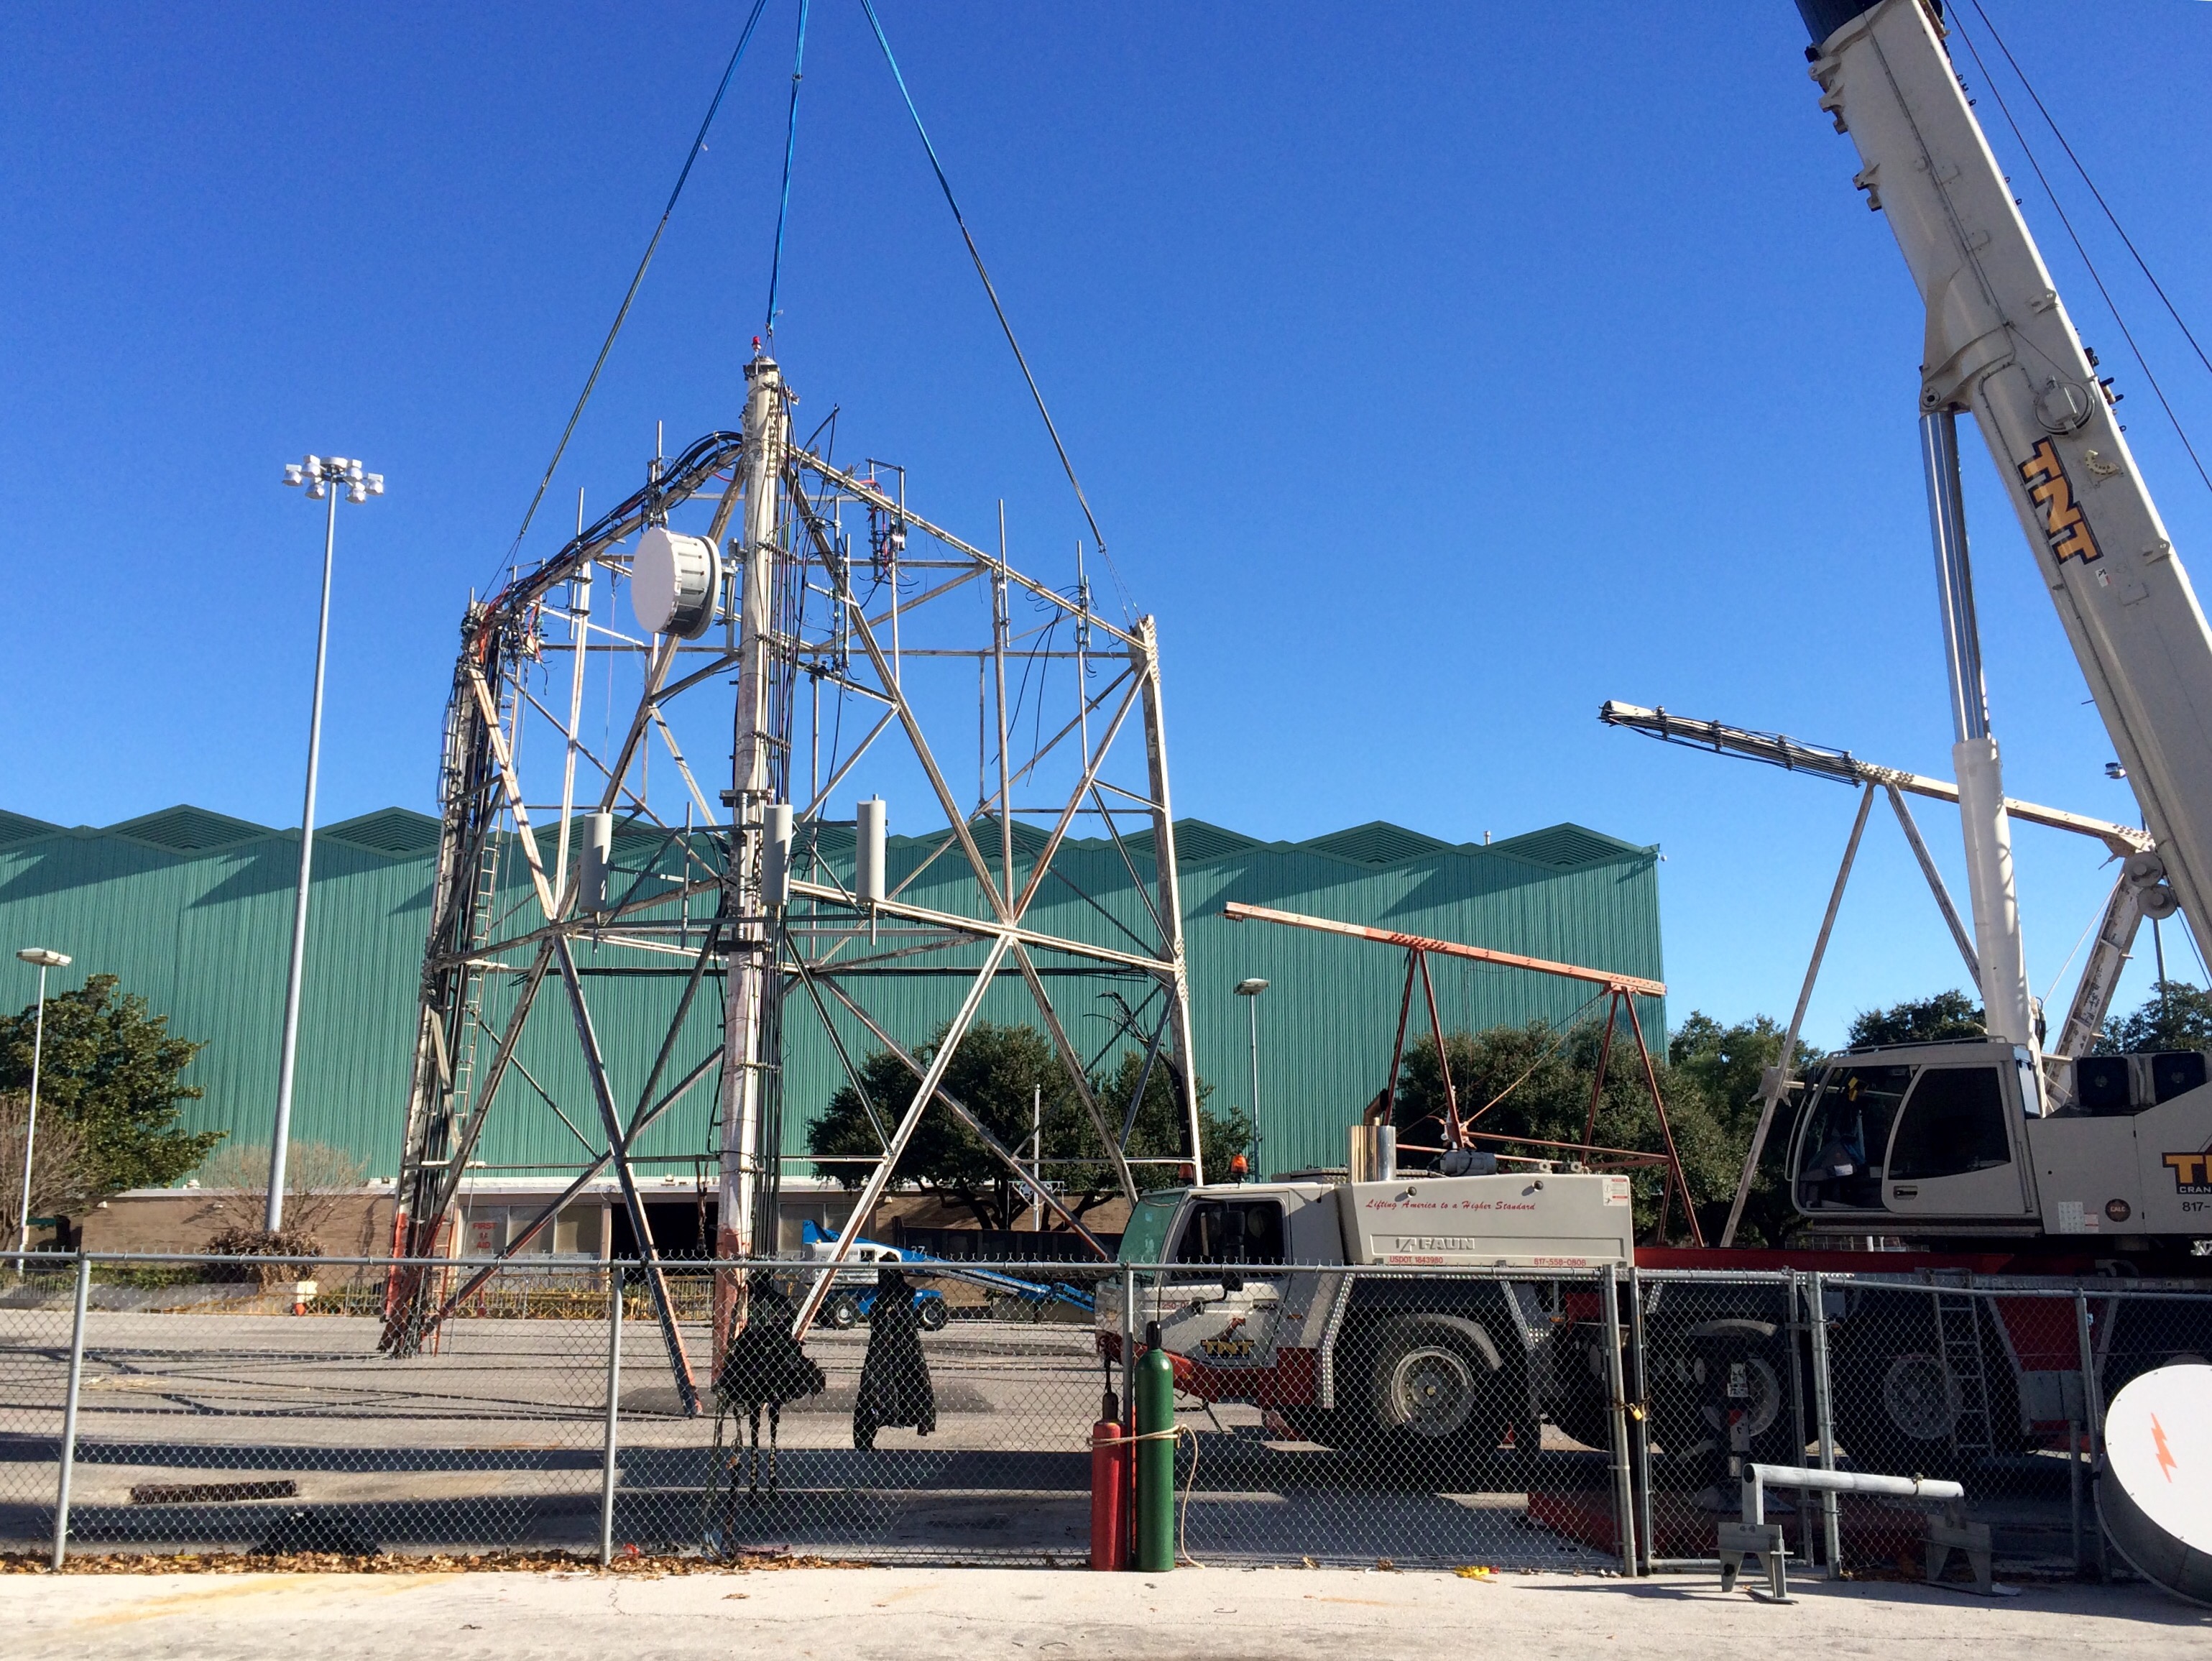


all gone!
Here’s another post with some good photos also… My Boyfriend’s Crazy!
I gotta send my ♥love♥ down to Baton Rouge…
We found out Friday that we need to be in Baton Rouge for work on Monday. It just so happens that “Callin’ Baton Rouge” by Garth Brooks is one of my all time favorite songs! So I’m sure Allen will be good and sick of it by the time we get there! Luckily for him, it’s less than 500 miles, so he will only have to deal with my musical selection and singing for one day…
We are avoiding Dallas, so it’ll take about a half hour longer, but it’s well worth it!
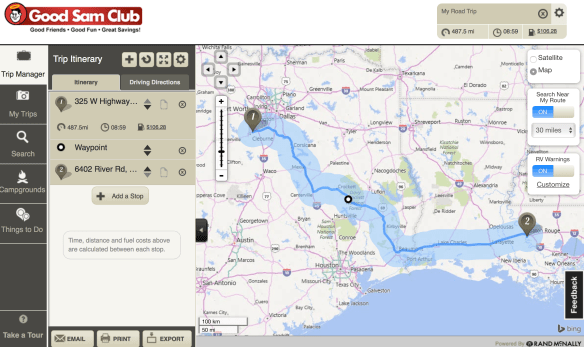
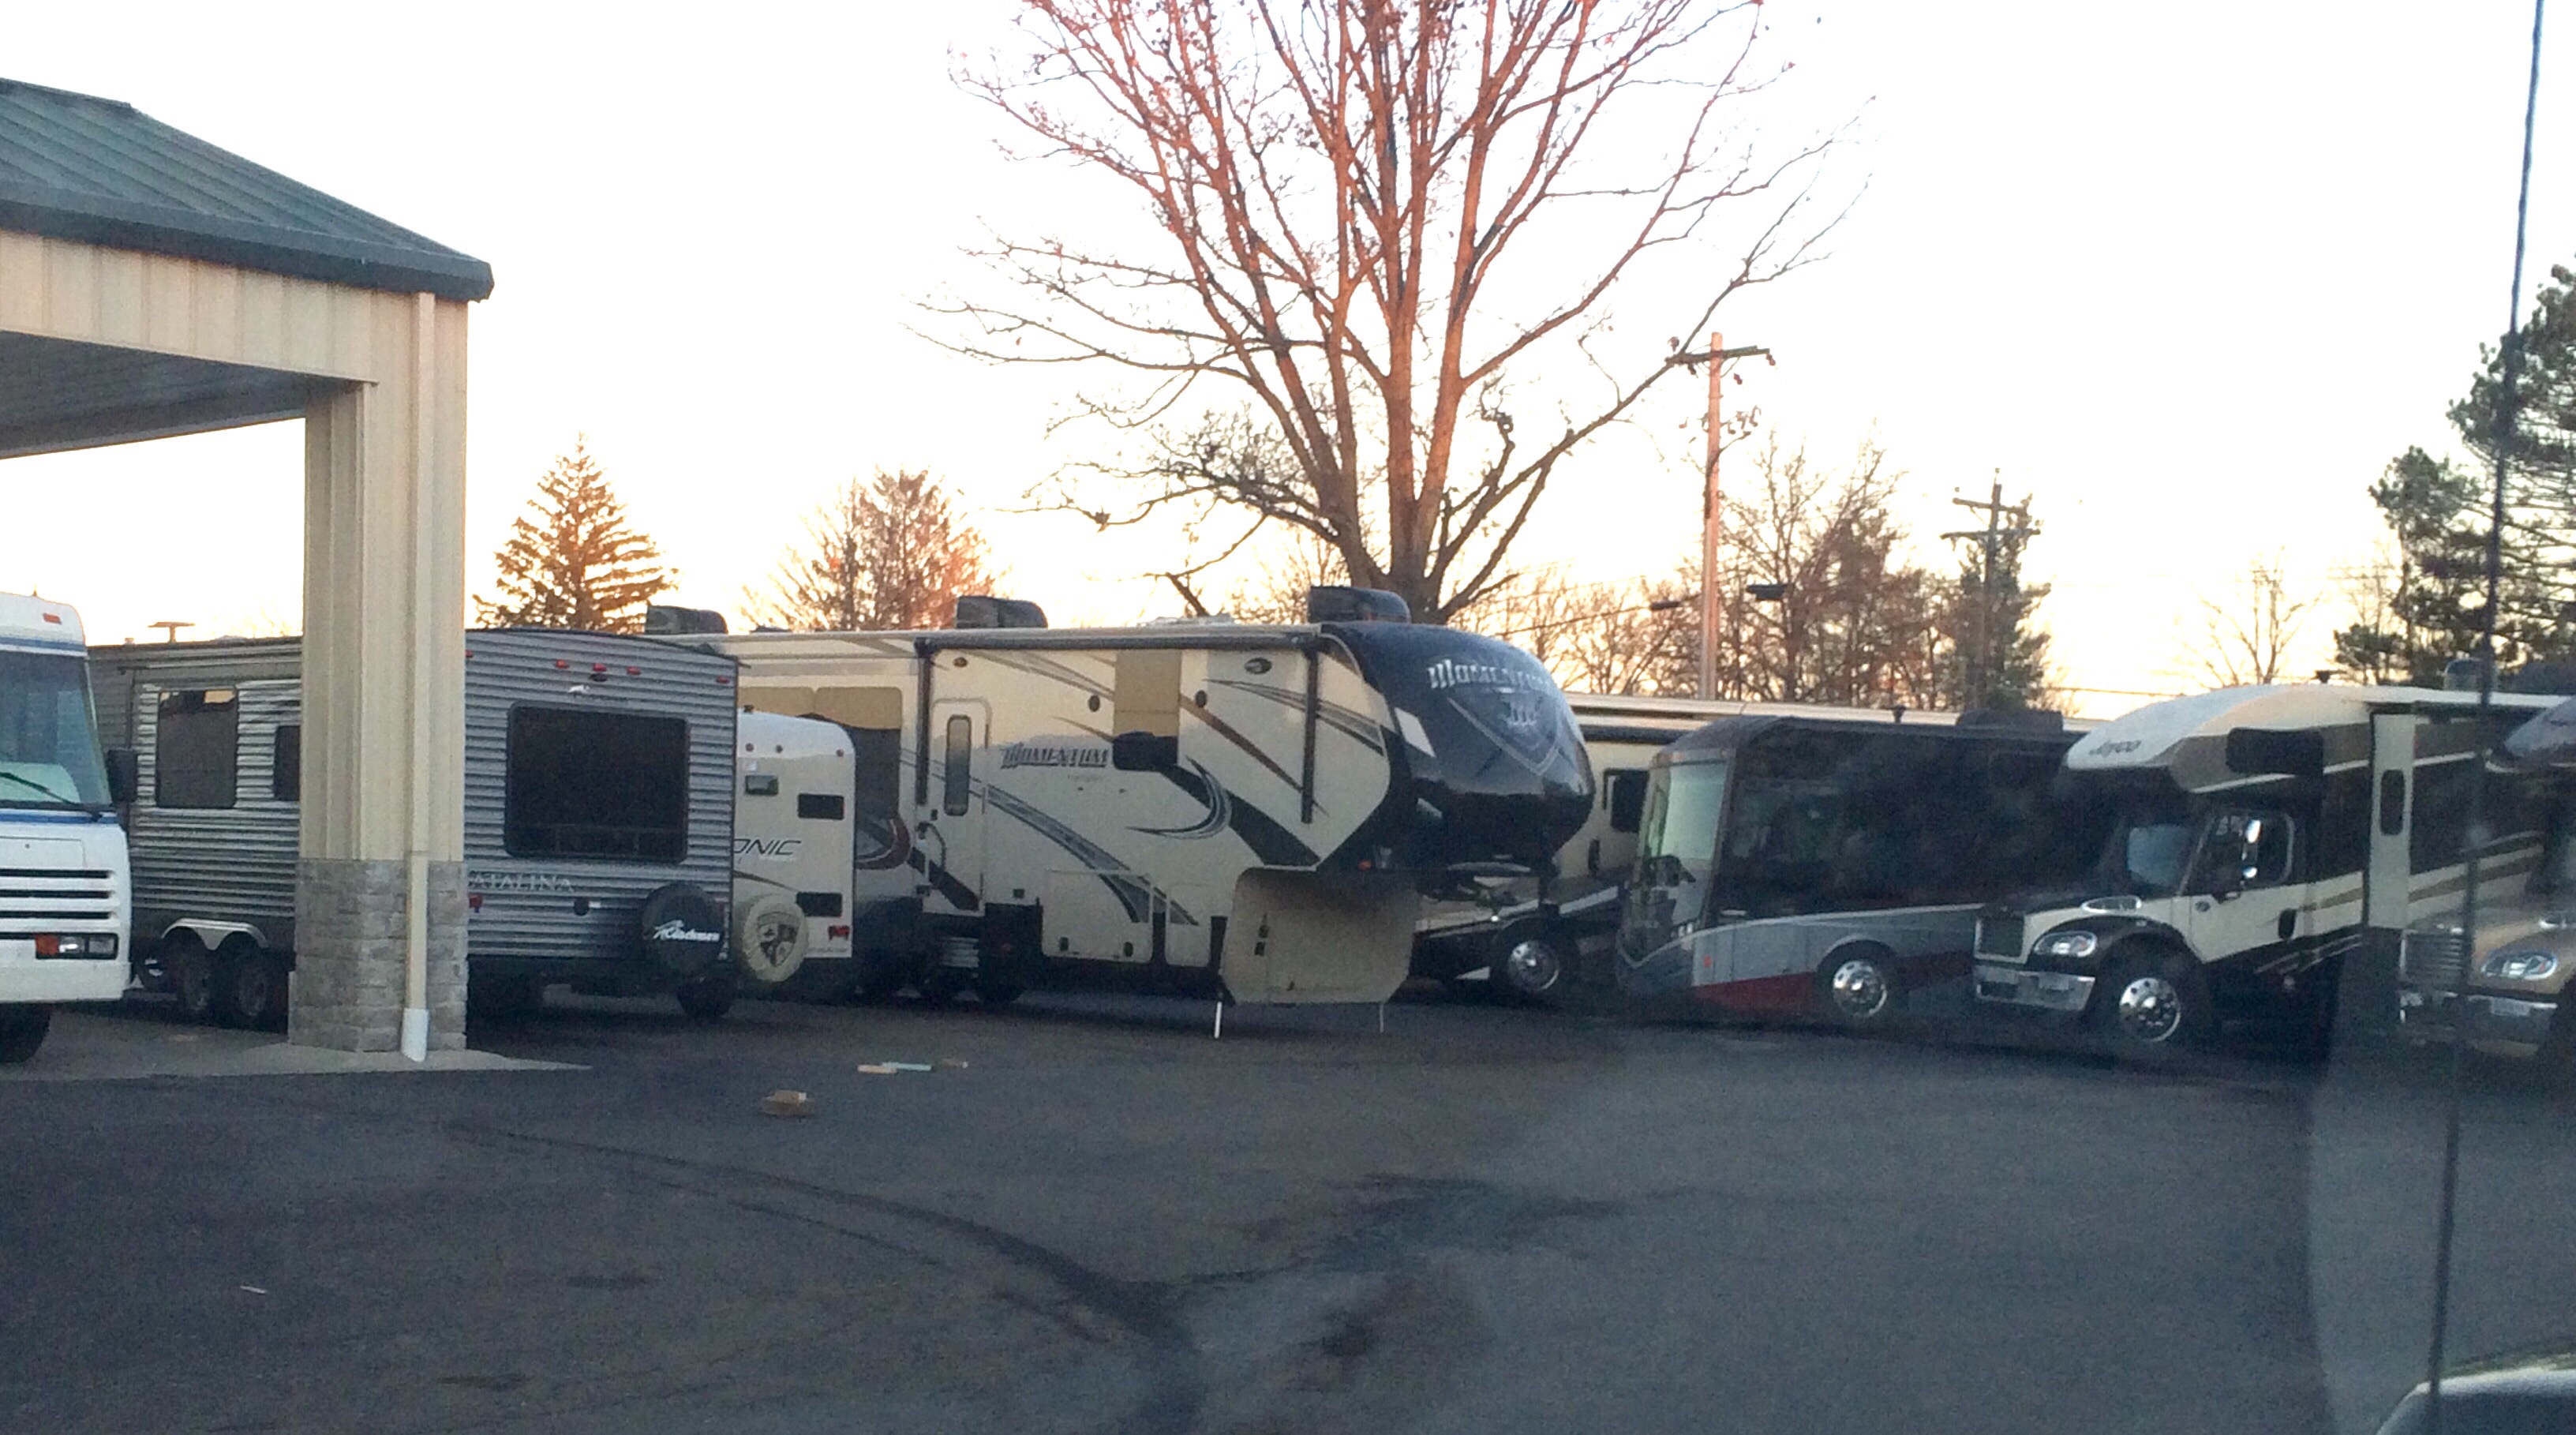
I always try to use the Good Sam Trip Planner, just so we don’t get taken into any RV-unfriendly places…
We should be in Baton Rouge for a few days, then I THINK we’ll be heading to Oklahoma City… If that’s the case we will be there by the end of next week. I don’t mind this plan at all!
I’ve never been to Baton Rouge. Our friend Doug, out at Candlestick RV Park in San Francisco, went to LSU and LOVES the tigers, so he will be thoroughly jealous!
I’m super hoping we can get some delicious crawfish… I love them so much… My mouth is already watering…
I’ve looked at the weather and it looks fairly warm. Rain on Tuesday but maybe that’ll give us time to see a little bit of the town (fingers crossed for a weather day!)
And then our friends Bob and Karen are at Abe’s RV Park in Oklahoma City so it’s always good to see them!
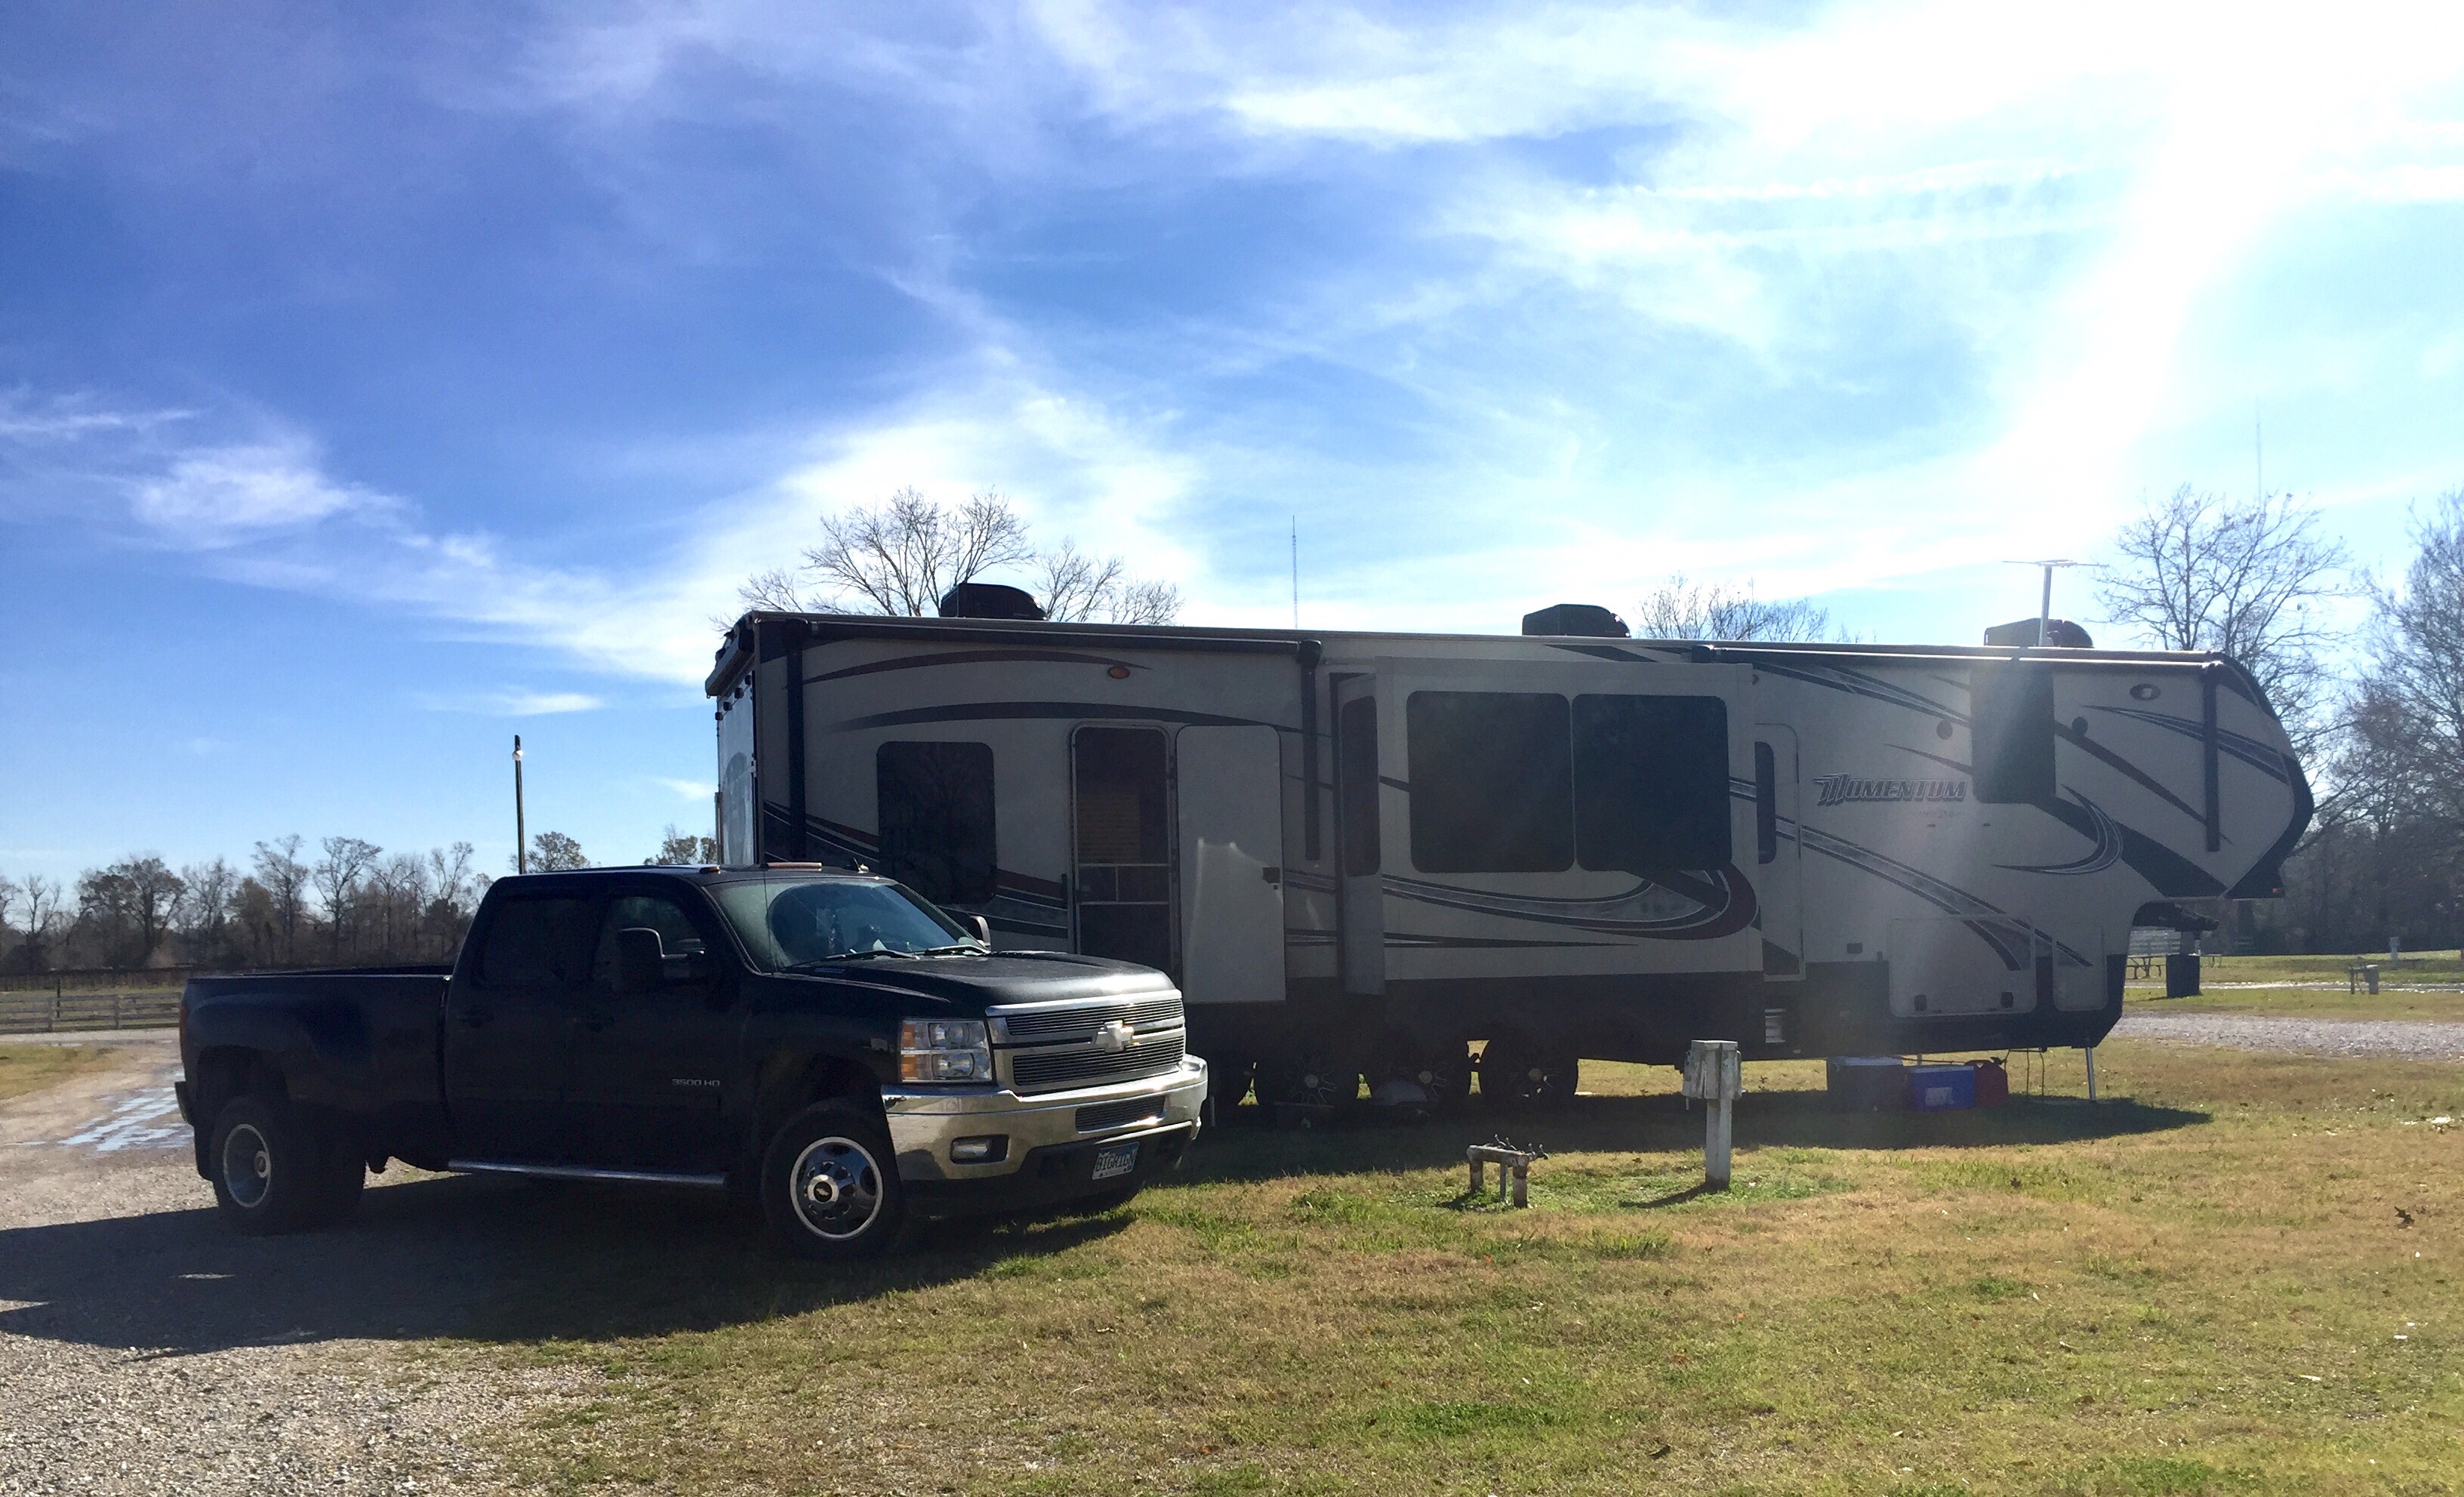
I found a campground right down the street from the tower site that I’m hoping works out for us. Water and 30AMP service only, but it’s only for a couple days so it shouldn’t be too bad, and they have a dump station. It’s at an equestrian park… I’m just hoping this little angel puppy of ours can behave herself and not act like a wild banshee the entire time we’re there!

Spoiled little Charles…
I’ll probably have to bribe her with treats… So if you’d like to help out with that, you can put some money in Charlie’s Treat Fund 🙂
I use my blog kind of like a cookbook, a way to keep all my recipes in one place so that I don’t lose the little scraps of paper I jot them down on.
This morning I got ready to make a loaf of this delicious Banana Nut Bread for my neighbor Amy as a congratulations on her new job. So I got my bread maker out and pulled up HomeSweetHomeOnWheels… No Banana Nut Bread recipe listed. Well crap! So then I had to go searching and luckily I found this guy among other random unorganized-ness in the filing cabinet (that I plan to make a slipcover for – against Allen’s wishes… but he’ll like it in the end!)…
 I just added it to the recipe section so I will have it in the future for sure! But here it is if you’re curious…
- 1/2 cup buttermilk *
- 2/3 cup butter
- 2 eggs
- 1 1/2 tsp vanilla extract
- 1 1/2 cups mashed bananas (3-4 bananas)
- 1 tsp salt
- 1 tsp baking powder
- 1 1/2 tsp baking soda
- 1 1/3 cups sugar
- 2 2/3 cups flour, regular all purpose flour
- 3/4 cup chopped walnuts
Put all these ingredients (minus the walnuts) into your bread pan. Select the “quick” bread cycle-this just means it doesn’t have a rise time. You’ll need to help the mixing process out… You don’t want lumpy clumps of flour – yuck! So help it mix up and get everything off the sides. My machine mixes for about 7 minutes then rests. This is when I add the walnuts, again helping out a little. Then it mixes again, and bakes for an hour and a half. Try not to burn your fingers when it’s finished, let it cool a little before you dive in!
*I have never used buttermilk in my life. It’s not something I just have in the fridge and I don’t plan well enough to buy it ahead of time. So a good substitute for buttermilk is 1 cup of whole milk + 1 tbs of white vinegar. I know it sounds weird but it works, I promise!
Someone asked me yesterday if Charlie had her own section of the blog… That she does! It’s here… You can also donate to her treat fund here…

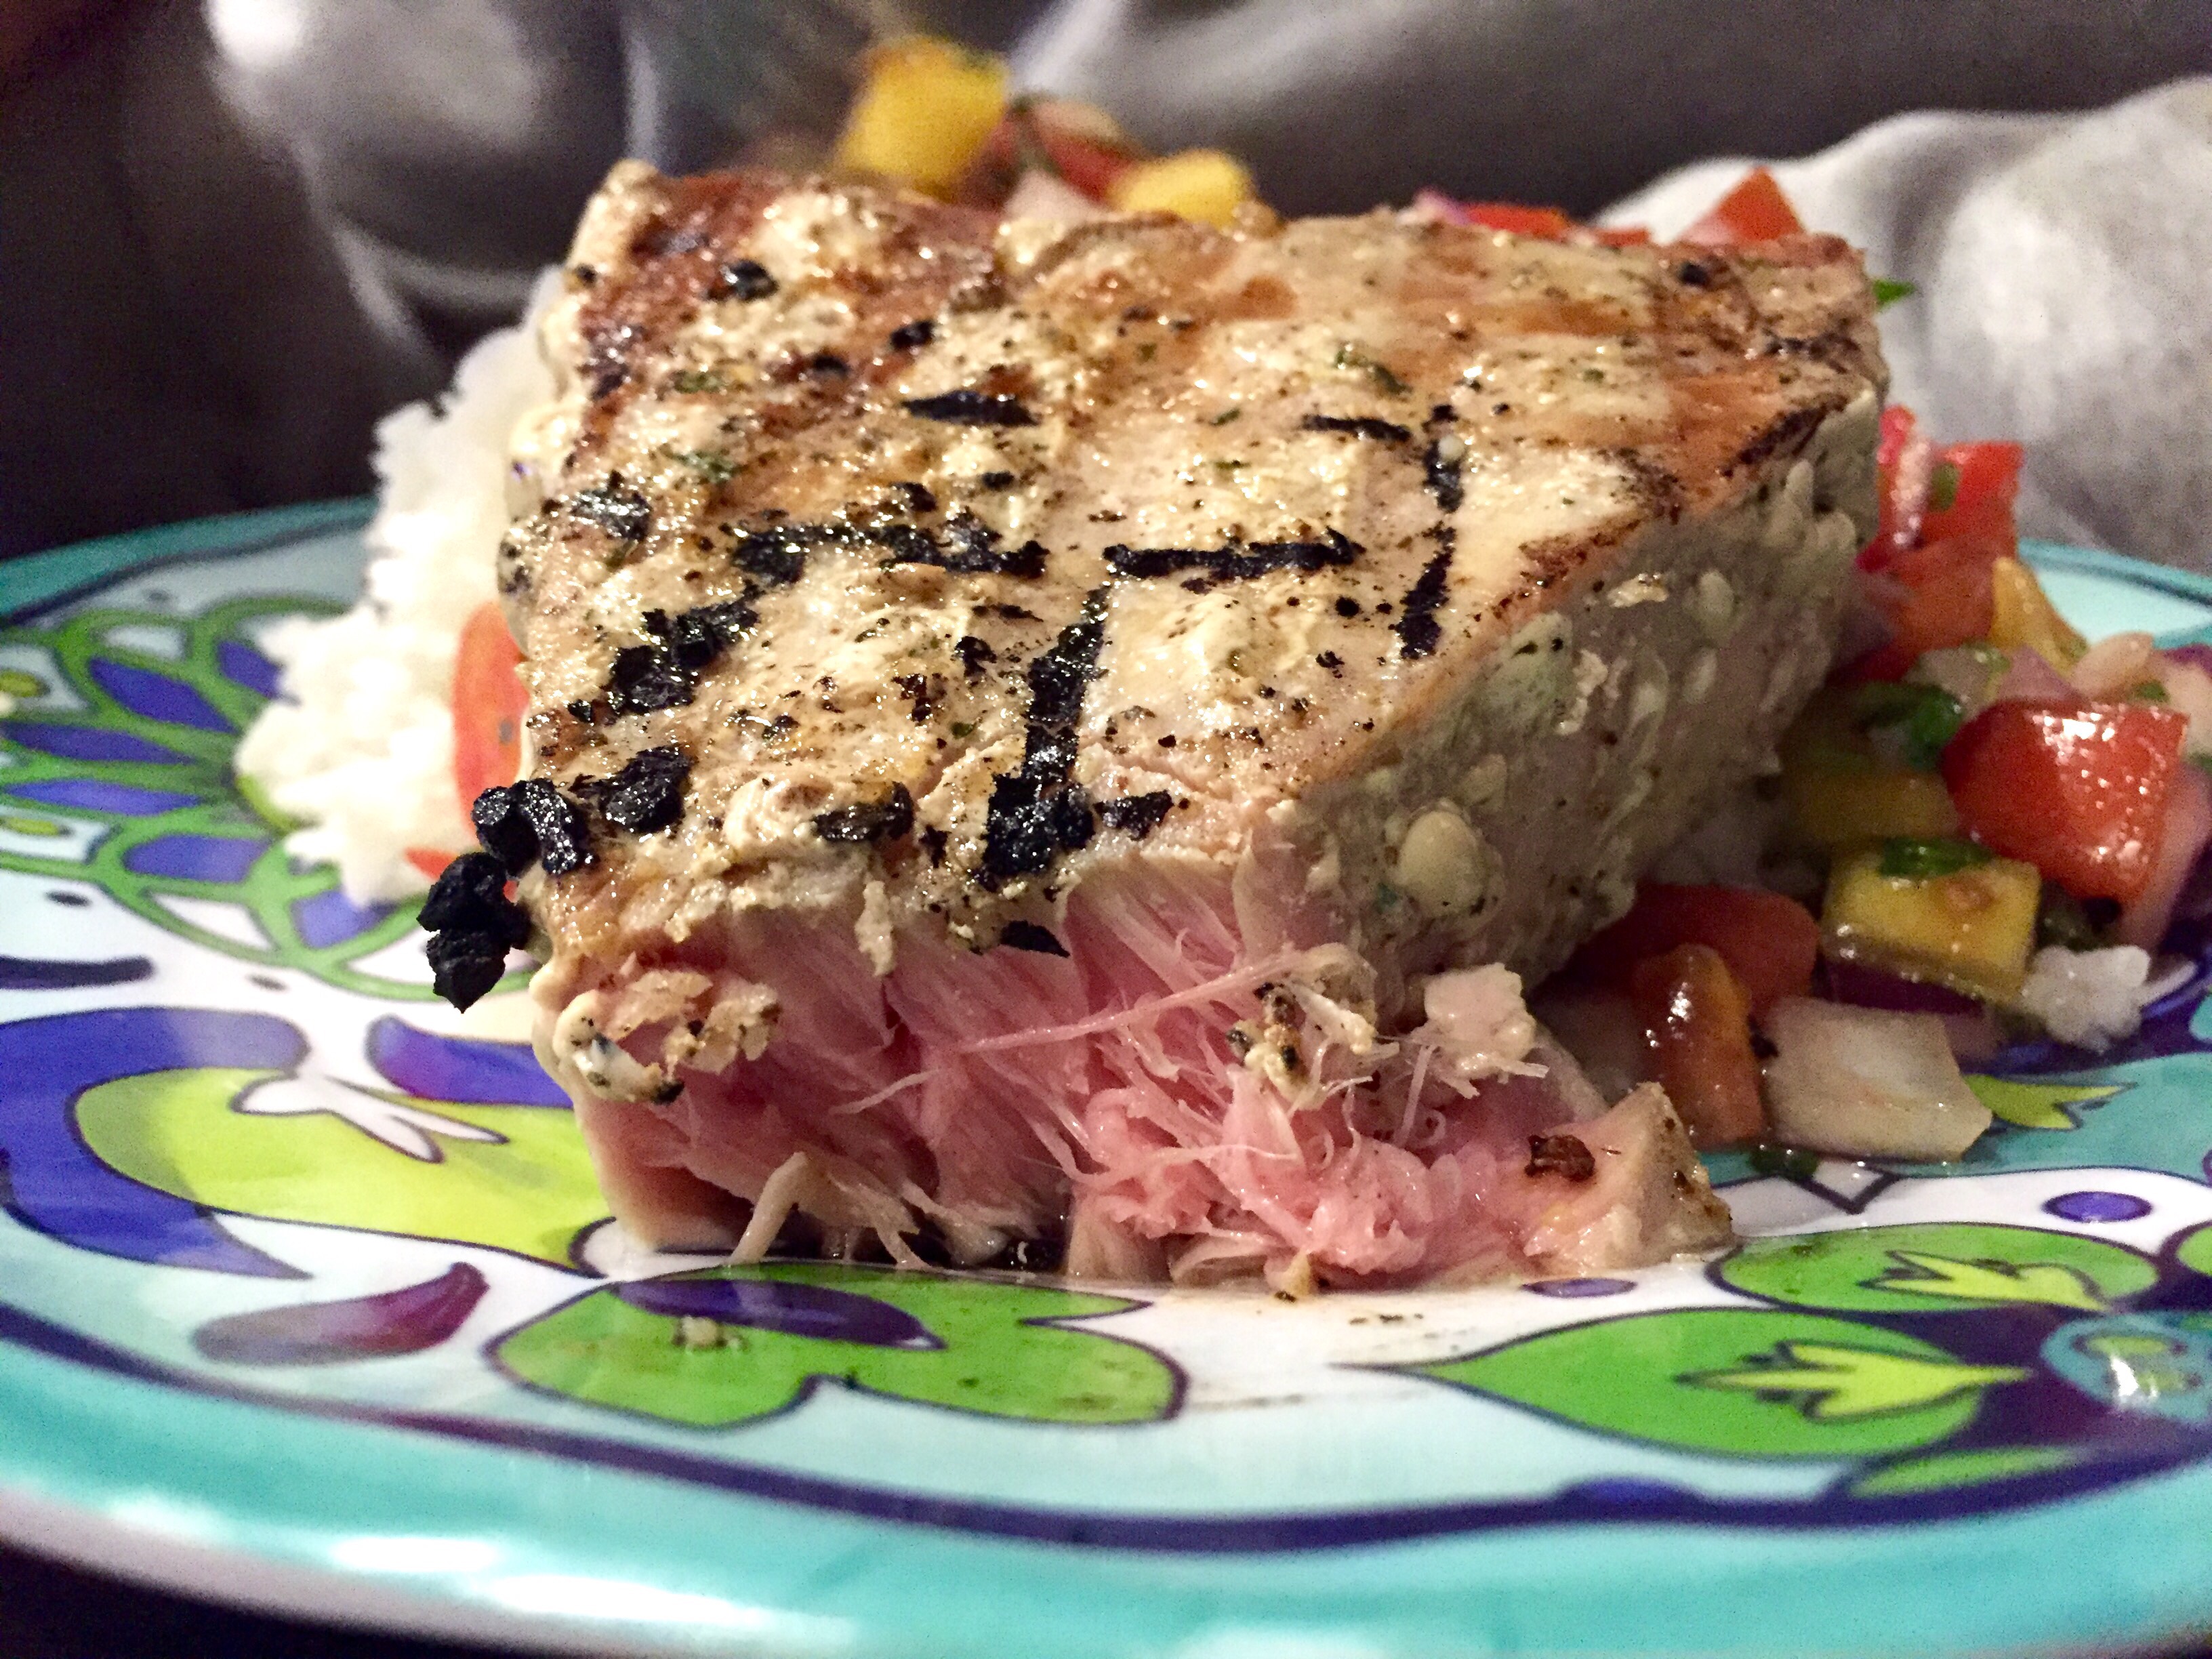
I love seafood. It’s healthy, it’s delicious, it’s easy to cook (once you figure out never to OVER cook it).
I usually make this Mango Salsa to go with salmon but since I couldn’t find any salmon to my liking, we went with tuna steaks instead. (I think frozen is perfectly delicious if super fresh isn’t available…)
I always preheat the grill and get it smokin’ hot while the fish is thawing out and getting seasoned with love. Ok, I use Canadian steak seasoning in place of actual love for the tuna! (With salmon I use Old Bay and white pepper with a smidgen of garlic salt).
Be sure to oil the fish then place it on the smokin’ hot grill, close the lid and leave it alone. Depending on how actually smokin’ hot your grill gets, will determine when you should flip the tuna. We have a Weber Q (the back side is being weird as of late and not staying lit, so it’s not getting as super hot as I would prefer).
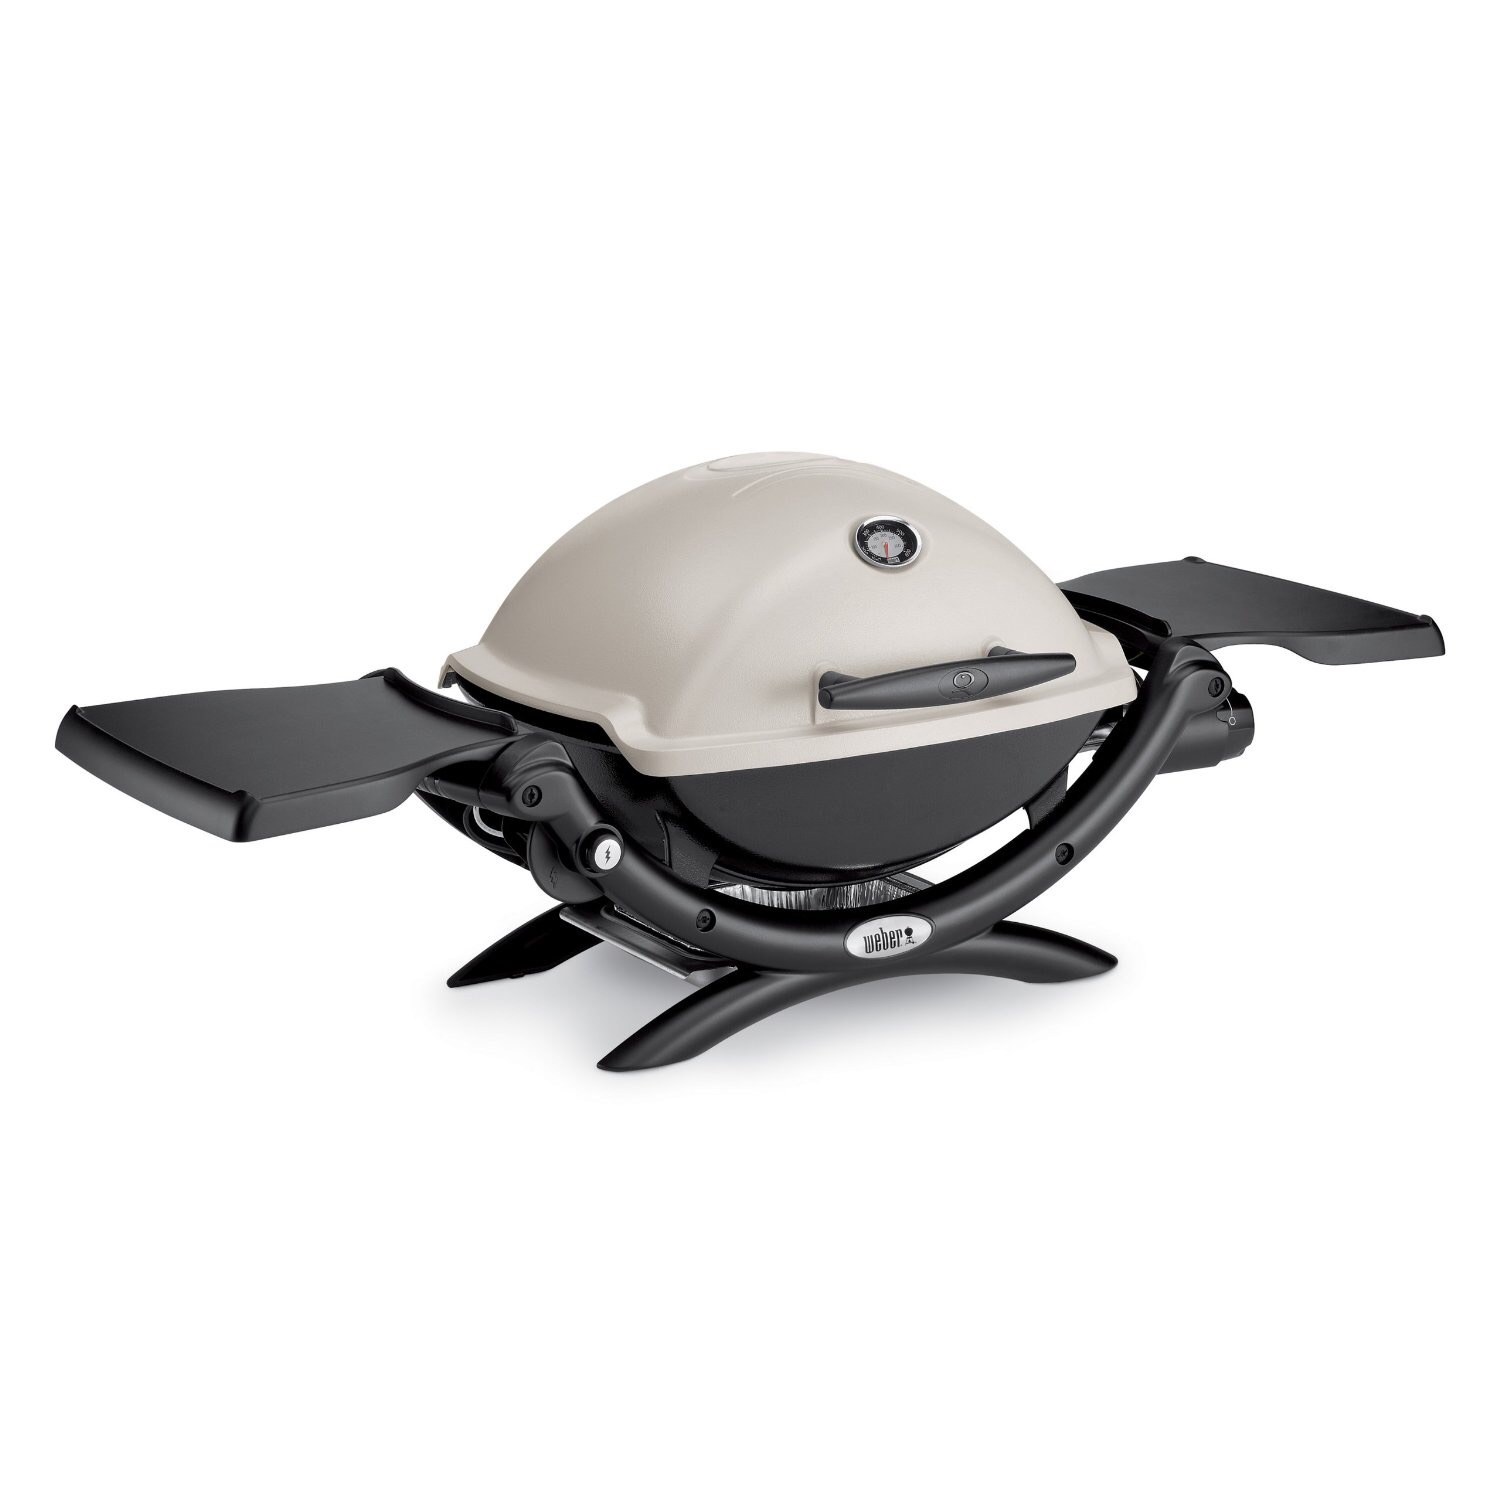 But usually about 4 minutes is good, then flip the tuna steak. (It should let you flip it easily, fish tells you when it’s ready, it’ll stick if it’s not). Do about 3 minutes on the other side and you’re finished!
 Now on for the really tasty part that gives the whole meal a kick…
Mango Salsa
I mix all these yummy things together at least an hour ahead of time to give them time to get acquainted and mingle and develop some delicious juice to hang out in.
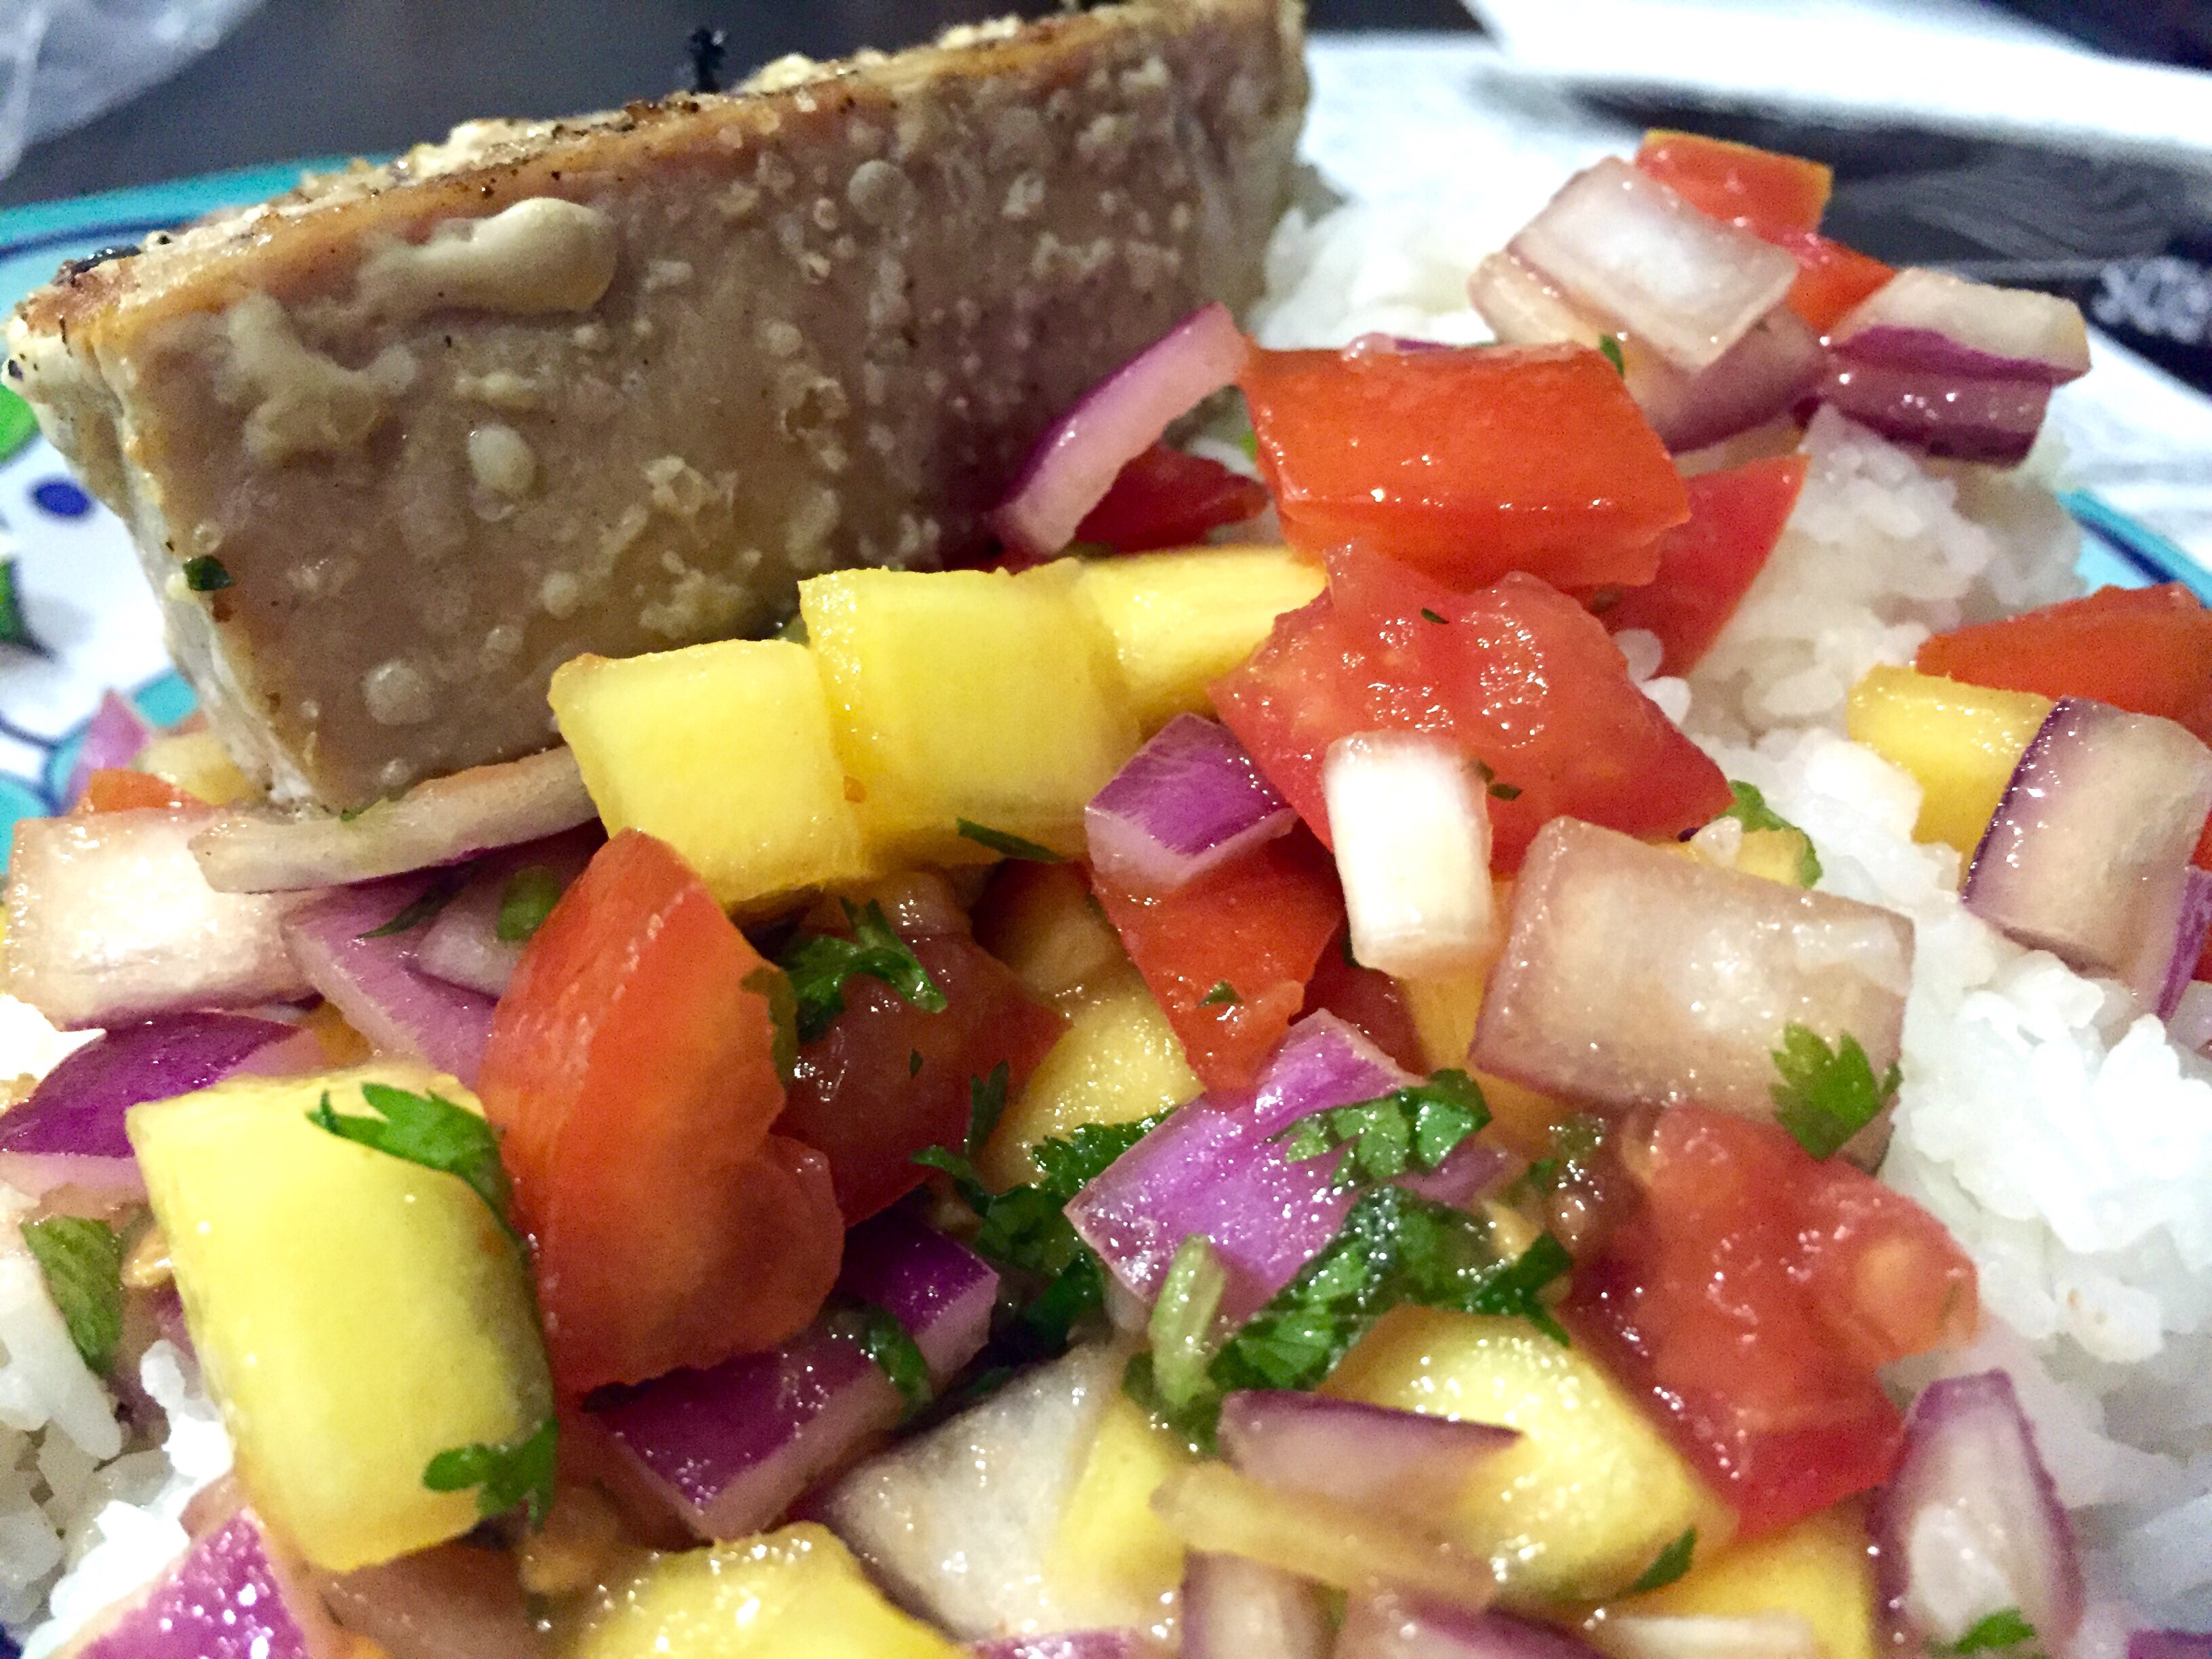 I serve the tuna over steamed white rice and top it all off with the mango salsa. Yum! And it’s all good for you!

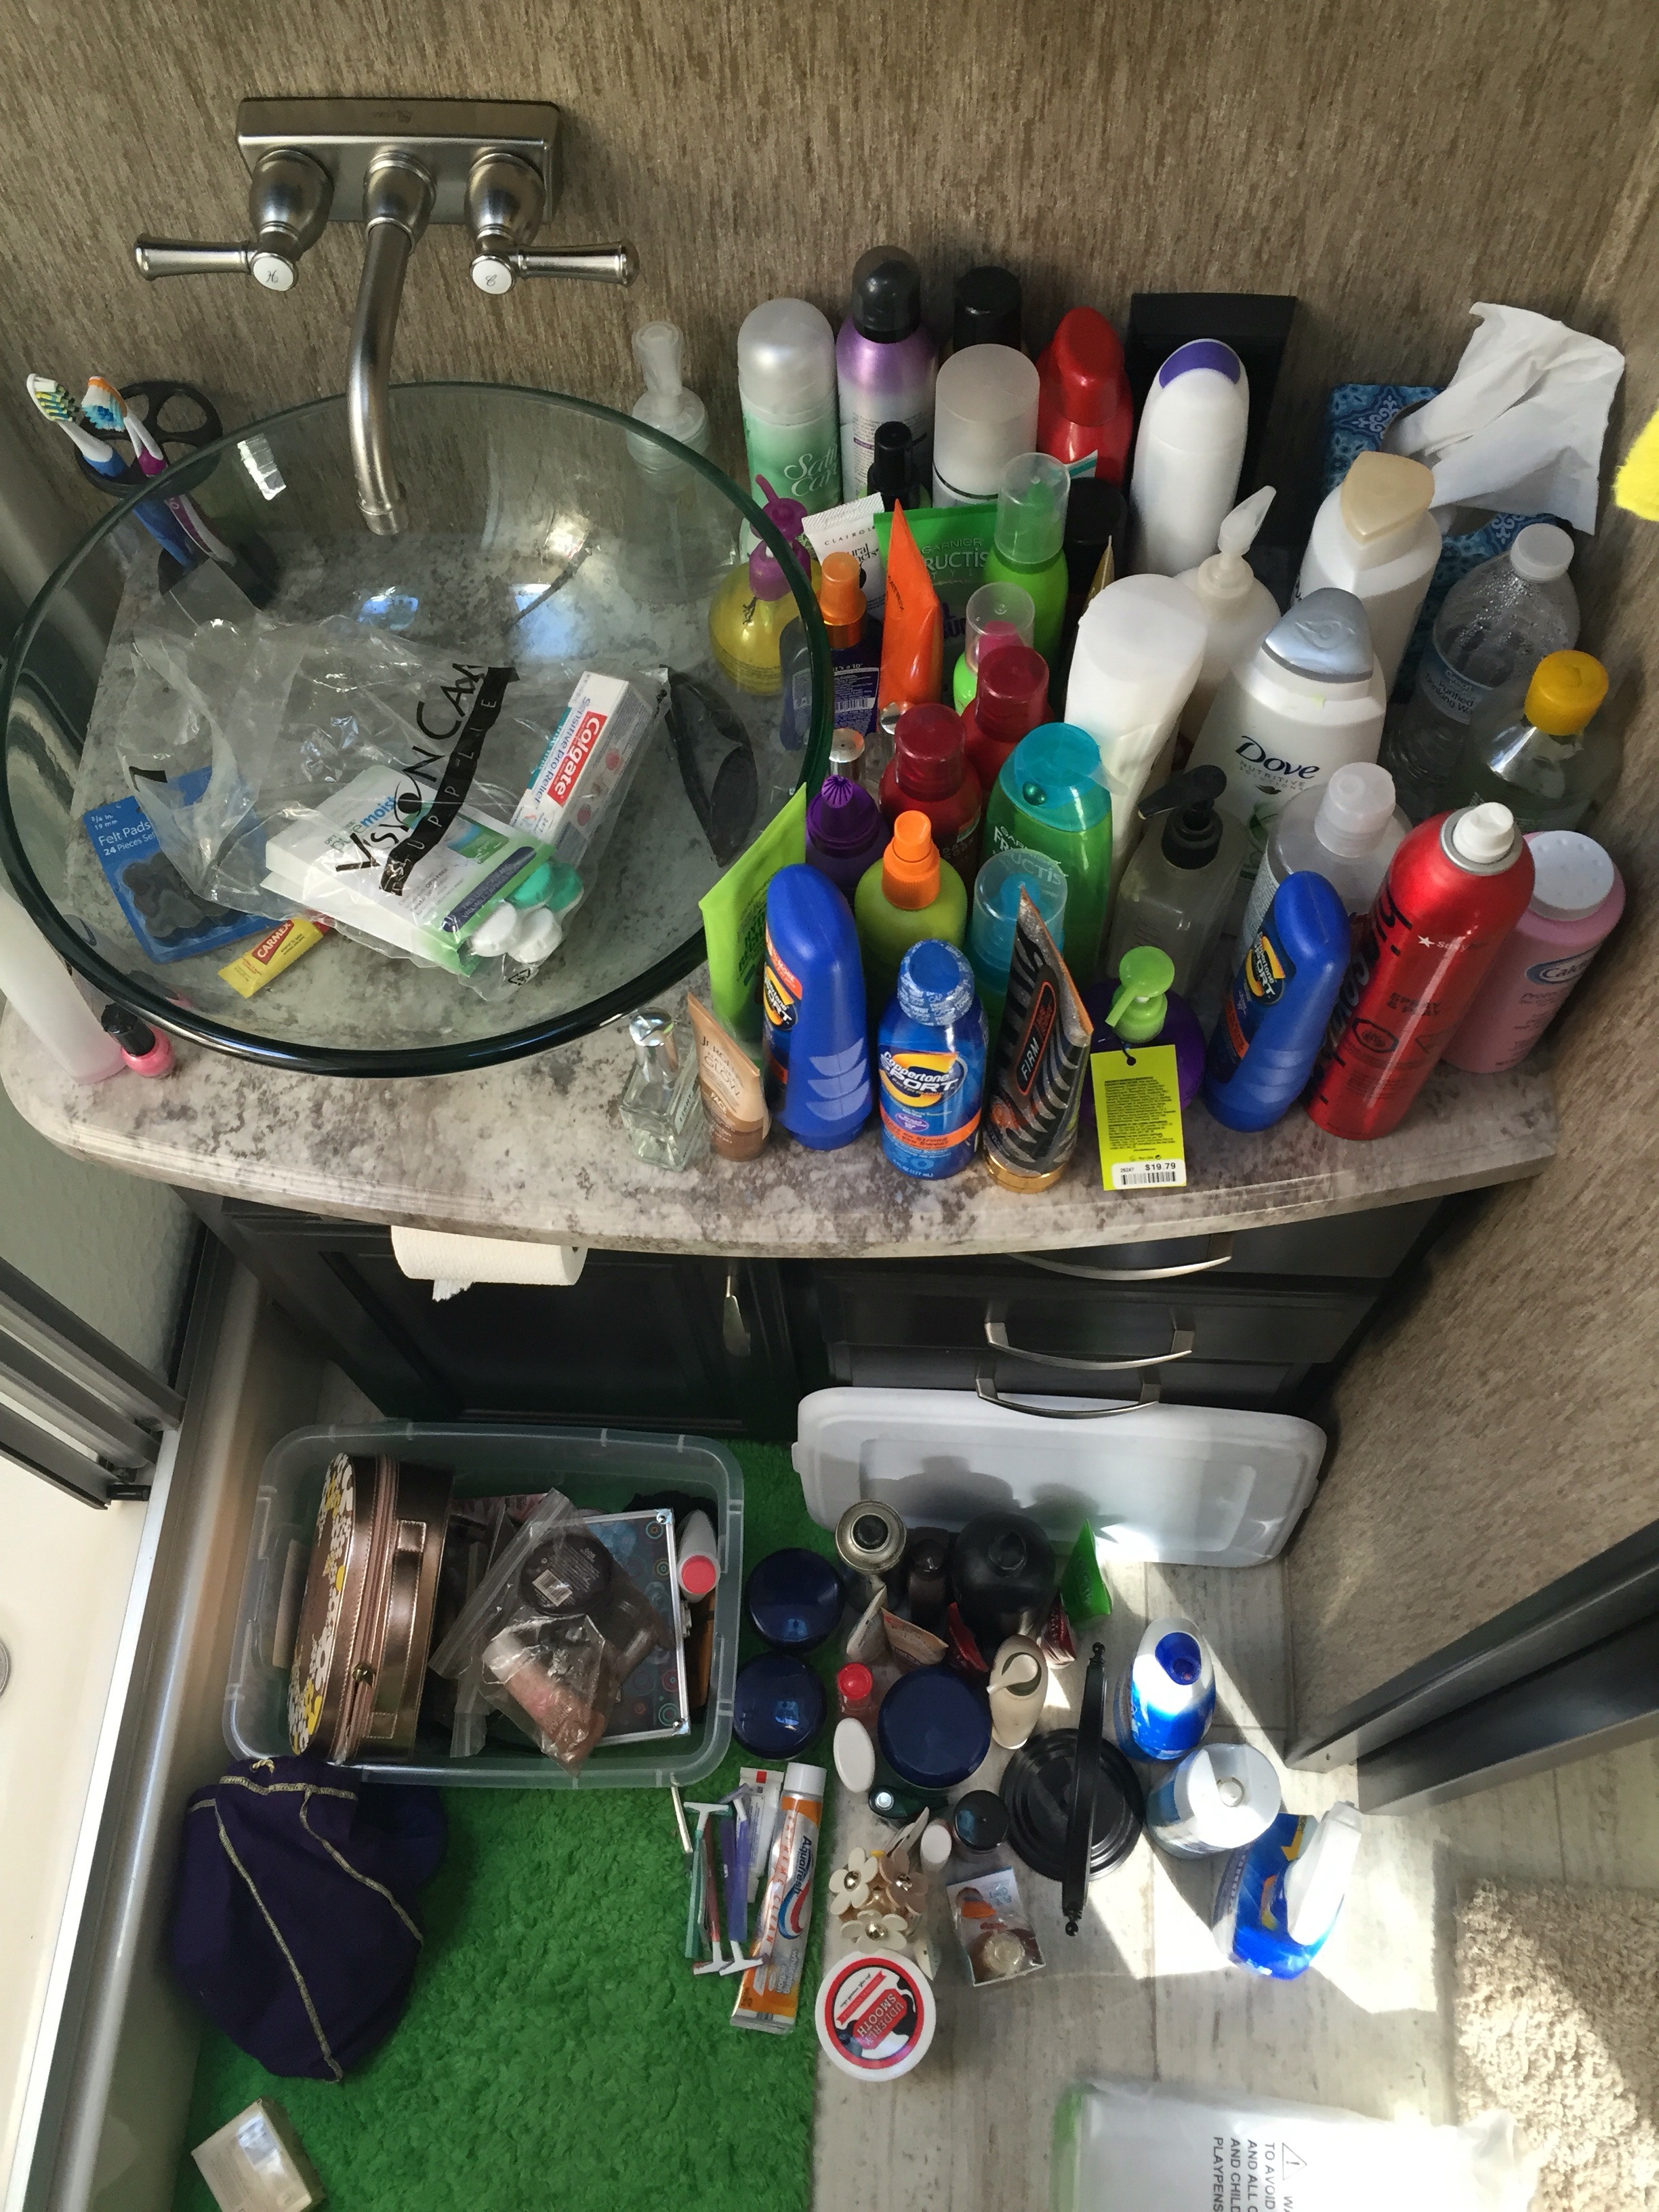
After about 3 weeks off, visiting family and getting things done on the camper, we are back in Texas and back to our normal routines. Allen is back at work (his body definitely knows this!) and me and Charlie are back to killing time together.
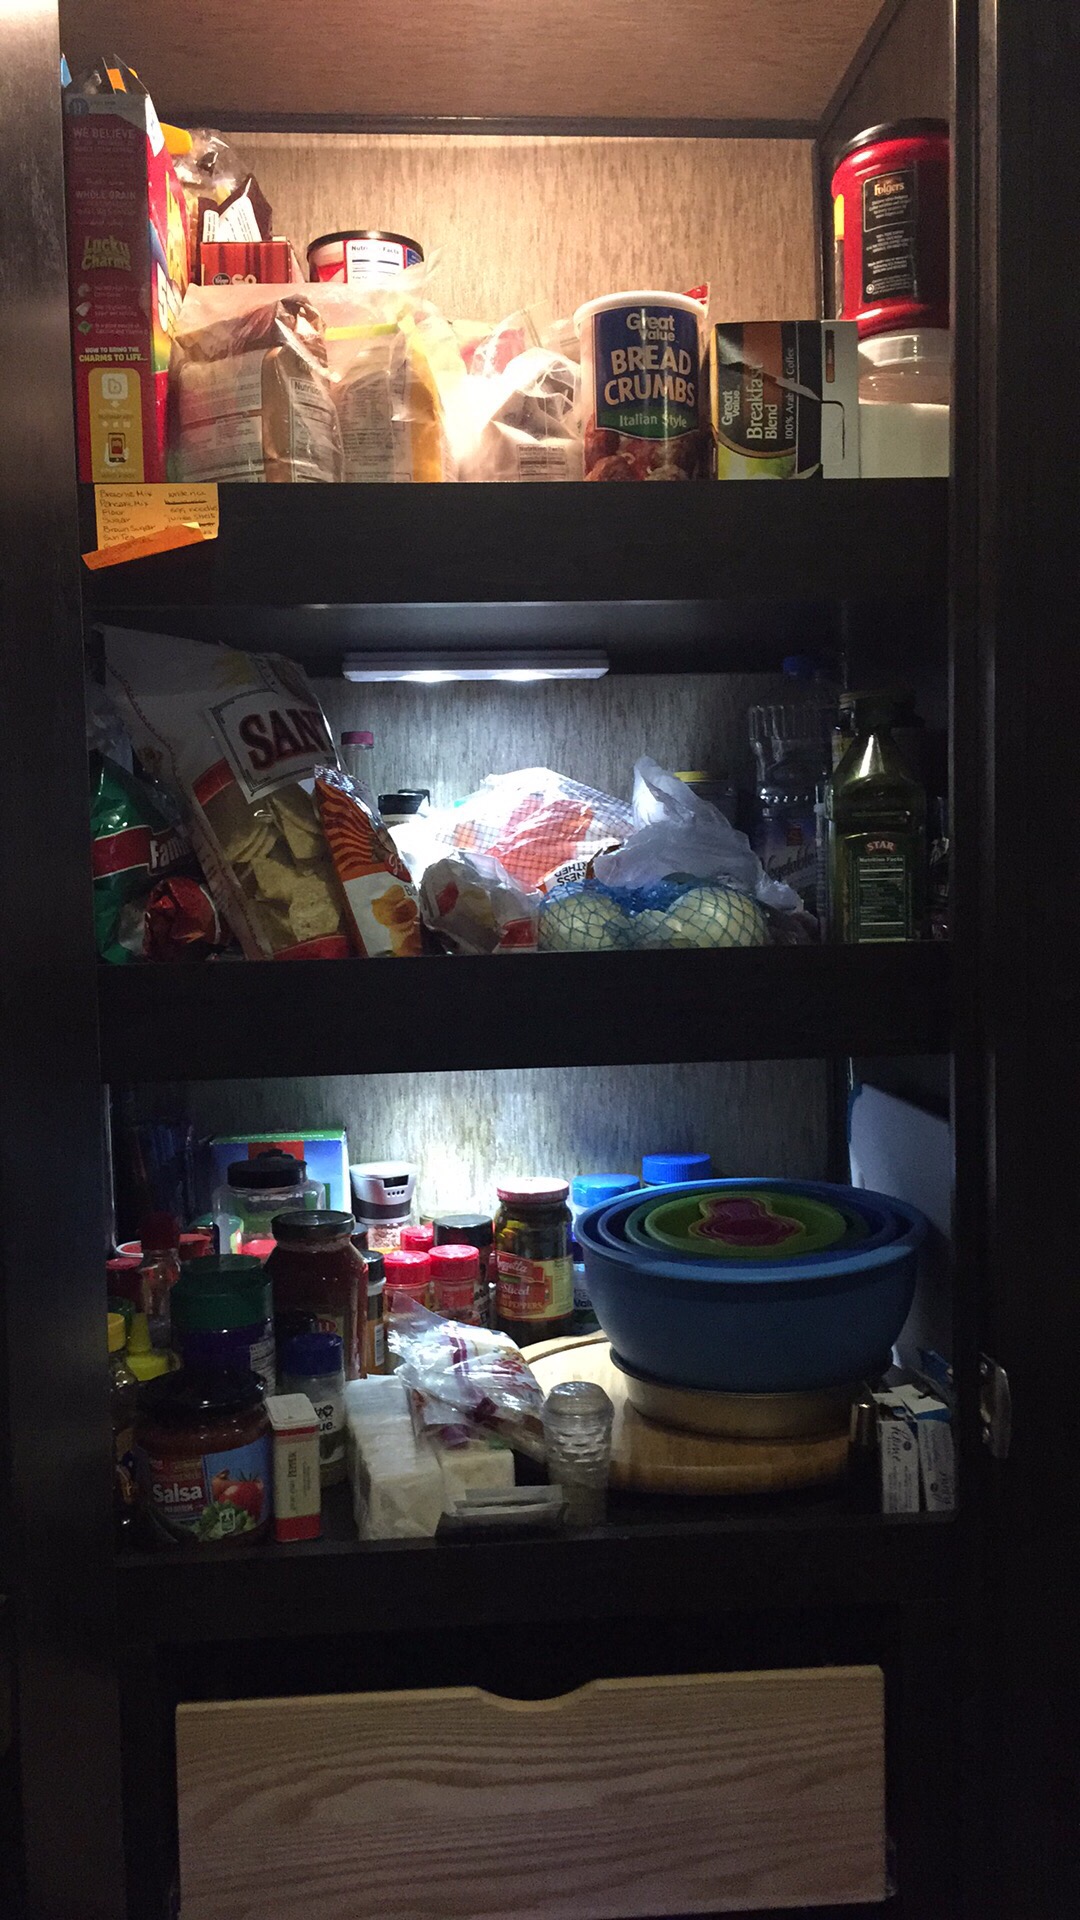
I feel like I’m getting a lot done, even if it’s little things…


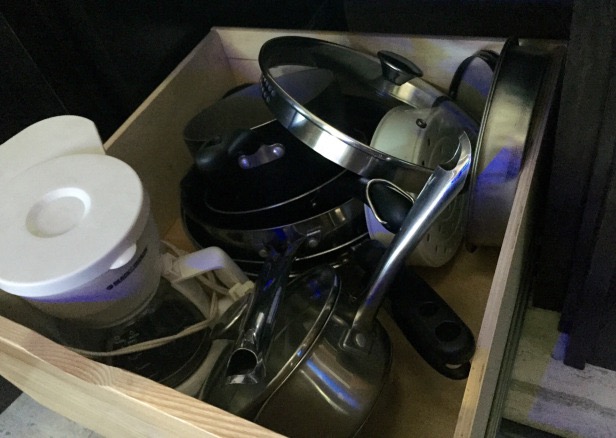
“the hot mess before”

We are also trying to eat healthy, and very inexpensively… Which is a little difficult to plan out, but I’m trying. See: Cheap, Easy, Healthy, Delicious Black Bean Soup. I’ve also kept us stocked with a wannabe 7-layer salad (wannabe because it doesn’t have nearly 7 layers but it’s still delicious).
I also started keeping a written budget. I had one going for the last couple months of 2015 but kind of let it slip in December. It’s difficult to do while traveling and expenses and income changes dramatically depending on what part of the country we are in at the moment. So we are starting fresh. So far we are most definitely in the red! But I’m hoping to get a better idea of where our money goes and trim it back here and there wherever we can. After all, we have a Smart Car goal to get to in a little over a year!
Yes, this soup is all of those things. It’s so good. I made it last night for dinner and just had the rest (a 1/2 bowl) for lunch. Yum! 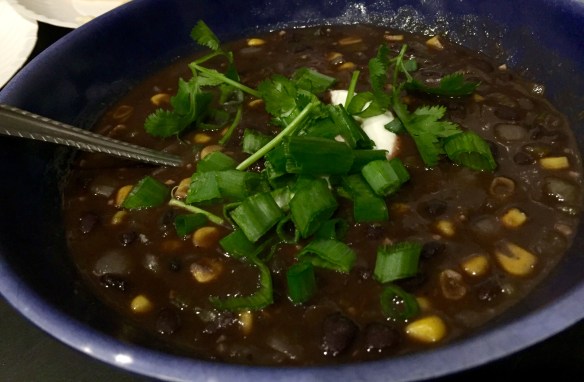
I’ve been wanting to make black bean soup for a couple months now and I’ve had 2 cans of black beans in my pantry just waiting to be used. I don’t know what happened or why I didn’t make it, but I’m fairly sure I bought these cans of beans the LAST TIME we were here at the RV Ranch in Keene… That means they’ve been out to San Francisco, over to Winnemucca, NV; Rawlins, WY; Hermosa & Salem, SD; up to Hillsboro, ND; down to Council Bluffs, IA; through Oklahoma City; back to Keene, TX; up to Sparta, KY via West Memphis, AR; and back down here via Dickson, TN and Texarkana. These are, were, some travelin’ beans!
Allen and I both put on a little teensy tiny bit of hibernation weight in North Dakota so I’m all about trying to make healthy meals for us this year! Not to mention, as I’m sure a lot of folks are right now, we are just hanging on until tax return time! The holidays combined with three weeks off work are fun and all, but we are definitely feeling that now!
Anyway, I try to save these recipes I find as bookmarks on my phone or write them down somewhere but this one just disappeared… So I went searching via Google yesterday and found recipes from the Pioneer Woman (I love most of her recipes for just about everything), Epicurious (Jennifer from Tyler, TX specifically-I did write that down!), and Food Network…
I didn’t have all the ingredients for any of them so I mixed and matched and used what I had… Here’s my version:
Cheap, Easy, Healthy, Delicious Black Bean Soup
- 1-2 tbs bacon grease
- 1 medium onion, diced
- 4 cloves of garlic, minced
- 1 jalapeno, some of the ribs and seeds removed, diced
- dash of oregano
- dash of cayenne pepper
- dash of ancho chili pepper
- dash of chili powder
- a large dash of cumin
- 2 cups of beef broth
- 2 cans low sodium black beans, undrained
- 1 roma tomato, diced
- 1-2 tbs jarred salsa
- about a 1/2 cup frozen corn, maybe more
- salt to your liking
- palmful of chopped cilantro
Saute onion and jalapeño in bacon grease over medium heat until just getting soft. Then add garlic. Add all the spices. Once the garlic begins to get fragrant, give it about 30 more seconds and add the broth. Stir to combine, bring to a boil. Add your beans and give those a stir. Then add corn, as much as you prefer really. Once the corn warms up, give it a taste. I probably added about a teaspoon of salt, maybe a tad more, but I didn’t measure. Let that simmer for about 20 minutes to bring the flavors together then stir in your cilantro. I topped mine with a dollop of sour cream and more cilantro, with a little bit of green onion last night. Today for lunch I topped it with a diced avocado and that was absolutely scrumptious!
Grand Design & Colerain RV
After our terrible experience with the mobile tech down in Dallas, Ray at Grand Design said to send in our receipts for reimbursement and hooked us up with Colerain RV in Cincinnati to get things resolved.
The new year break must’ve done him good because he’s been a whole lot nicer to deal with since! He set it up for Colerain RV to send someone out to our camper in Sparta, KY.
But when I talked to them to schedule it, Debbie said she would rather us bring it in to make things easier. They had us in and out in one day!
Ray had the parts rushed overnight – thank you!
 We gave them the slide motors for the schwintek system on the bedroom slide and they put those in. They also replaced the control box. But said that ultimately we need the whole system replaced. Right now the bedroom is all the way in… Daggone Lippert…
The tank heater on the back bathroom black tank was bad so that was replaced. Also, the valve for the black tank in front was replaced so hopefully we are done with that leaky nastiness!
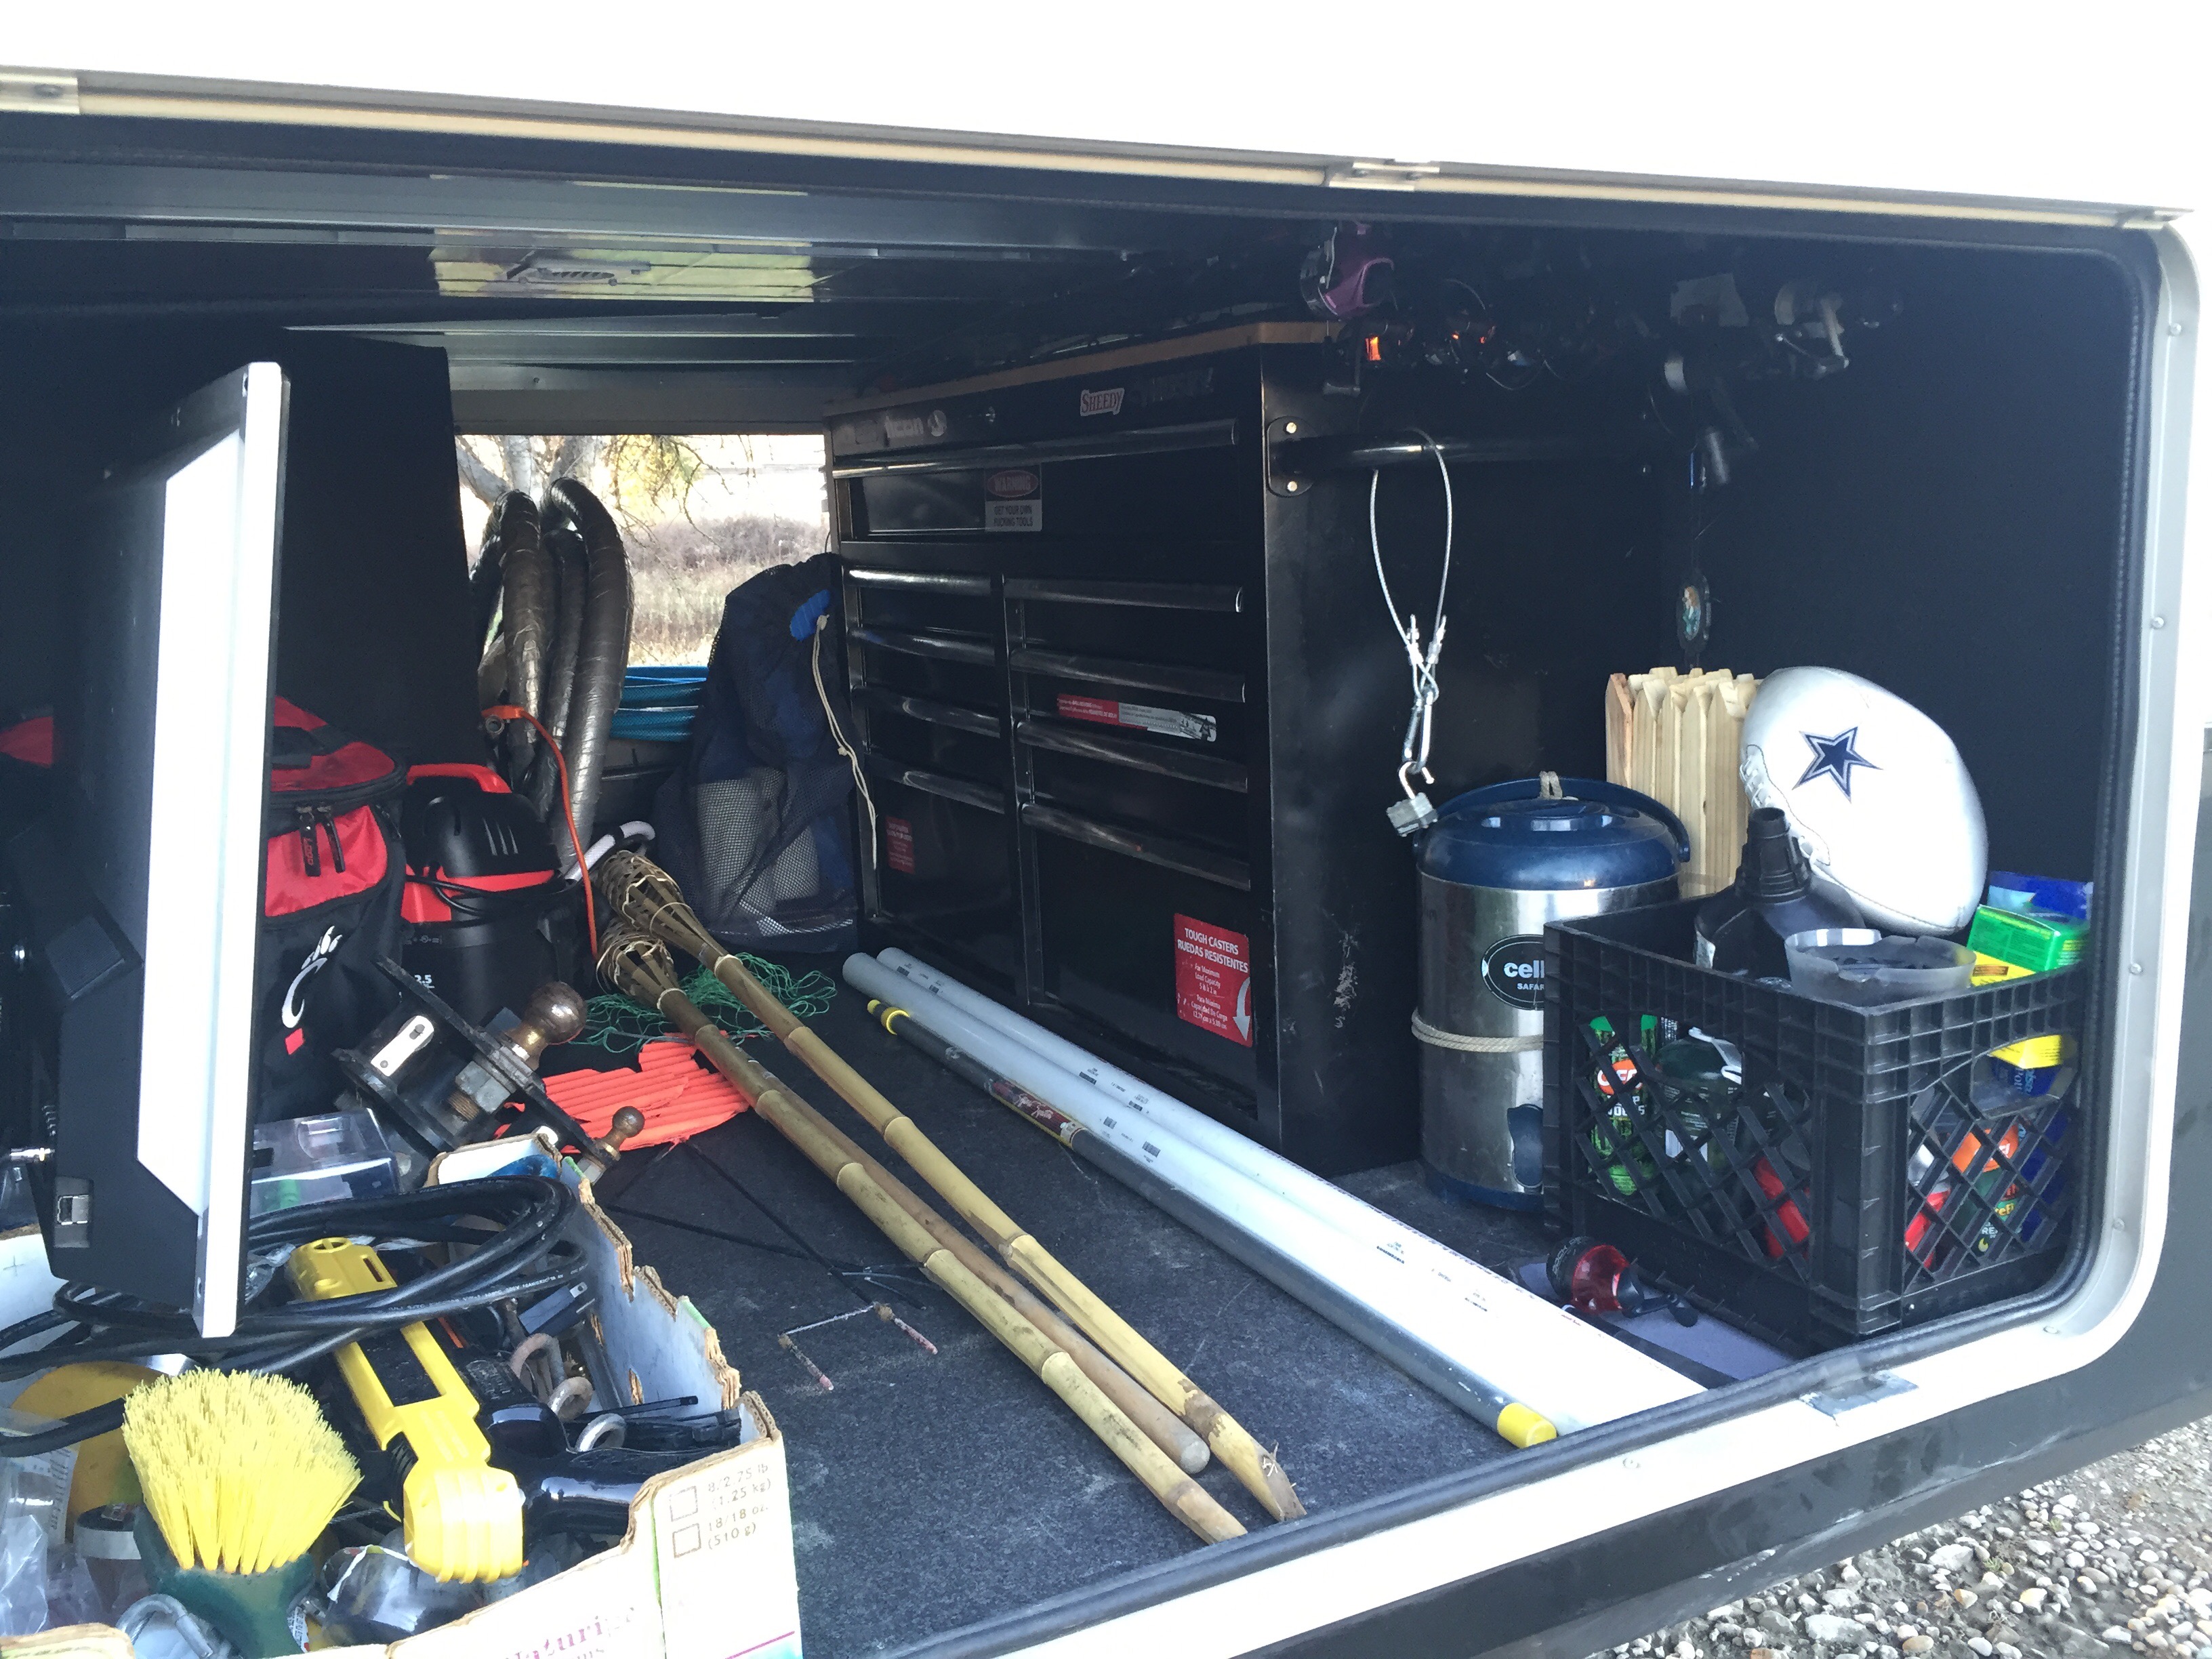
I just emailed David at Grand Design with a few questions and he got right back to me with answers. Turns out the weight limit for the garage floor and the ramp door is 2500lbs. So if we get a Smart Car and the bike in there that’ll work!
We parked the camper in Allen’s parents’ driveway last night and picked it up this morning. We also had dinner with my mom last night.
 We are aiming to get to Dickson, TN… Not far, but we have a couple days so no need to rush. It’s gloomy today and I kind of want a nap to be honest!
After our not-so-excellent experience with a mobile RV tech, we decided this had to be done! When Allen and I put our heads together and work to make something happen, we usually rock it. (And if we want to kill each other along the way, at least we come out the other side still in love!) Continue reading
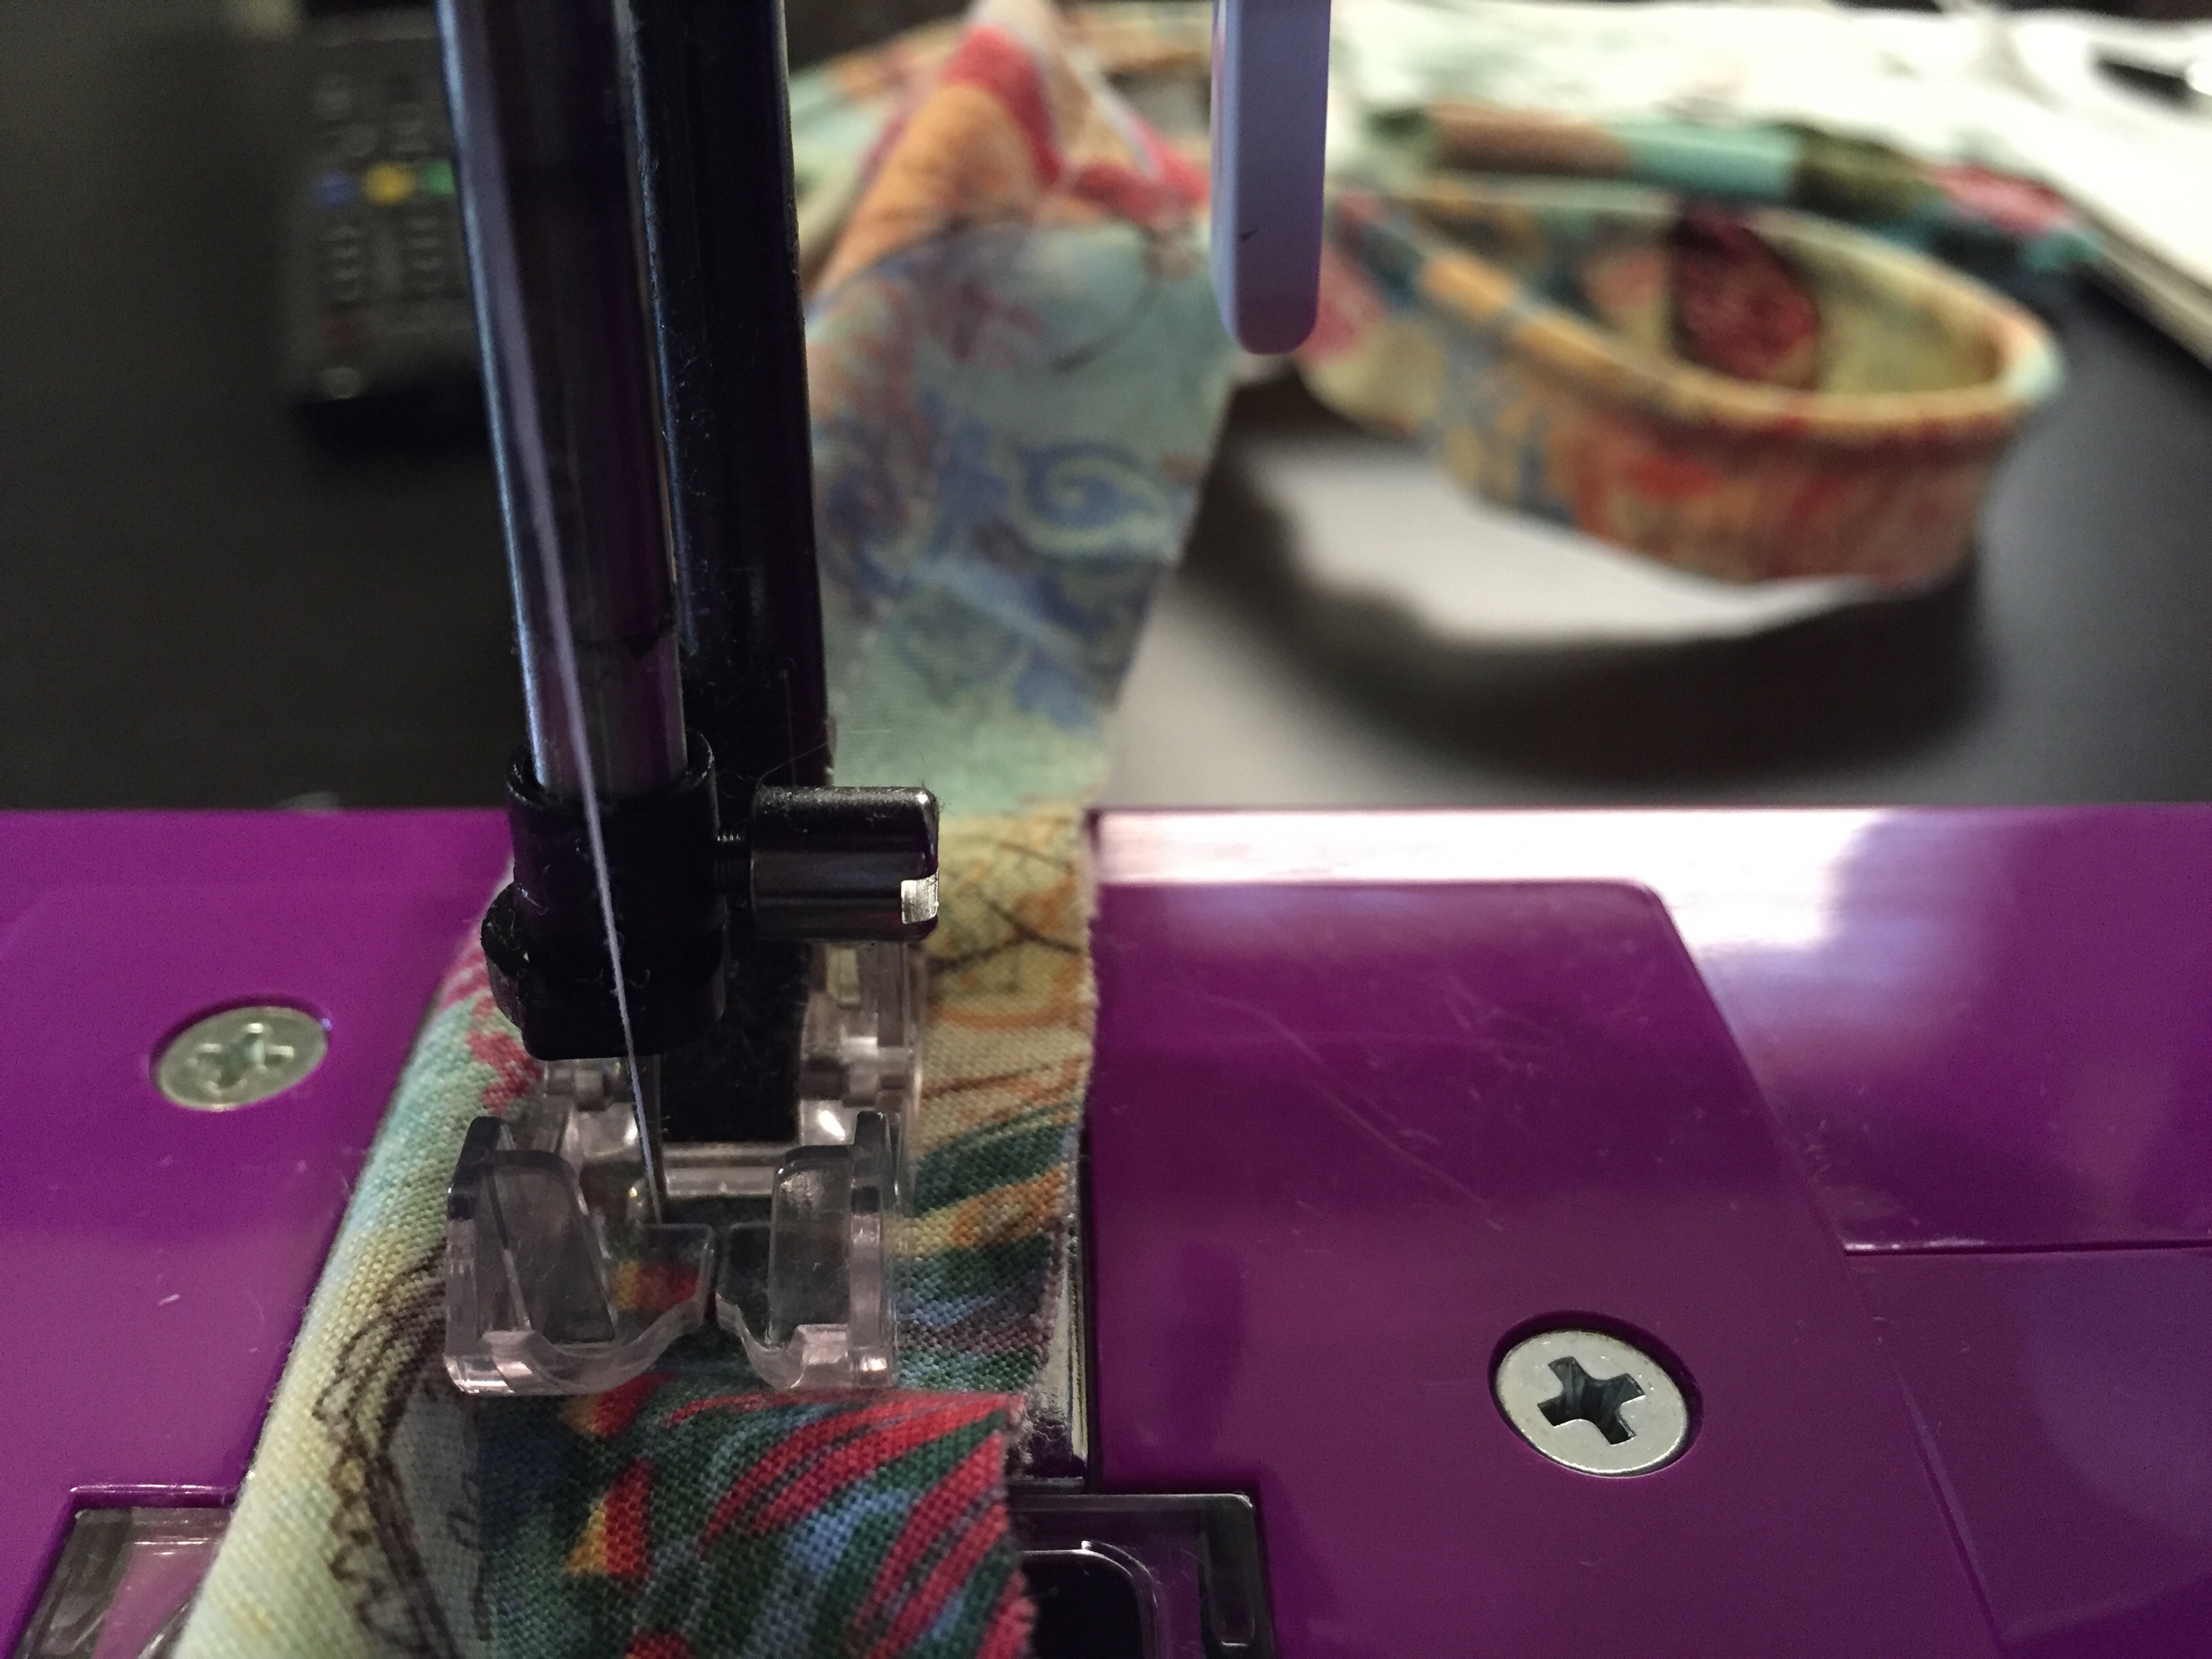
I finally learned how to do piping! And I’m absolutely loving it! I’ve been wanting to publish this blog post for a while, but I wanted to surprise my mom more with her new throw pillows!
The piping isn’t THAT difficult, I think it just took some trial and error and figuring out what works best.
I don’t have a “zipper foot” on my sewing machine but I can get the needle to move to the left of center a little and that’s what I did.
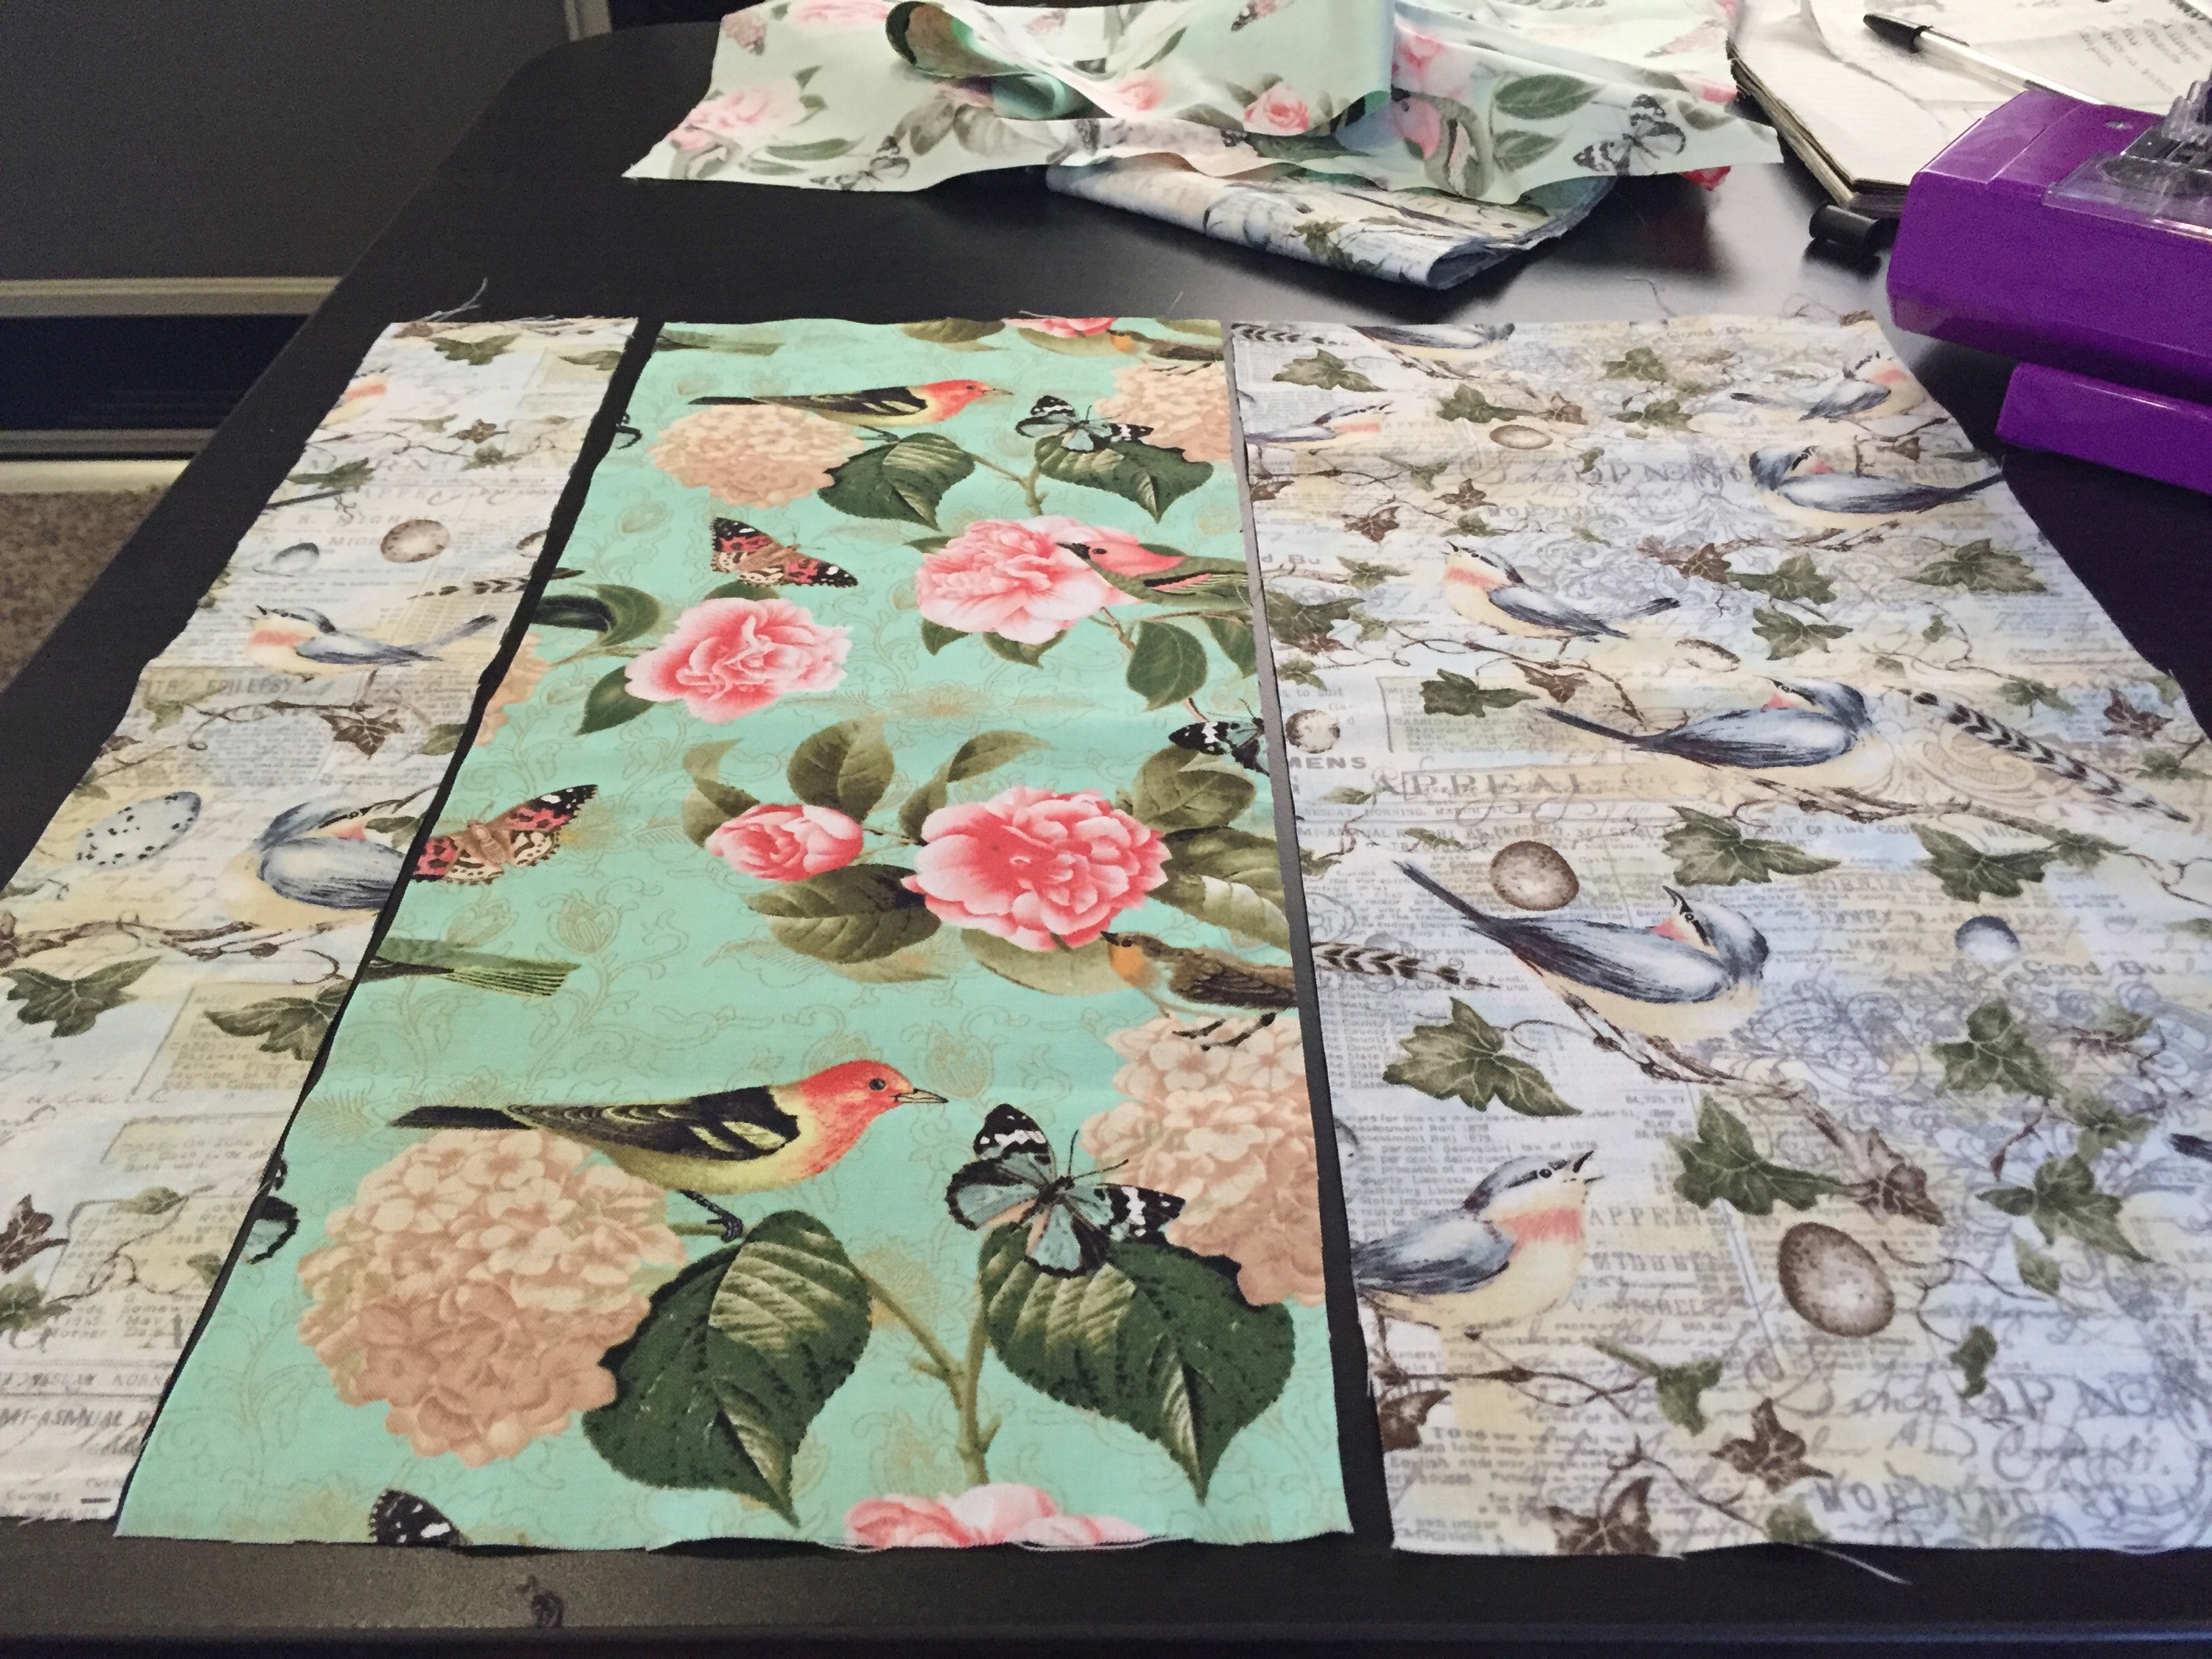
 First I’ll start with the pillows. I bought two 16×16 pillow forms and 4 different fabrics, 1yd each. Which turned out to be too much but I think I can squeeze two more pillows out of the leftover fabric.
I decided to fancy them up a bit and use more than one fabric. I cut three pieces for the front of the pillow in alternating patterns.
Total size is 17×18, but once you factor in the extra inch for the two seams it ends up being about 17×17.
For the back, I made them envelope style and cut two pieces, a top and bottom envelope piece, both the same size.
I factored in an inch for the hem on each piece, then 7″ overlap on the envelope part. (I’ve done less overlap in the past but I didn’t want the pillow peeking out at all.)
So I sewed the front pieces together then I hemmed the back pieces. Then it was time for the piping!
I bought 1/4″ piping in a package. I cut bias strips of fabric to cover it. (This just means to cut the strips on a diagonal, so the fabric has a little more stretch to it.
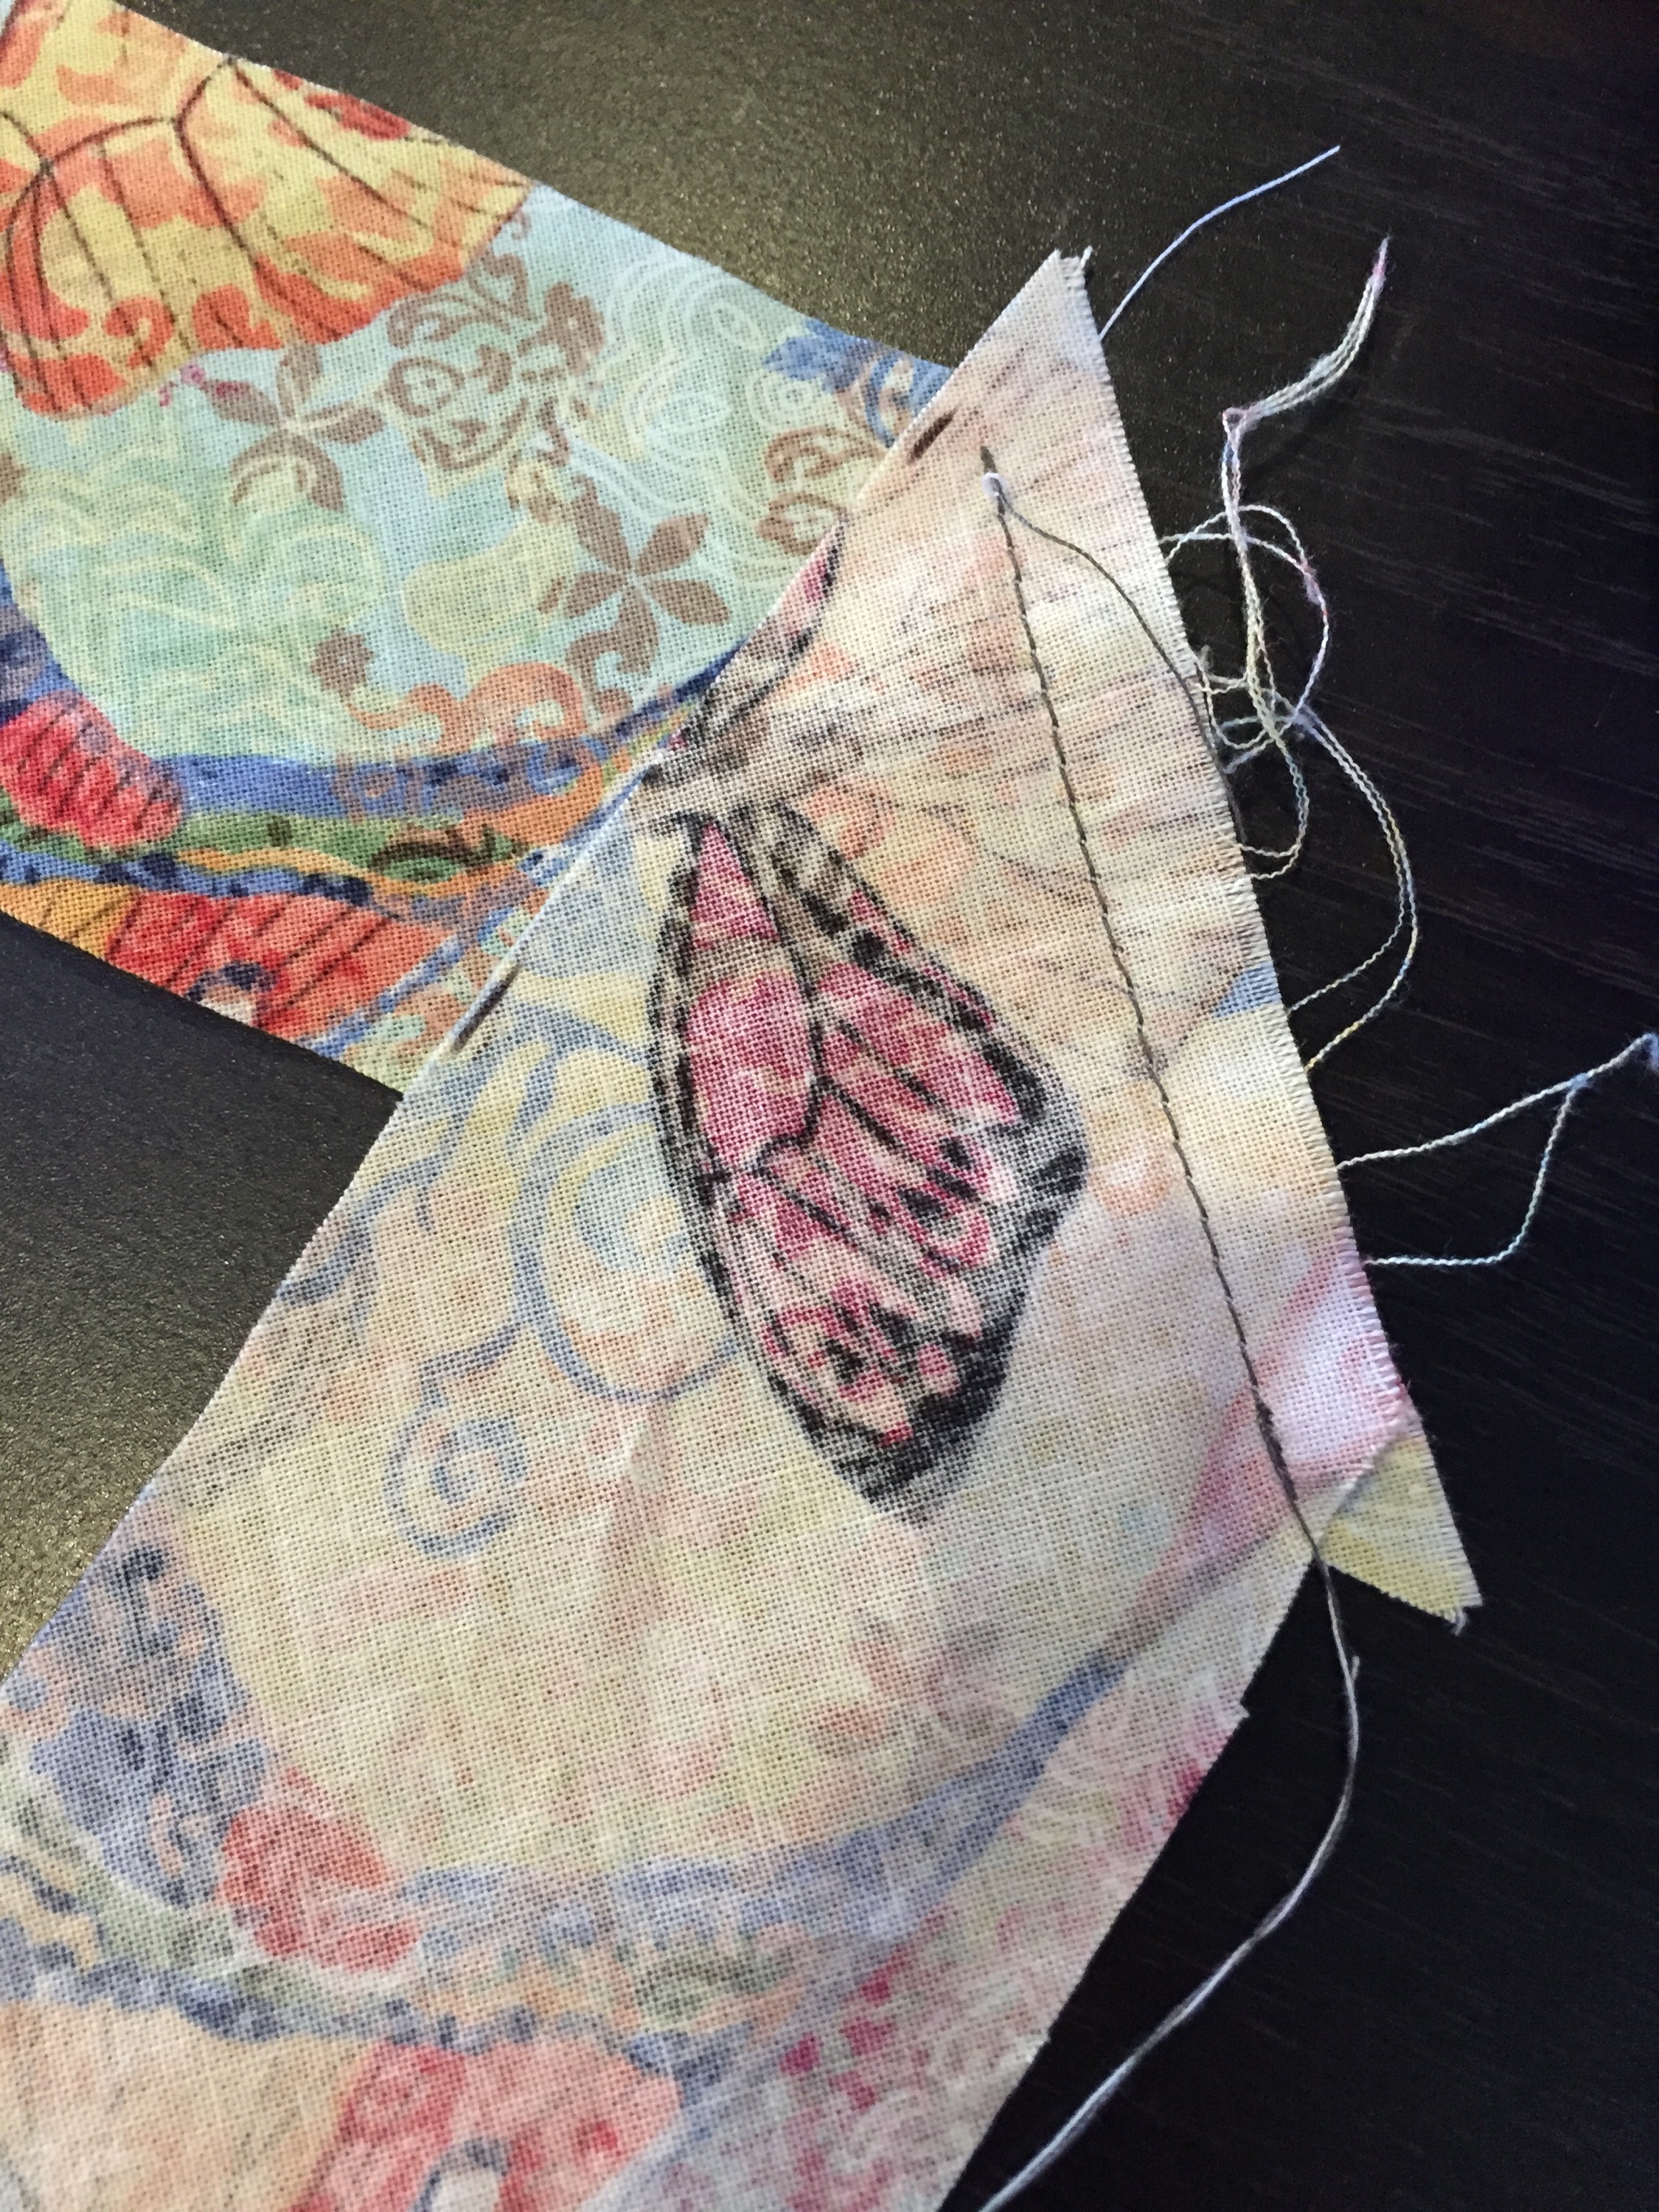

Then I sewed the bias strips together to make one long strip, longer than I needed to go around the whole pillow.
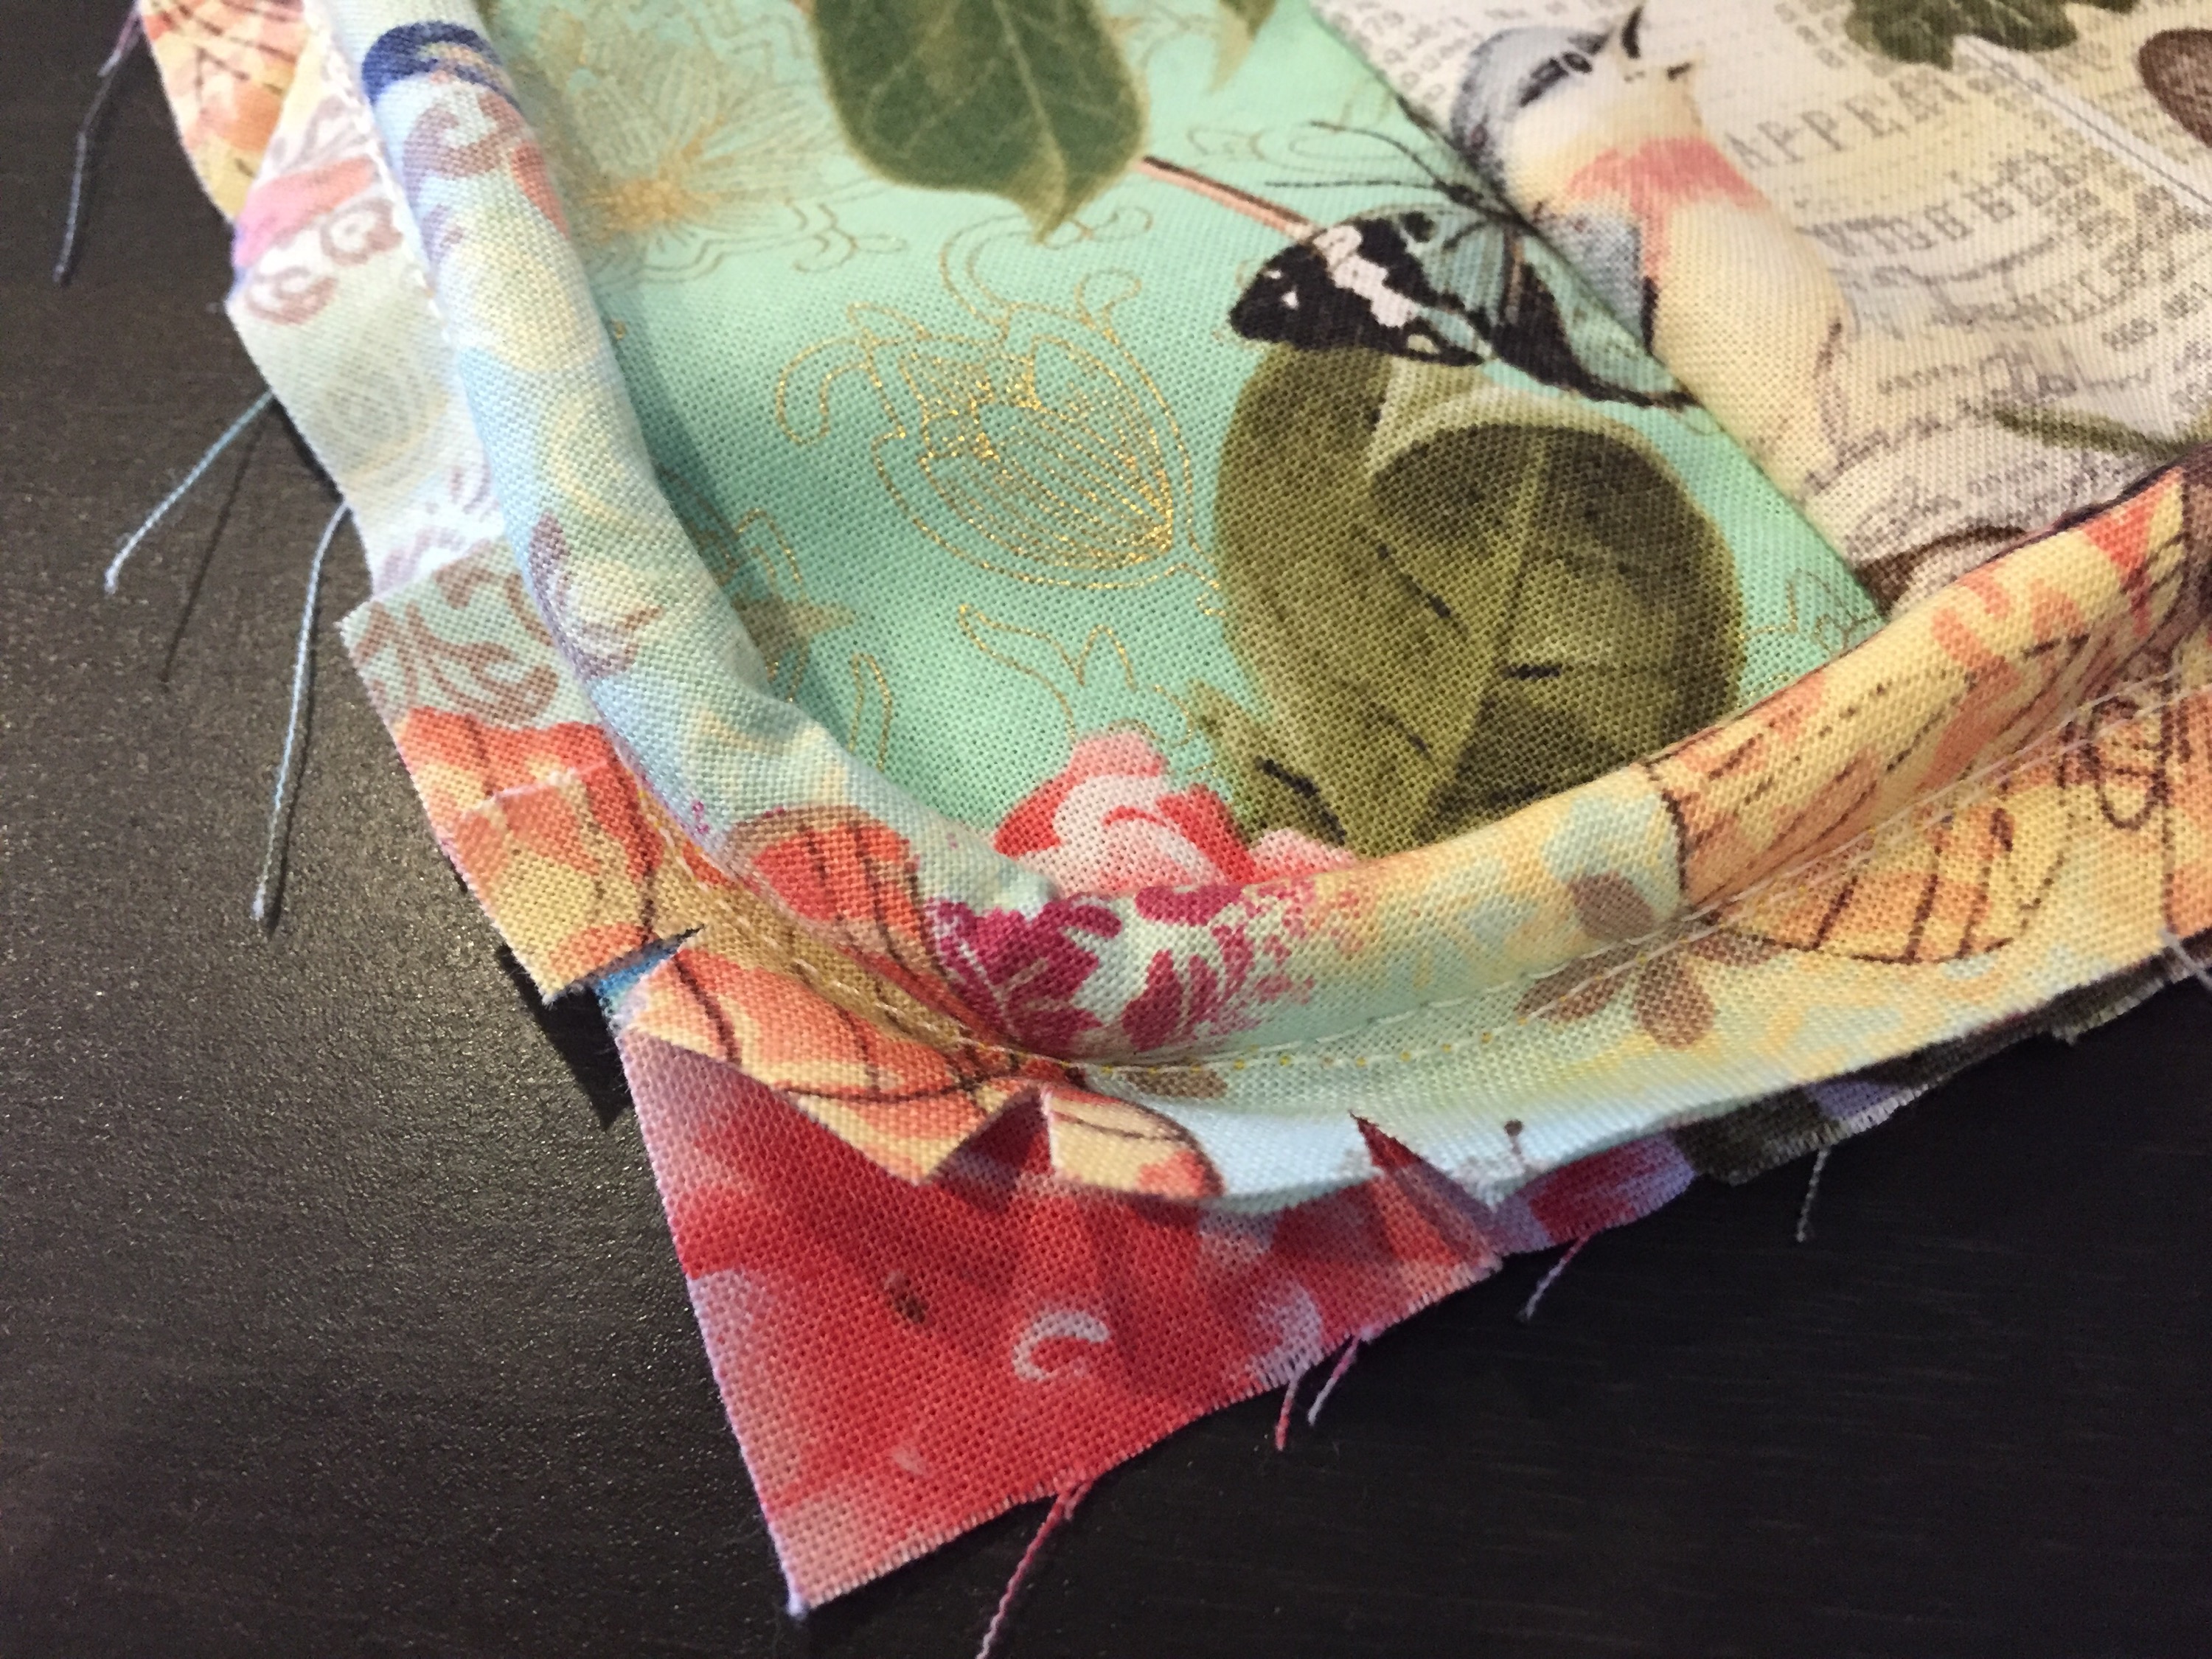
Once I got that ready, I laid the piping inside and folded it up and pinned it in place. Then I sewed down the side of the piping.


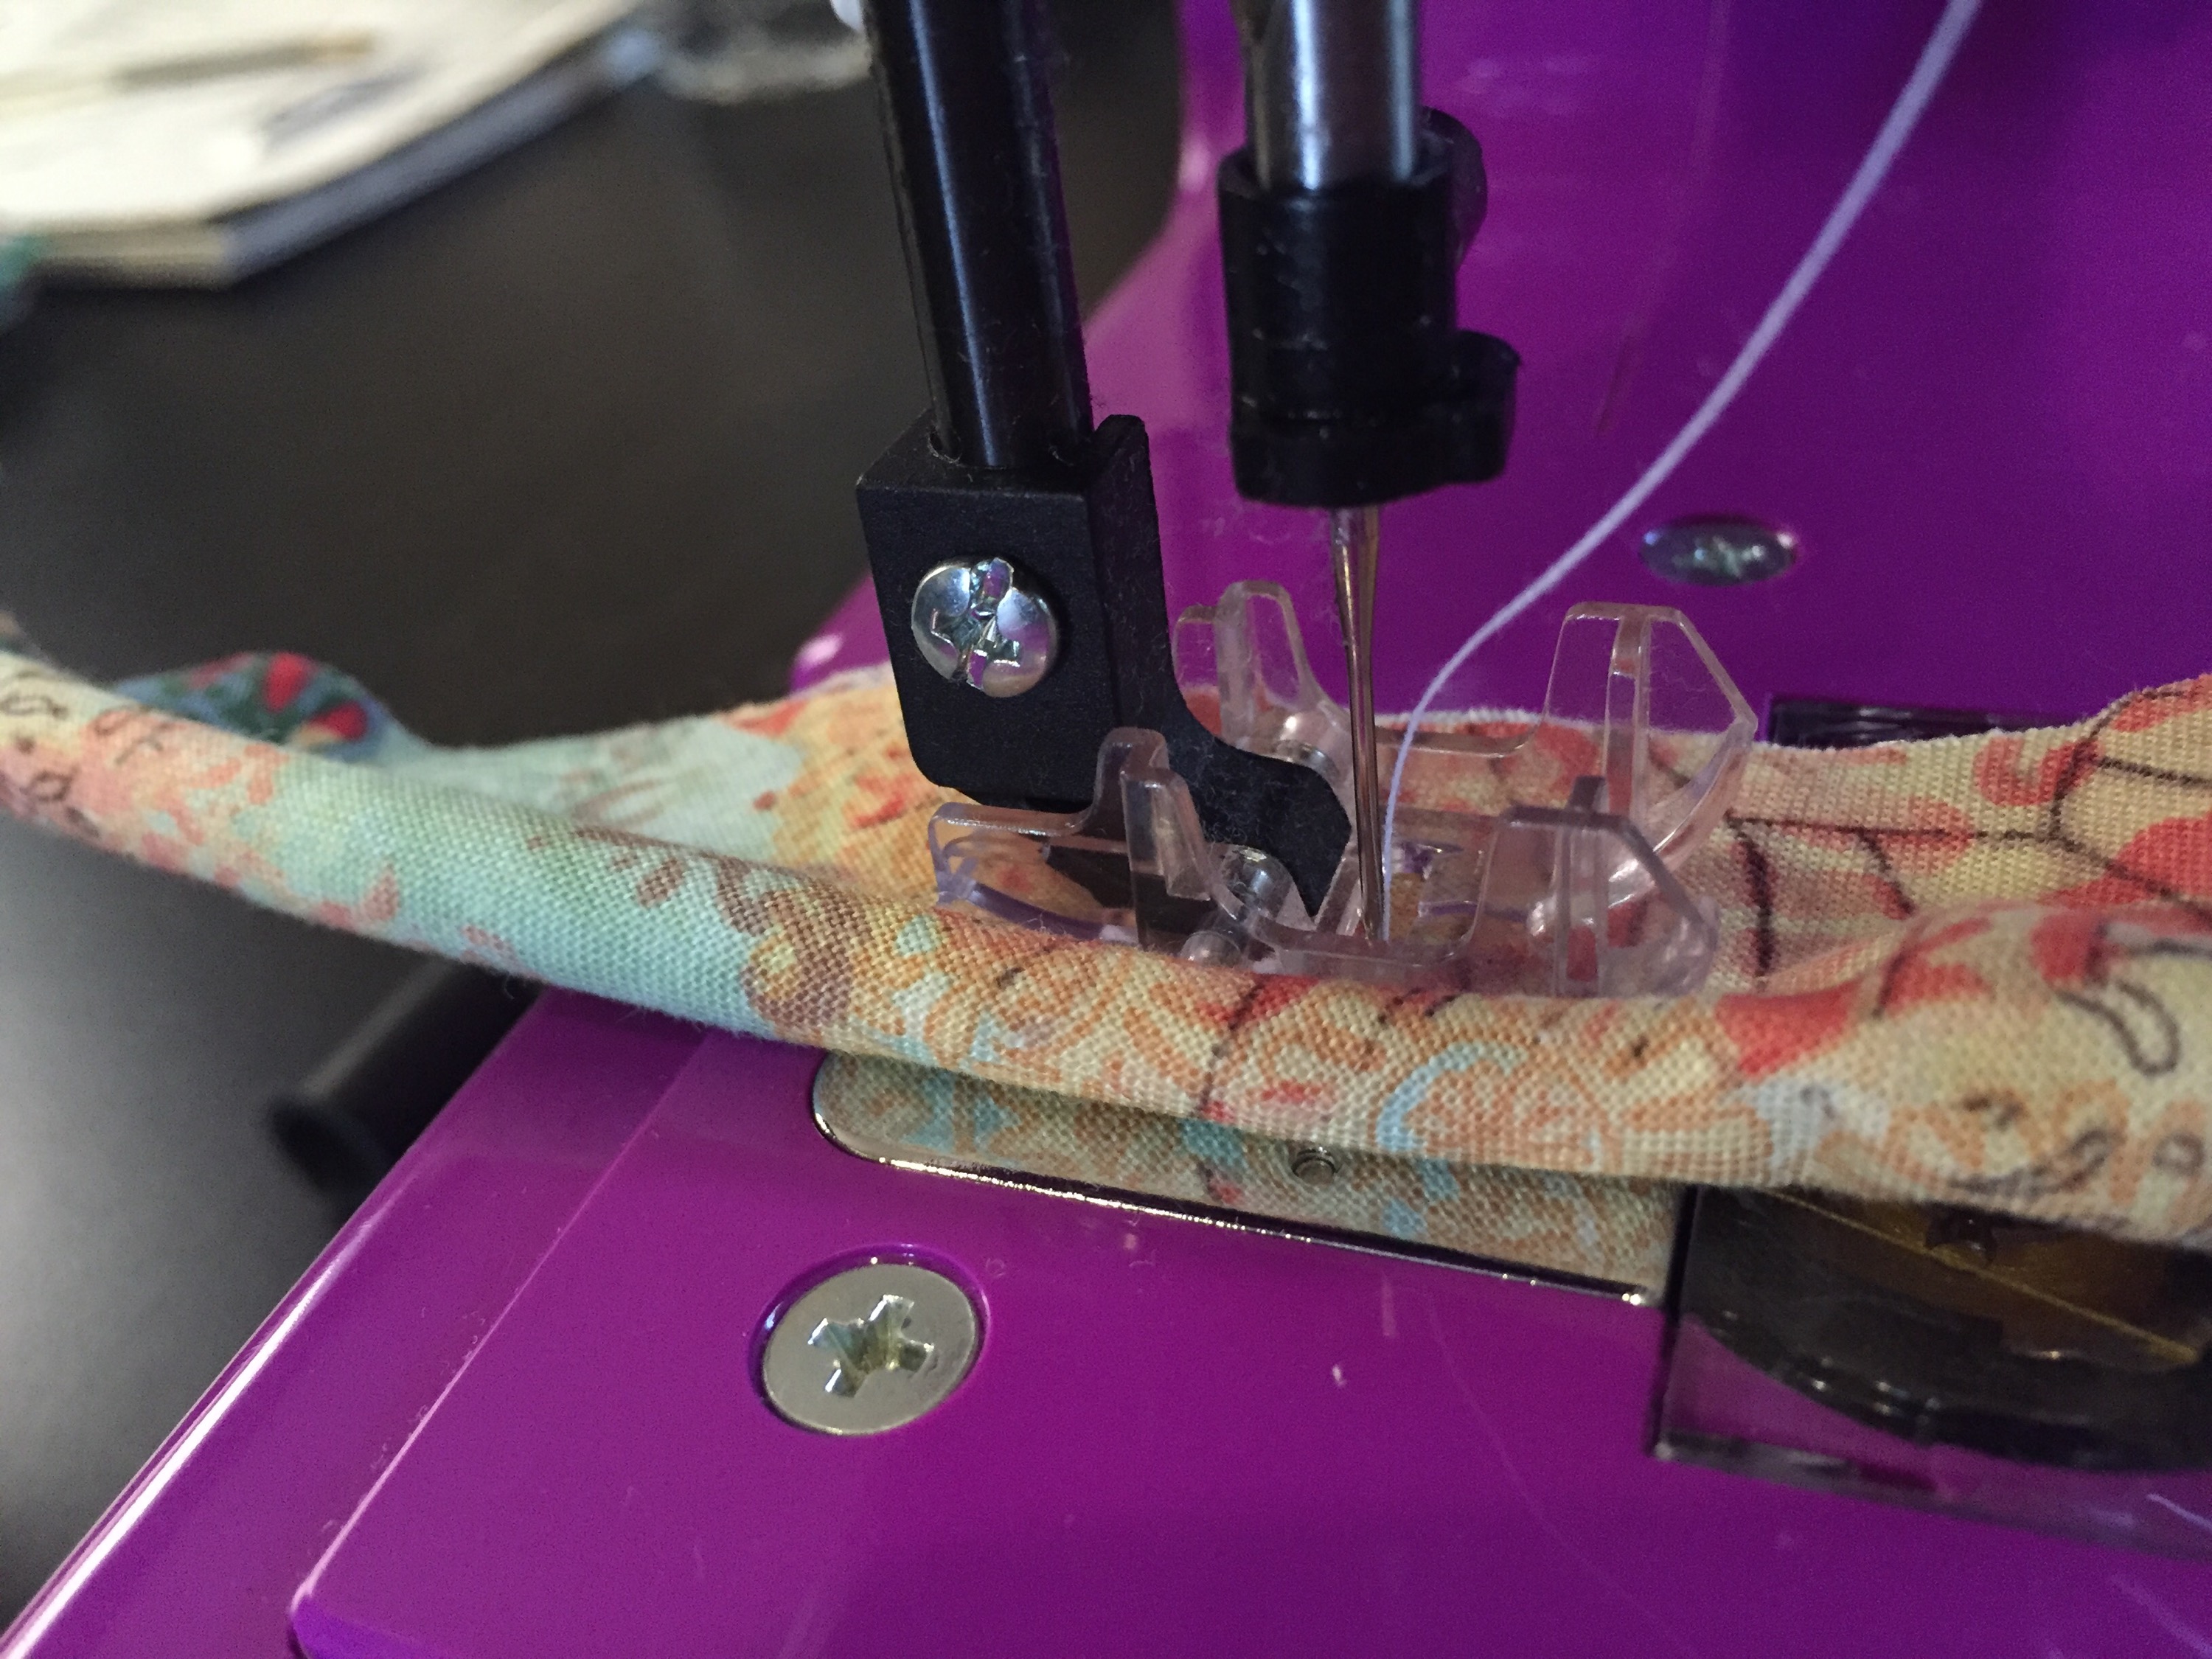
I found it helped to push the piping against my fingers to keep it straight.
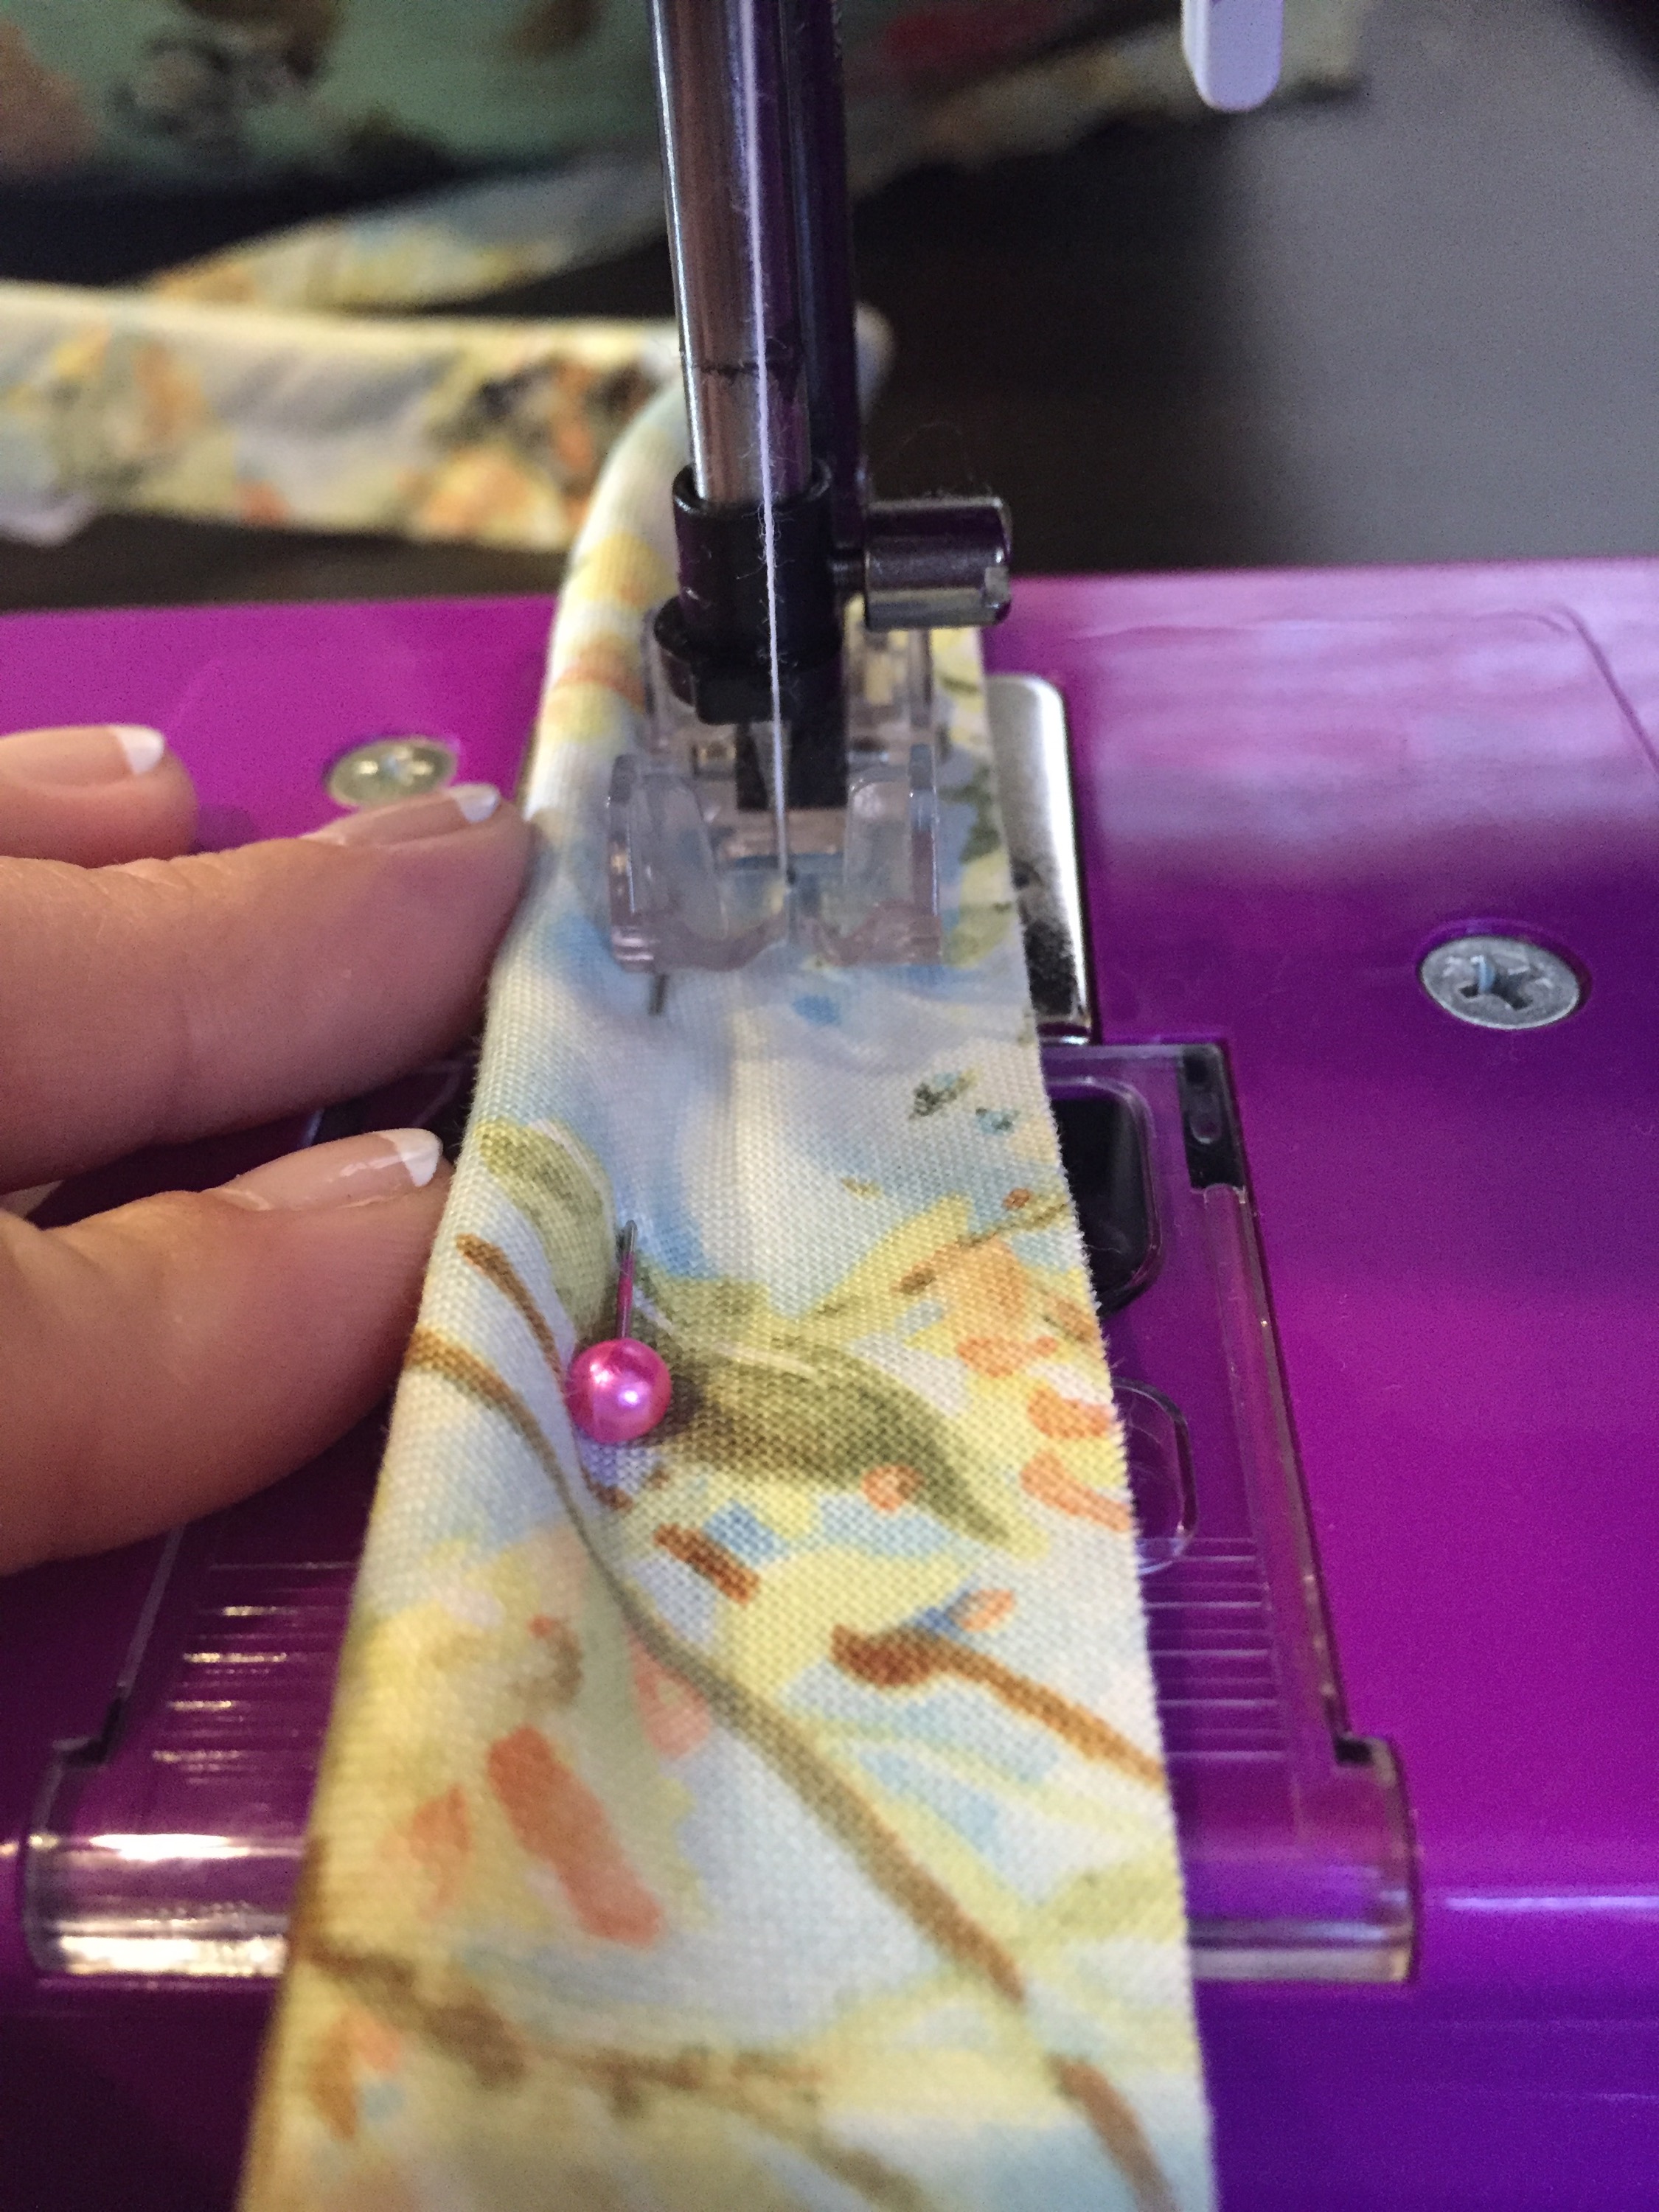
After that was ready to go, I pinned it to the front part of my pillow cover. The pillow cover should be right side up, with the piping laying on top with the open edge of fabric along the edge of the pillow cover. I pinned that down.
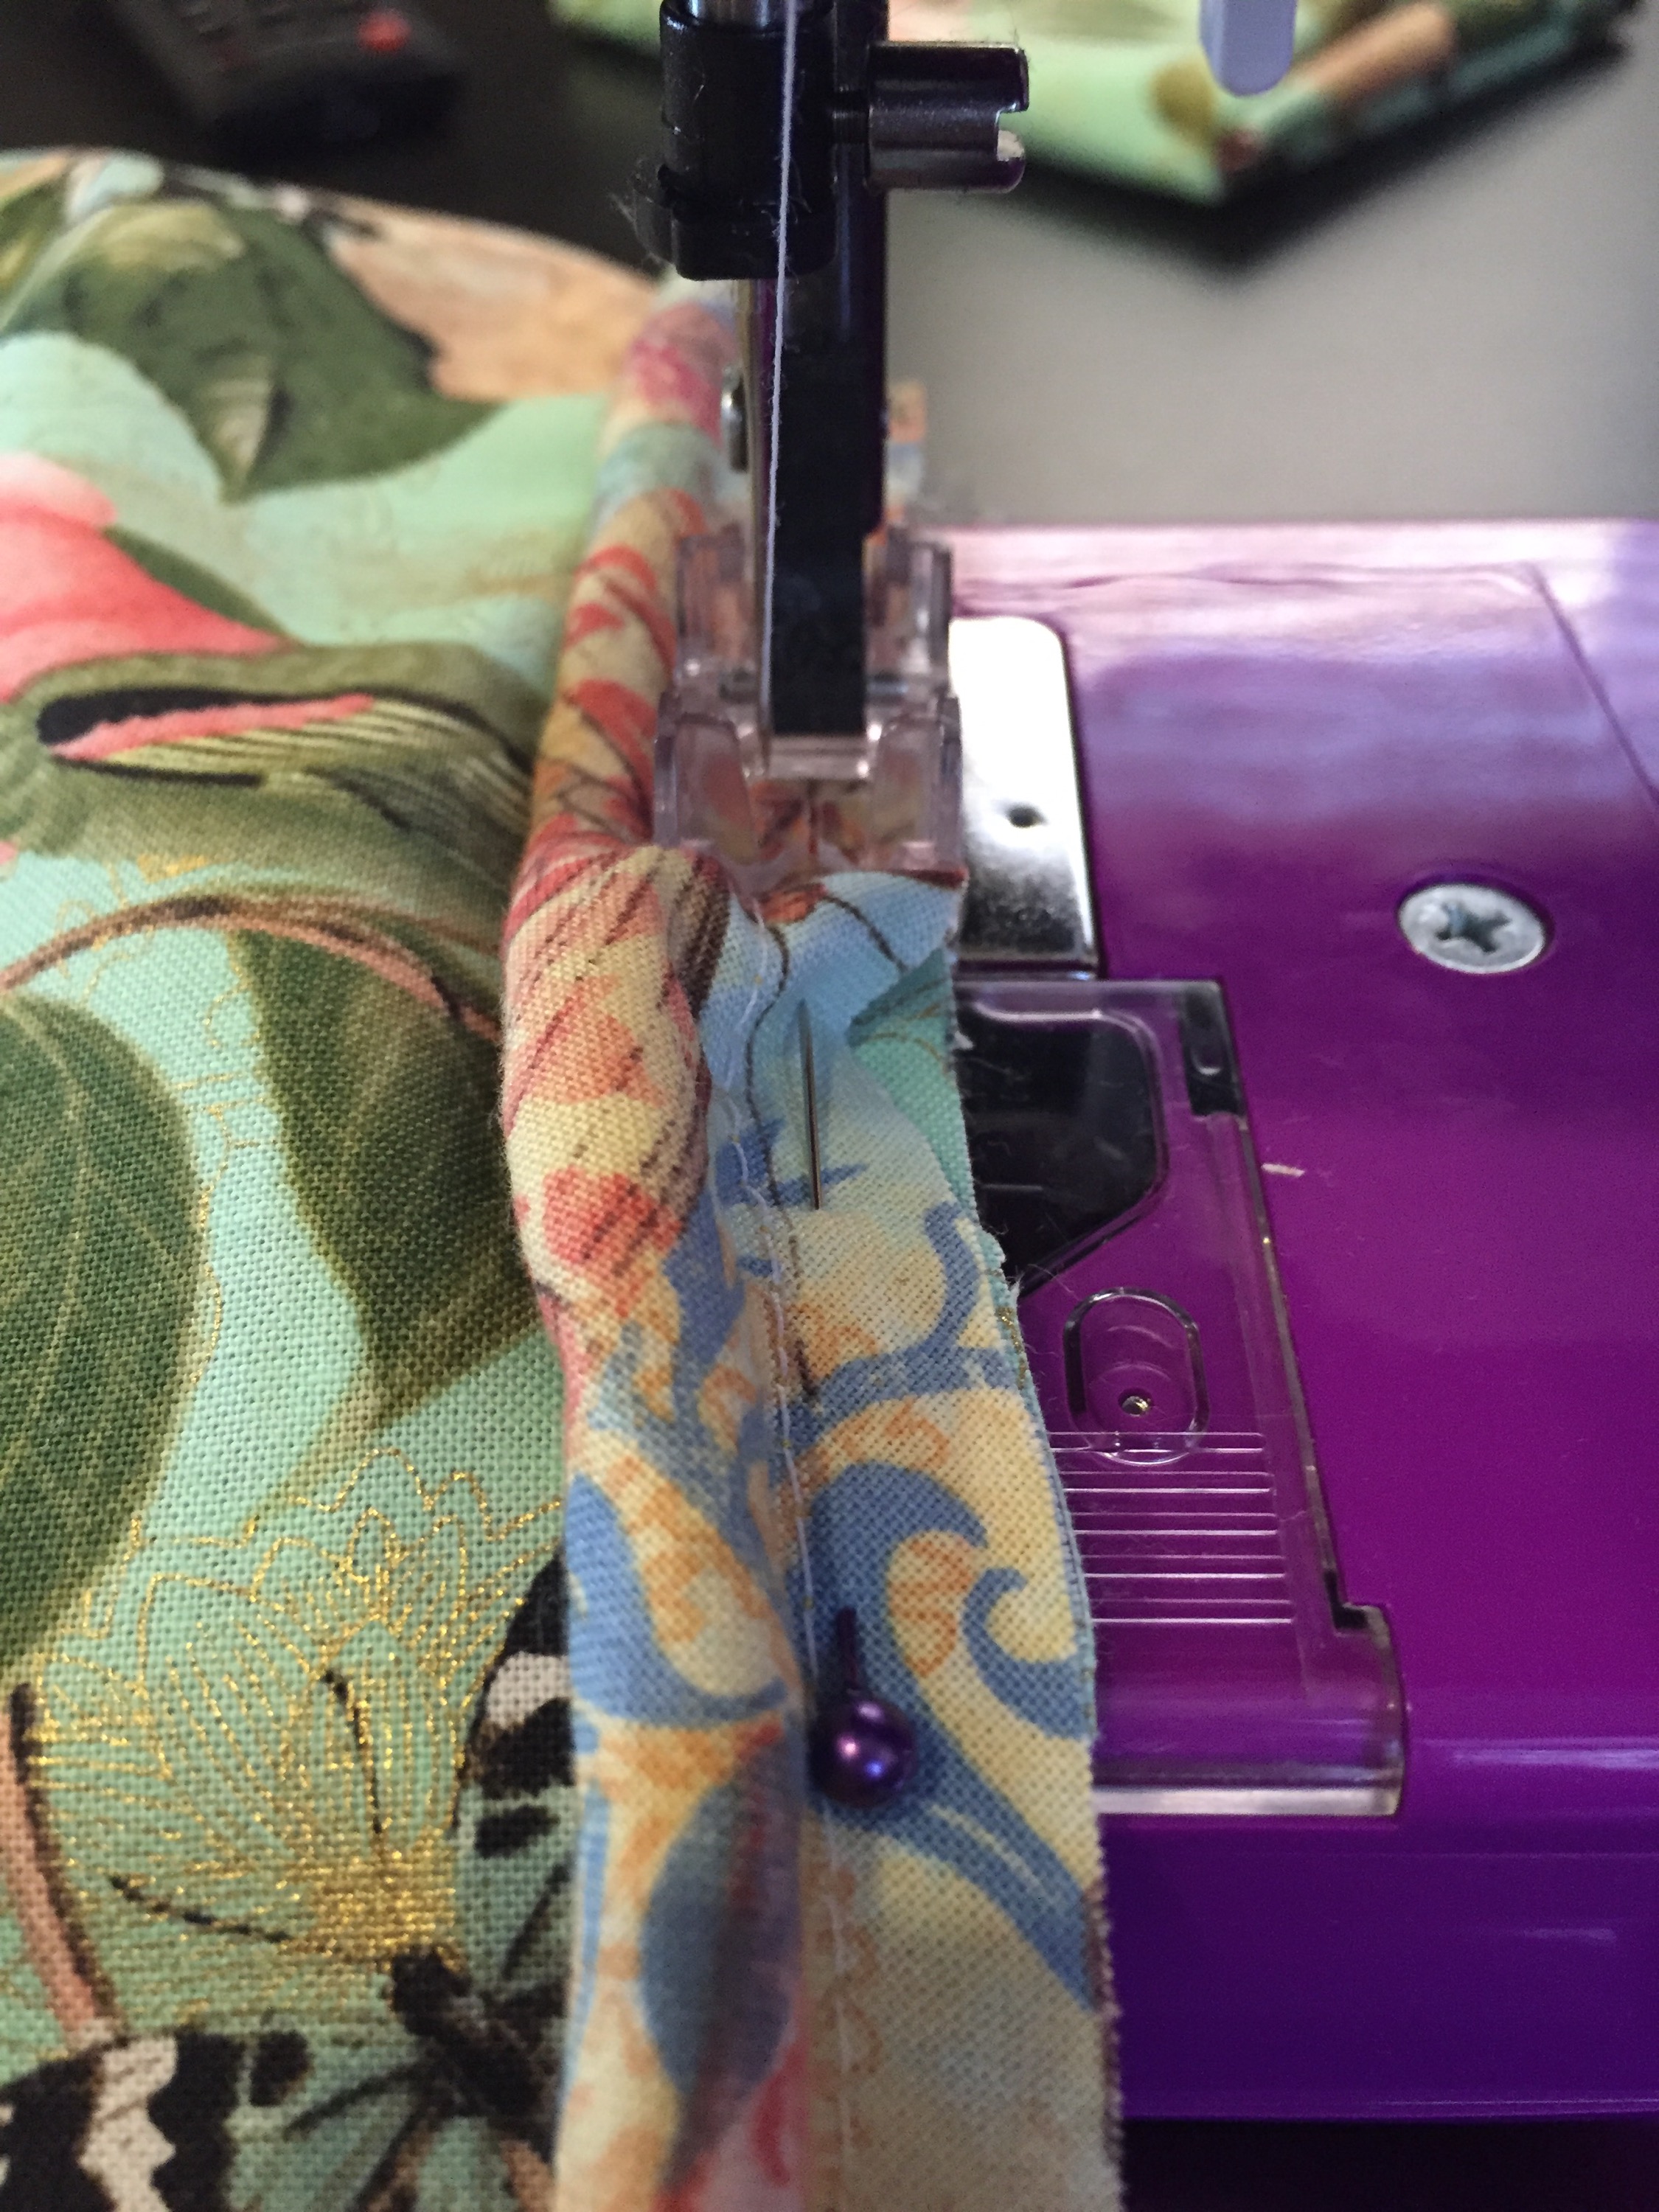

Around the corners I cut little slits to allow the piping to bend and still lay somewhat flat.
Then I sewed all around. I started a couple inches from the beginning of the piping to give myself room to tuck in the other end, to make it look continuous.
After I had the piping attached to the front of the pillow cover, I laid the back pieces face down on top, pinned them in place, then sewed all around that, finishing it up. Easy peasy!
After those, I made Christmas pillow covers for us.
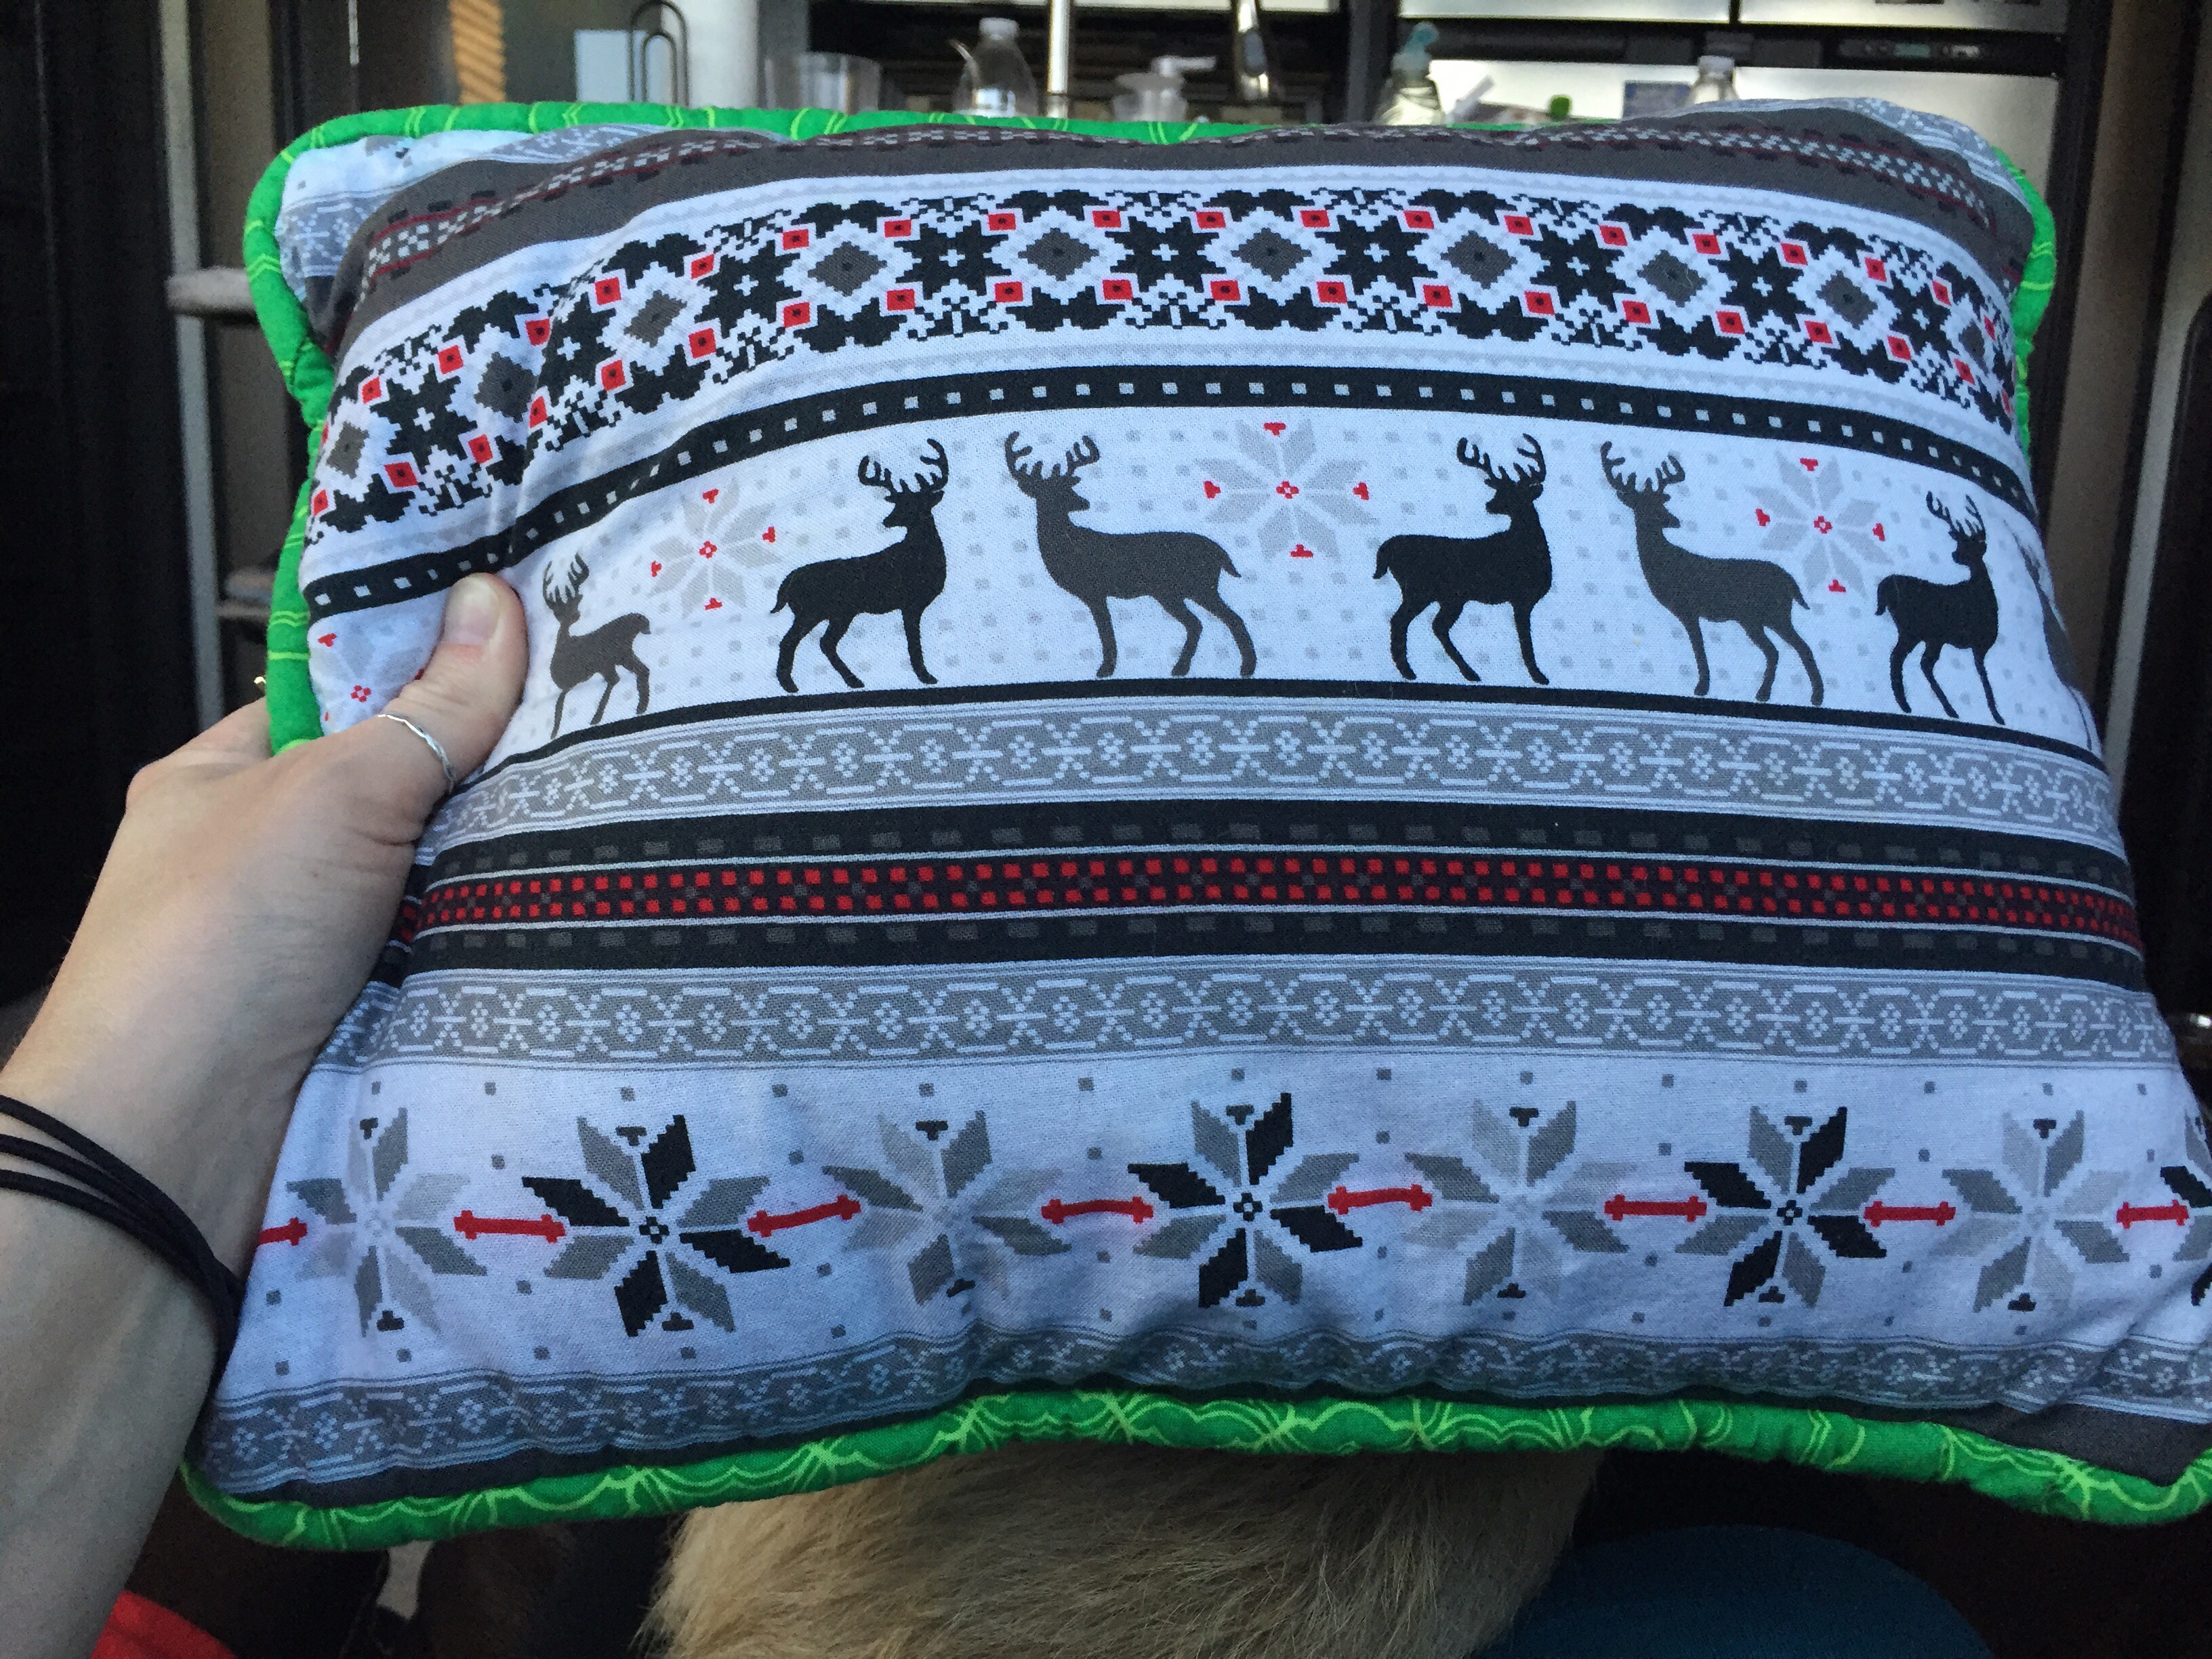
Don’t mind Charlie in the background please!
Happy New Year!
