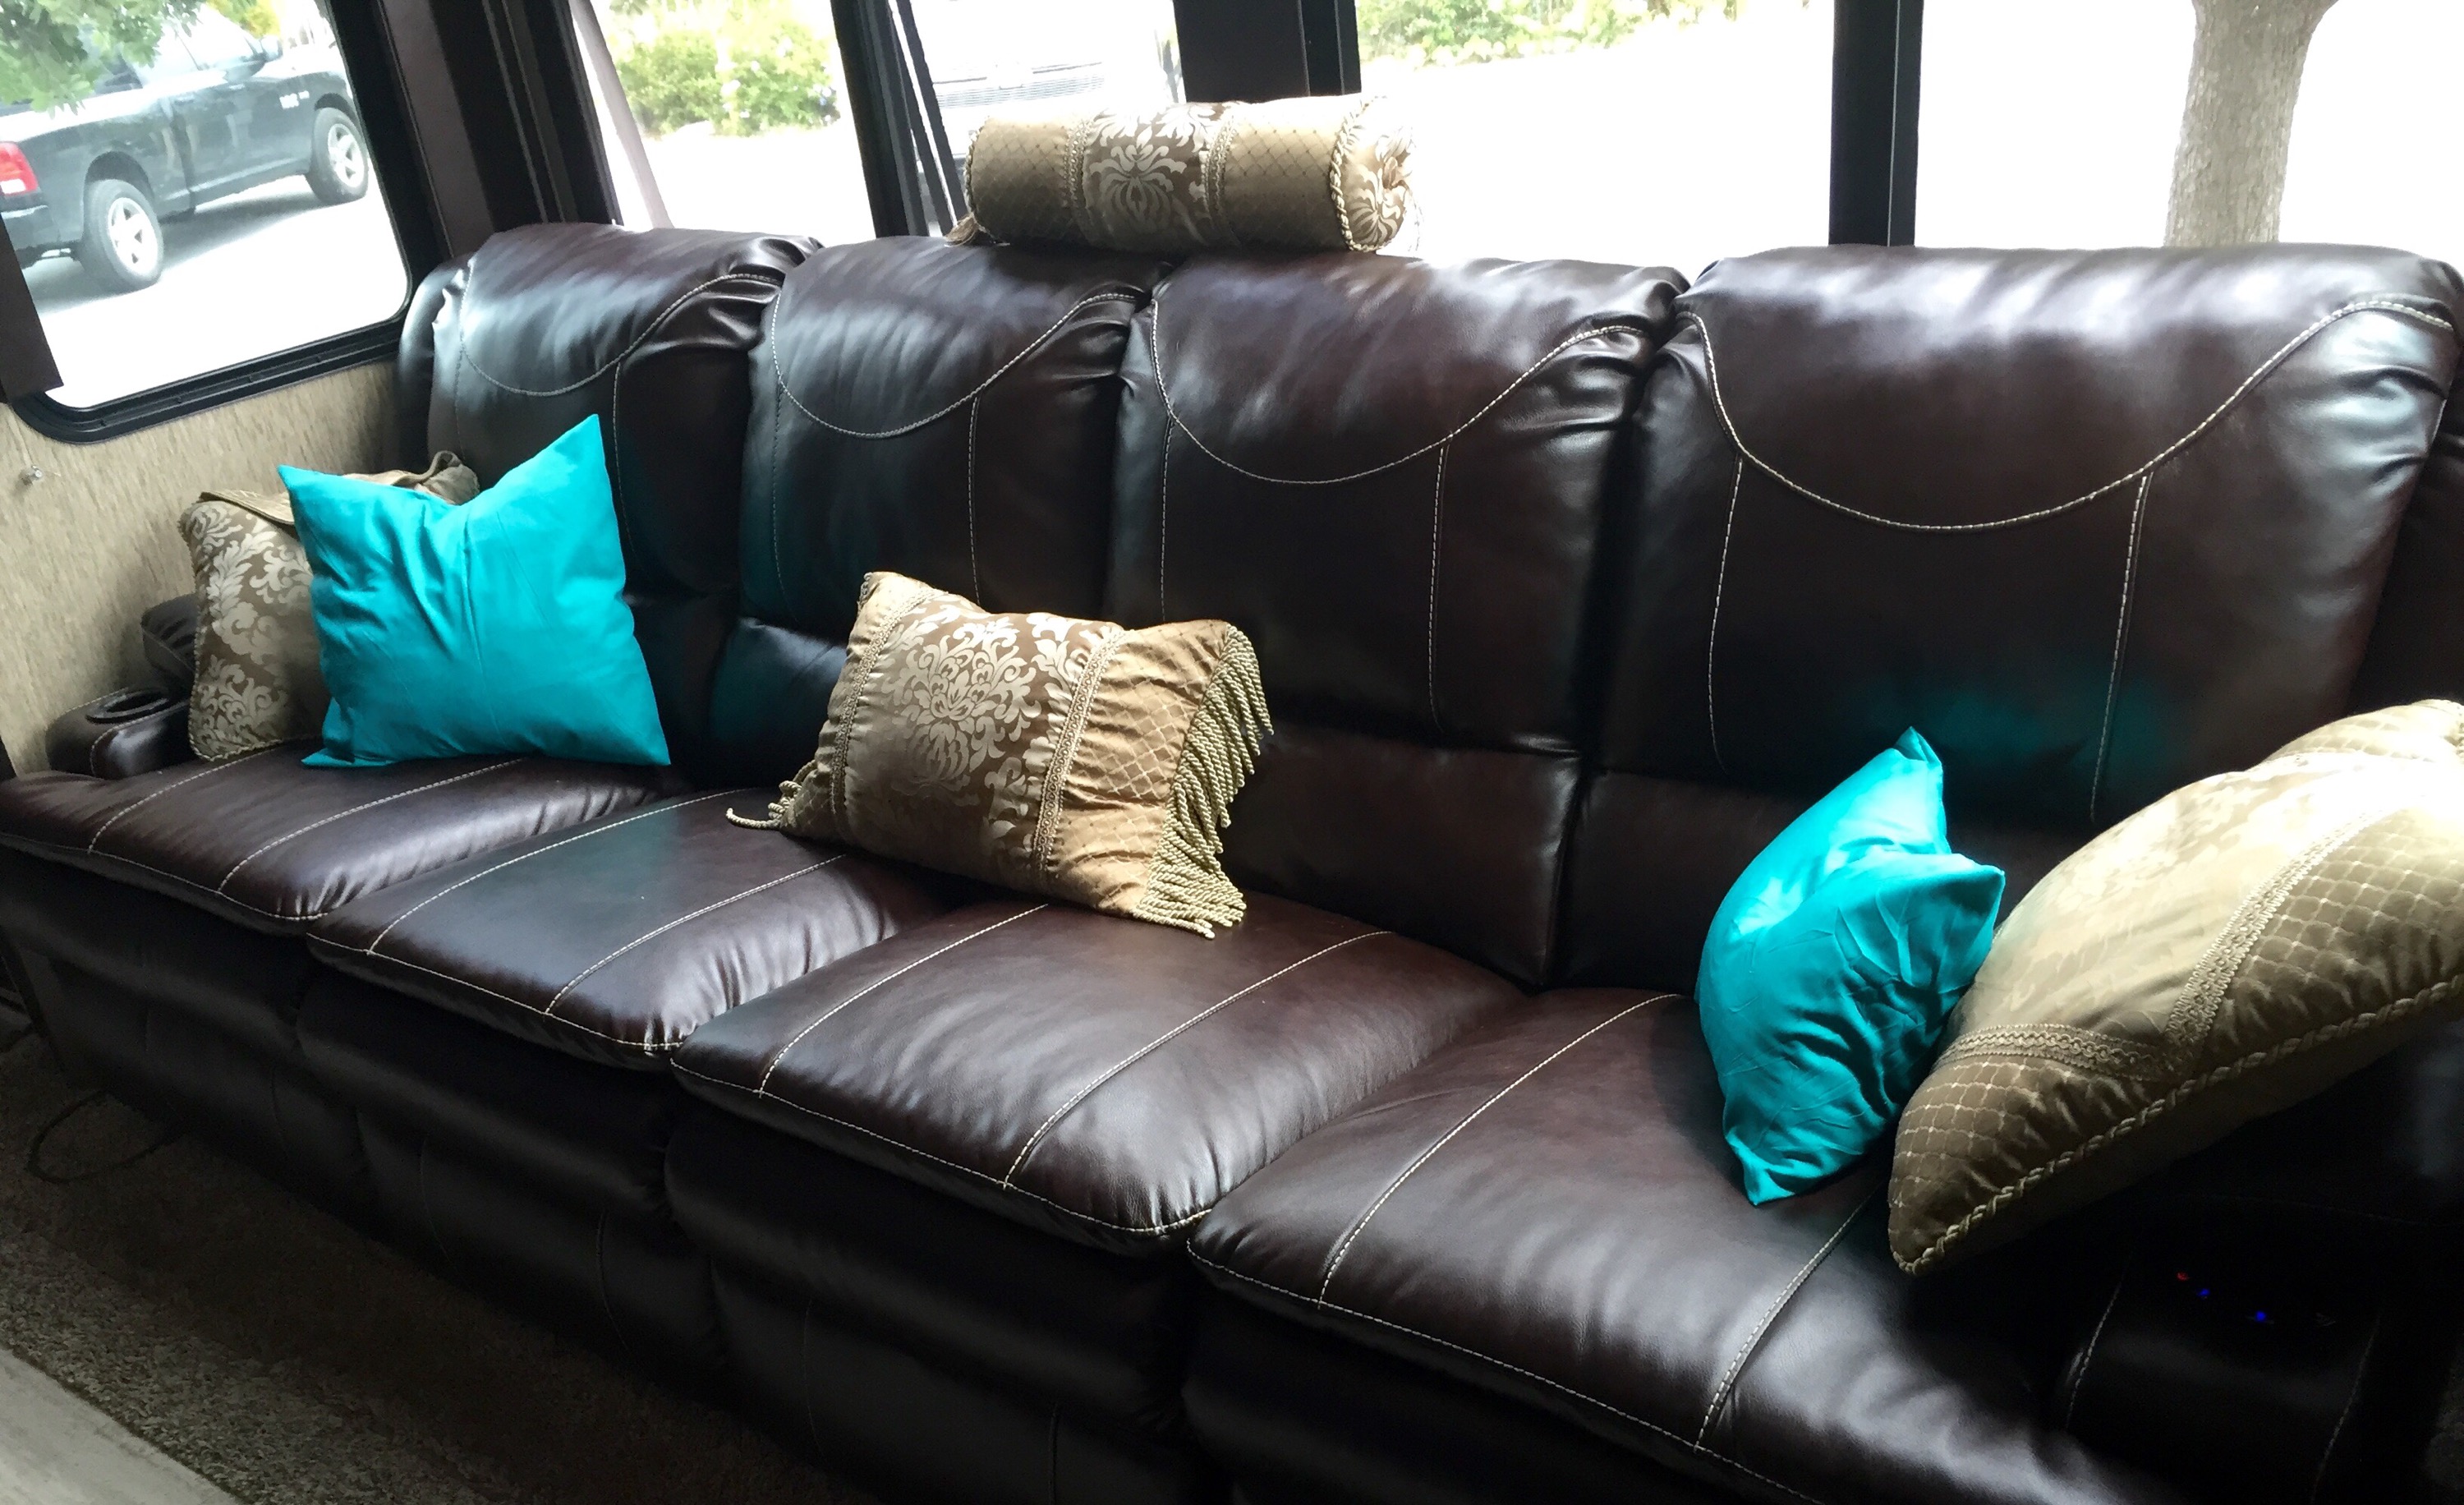
I finally learned how to do piping! And I’m absolutely loving it! I’ve been wanting to publish this blog post for a while, but I wanted to surprise my mom more with her new throw pillows!
The piping isn’t THAT difficult, I think it just took some trial and error and figuring out what works best.
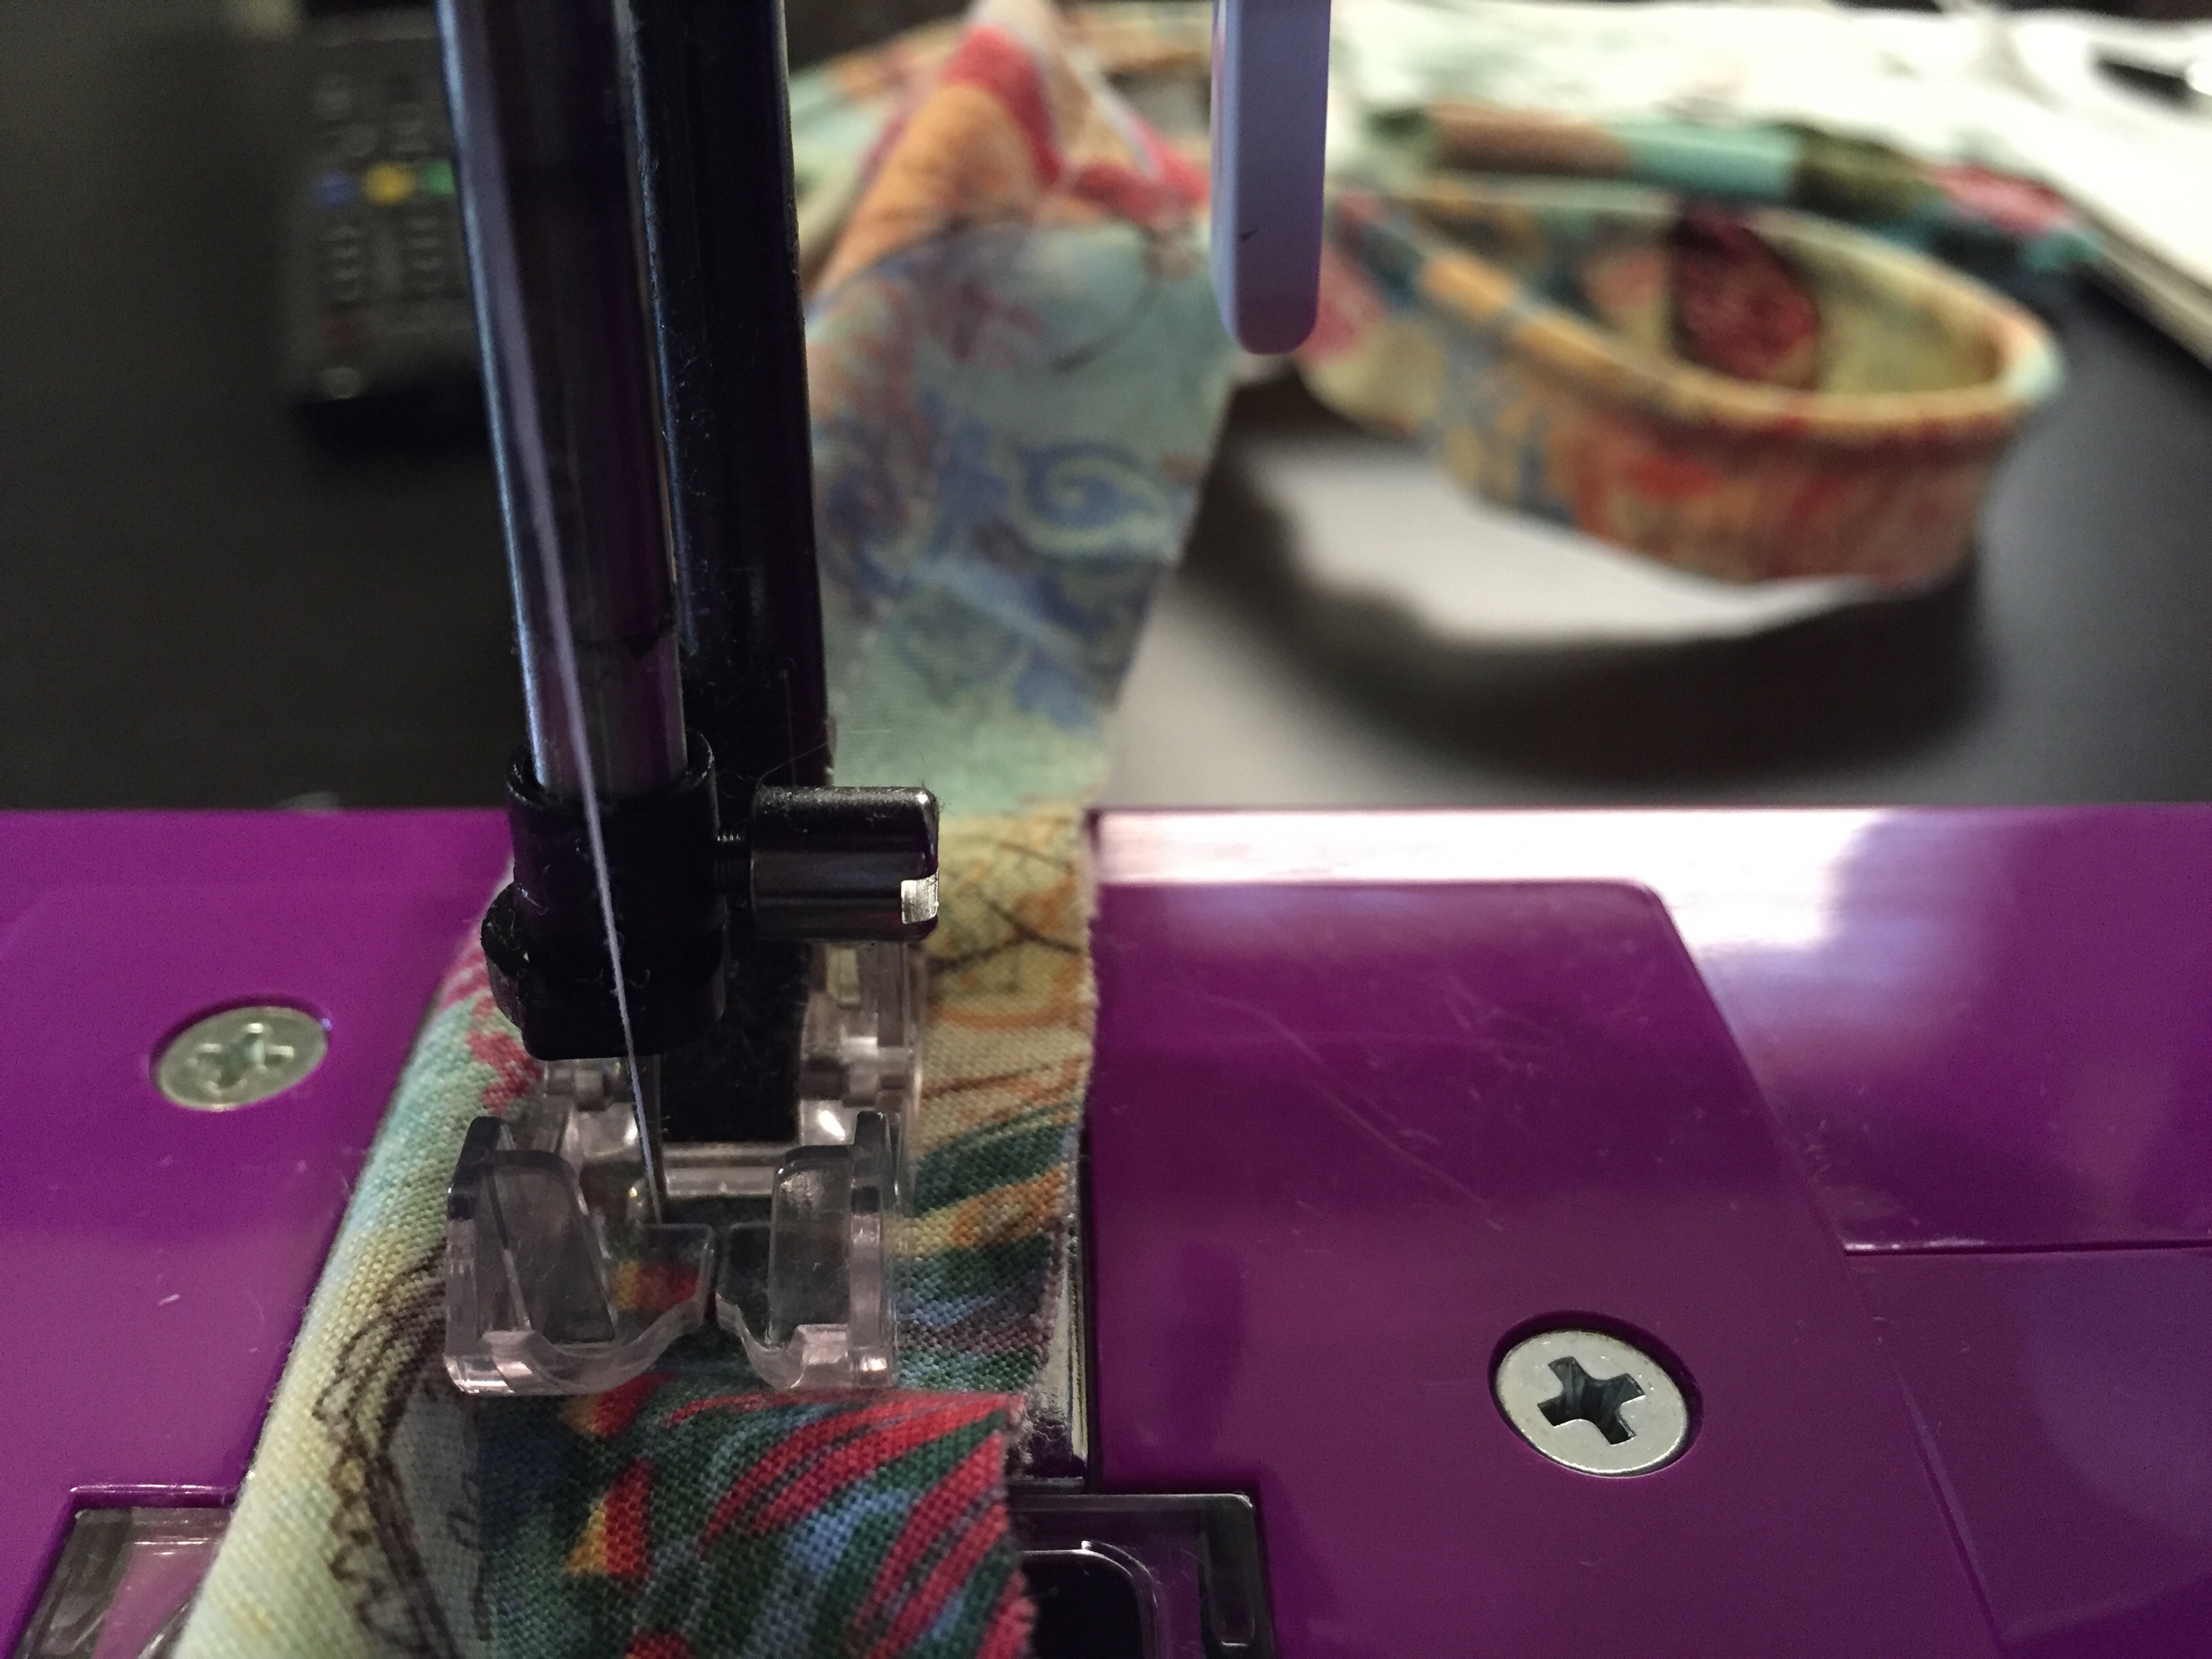
I don’t have a “zipper foot” on my sewing machine but I can get the needle to move to the left of center a little and that’s what I did.
 First I’ll start with the pillows. I bought two 16×16 pillow forms and 4 different fabrics, 1yd each. Which turned out to be too much but I think I can squeeze two more pillows out of the leftover fabric.
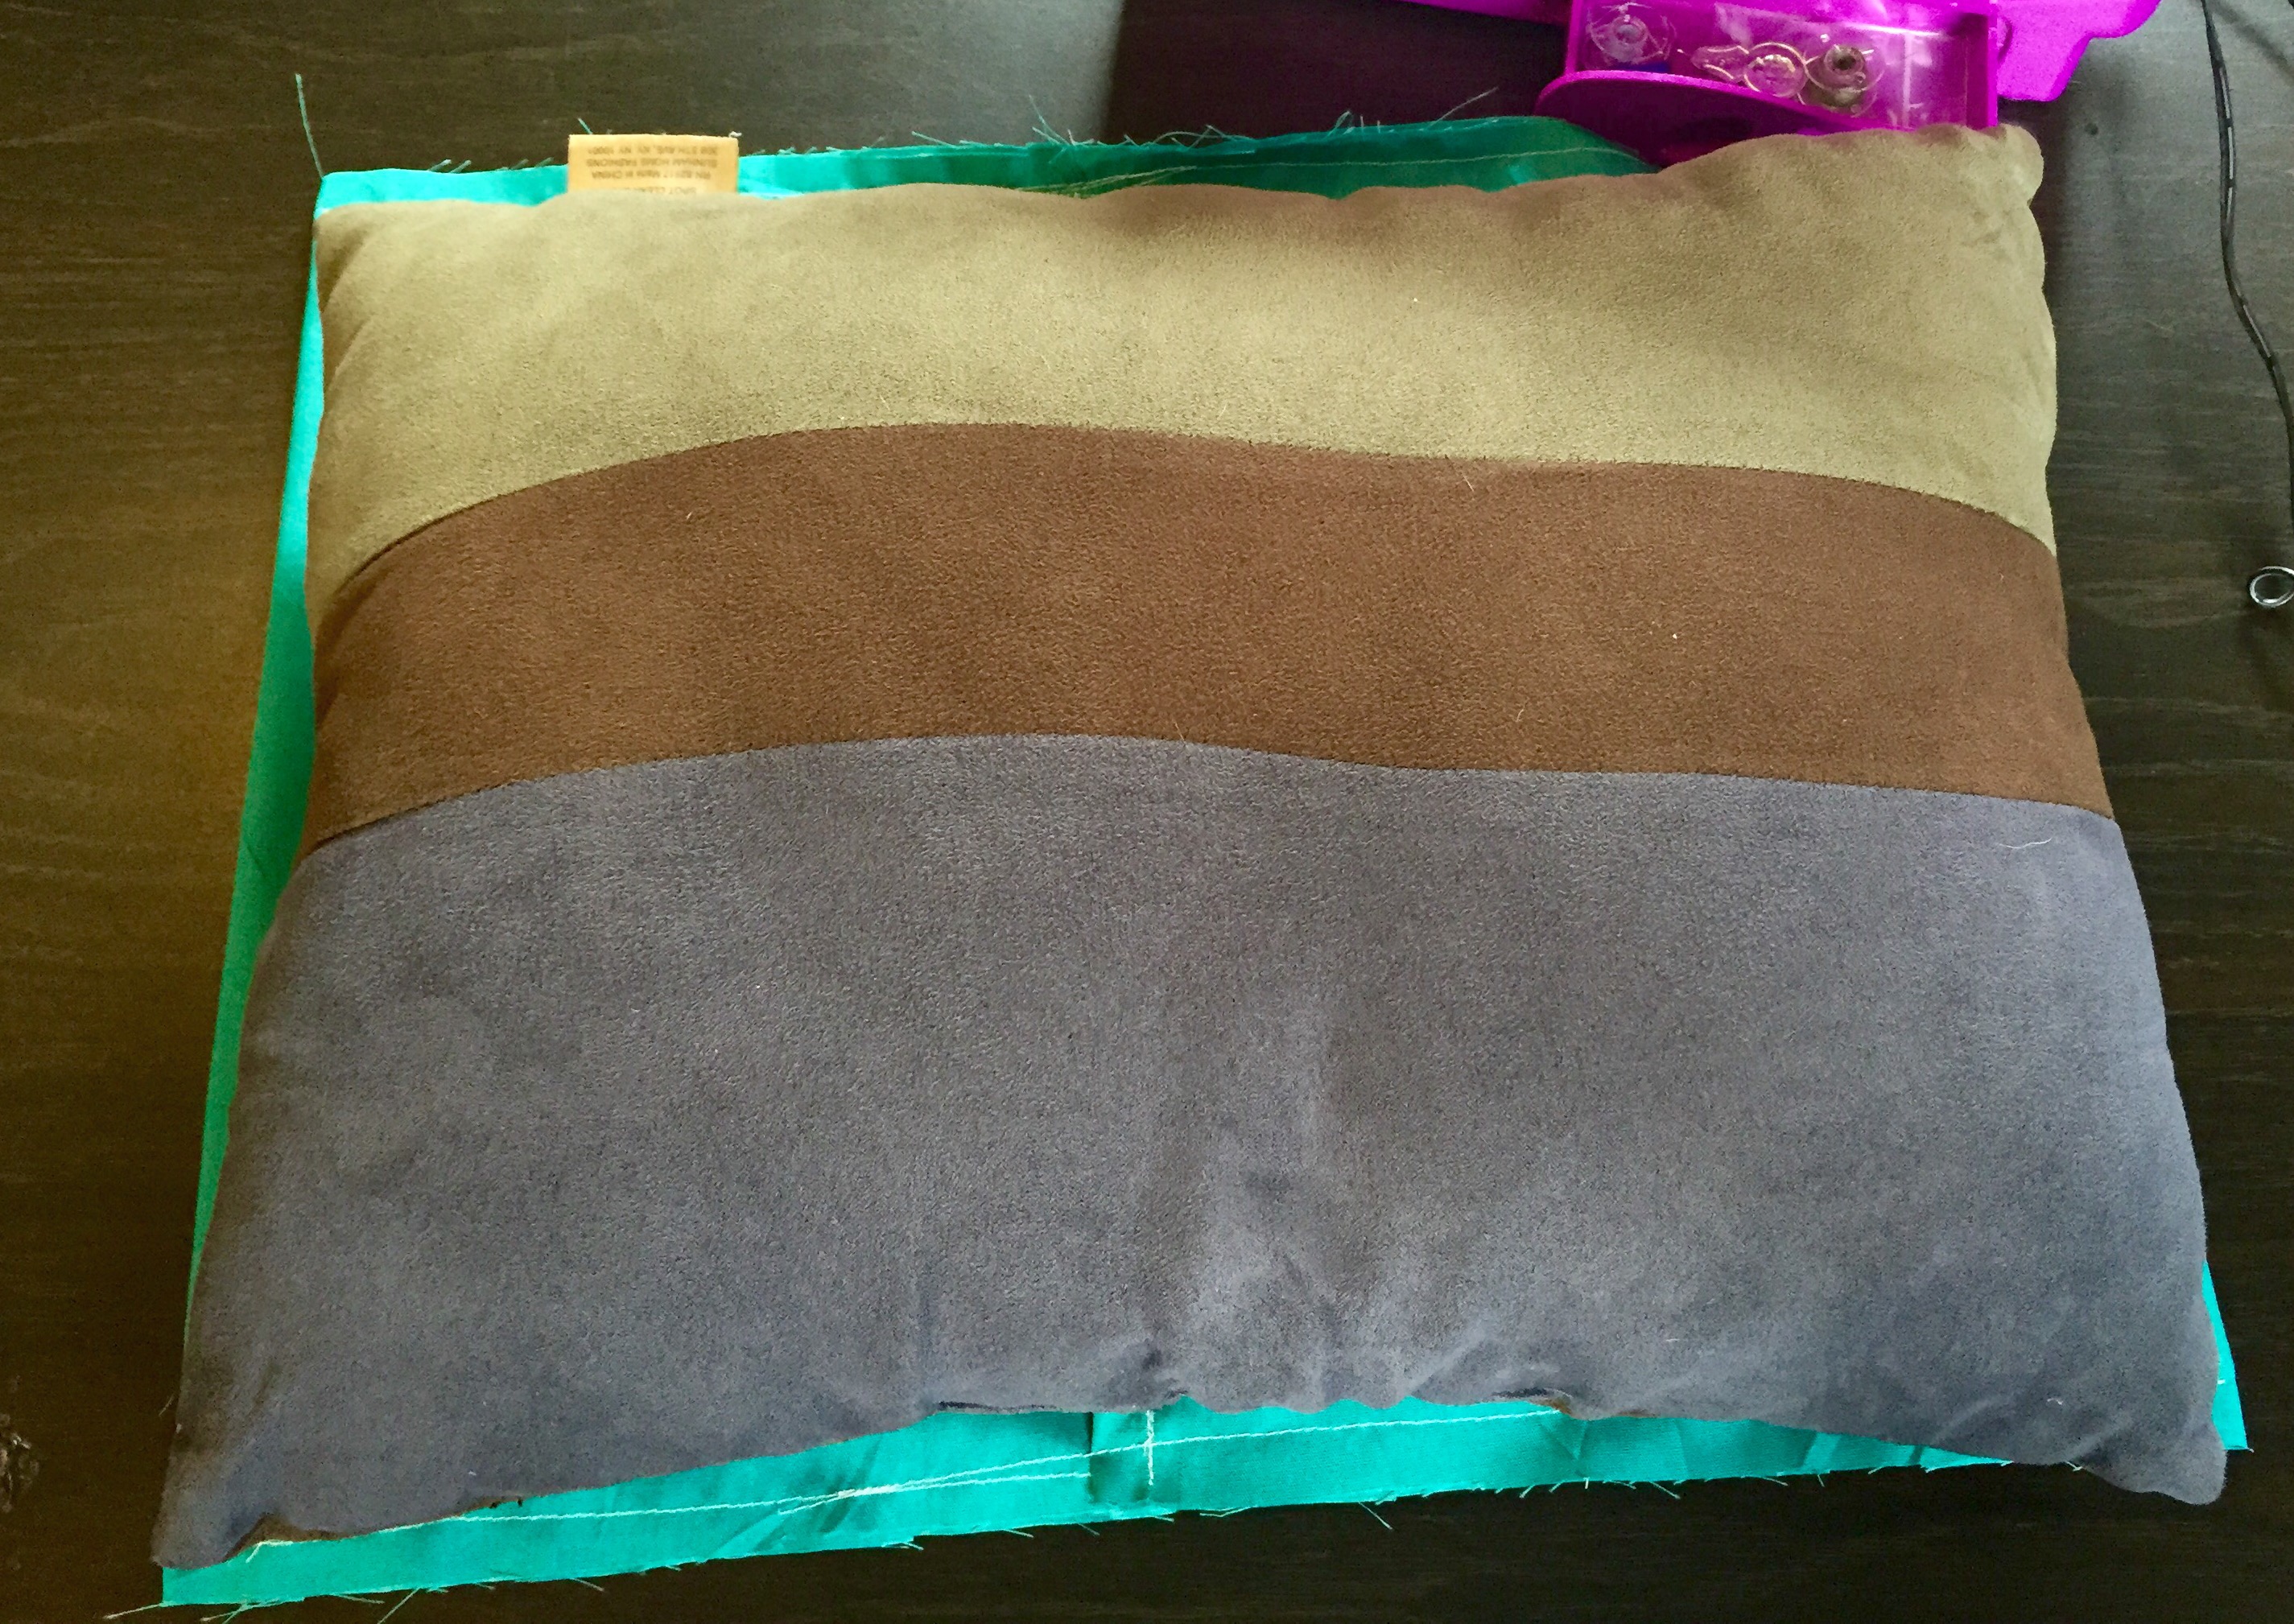
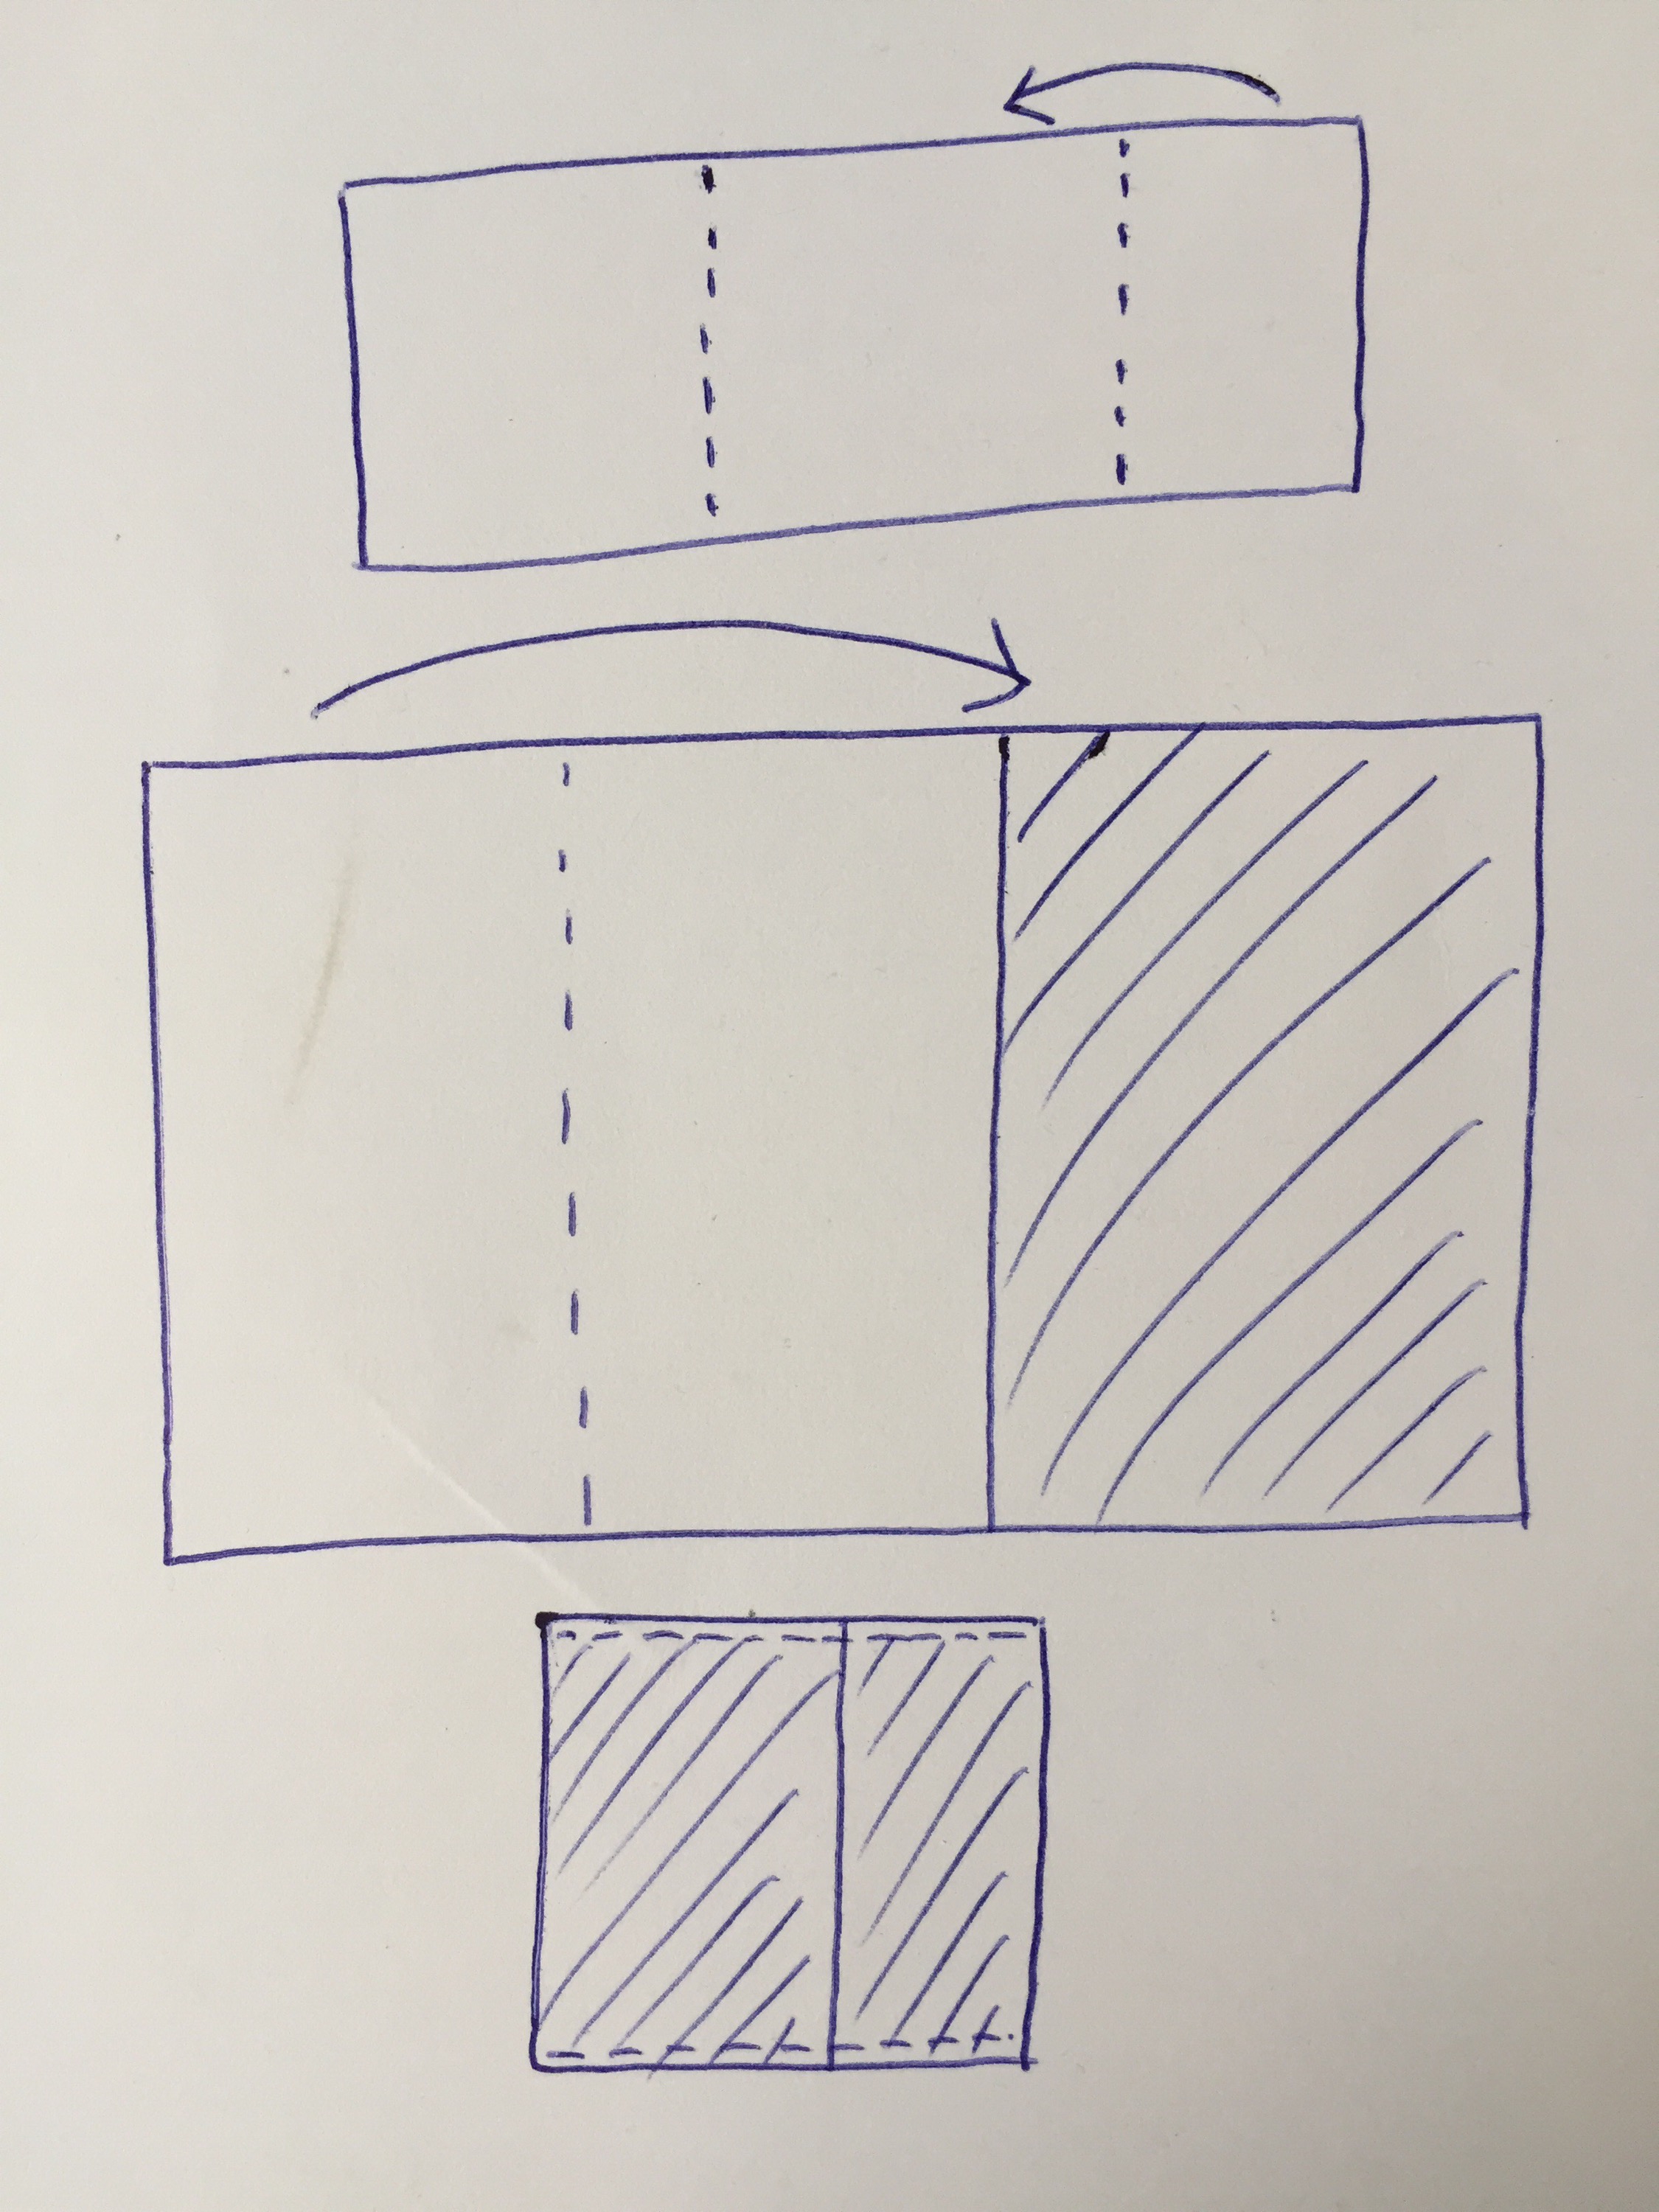
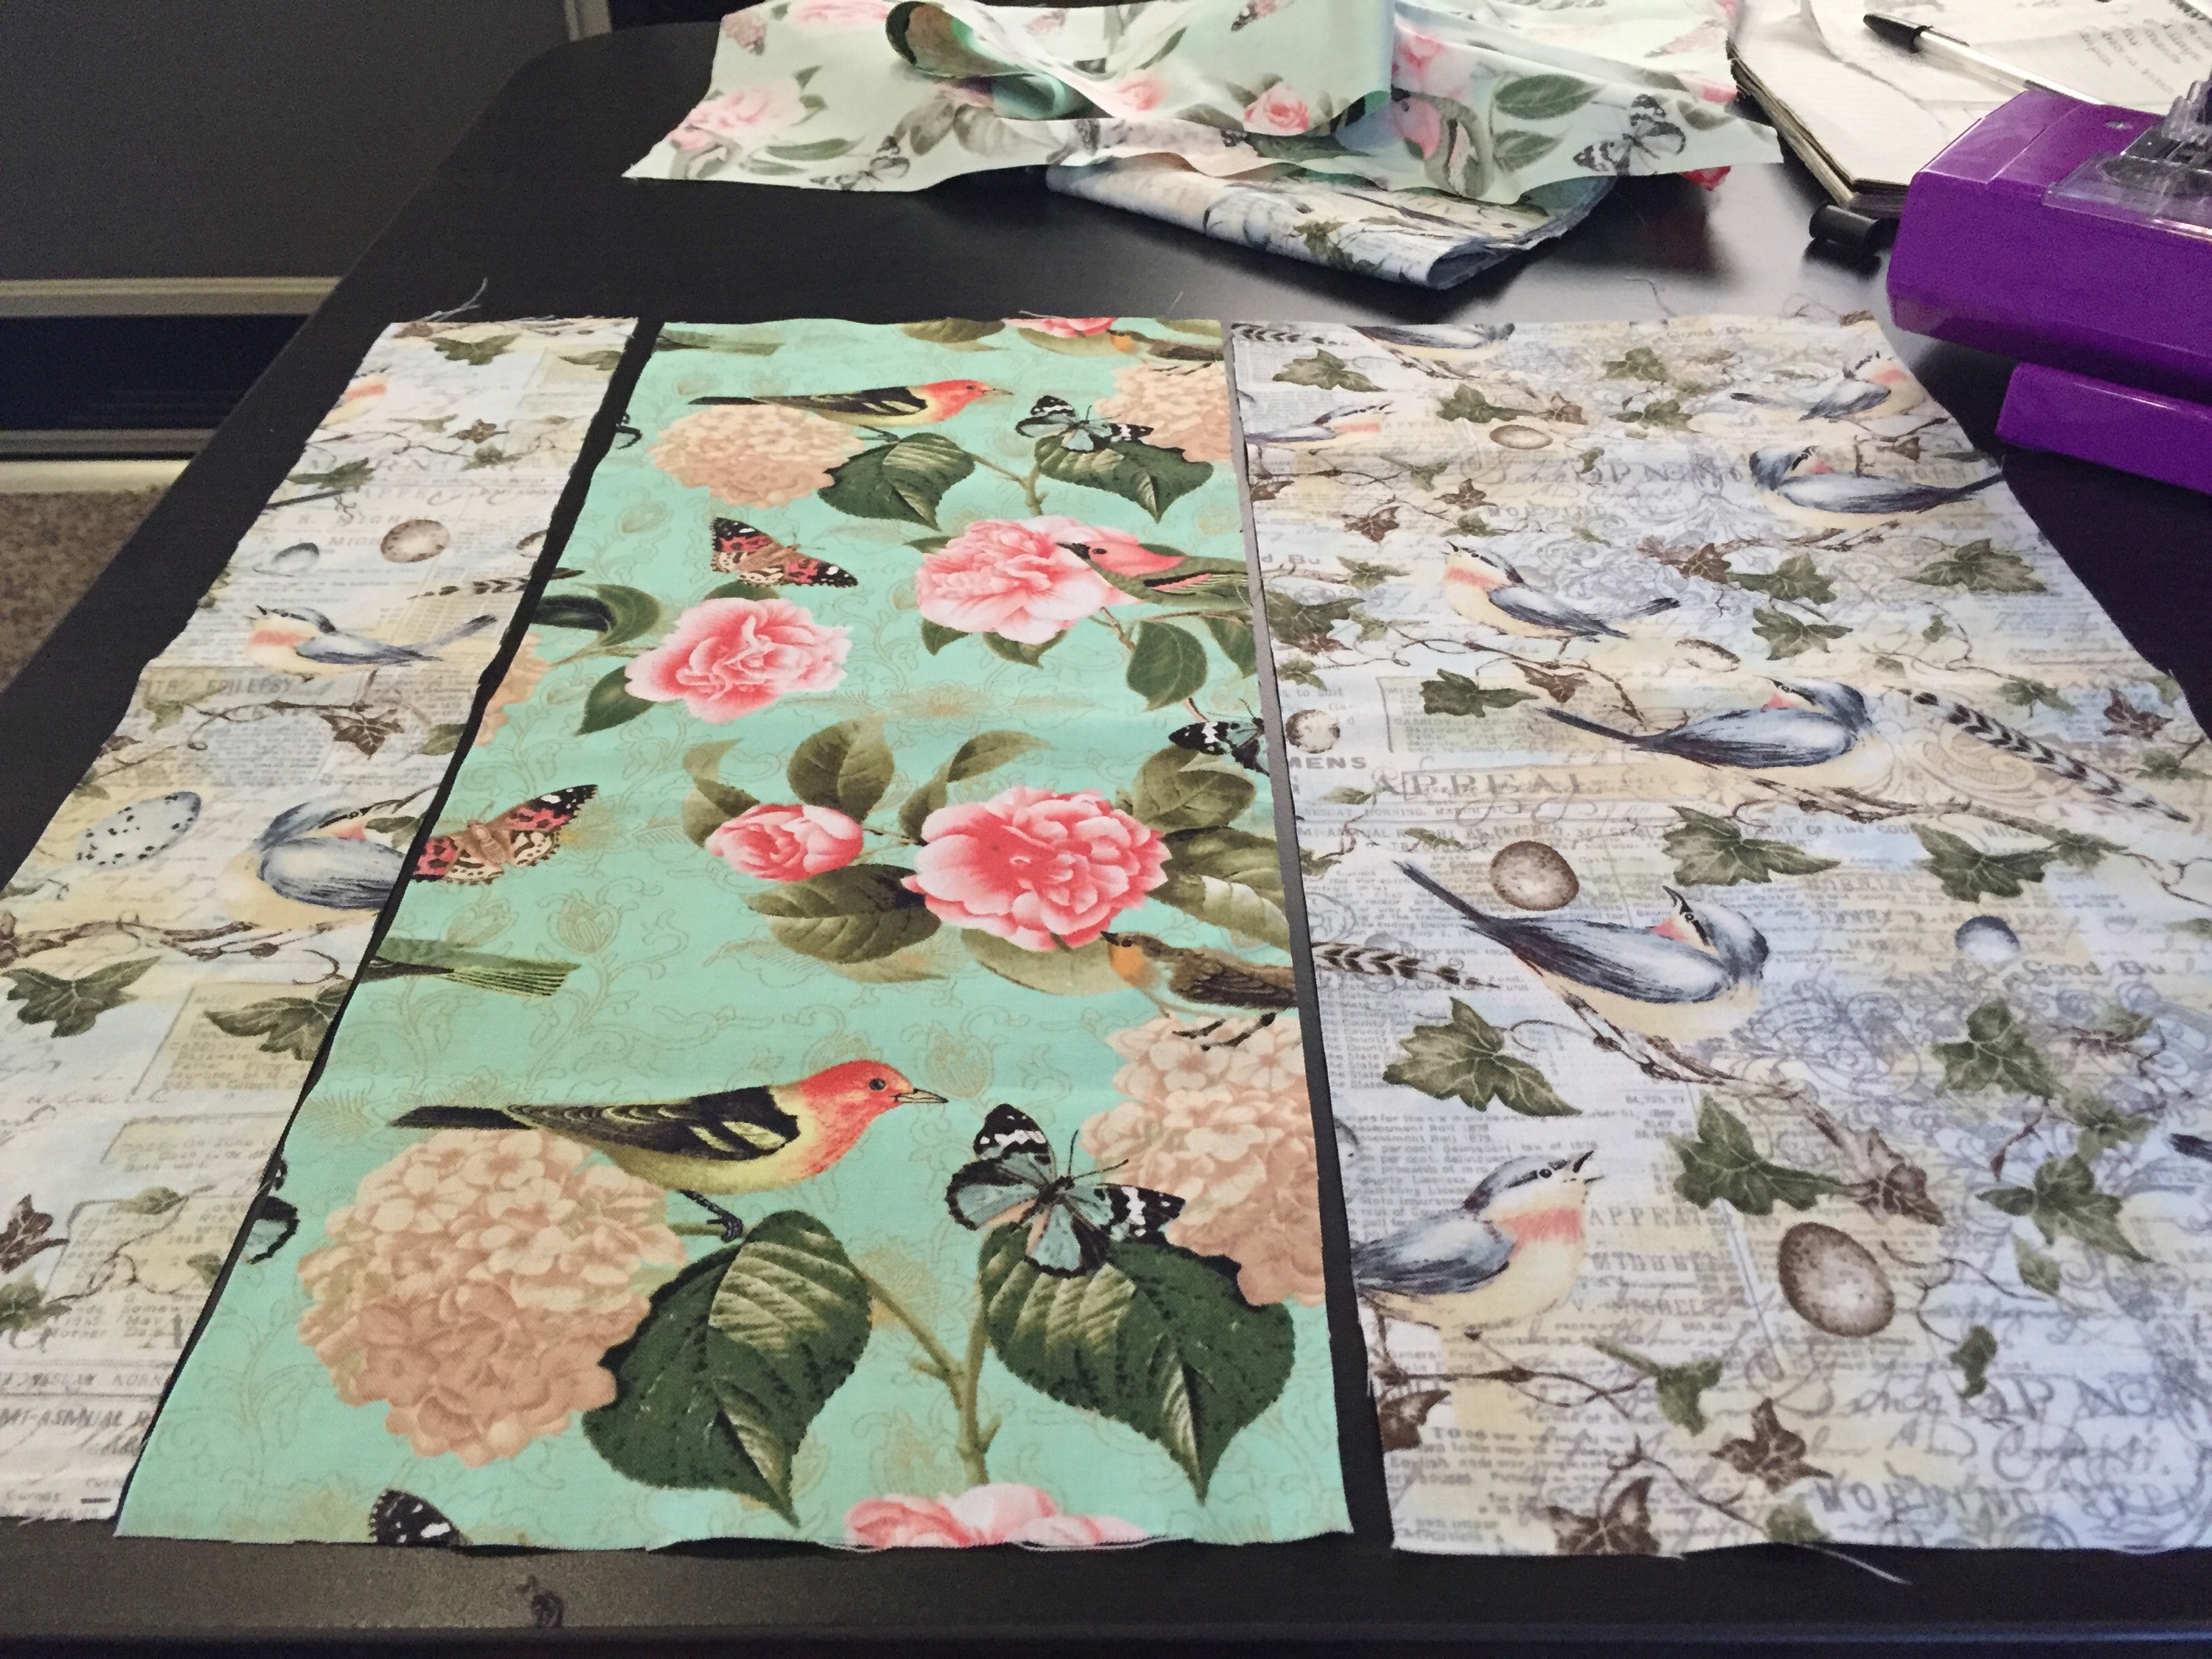
I decided to fancy them up a bit and use more than one fabric. I cut three pieces for the front of the pillow in alternating patterns.
- 17×3
- 17×7
- 17×8
Total size is 17×18, but once you factor in the extra inch for the two seams it ends up being about 17×17.
For the back, I made them envelope style and cut two pieces, a top and bottom envelope piece, both the same size.
- 17×13
- 17×13
I factored in an inch for the hem on each piece, then 7″ overlap on the envelope part. (I’ve done less overlap in the past but I didn’t want the pillow peeking out at all.)
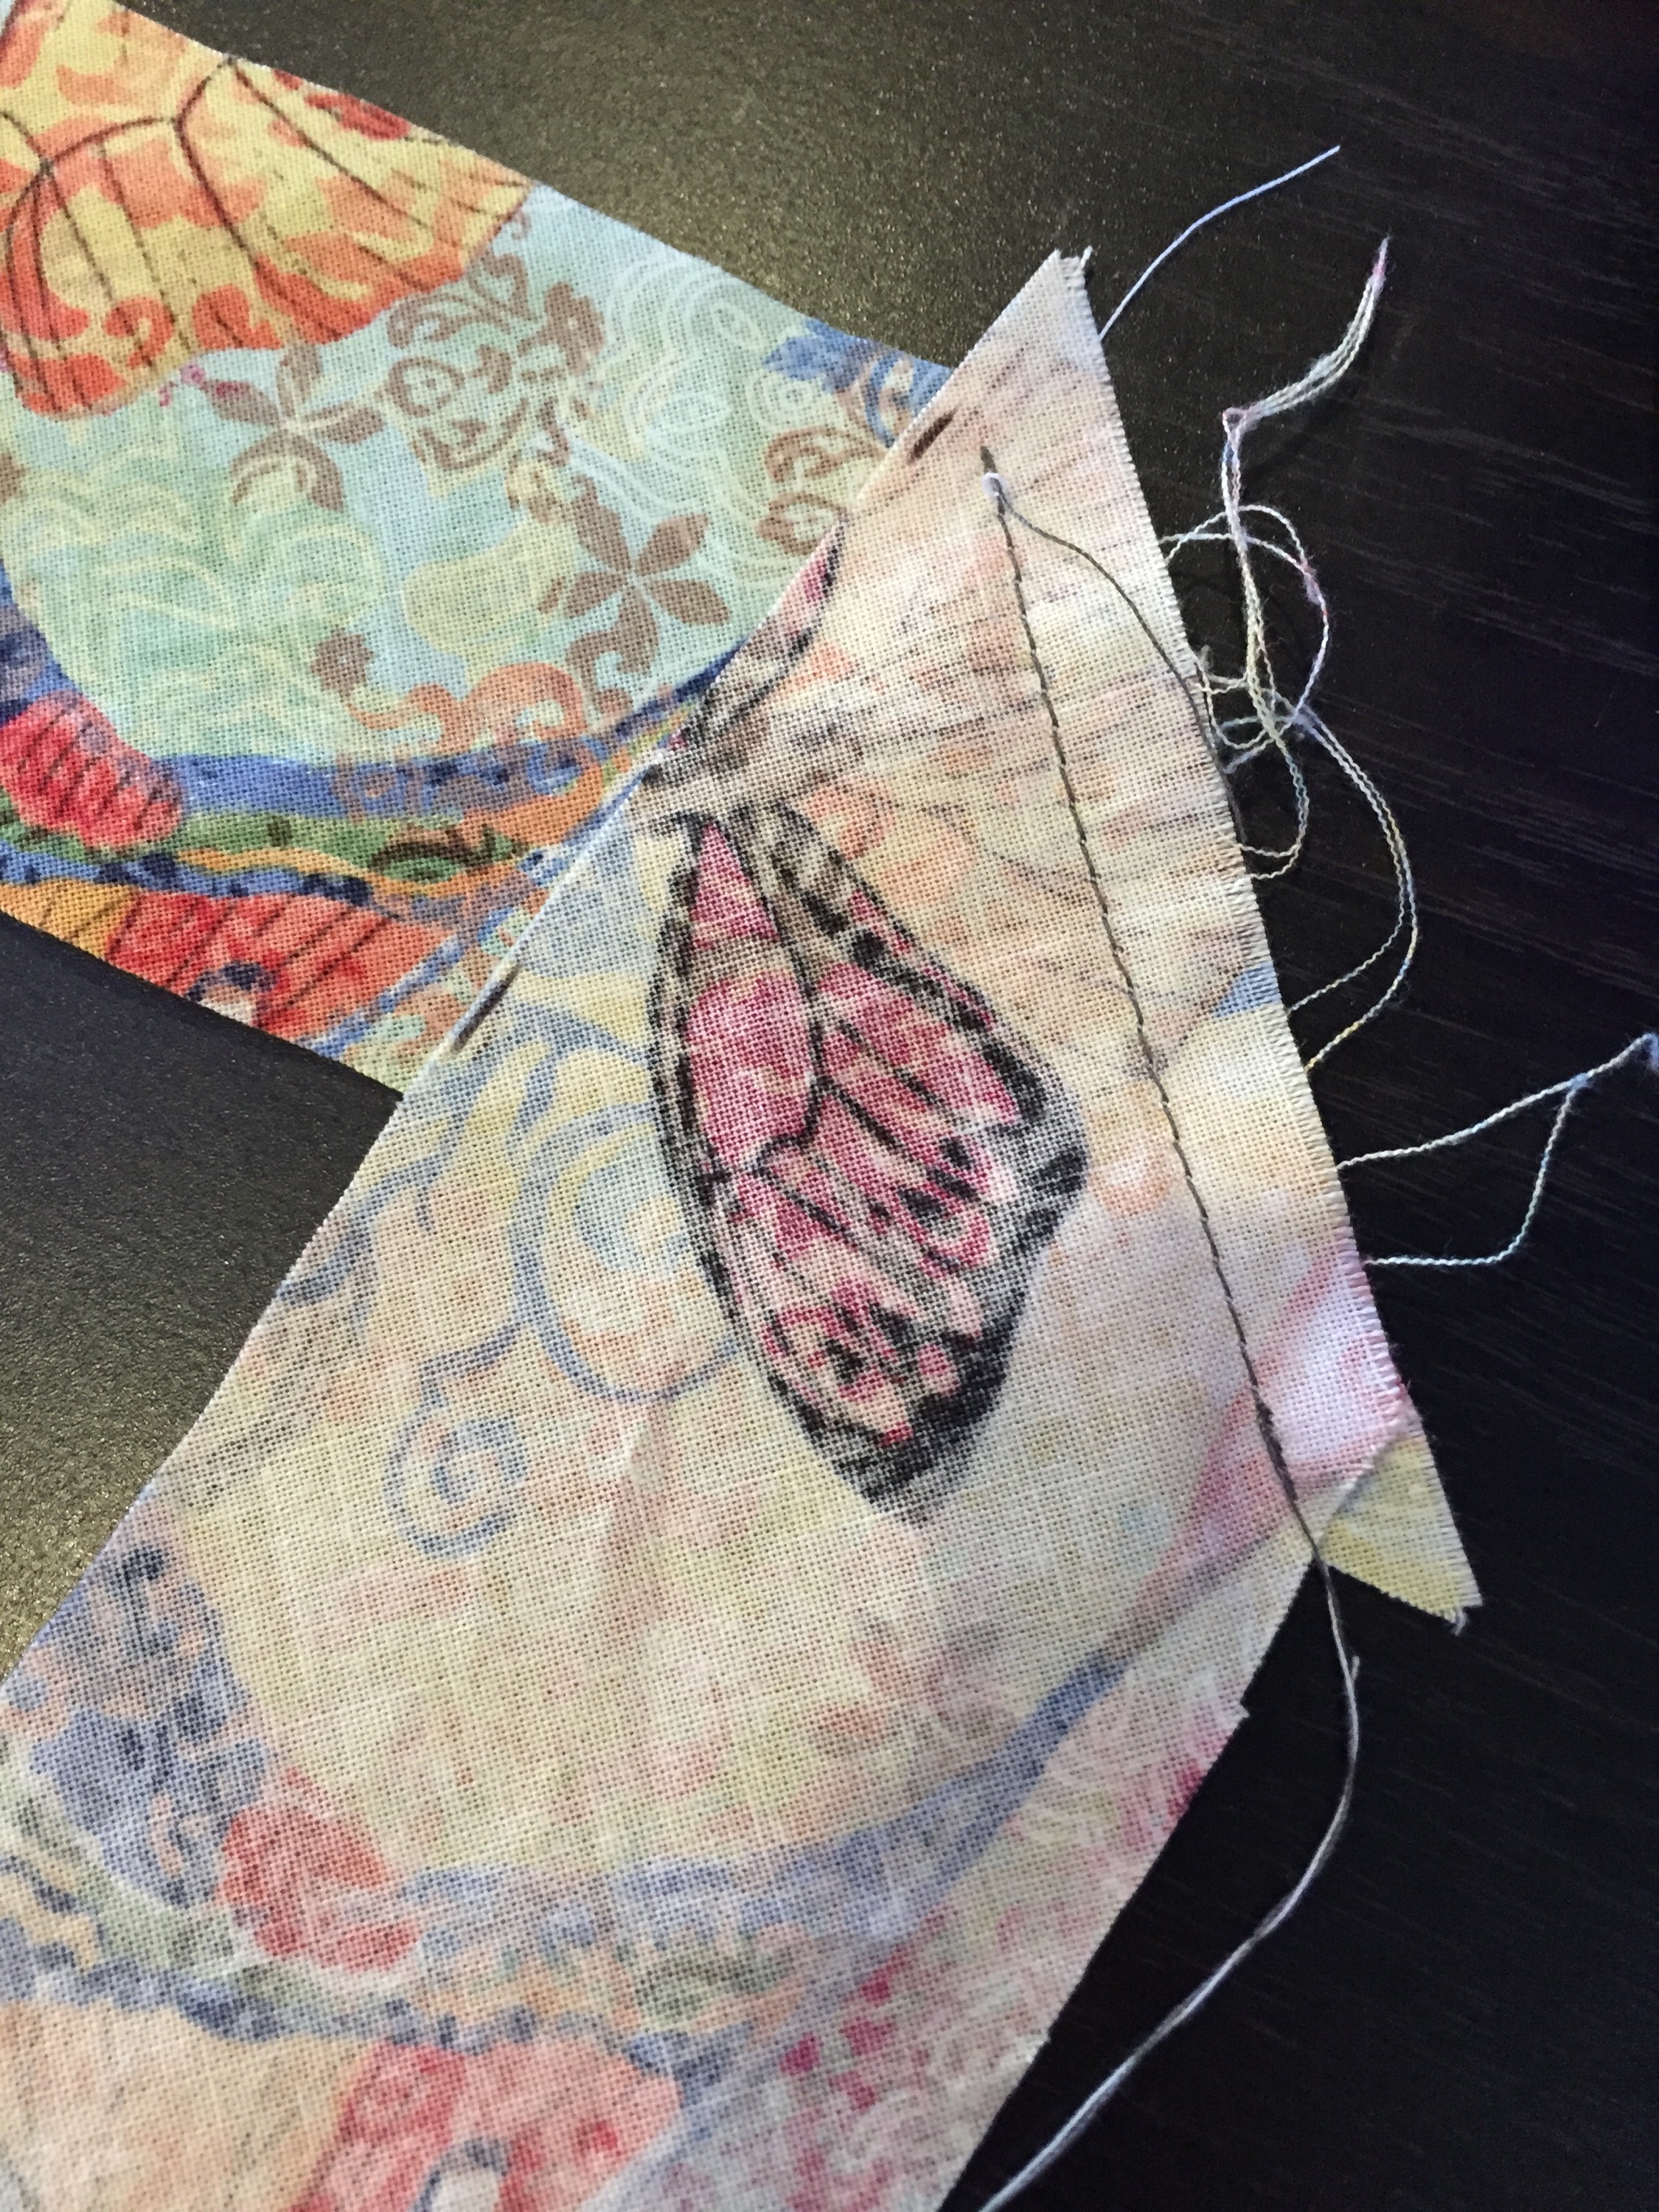
So I sewed the front pieces together then I hemmed the back pieces. Then it was time for the piping!
I bought 1/4″ piping in a package. I cut bias strips of fabric to cover it. (This just means to cut the strips on a diagonal, so the fabric has a little more stretch to it.
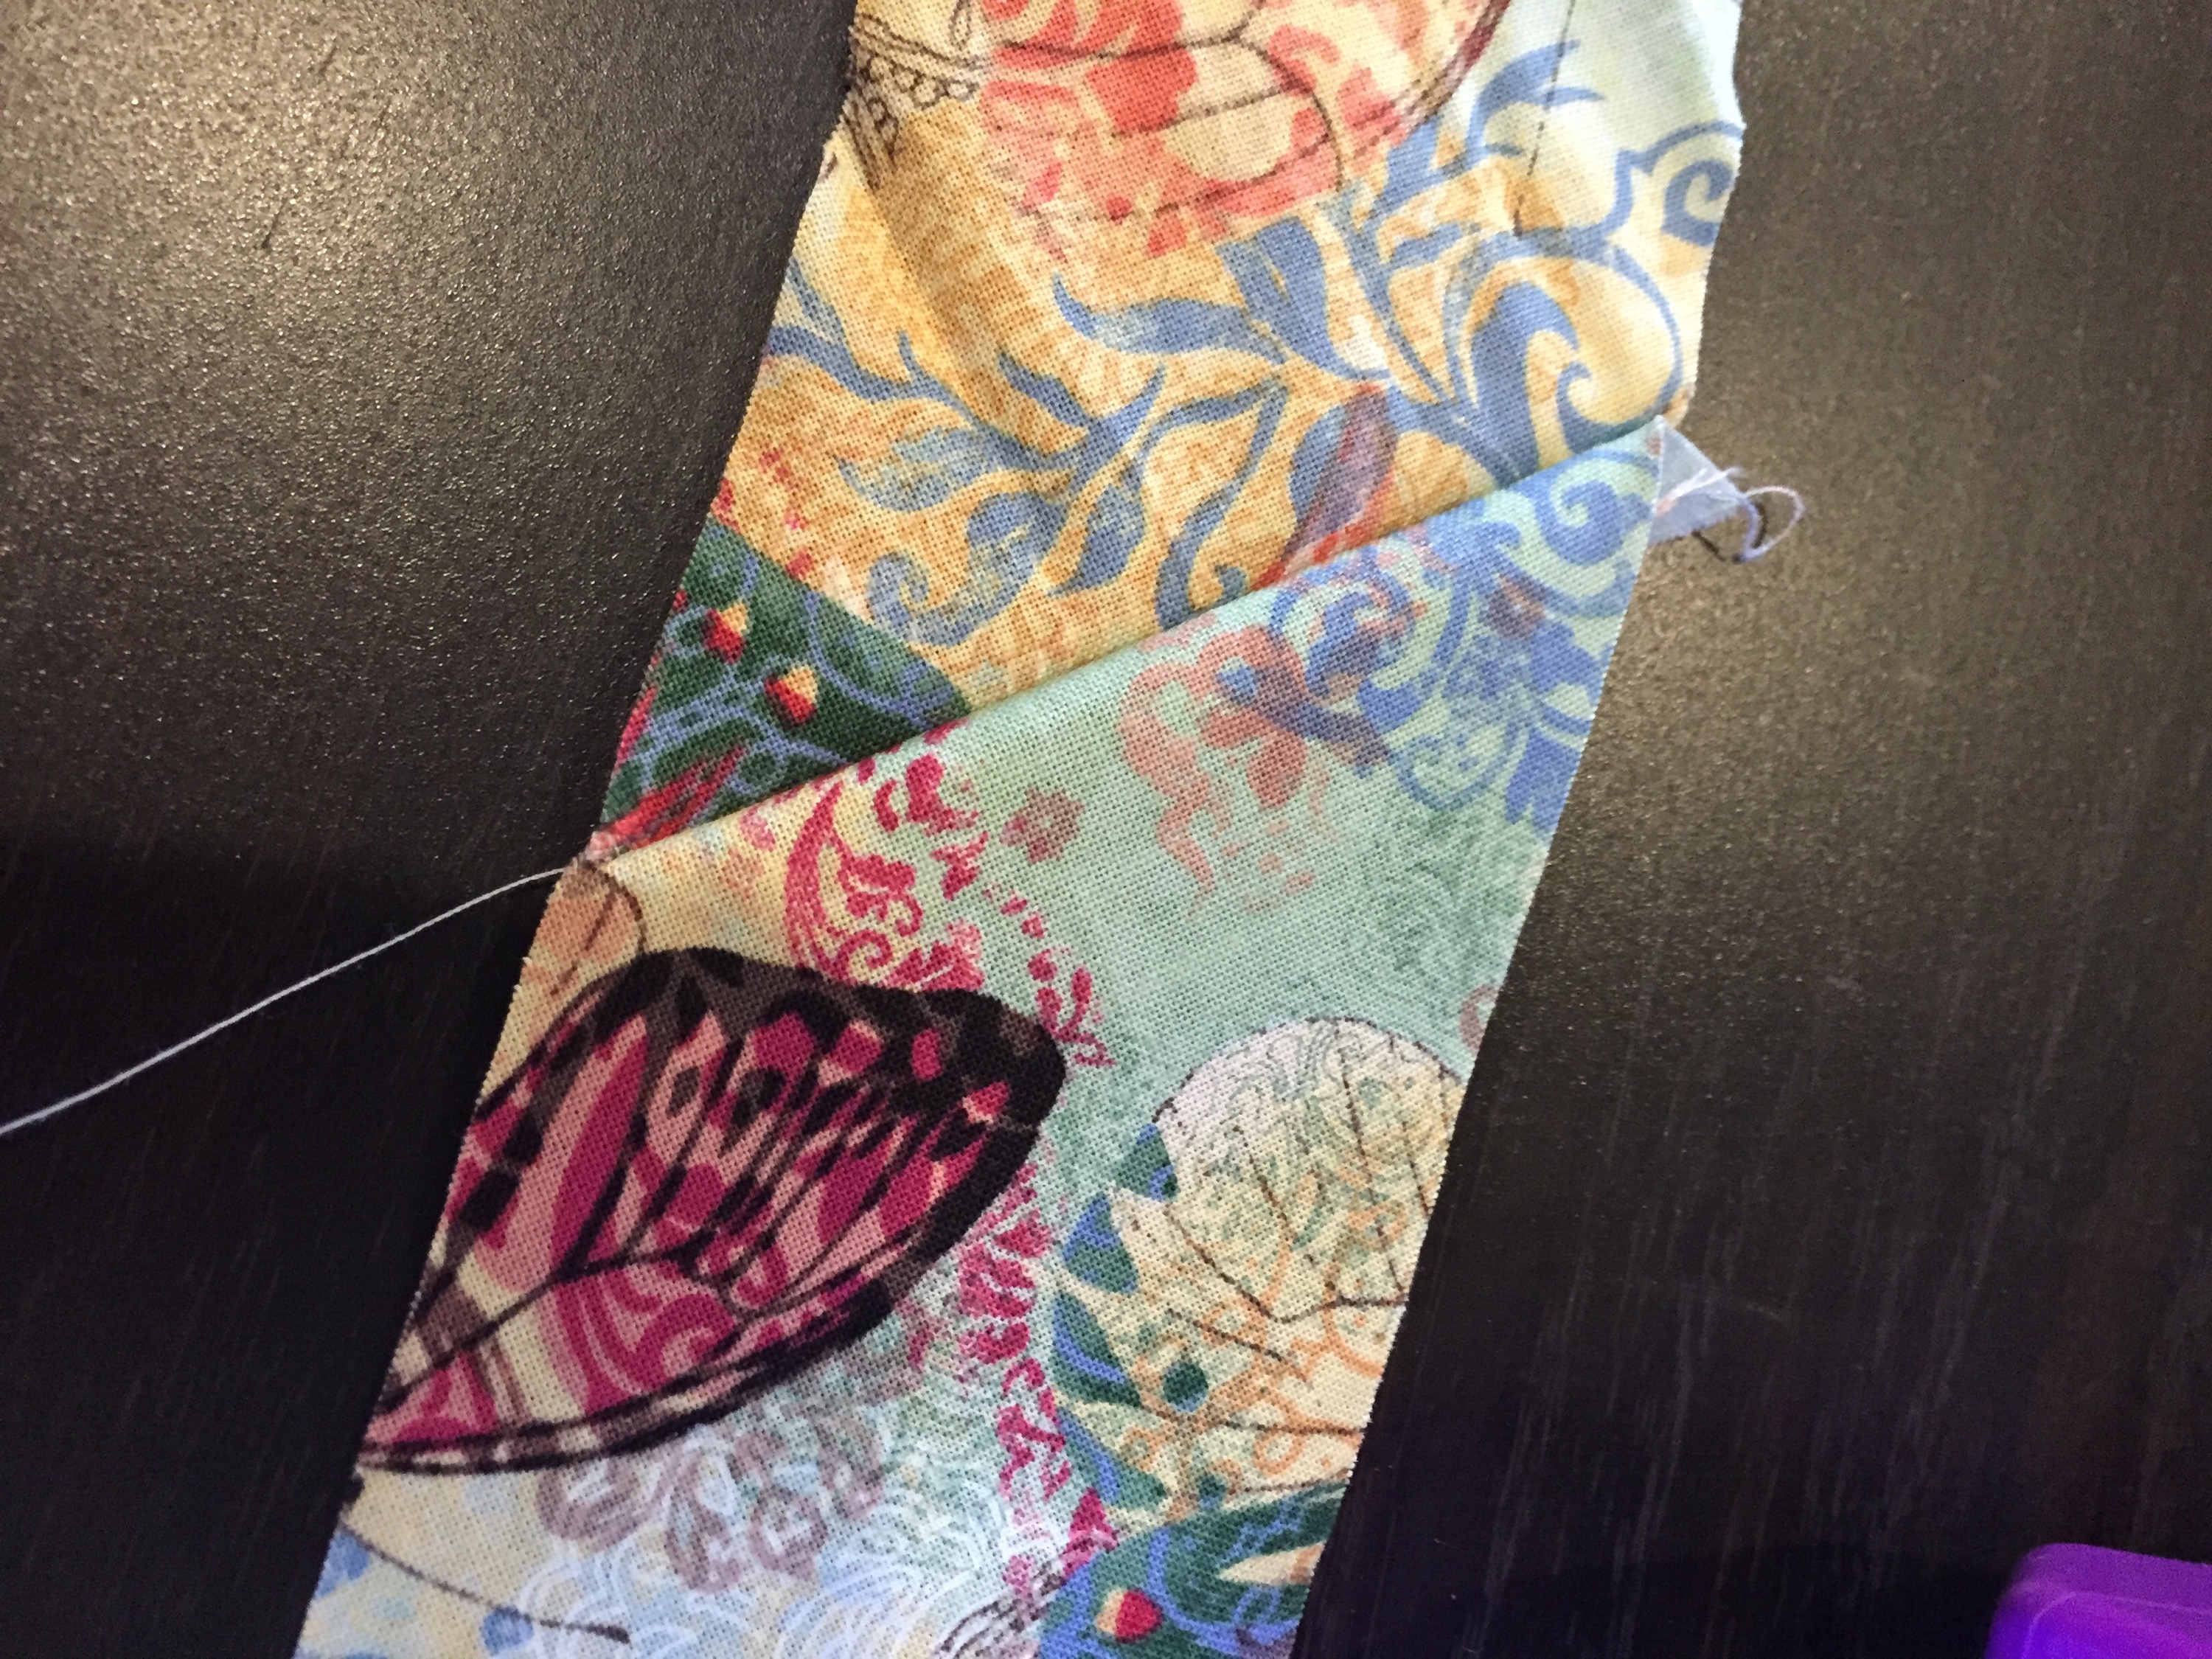
Then I sewed the bias strips together to make one long strip, longer than I needed to go around the whole pillow.
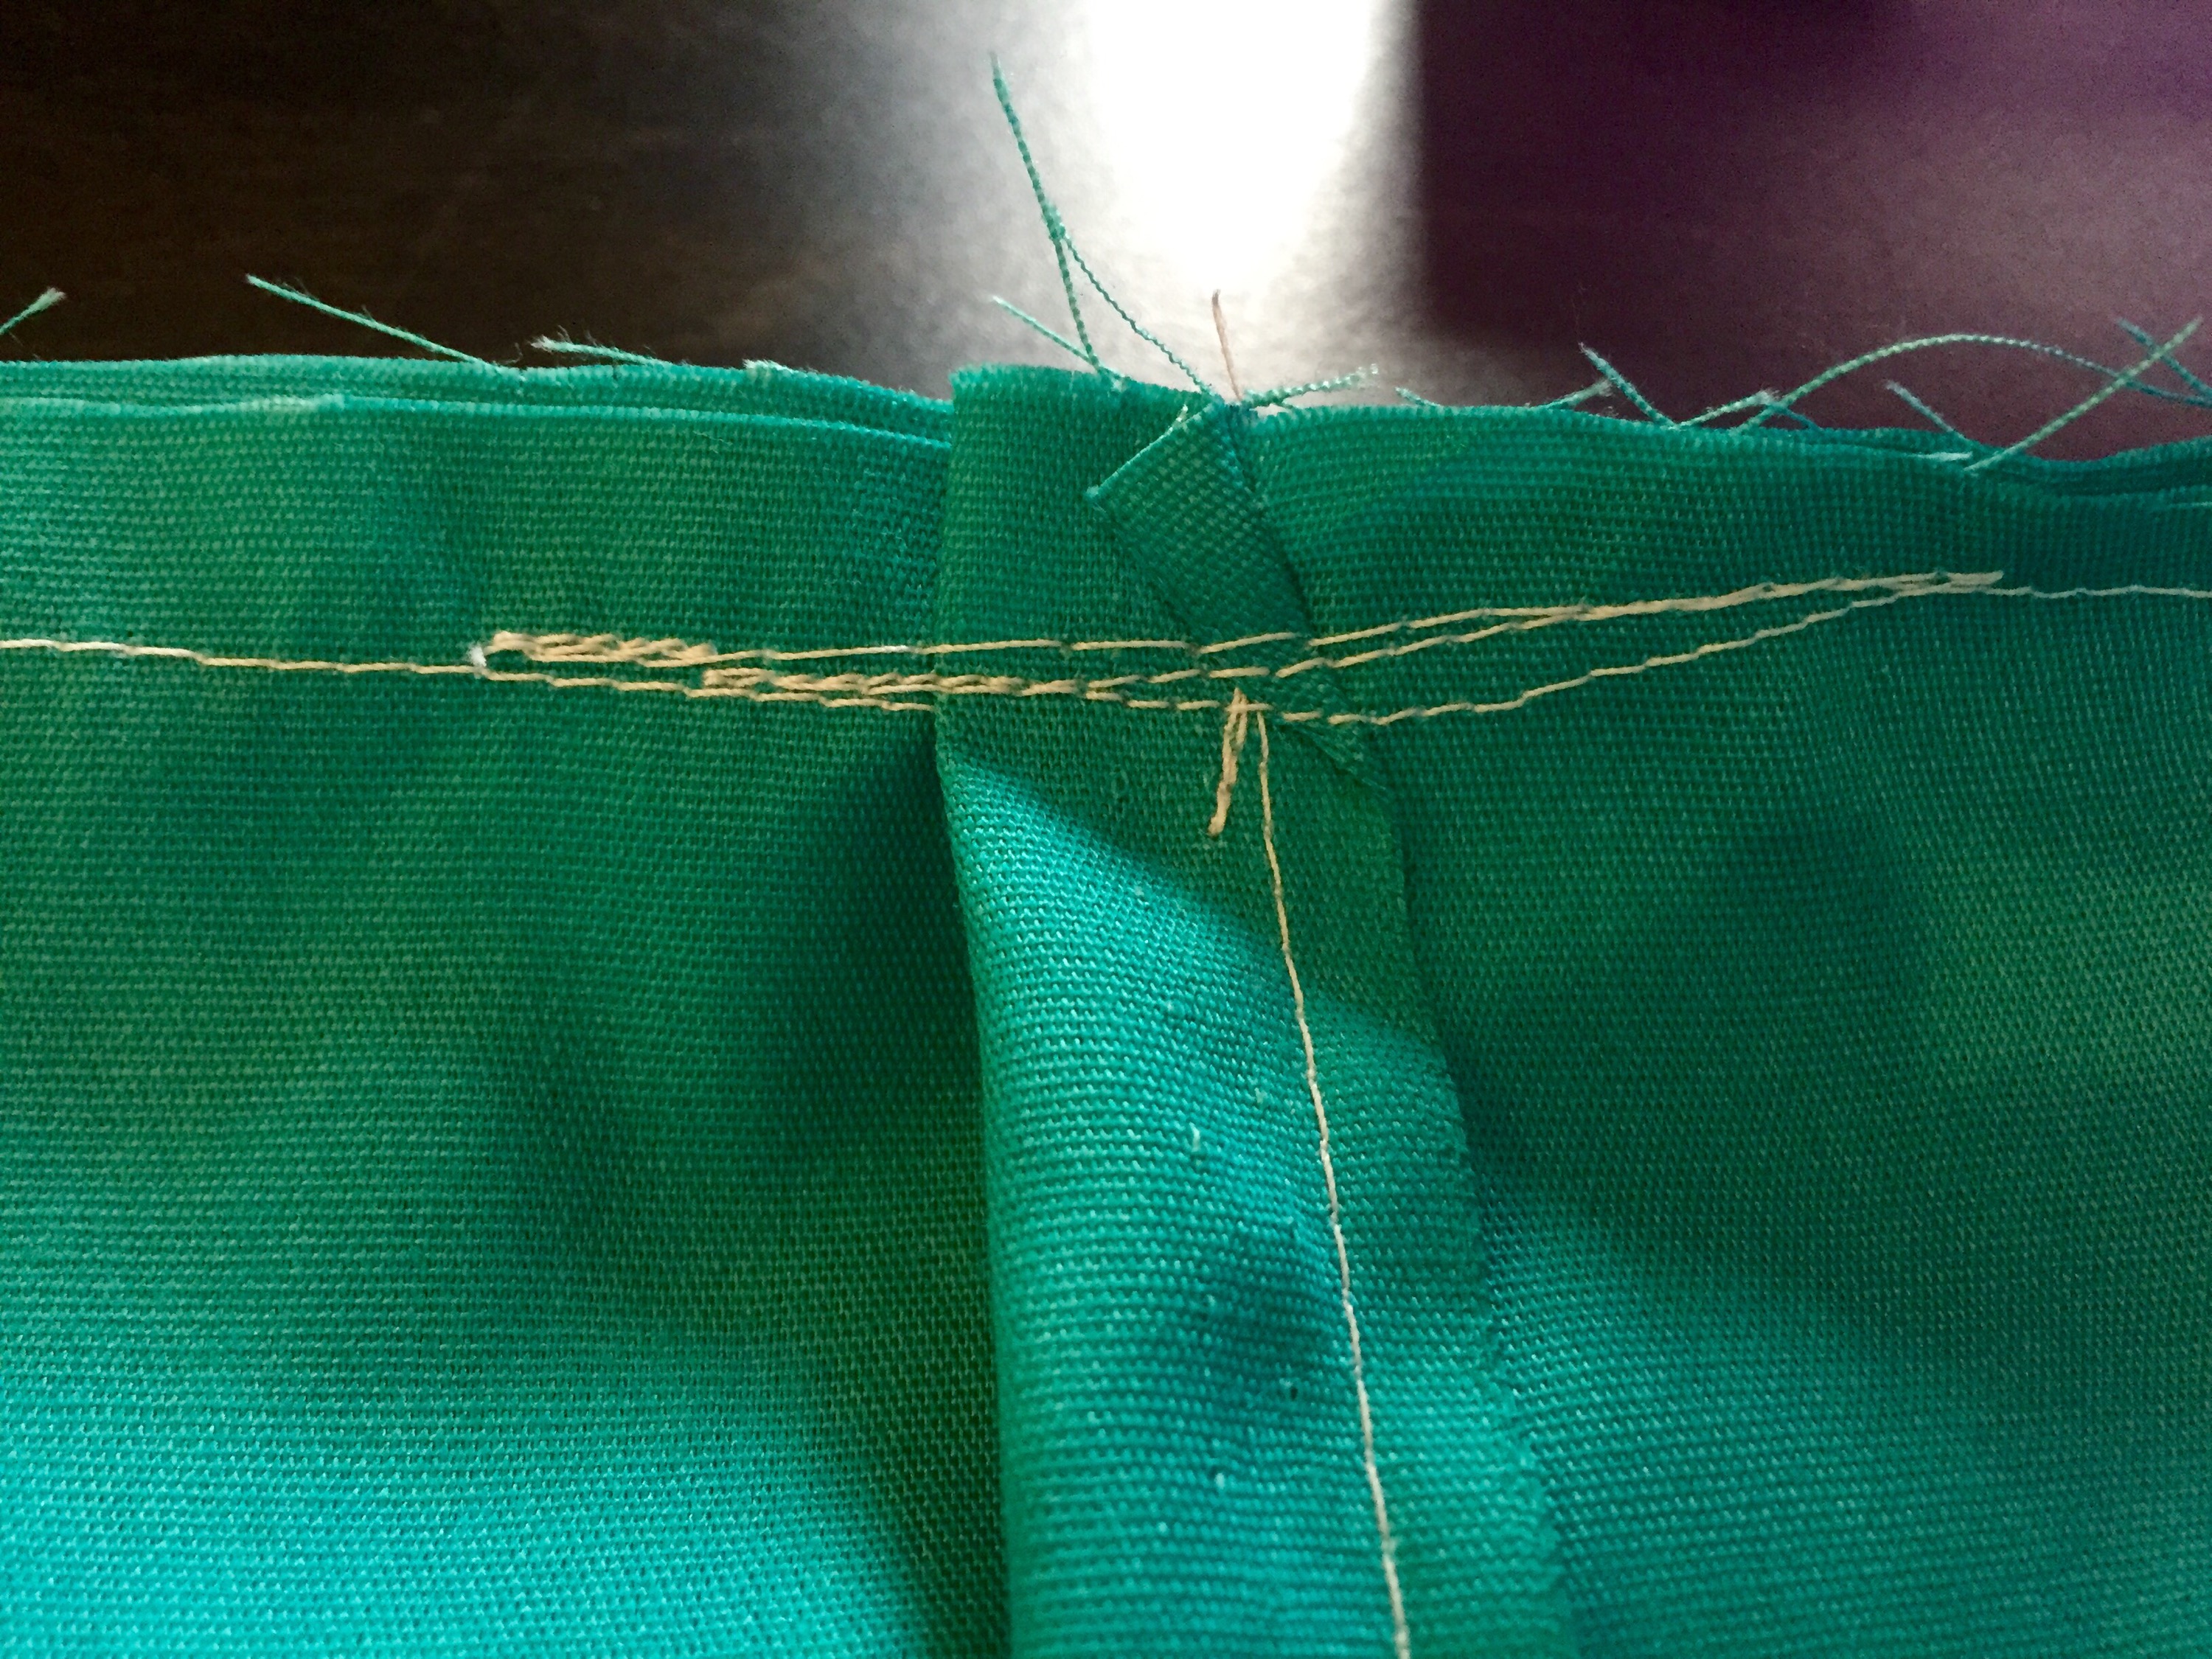
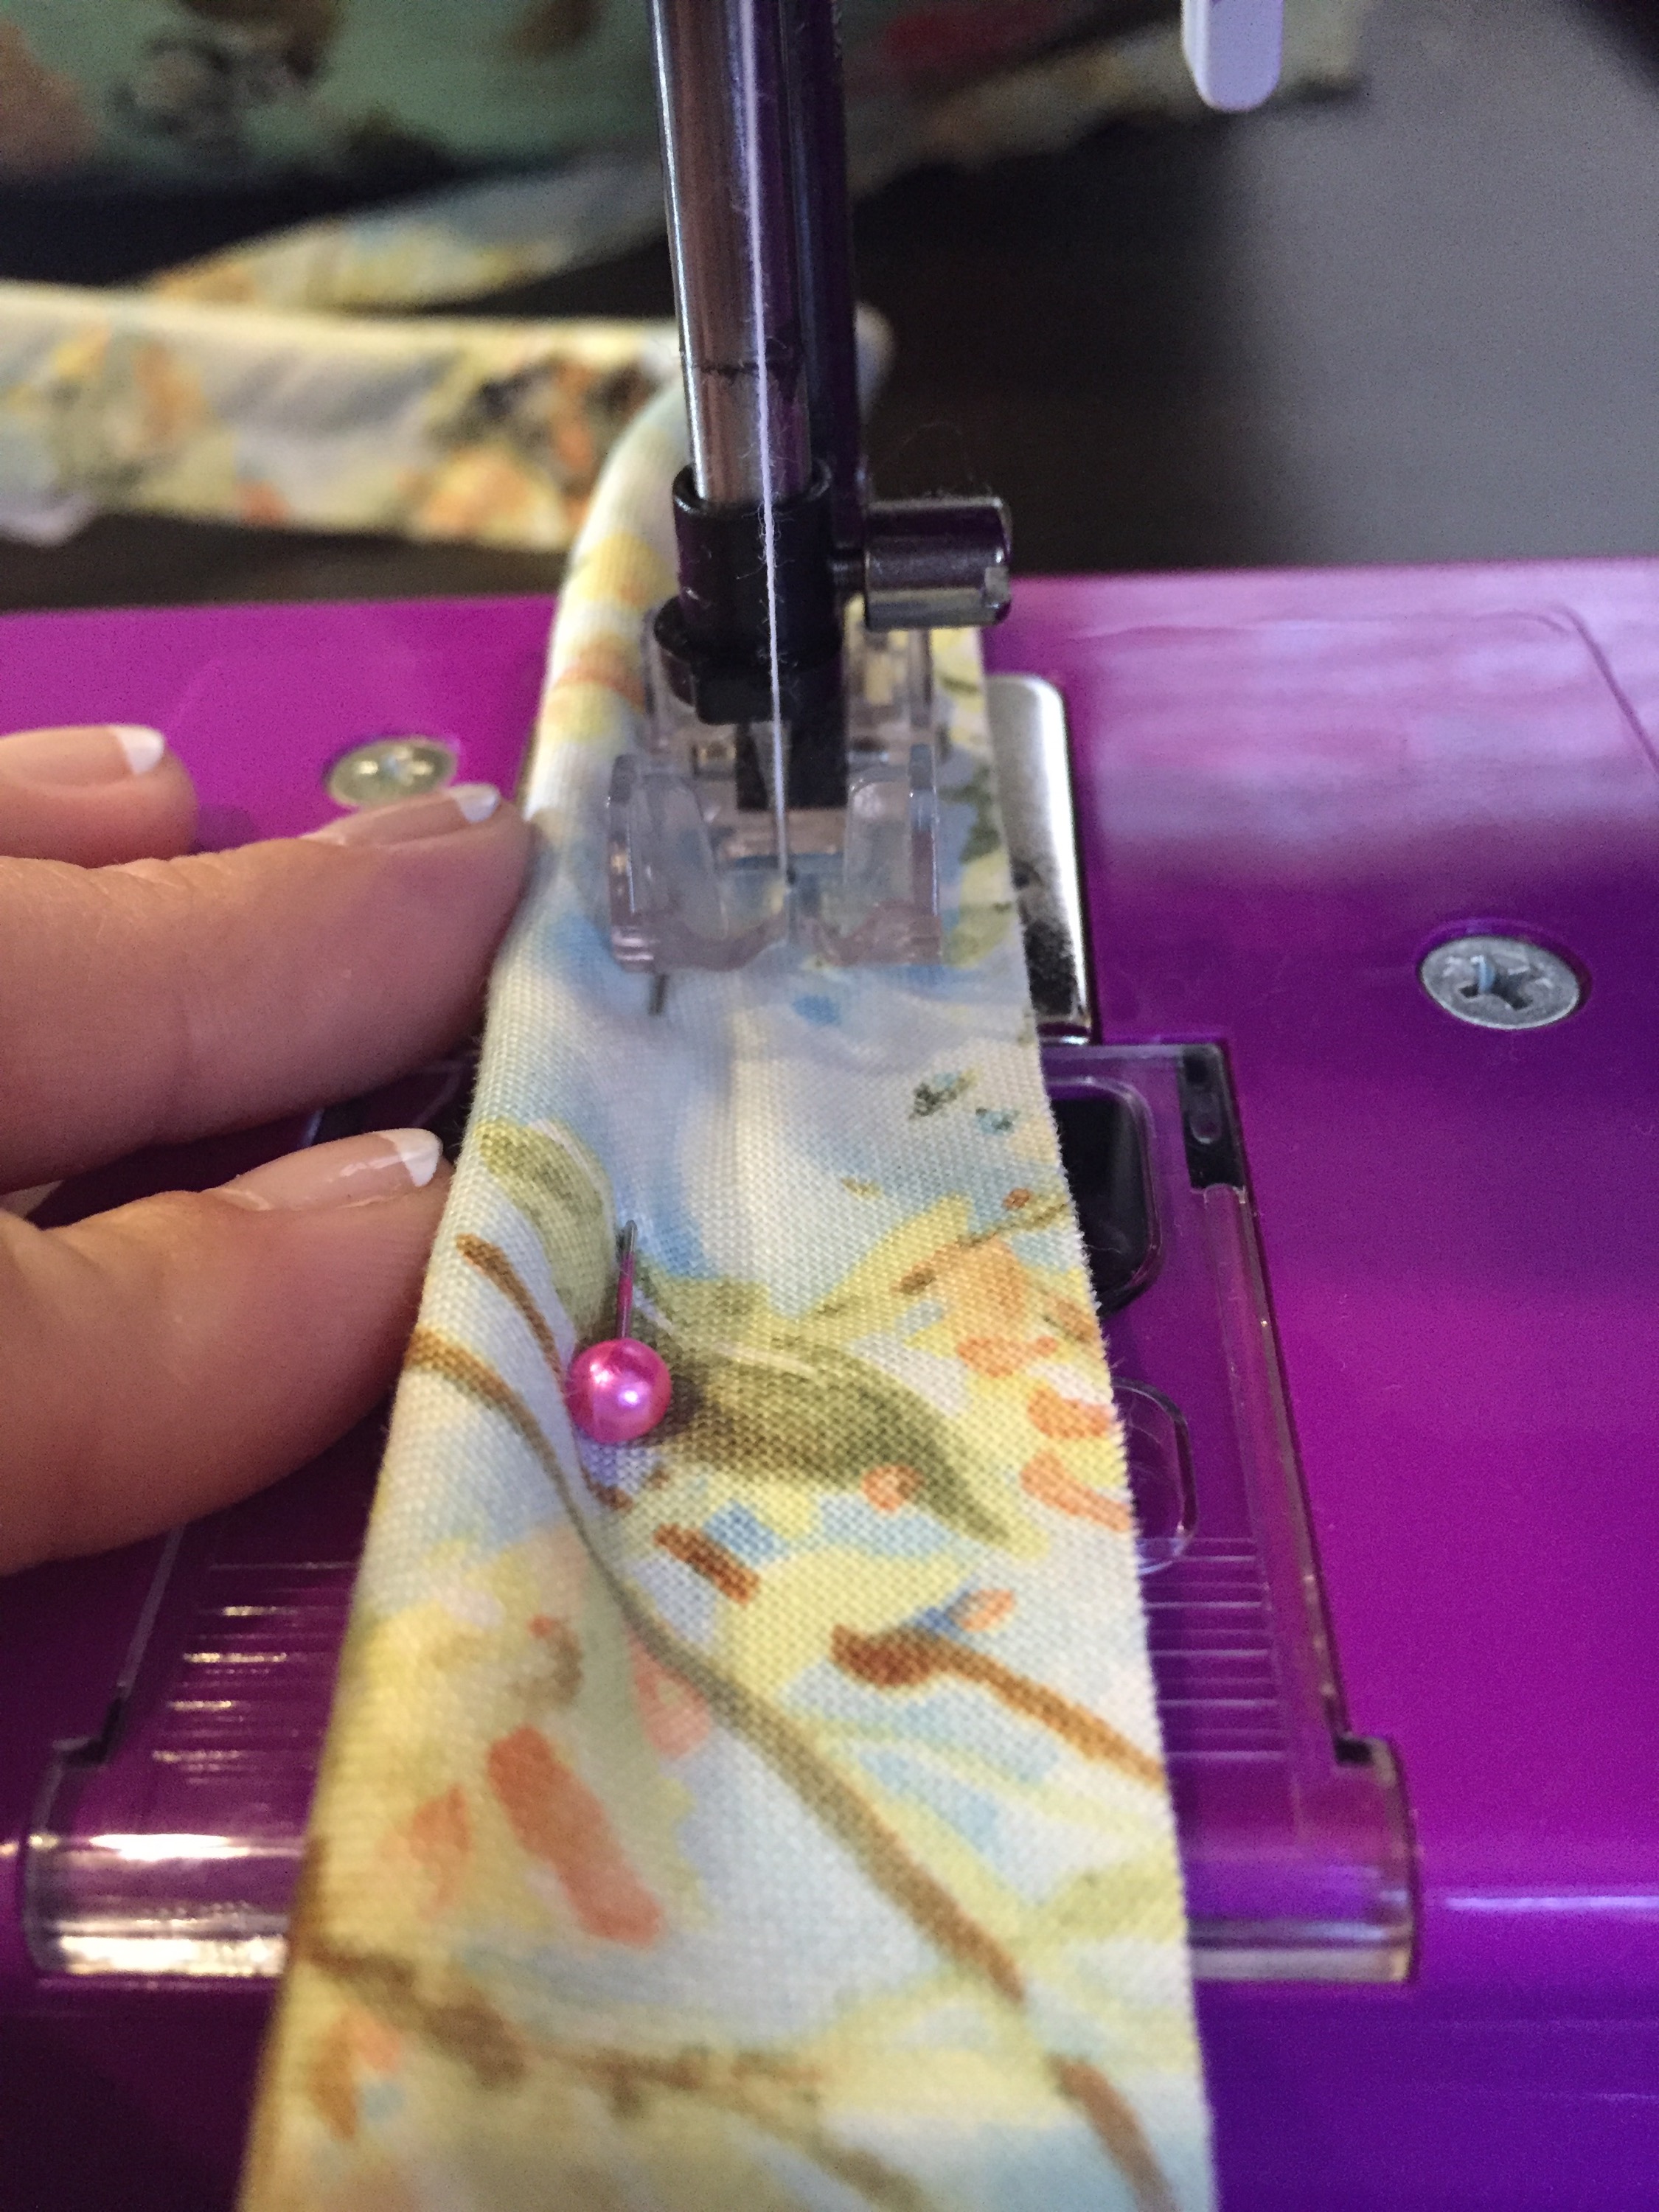
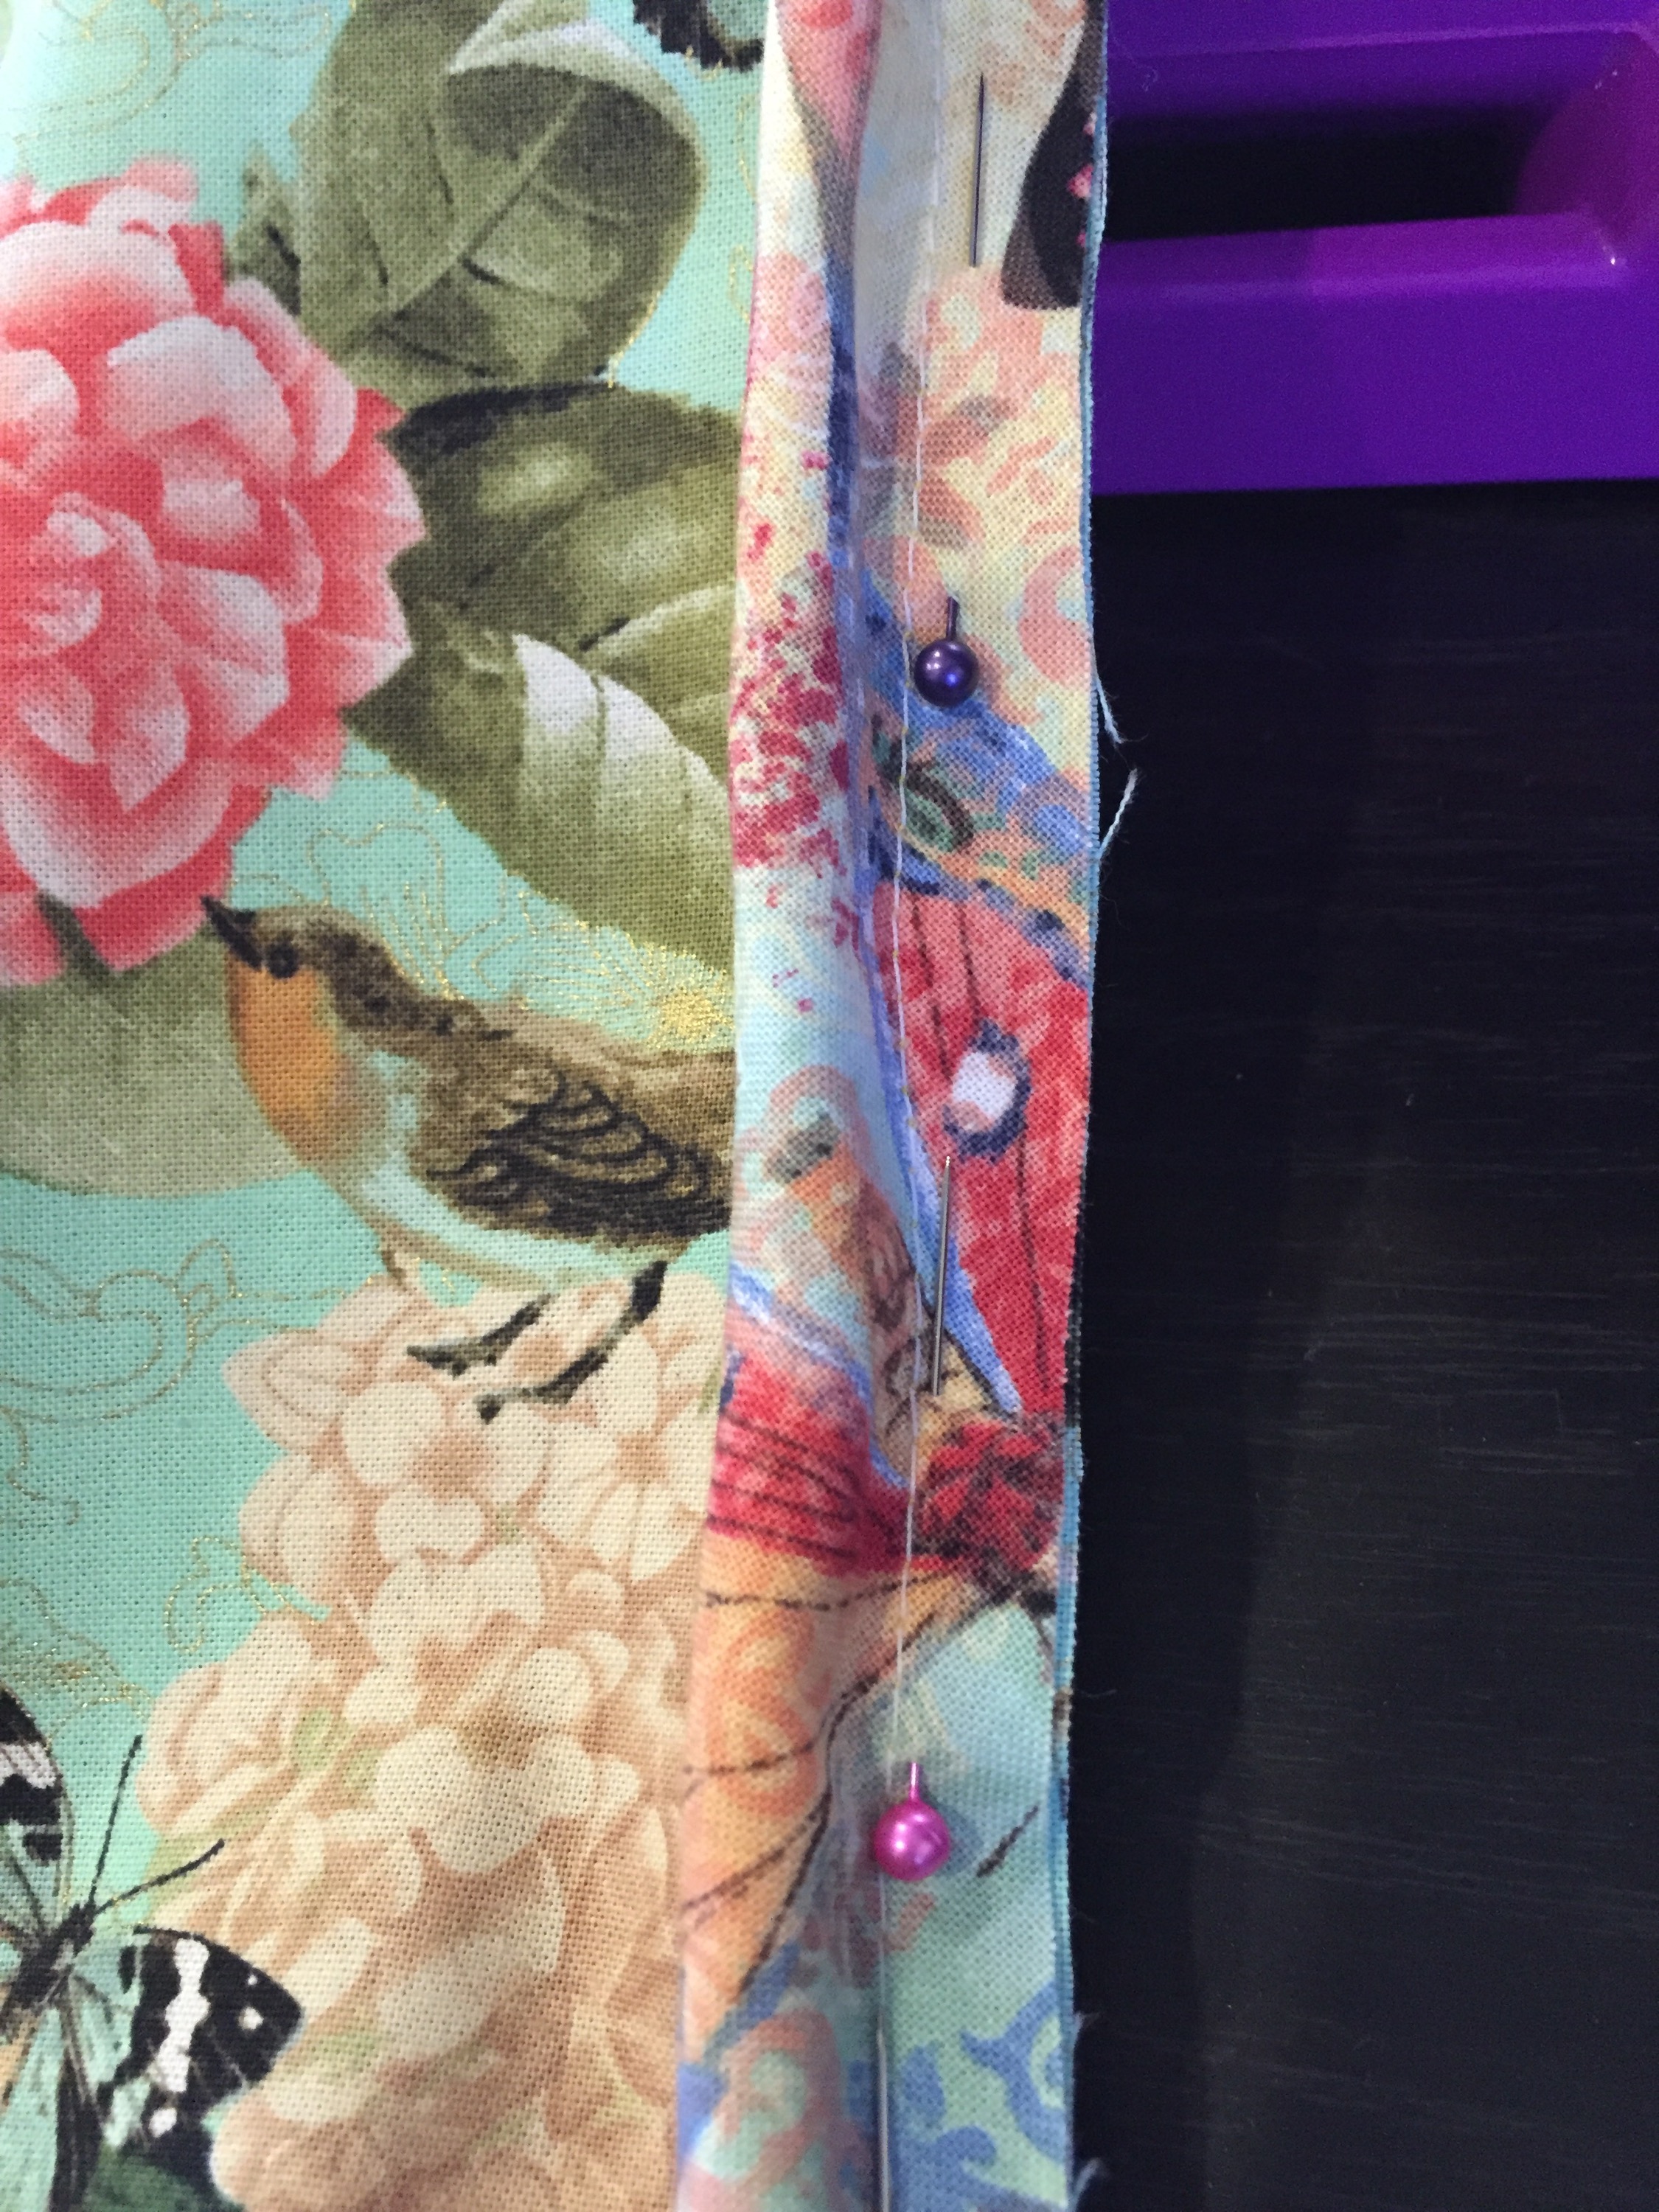
Once I got that ready, I laid the piping inside and folded it up and pinned it in place. Then I sewed down the side of the piping.
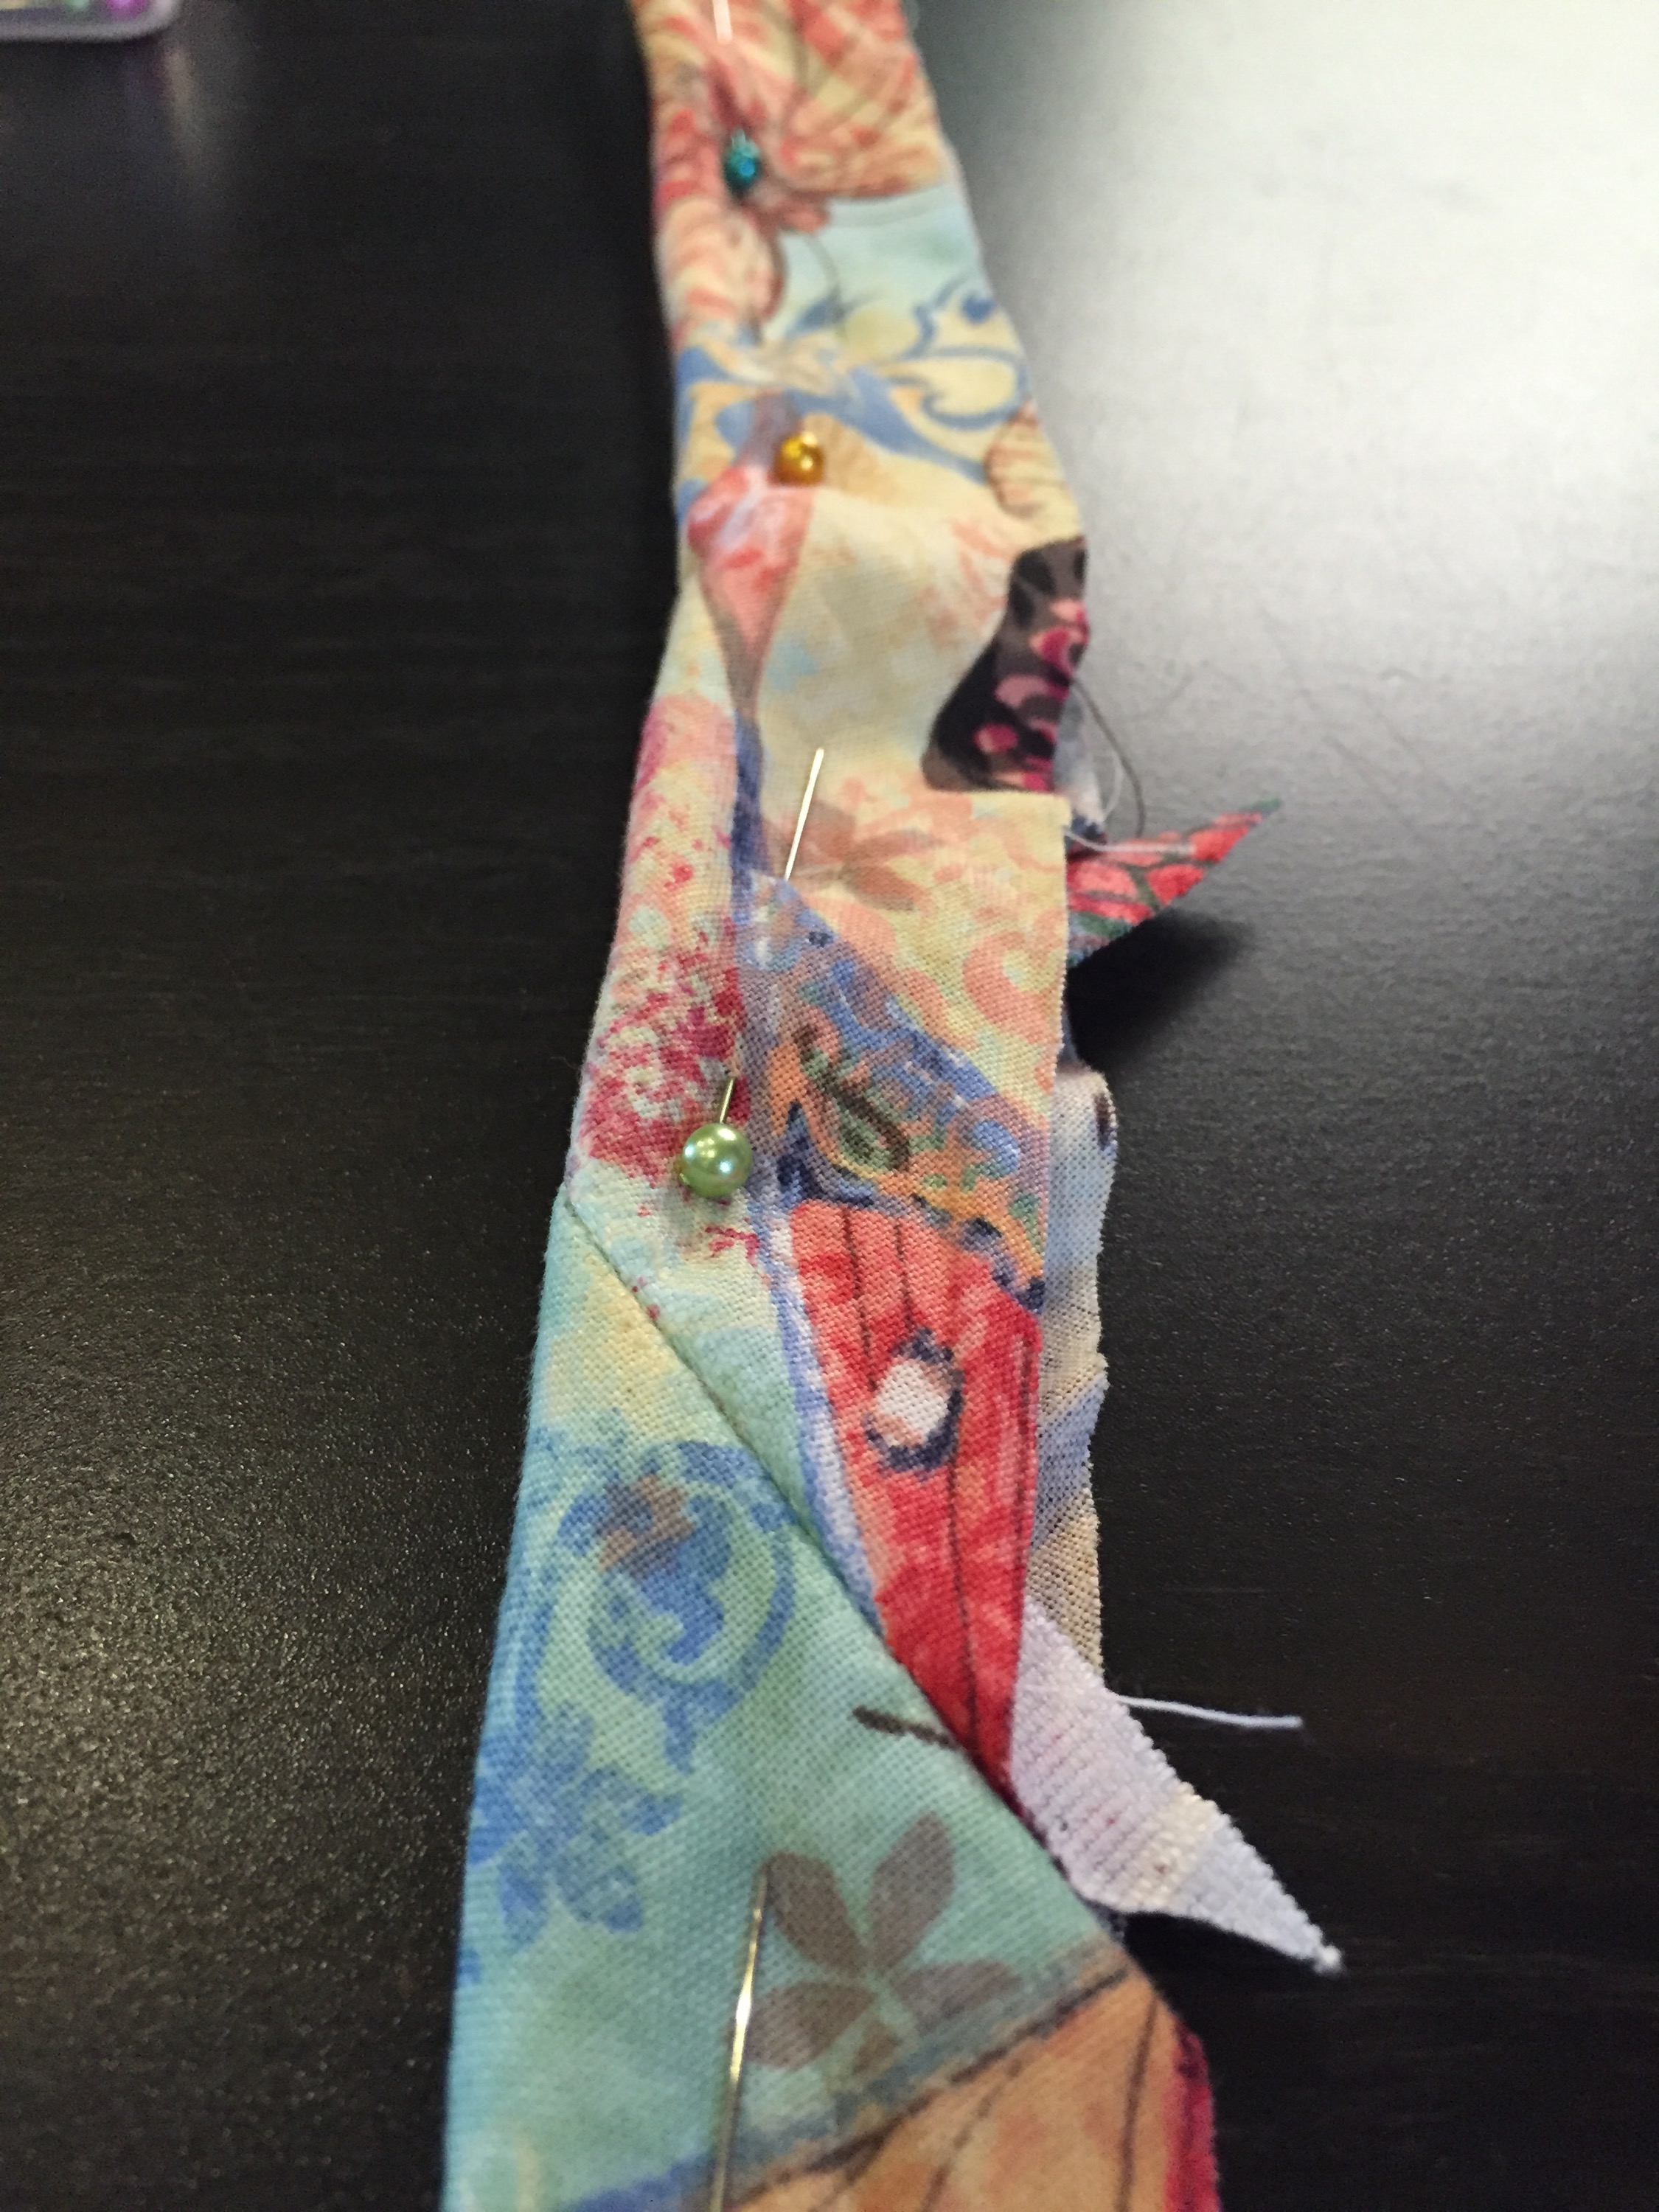

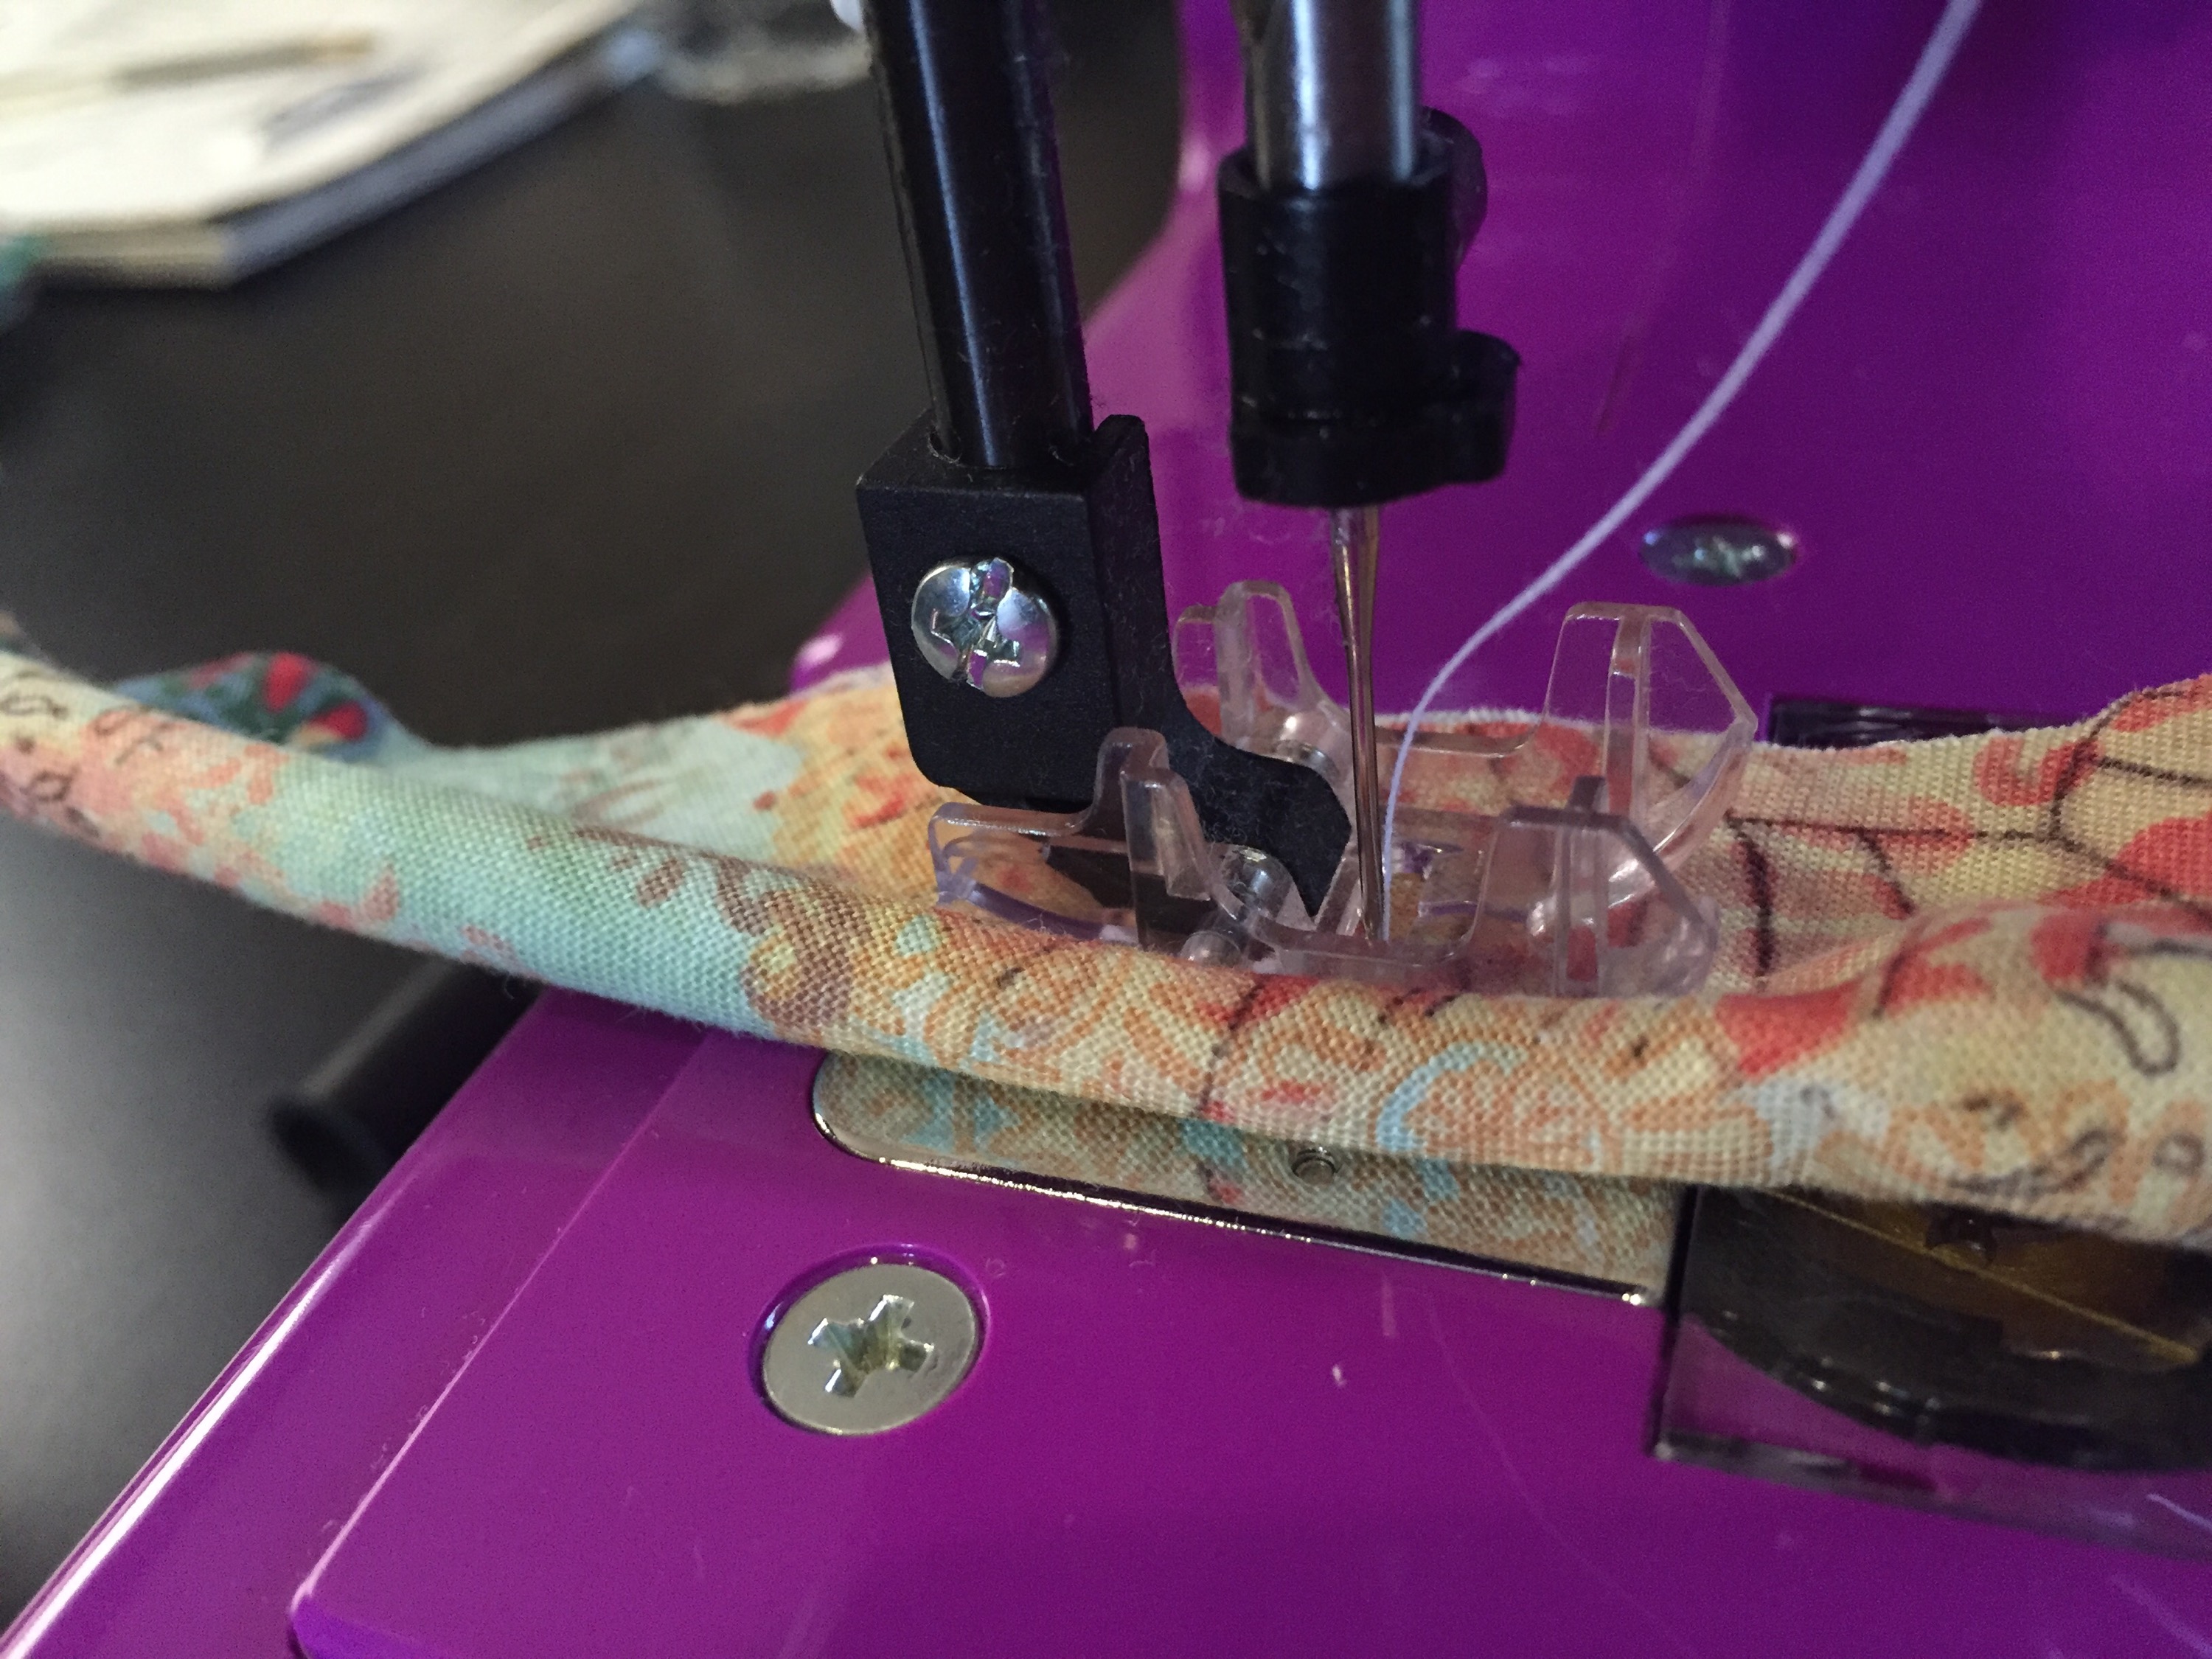
I found it helped to push the piping against my fingers to keep it straight.
After that was ready to go, I pinned it to the front part of my pillow cover. The pillow cover should be right side up, with the piping laying on top with the open edge of fabric along the edge of the pillow cover. I pinned that down.
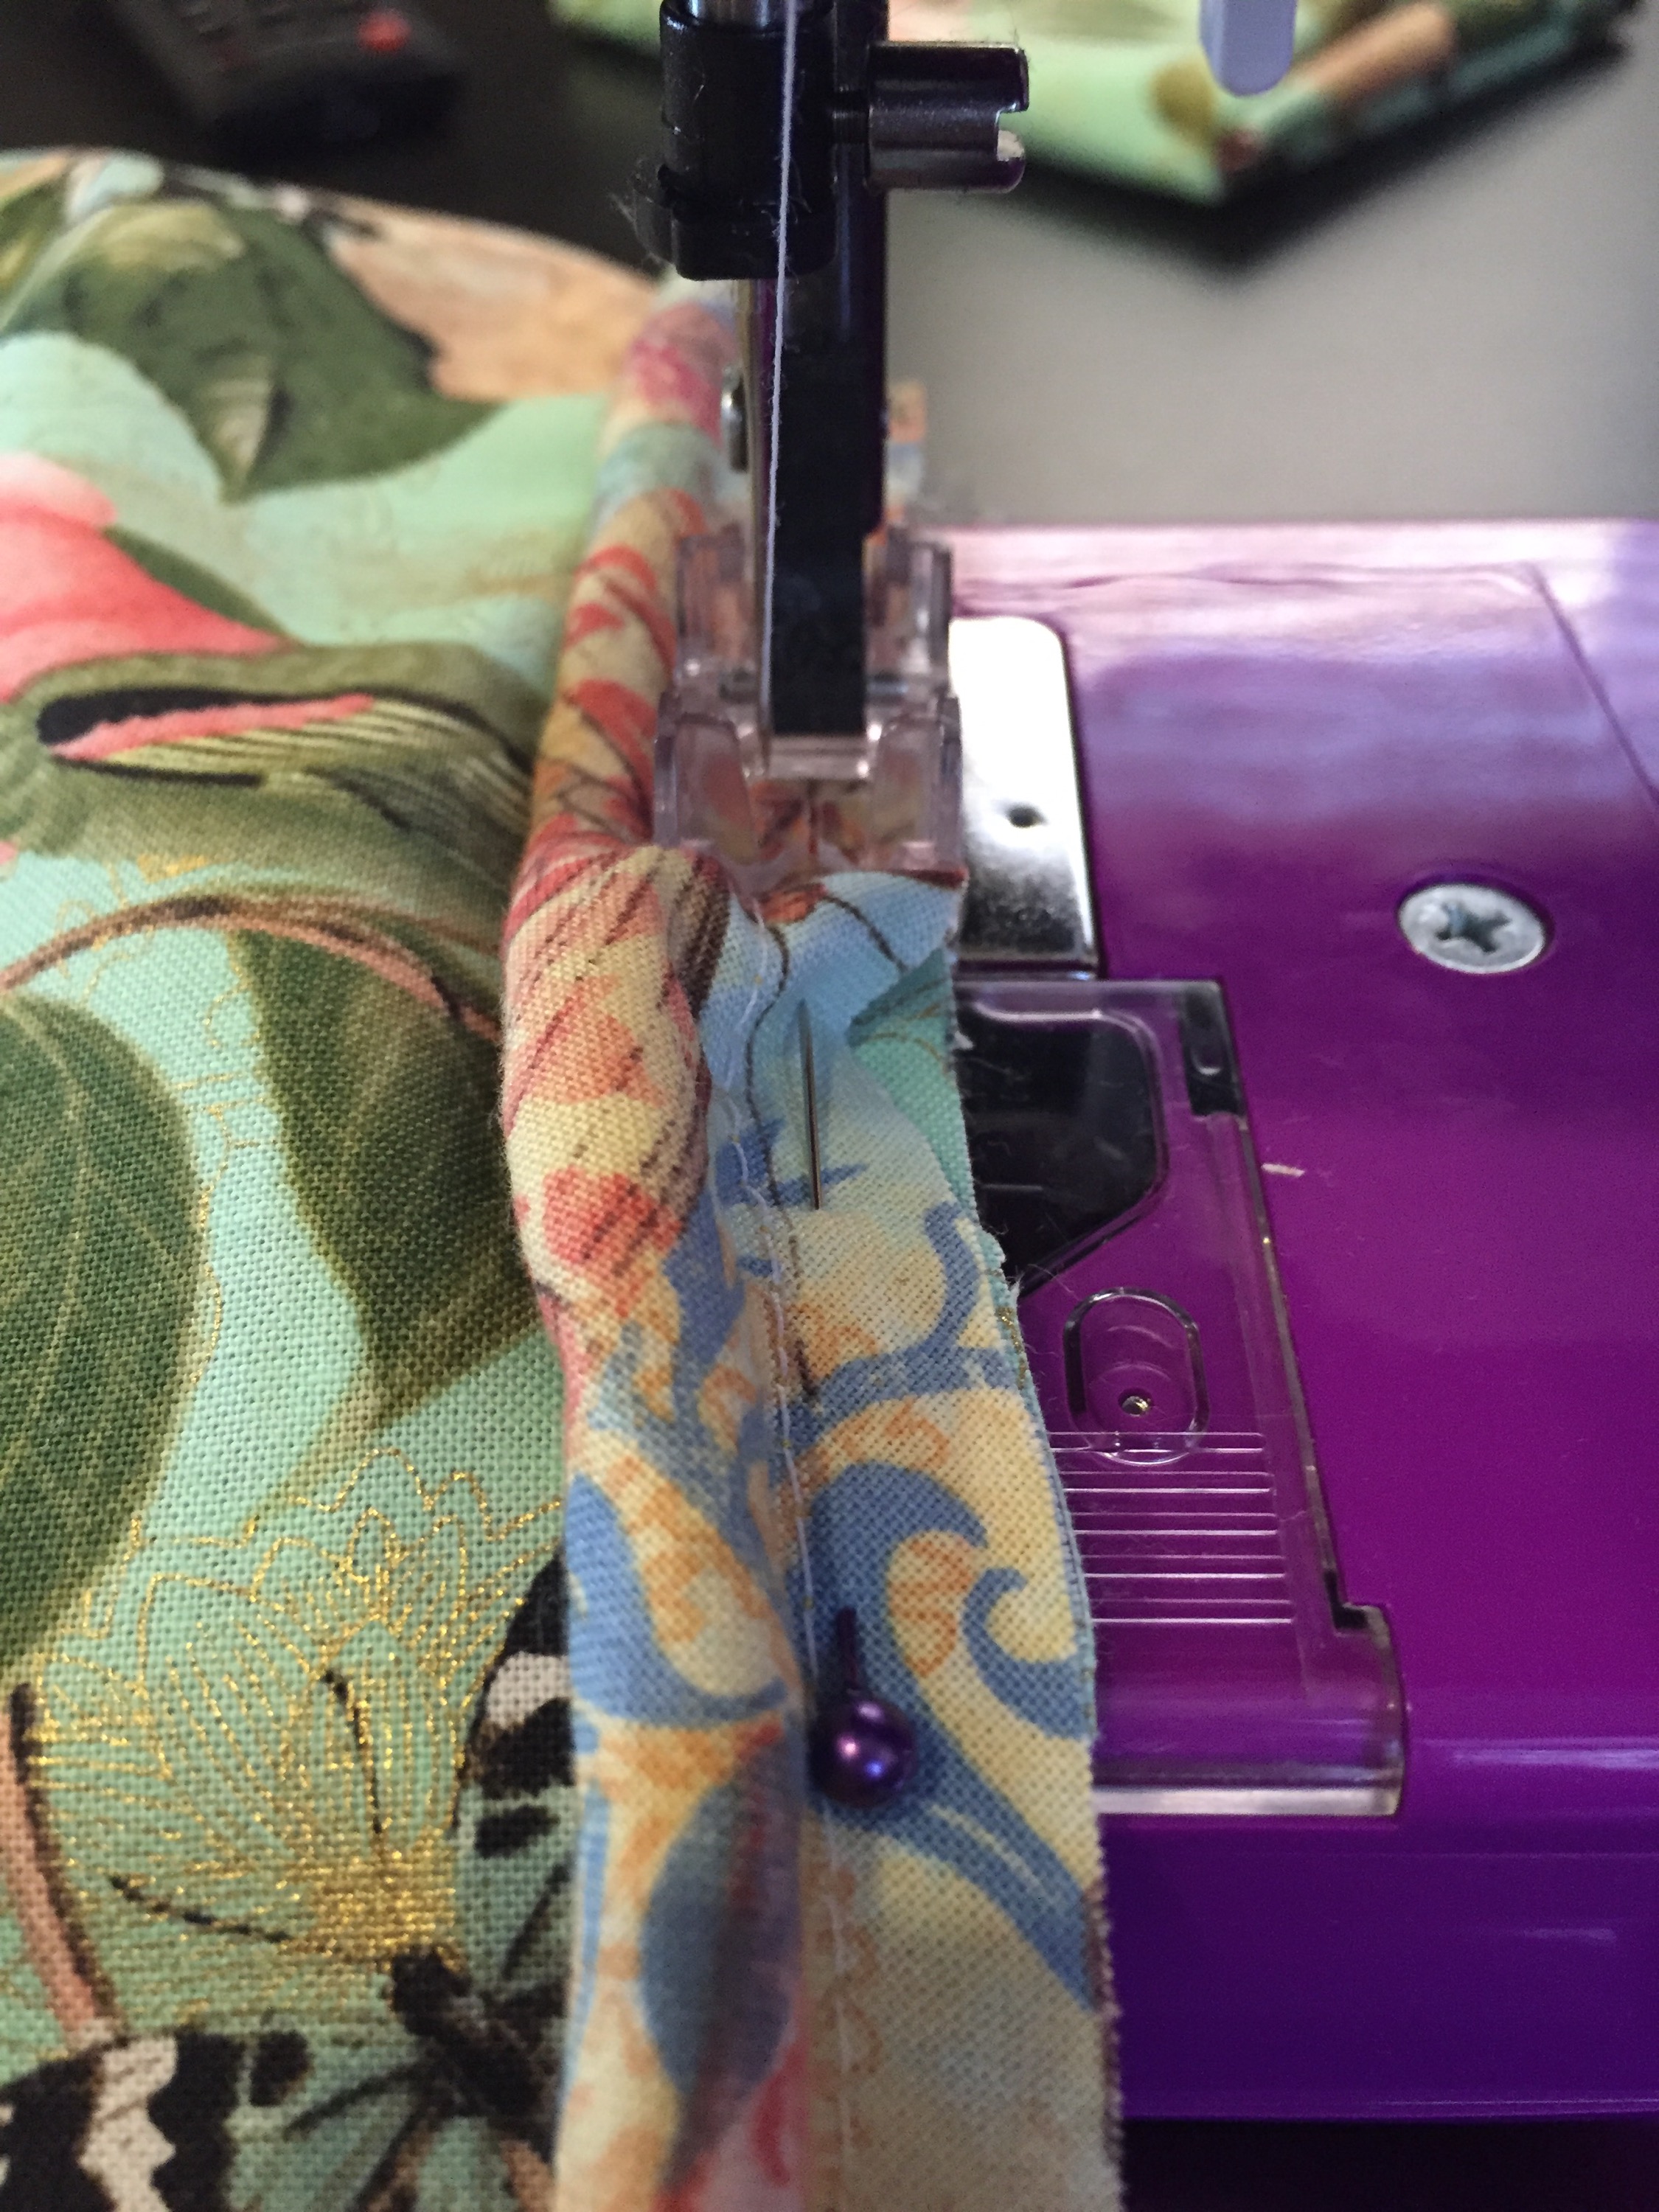
Around the corners I cut little slits to allow the piping to bend and still lay somewhat flat.
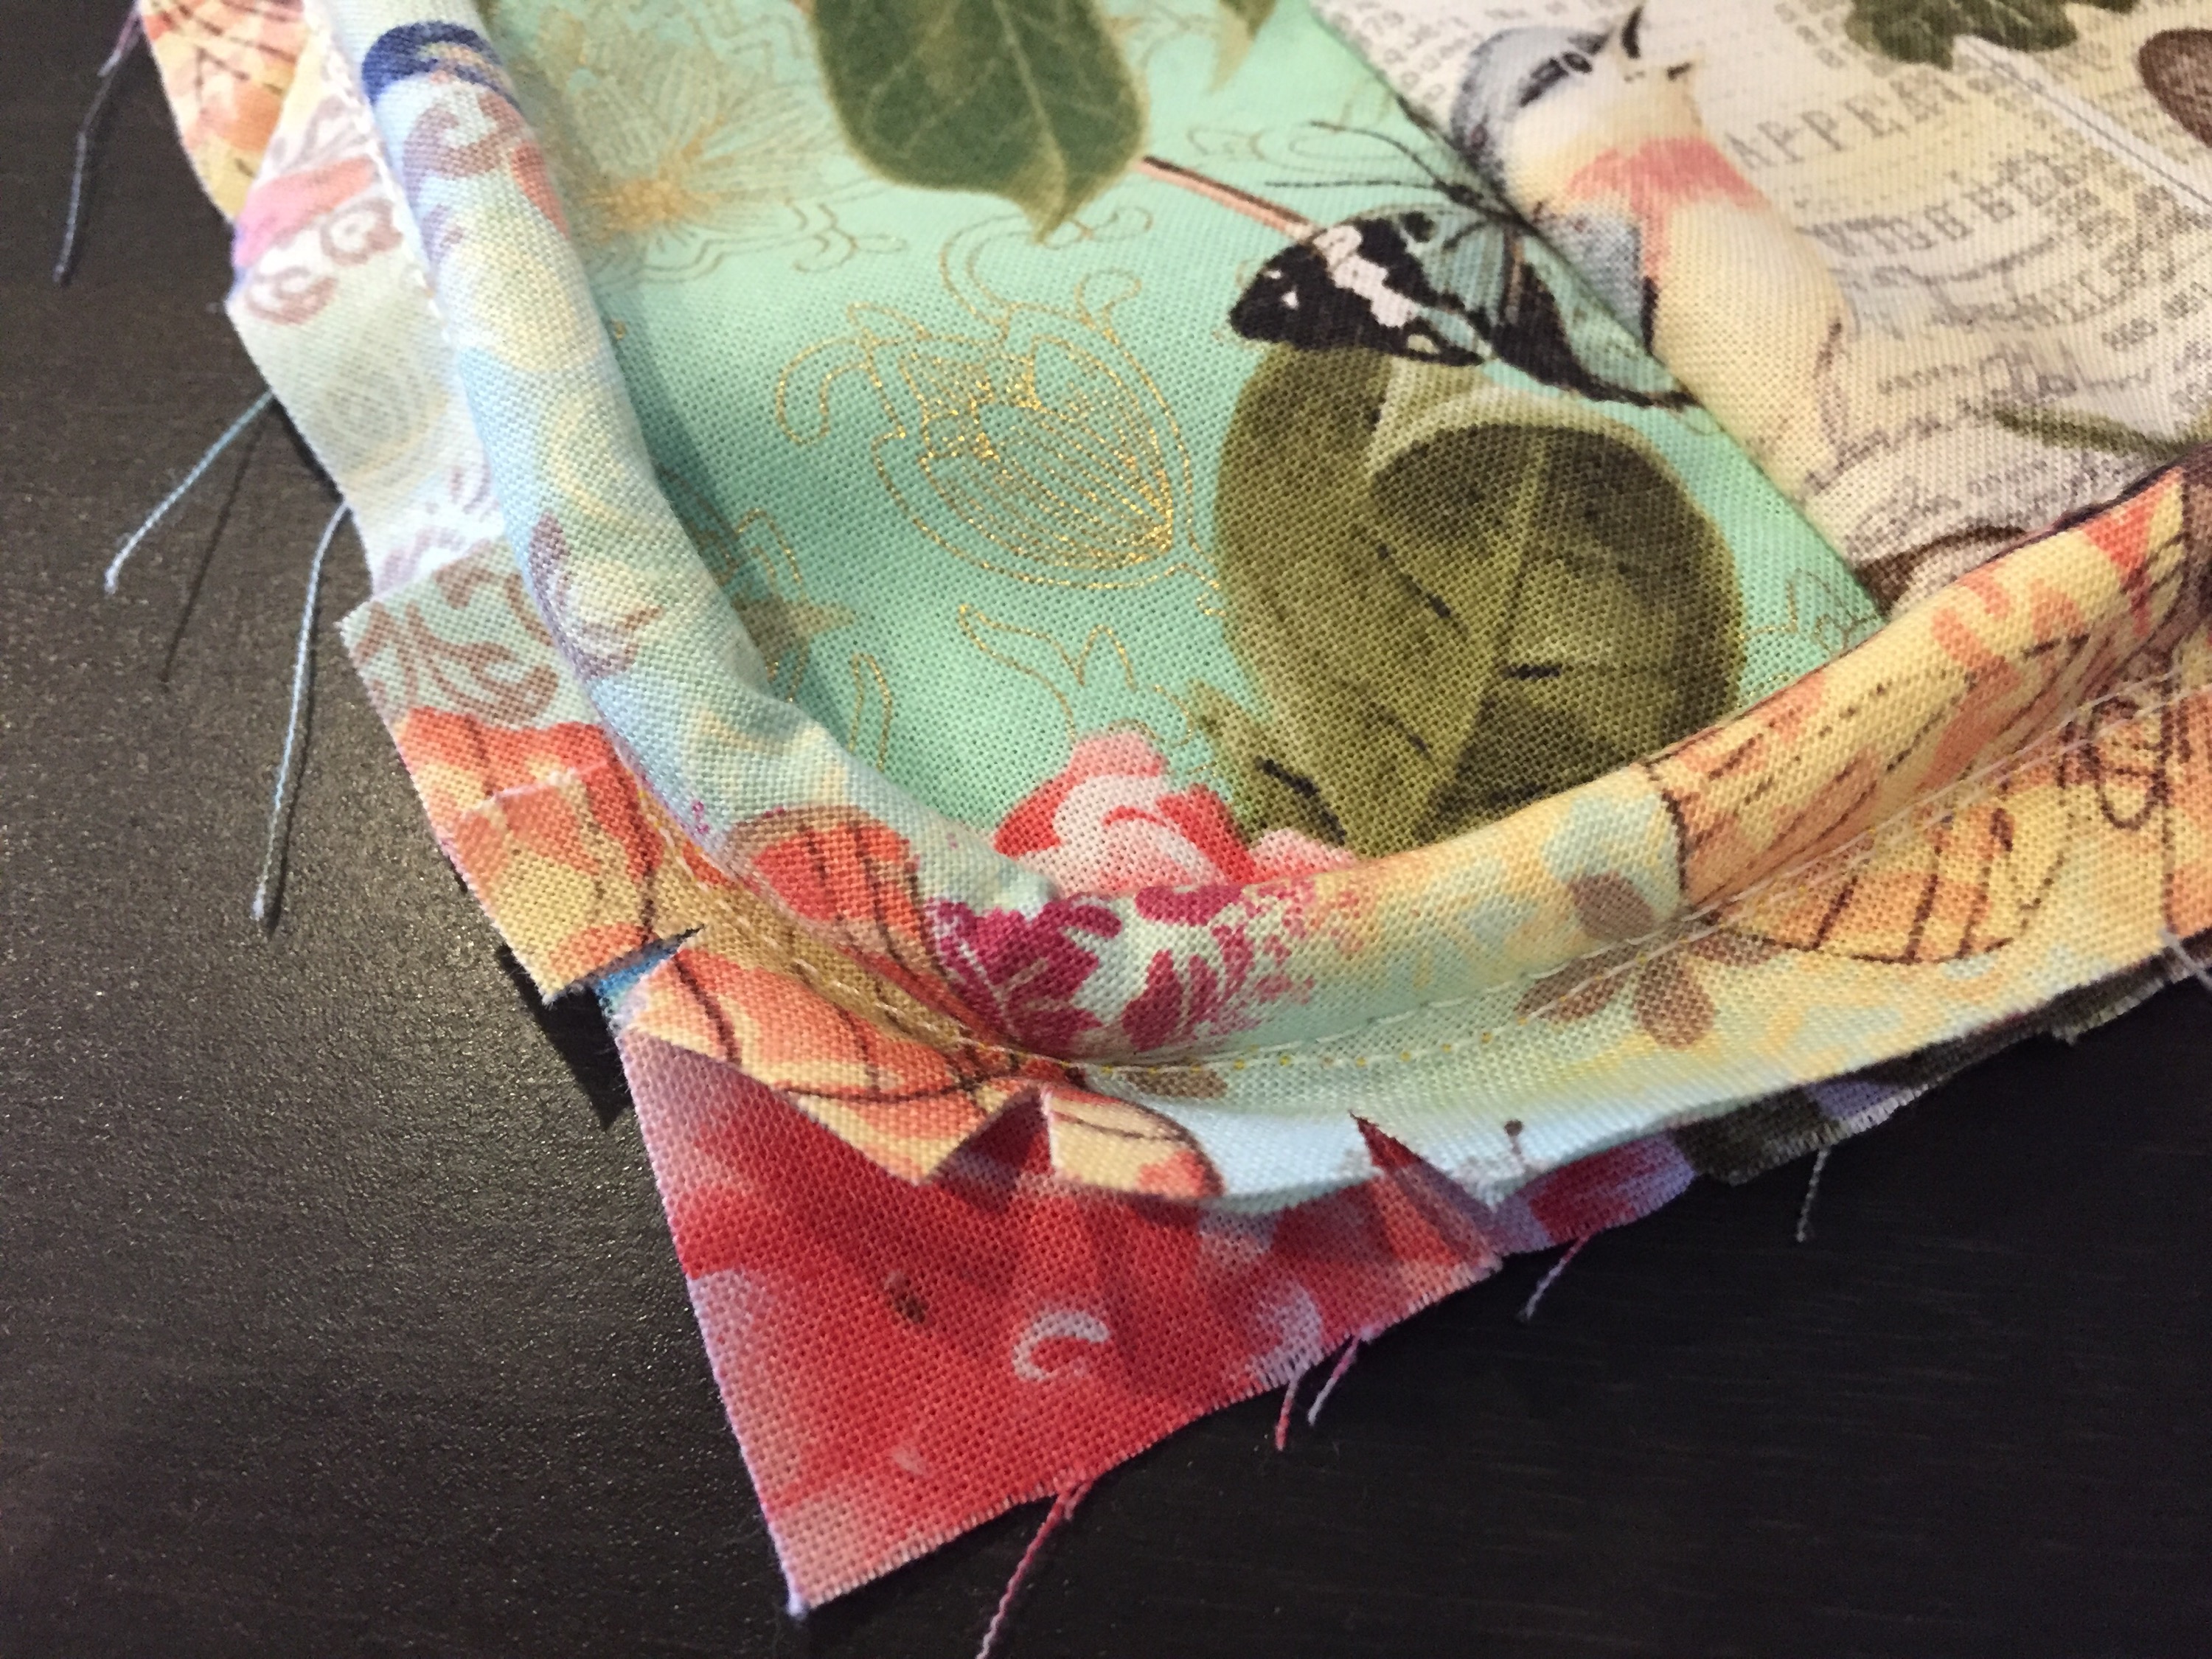
Then I sewed all around. I started a couple inches from the beginning of the piping to give myself room to tuck in the other end, to make it look continuous.
After I had the piping attached to the front of the pillow cover, I laid the back pieces face down on top, pinned them in place, then sewed all around that, finishing it up. Easy peasy!
After those, I made Christmas pillow covers for us.
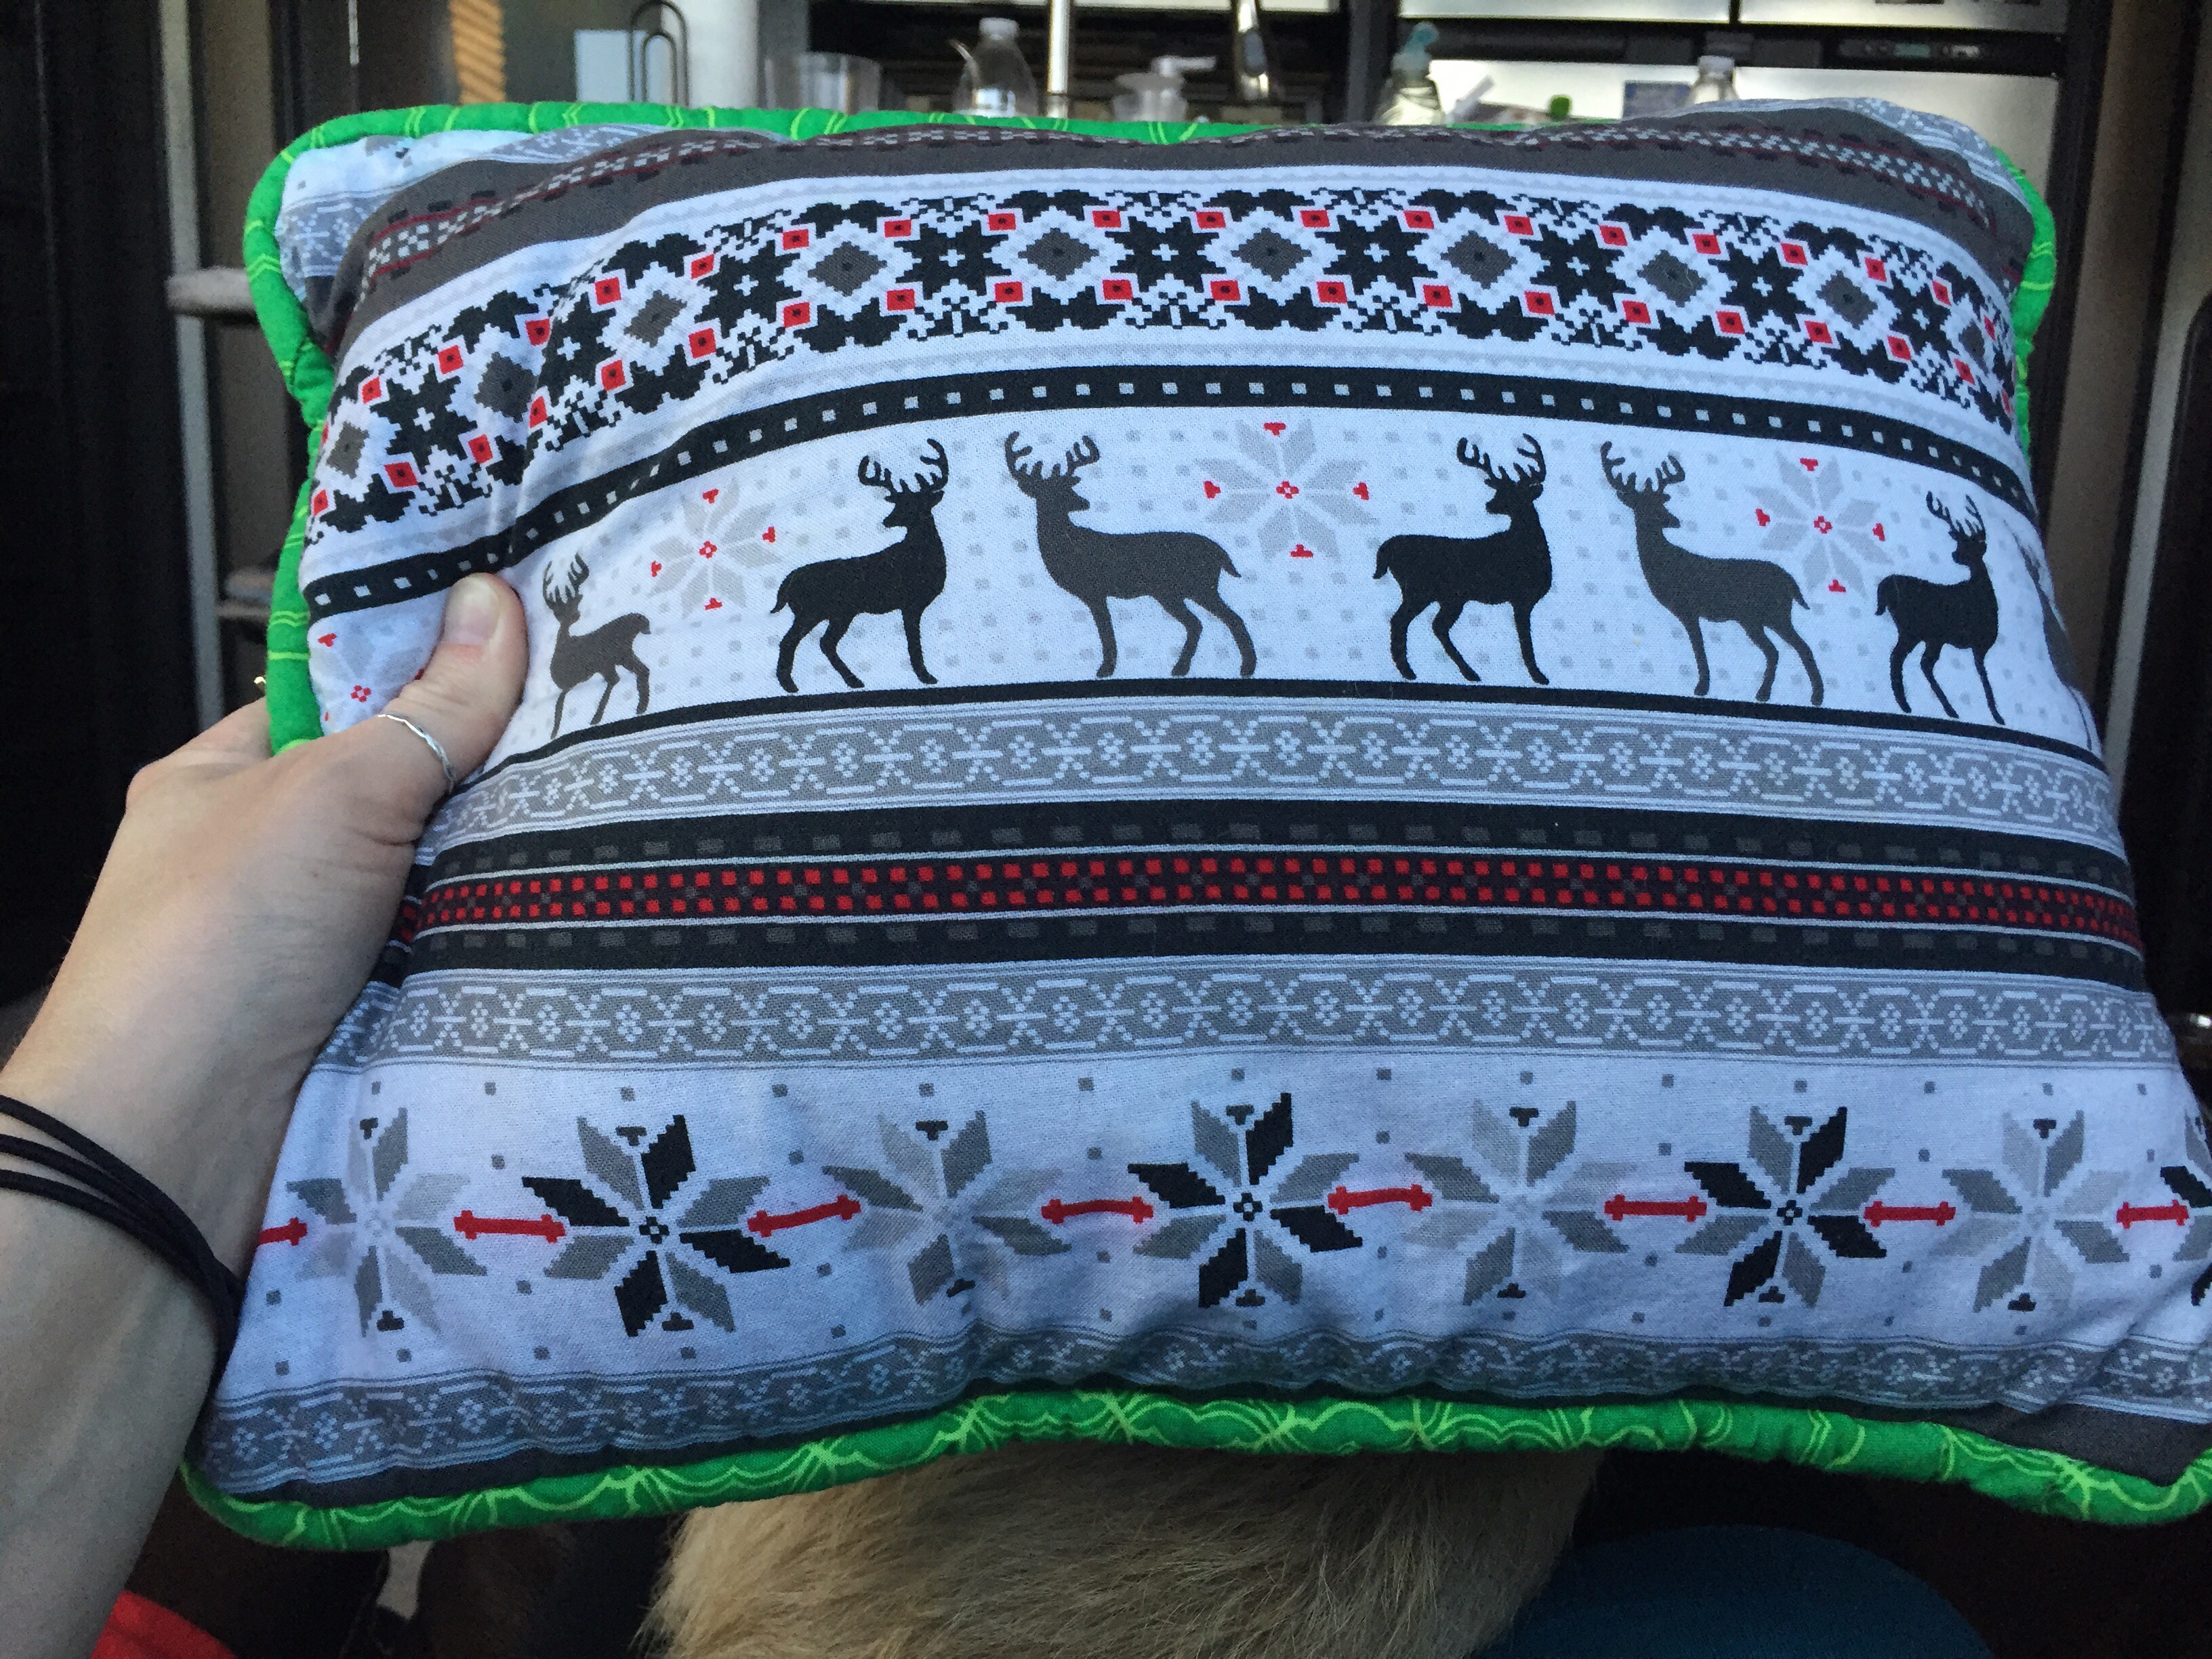
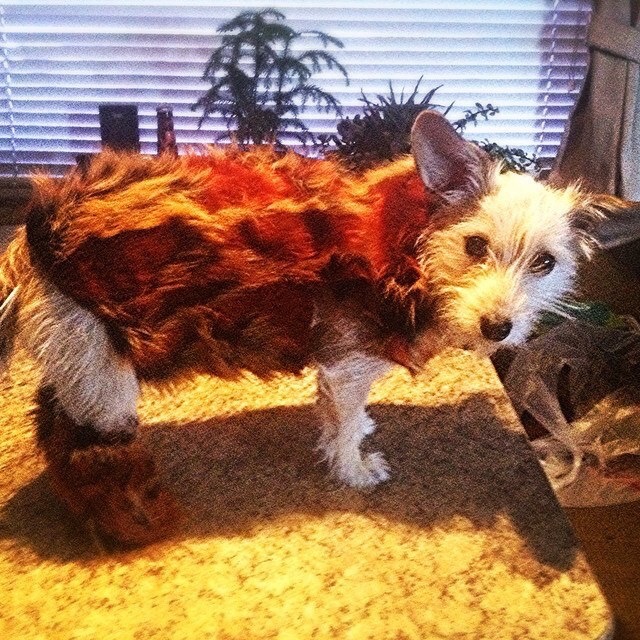
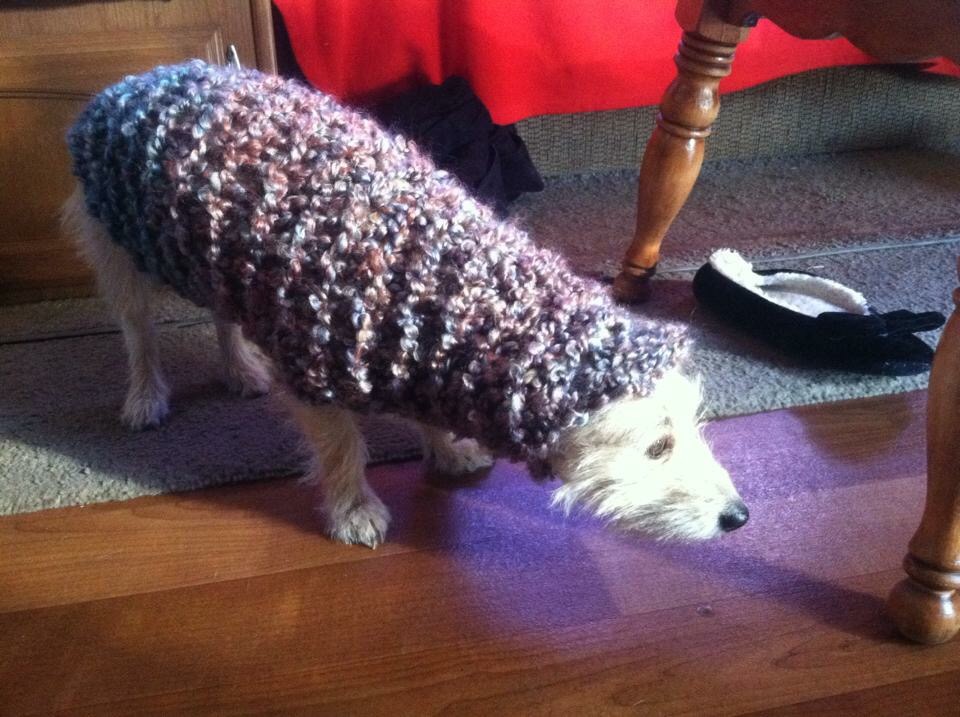
Don’t mind Charlie in the background please!
Happy New Year!