Yes… We’ve done this before! Continue reading
Thetford RV Toilet Valve Seal Replacement: Round 2!
Reply
Yes… We’ve done this before! Continue reading
I love dressing up for Halloween, I love putting clothes on Charlie, and I love making things. All that adds up to…..
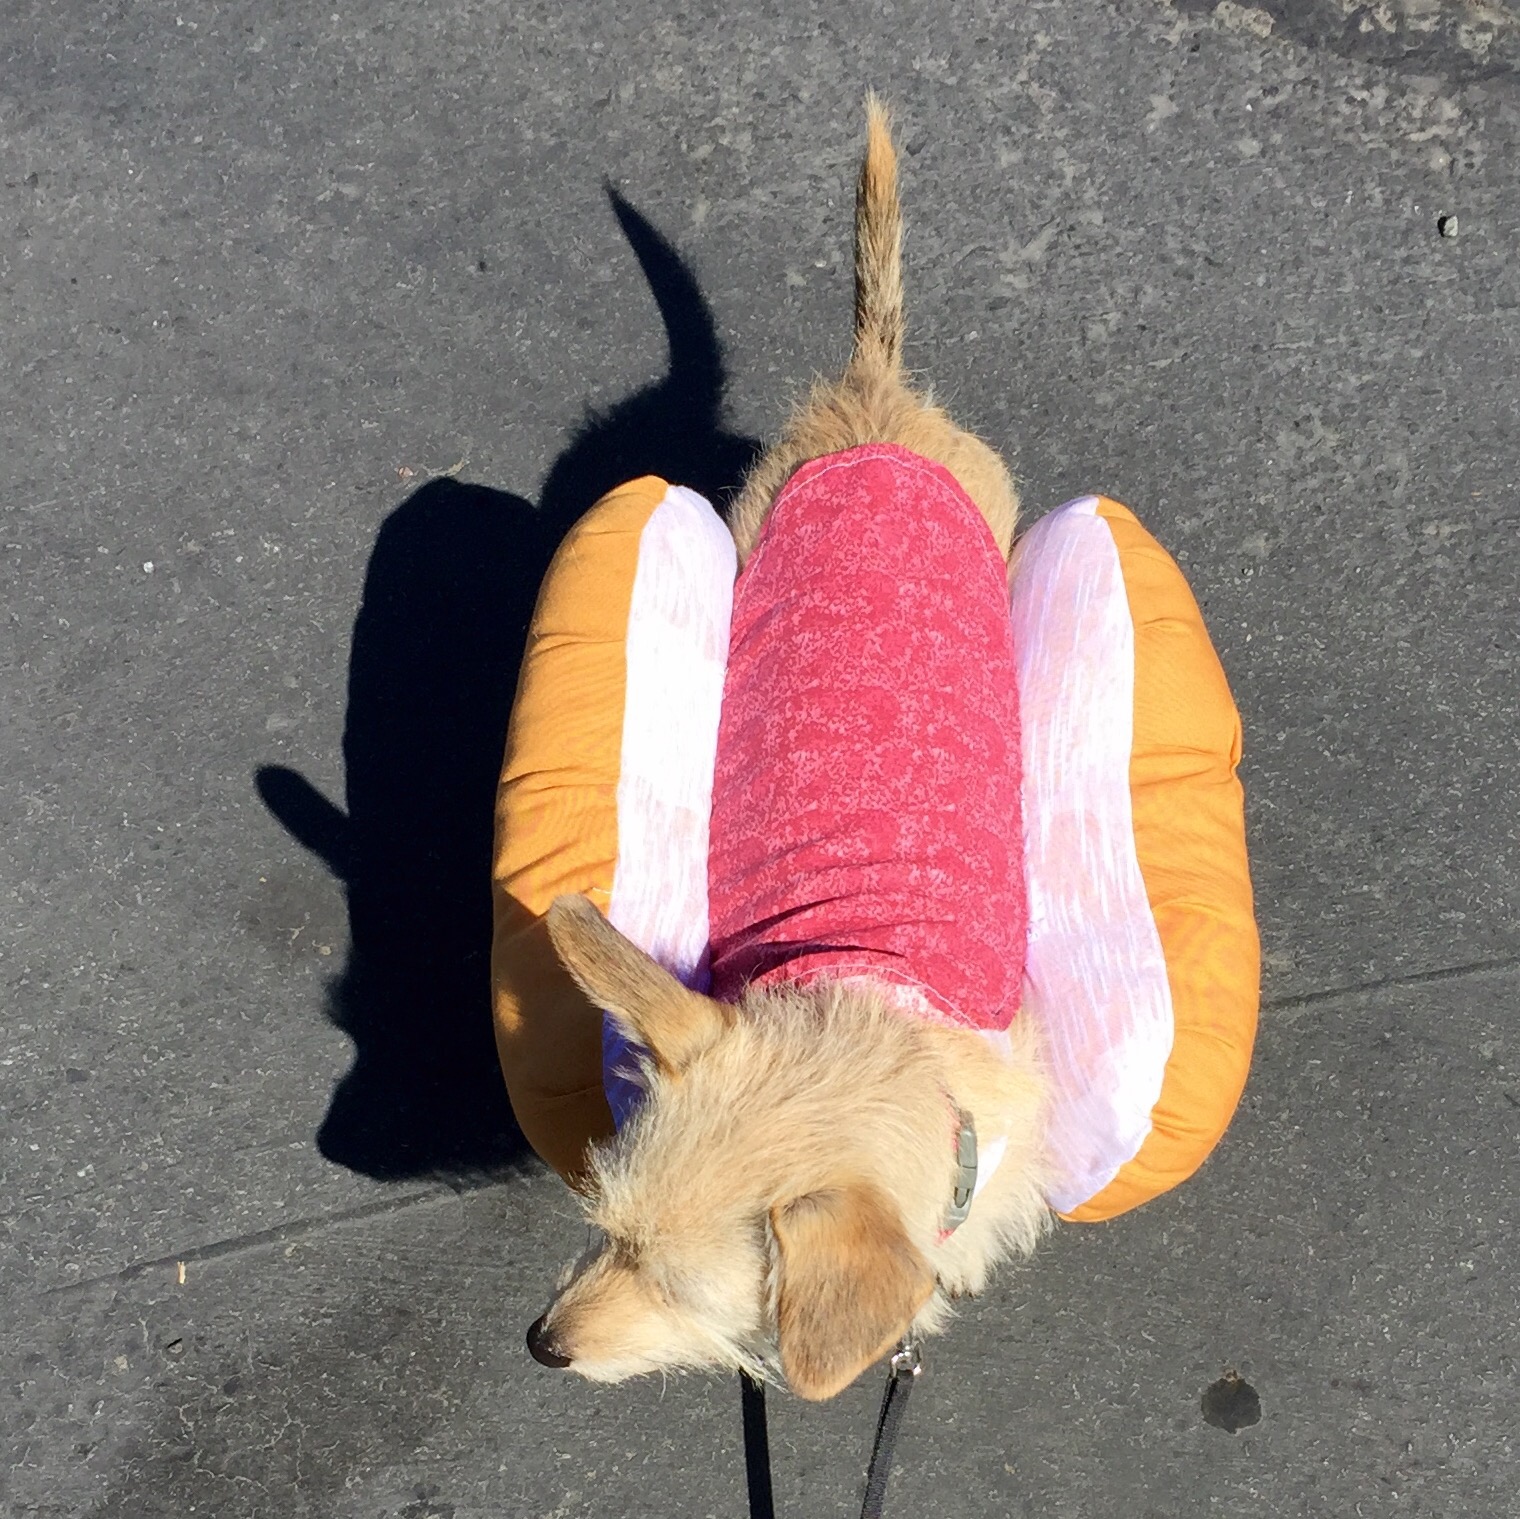
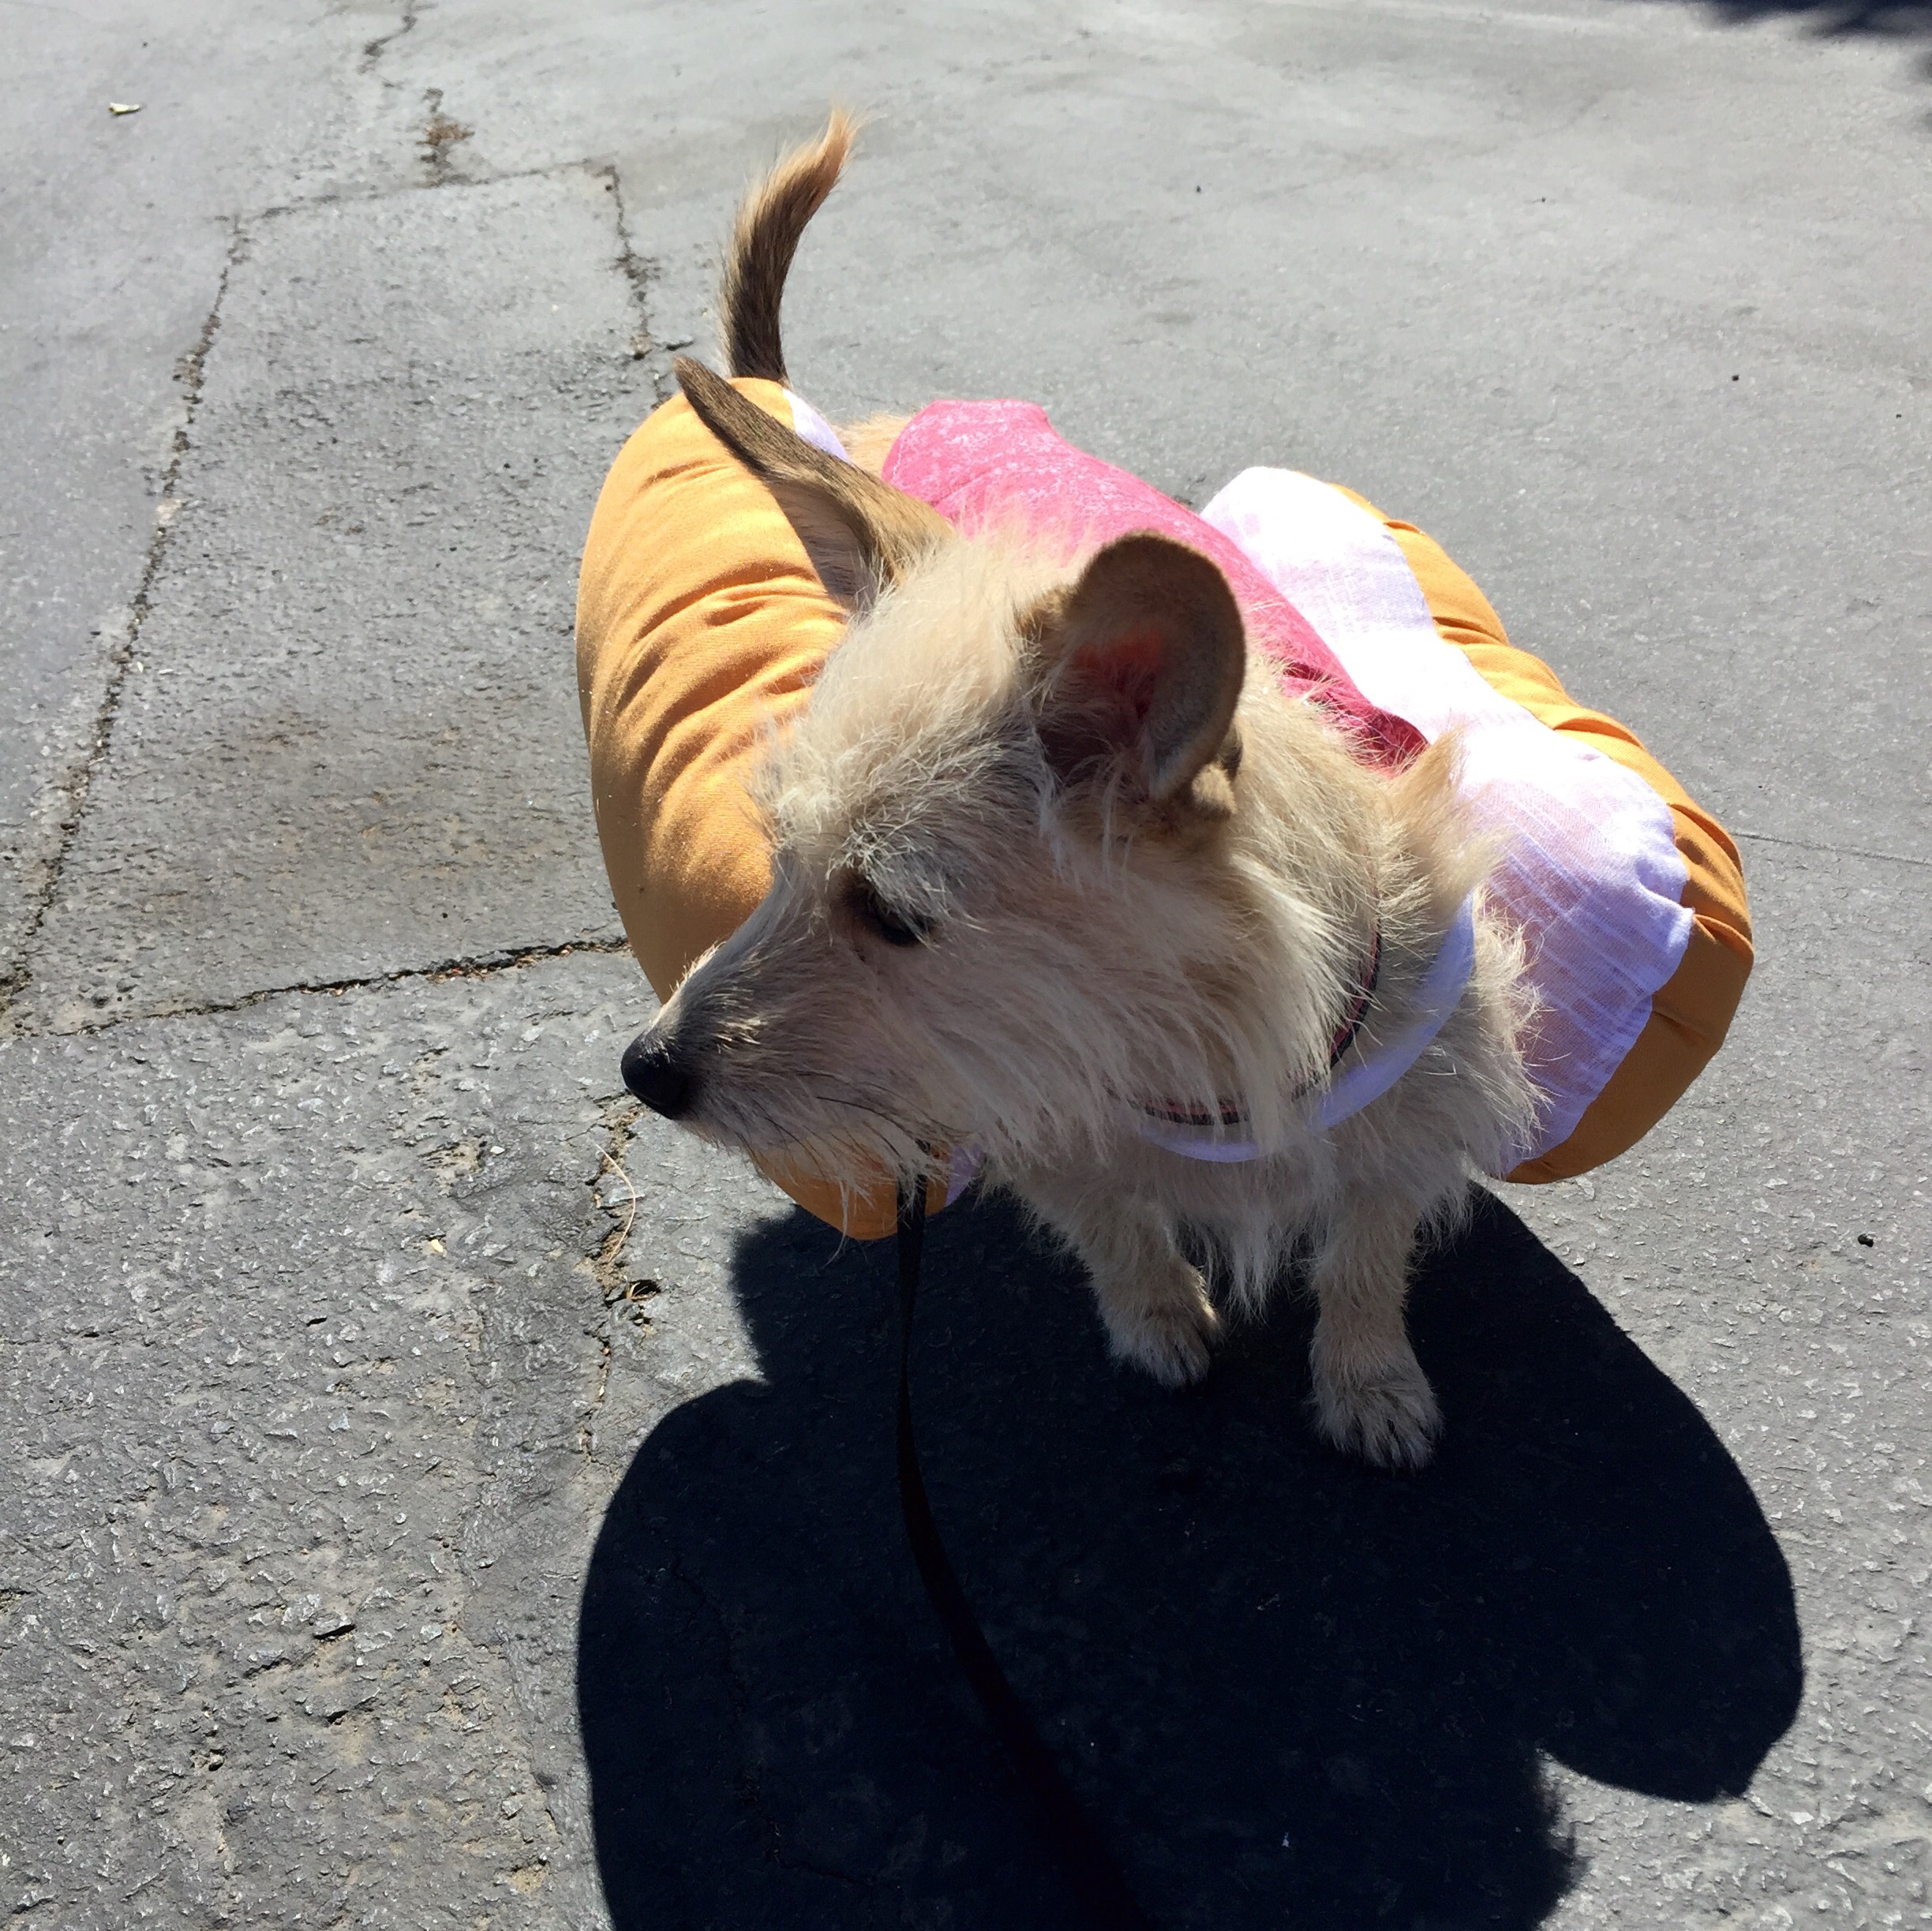
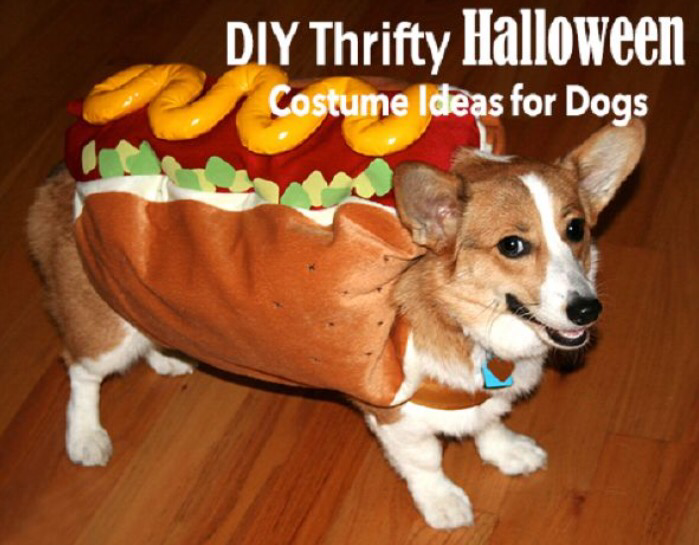
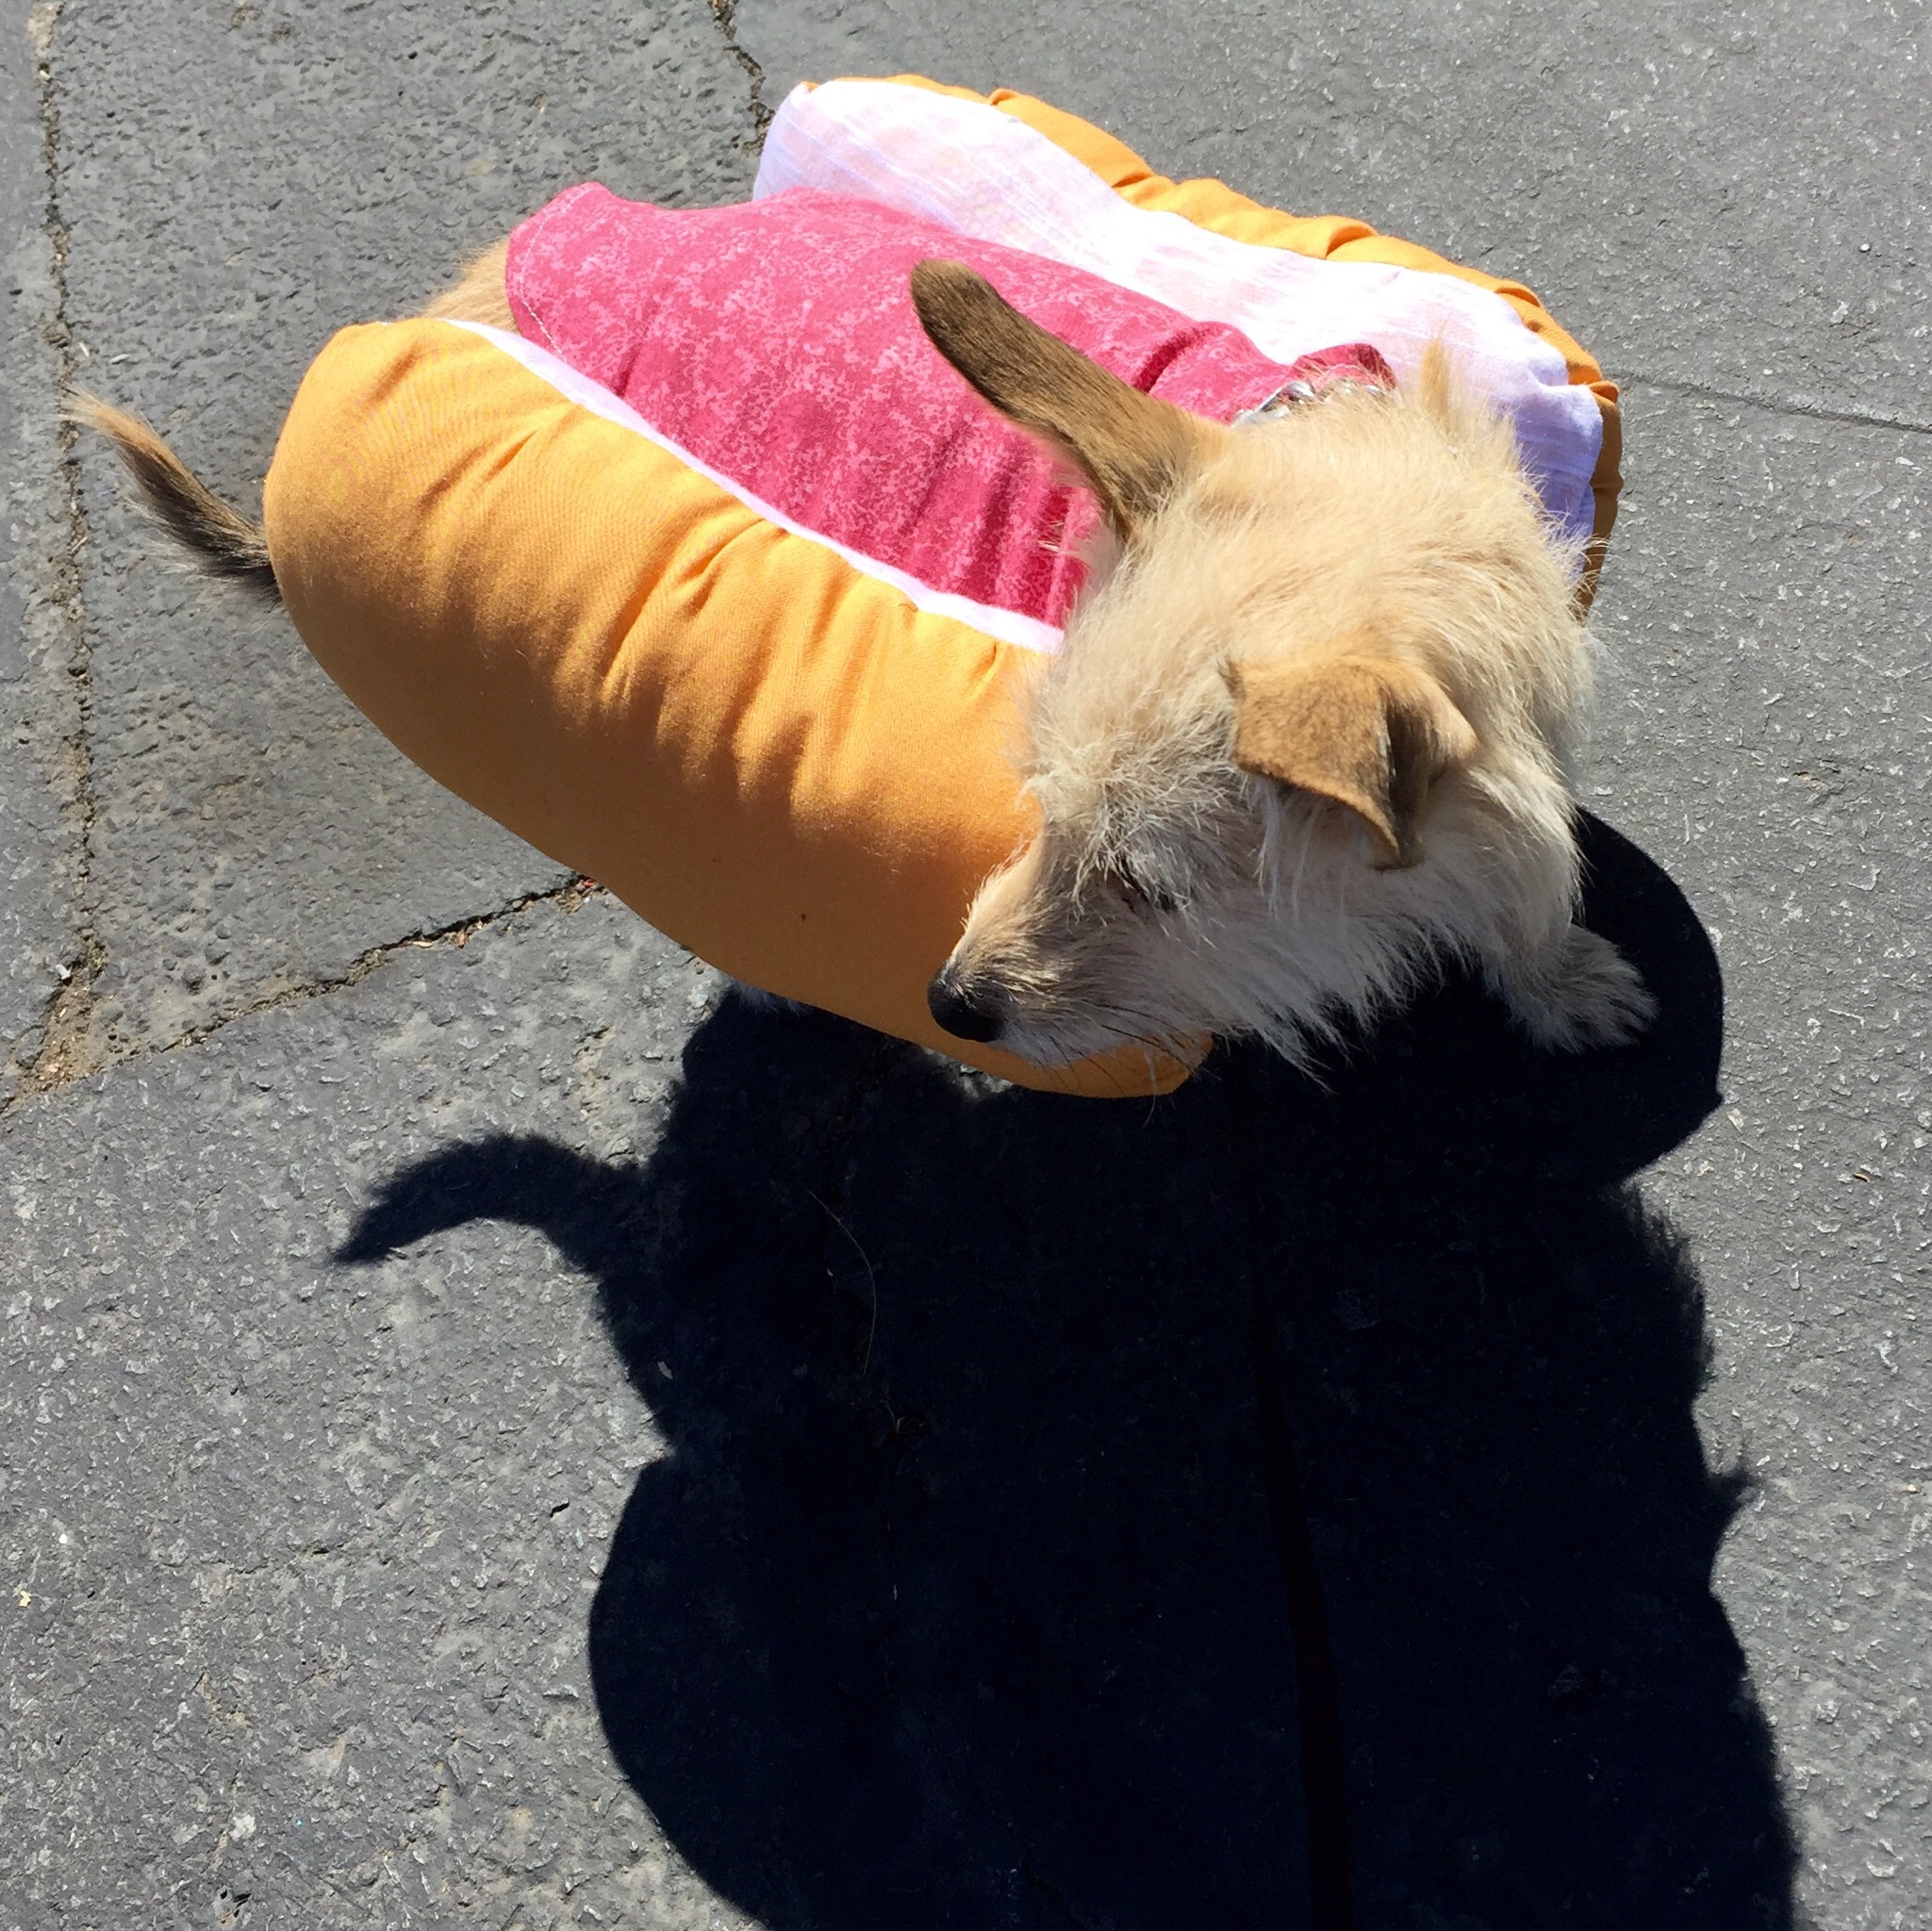
A Puppy Hot Dog Halloween Costume!!!
 Last year all three of us dressed up like “Redneck and Proud”/hillbillies/white trash/Earl and Joy from My Name is Earl type characters…
 I’ve been planning Charlie’s costume for a few months now. I still don’t know what Allen and I are going to be… But at least Charlie’s all set!
I took my inspiration from these pictures…
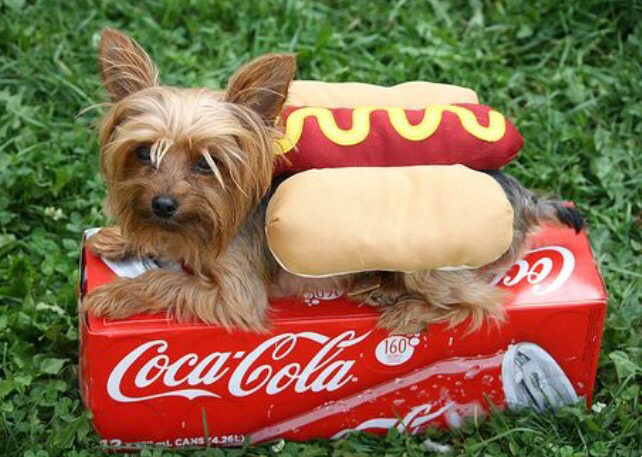
I think I want to add a piece of yellow yarn to Charlie’s costume… But we’ll see.
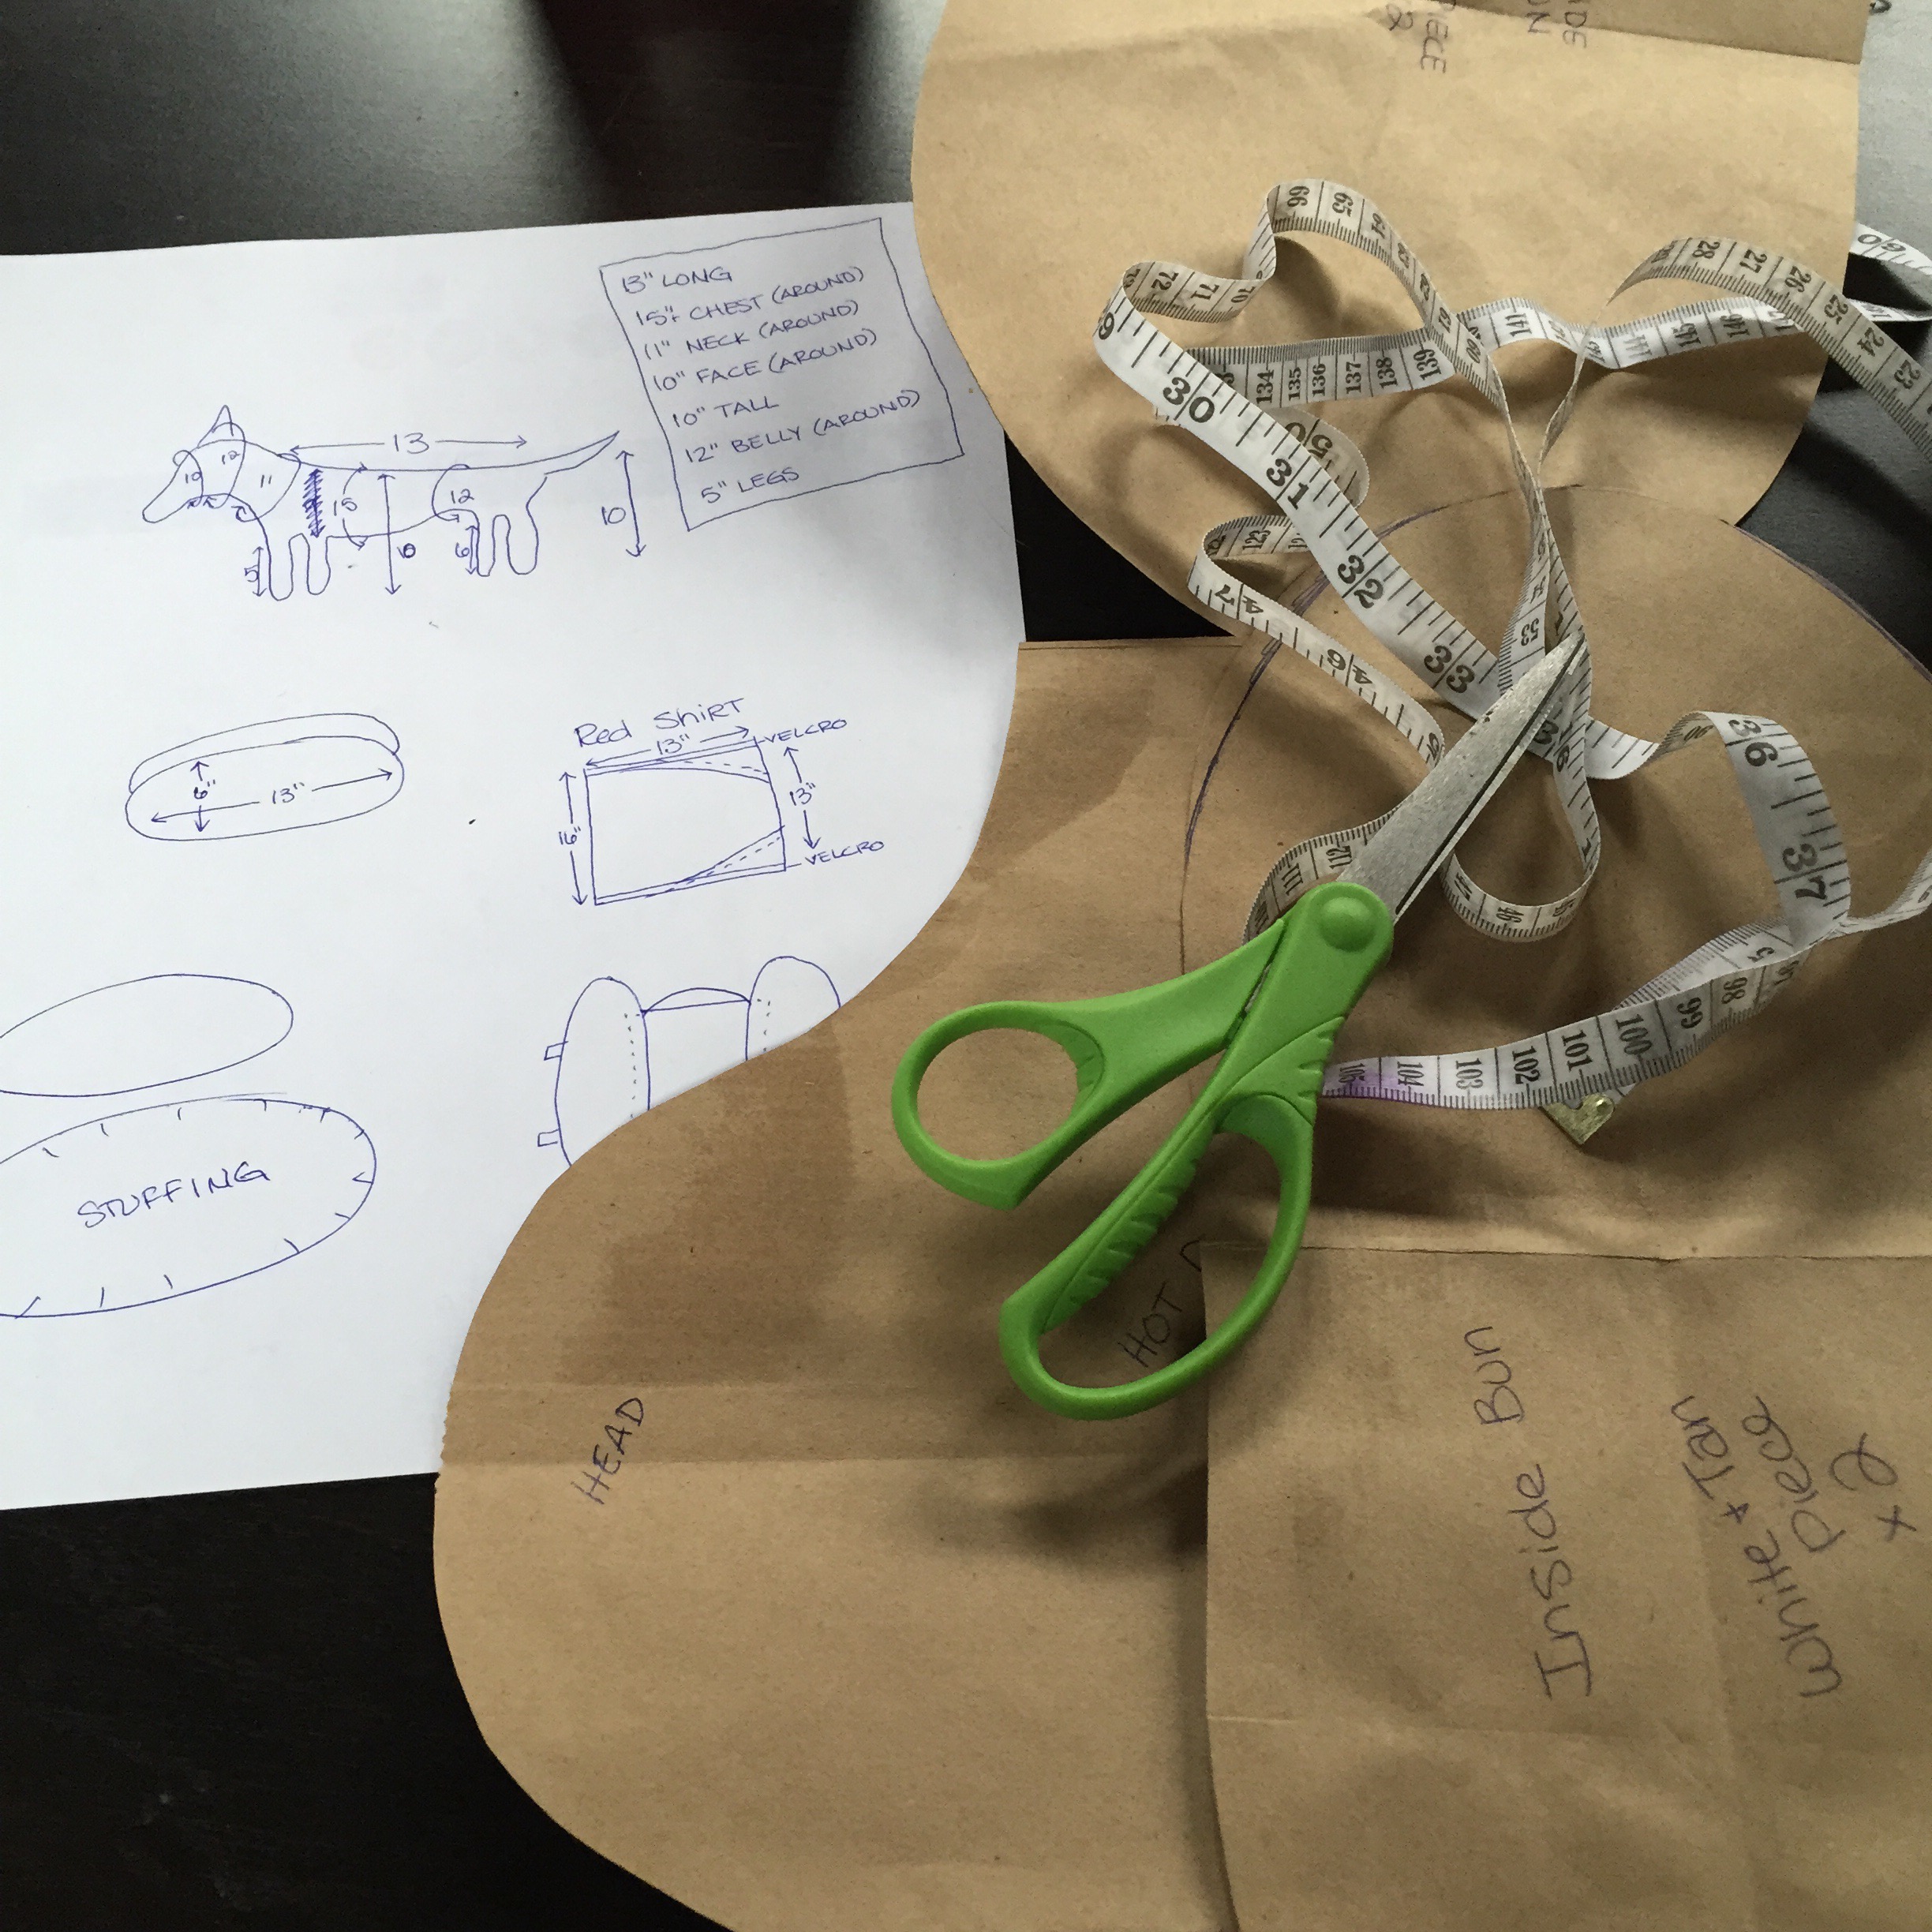
I started off by buying some yellowish/bun colored fabric and some hot dog/smoked sausage colored fabric. I already had the white jersey fabric. It has some kind of a floral pattern to it, but you can’t really tell when only a little shows. And I got a bag of stuffing for the buns. I also used scissors, needle and thread, Velcro and a sewing machine.
After I had all my supplies, I started planning how I would do it. I started by cutting 2 ovals from a paper bag, one a little larger than the other, so the buns would poof out like buns do. I measured Charlie of course first and decided how long and tall they needed to be. For the larger oval I cut 2 pieces of the yellow and the smaller I cut 2 yellow and 2 white, for the inside of the bun. I also cut a piece for the hot dog. I made that one almost as long as the buns then made it so it would wrap around her middle and stay there. You can see the shape in the pictures better than I can explain.


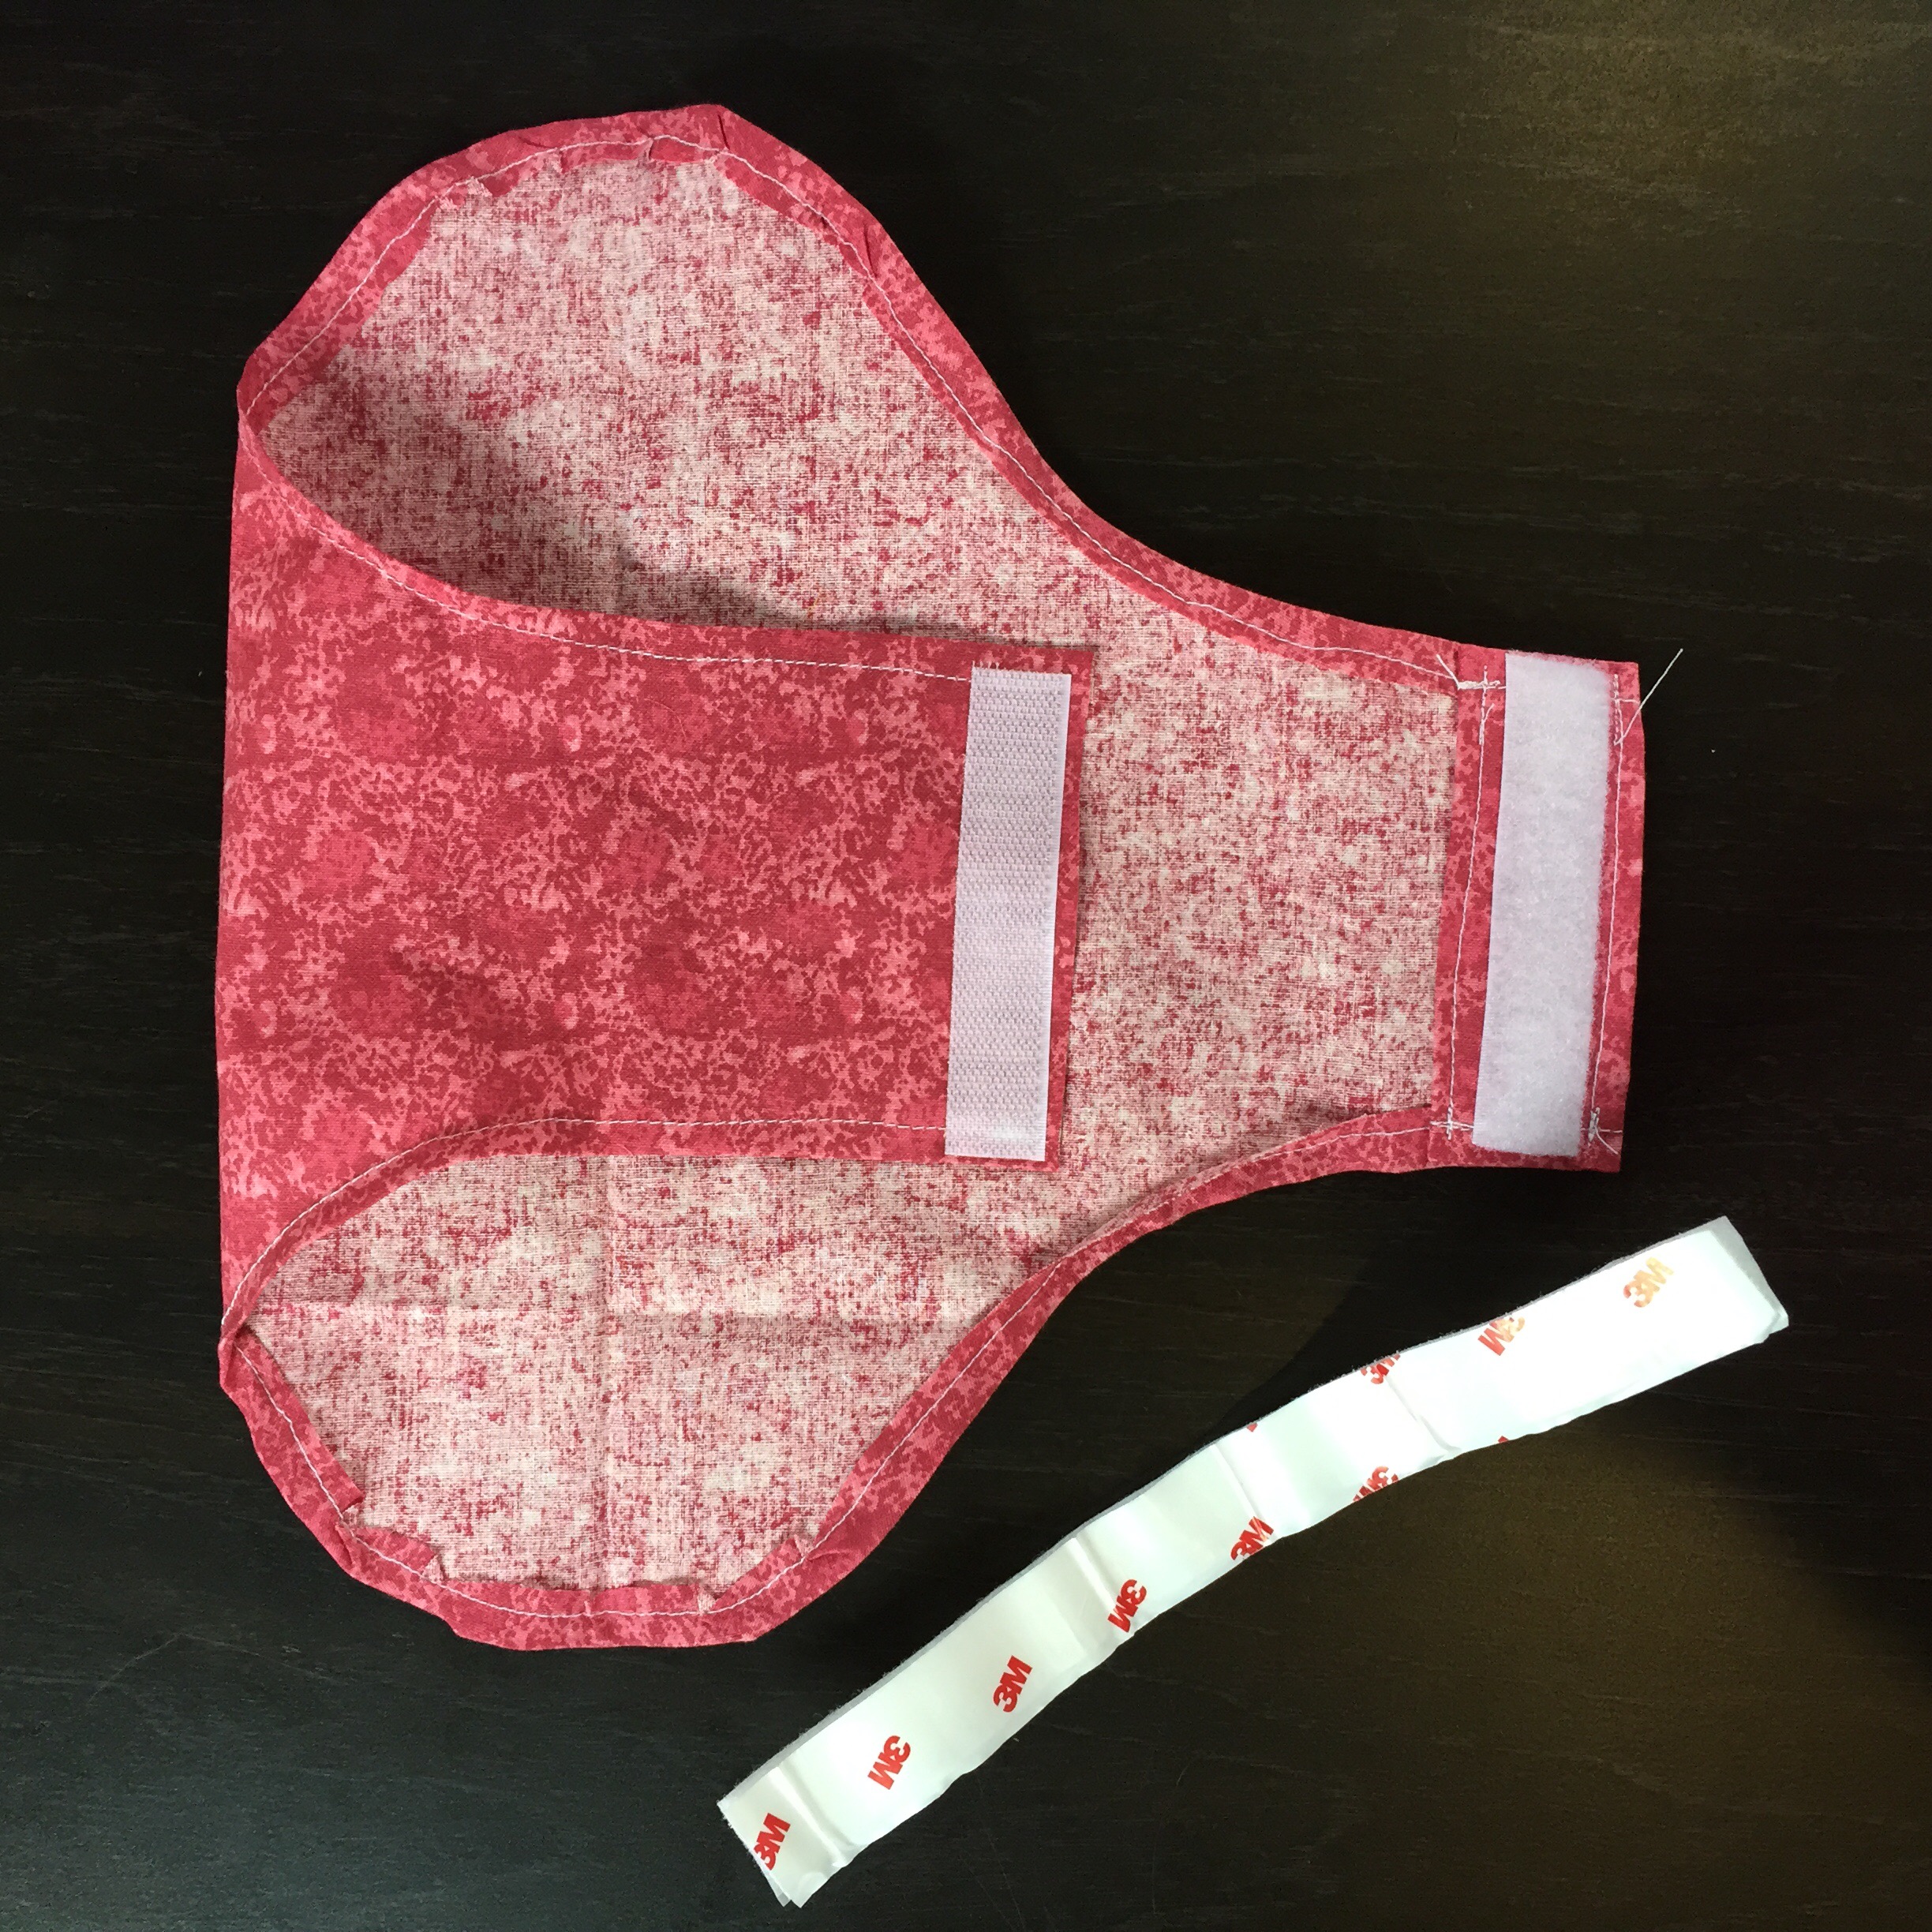
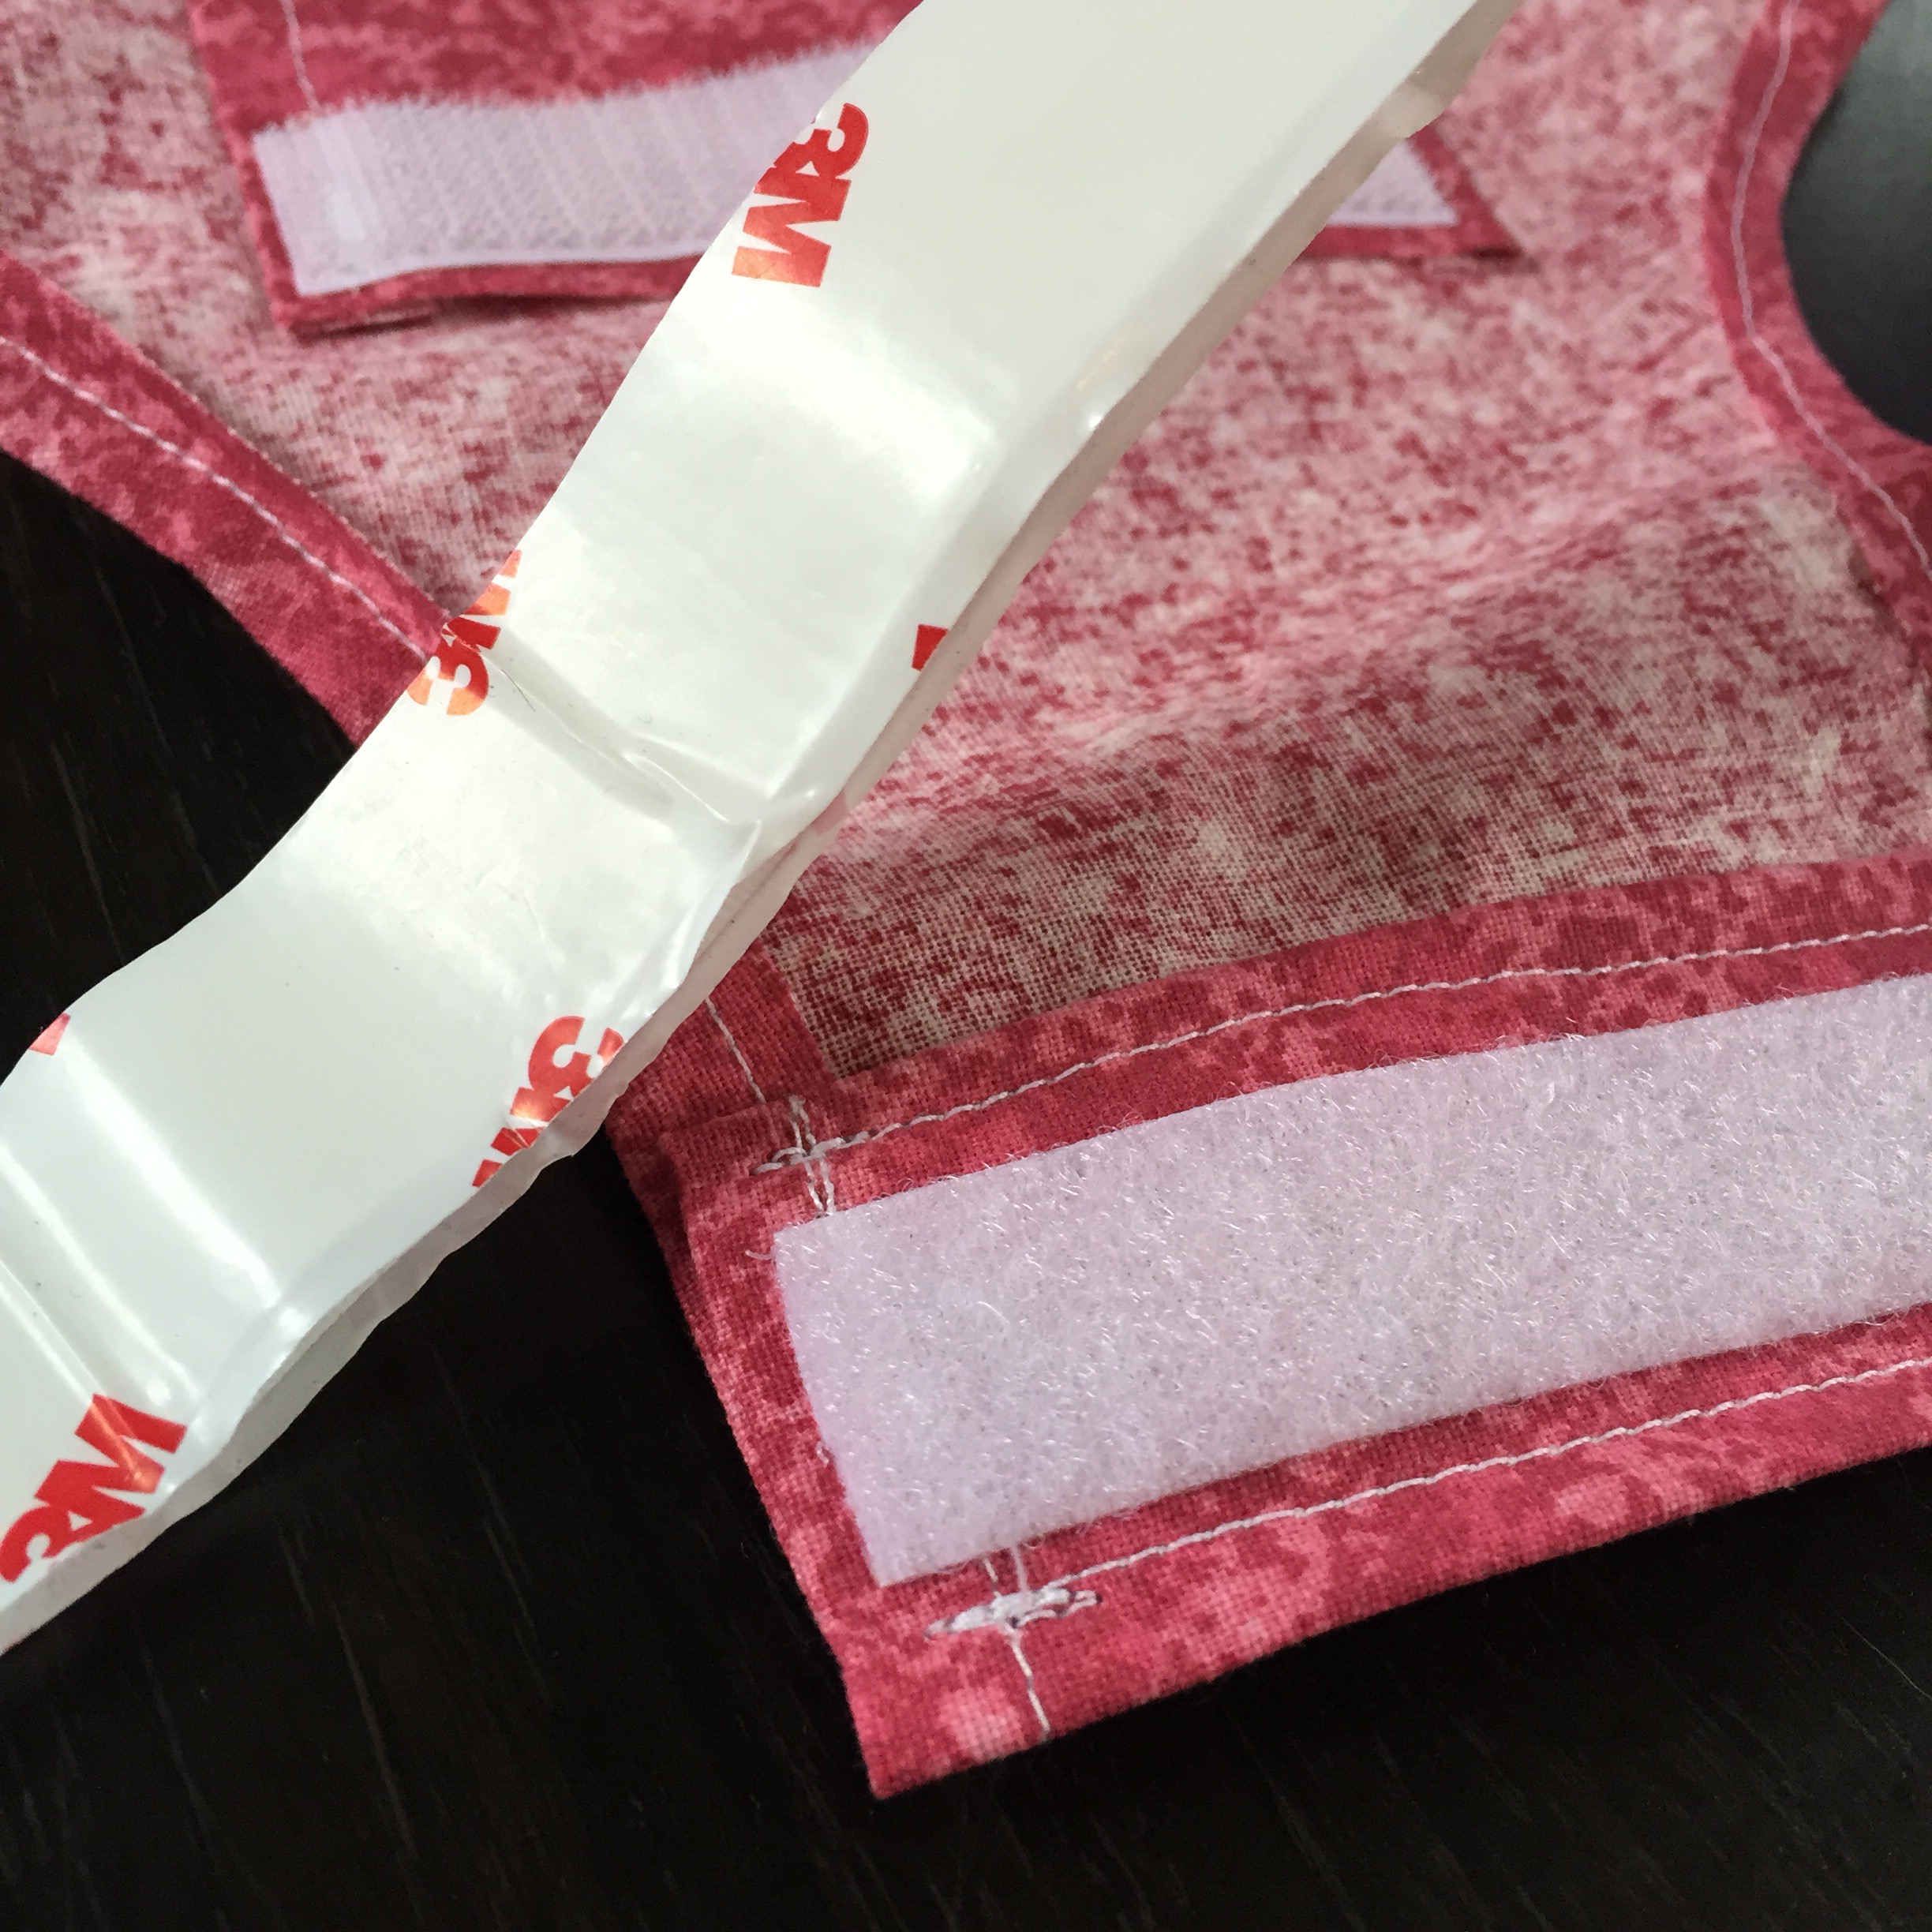
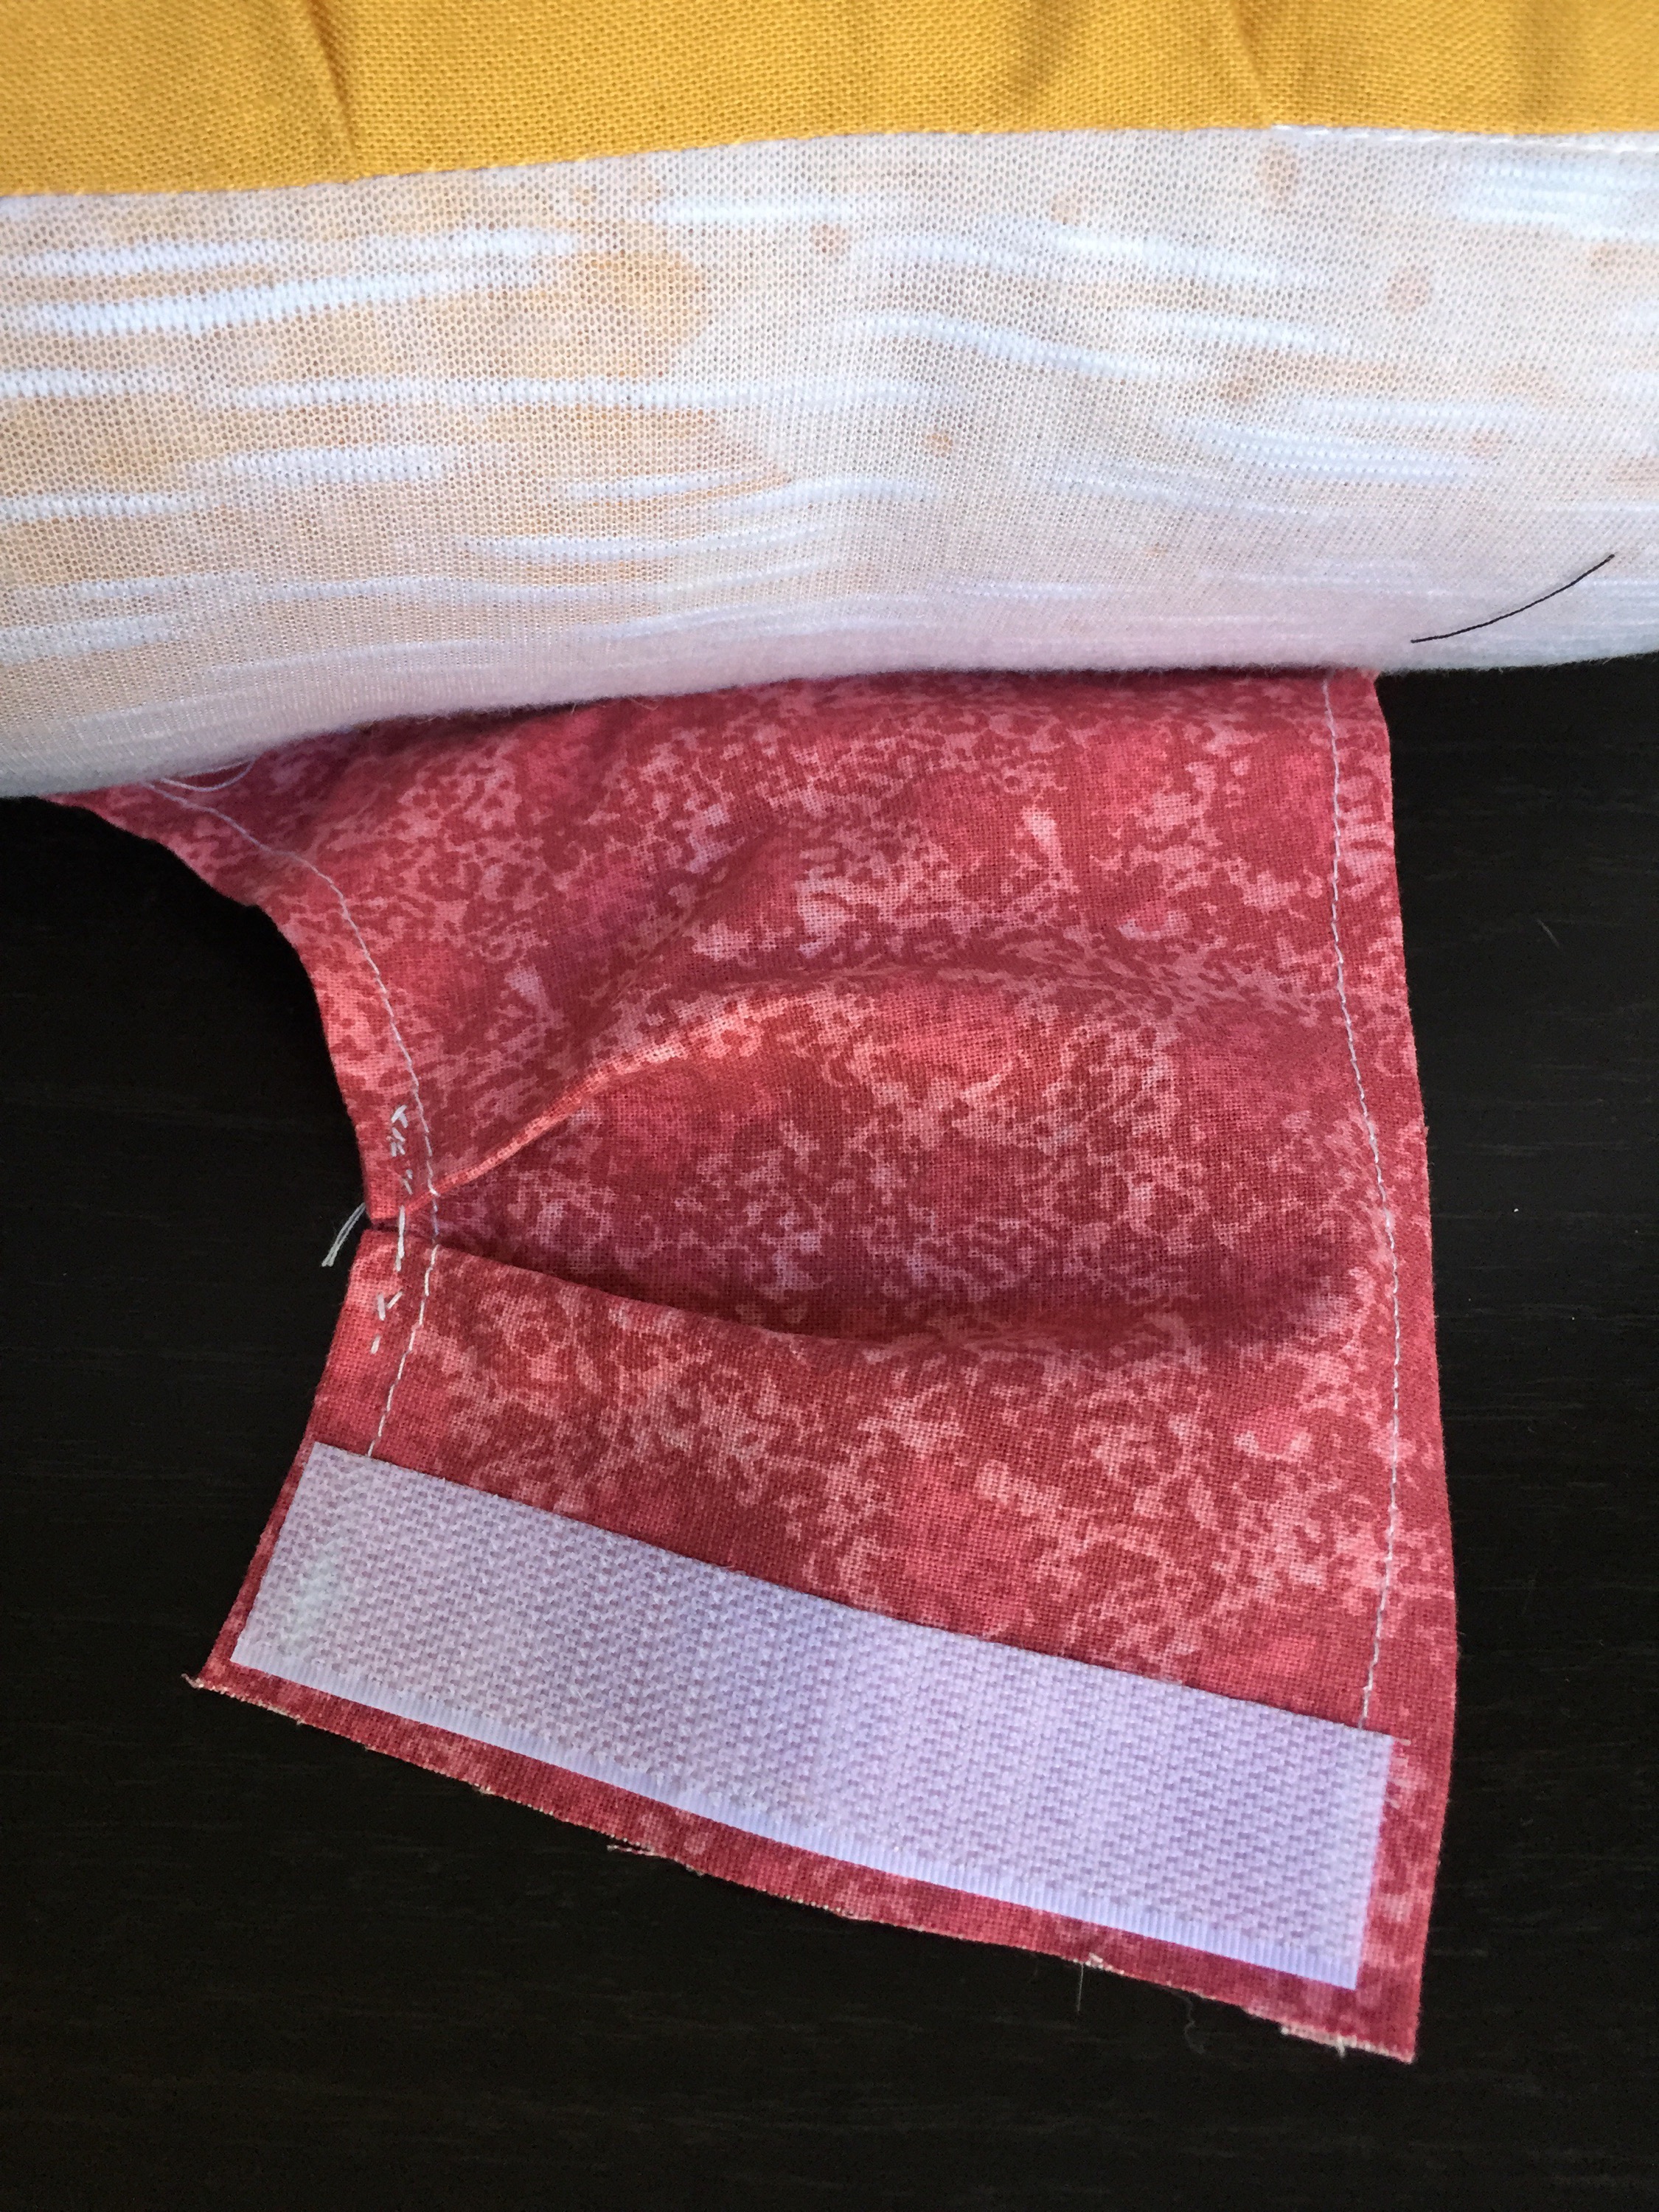
I hemmed the red piece then double checked my measurements on my model. She hates that part. Then when I knew I had it right, I added sticky Velcro to each end. I wound up pleating the back end of the hot dog piece when I was all finished so it would fit better. Charlie has a large chest and a tiny waist. (I wish I was built like that!)
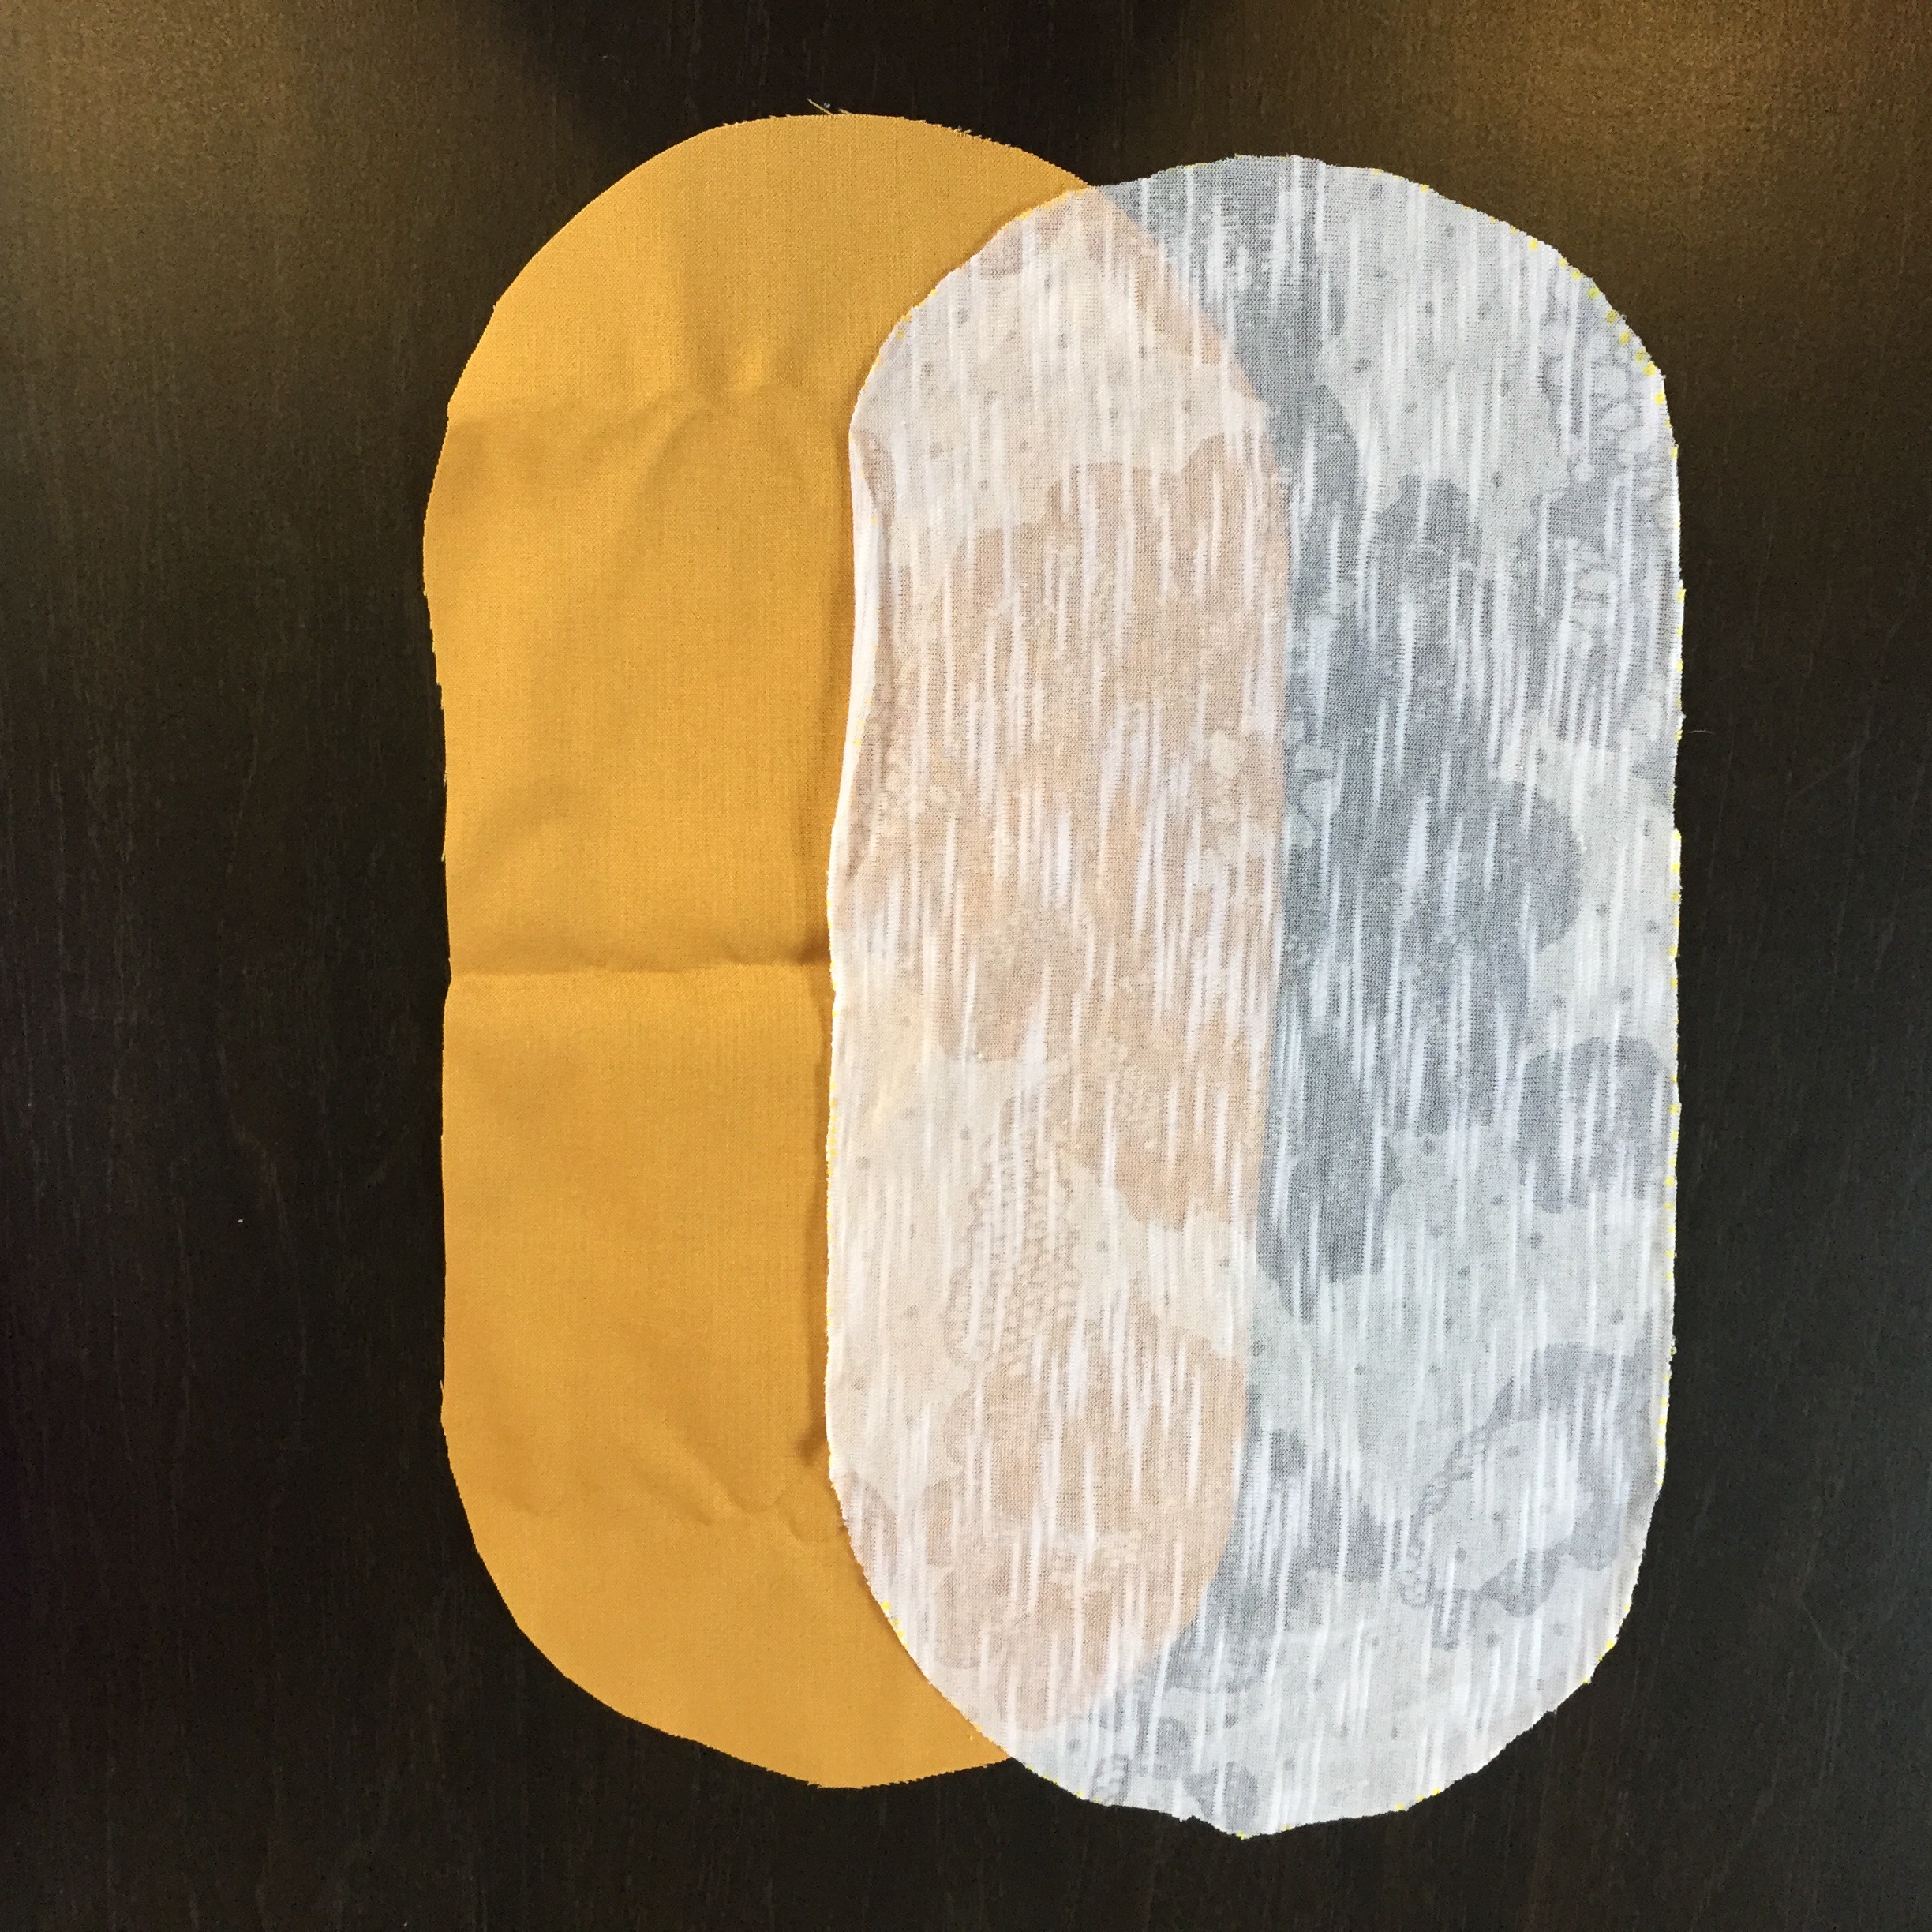
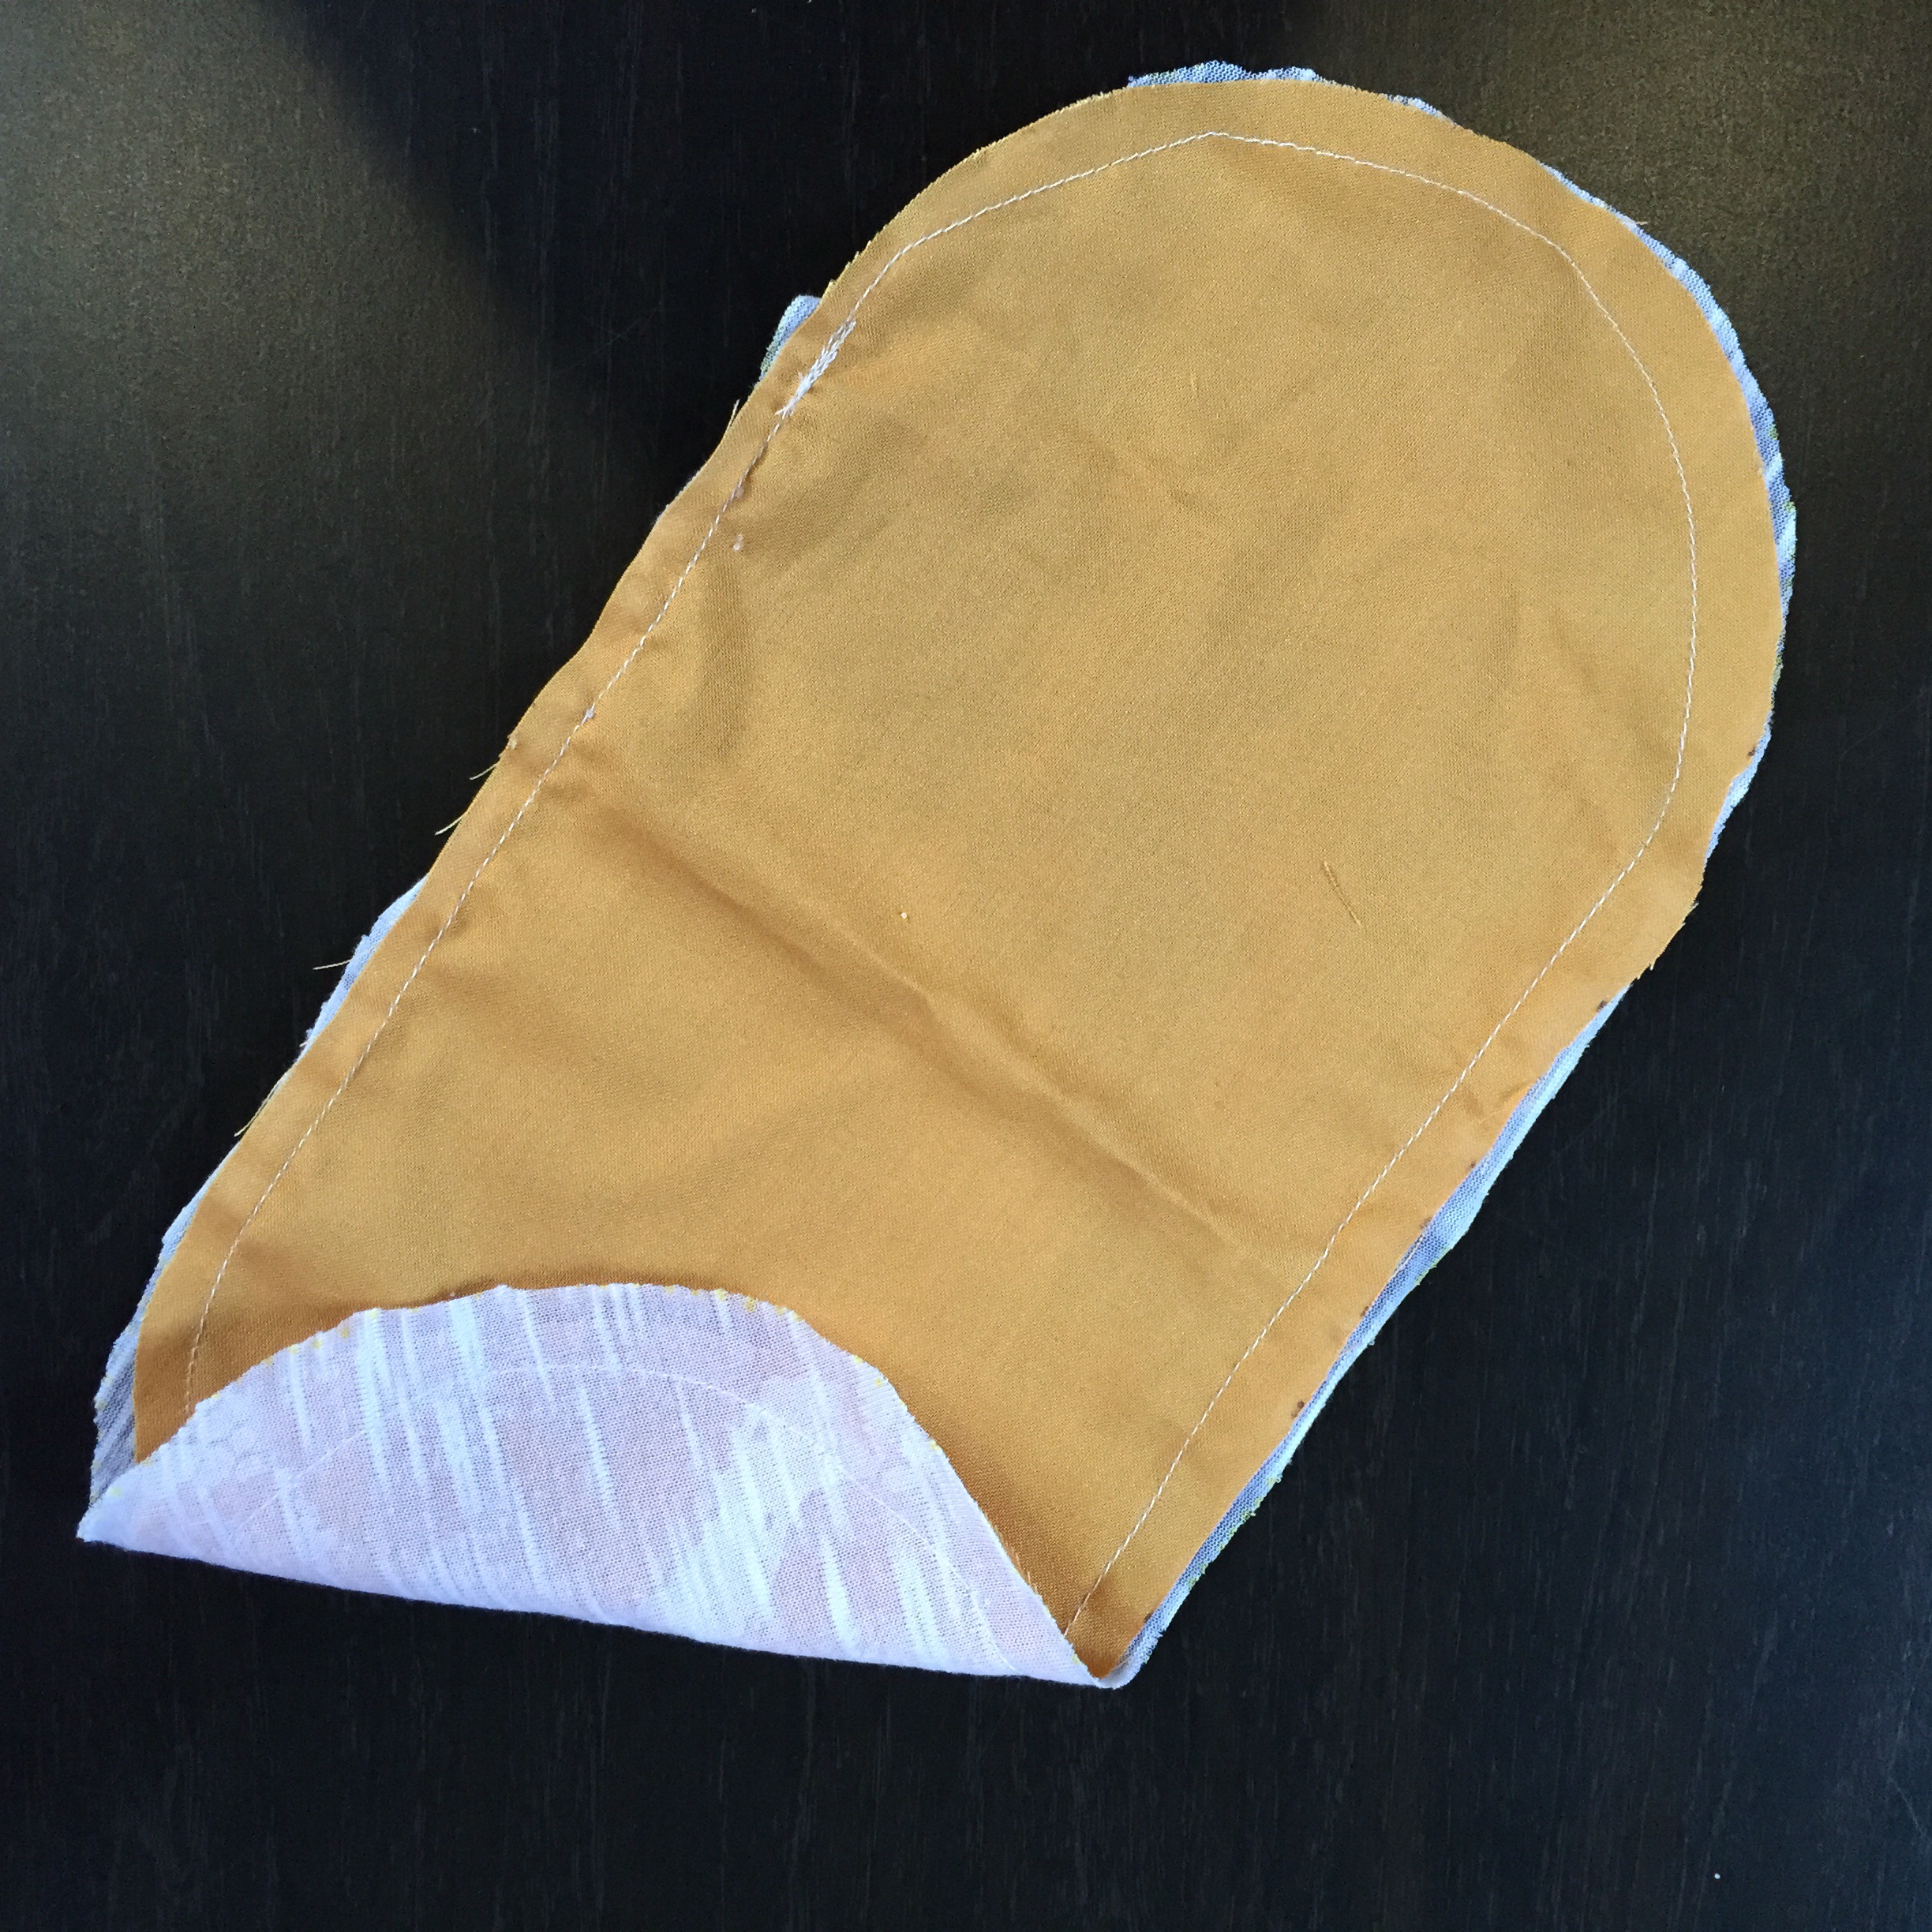
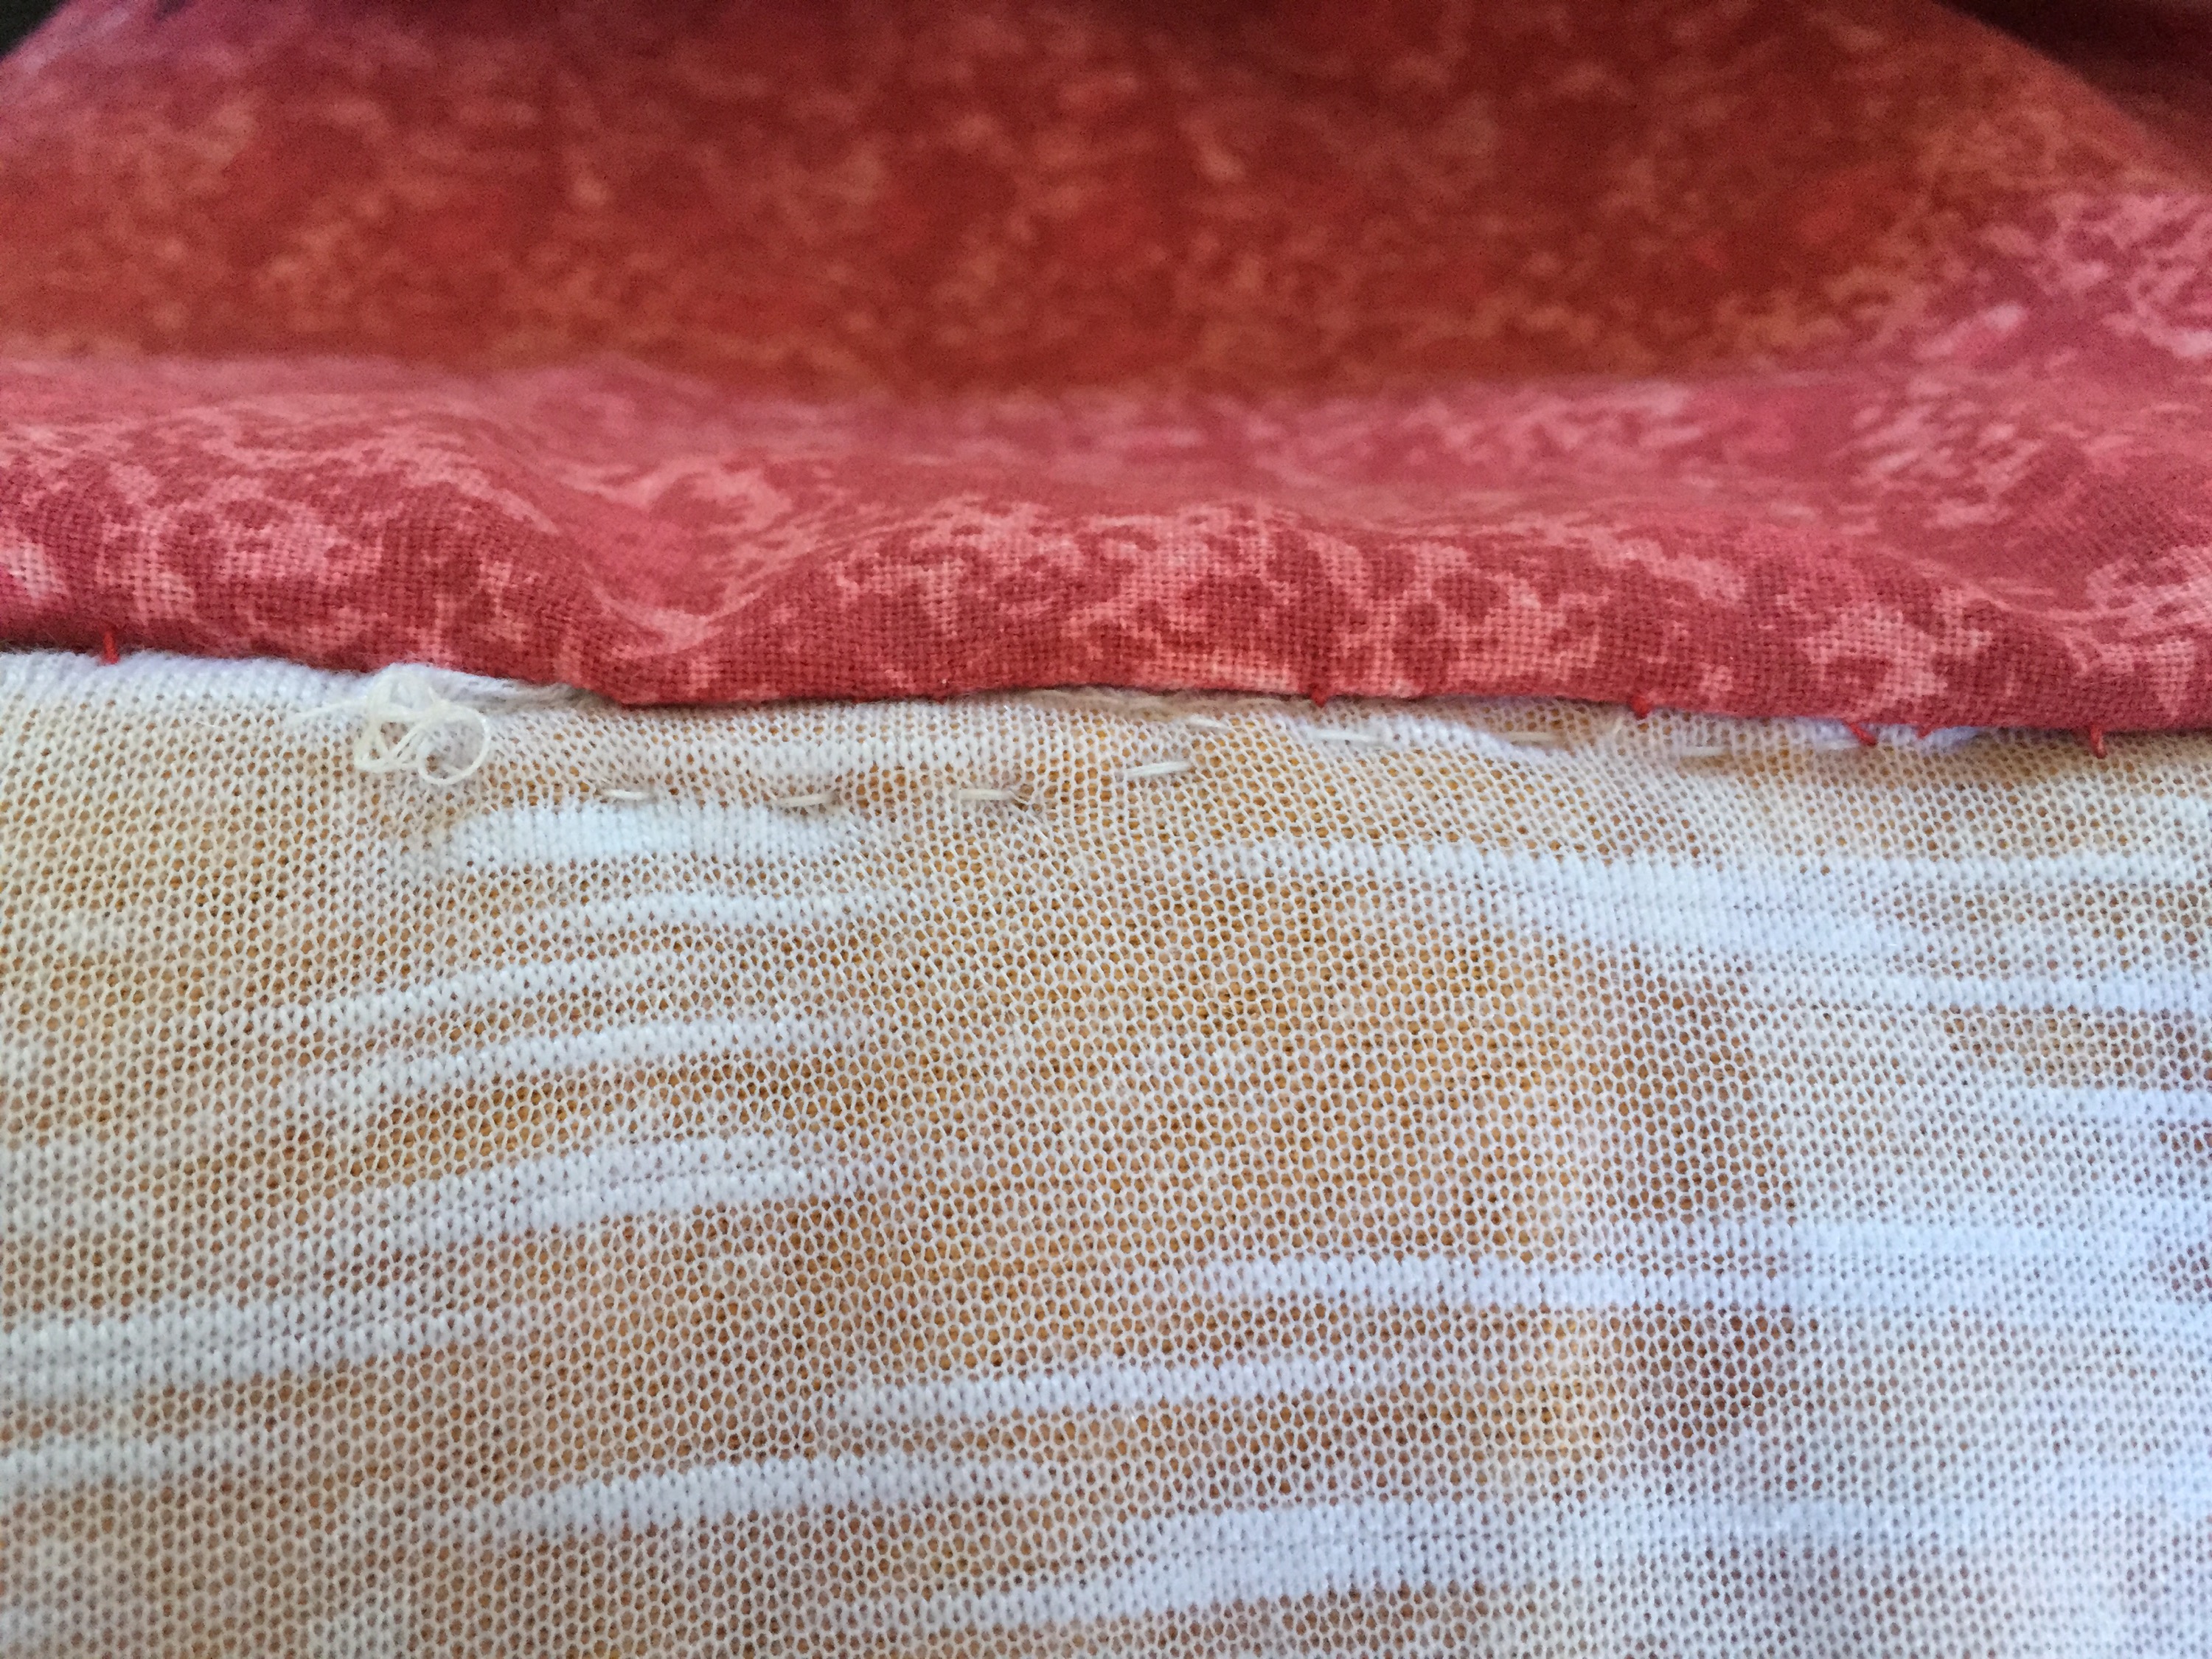
I sewed the smaller white and yellow pieces together first, then I pinned the bun pieces together like a sandwich. Yellow on each side with white in the middle. Or, right sides together, but with this fabric it didn’t matter. I started by lining up the sides and top and bottom in the middle. Then going from there, trying to evenly space the pleats.
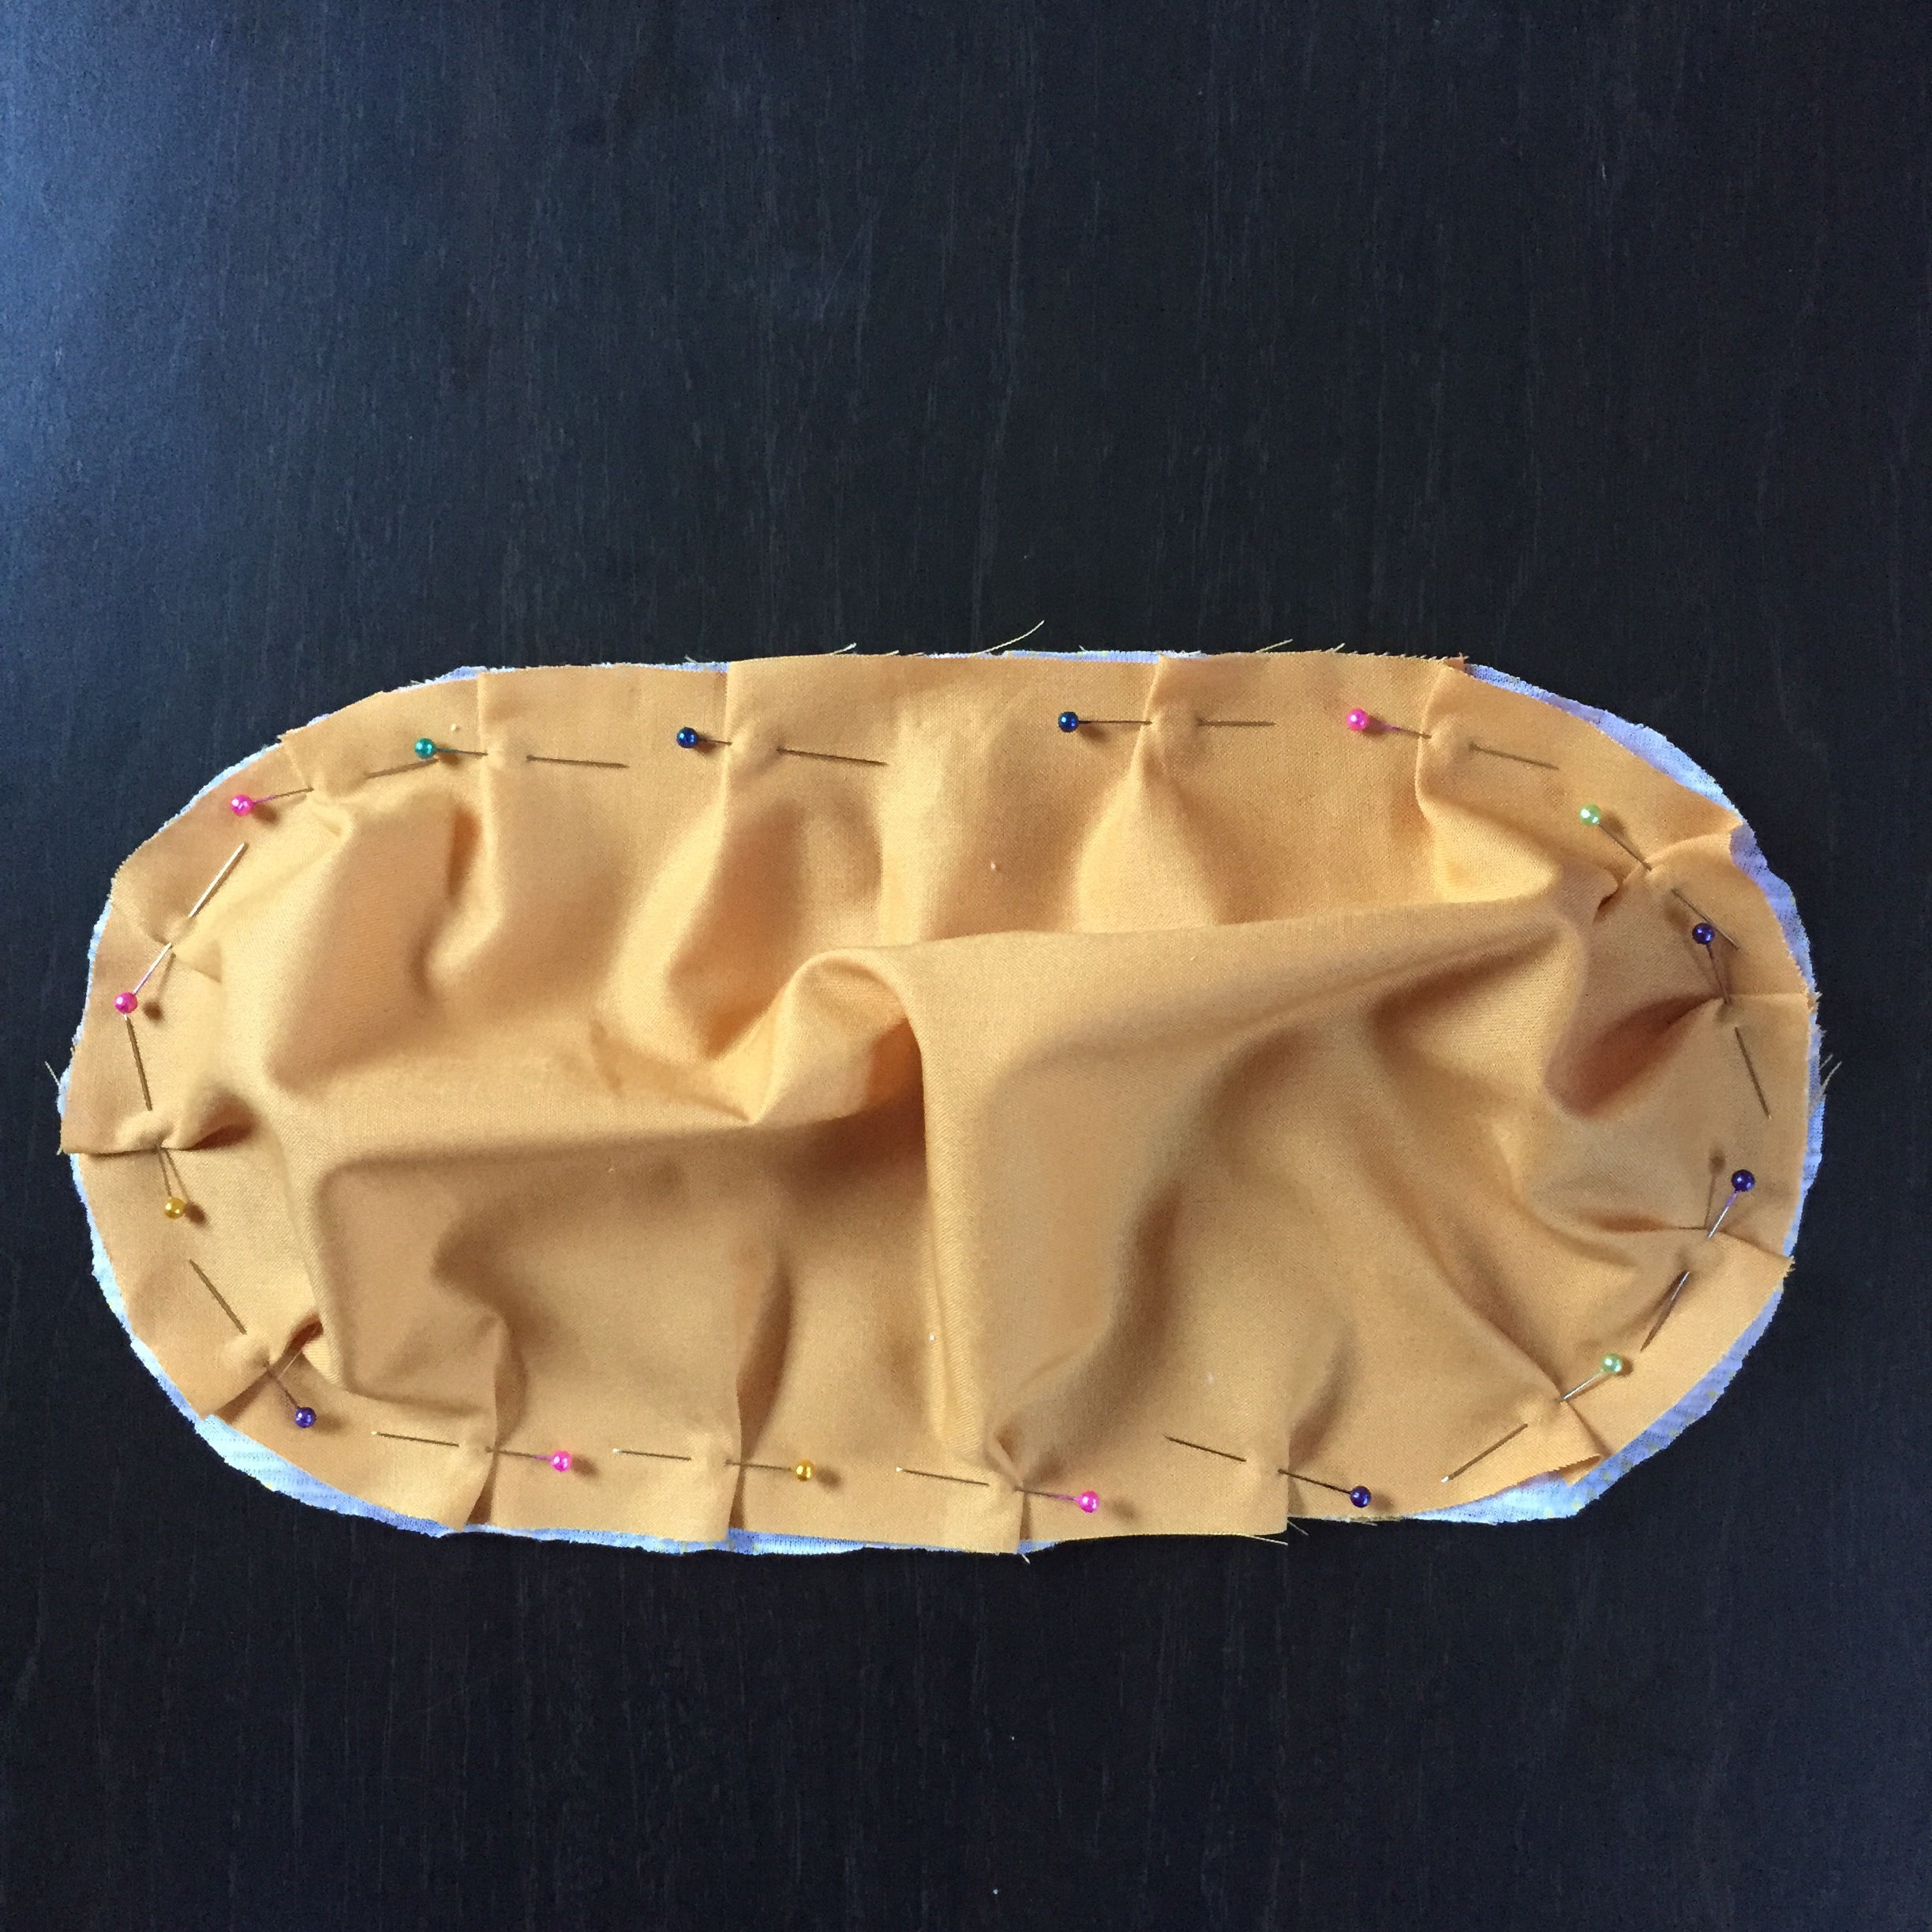
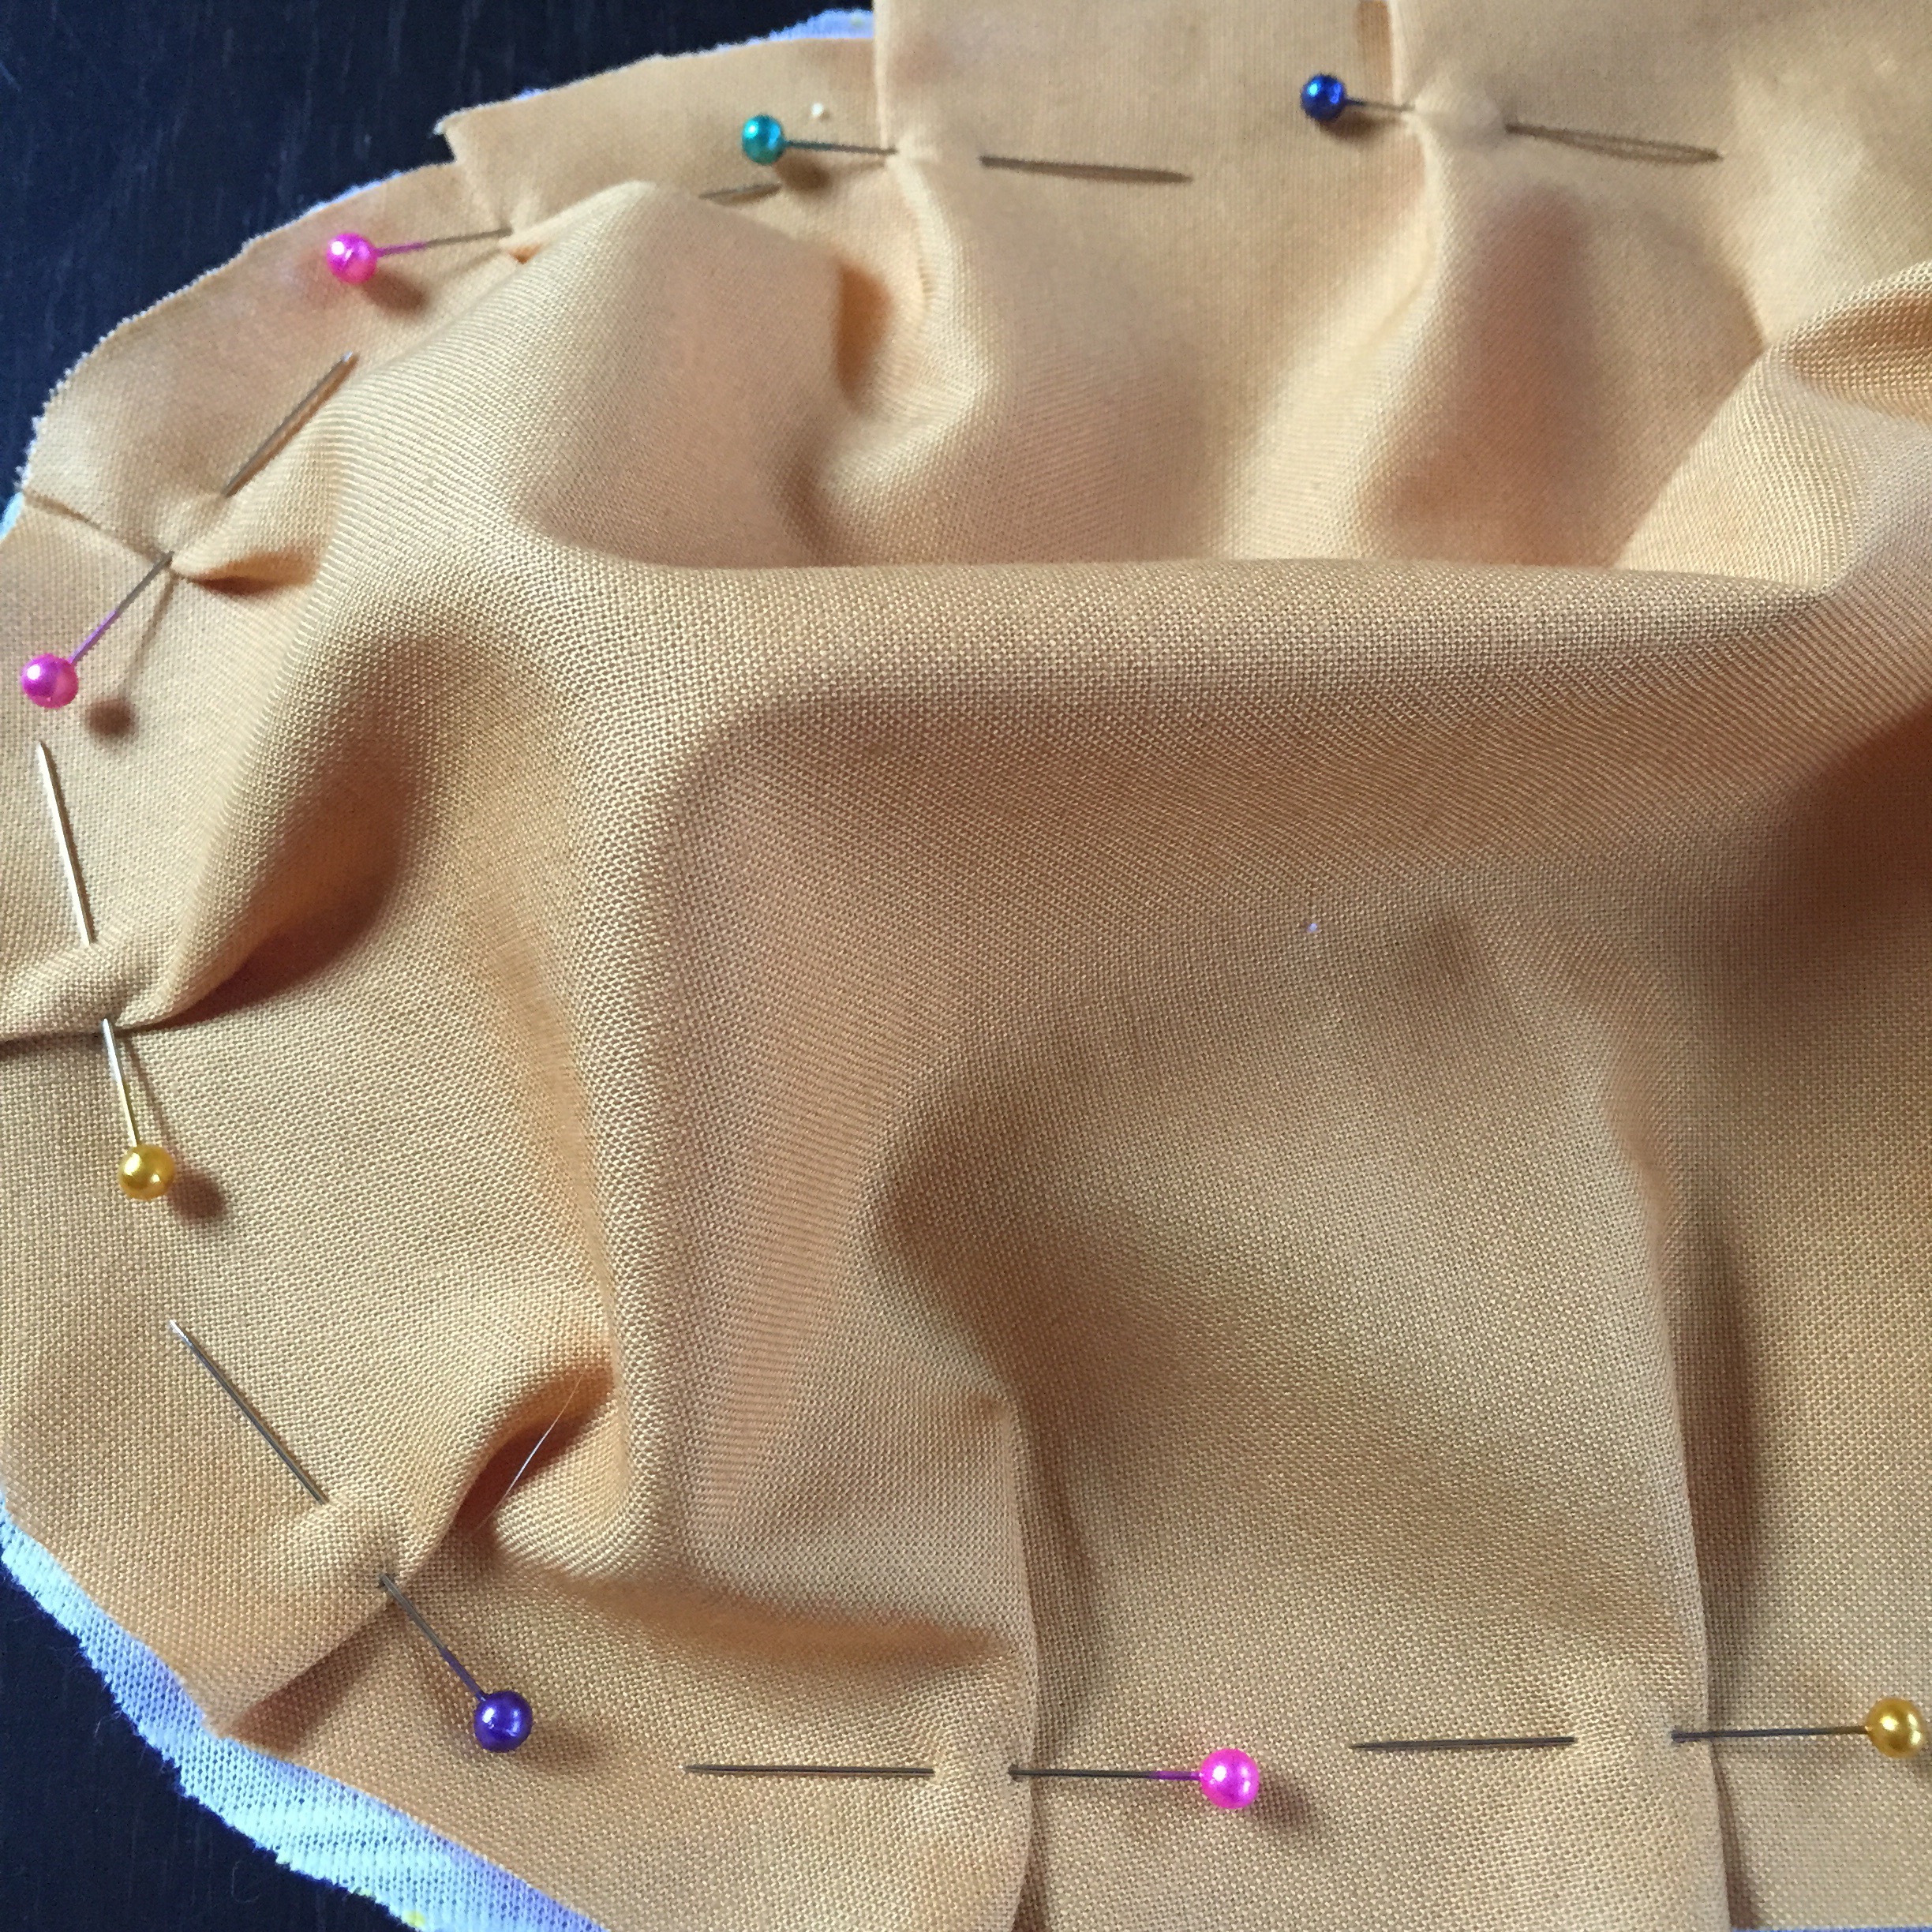
Then I sewed around the edge, removing pins as I went. Now, I probably should’ve left an opening a few inches long at the bottom so I could turn it right side out then stuff it. But, I didn’t. Total accident. But it worked out nonetheless. I had to cut a hole in the bun, I cut it on the inside, on the smaller oval so that it would be covered up by the hot dog.


The. I stuffed it. Not too full, I didn’t want it to be too heavy for my little pumpkin and hurt her back. Haha but enough so it was reasonably poofy.
I then crudely stitched that hole closed by hand then even more crudely sewed the bun to the red part. (After much measuring and trying it on Charlie and disturbing her precious nap time).
 After I had that all finished, I tried it on her. That’s when I decided to pleat the back of the hot dog piece.
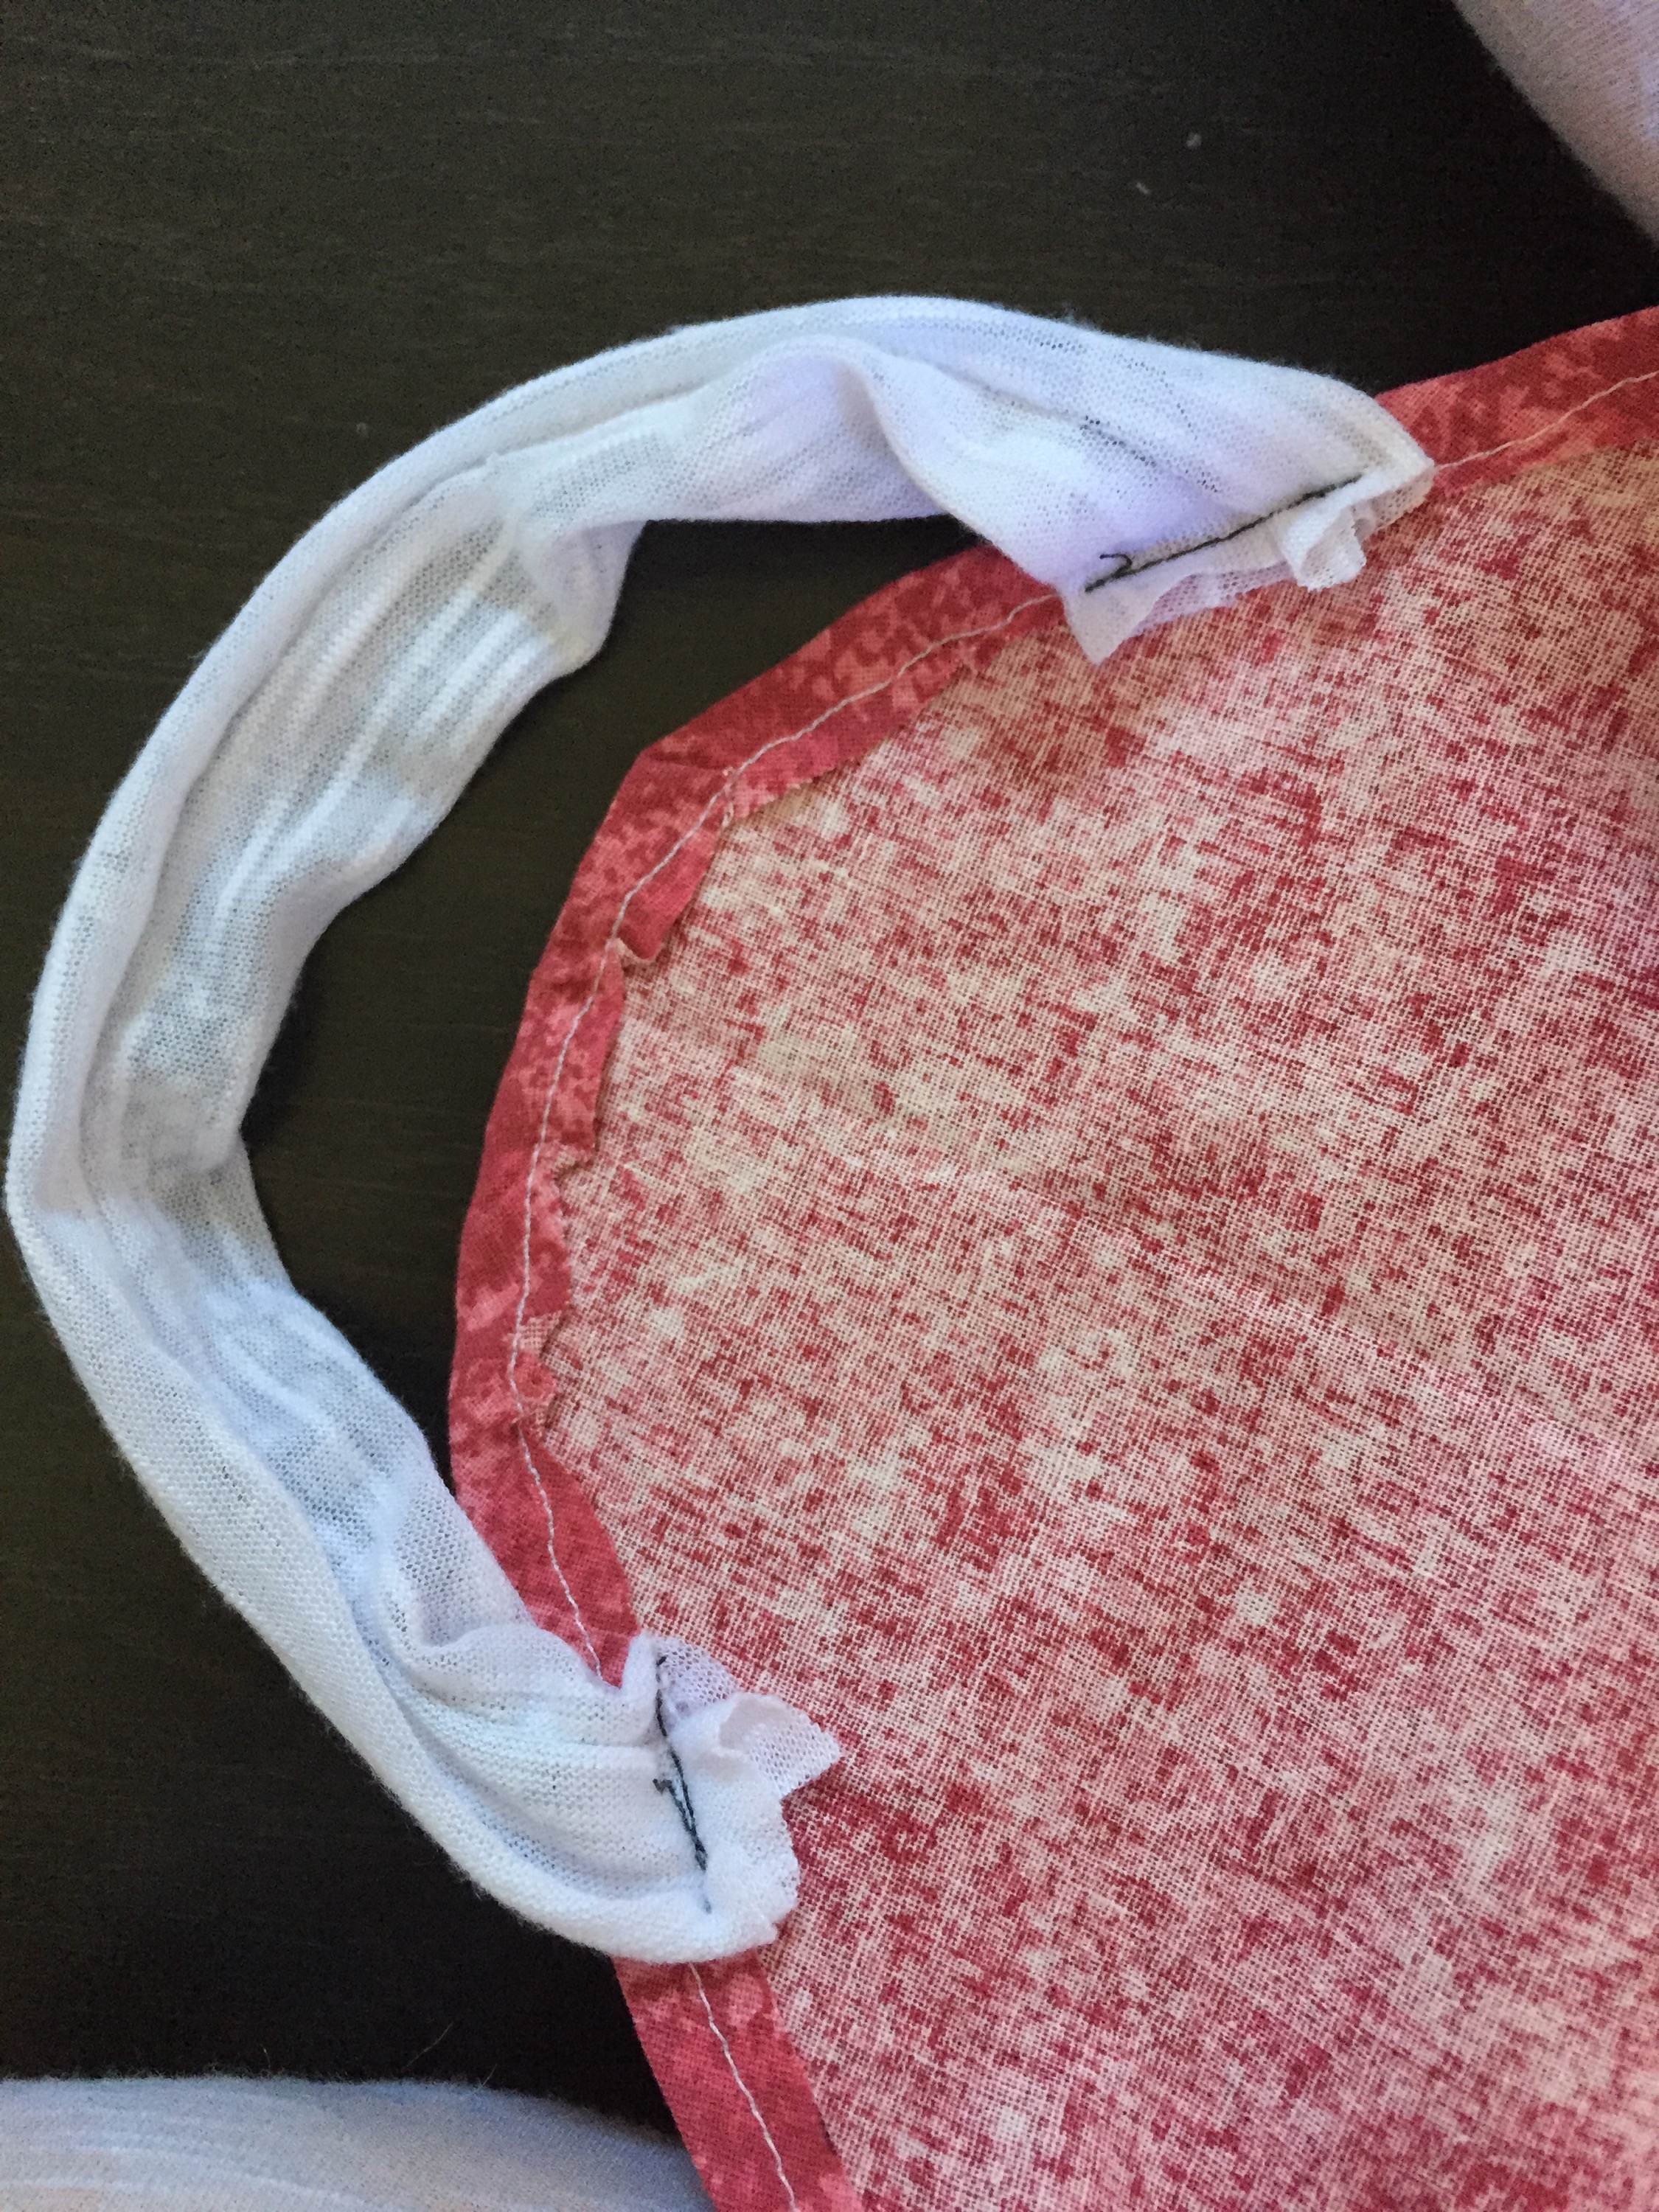
 By this time she was super sick of me, but I managed to get one more measurement from the front of the hot dog, around her neck so that when she stood on her hind legs (we call this “sitting pretty” and she does it for treats only, never for free!) it wouldn’t fall down around her ankles and trip her. I cut a piece of the white fabric to that length, sewed a tube then attached it to either side of the hot dog.
FINISHED!
Charlie is a weiner! I mean a hot dog! She’s actually part weiner dog.
That reminded me of Pedro’s. It’s a campground/amusement park/rest stop on I-95 right on the border of North and Siuth Carolina. We stayed there once (after much pleading on my part why I NEEDED to see the wonder that is Pedro’s, simply because it is advertised on billboards on the side of the highway for hundreds of miles!). I love the billboards.


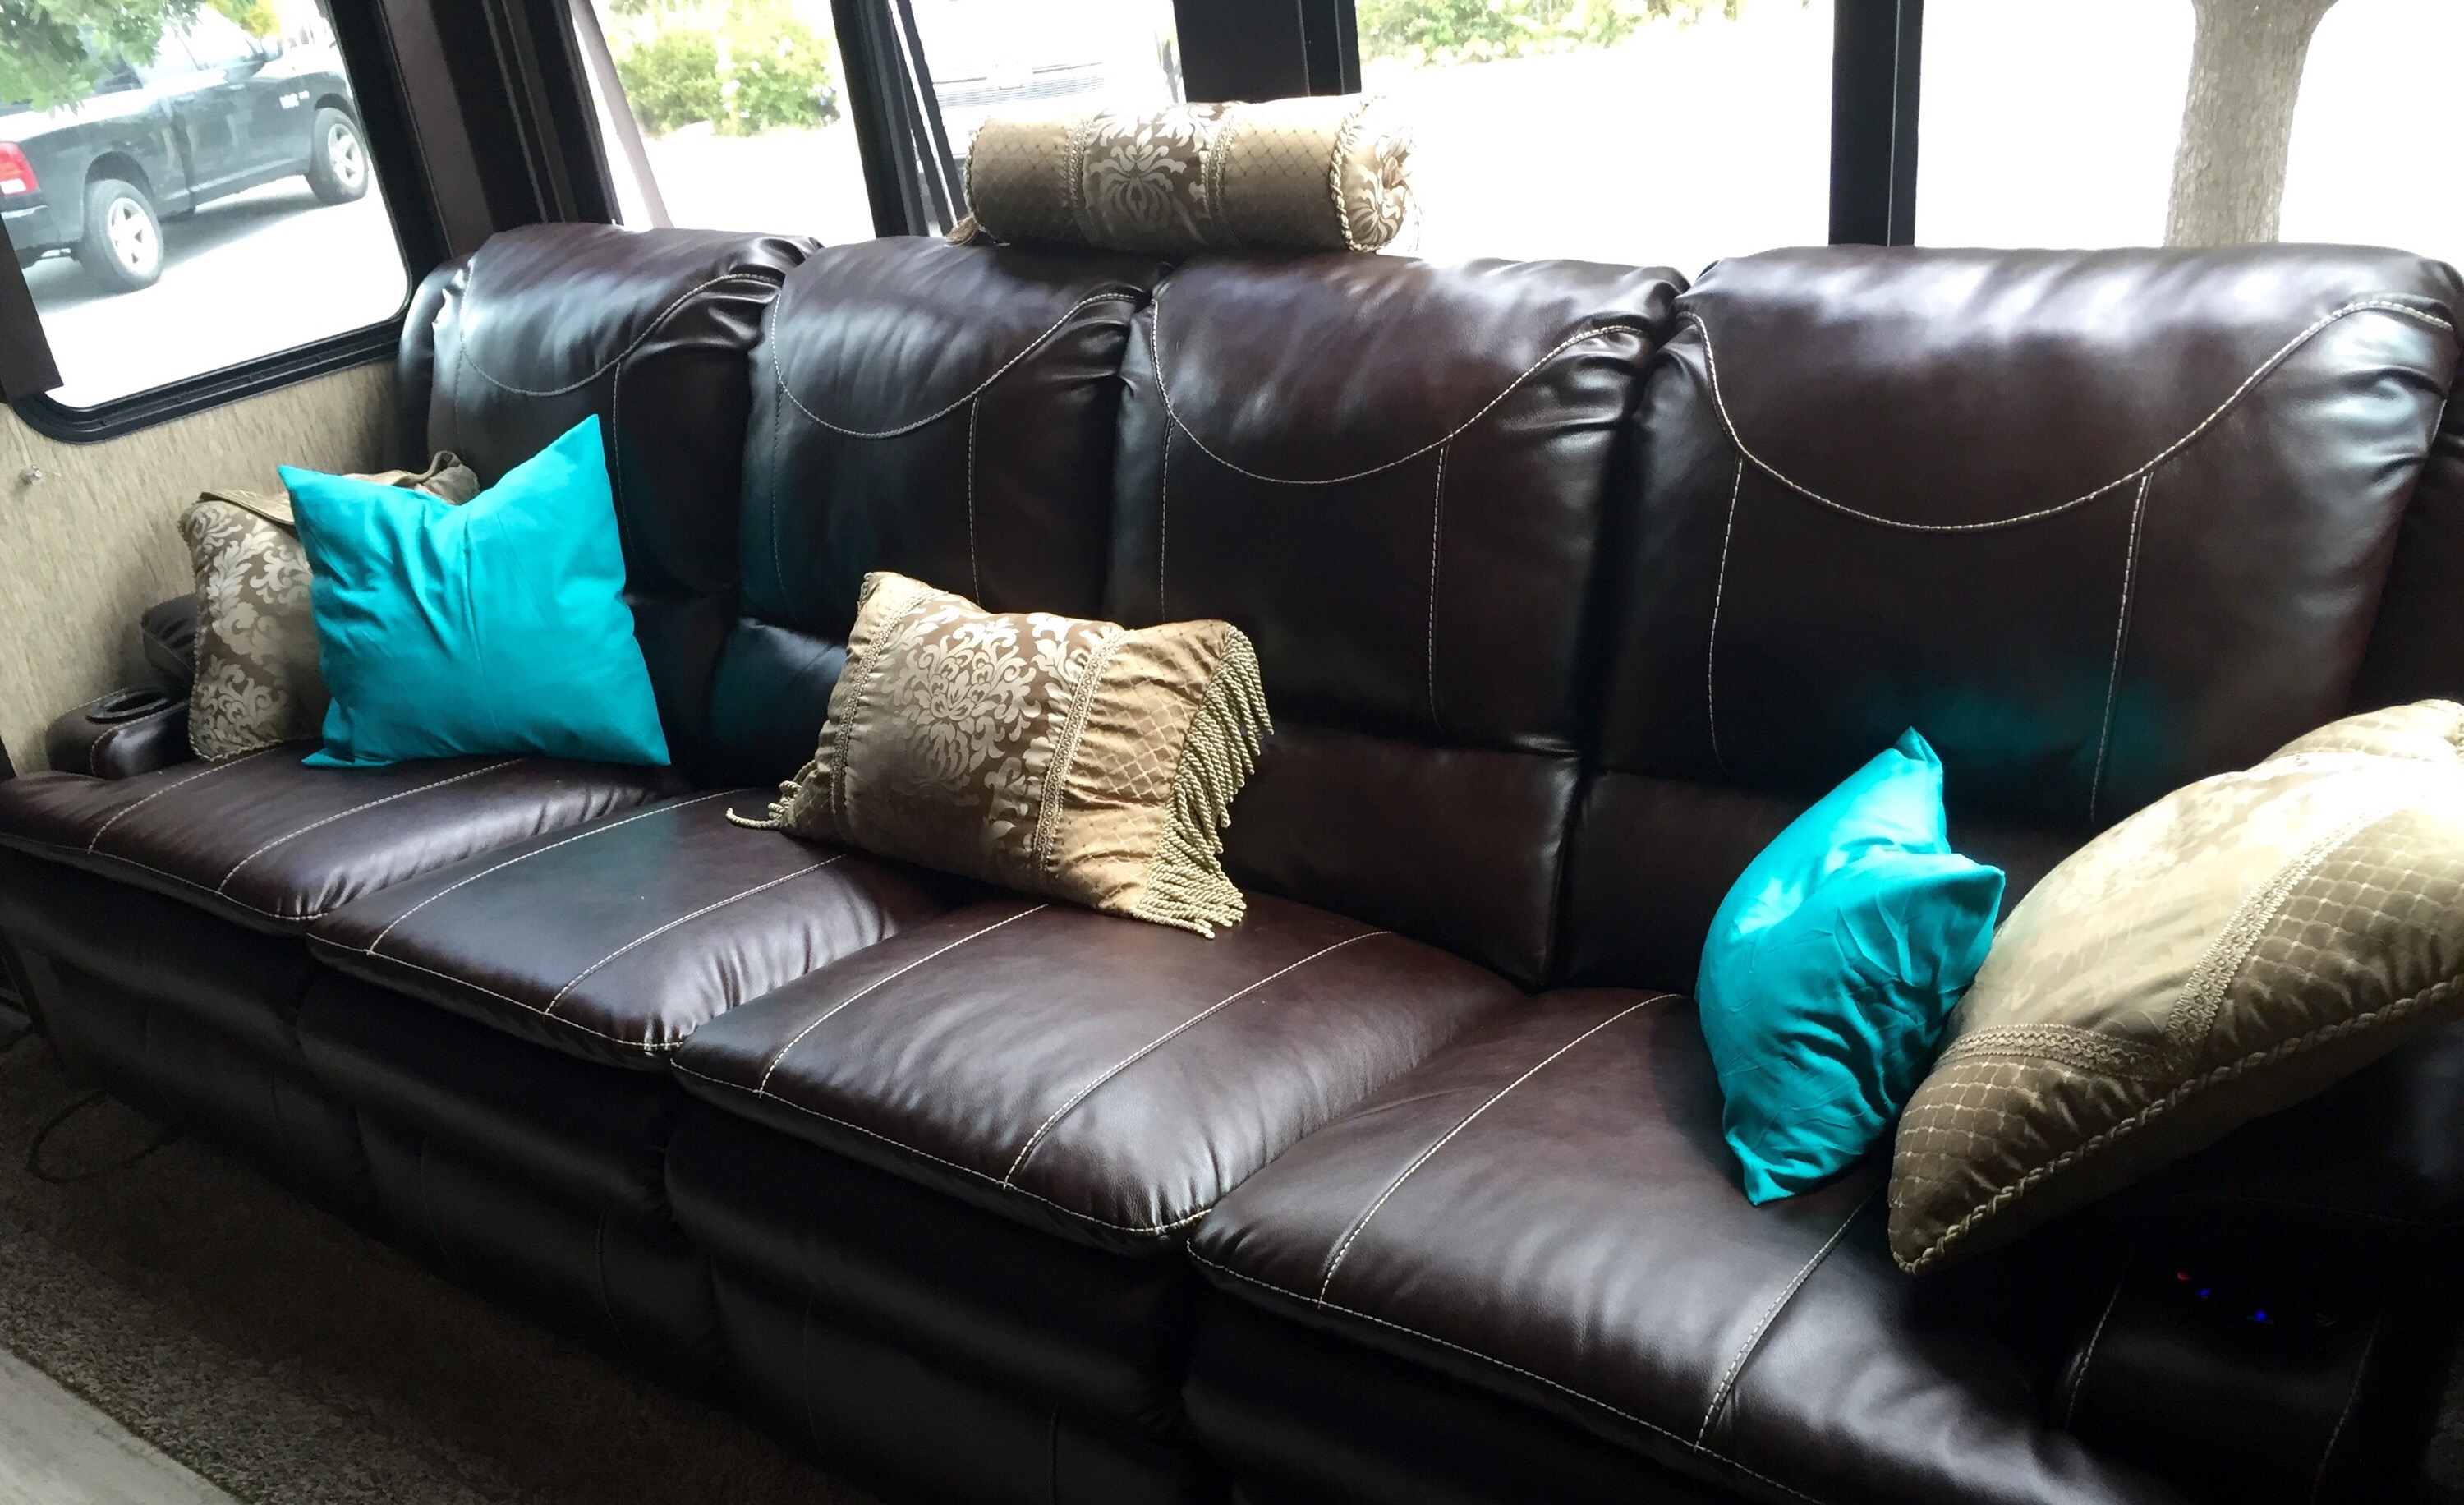
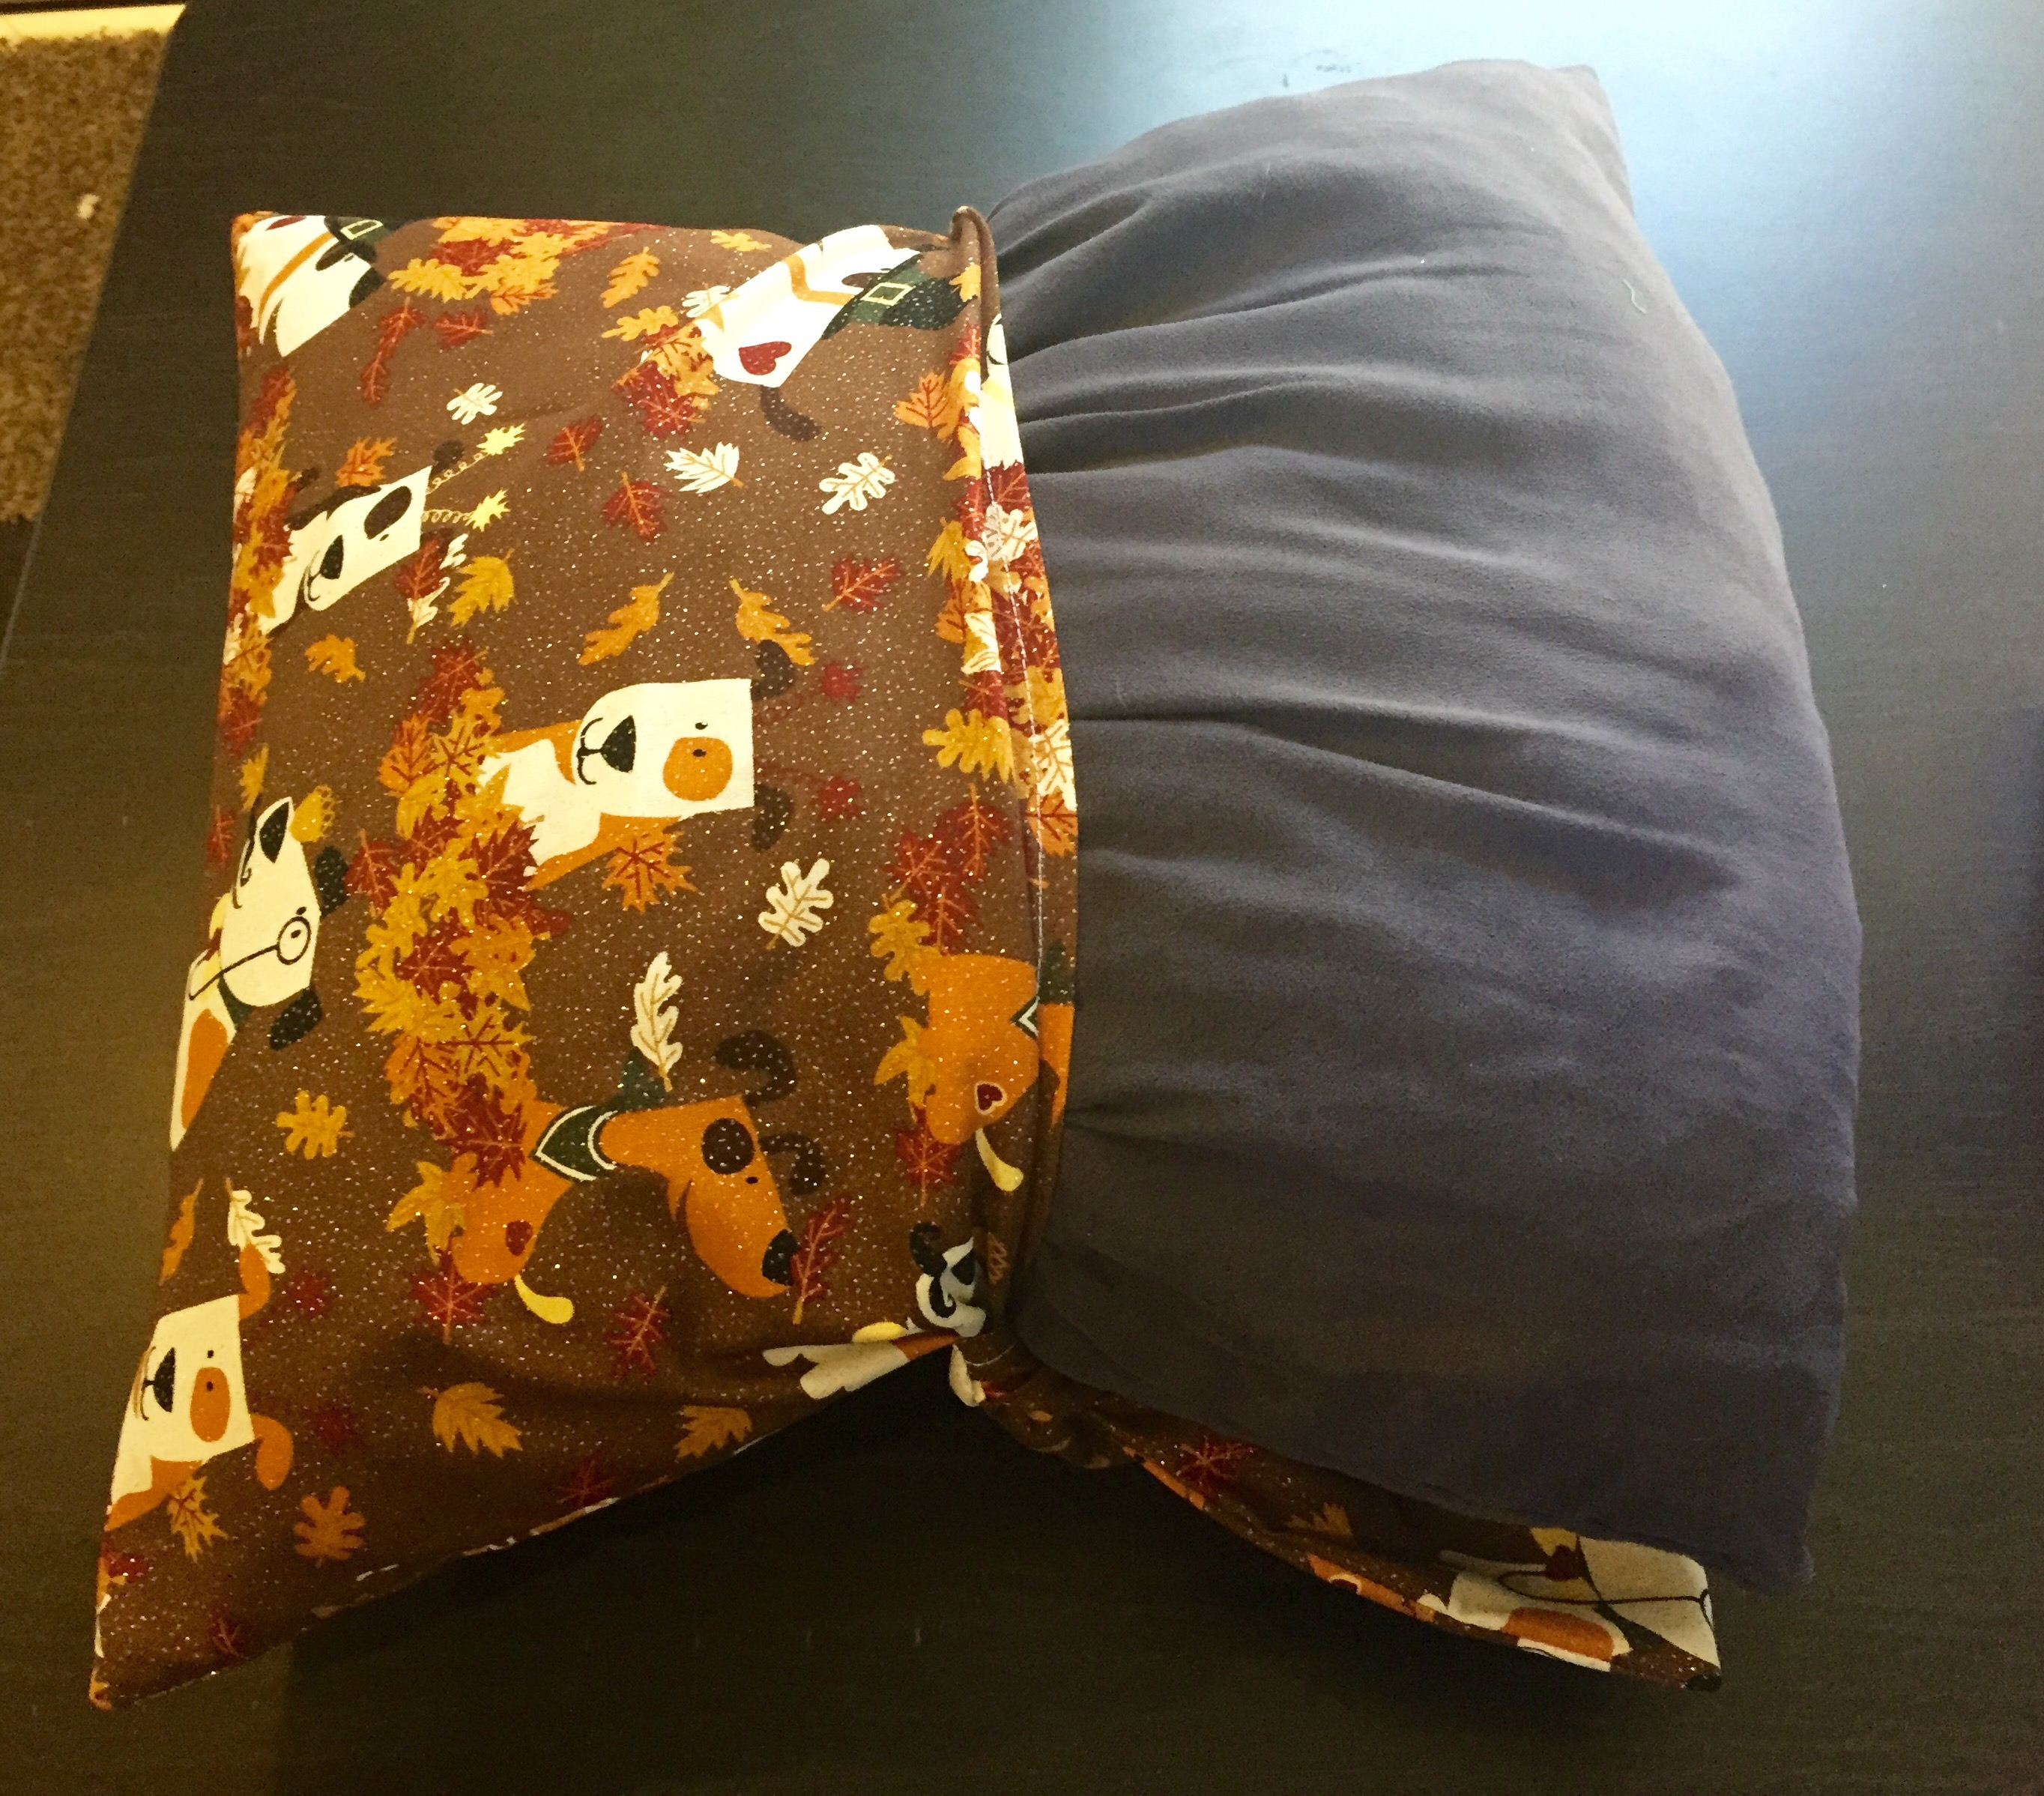
I’ve kind of fallen in love with making covers for my throw pillows… It’s just such an easy way to change up the look and feel of our living room… Since our house is 43′ long and 8.5′ wide and has wheels, customizing is at SOMEWHAT of a minimum.
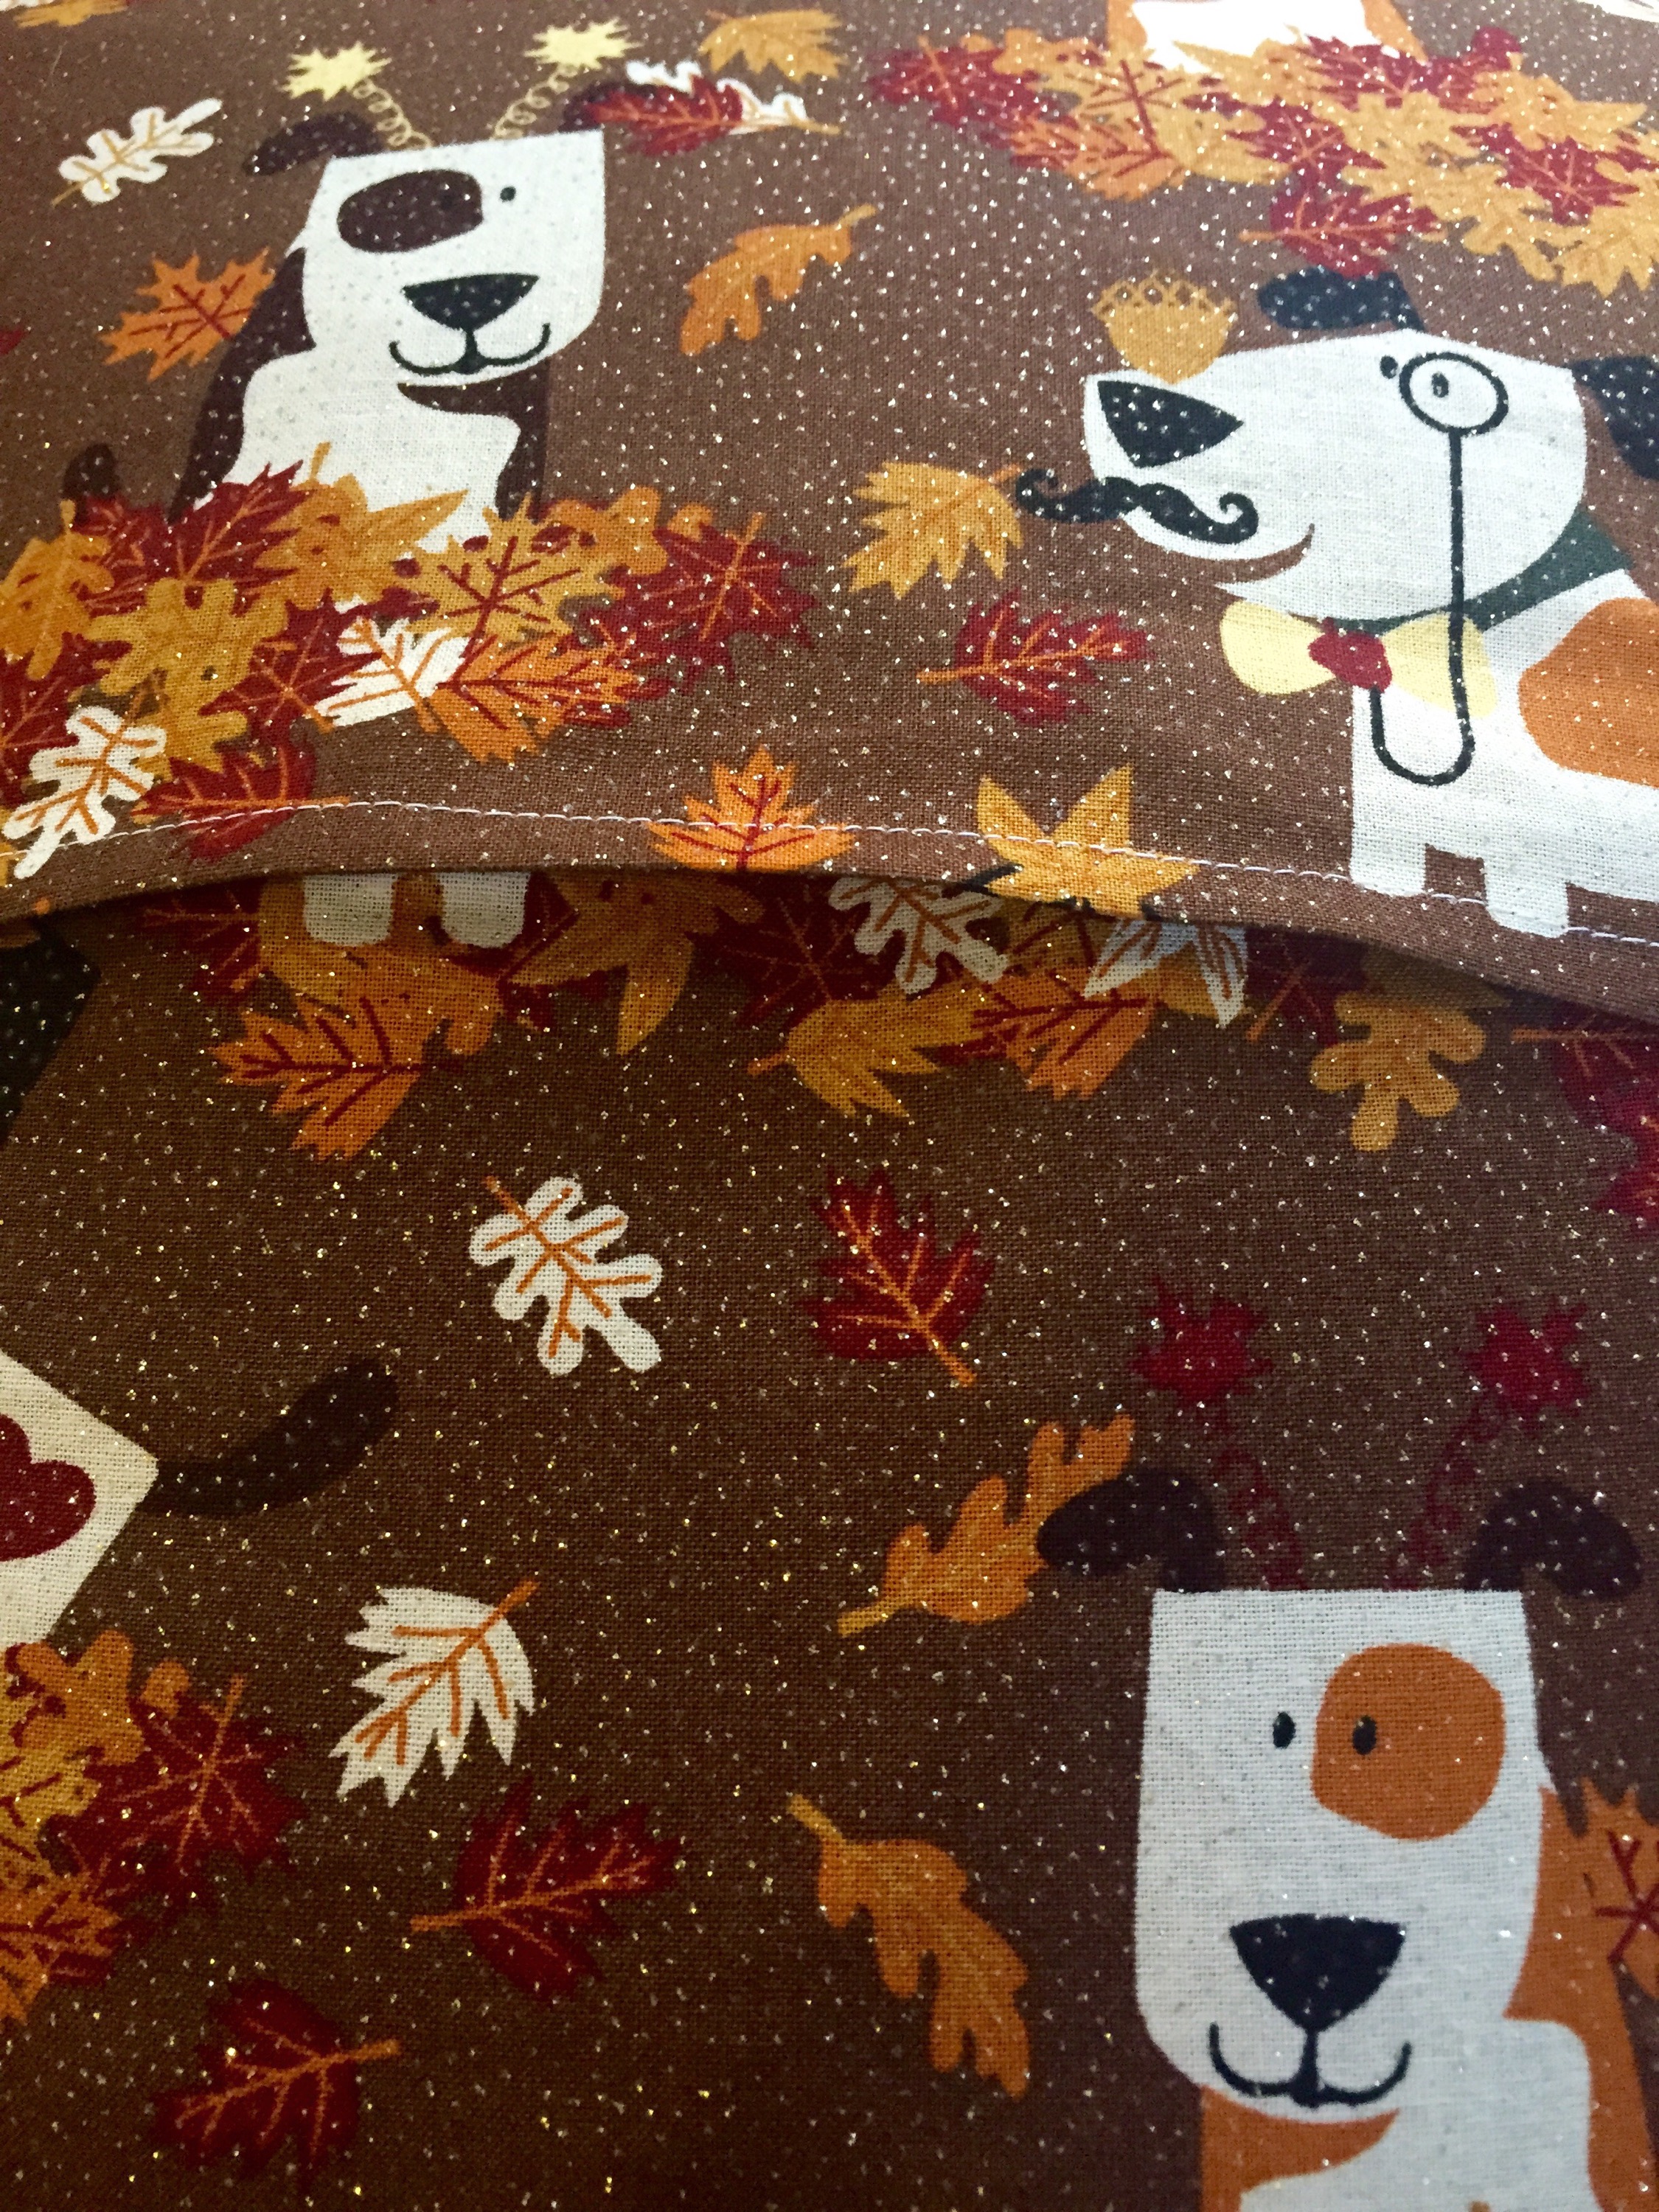
It might be a little early for fall colors, and I think I’ll change them back for the next week or so, or at least until Labor Day, but I couldn’t resist making these once I had the fabric! I found it at JoAnn’s on clearance….
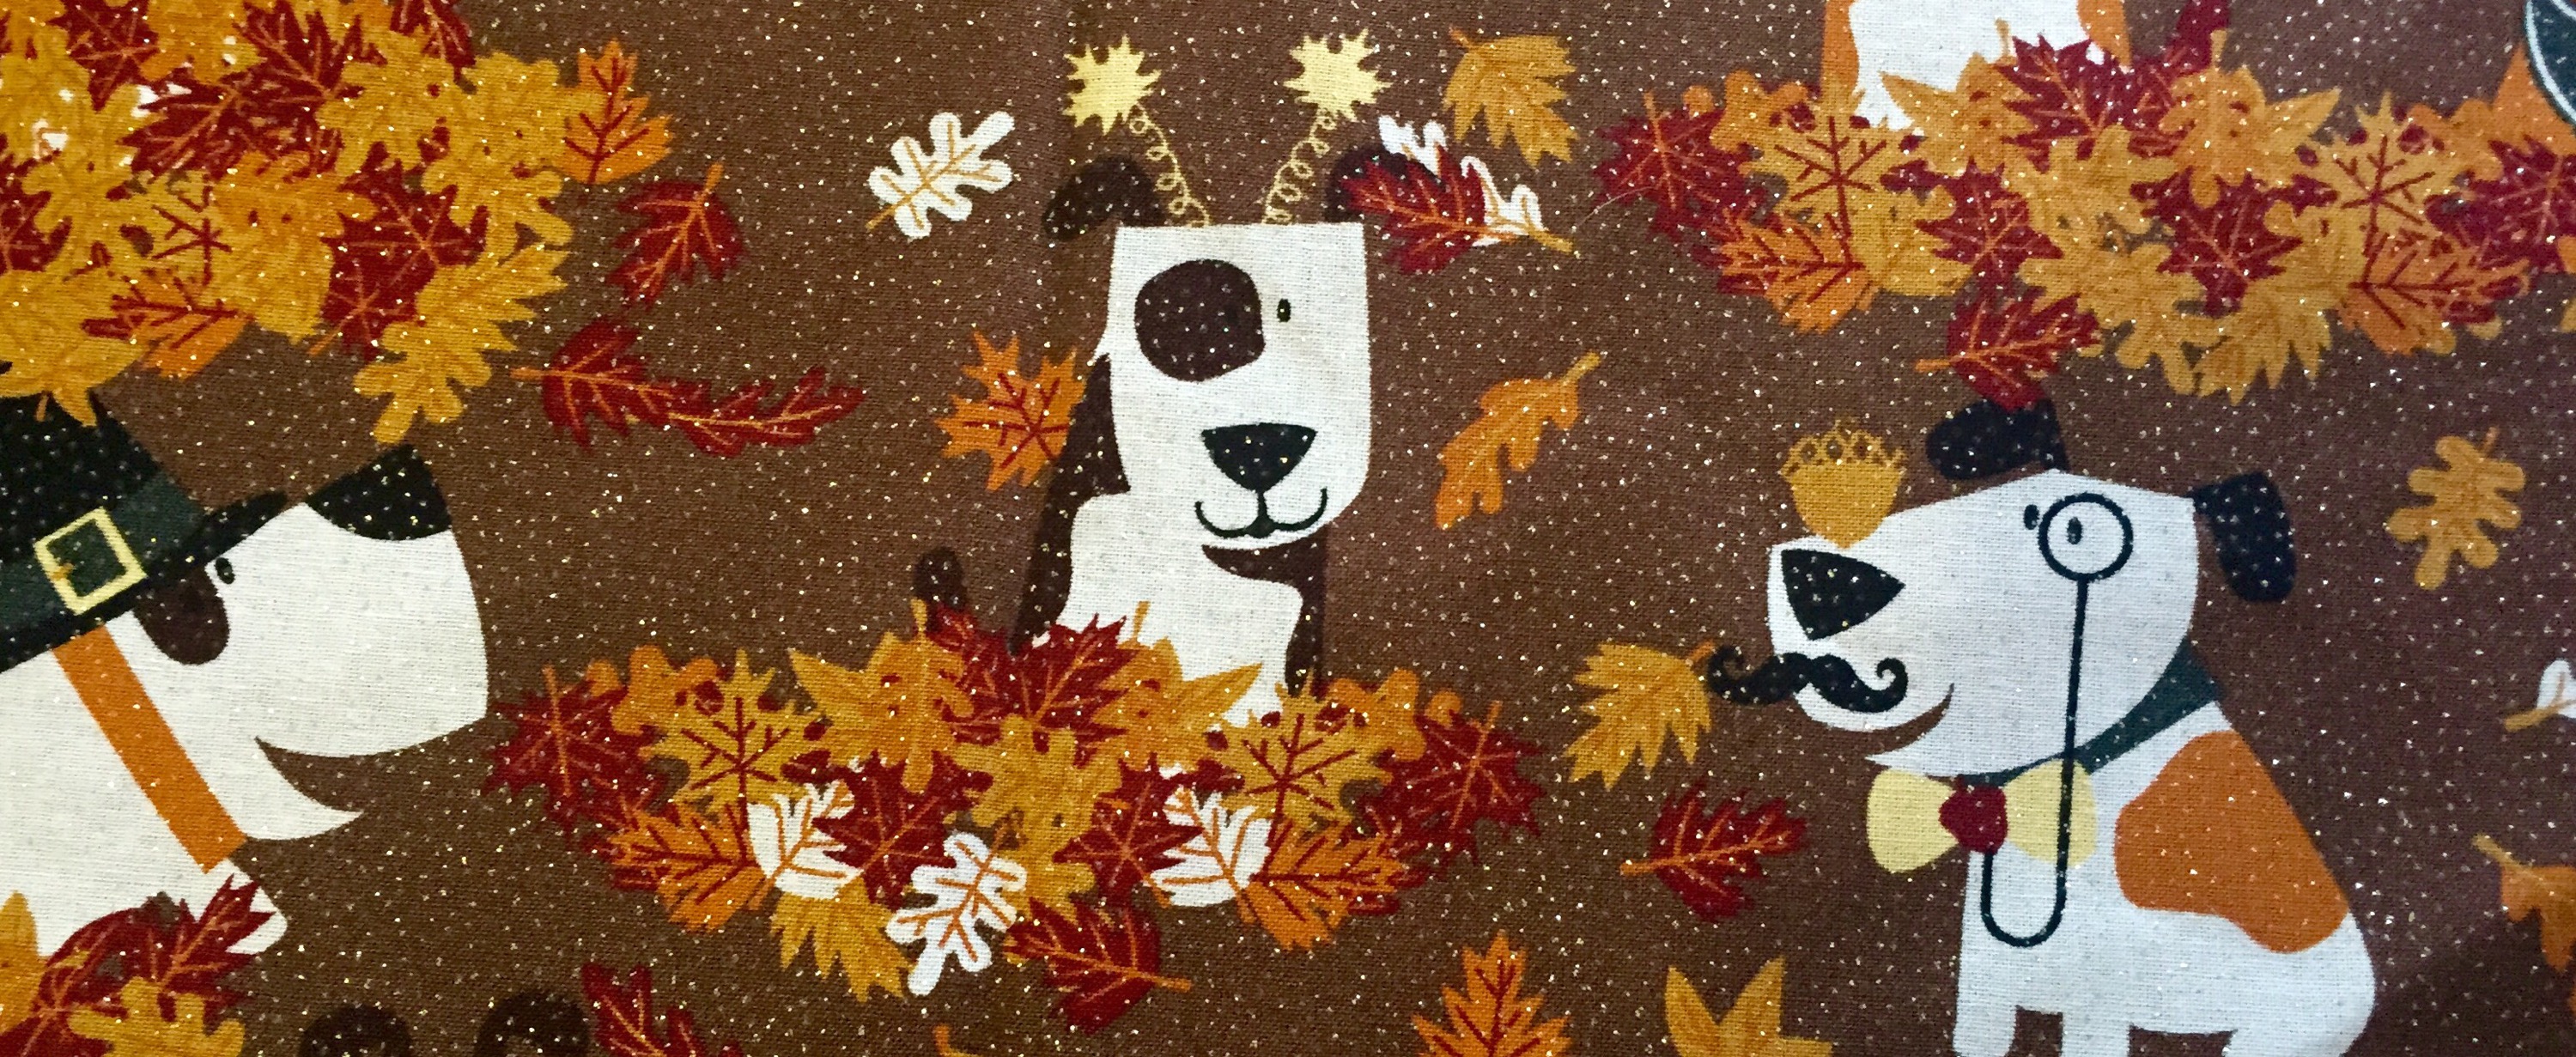
Adorbs! (Allen: if you’re reading this, that means adorable) 😉
It’s fall-ish and puppy-ish, not to mention glittery! (You can’t really see that from the photo…)
So, I had to make them. The last ones I made, and what I’m going to go back to at least until Tuesday are plain turquoise.
 And the DIY for those is here.
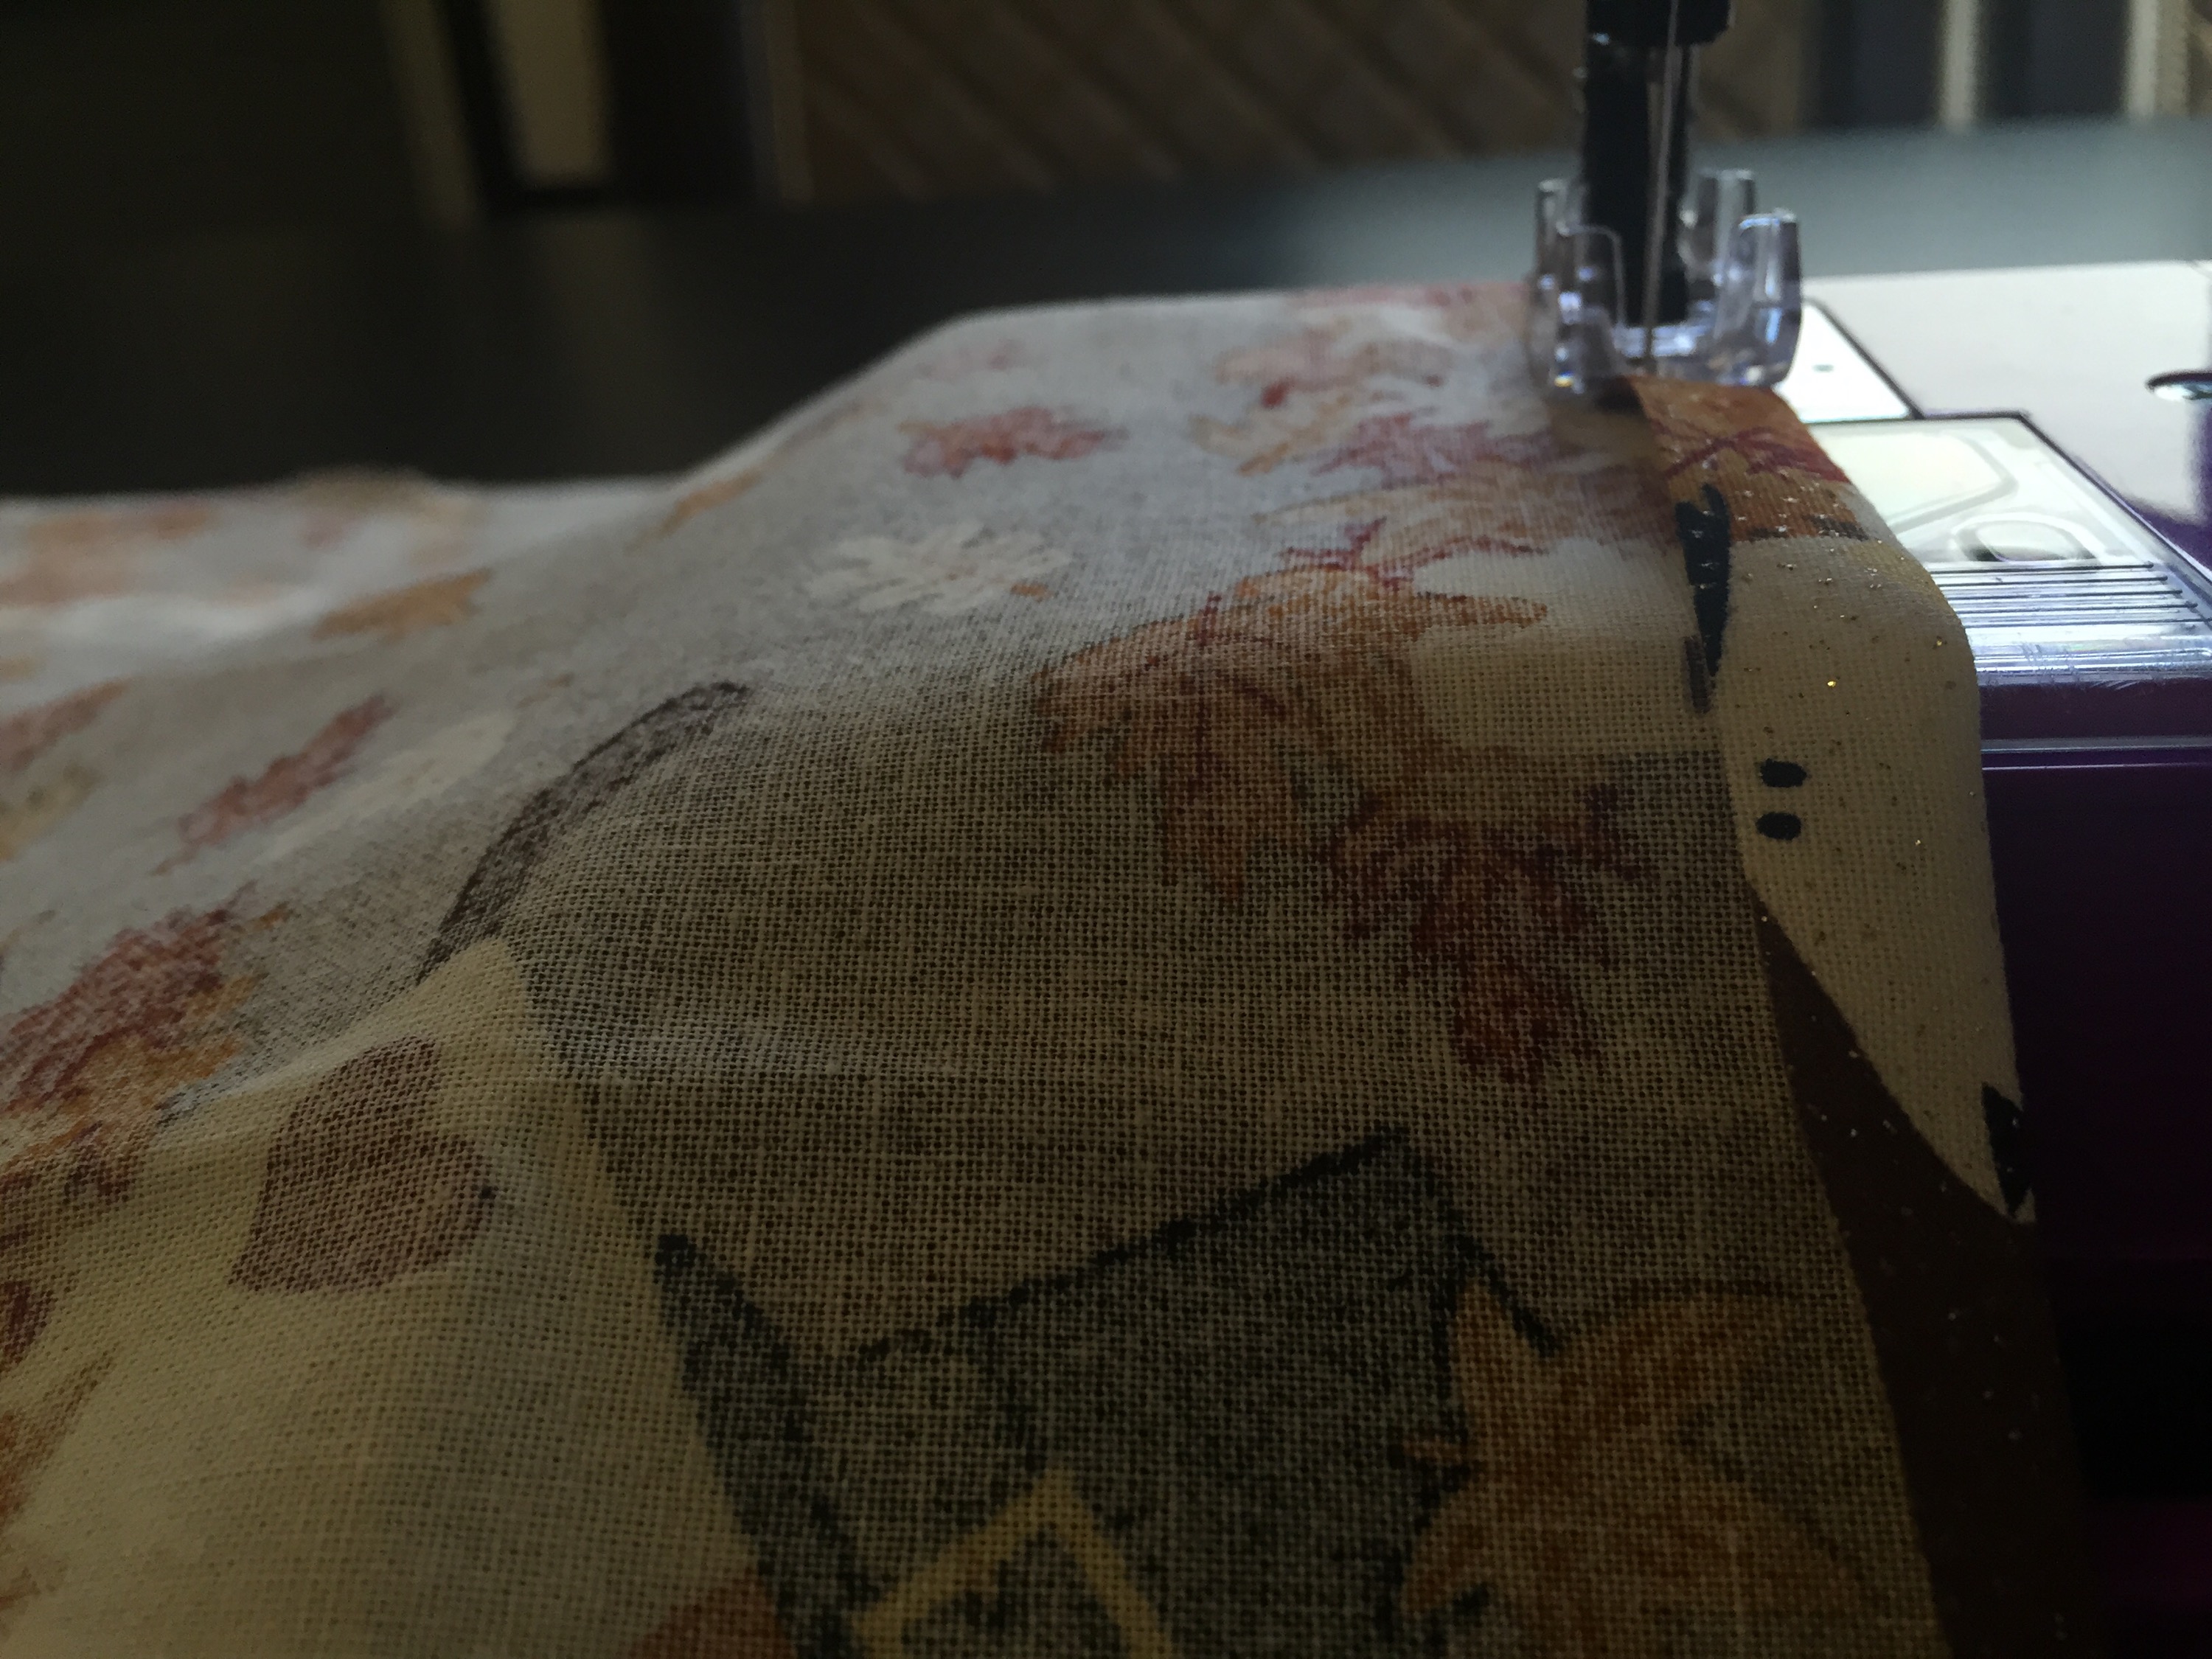
But now that my sewing is getting a little better, and this fabric shows a little more what I was doing, I thought I’d post it again.
You’ll need:
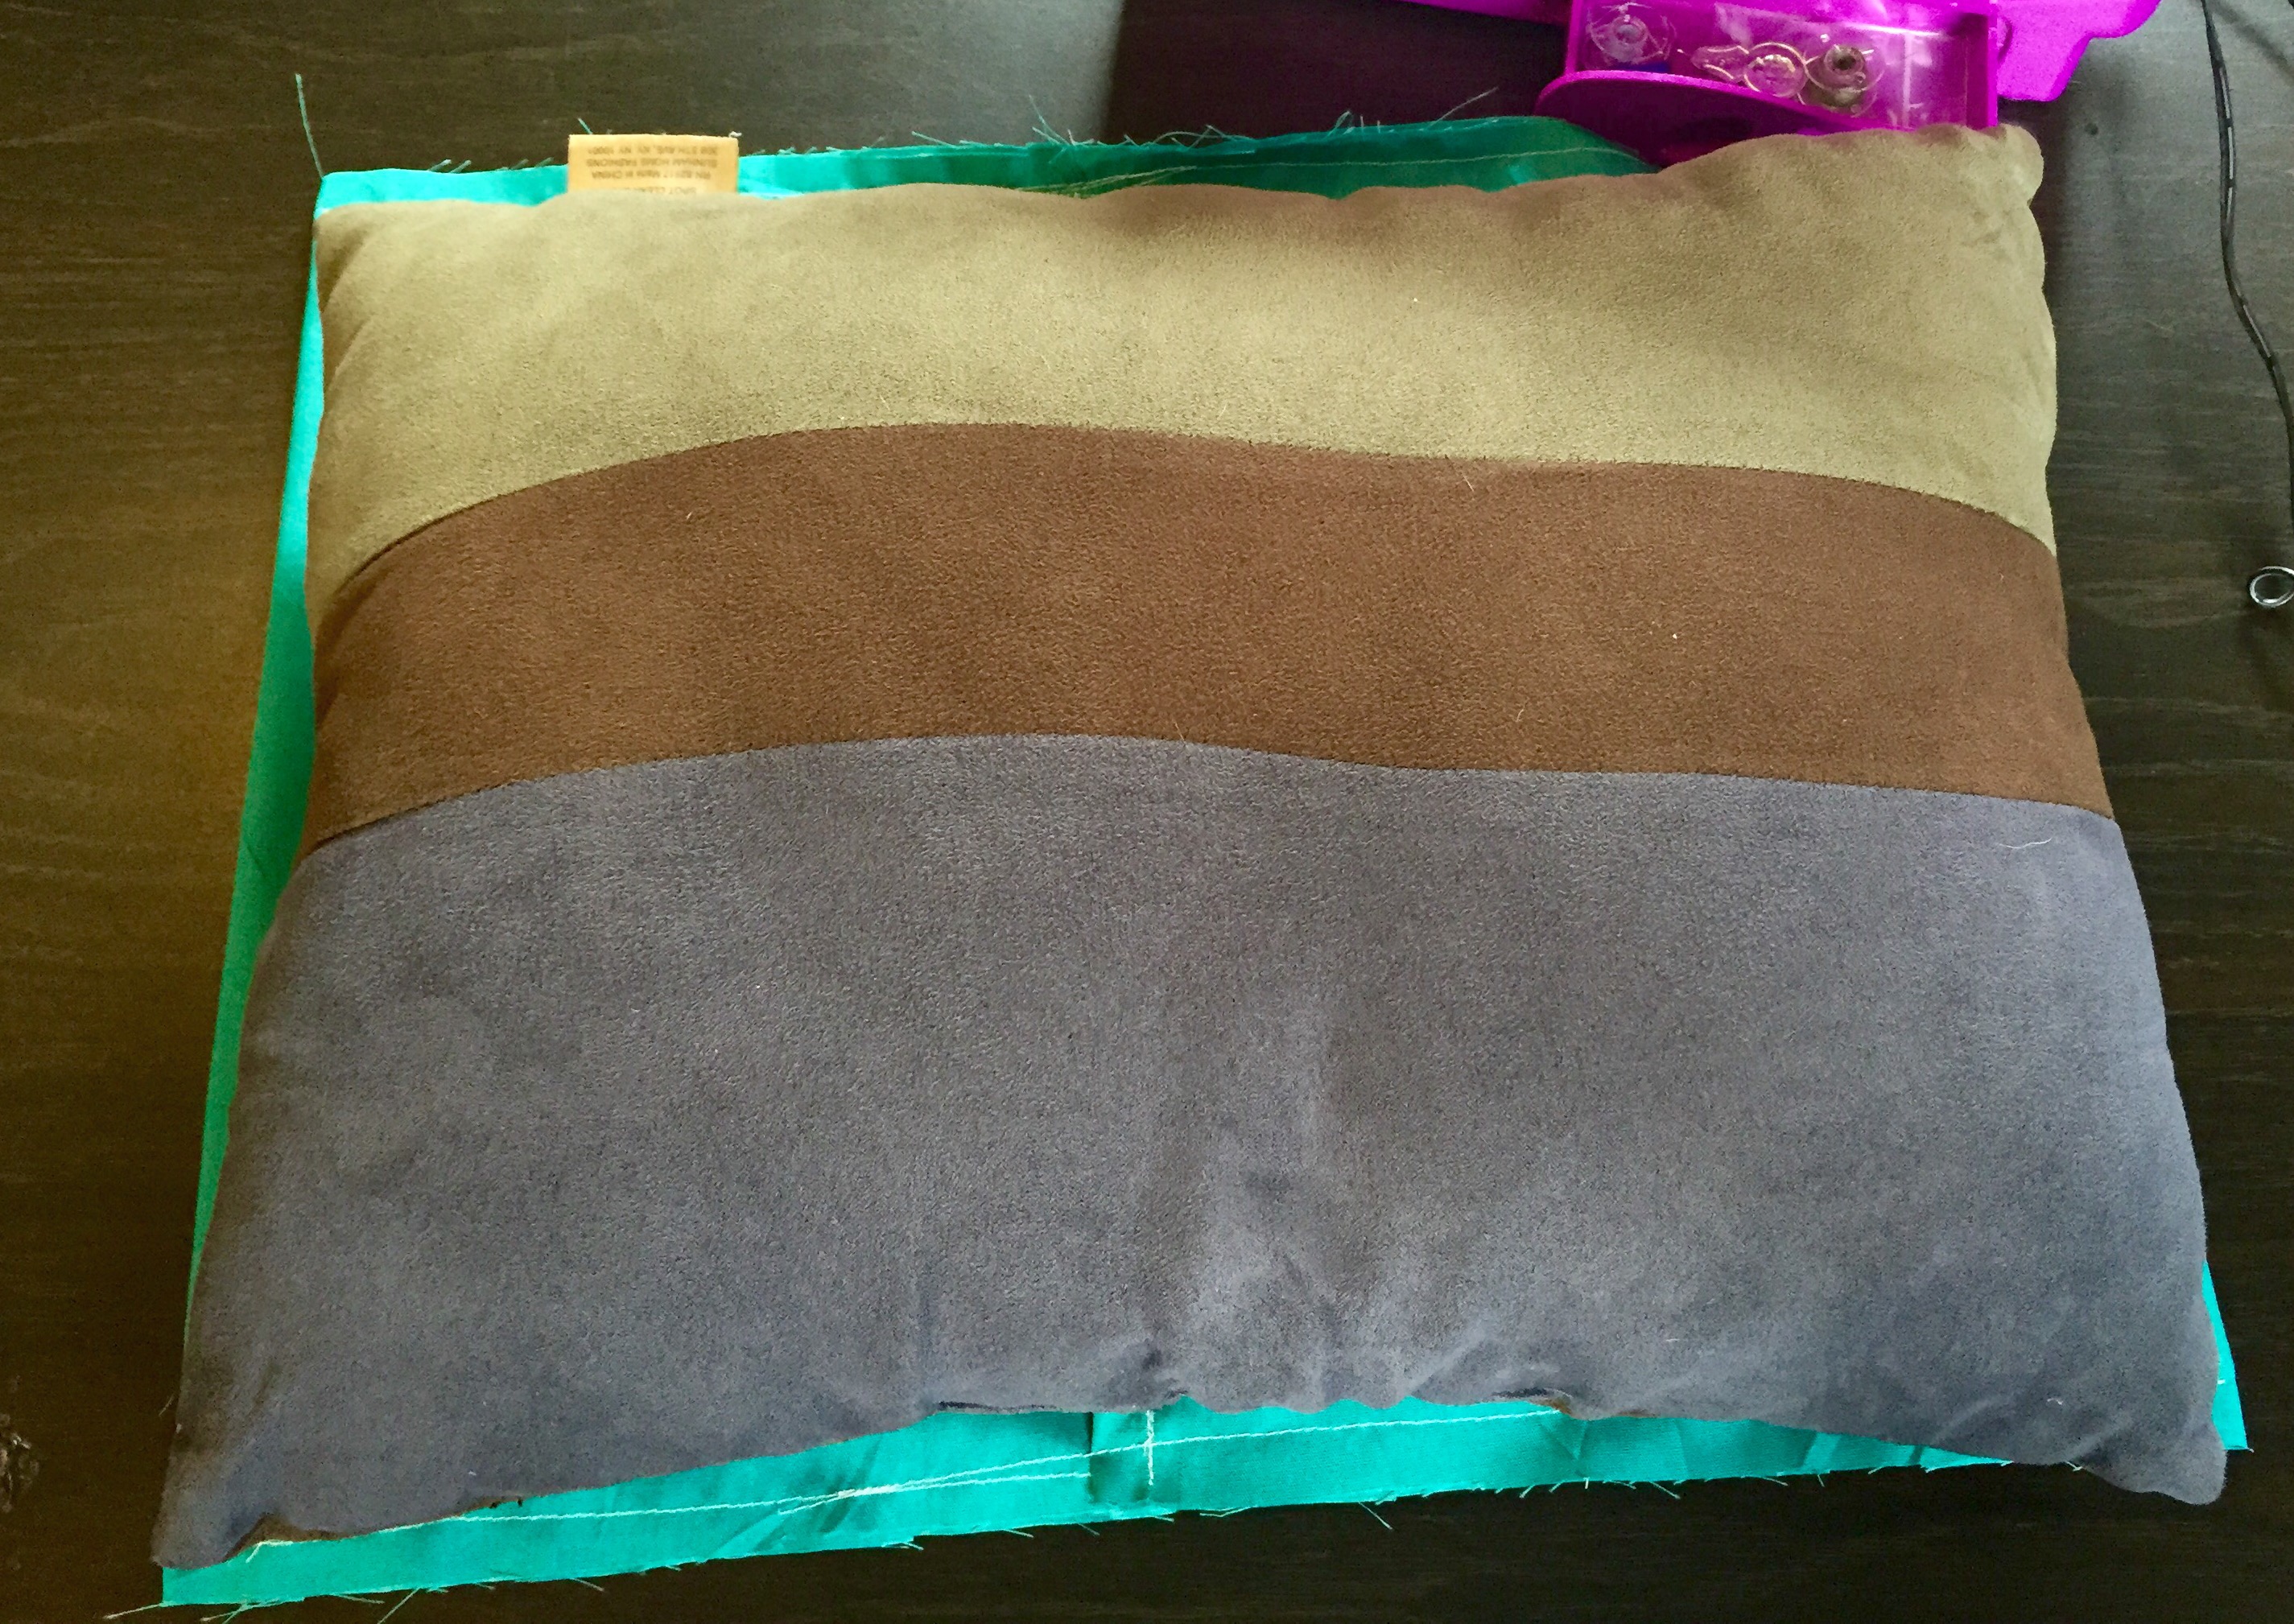
I made a 12×16″ and a 16×16″ envelope style cover for pillows that came with Allen (brown and dark blue).
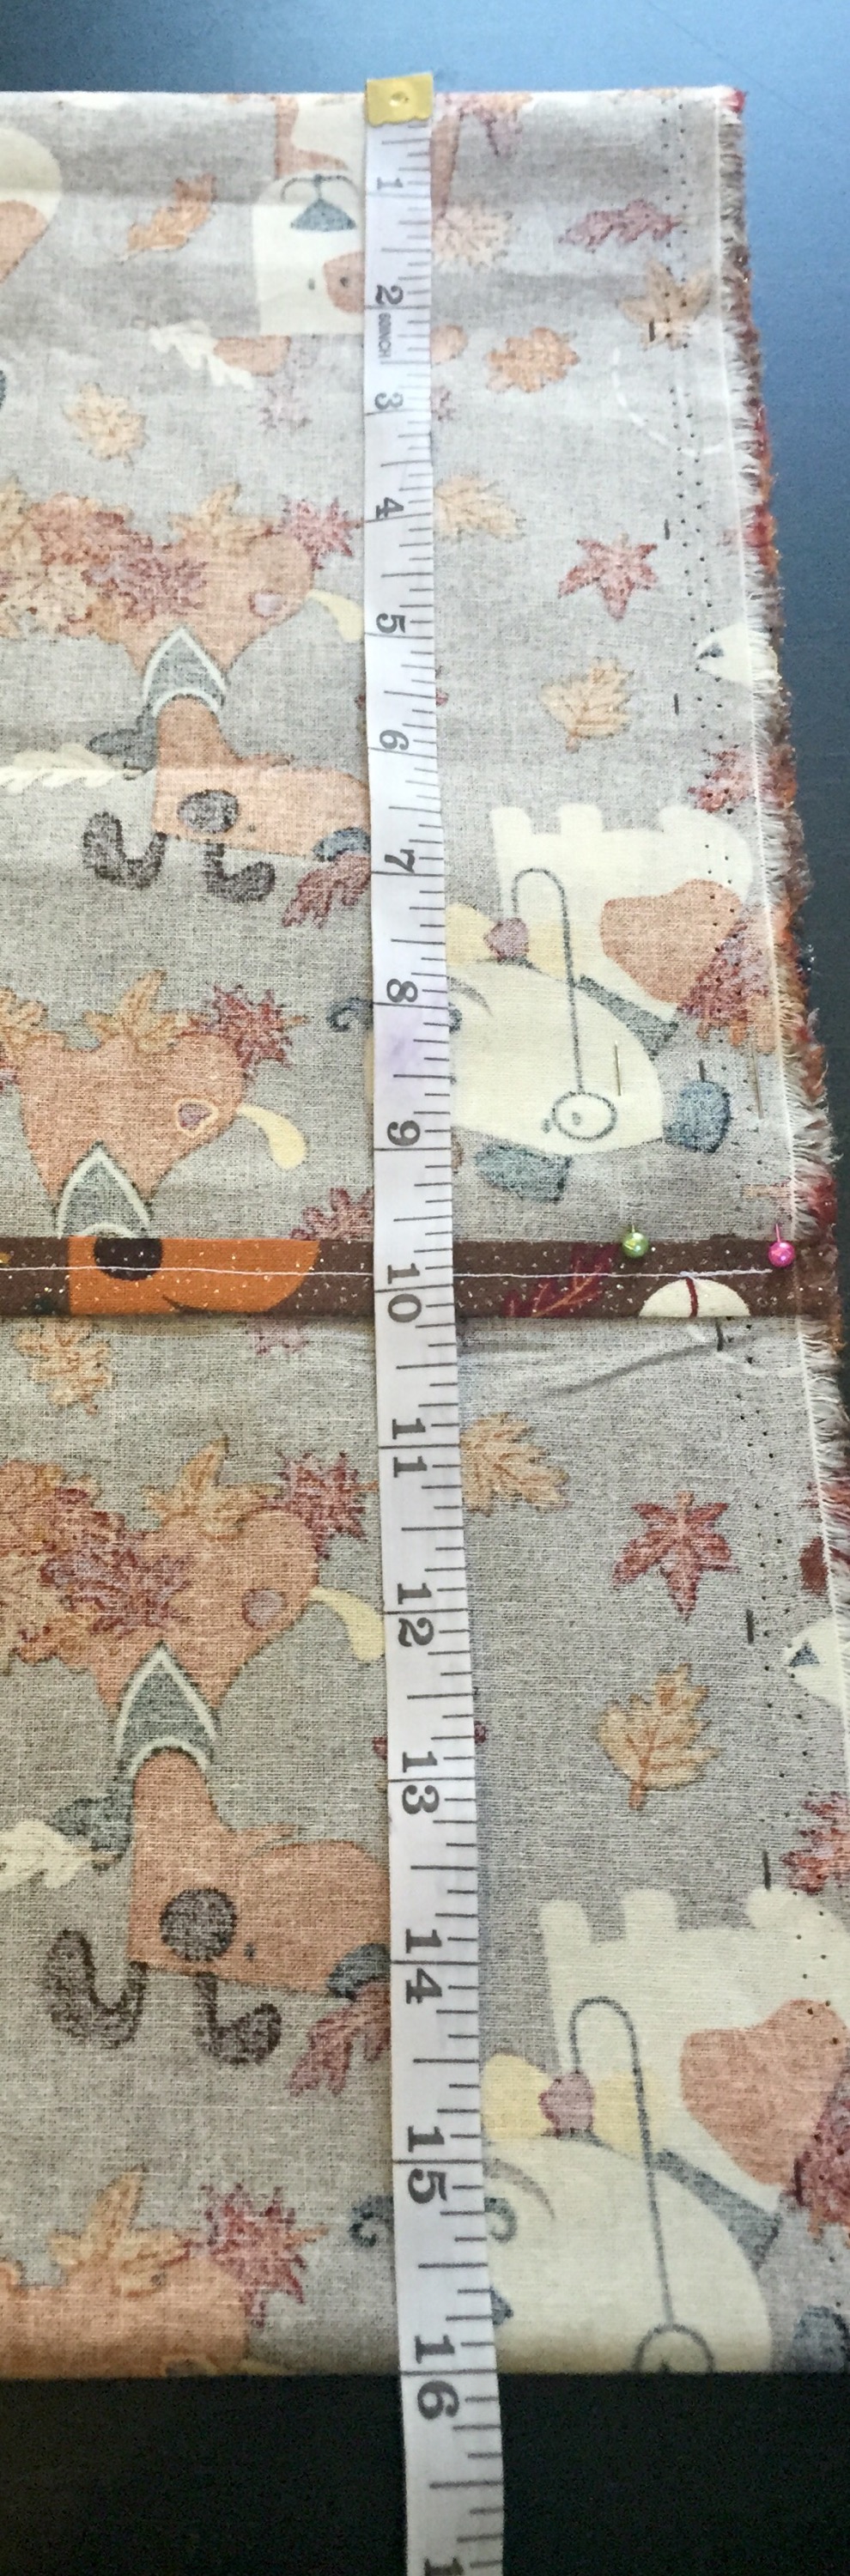
For the 16×16″… I cut the fabric to 17″x36″ (I added 1/2″ on each side for the seams then 3″ for the overlap/envelope).
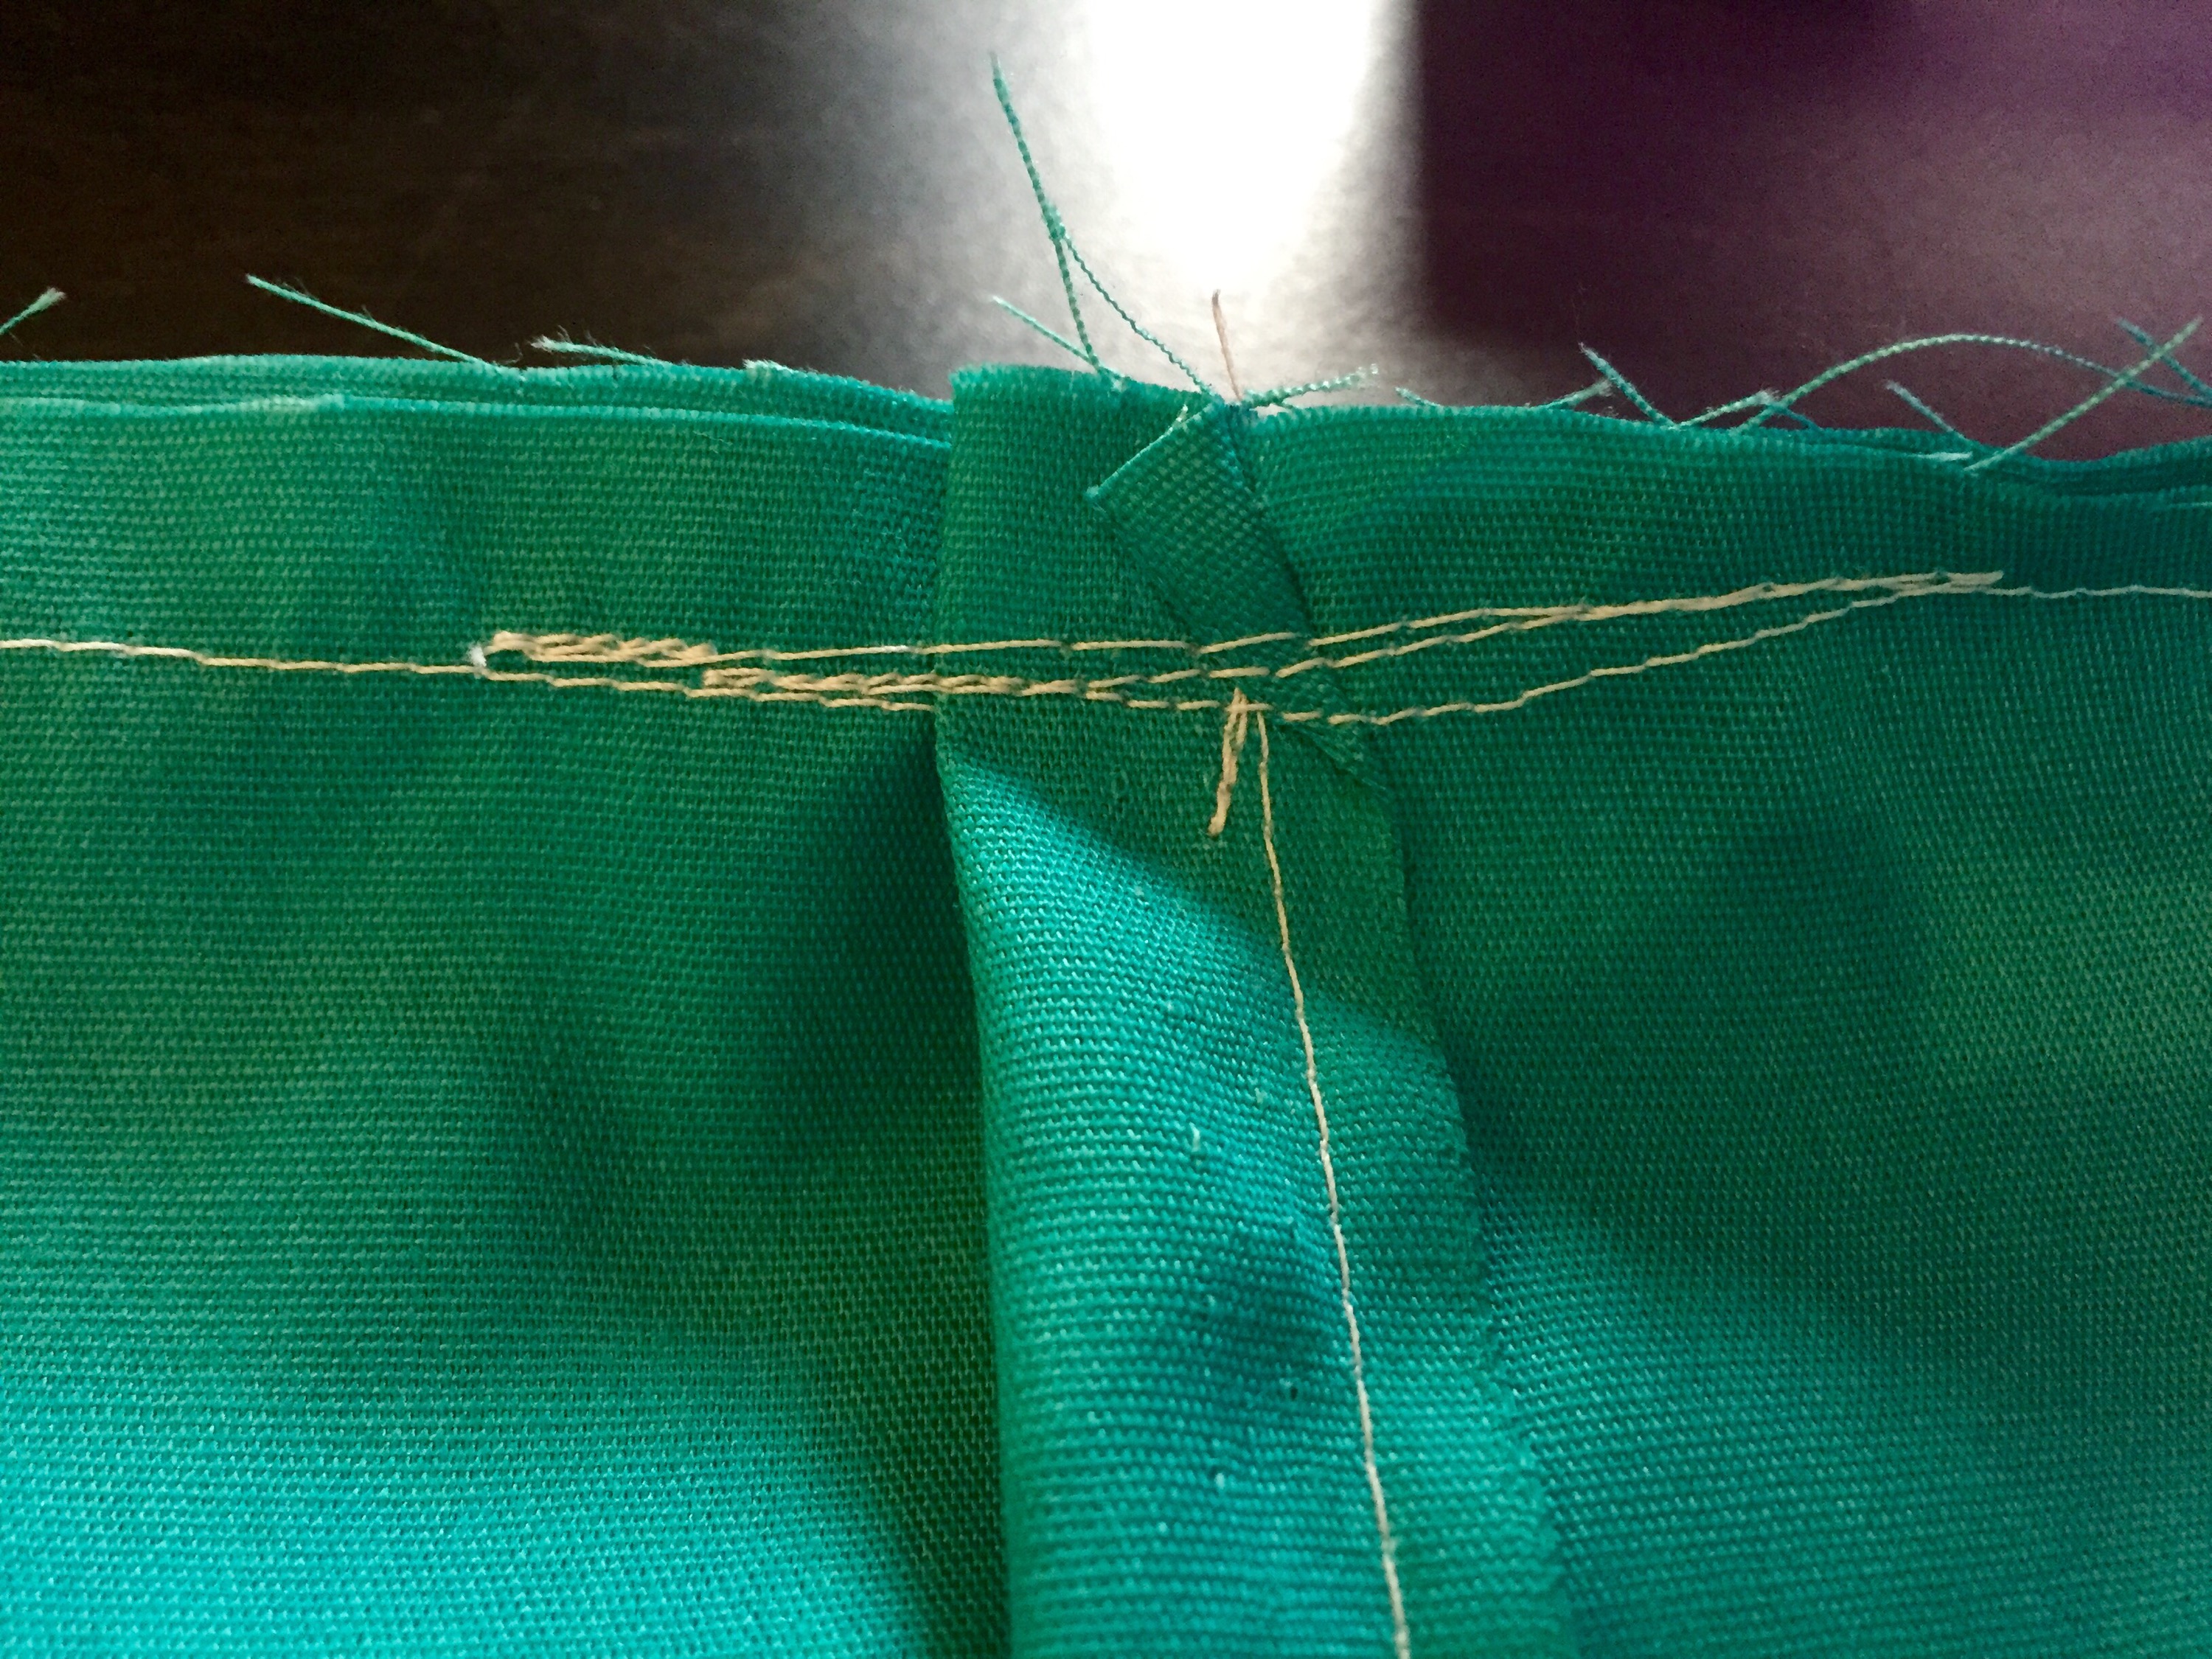
I sewed a 1/2″ hem on both short ends.
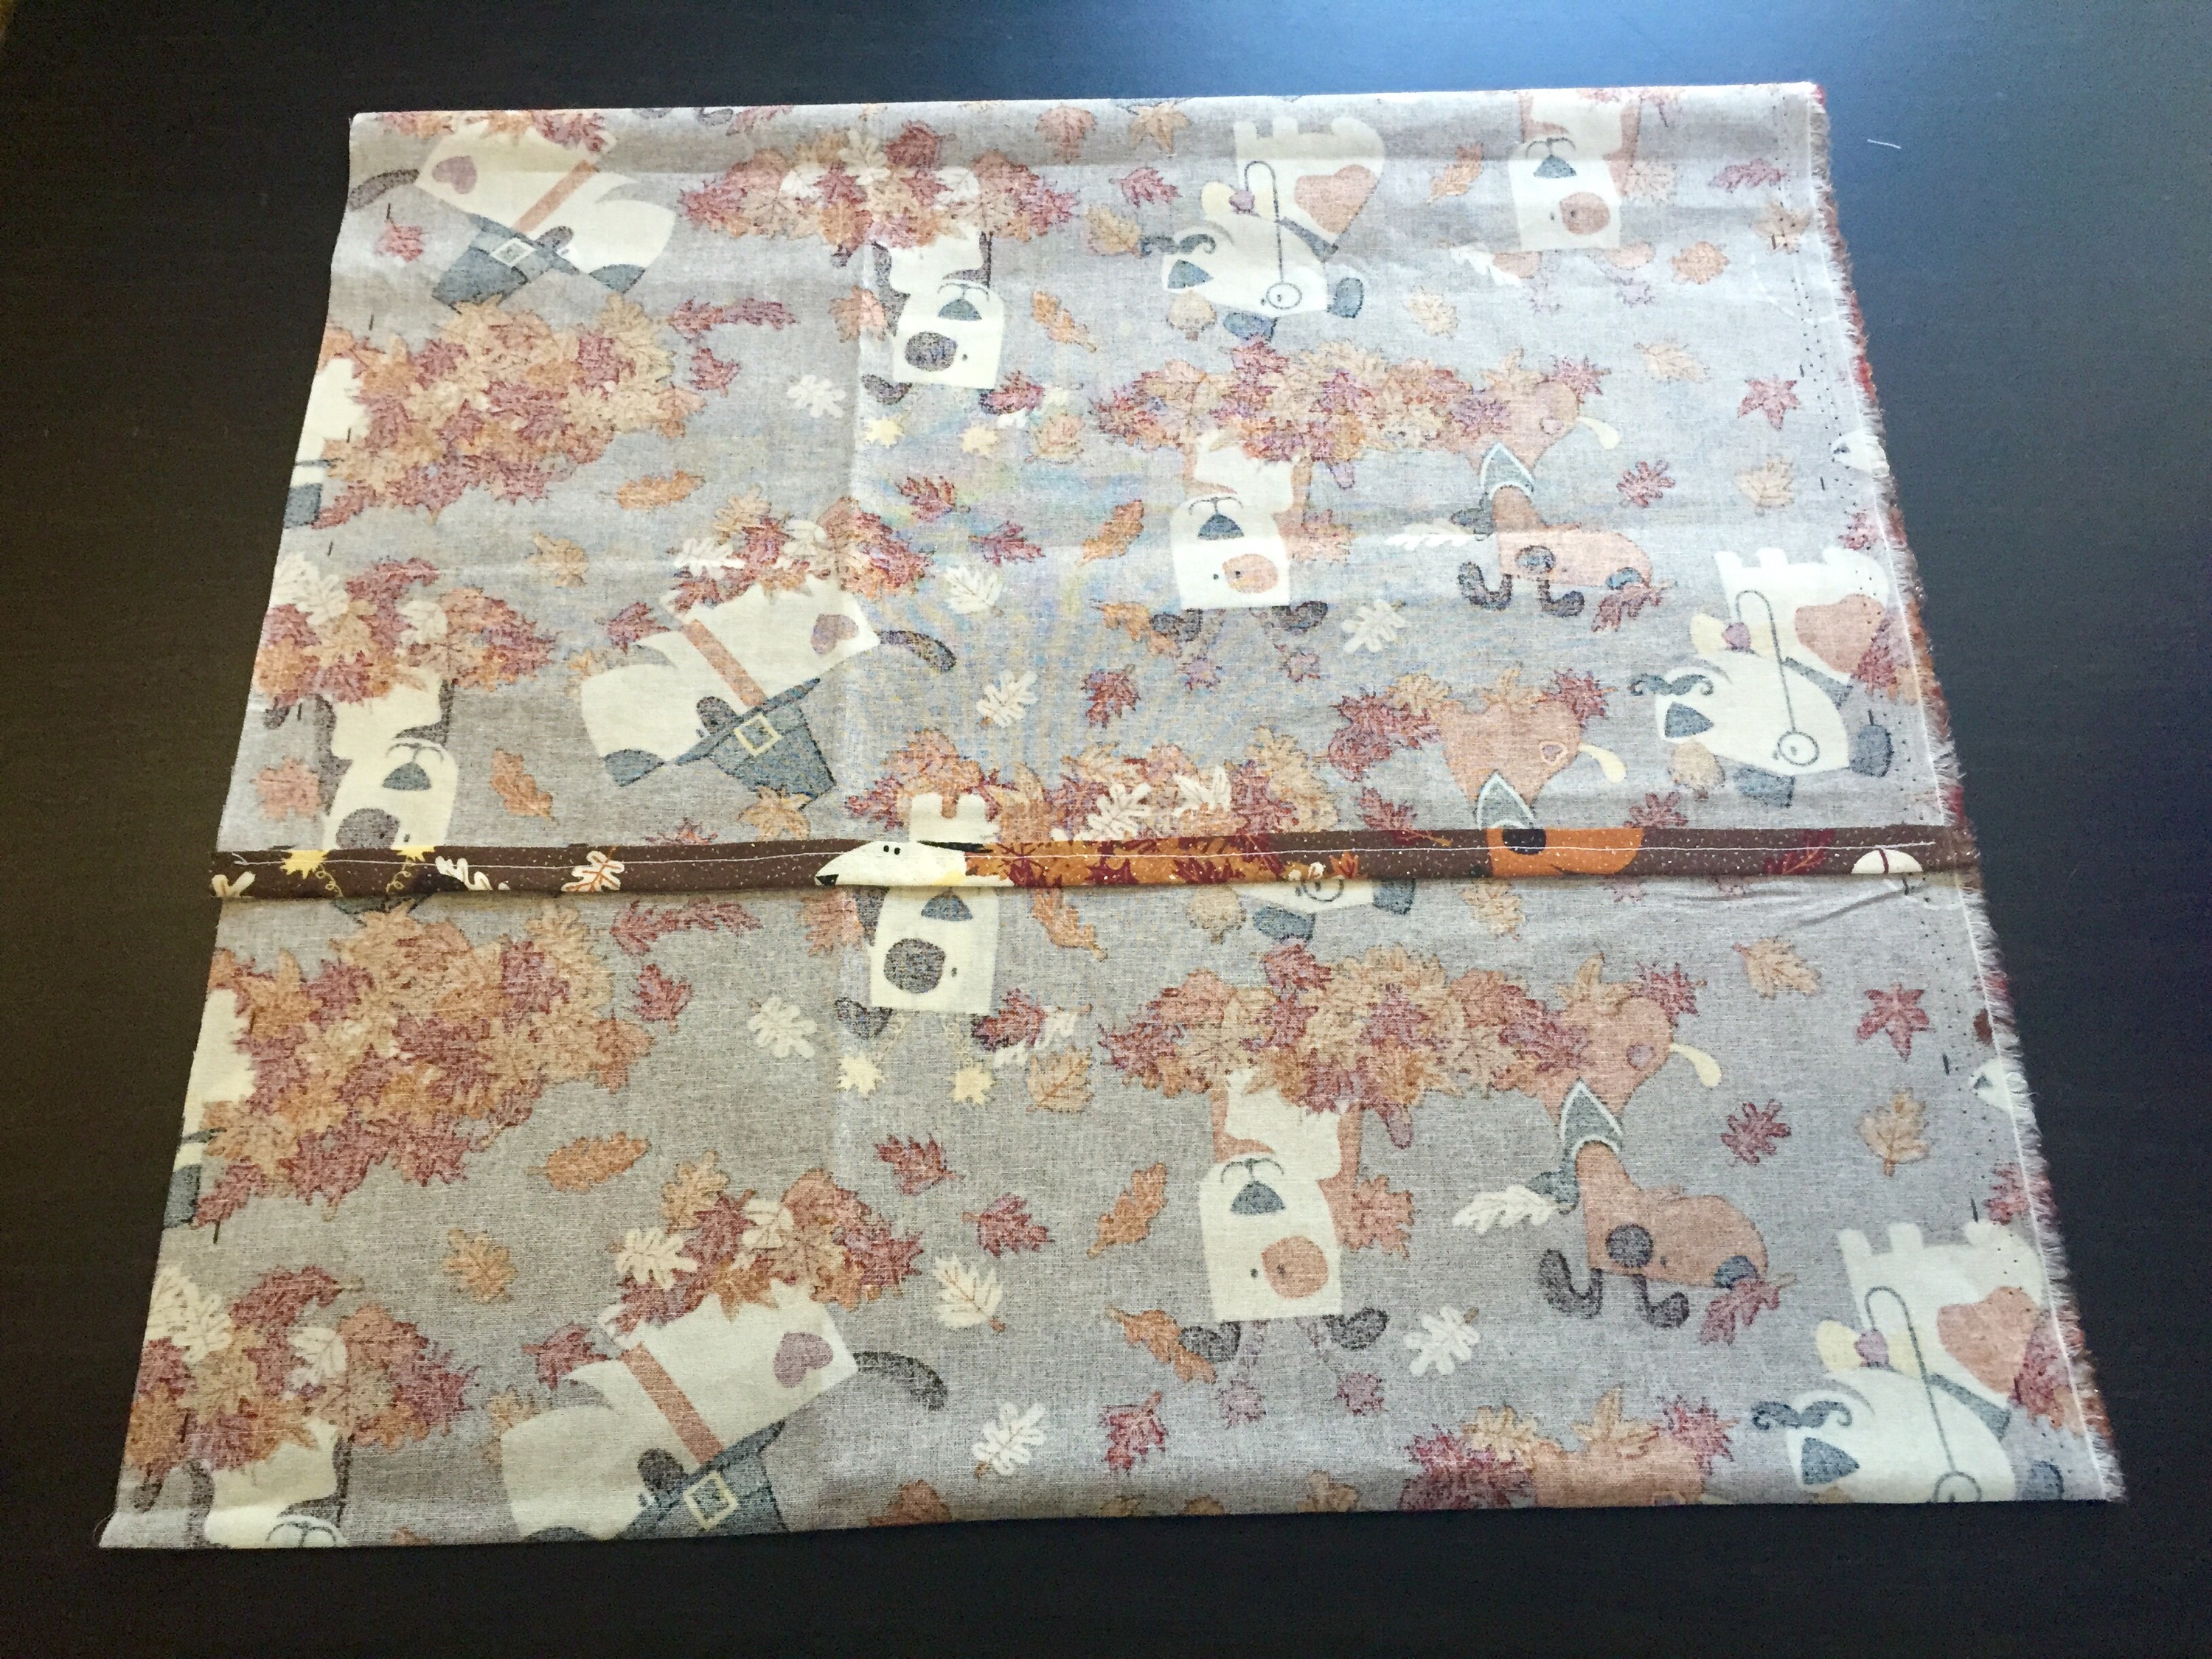
 Then I folded it, right sides together, in almost thirds, overlapping the ends, to make the entire size 16″x16″.
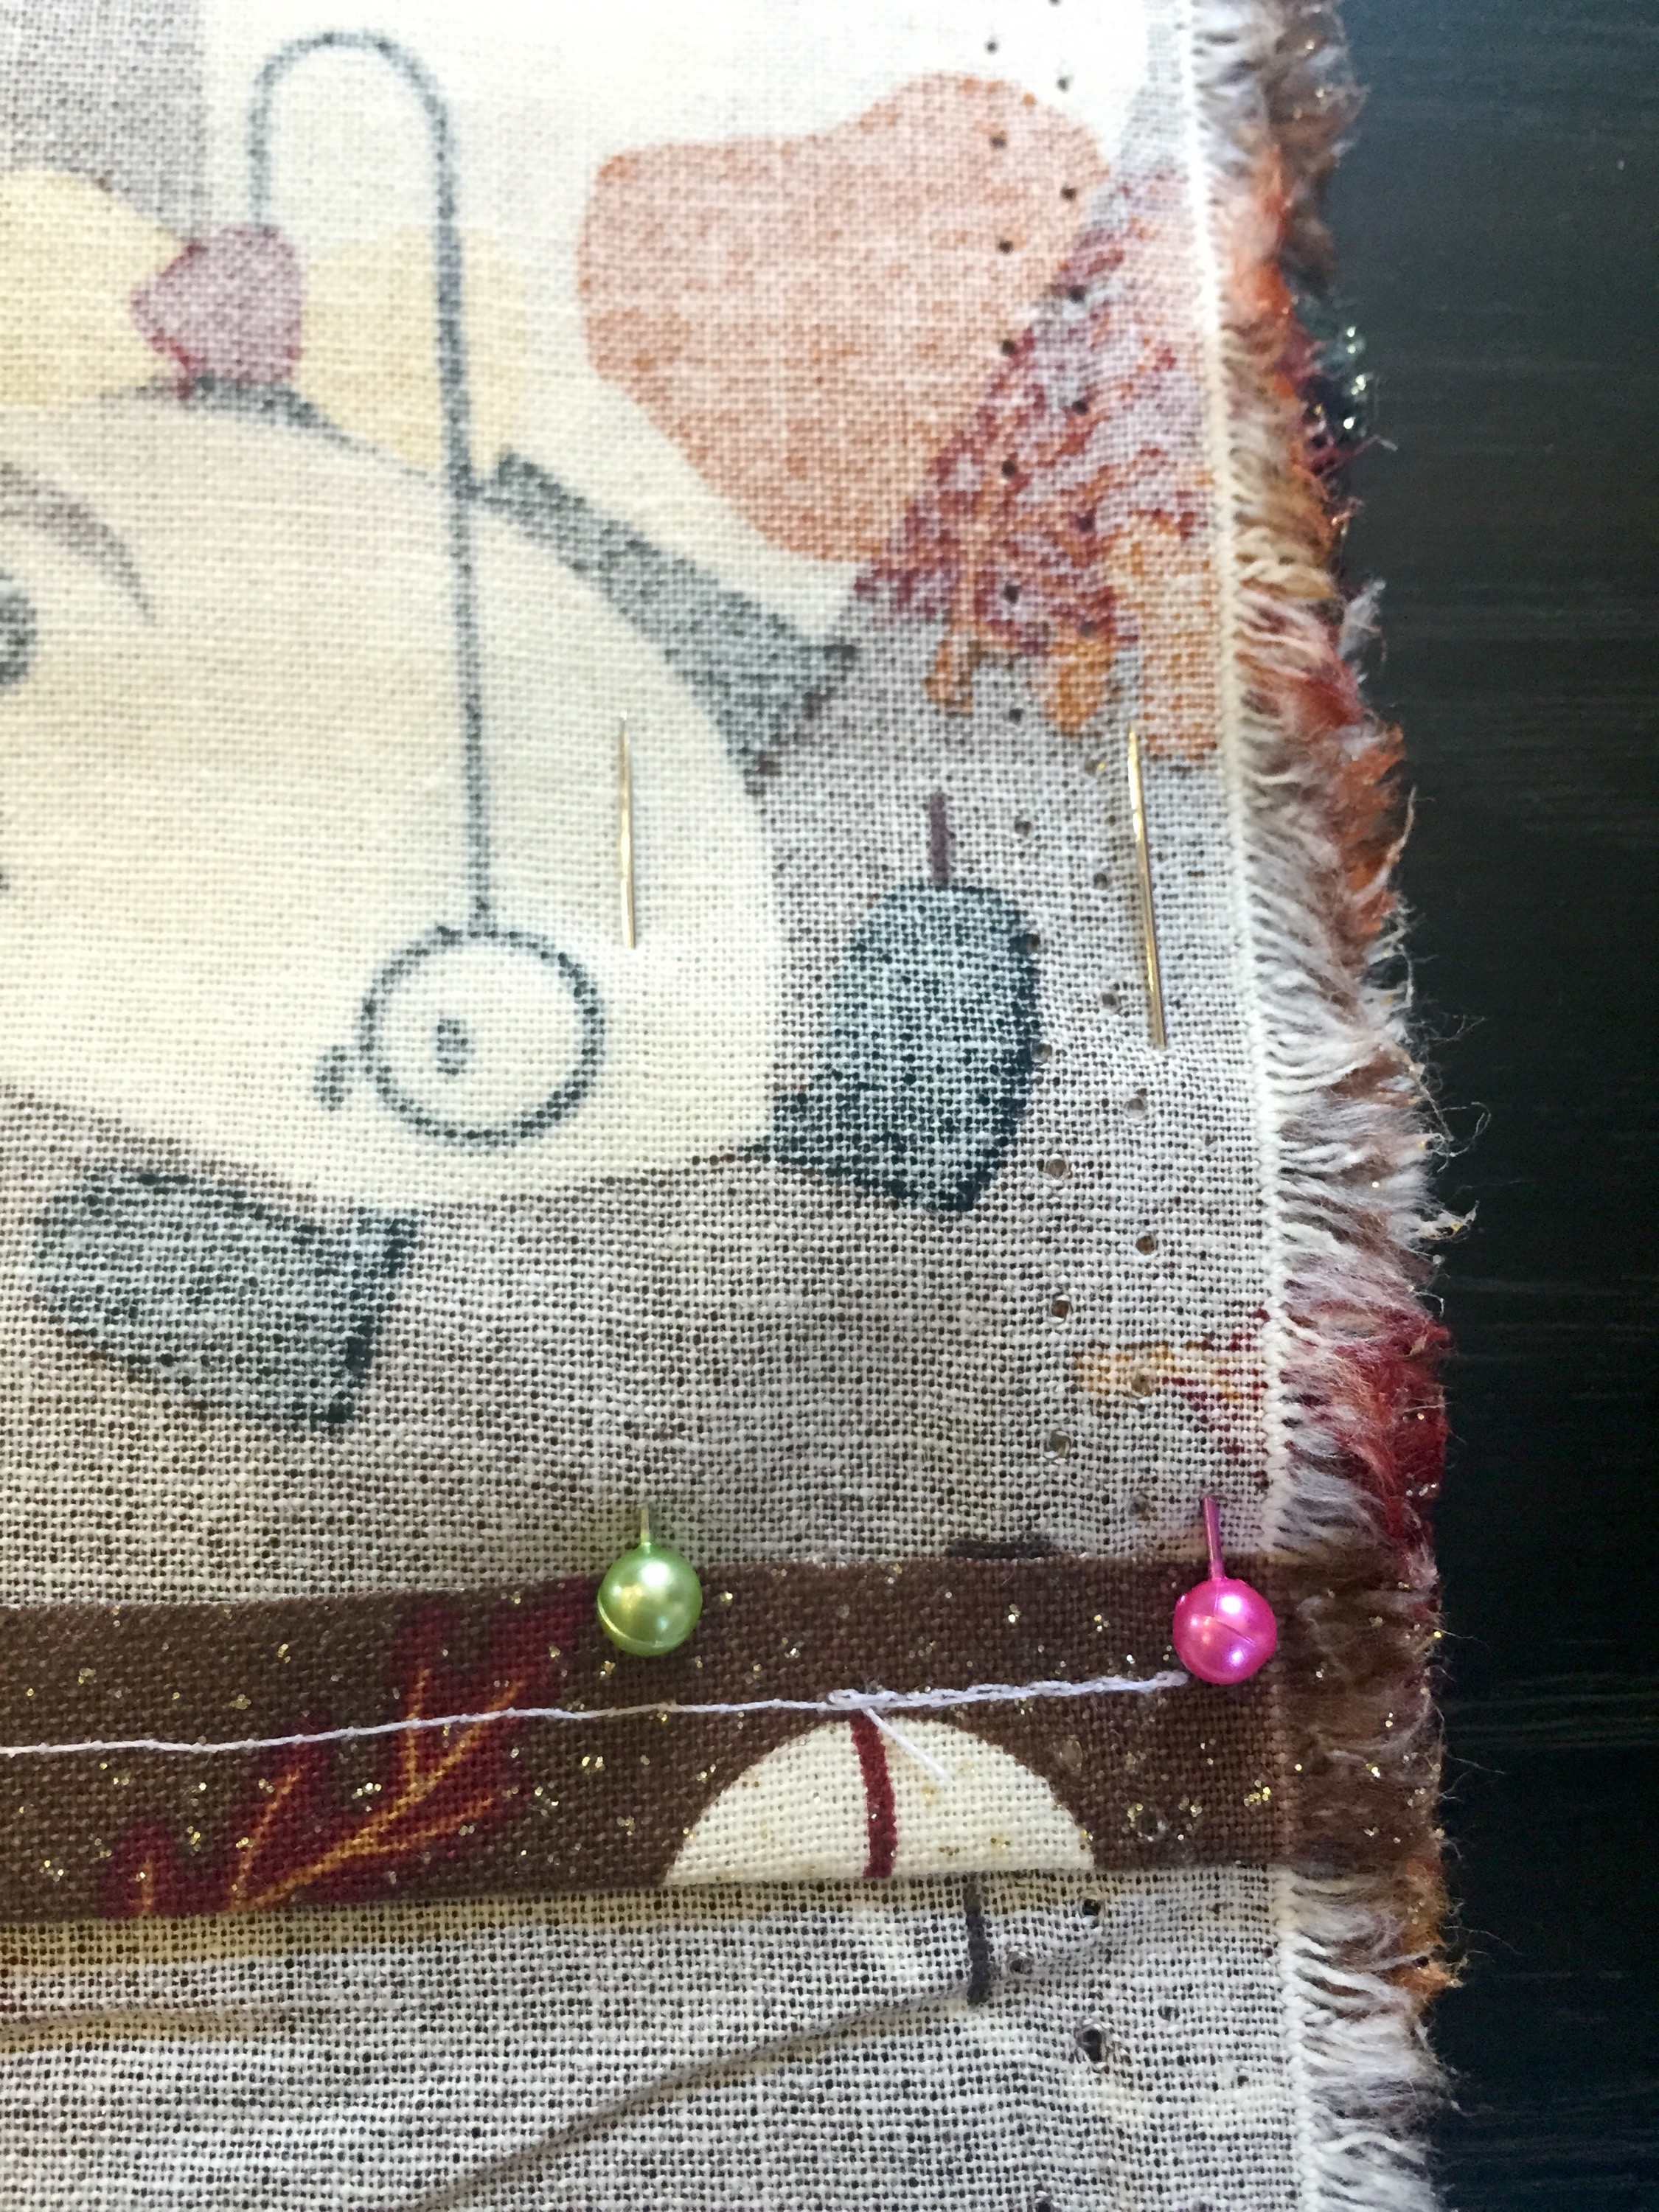
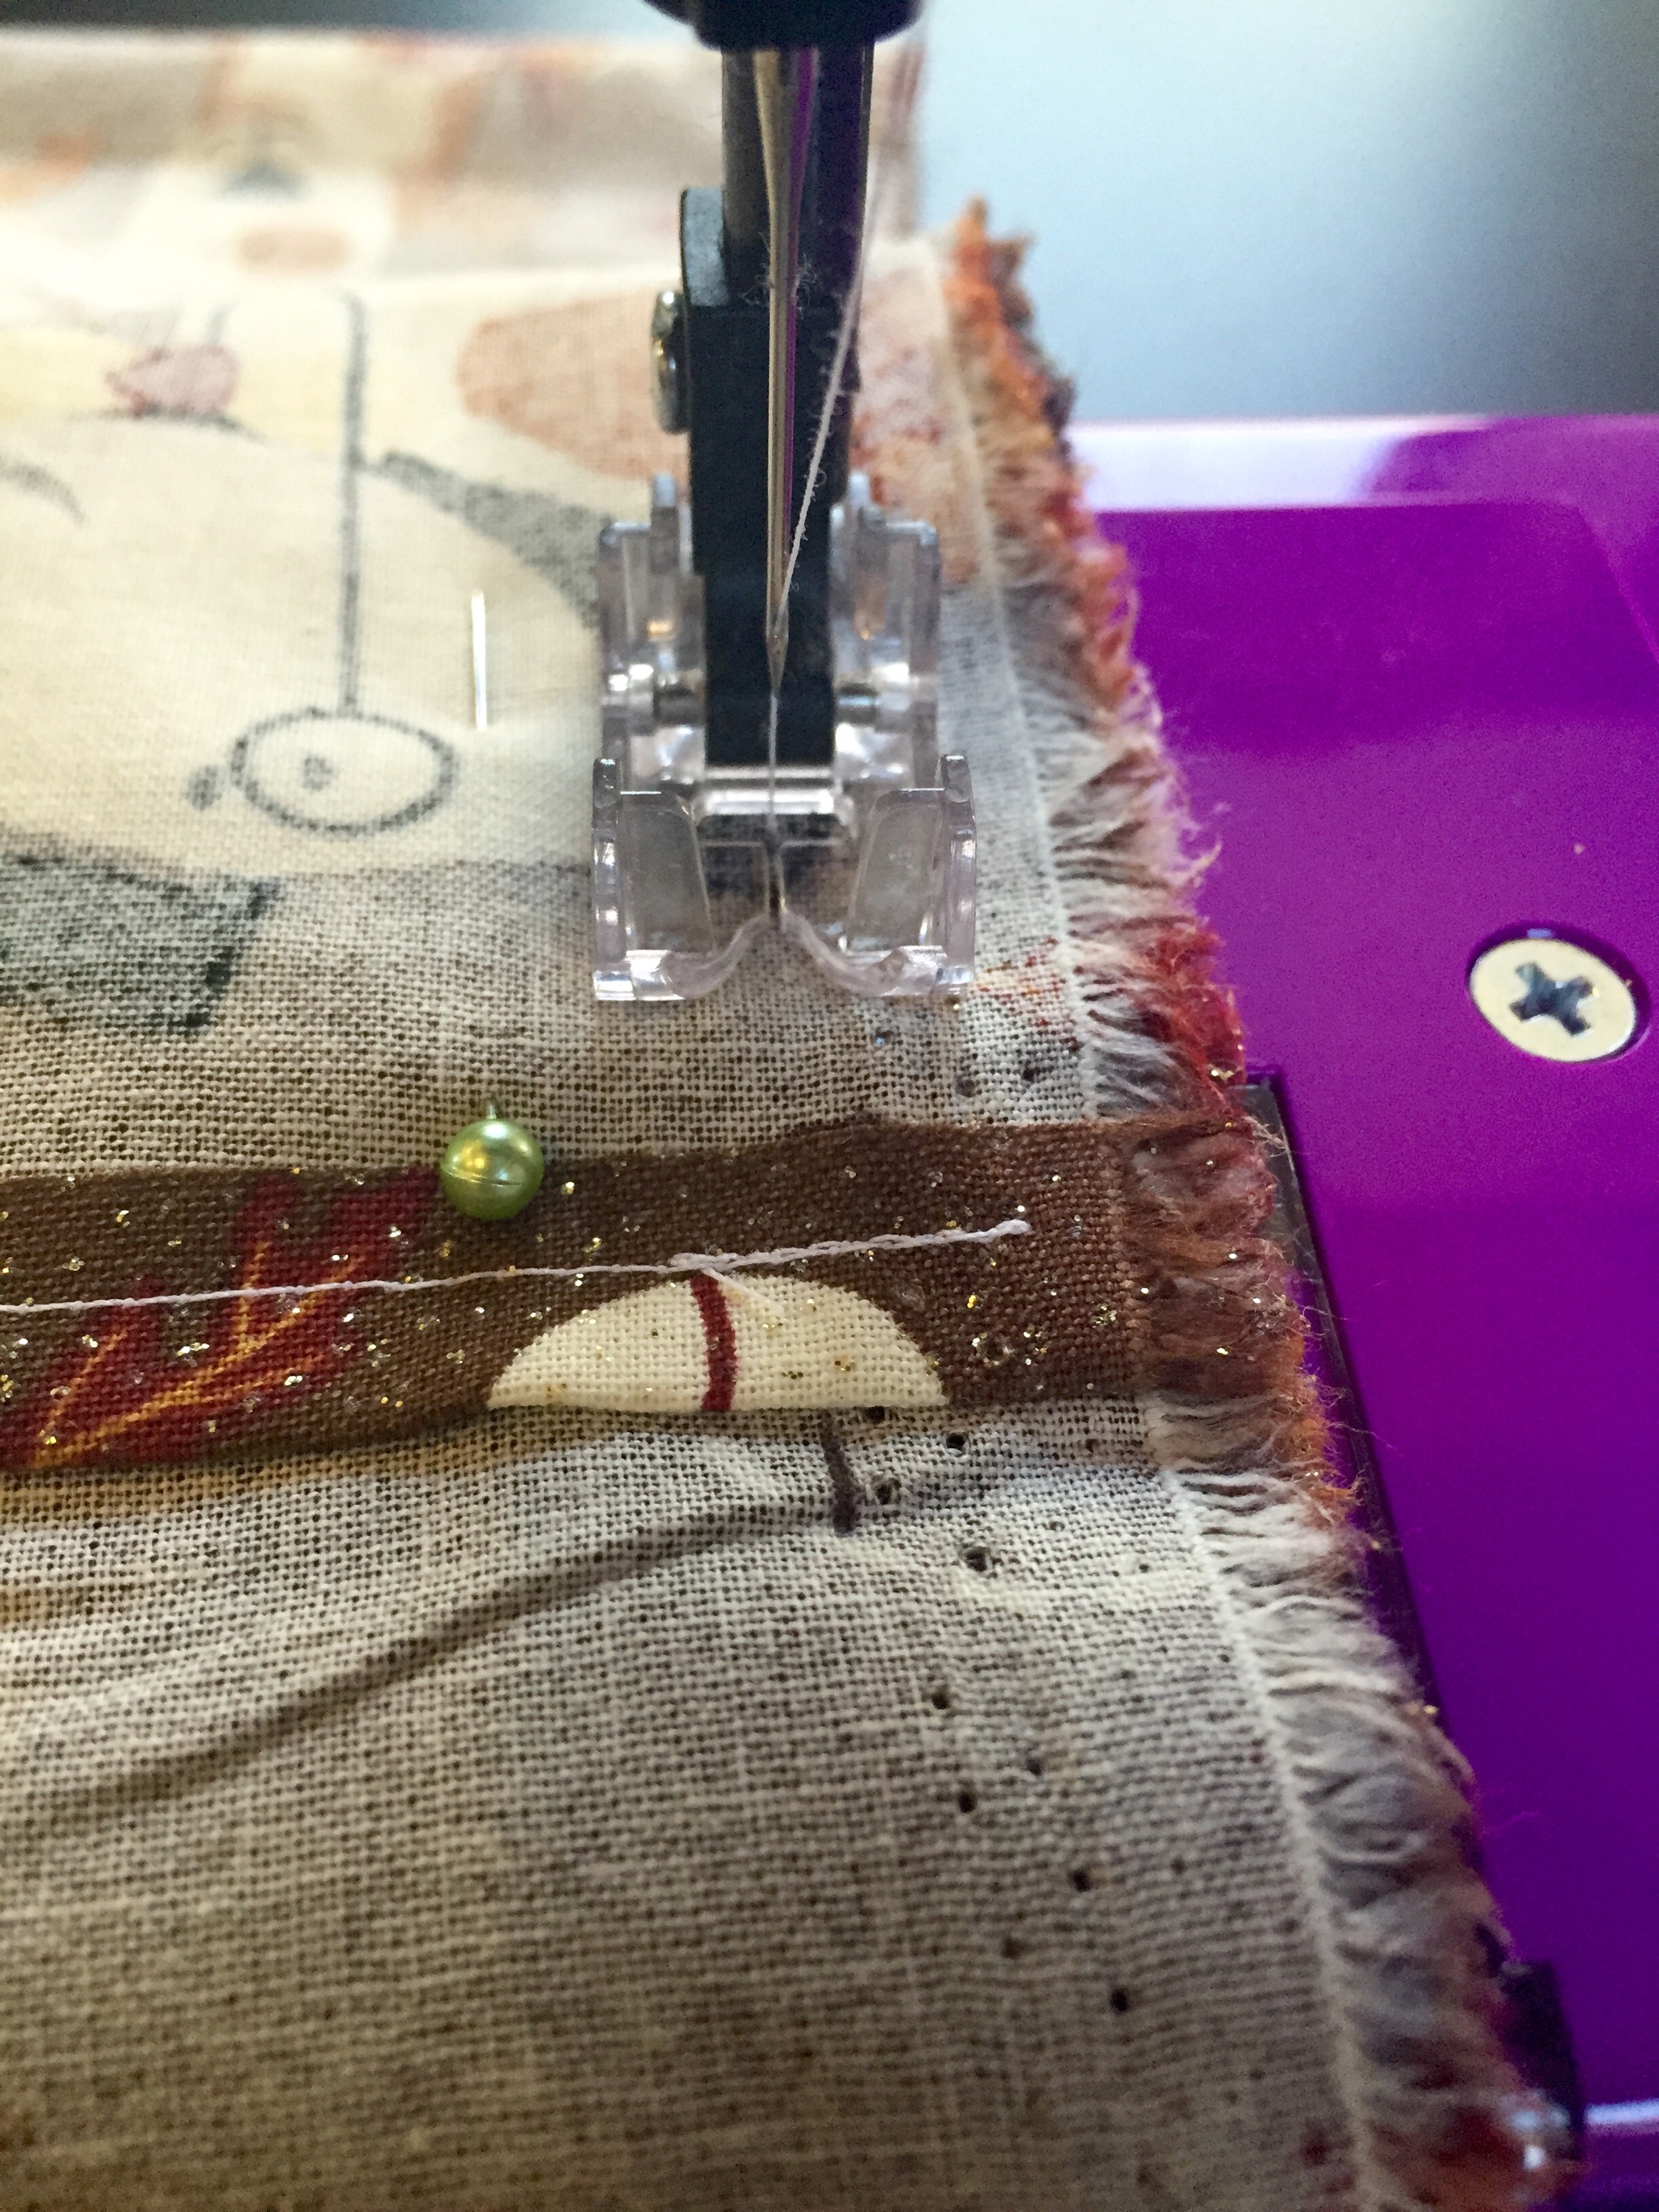
 Then I pinned it in place on the overlap. Then I sewed each edge.
 Next, flip it right-side-out. And stuff the pillow in!

I really want to try this next:
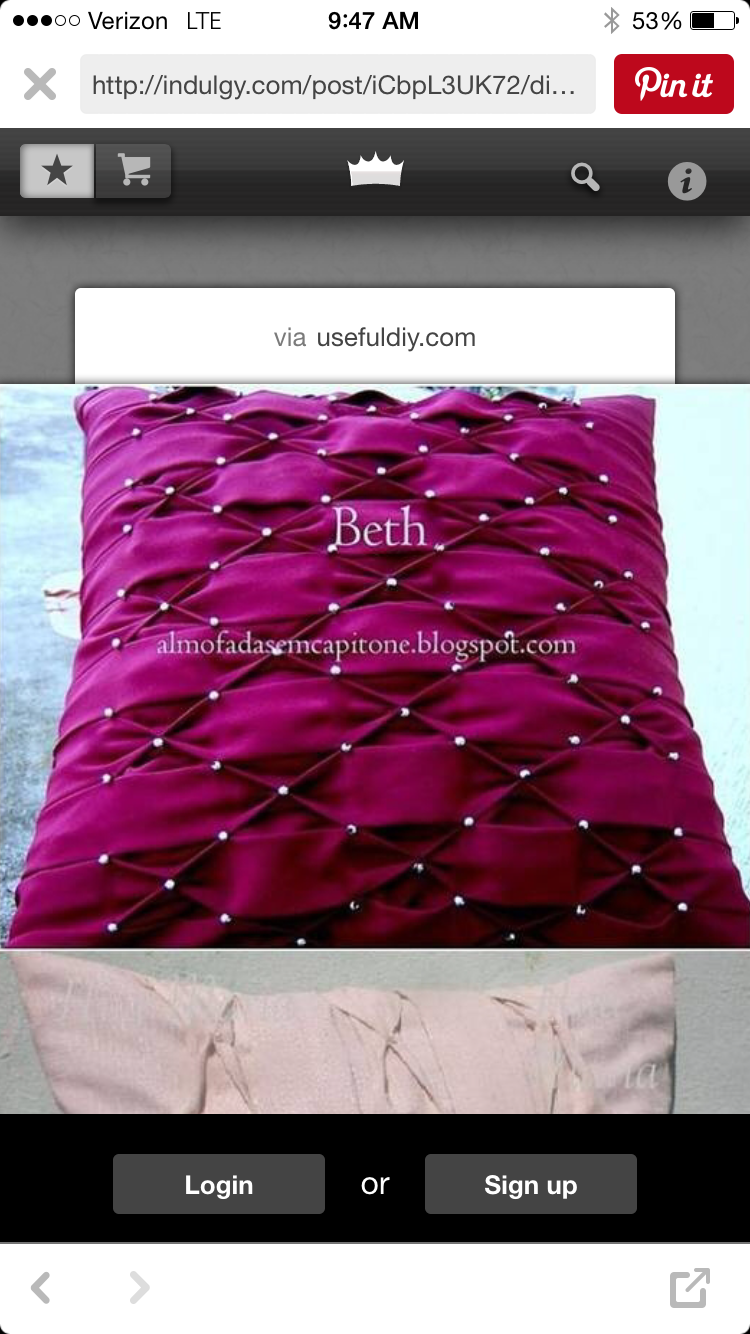
But it looks a LITTLE more difficult!
It’s kind of nice that Allen has been getting Saturdays off work. That doesn’t happen too often. But it gives us a chance to do more things… So this Saturday we fixed the ladder on the camper and lowered the top bunk in the garage to give us me more storage space. Continue reading
Yesterday when I got lost in the endless Pinterest maze, I was actually looking for a way to transfer an image onto fabric. Since I made my pillow covers, I’ve been thinking they looked a little plain. I found a solution (I think!)
I still want to add to this but, now I know how to do it! It’s super easy! You need:
That’s it!

Remember everything will transfer in reverse. Good thing this was a test on scrap fabric!

Word… And my Sutro coffee cup…

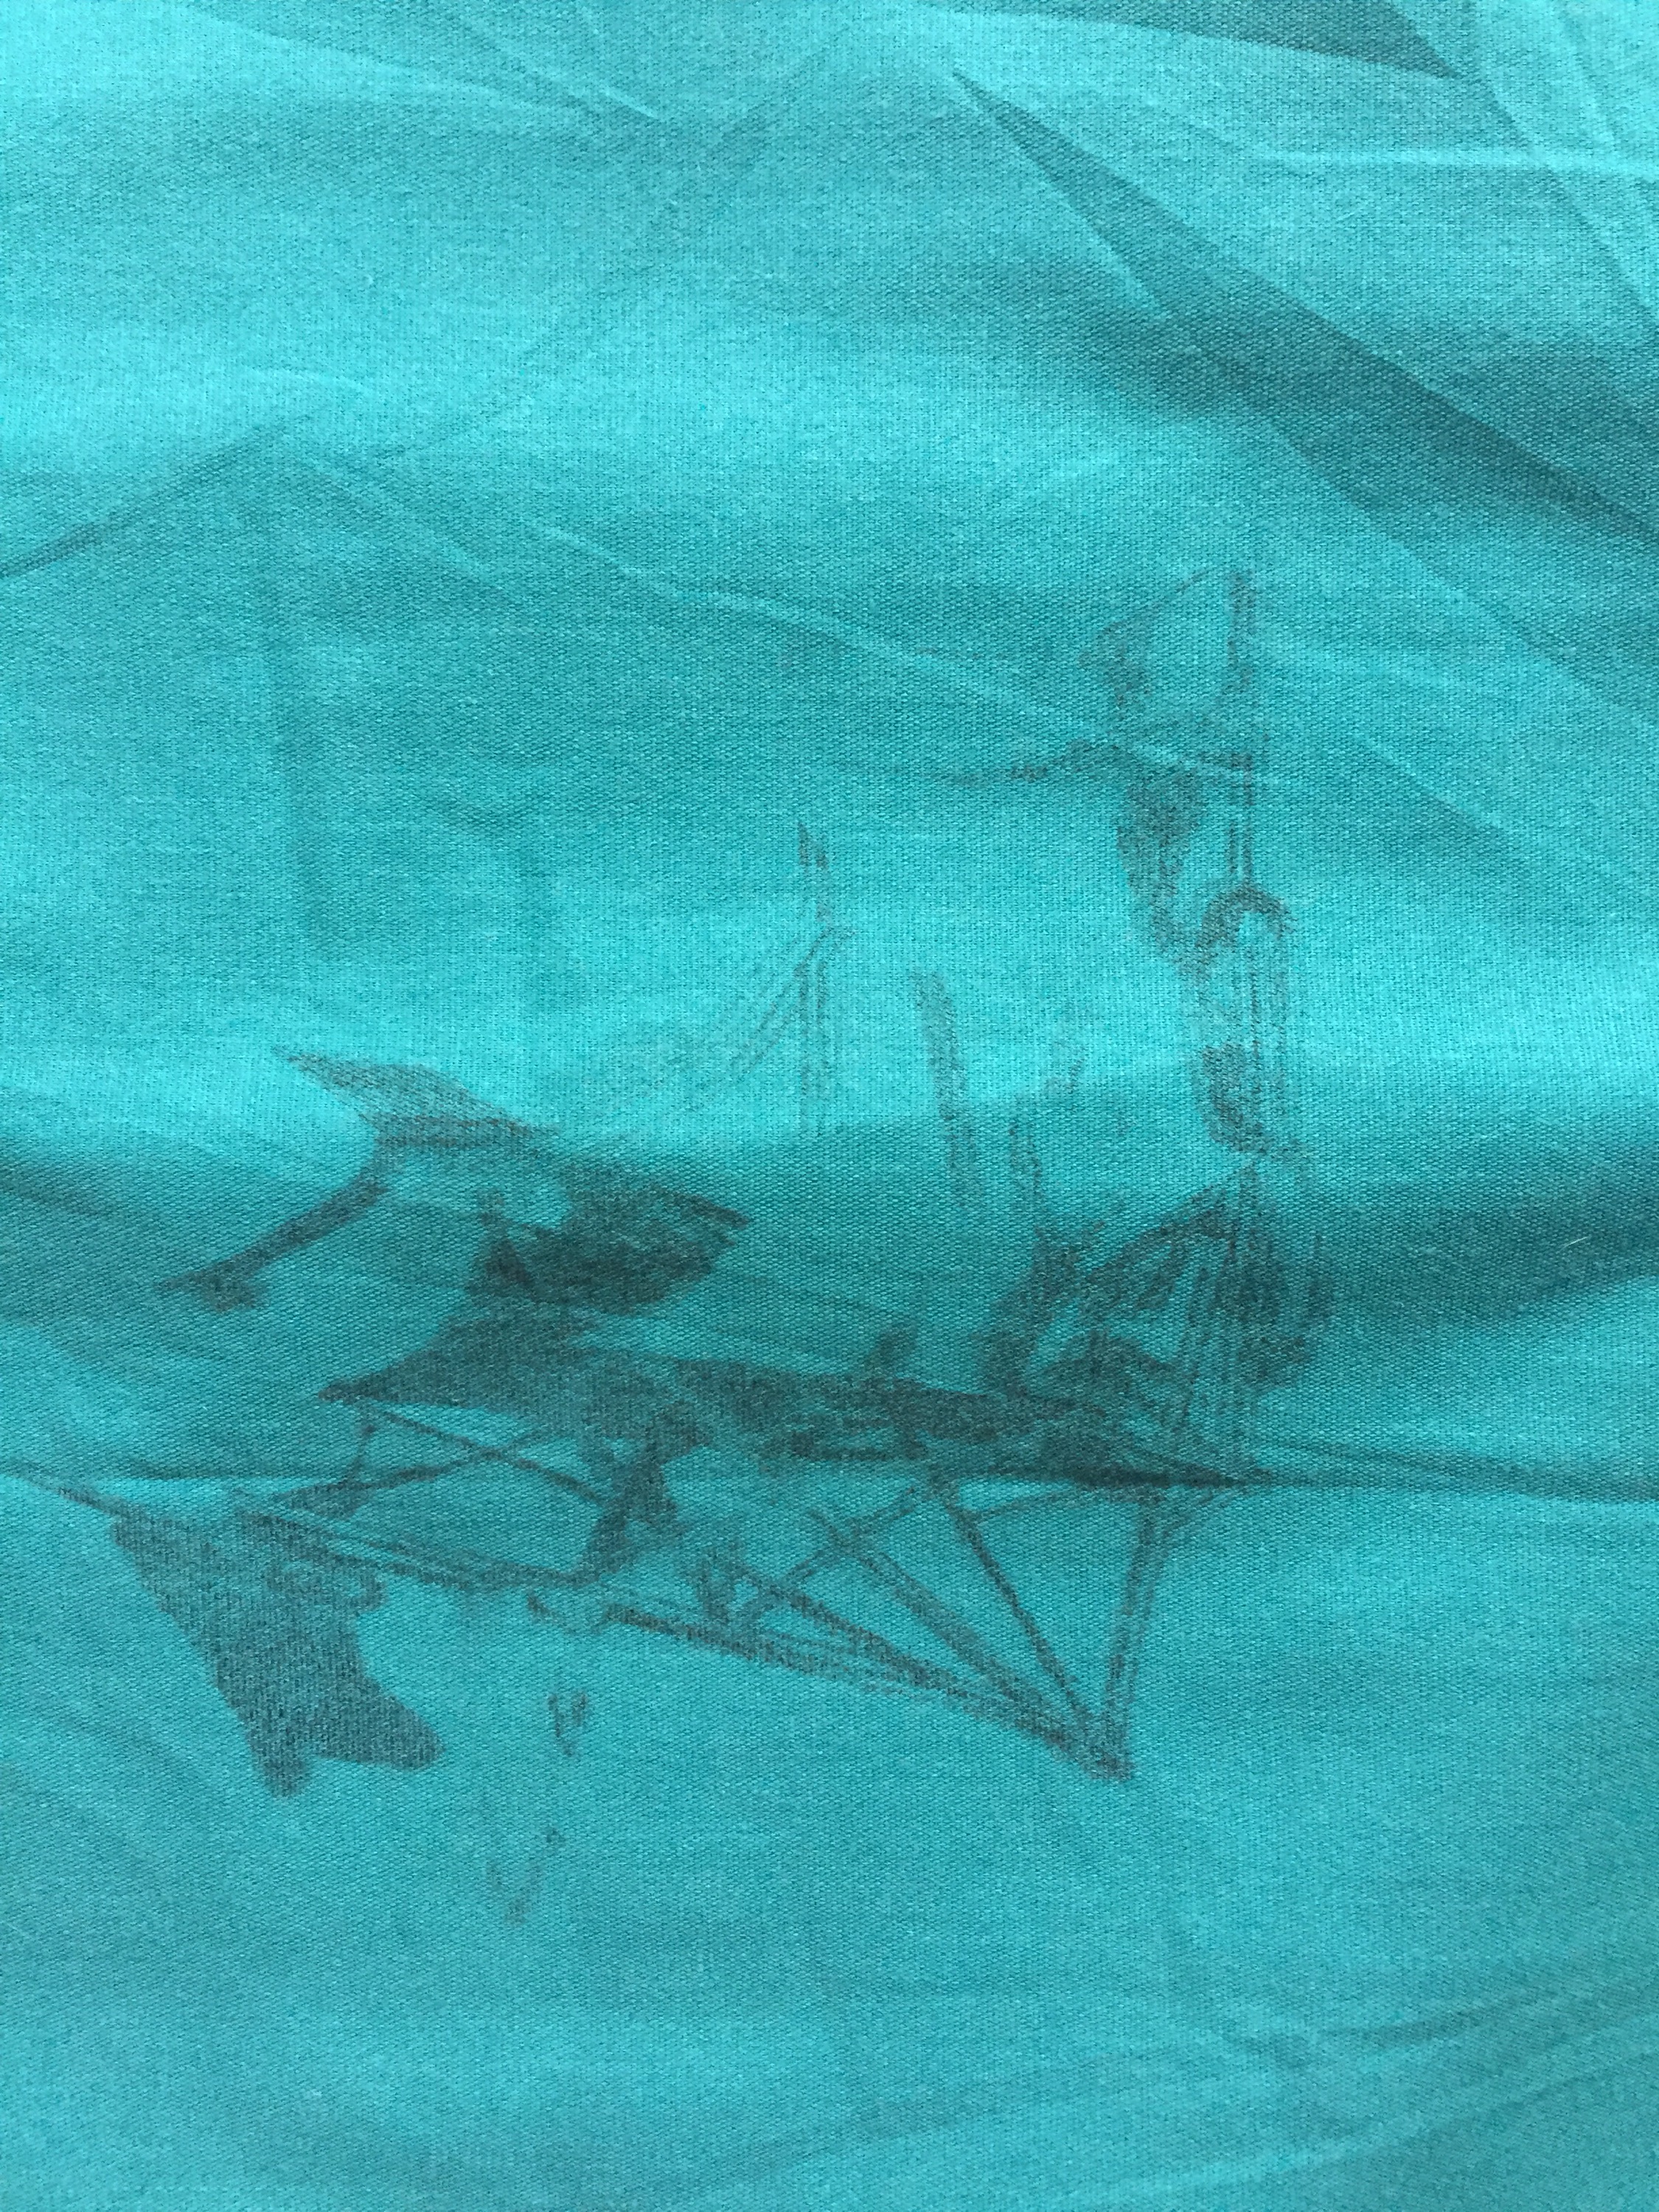
I need to figure out what else I’m going to put on this pillow cover because the chair turned out pretty small in comparison.
 The chair is a drawing I did when we finally had to get rid of the original. It was around 13years old and it finally gave out in Oklahoma City. We definitely got a lot of use out of it!
I just hung up these two guys this past weekend. The top one was a DIY I made for Allen’s birthday present. We picked up some Command damage-free picture hanging strips. They are kind of like Velcro but they snap together. I love all the Command products!
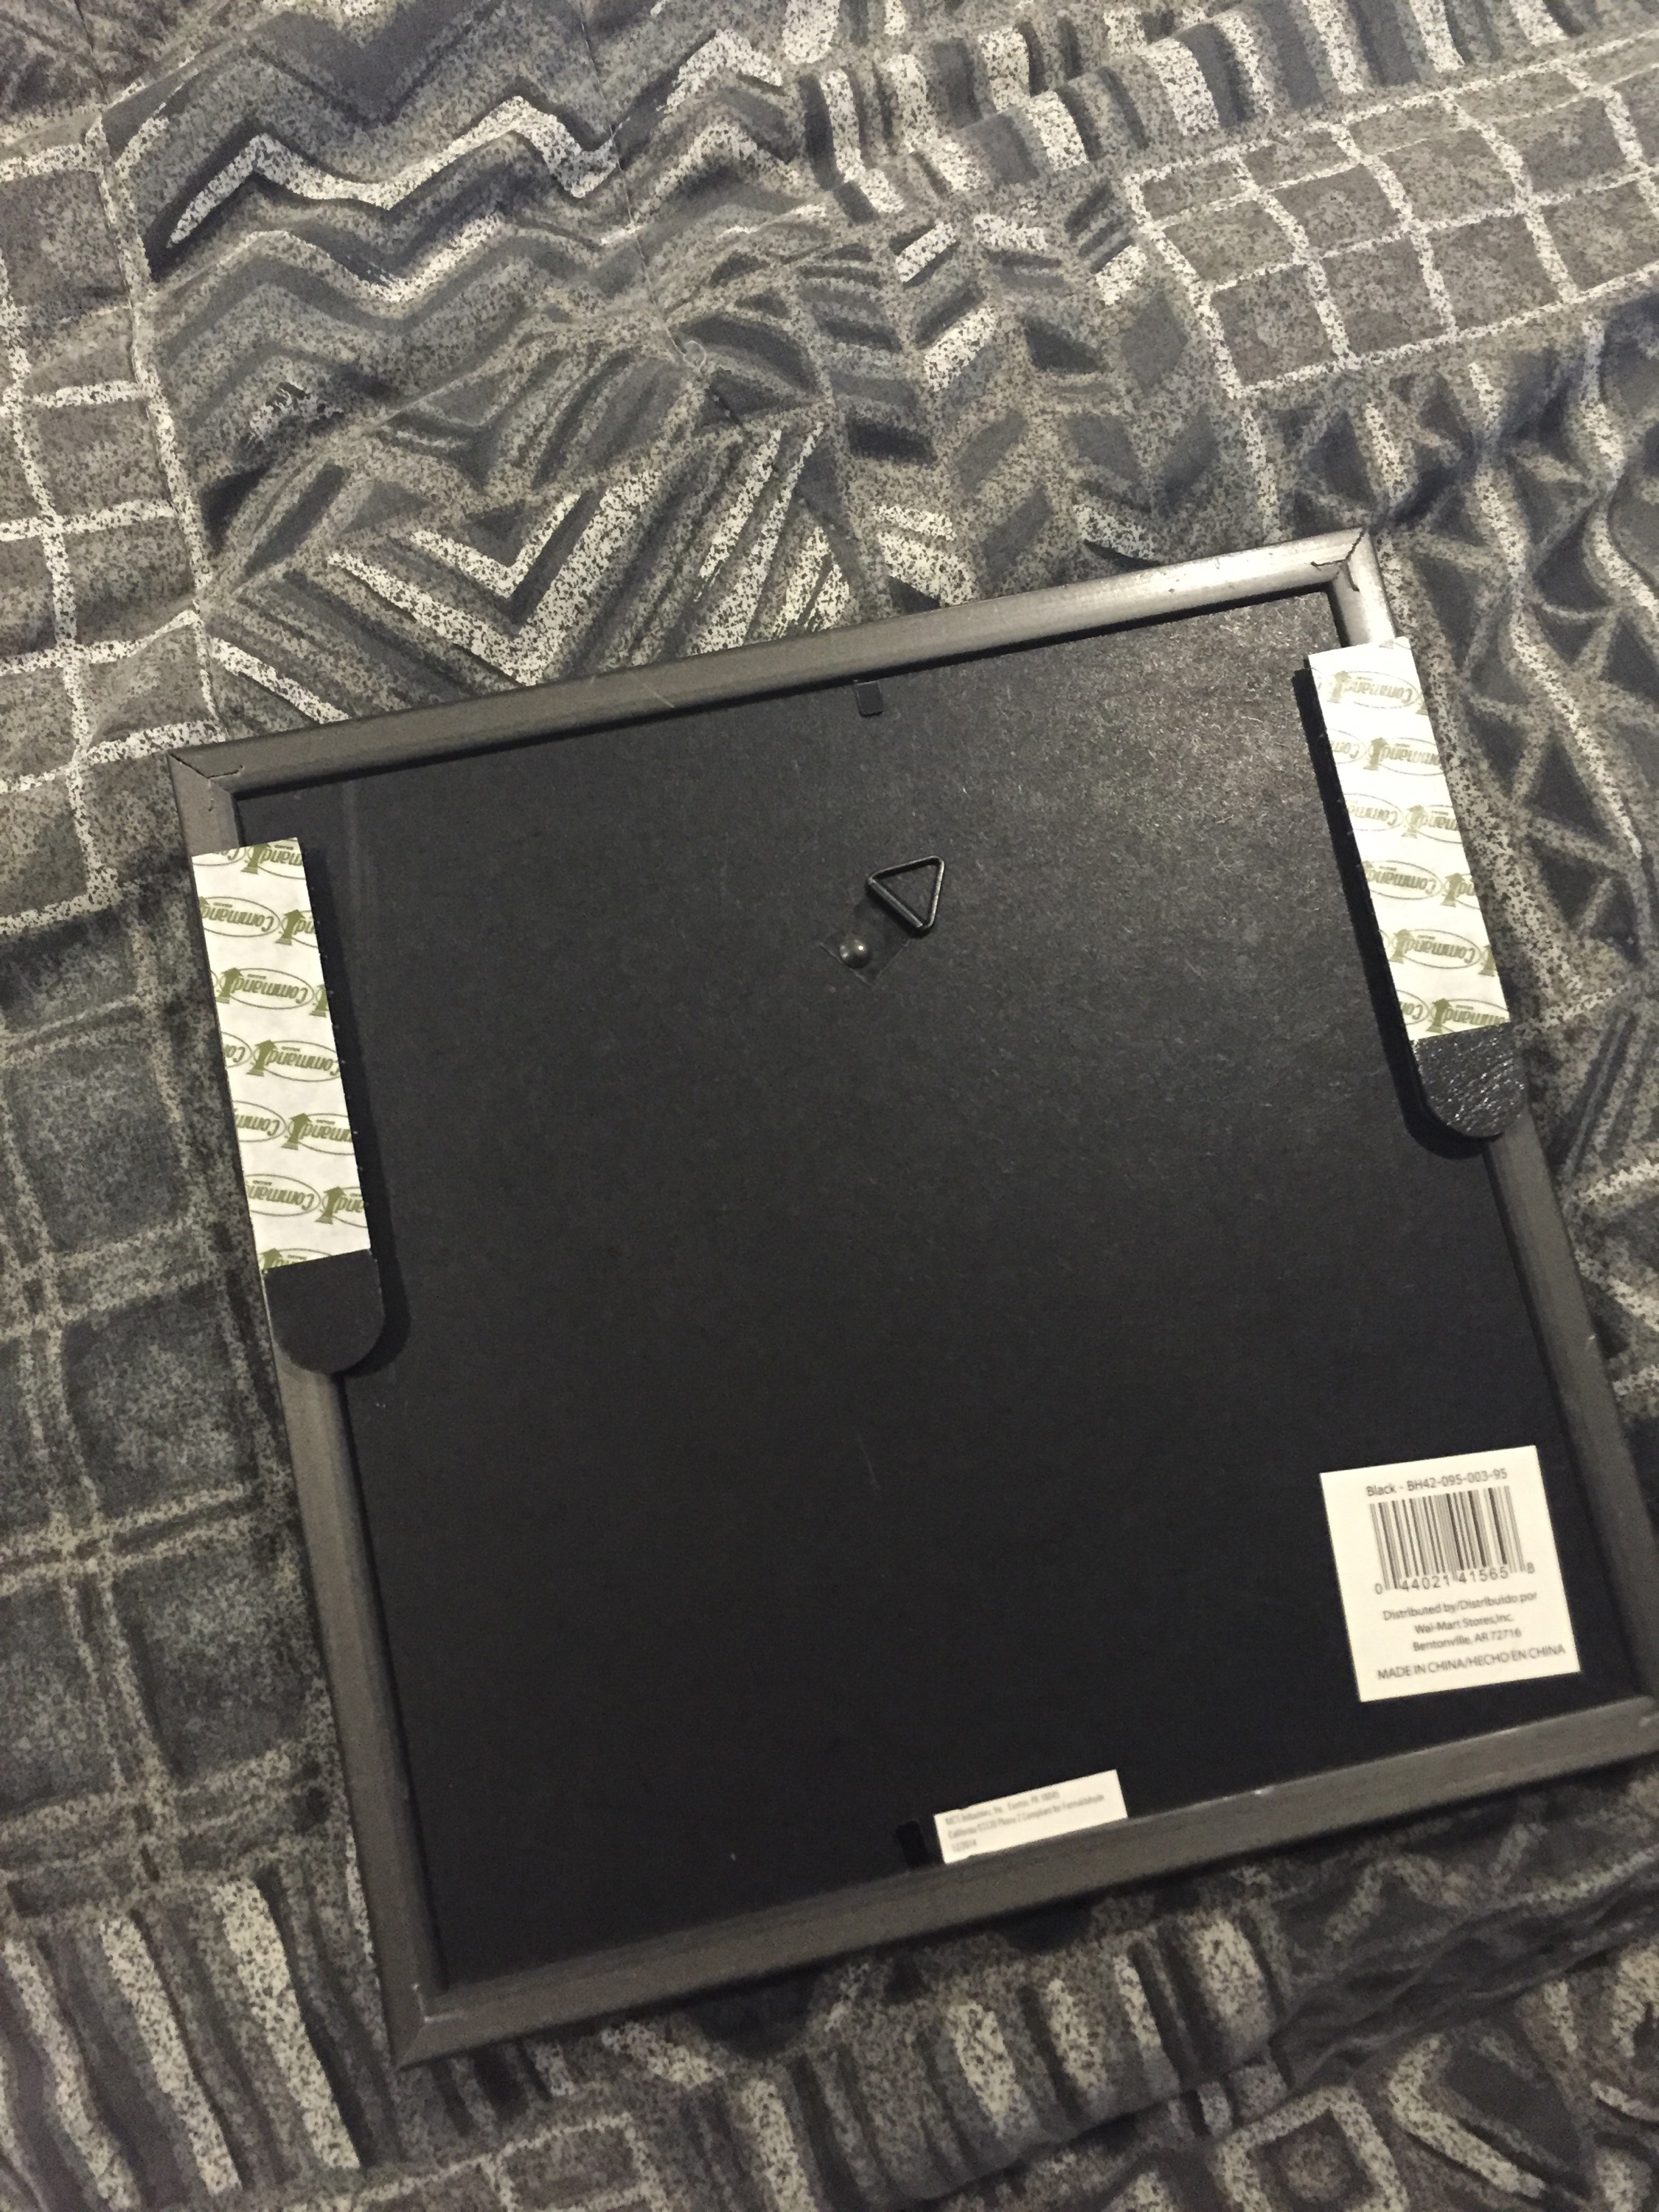
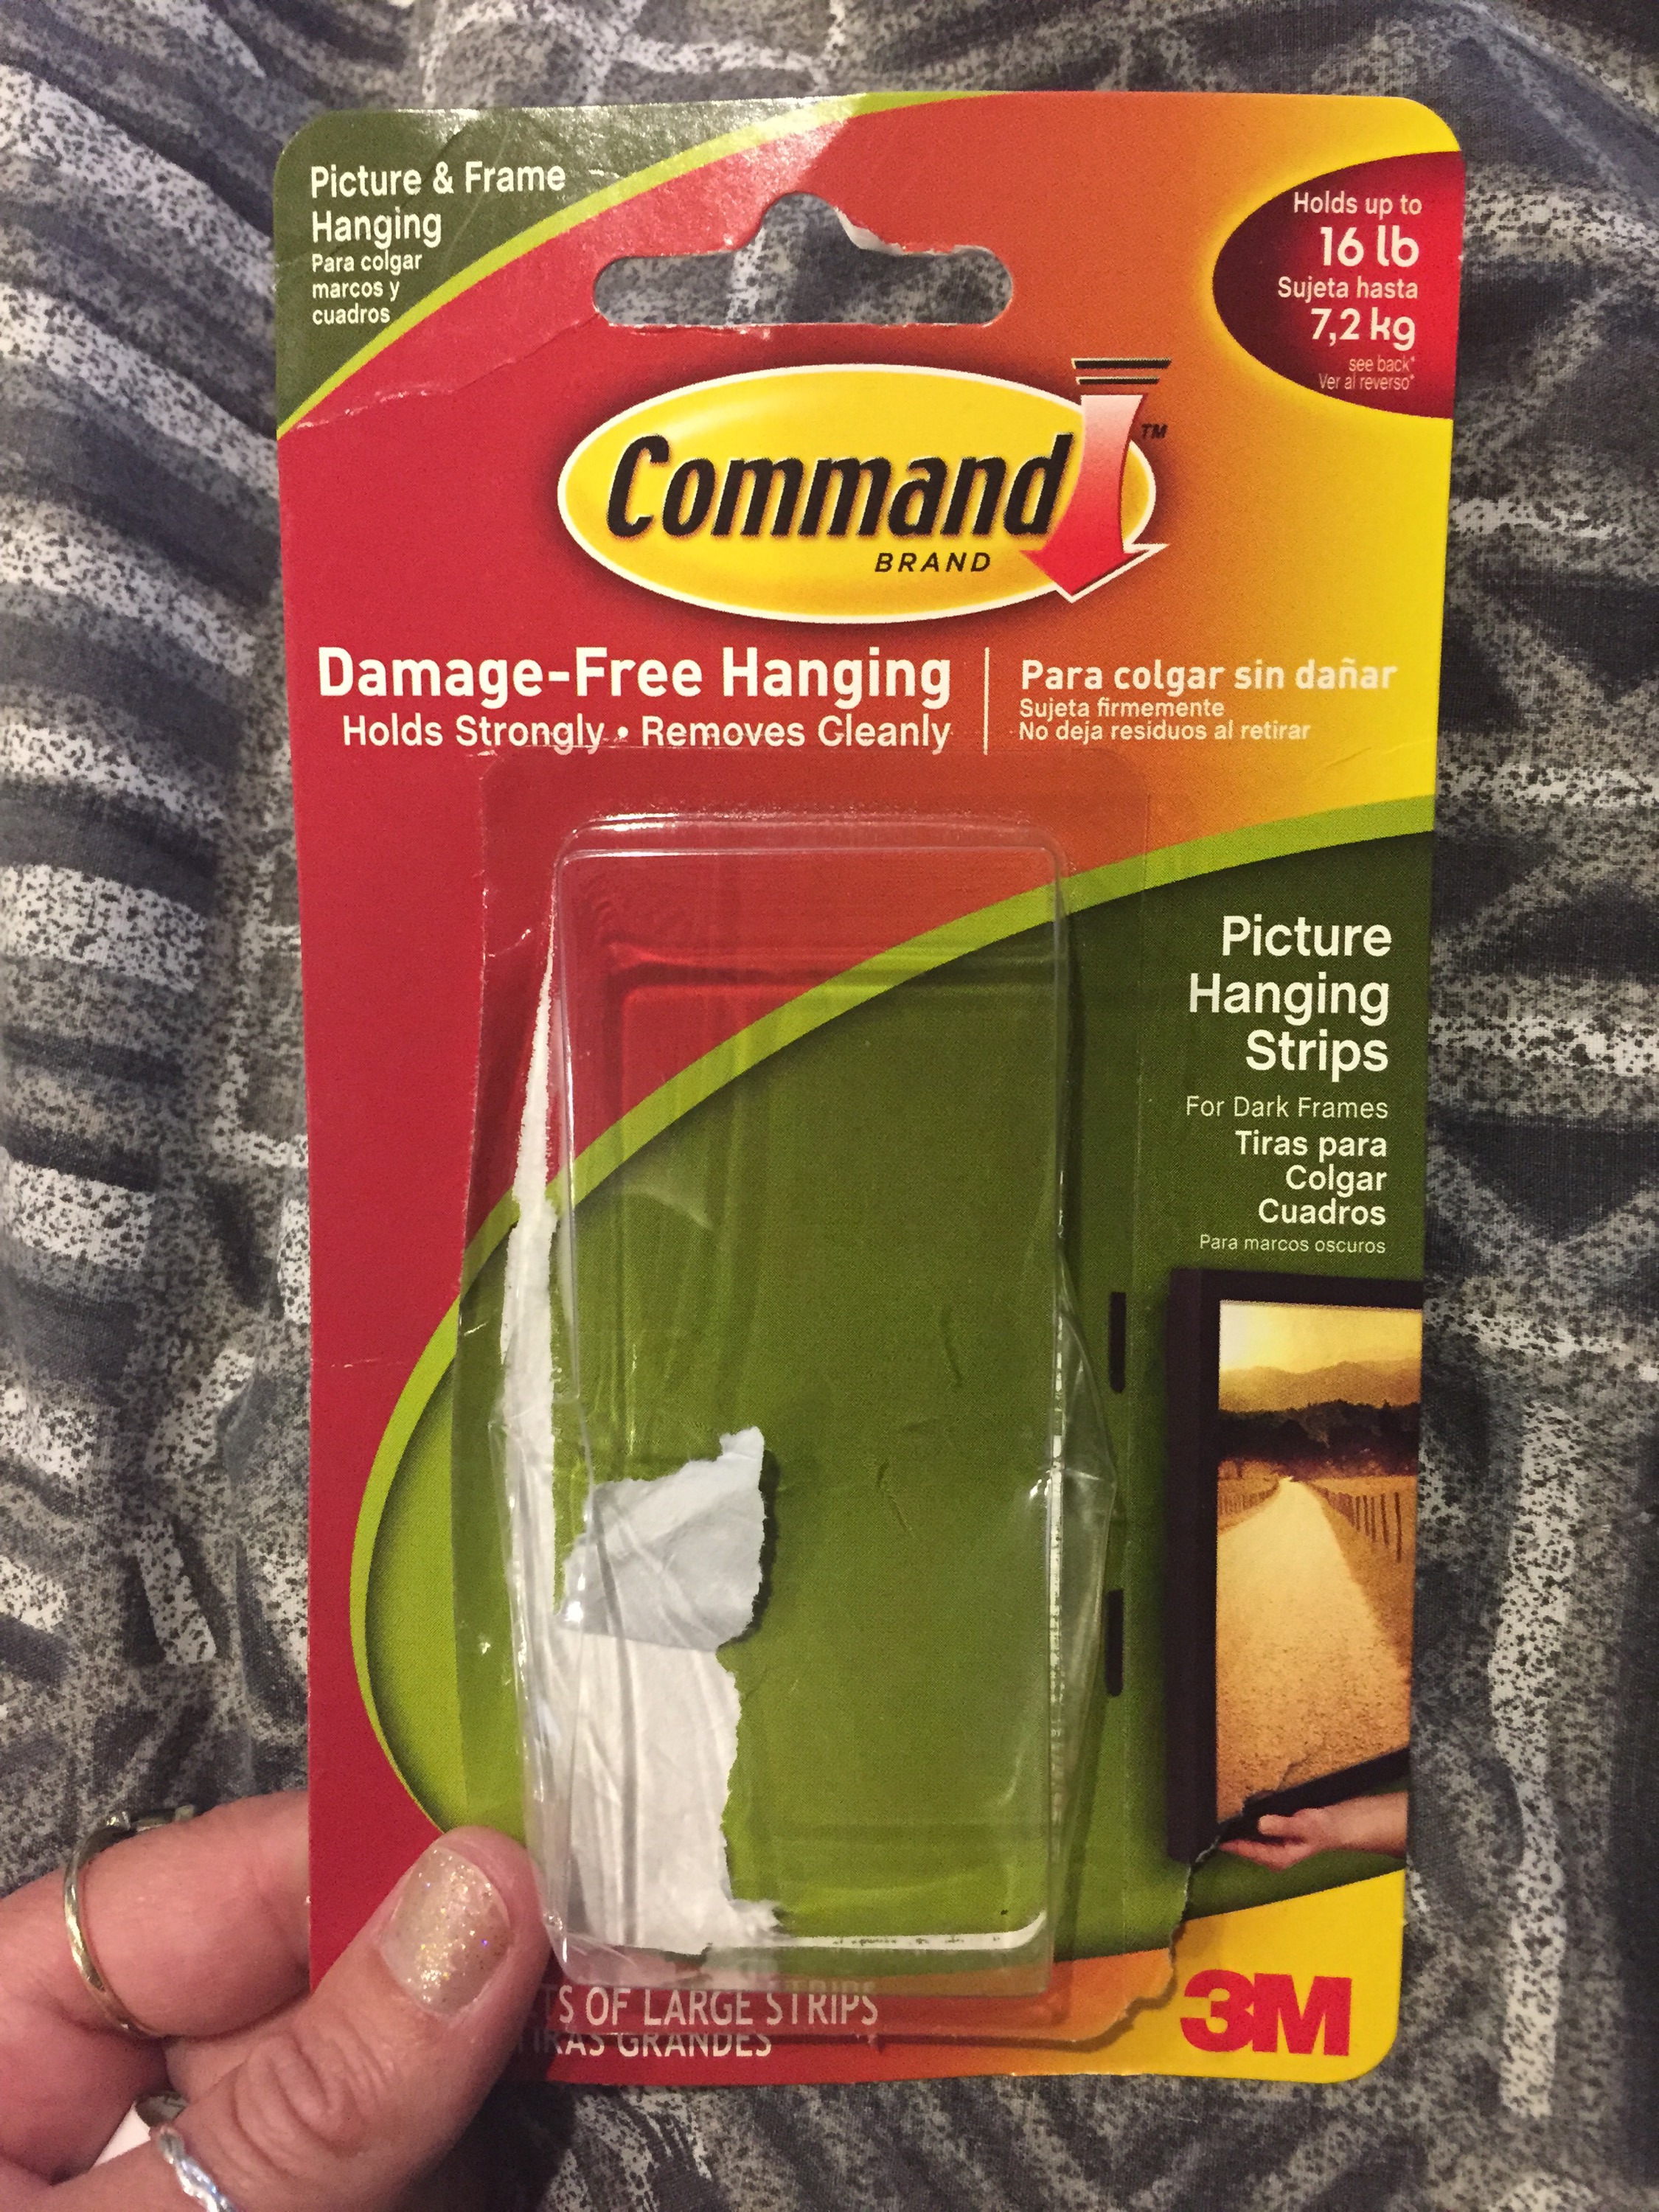
With a camper, space is limited so the more you things you can hang and keep out of the way, the better… But you can’t really put nails in the wall, and the studs are never where you need them to be. I still wanted to hang some things to make it more “ours”… They are holding so far! Here are some more Command products currently in use:

On the backsplash behind the stove

On the bathroom wall
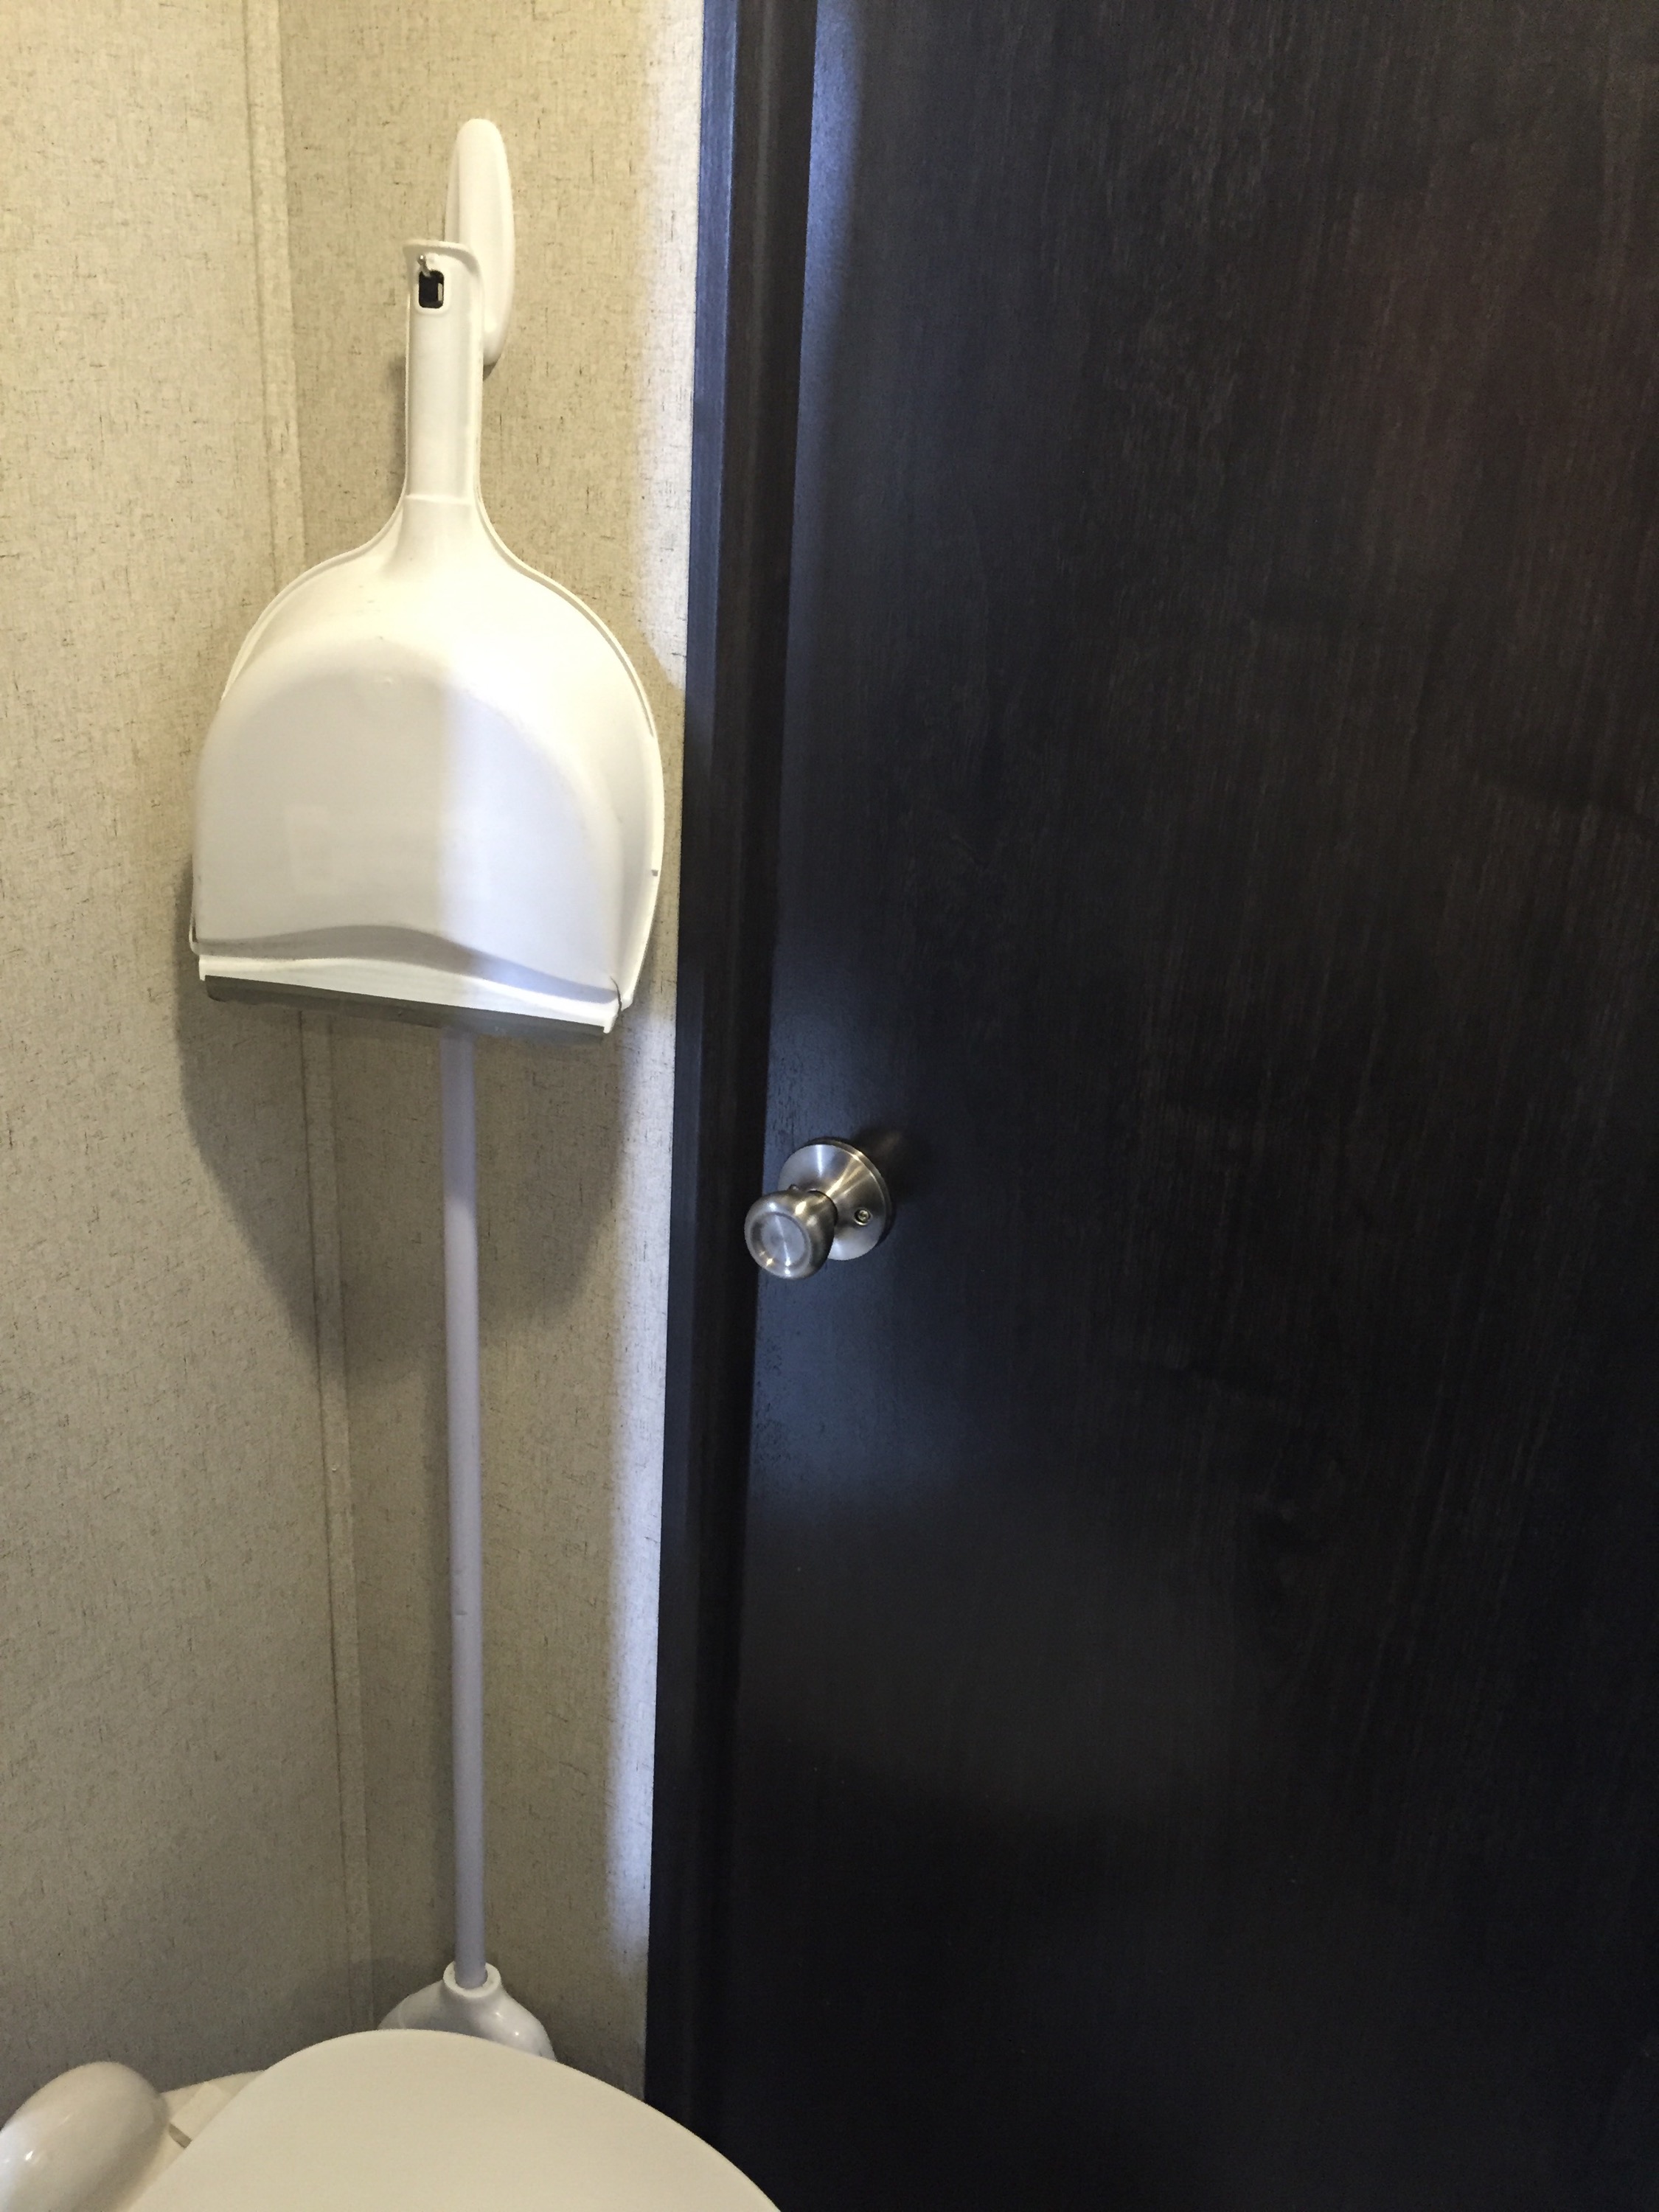
In the half bath AKA broom closet!
I thought I would take full advantage of this super foggy, windy, kinda rainy, gloomy day here at Candlestick RV Park and work on an indoor project. I bought a beginner’s sewing machine a few months ago and I haven’t gotten to use it a whole lot yet. I didn’t want anything too complicated. I’ve never used a sewing machine before. I did some research and decided on the Janome portable one in “purple thunder”! It was about $60 from Amazon. I’ve been trying little things here and there. I’ve made a pair of Allen’s ripped jeans into shorts…
 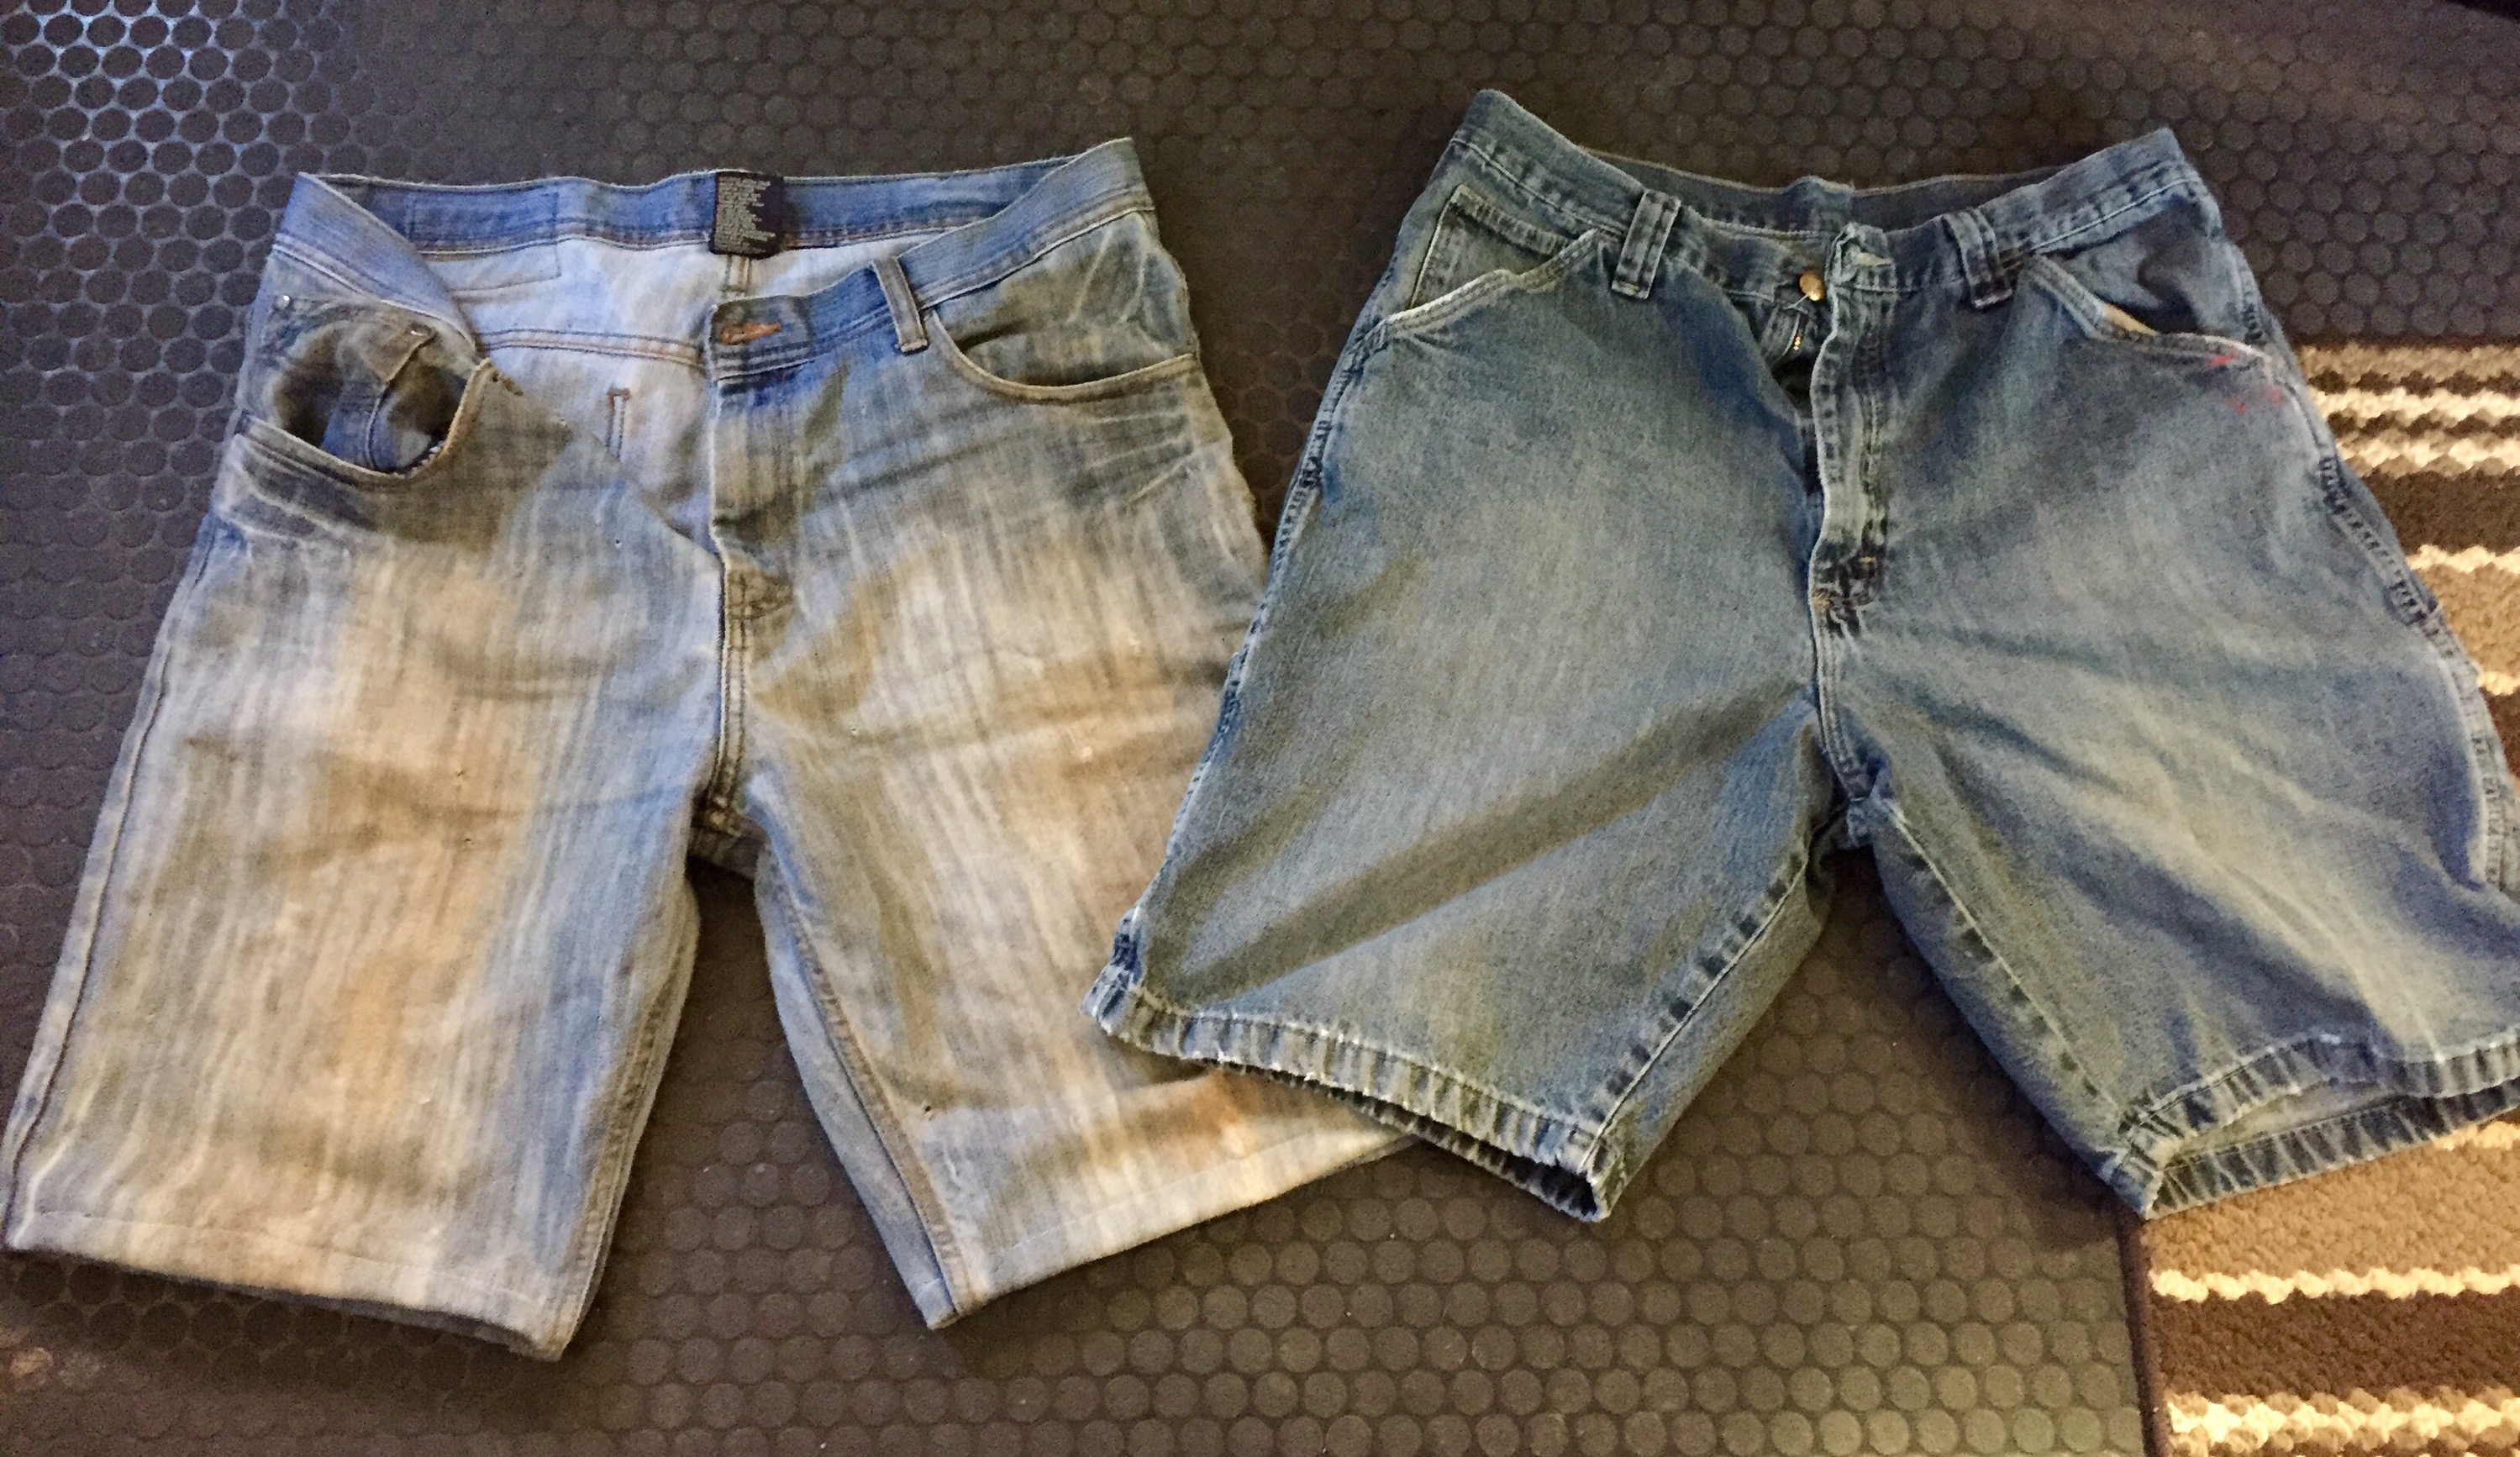 I’ve also made a couple of onesie’s into outfits for Charlie… Just by hemming them a little here and there… I got these at the Flea Market in Dayton, Ohio.
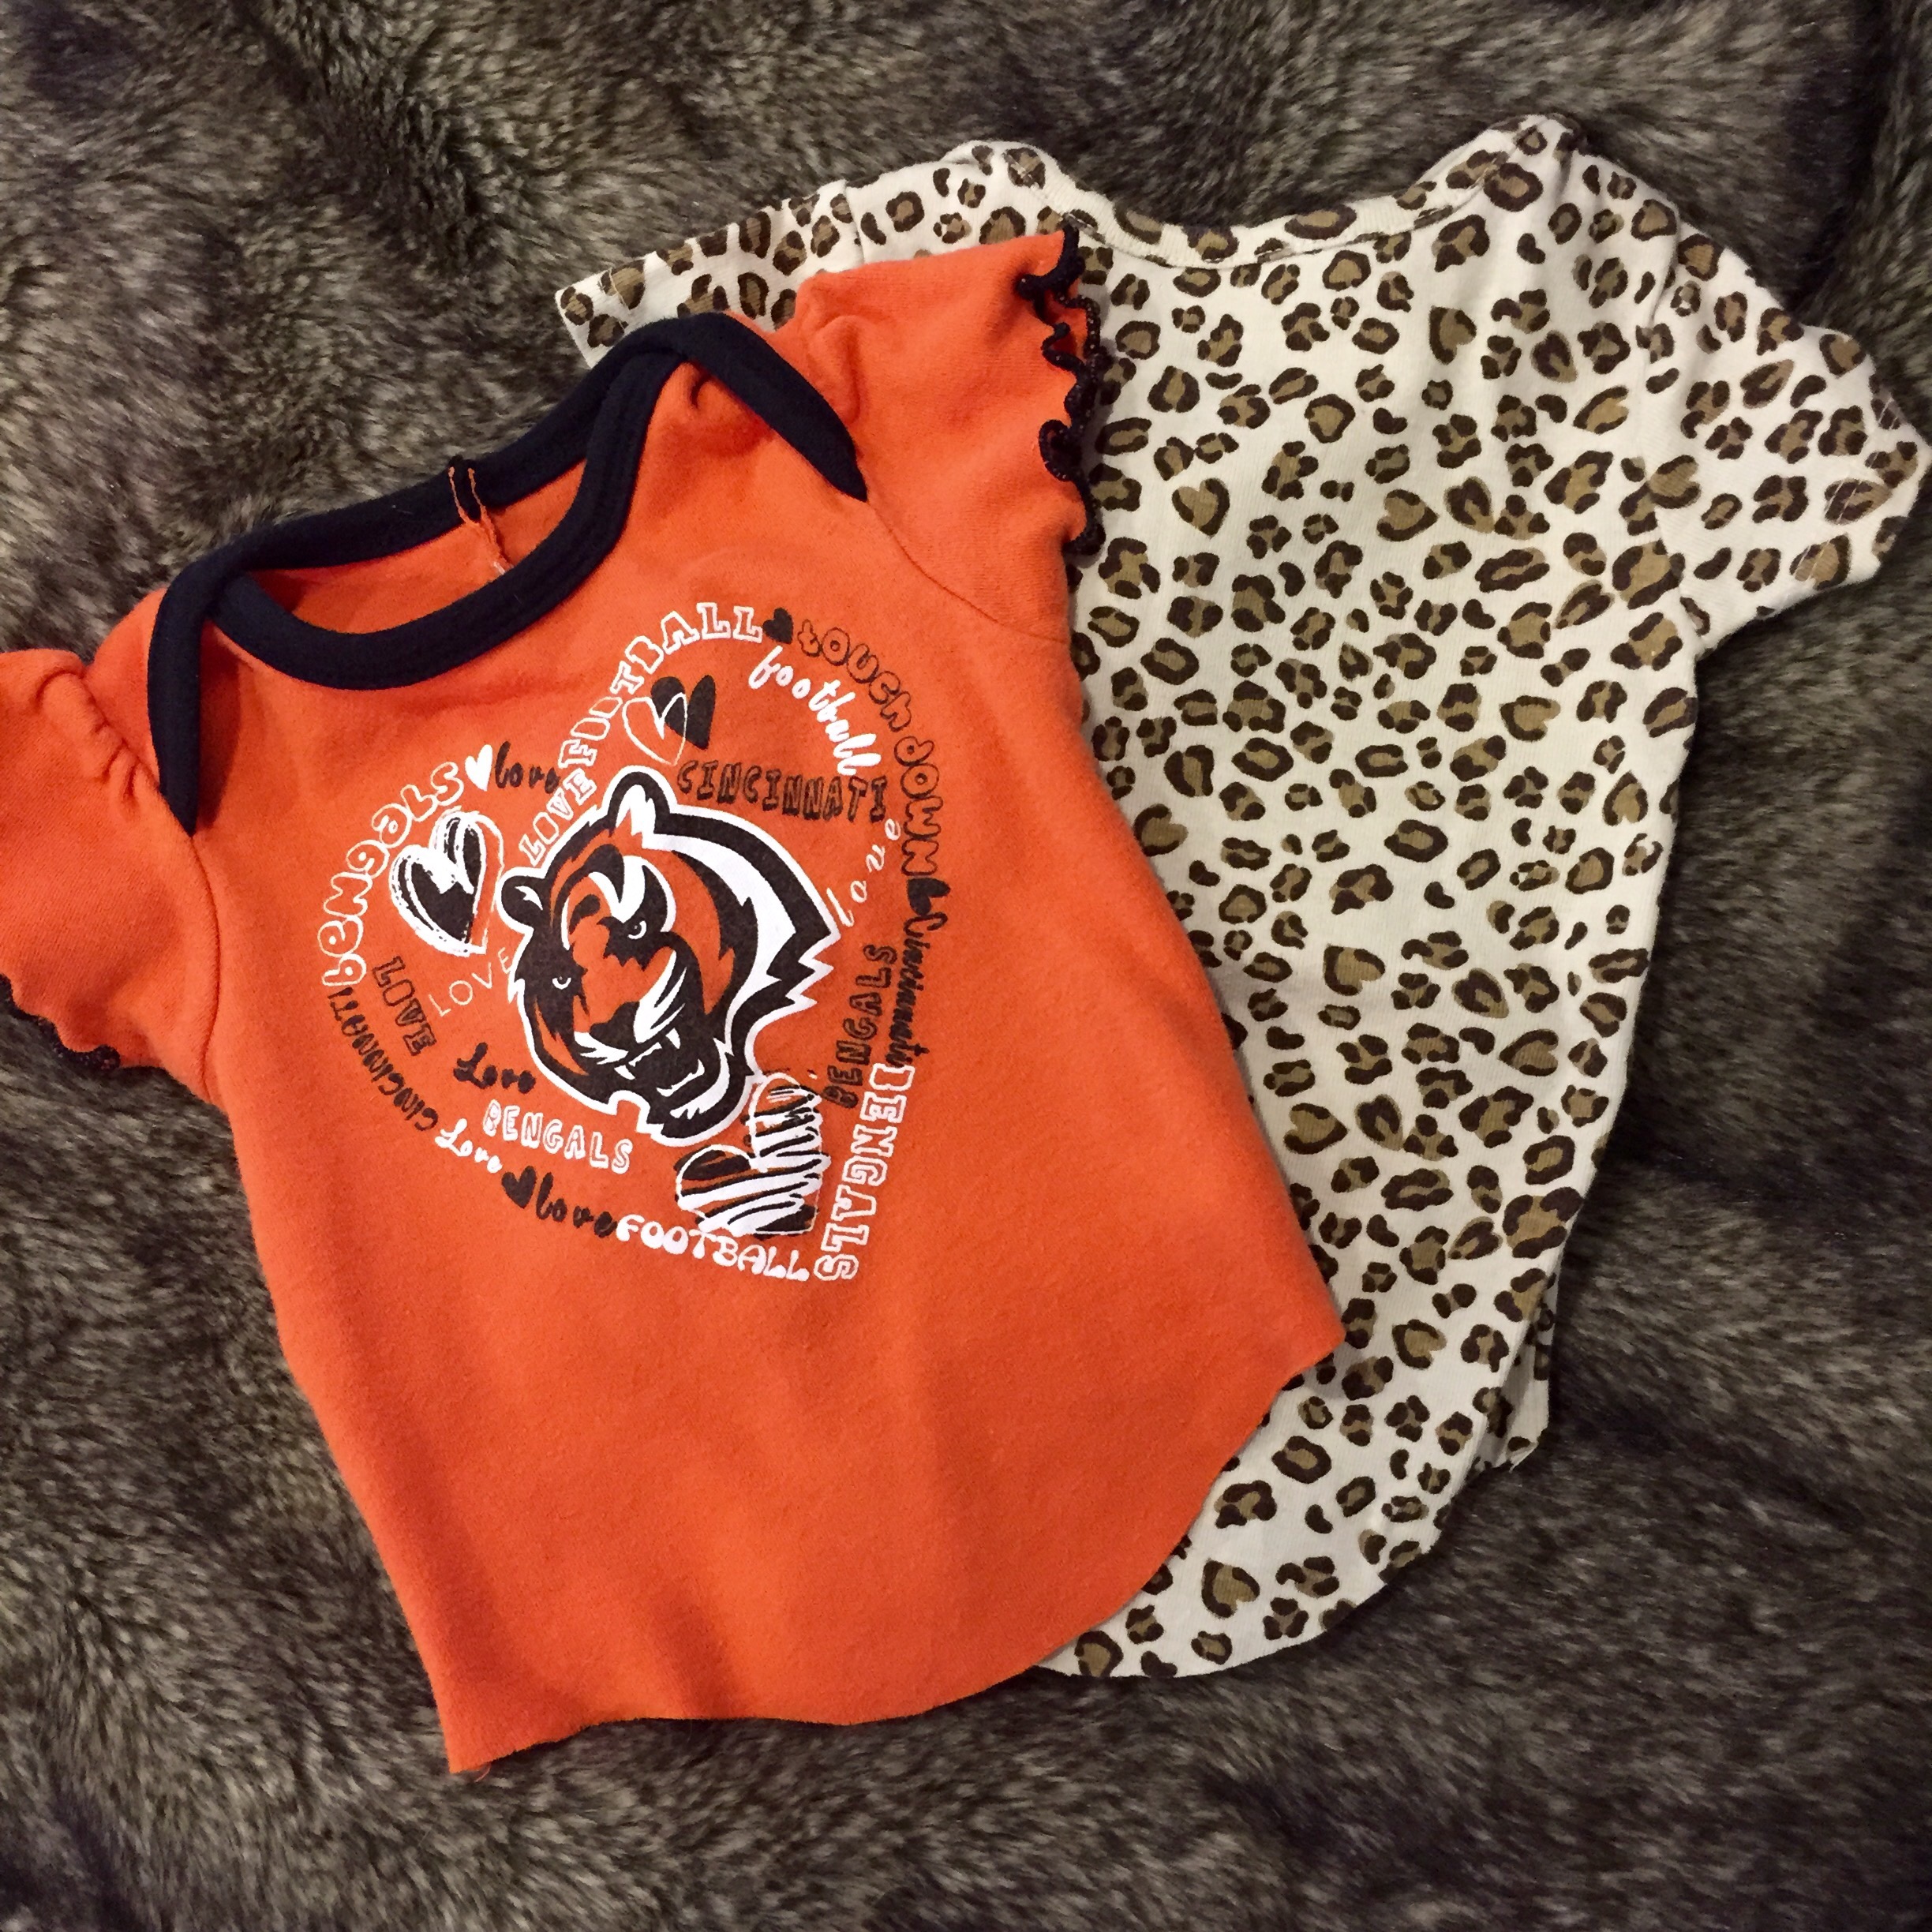
The Bengals one is 0-3months and fits a lot better than the cheetah print which is 6-9months
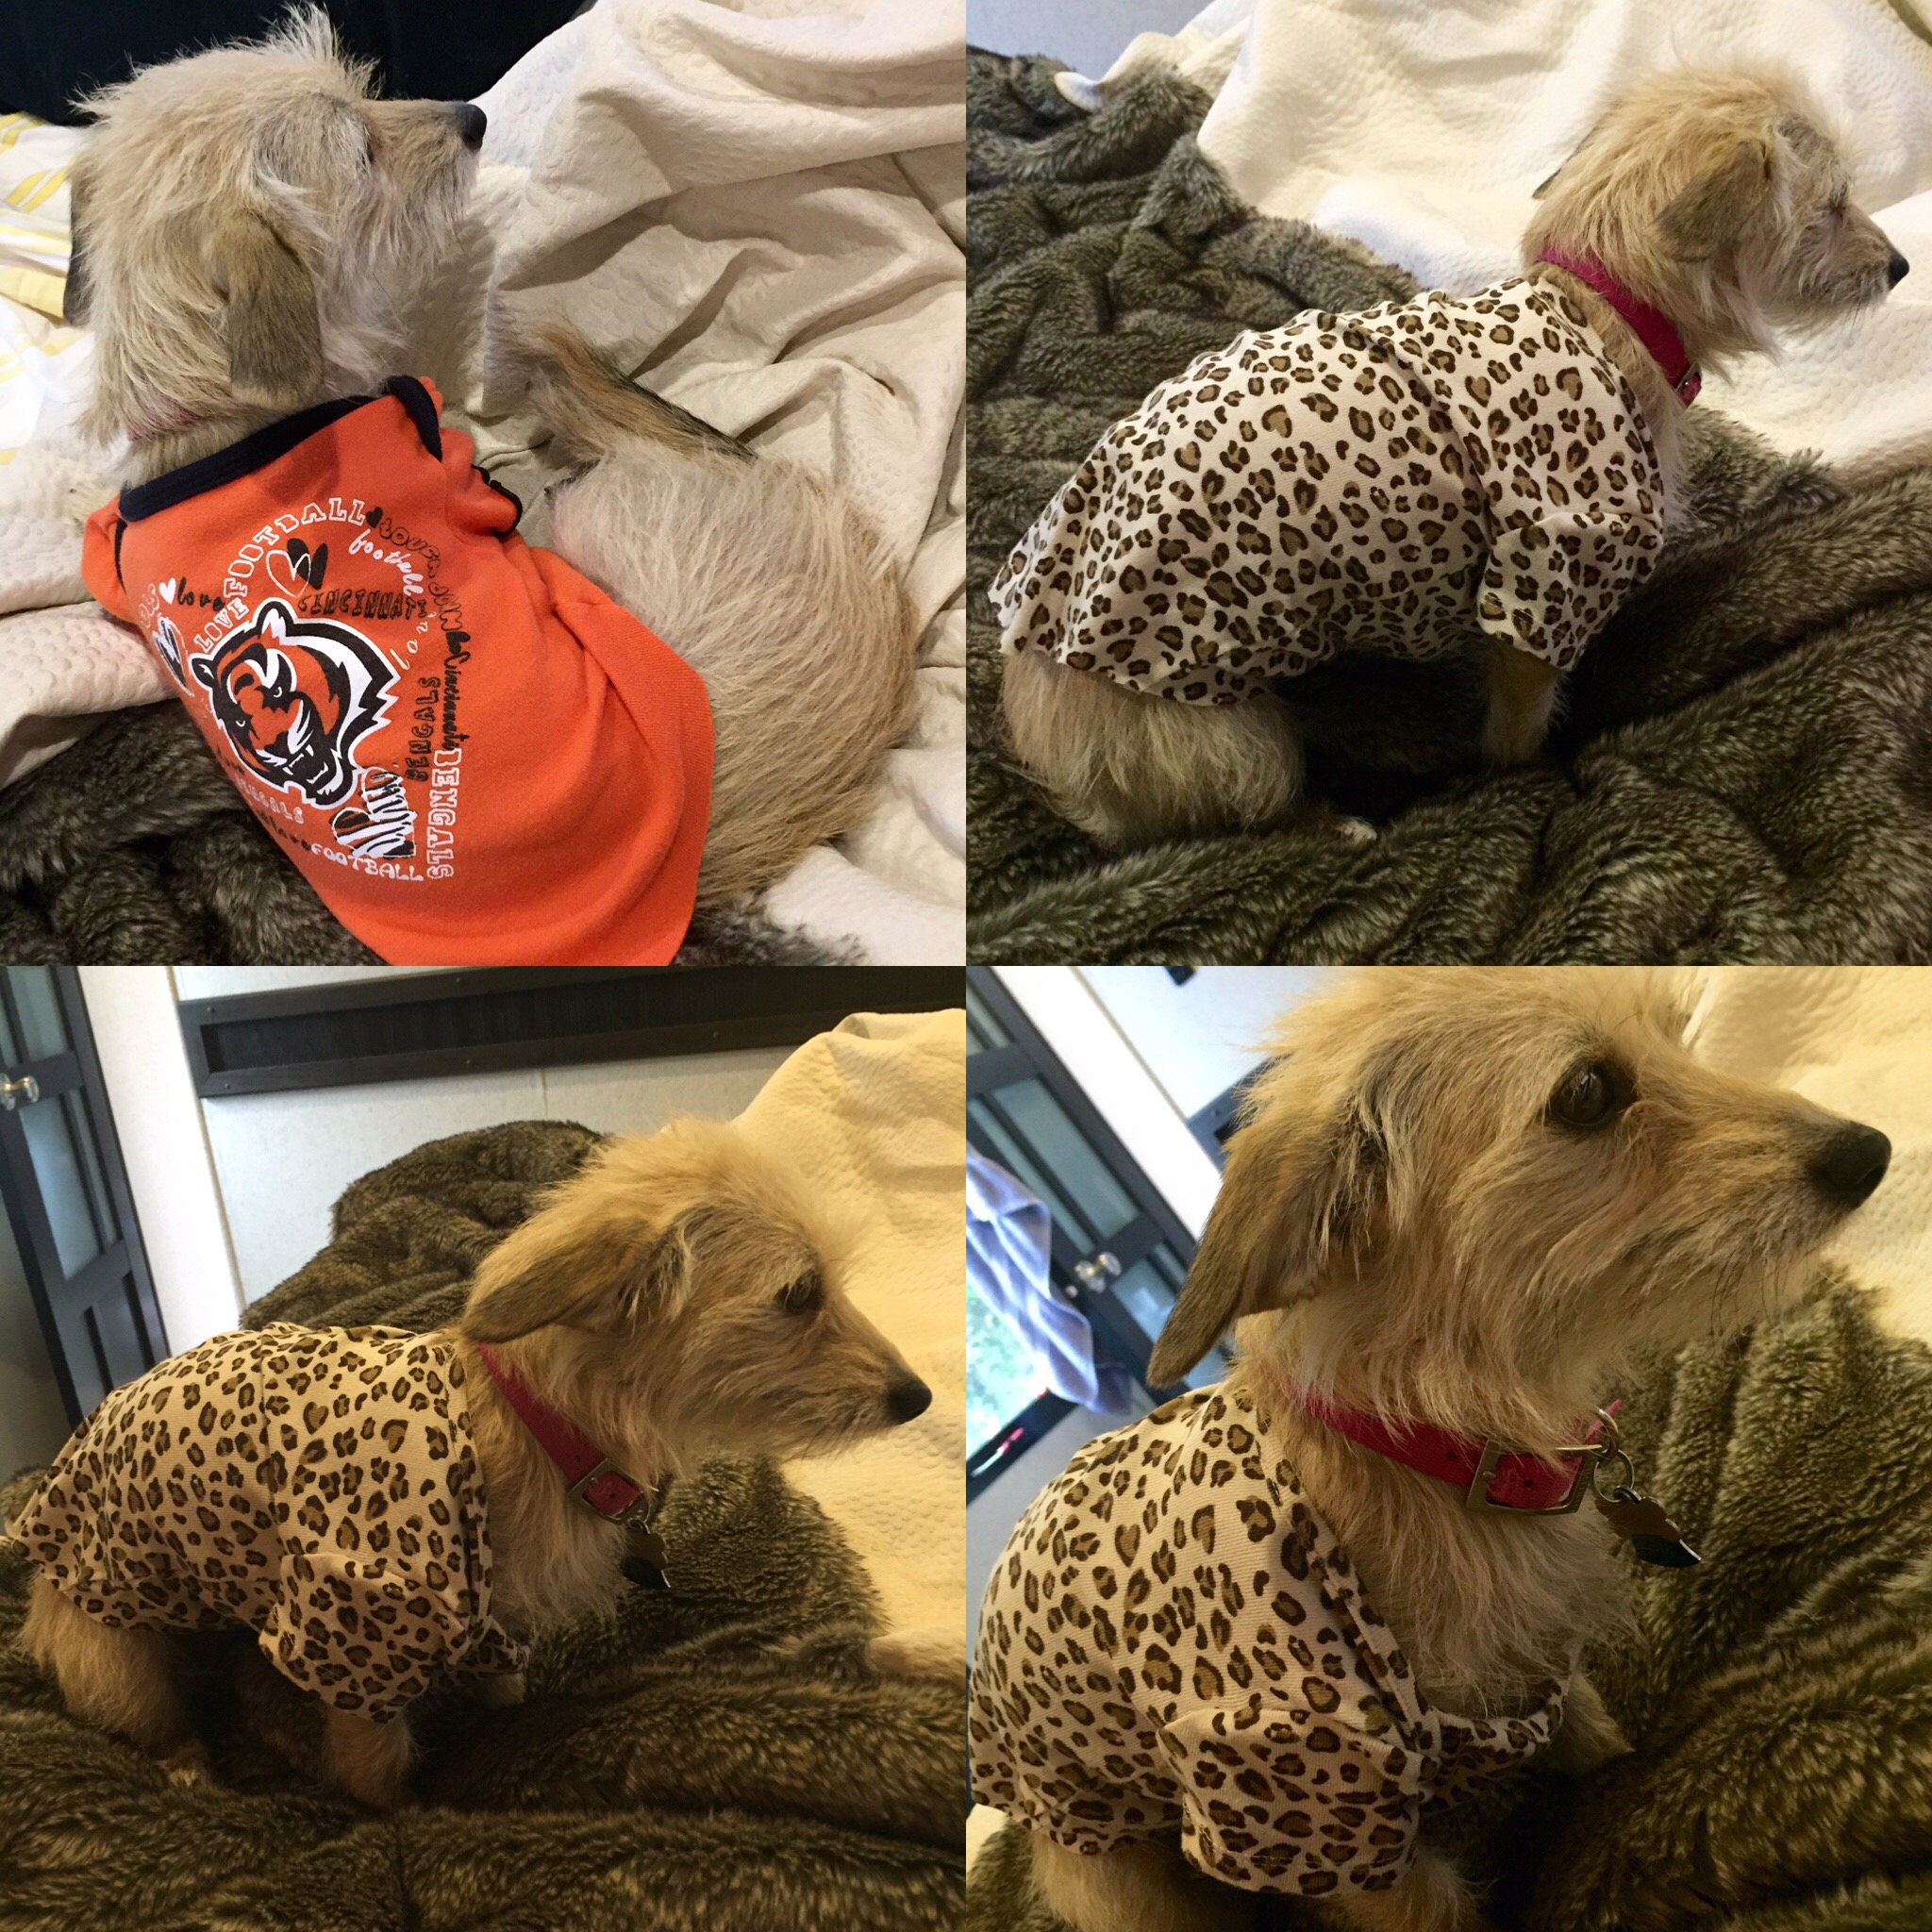
She was NOT happy that i woke her up to try them on…
For a while now, I’ve been wanting to cover up these hideous (IMHO) throw pillows that Allen has had forever. They are brown and dark blue and just have no personality. Yesterday I took a trip to Walmart (yes, a trip, out here in San Francisco) and I picked up some fabric. I had asked Allen what color he thought would look good and of course his answer was brown or dark blue. No chance. So I got some pretty teal stuff. I kind of followed this picture I found on Pinterest. They are envelope pillow covers. Super easy. I’m not a master seamstress by far! But I’m liking the sewing machine! 

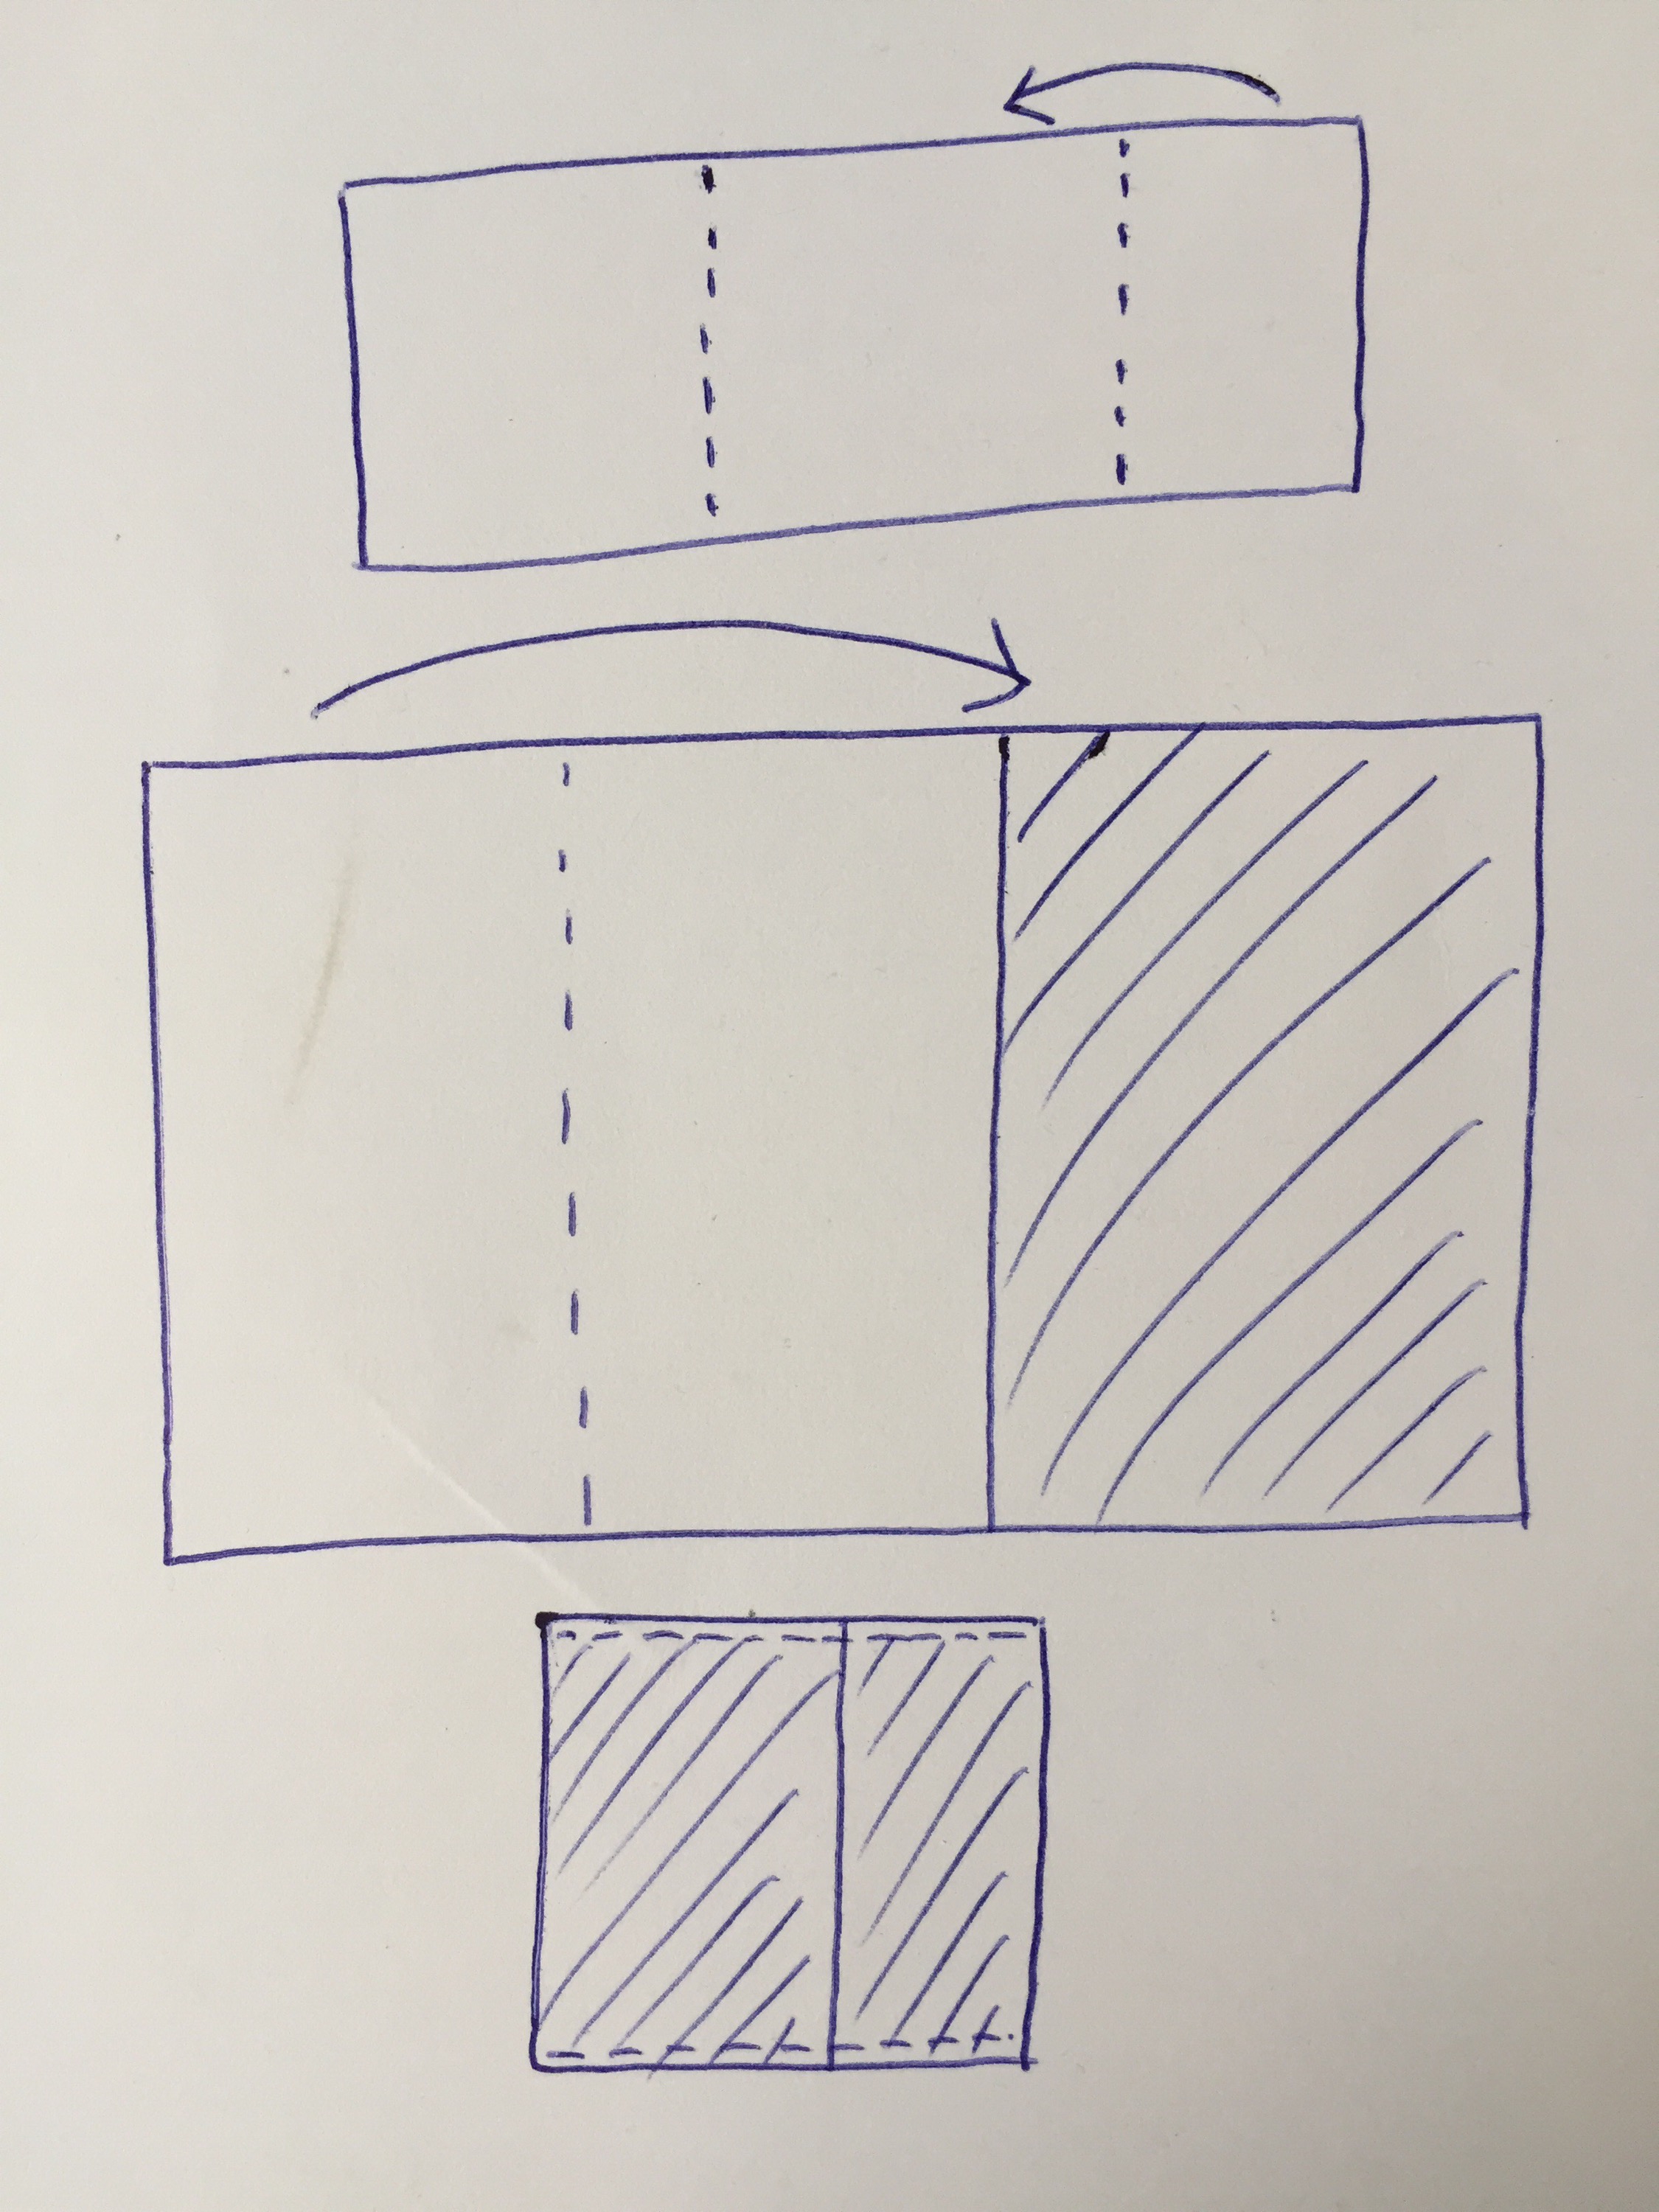
Here is my super simple drawing of how i did the cover…
Overall, I think they look great and add a pop of color! 

The gold pillows I found at a thrift store in Cincinnati for 69cents each!
Before I got the sewing machine, I still wanted to make Charlie some clothes… So these are a couple of little things I made for her. She’s such a good sport!
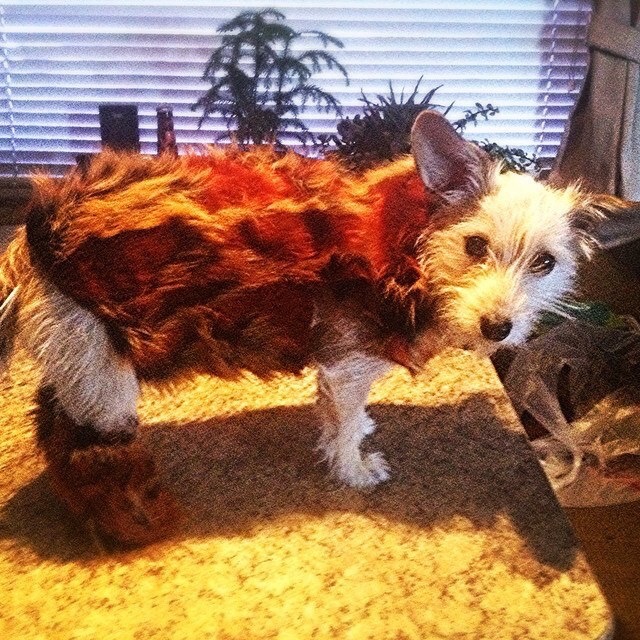
fur coat and booties! She would only wear two at a time, no way was she wearing 4!
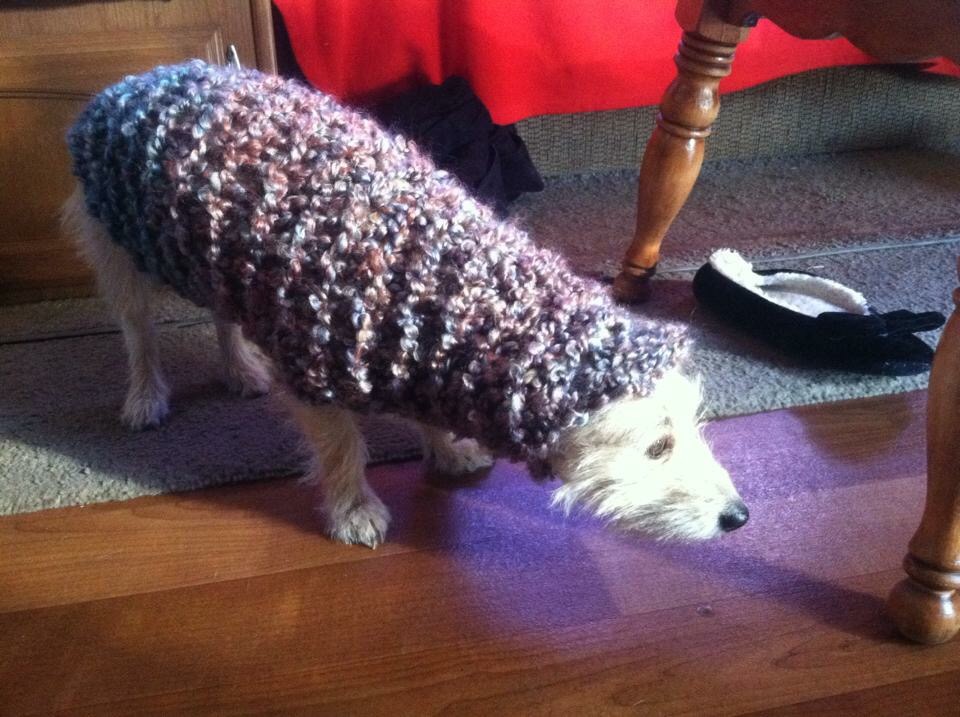
She didn’t mind this sweater. She got her arms stuck in the knitted holes while napping one day and that was pretty funny!

she absolutely hated the snood part!
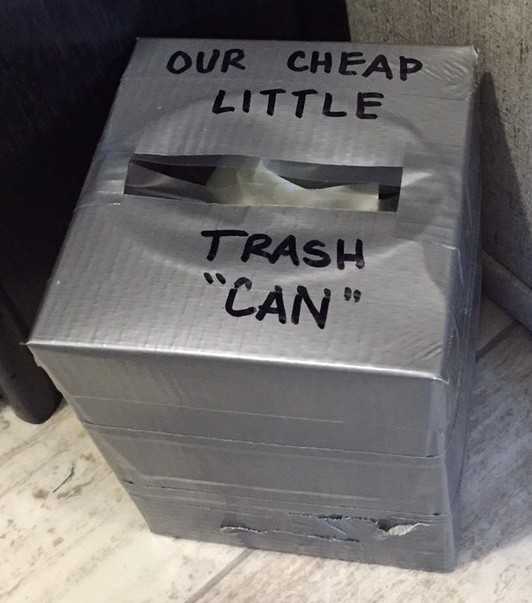
 I needed a trash can for our half bath in the garage/living room area. Everything I could find in the store was way too big. Then, we ran out of tissues… I realized the tissue box was the perfect size! So I duct taped it so it’s “waterproof” (maybe) and called it good.
I mean, it kinda matches the stainless steel of the sink, right??
I’ve been wanting a pink flamingo for the yard for a LONG time now. Allen has objected for a LONG time now. I finally won!
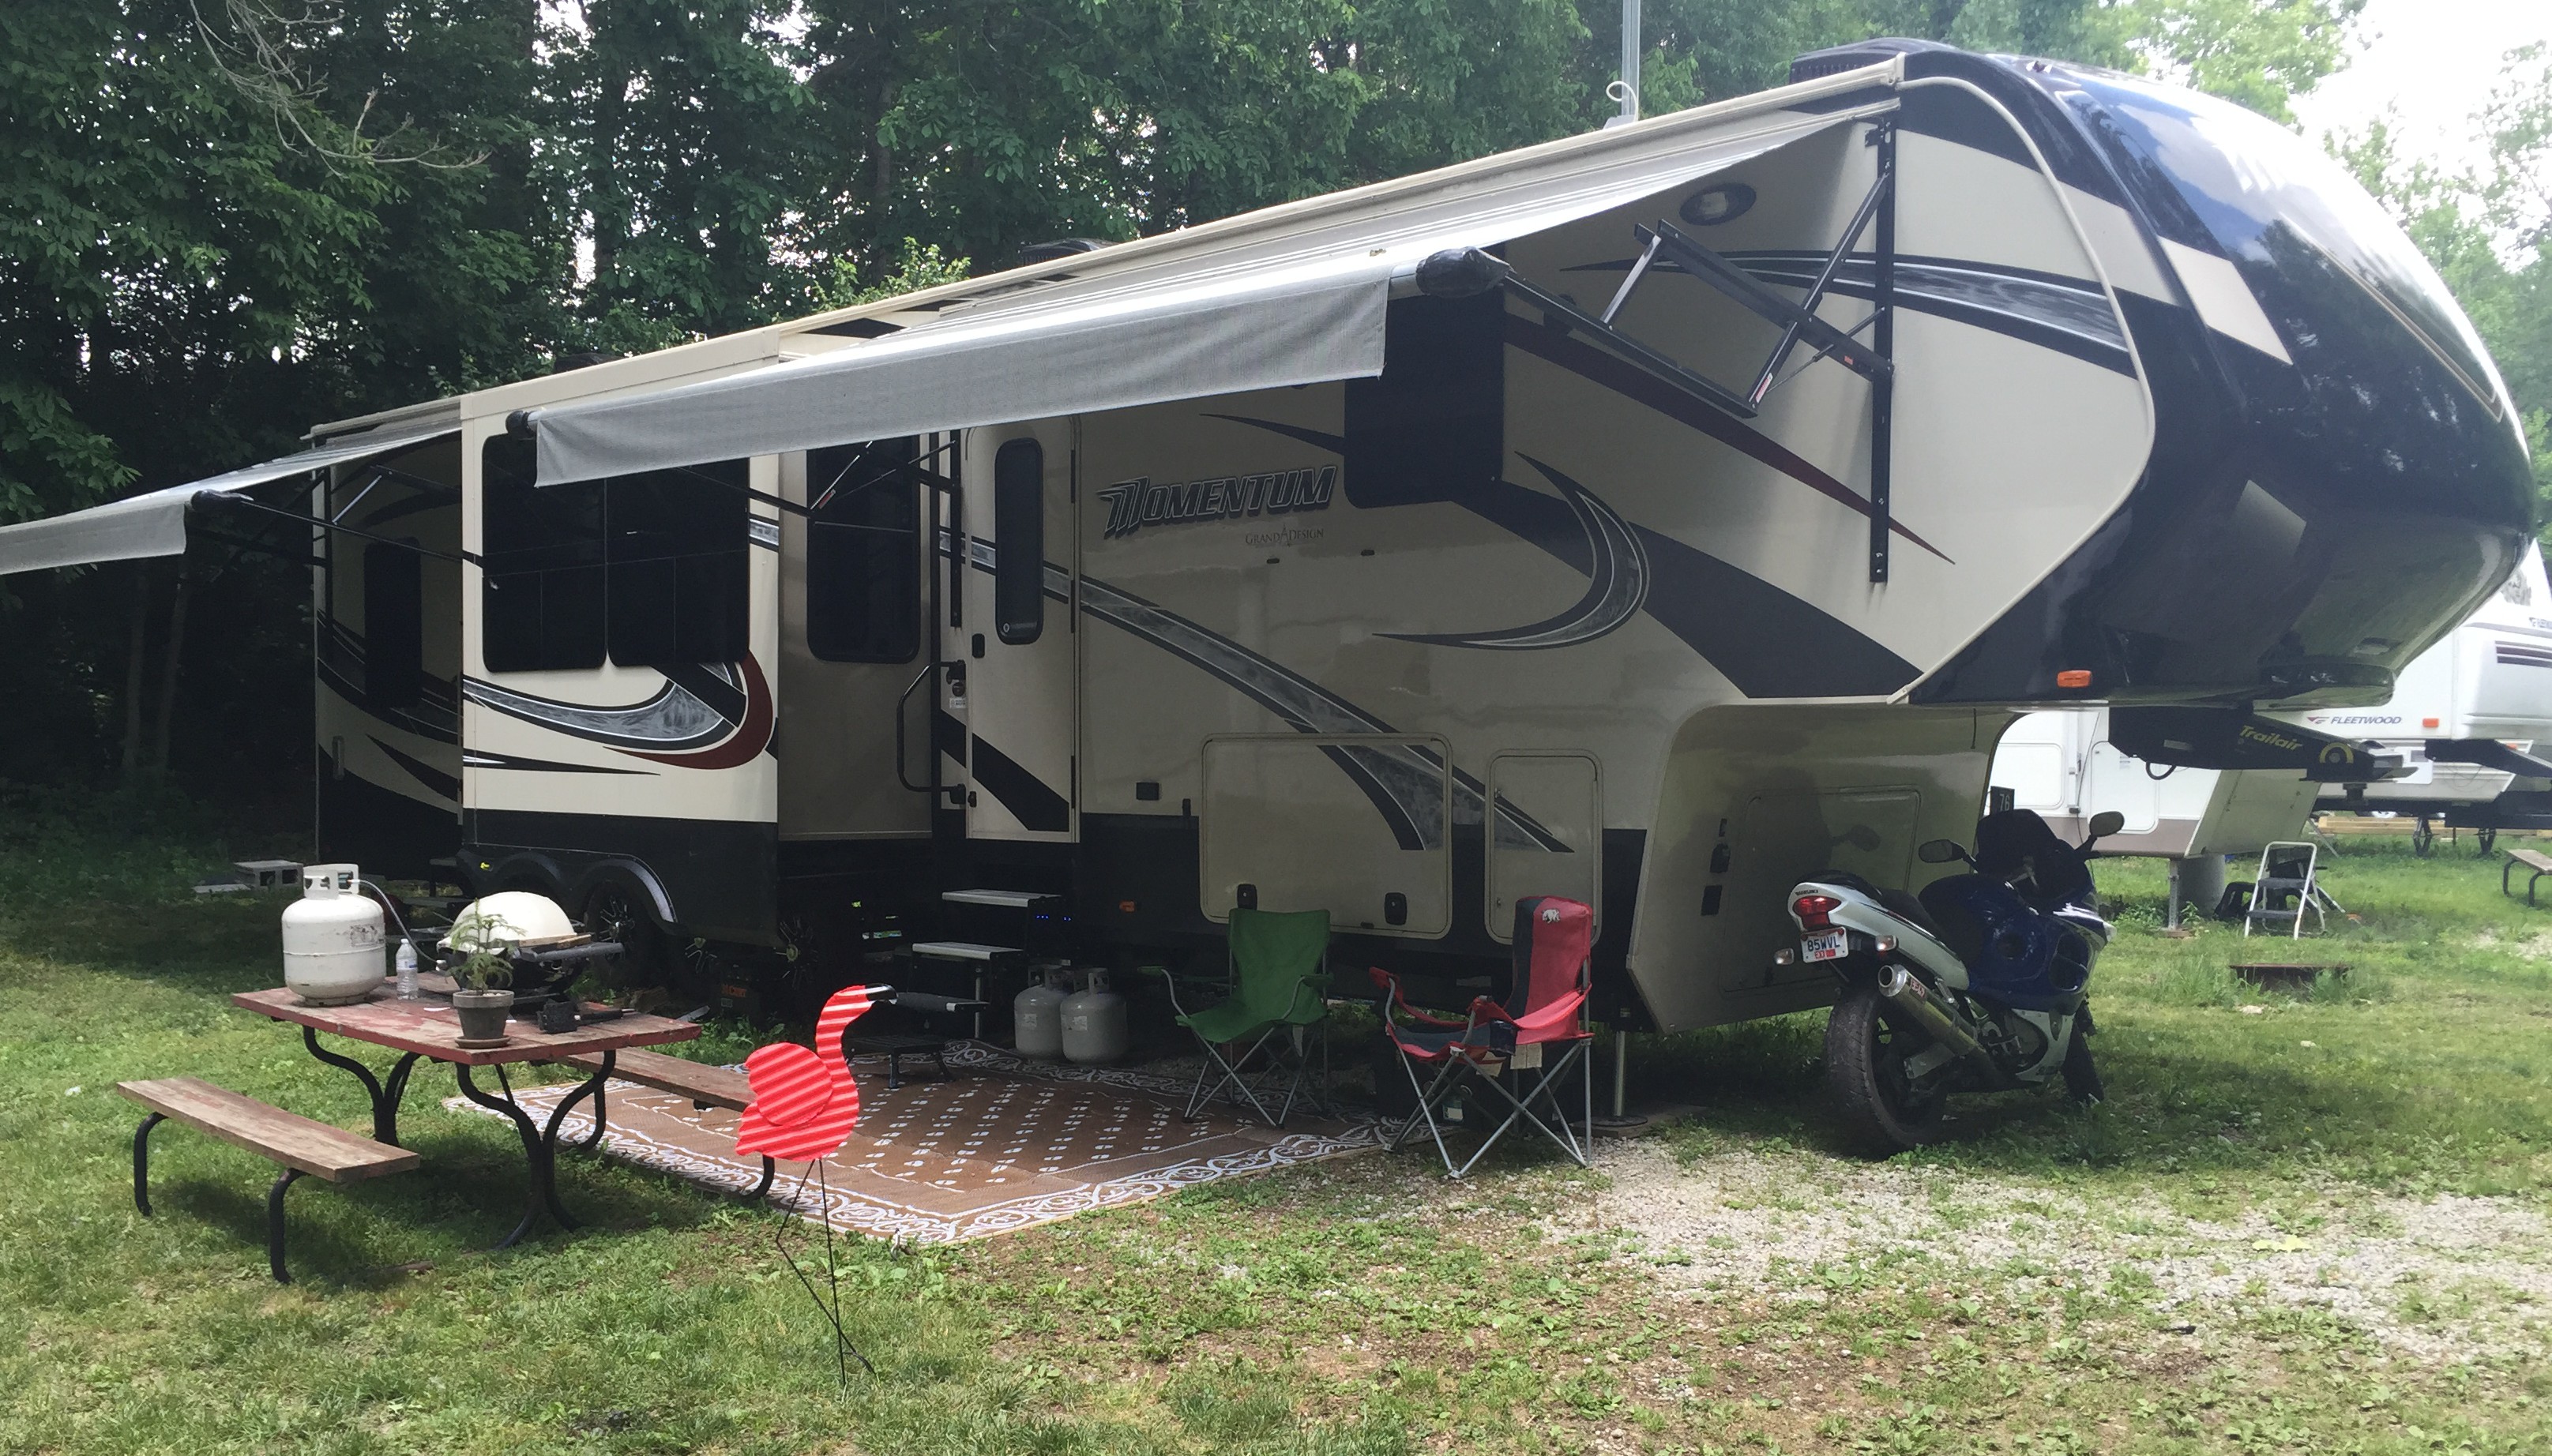
This particular flamingo has been in my mom’s backyard for a few years now. Before that it was in my cousin’s garage. Since we are living near Dayton right now, and my mom’s is only about an hour’s drive, we picked it up yesterday. (Side note: it’s been really nice being able to see our family and friends – and still make money at the same time!)
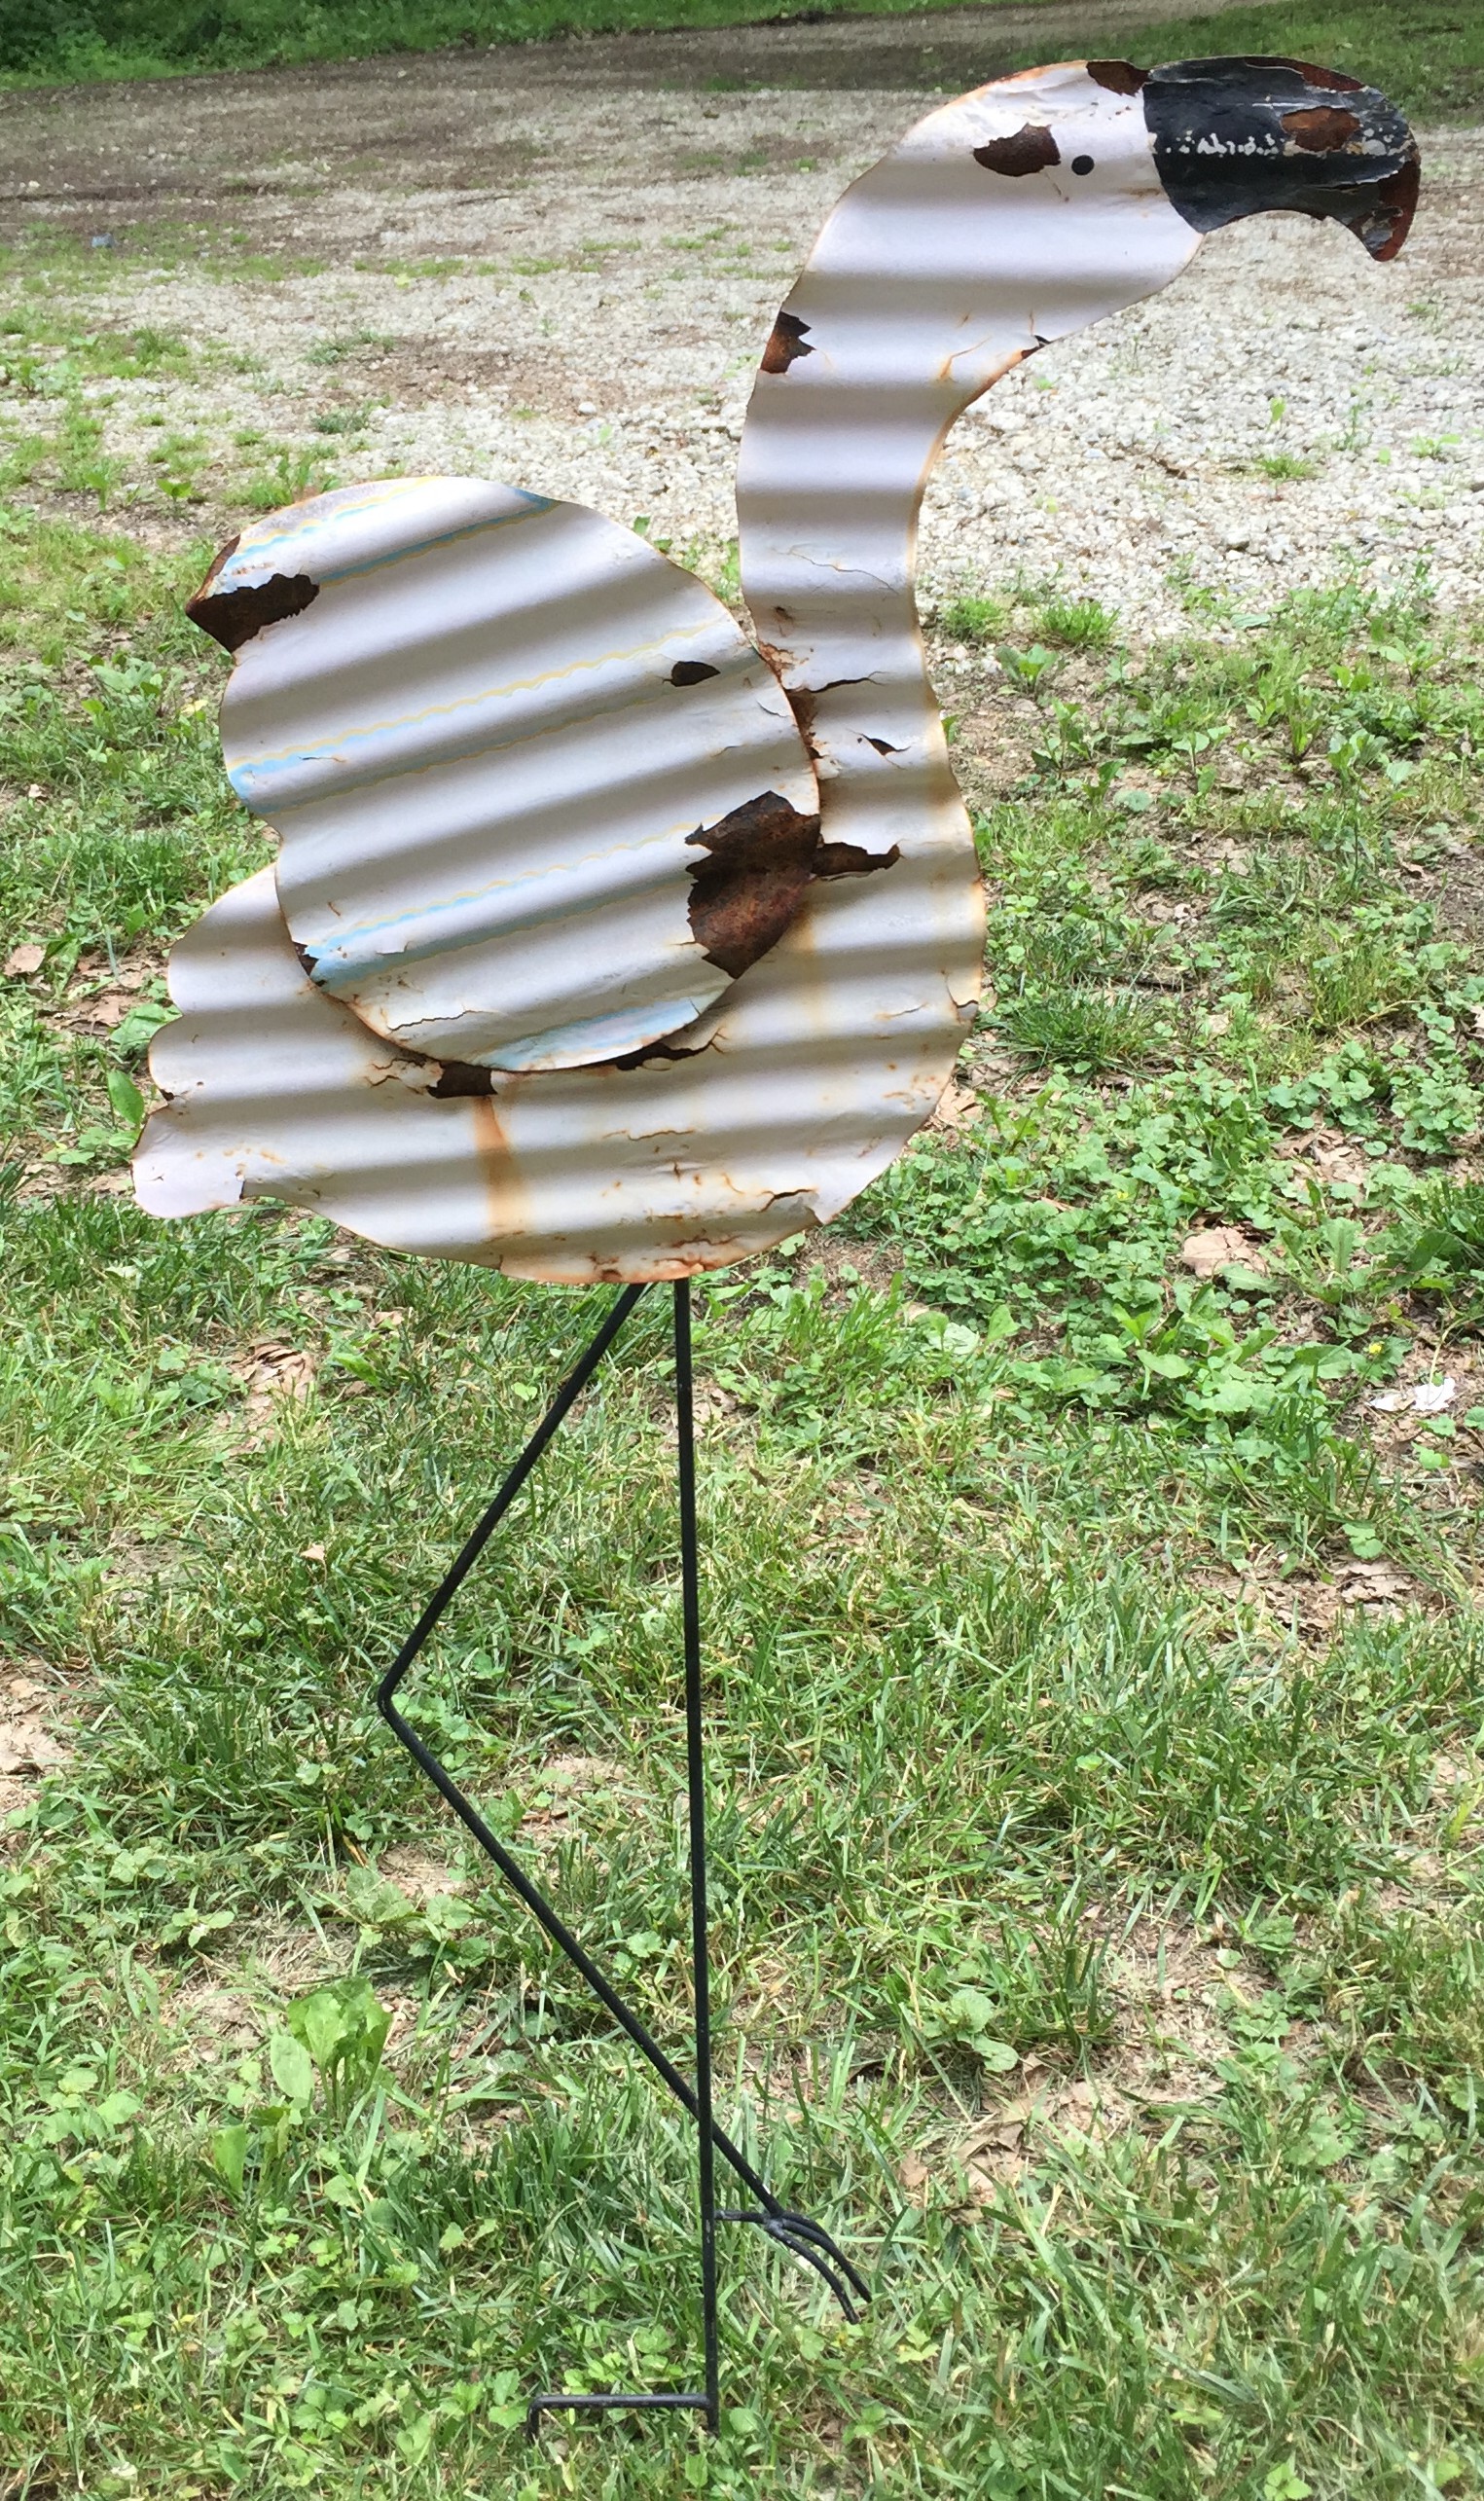
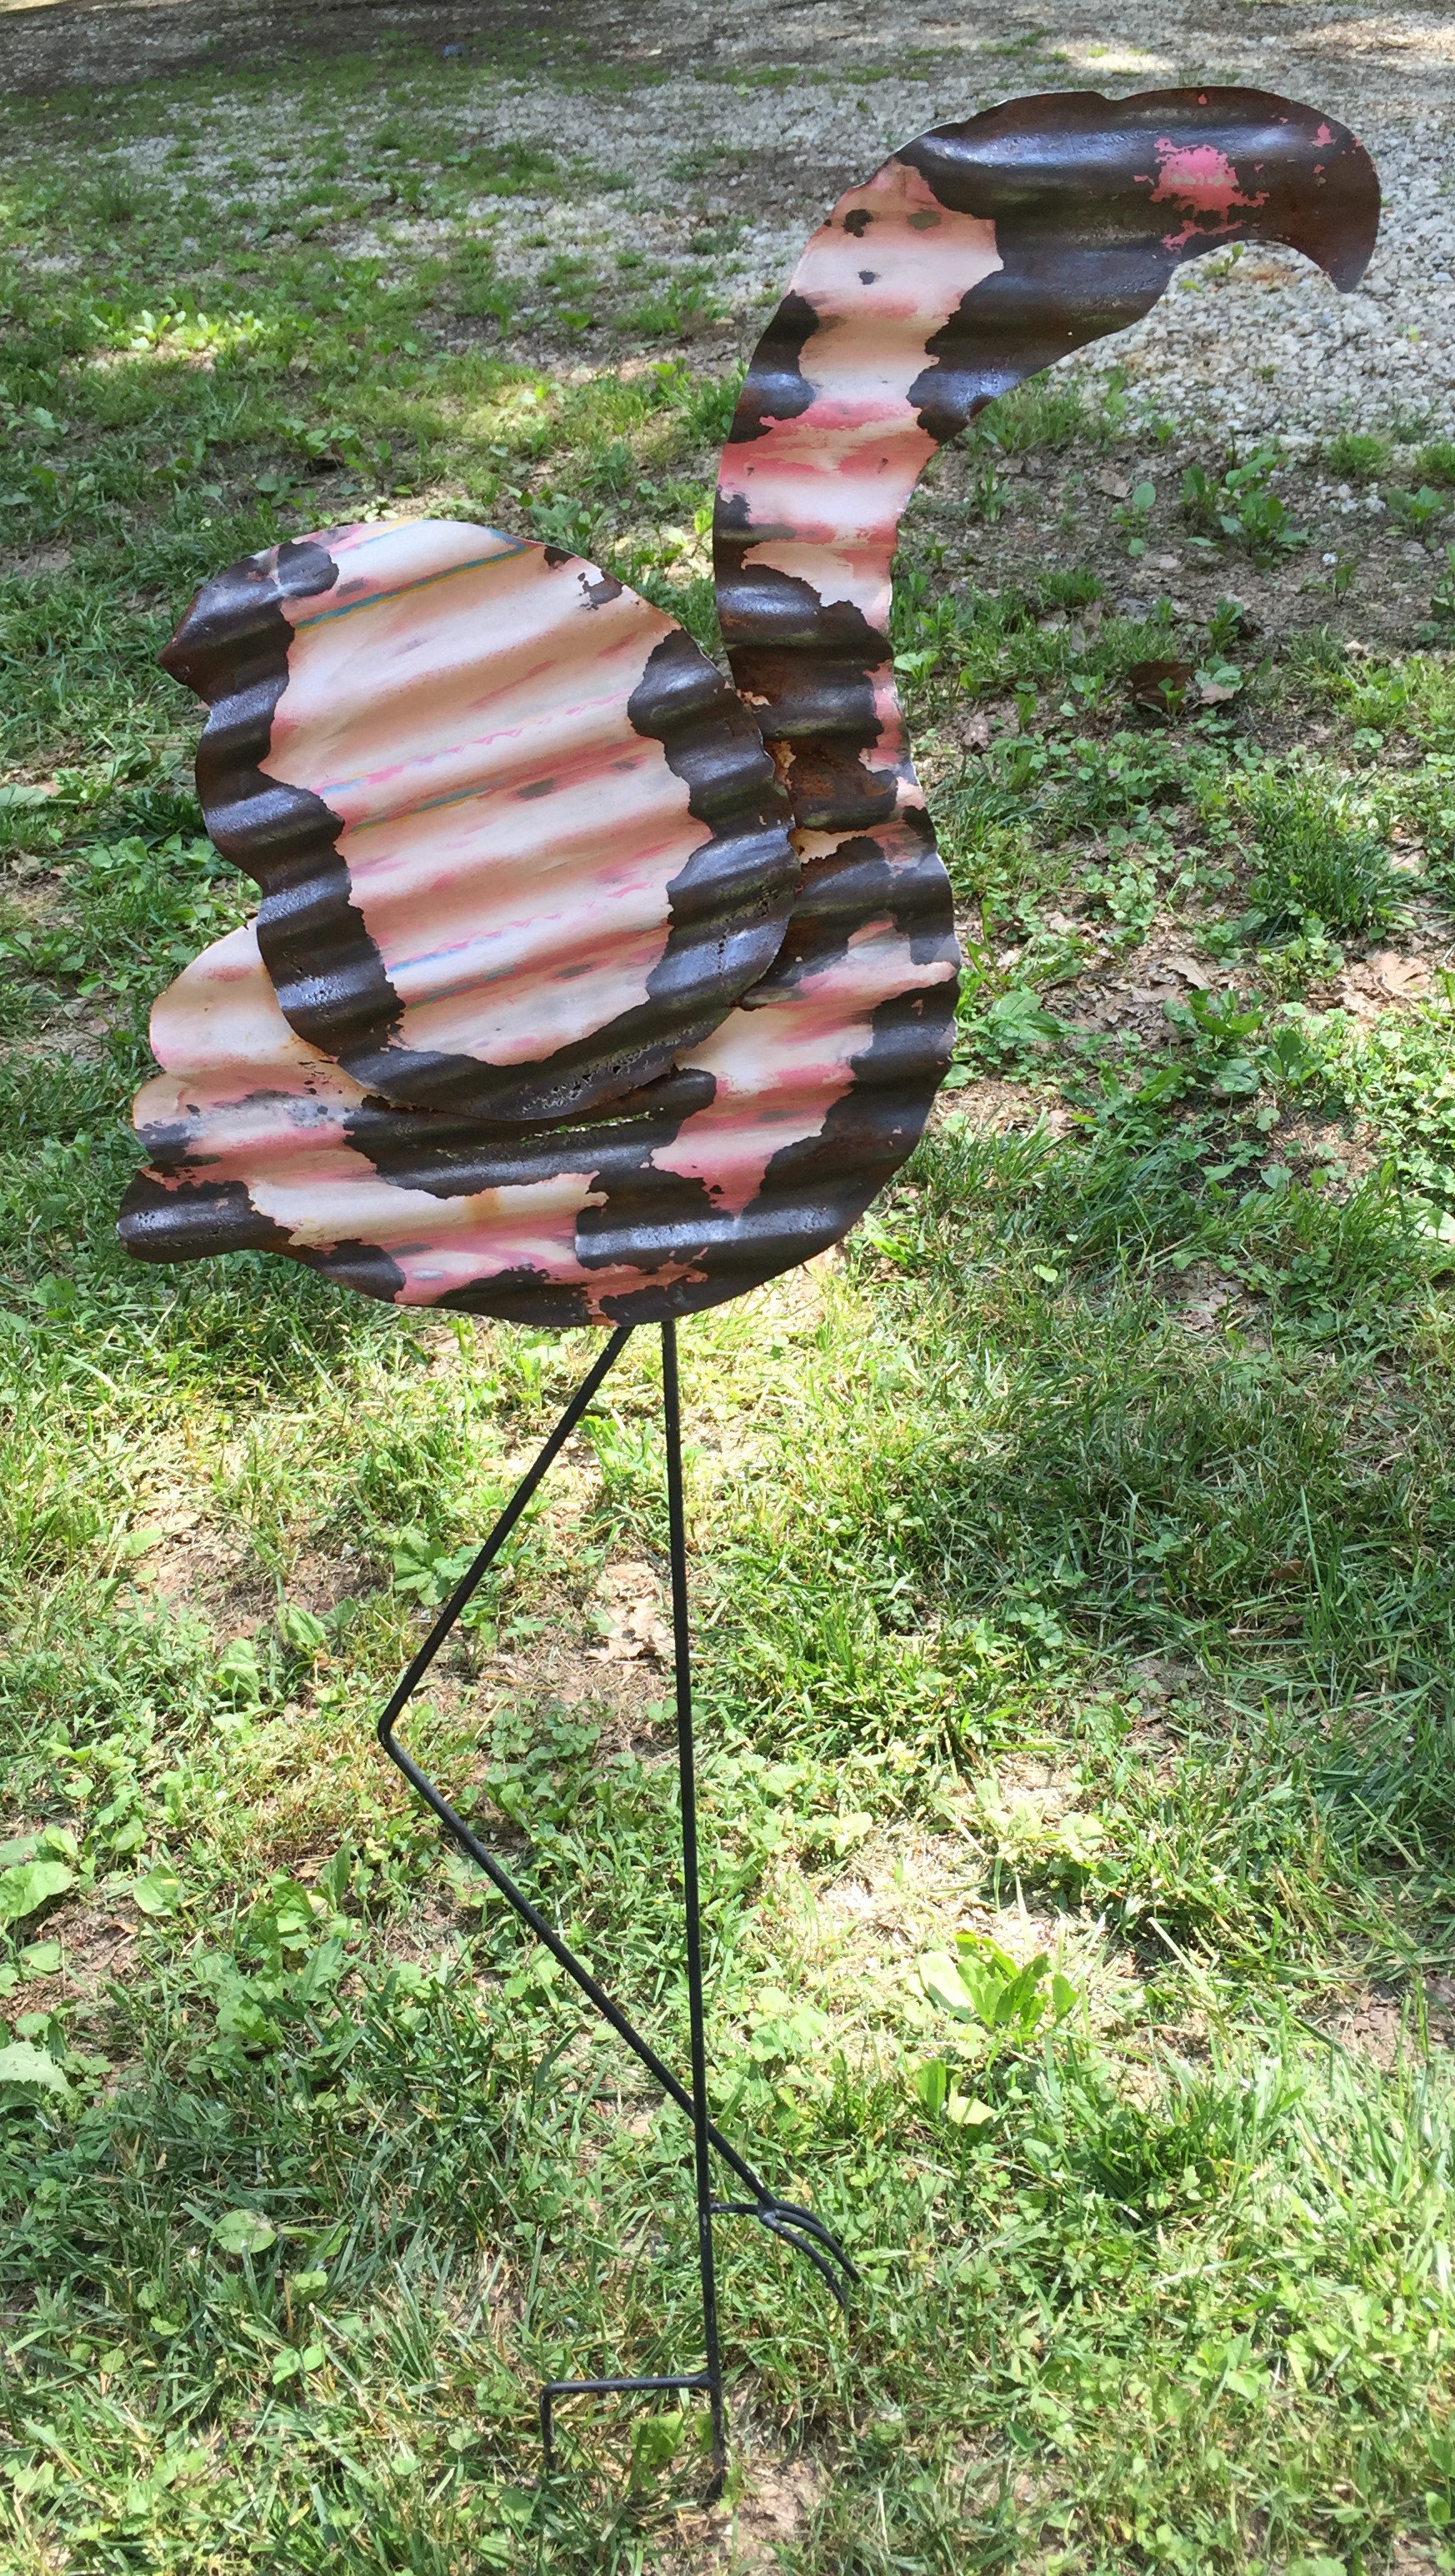
Allen did a little rust abatement (trying not to tear the whole thing apart), then I gave it a fresh coat of paint. YAY!
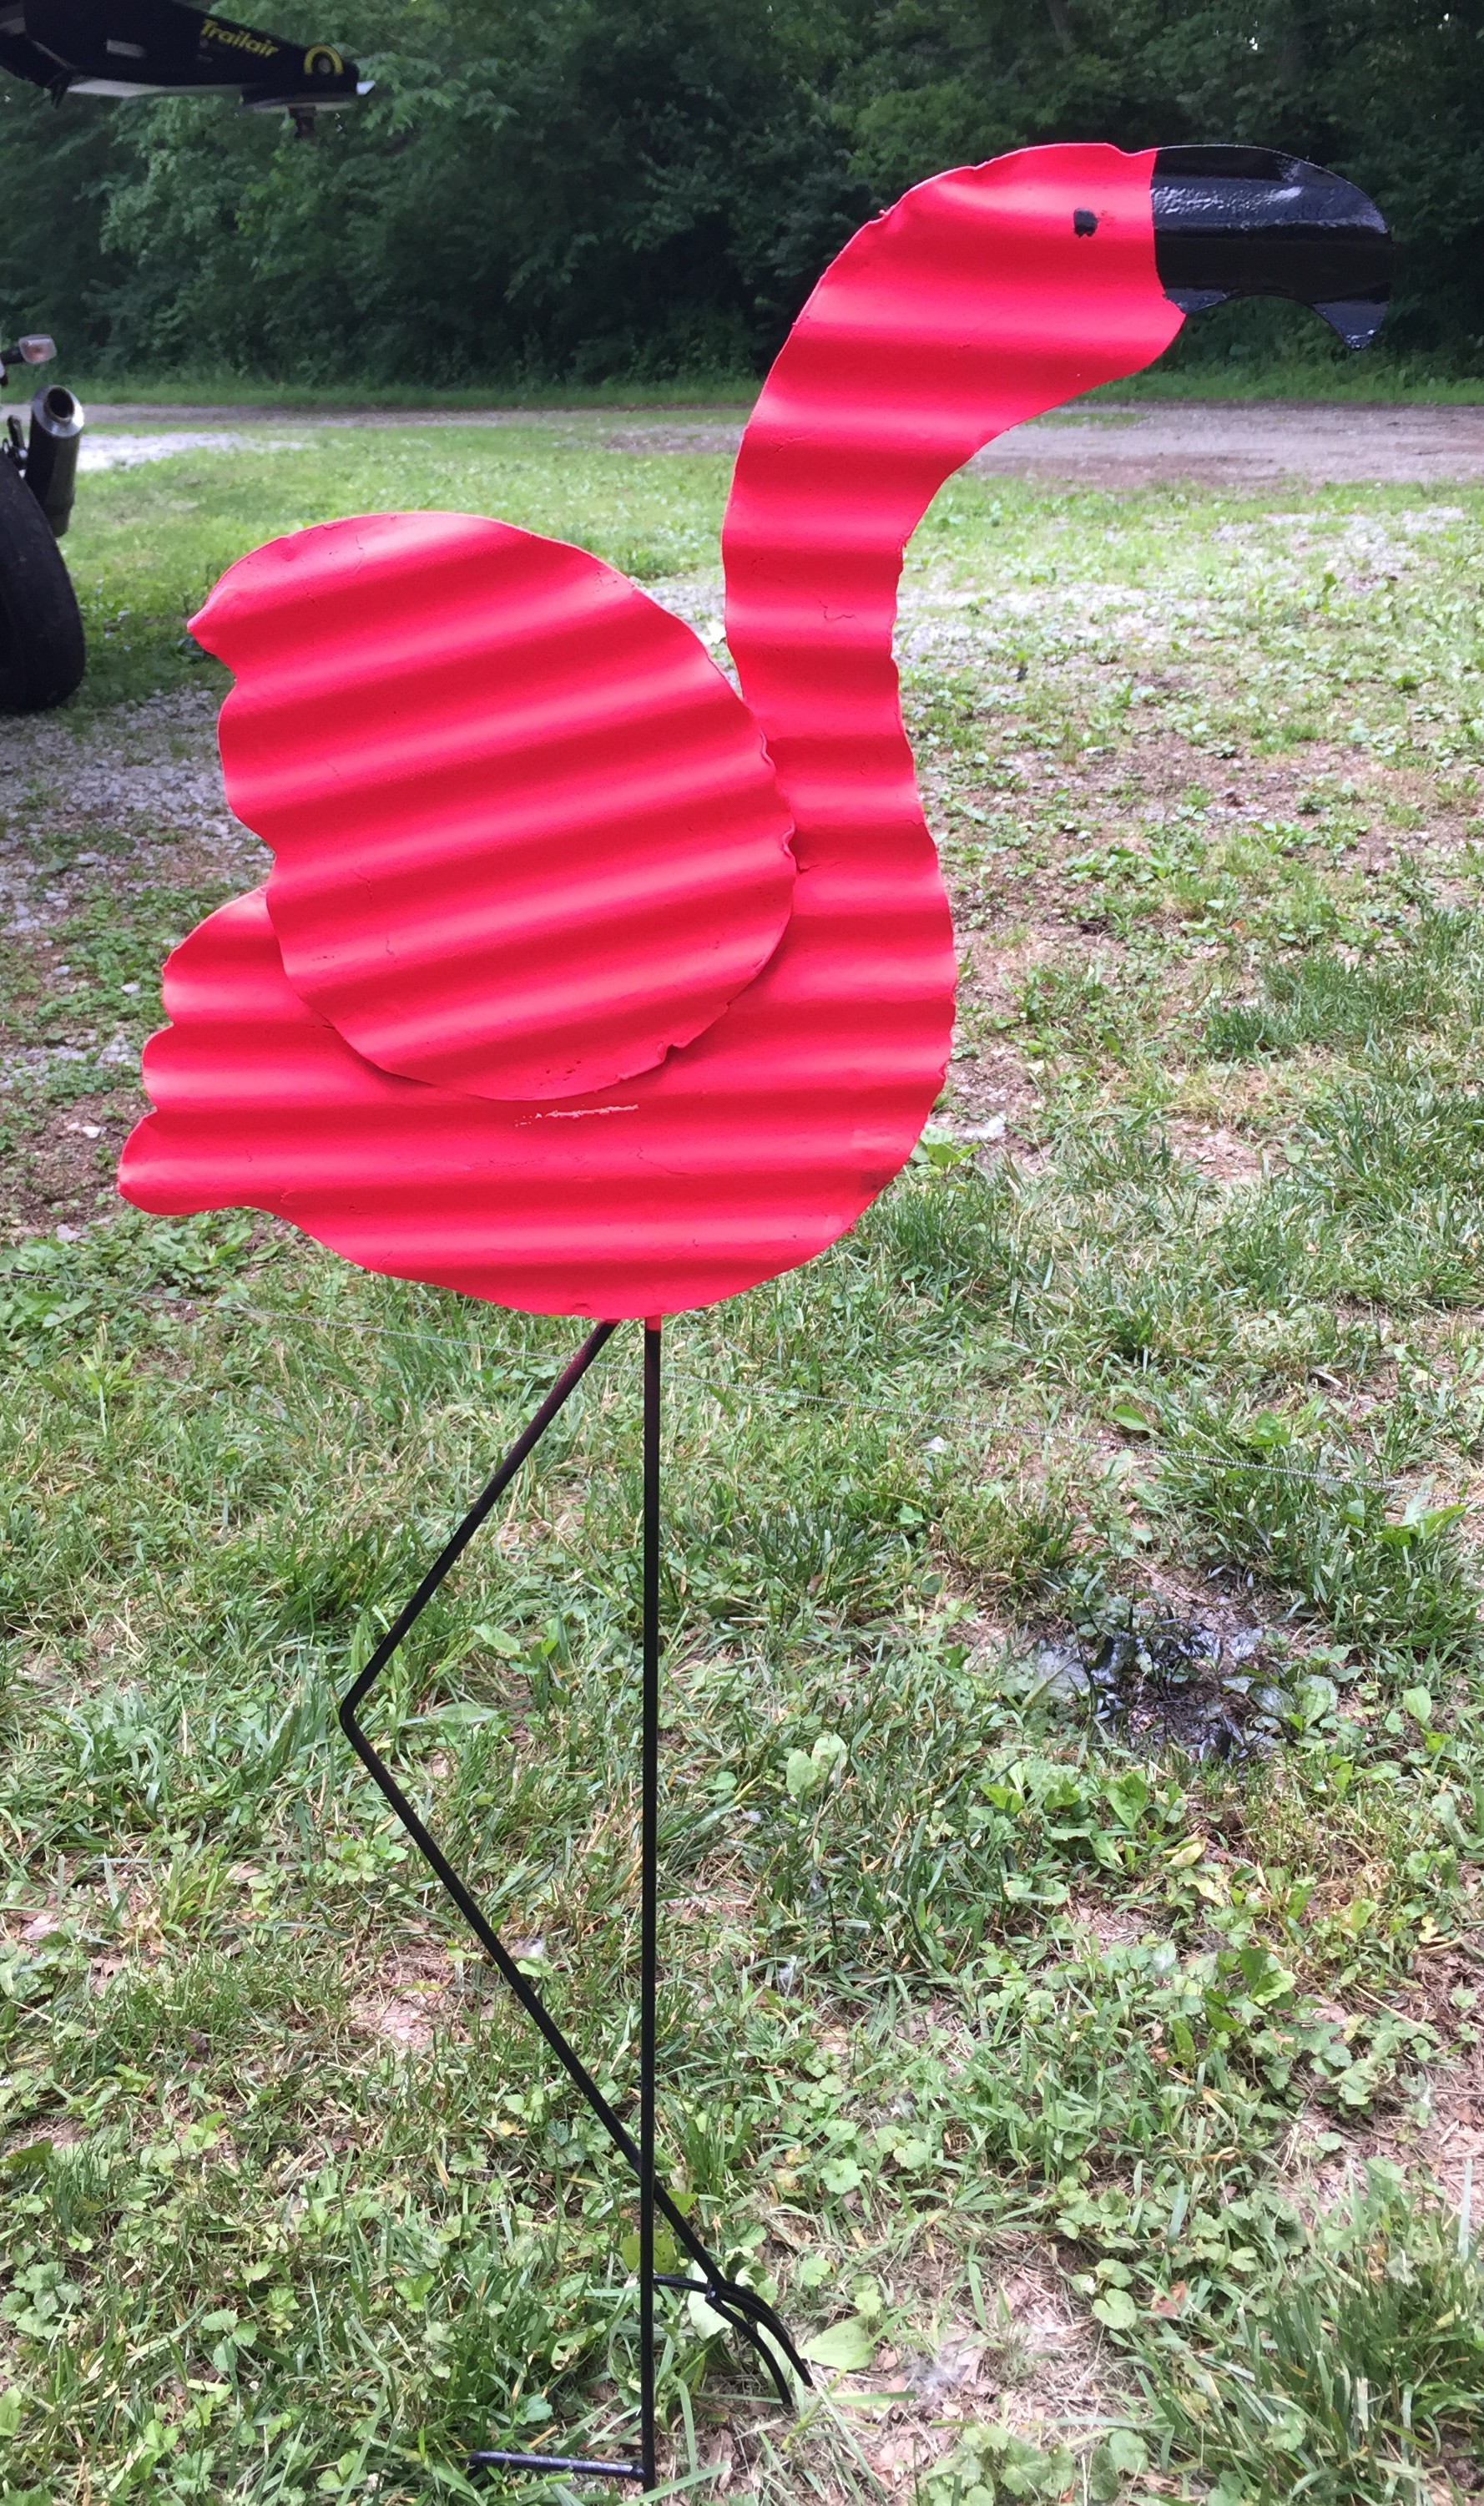
Fun Fact: Don Featherstone of Massachusetts is the inventor of the pink plastic lawn flamingo, which has been gracing lawns since 1957.
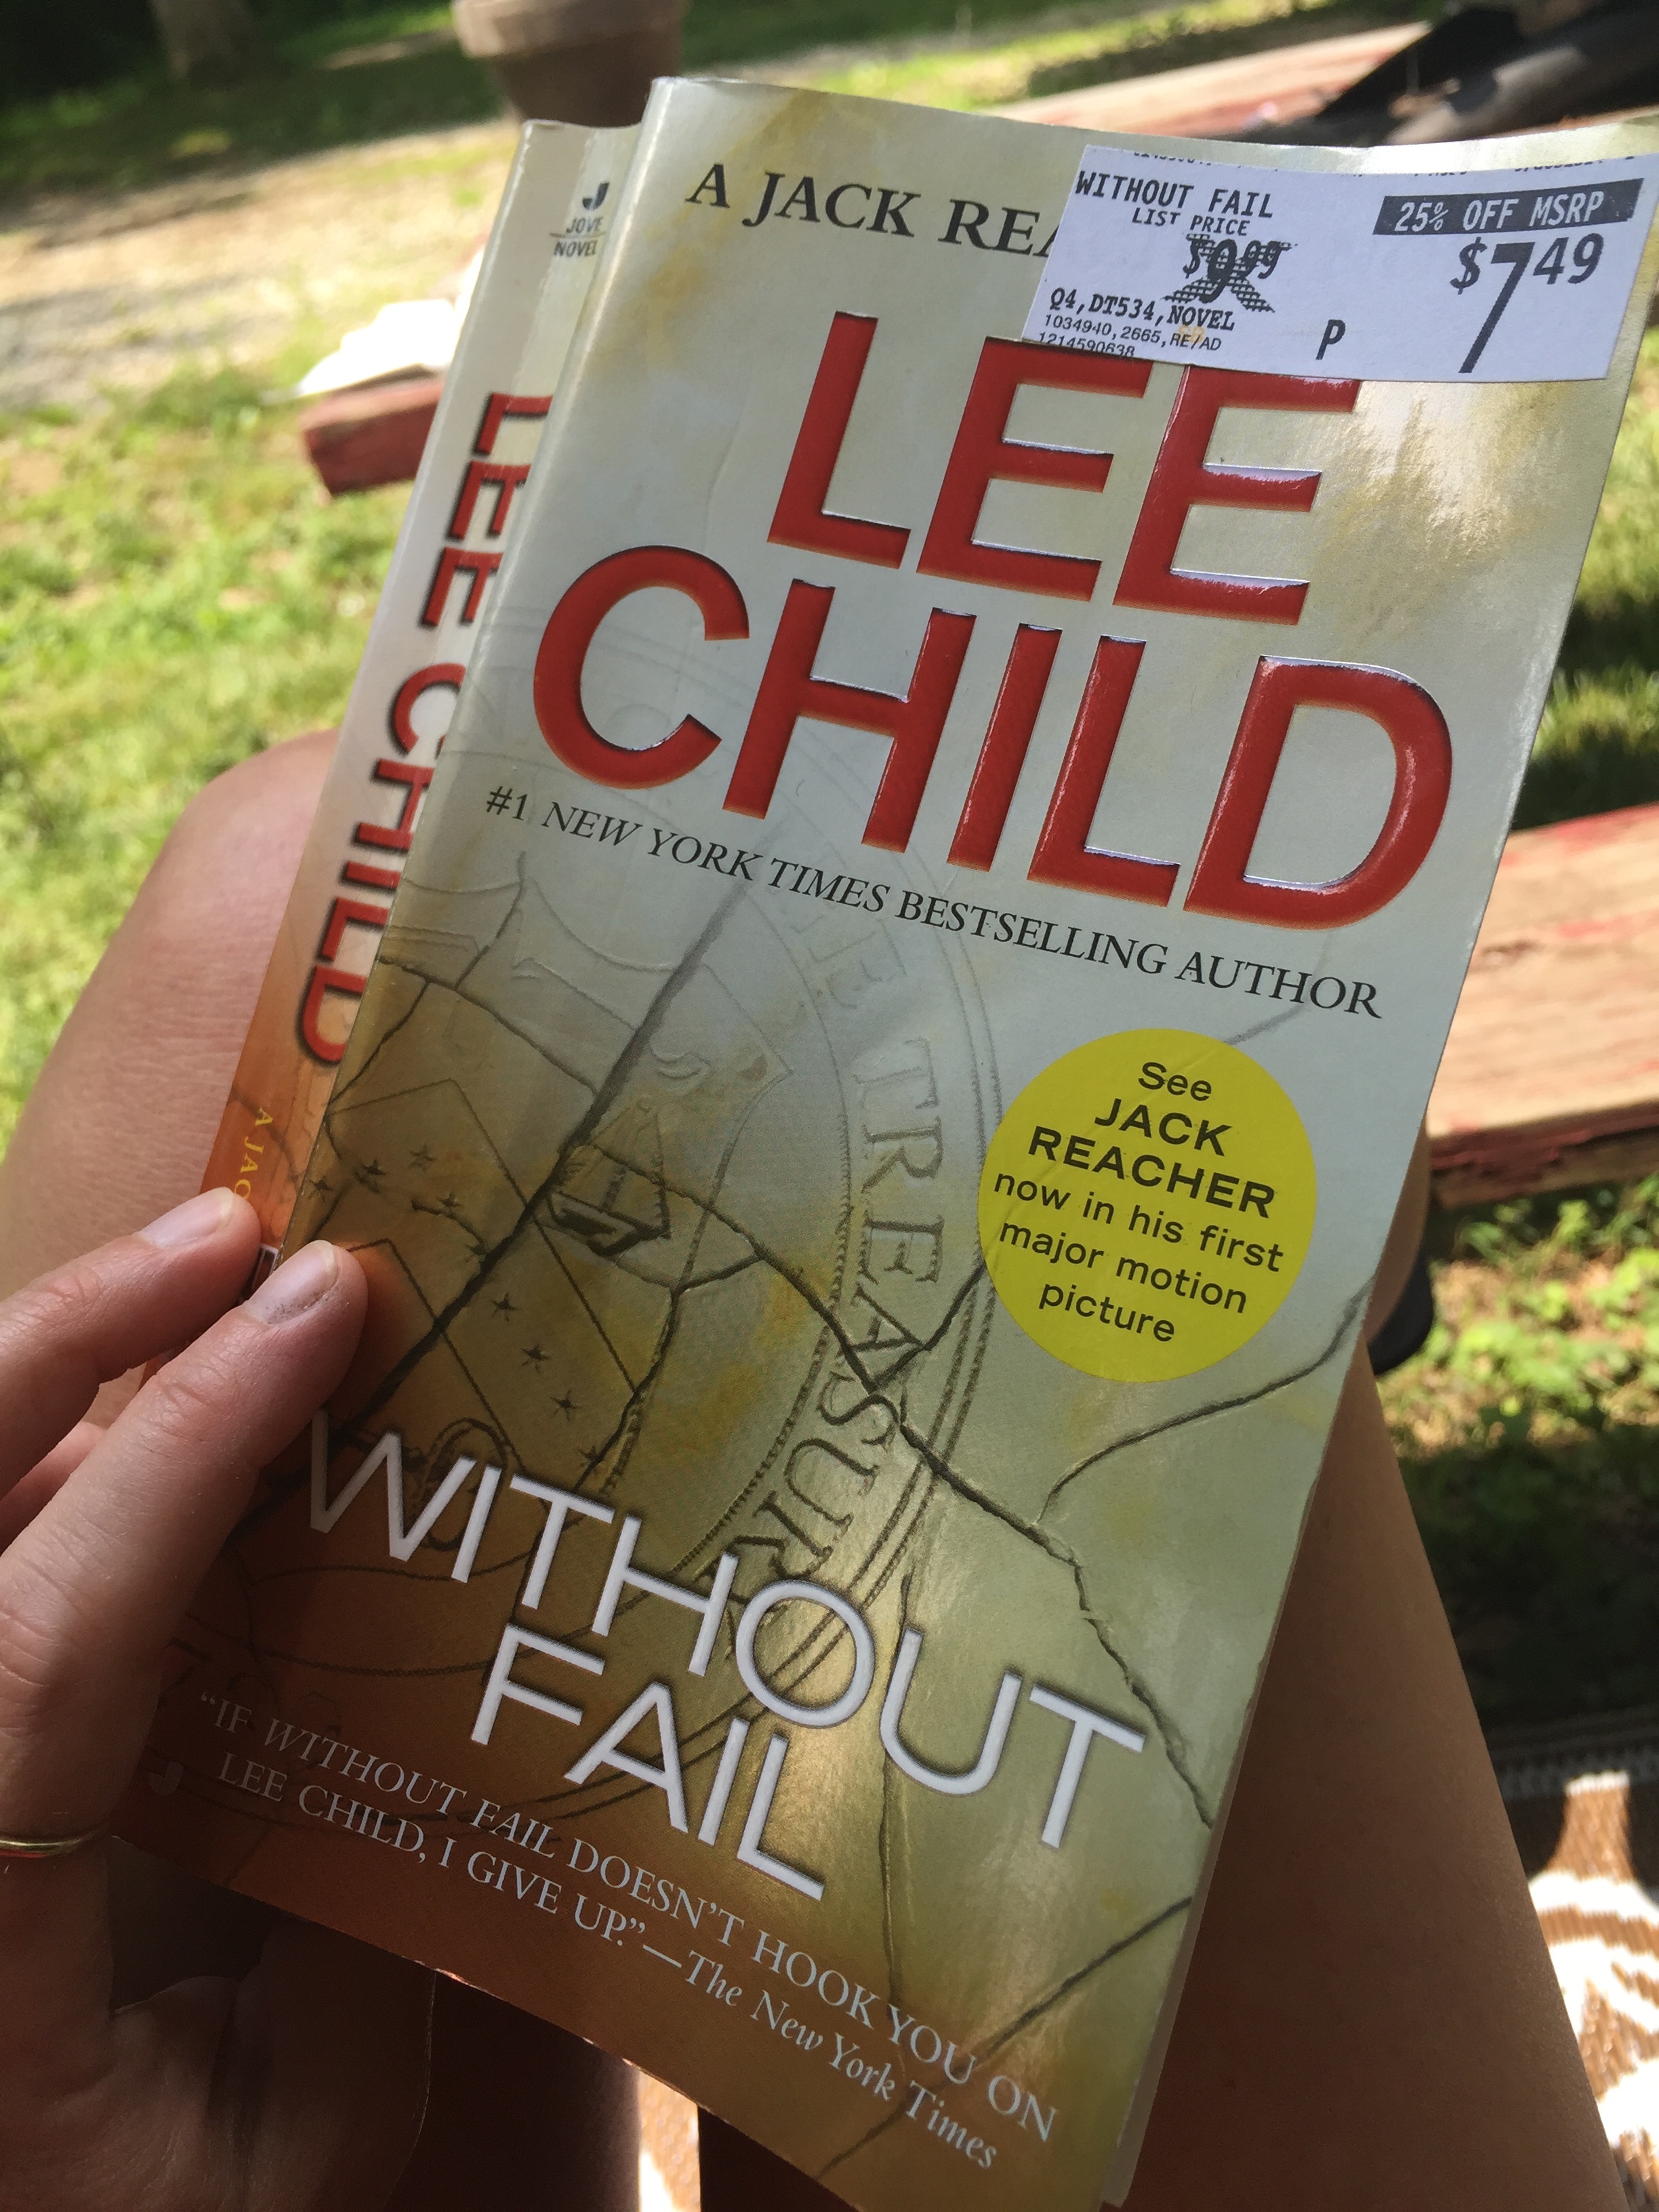
While we were waiting for the paint to dry, I read this very good book by Lee Child. Allen and I both love the Jack Reacher series and have read almost all of them. And, Charlie napped on the table. (Typical puppy-dog laziness)