Adding Lace to a Cute Top

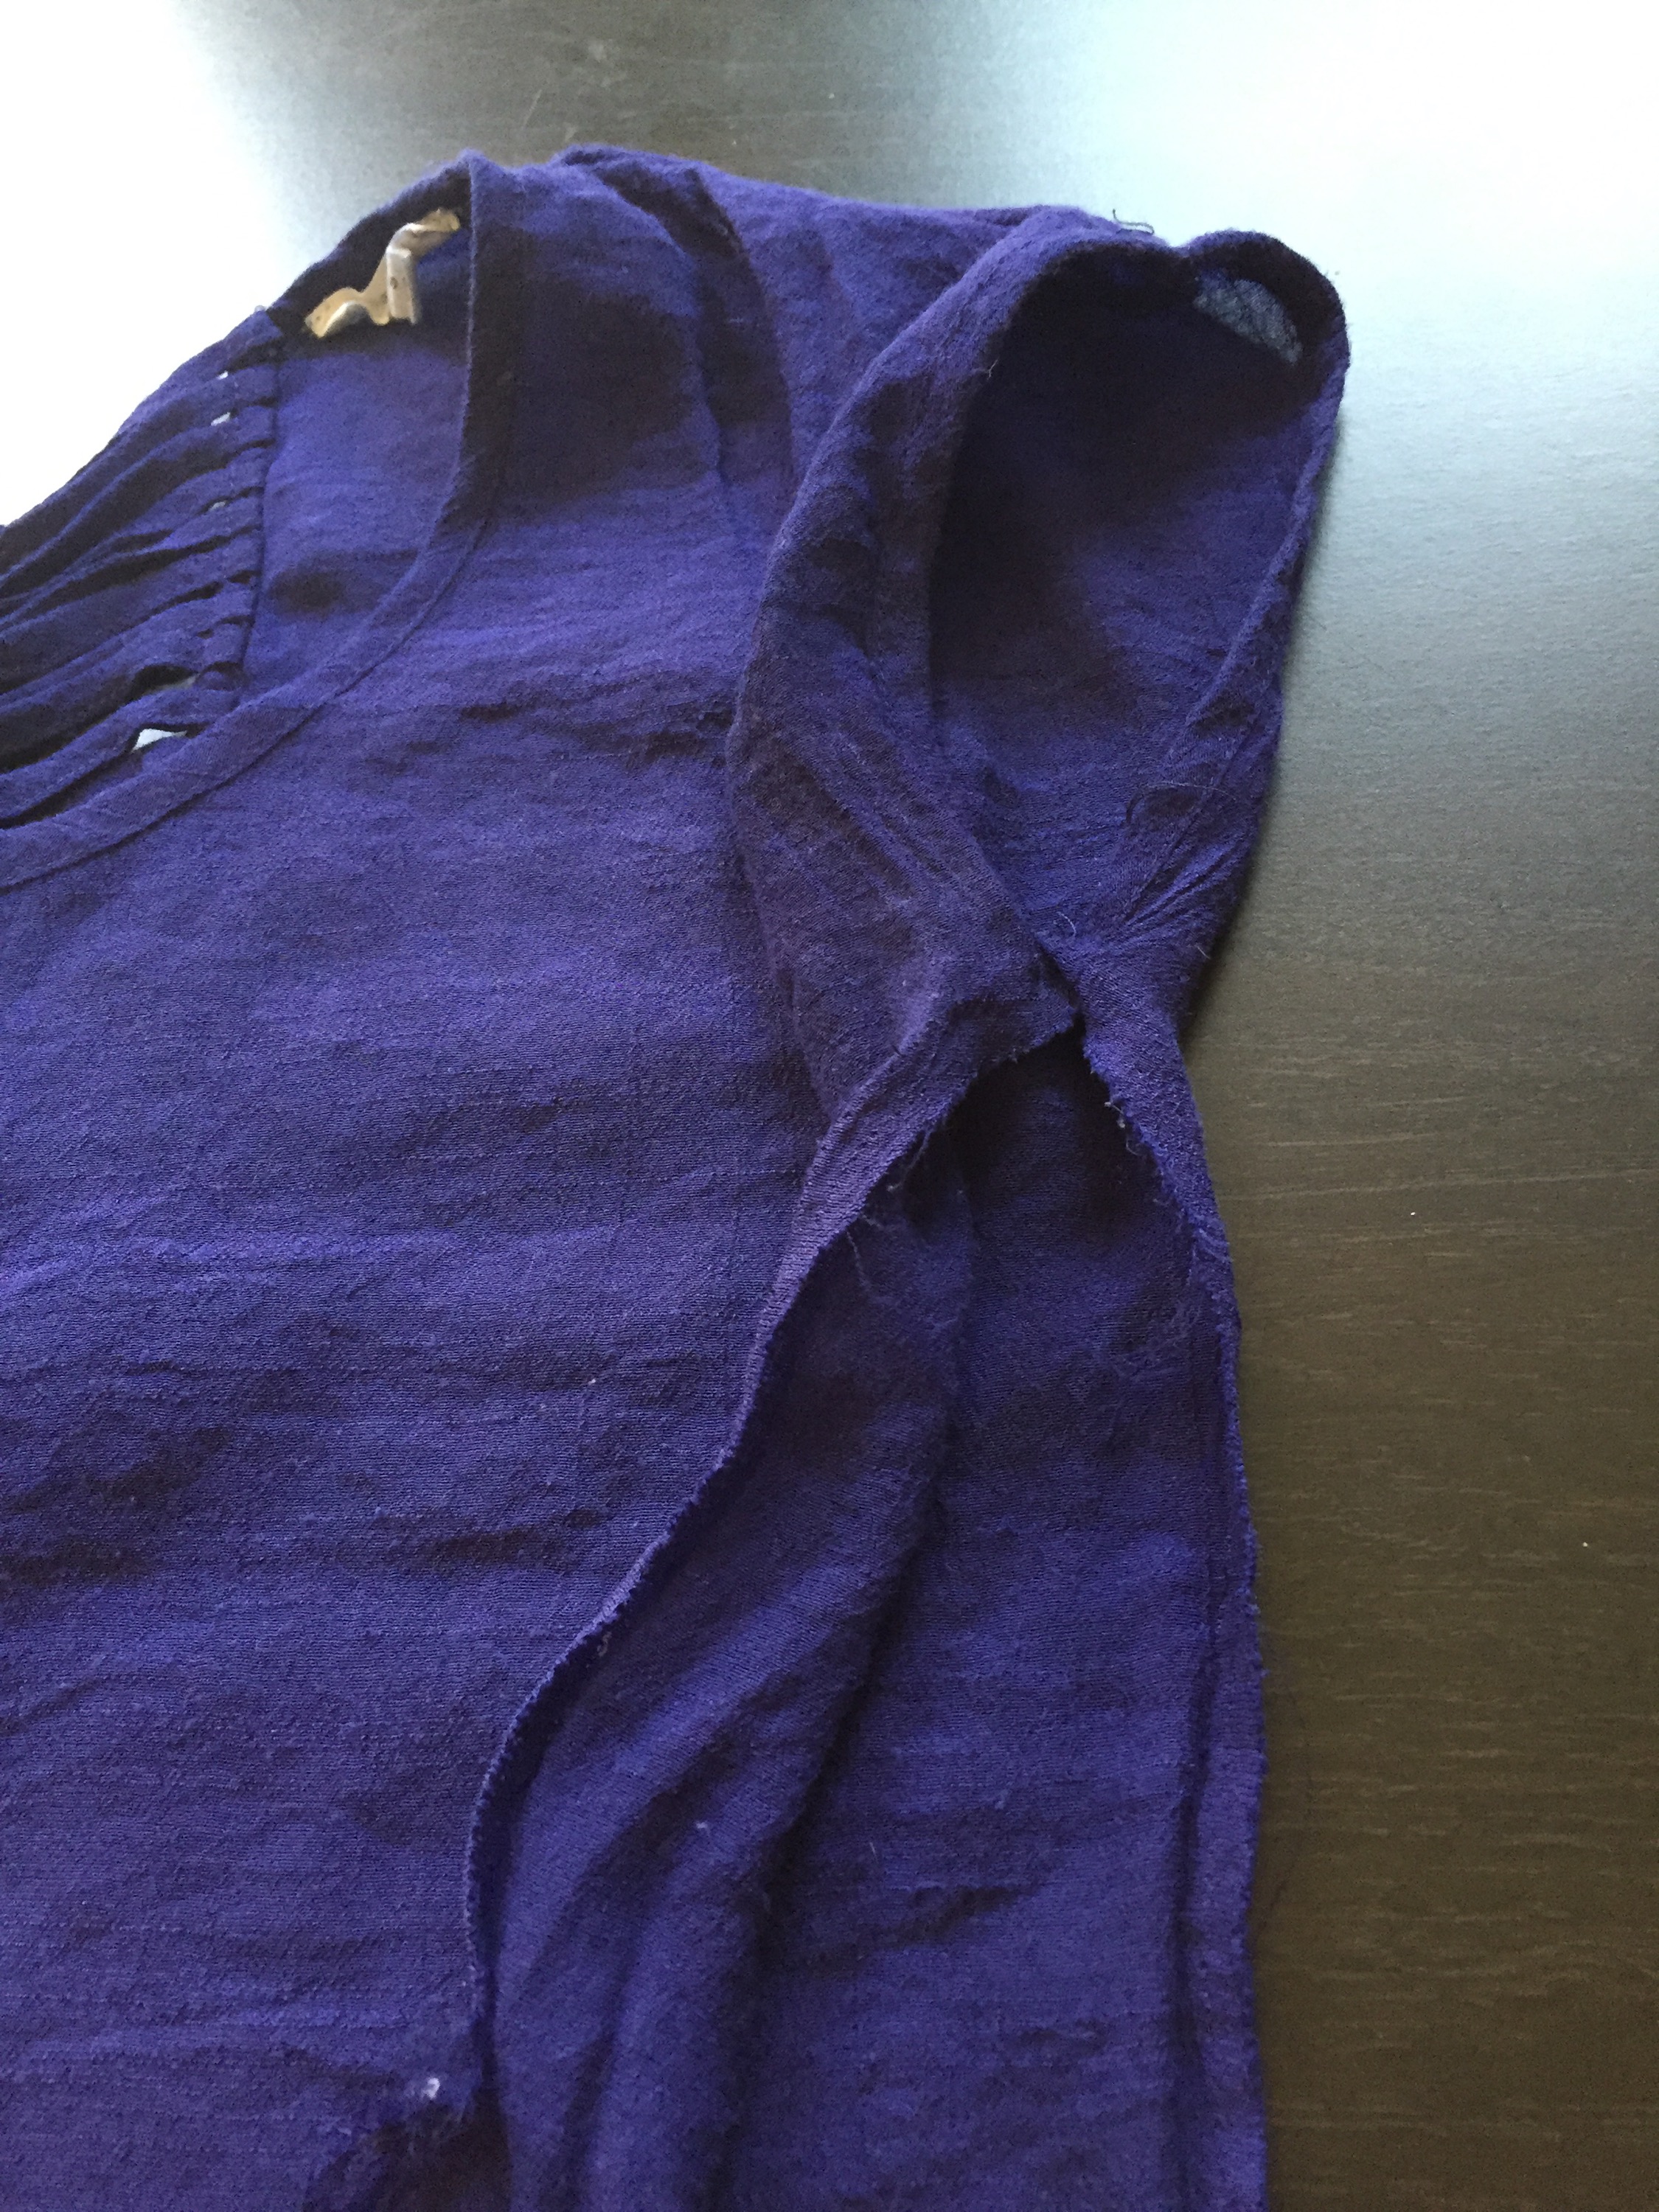
I’ve had this top for a few years but I don’t wear it too often. I wanted to change that… I haven’t been able to part with it because I really like the back and I like the material. (It’s pretty, soft, and breathable.) It’s just always been a little too snug and the material, even though I like it, has hardly any stretch to it. So I found this on Pinterest…  
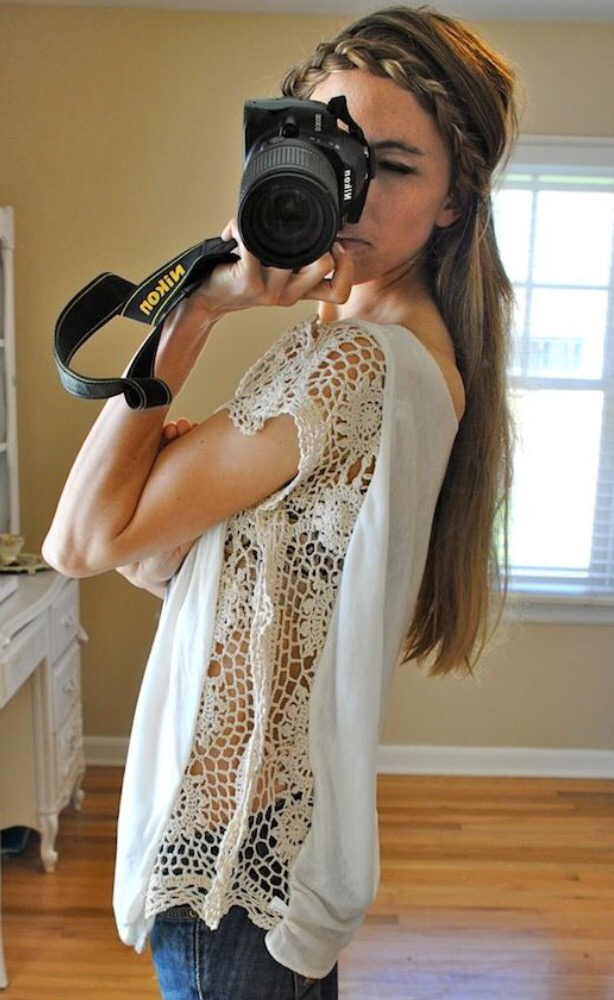
 Then I saw this…  

 And decided to use that as a jumping off point. I didn’t want to make the top really loose, but I wanted to add a few inches around. I had some black floral lace that I found at Walmart on clearance last winter when we were in Oklahoma City. (It’s crazy to me that I remember WHEN things happened by WHERE I was… Life on the road I guess.) Anyway, here’s what I used…  
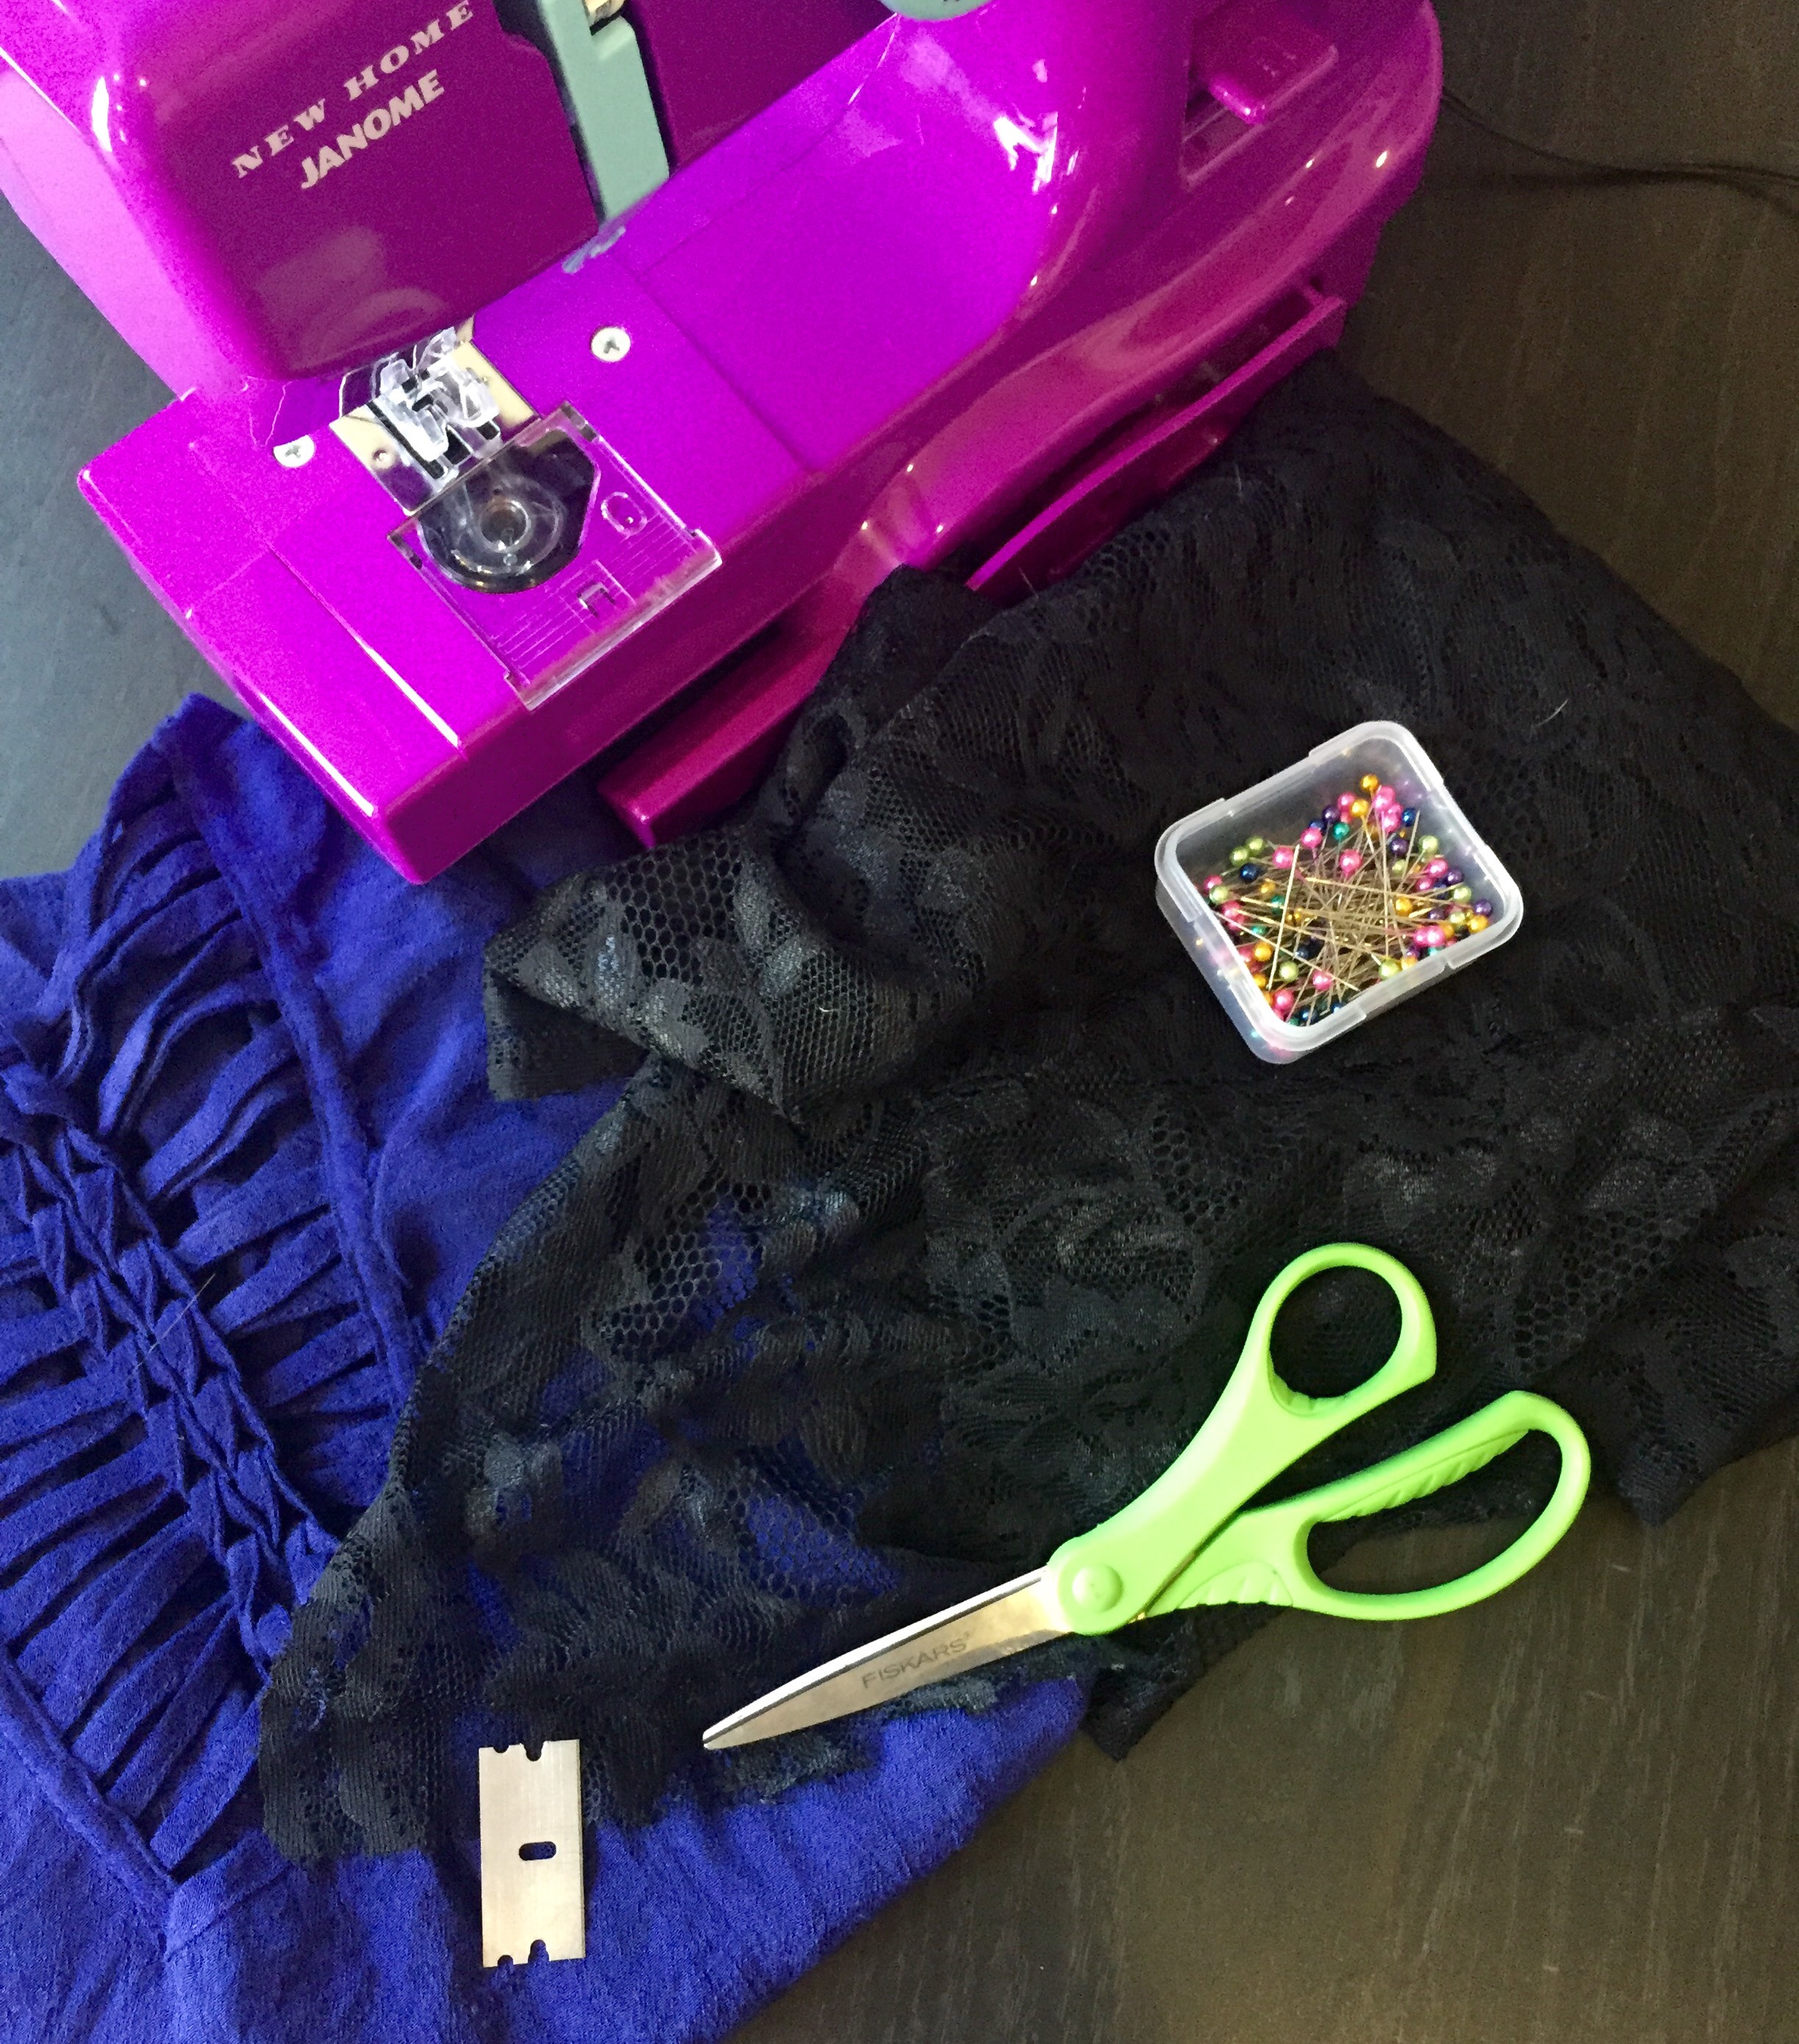
 

  • Scissors
  • Razor blade (a seam ripper would probably be better but I don’t have one yet)
  • Lace
  • A too snug top
  • Pins
  • Sewing machine
  • Matching thread

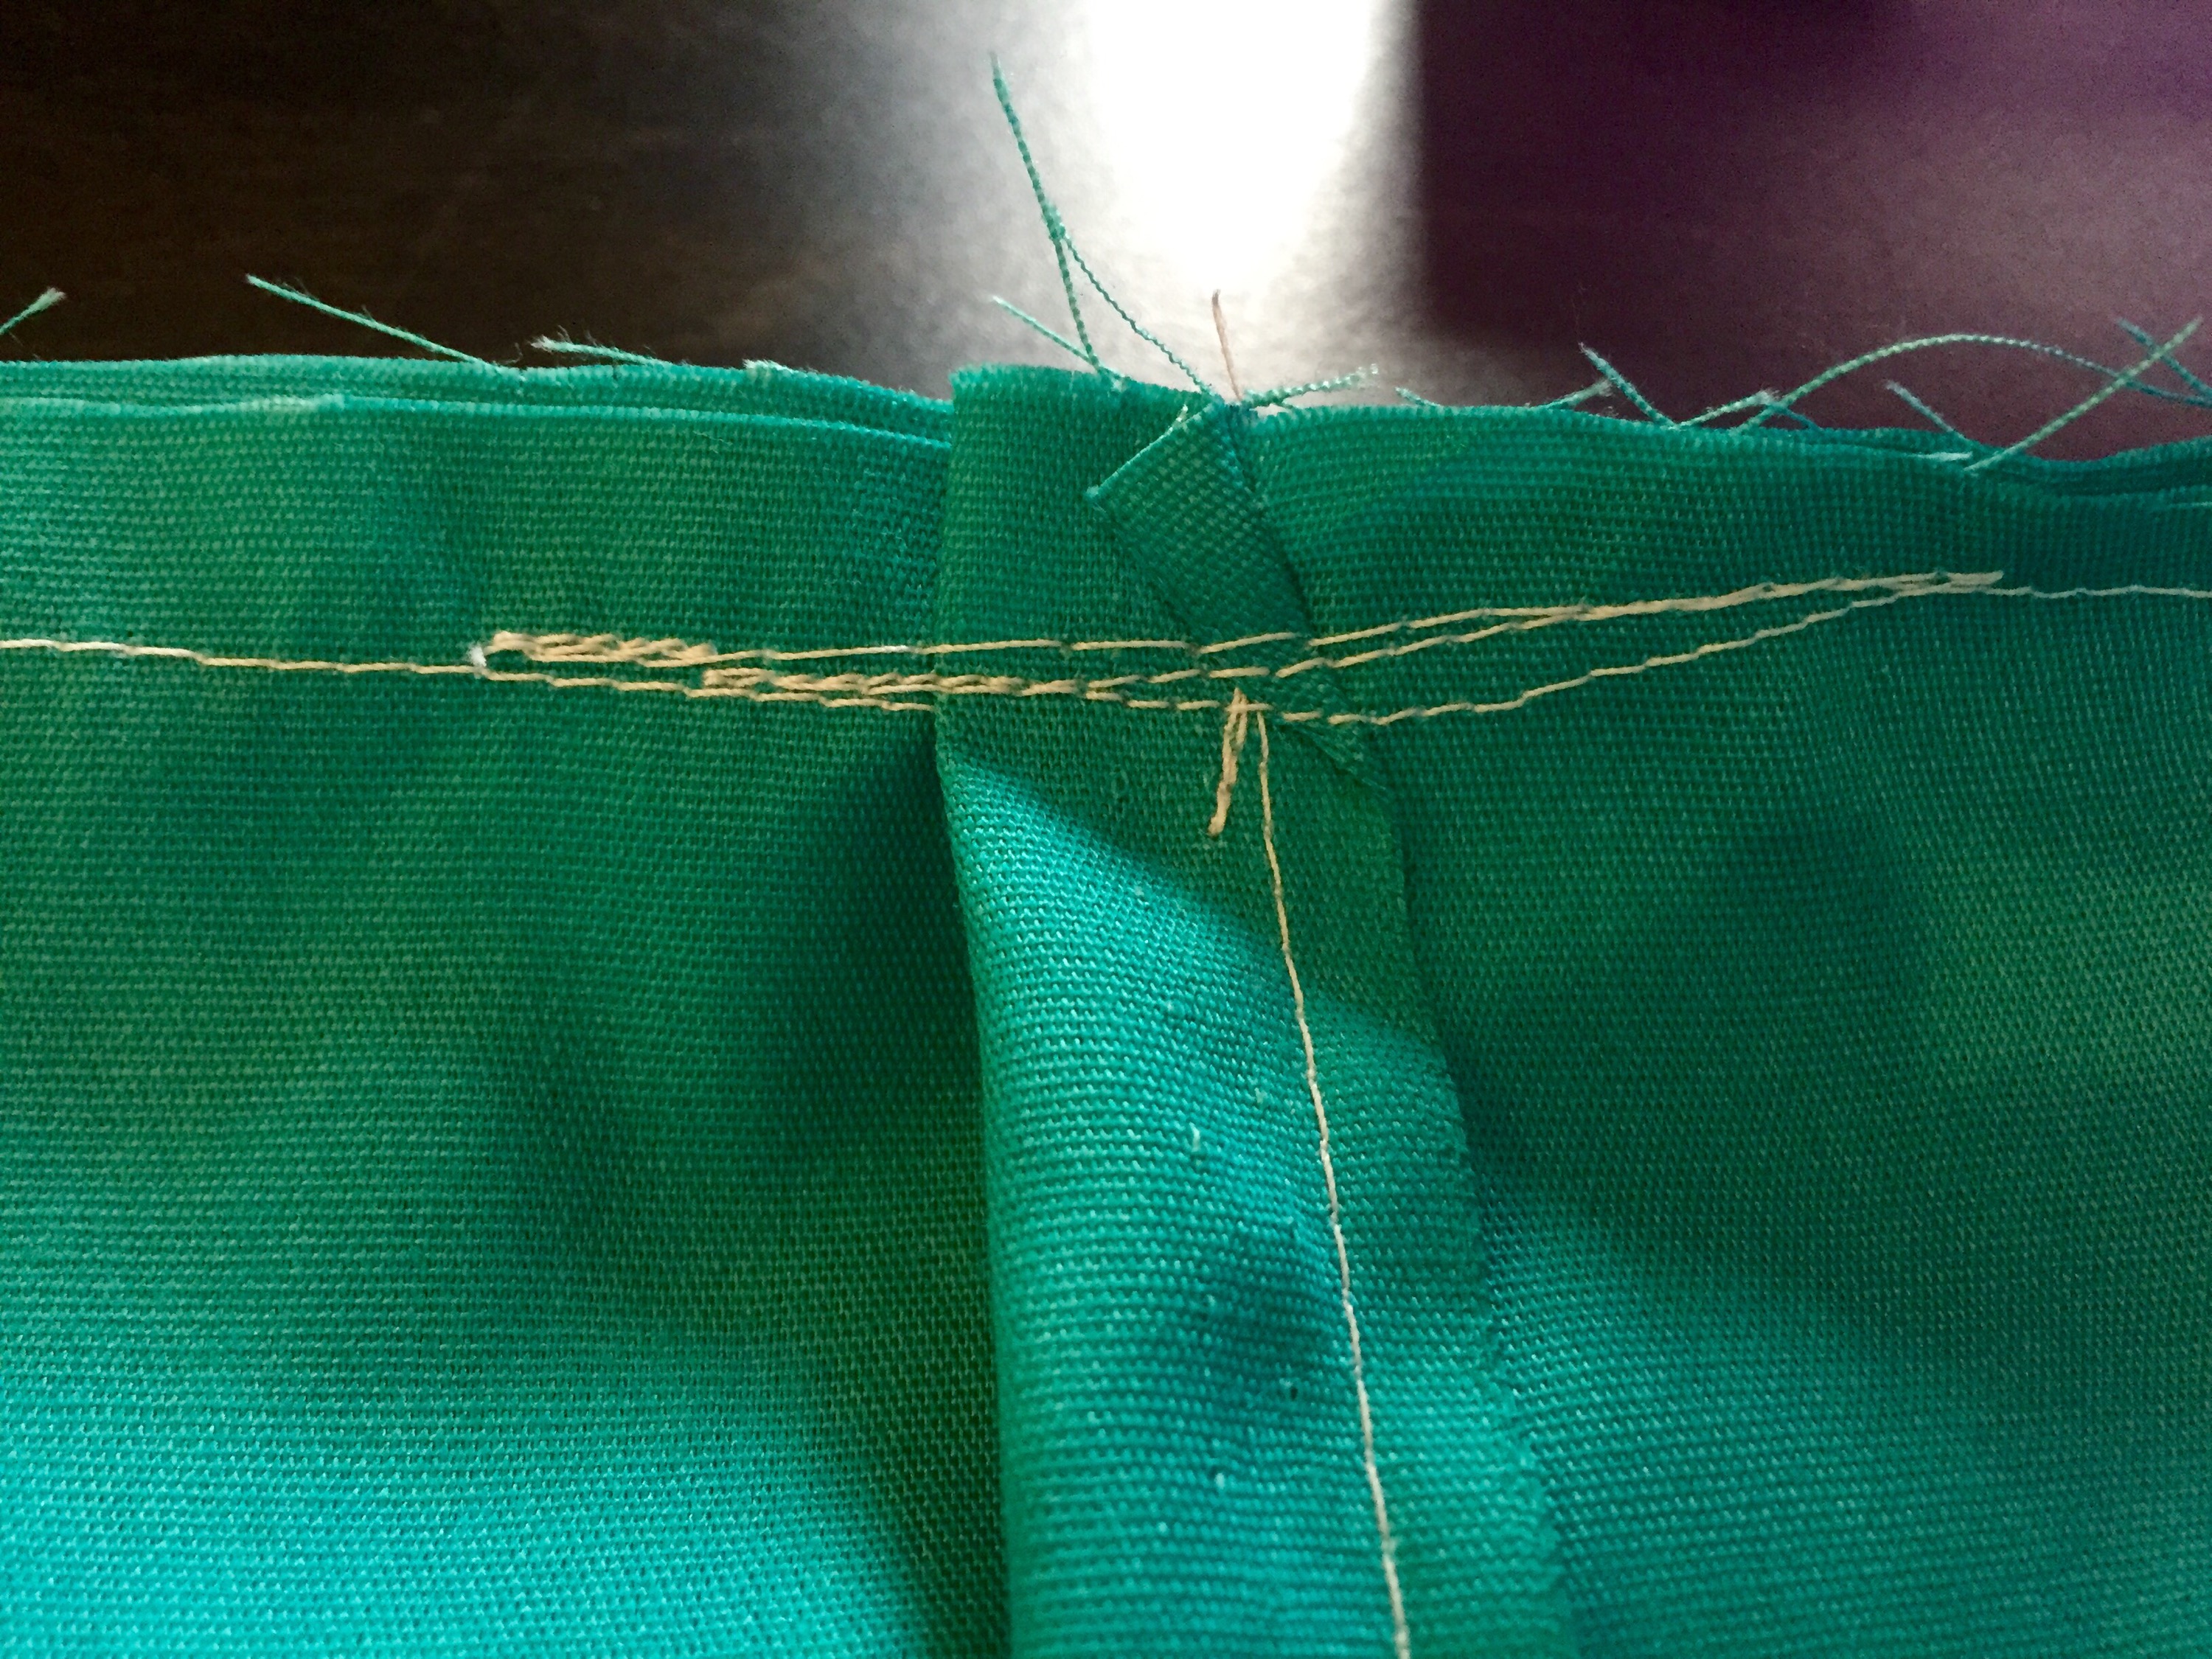
I used my seam ripper, sike! my razor blade to take apart the sides of the top. I left the sleeves intact.  

   
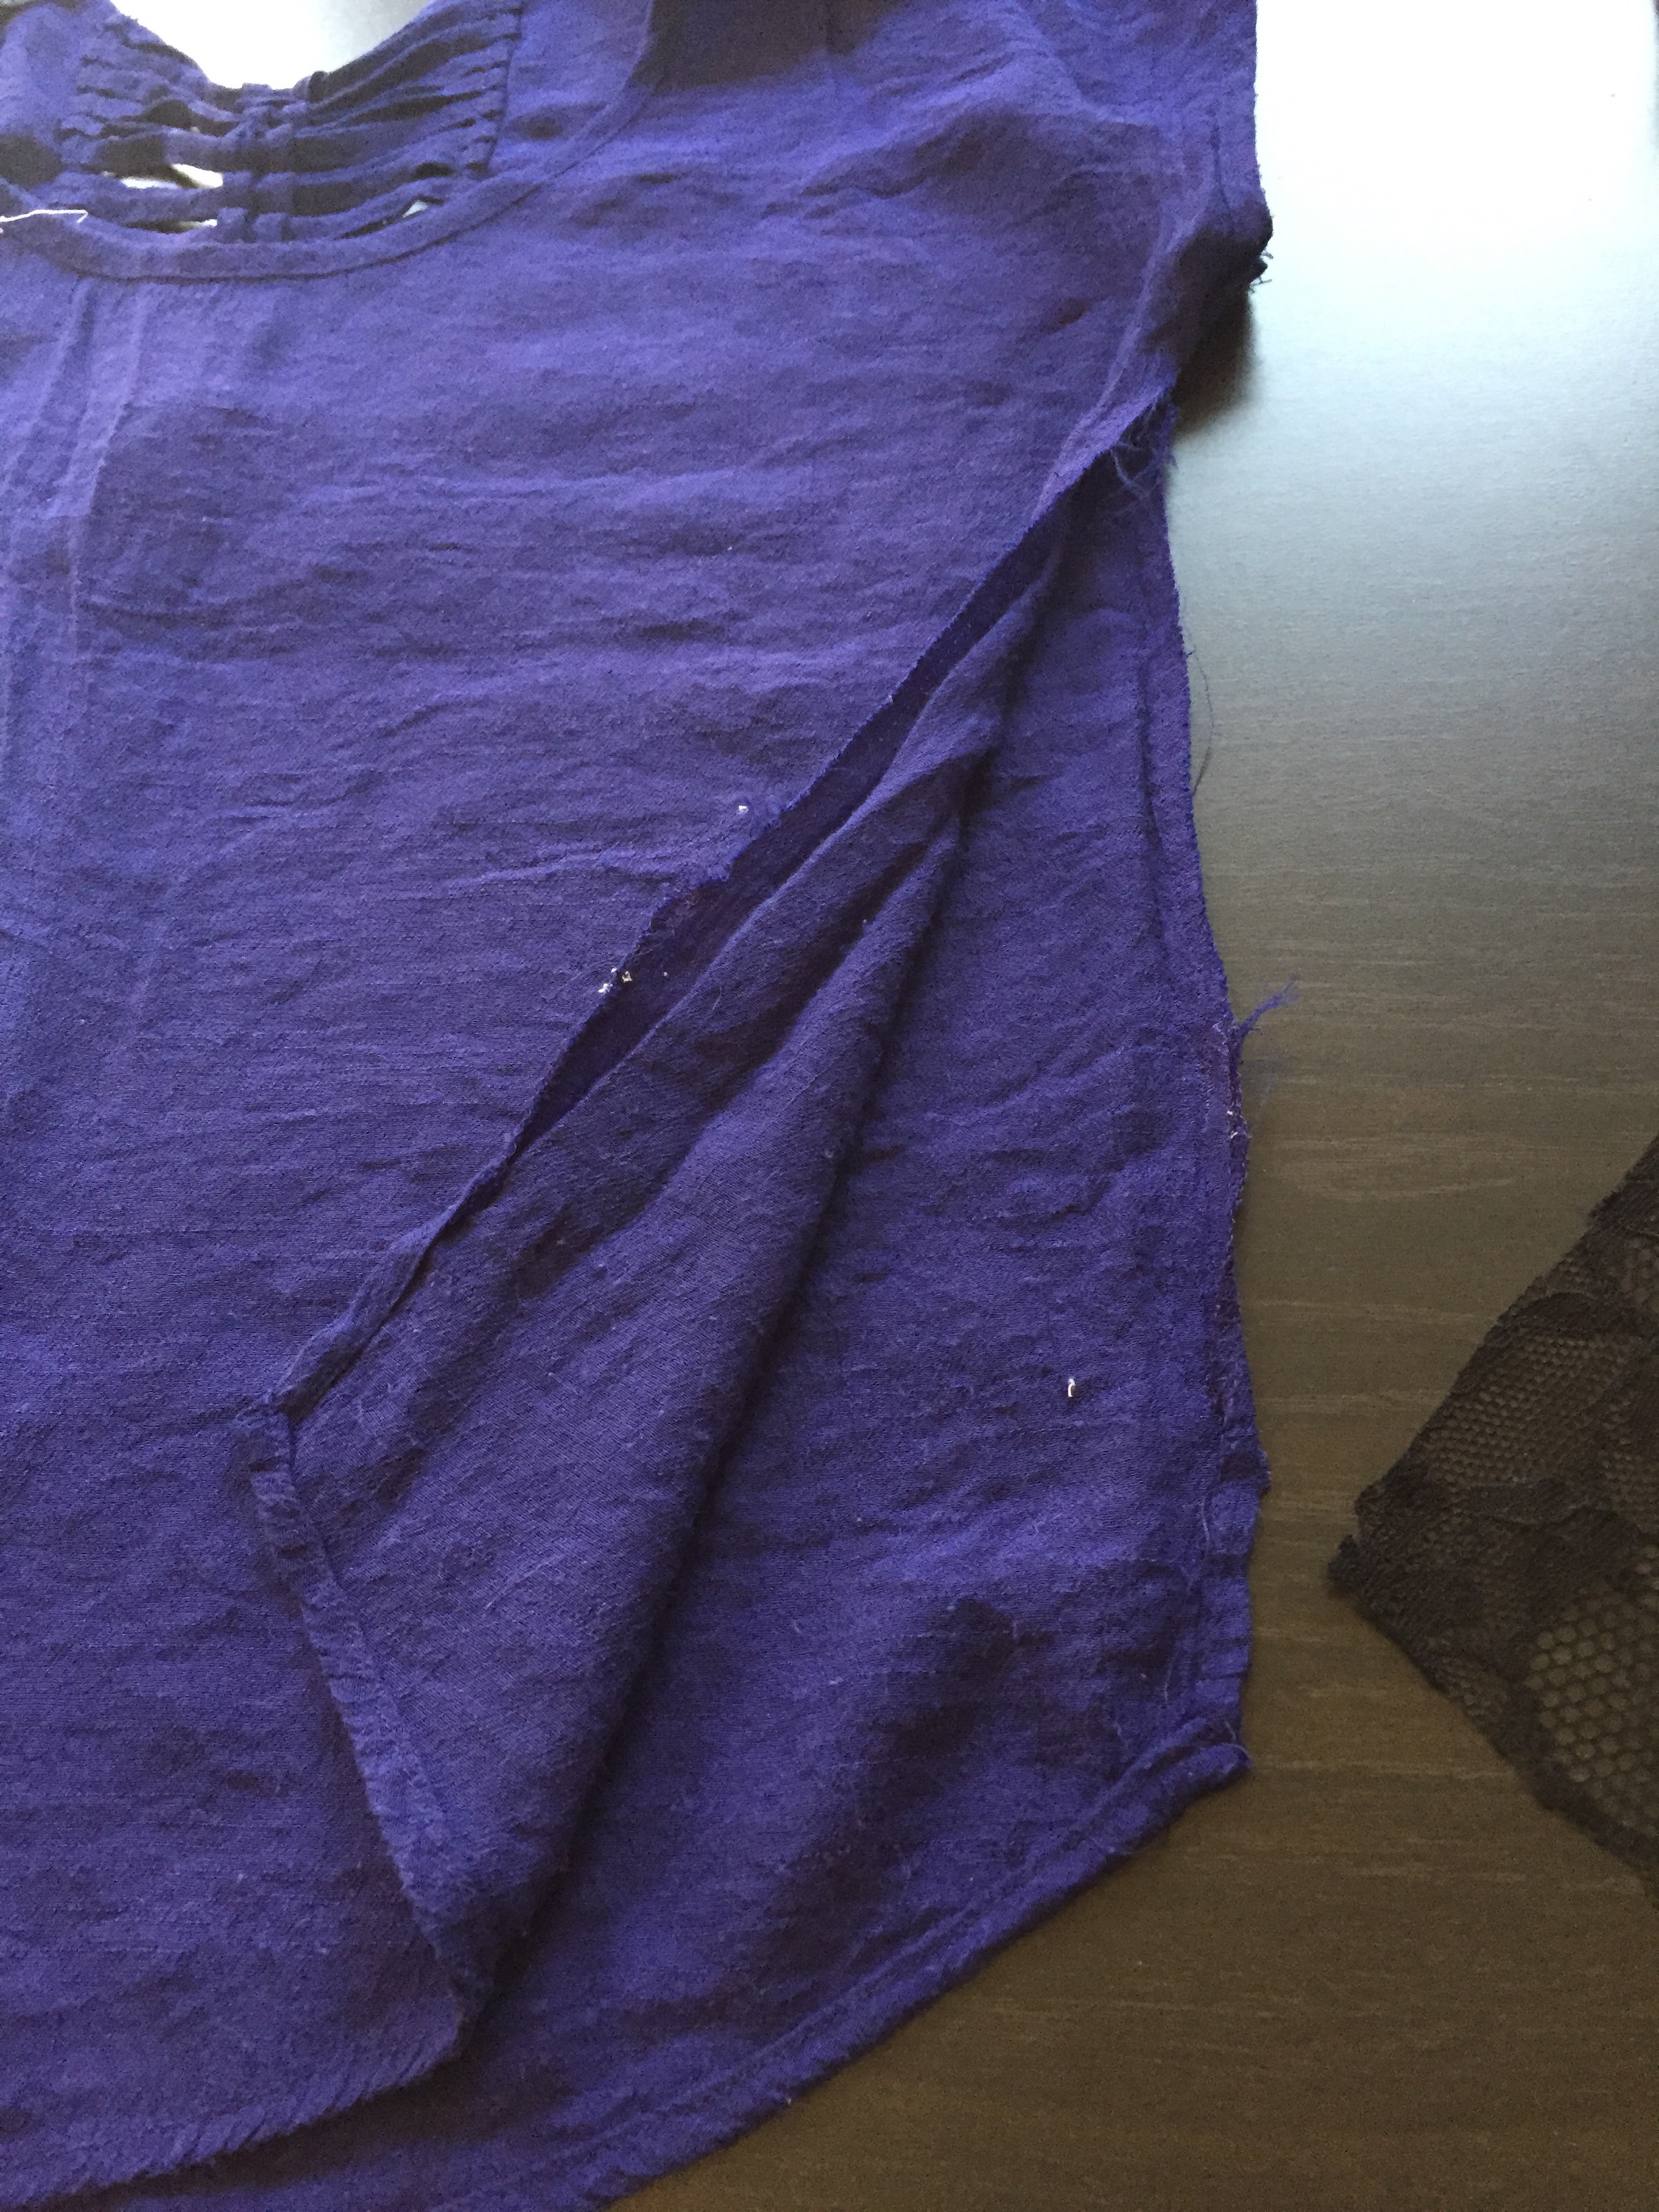
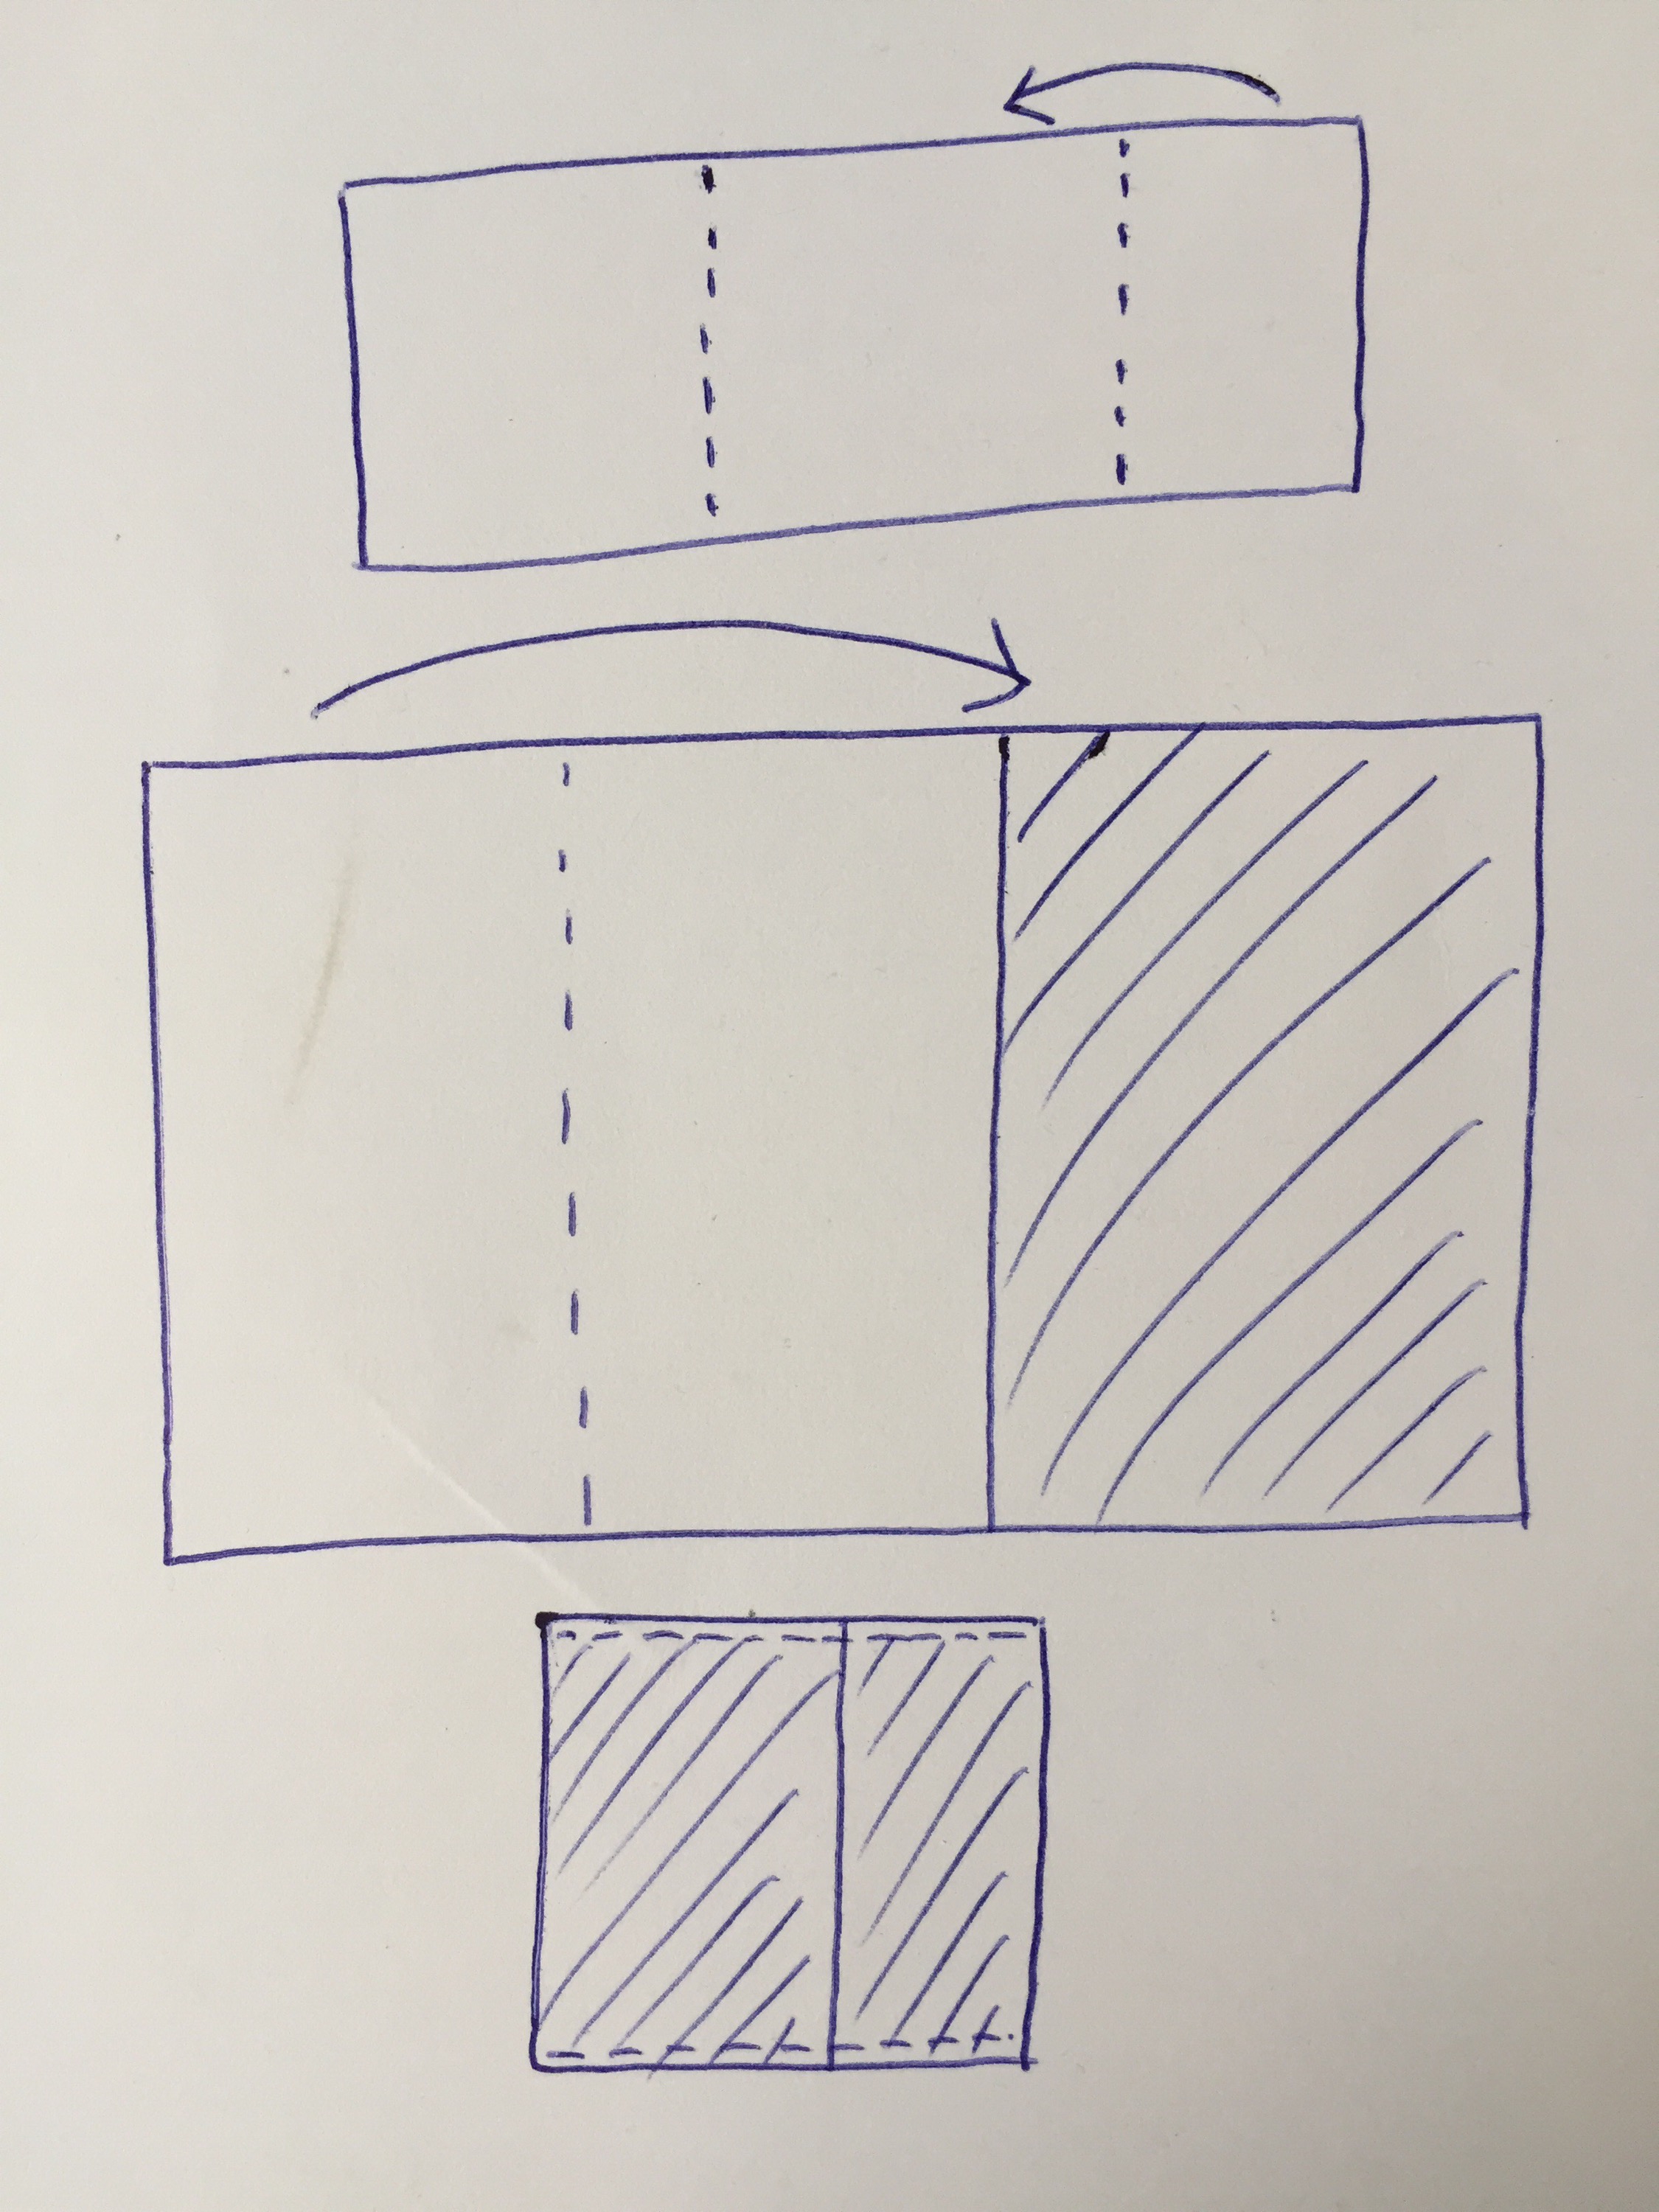
Then I cut a strip of lace, leaving the manufactured edge at the bottom so I wouldn’t have to worry about what to do with that. And I pinned it in place, just adding 1″-2″ and tapering it toward the arm holes.  

   
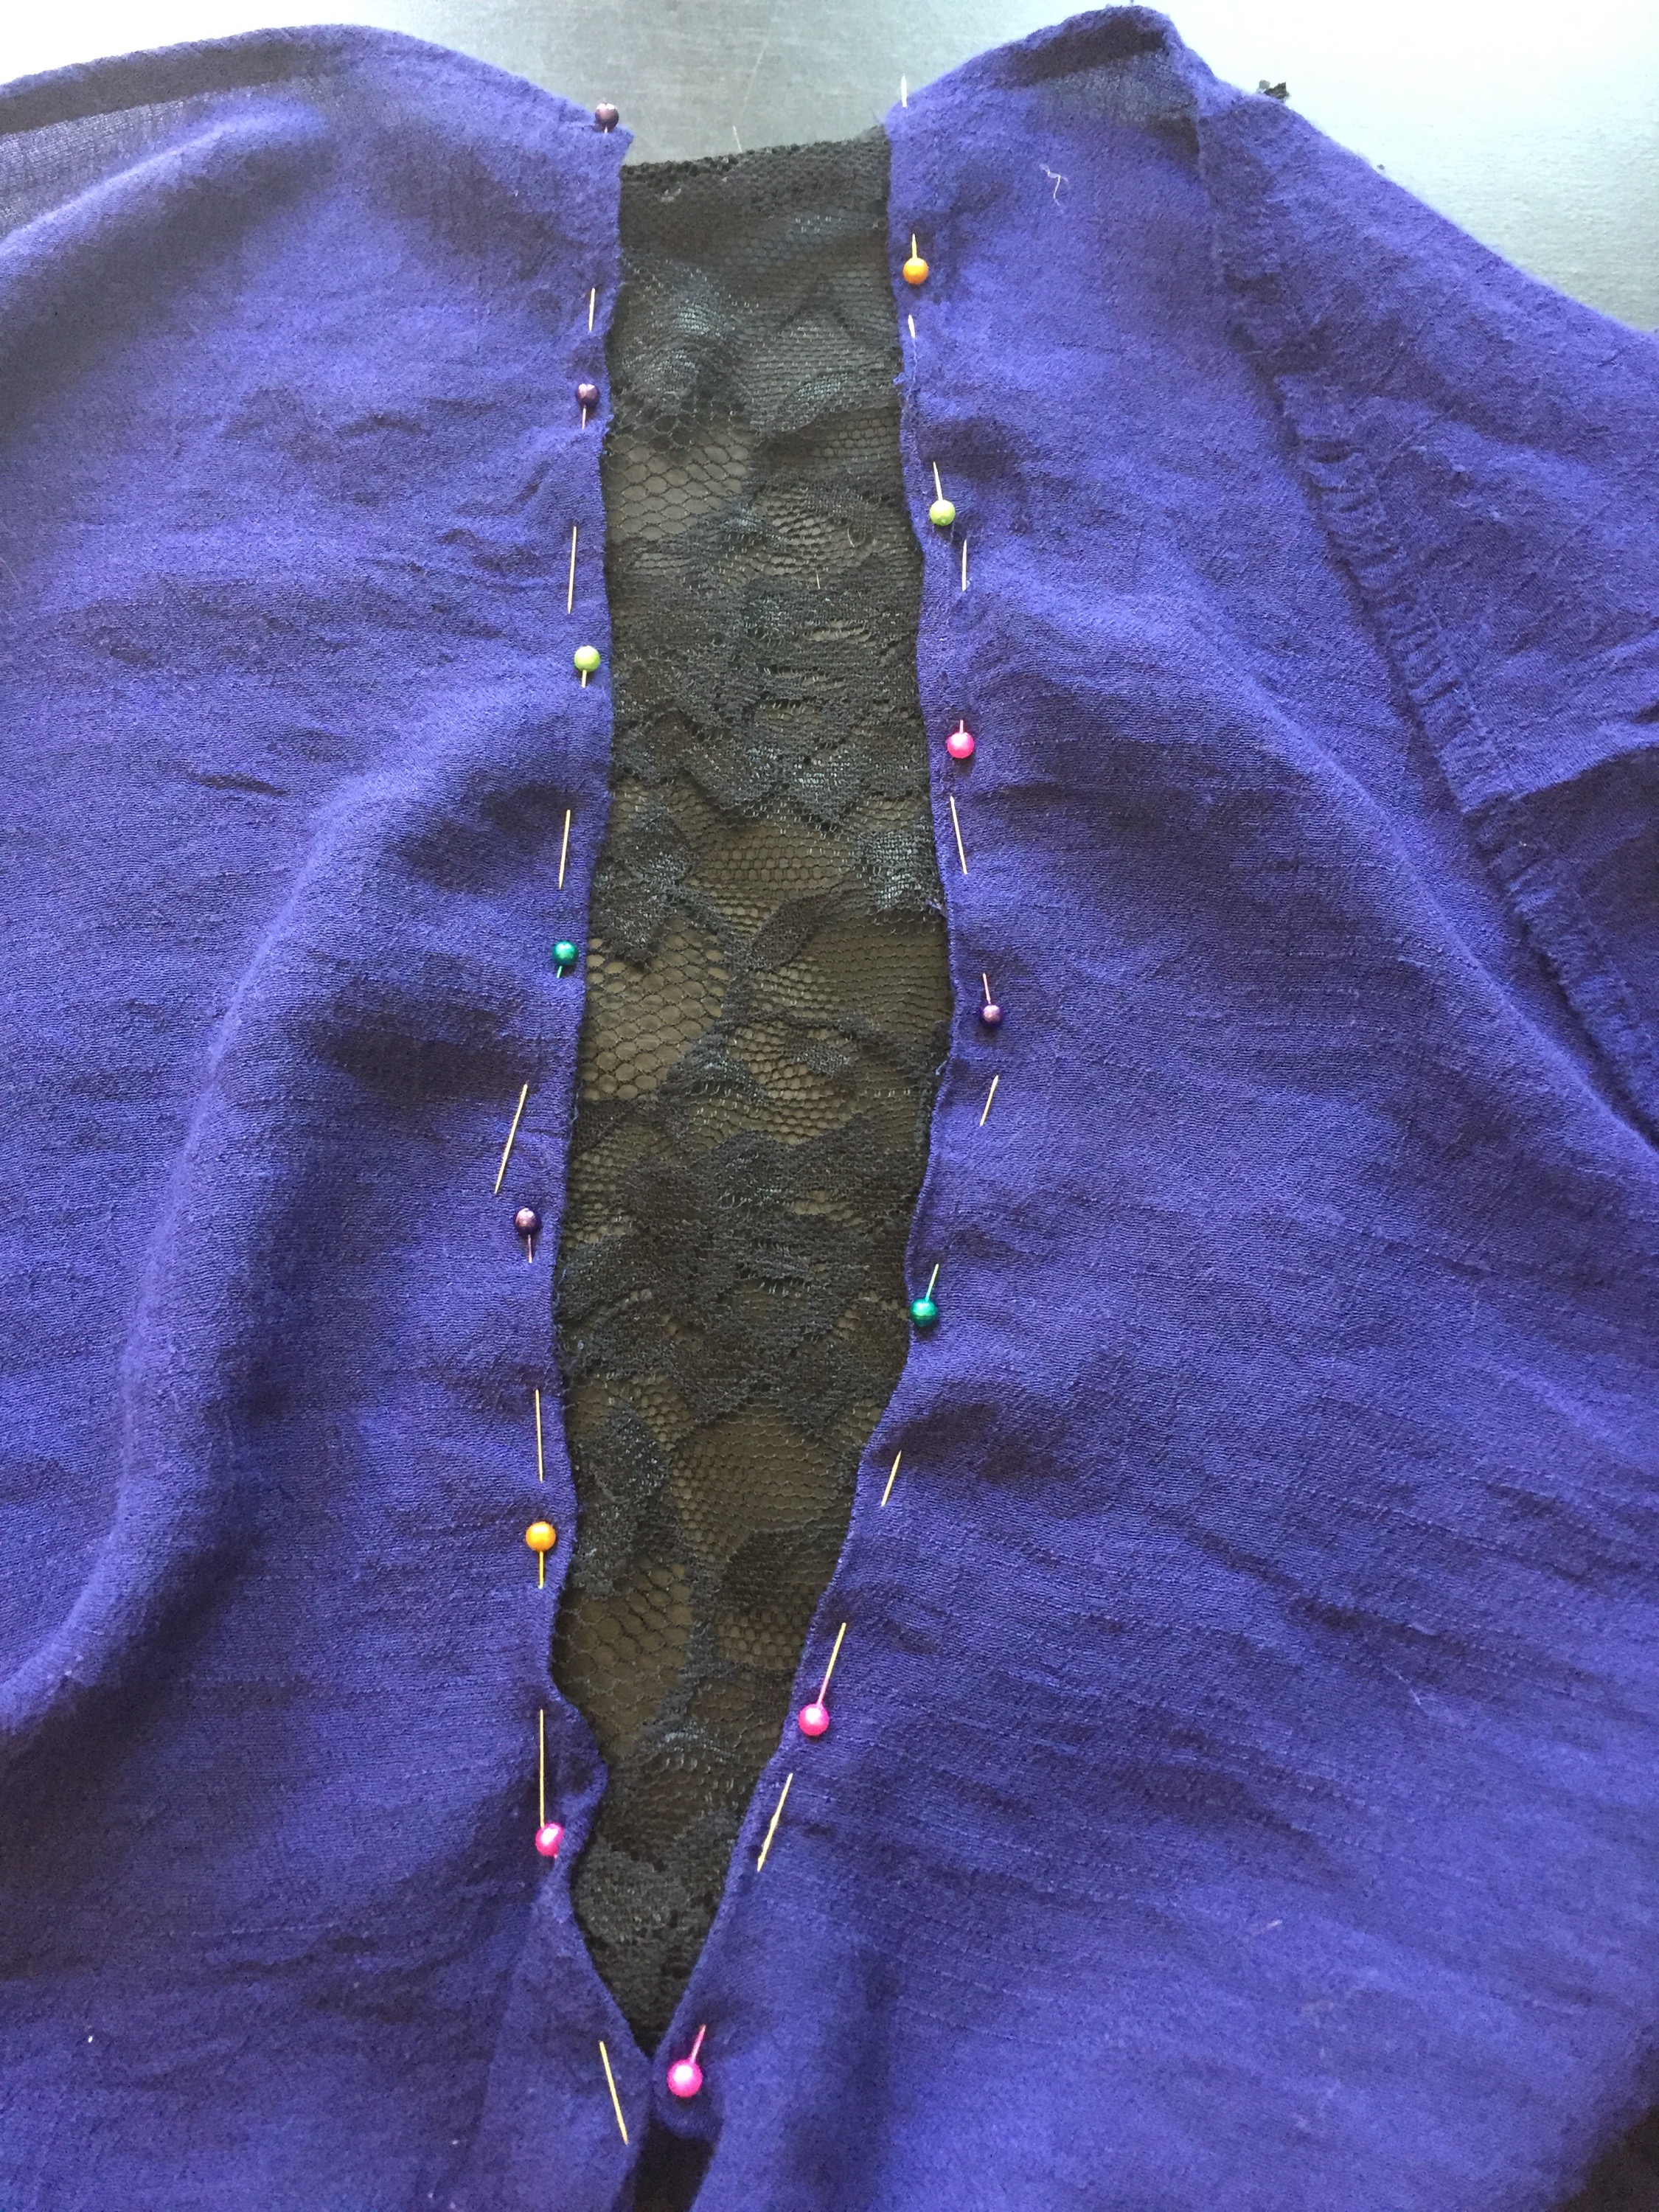
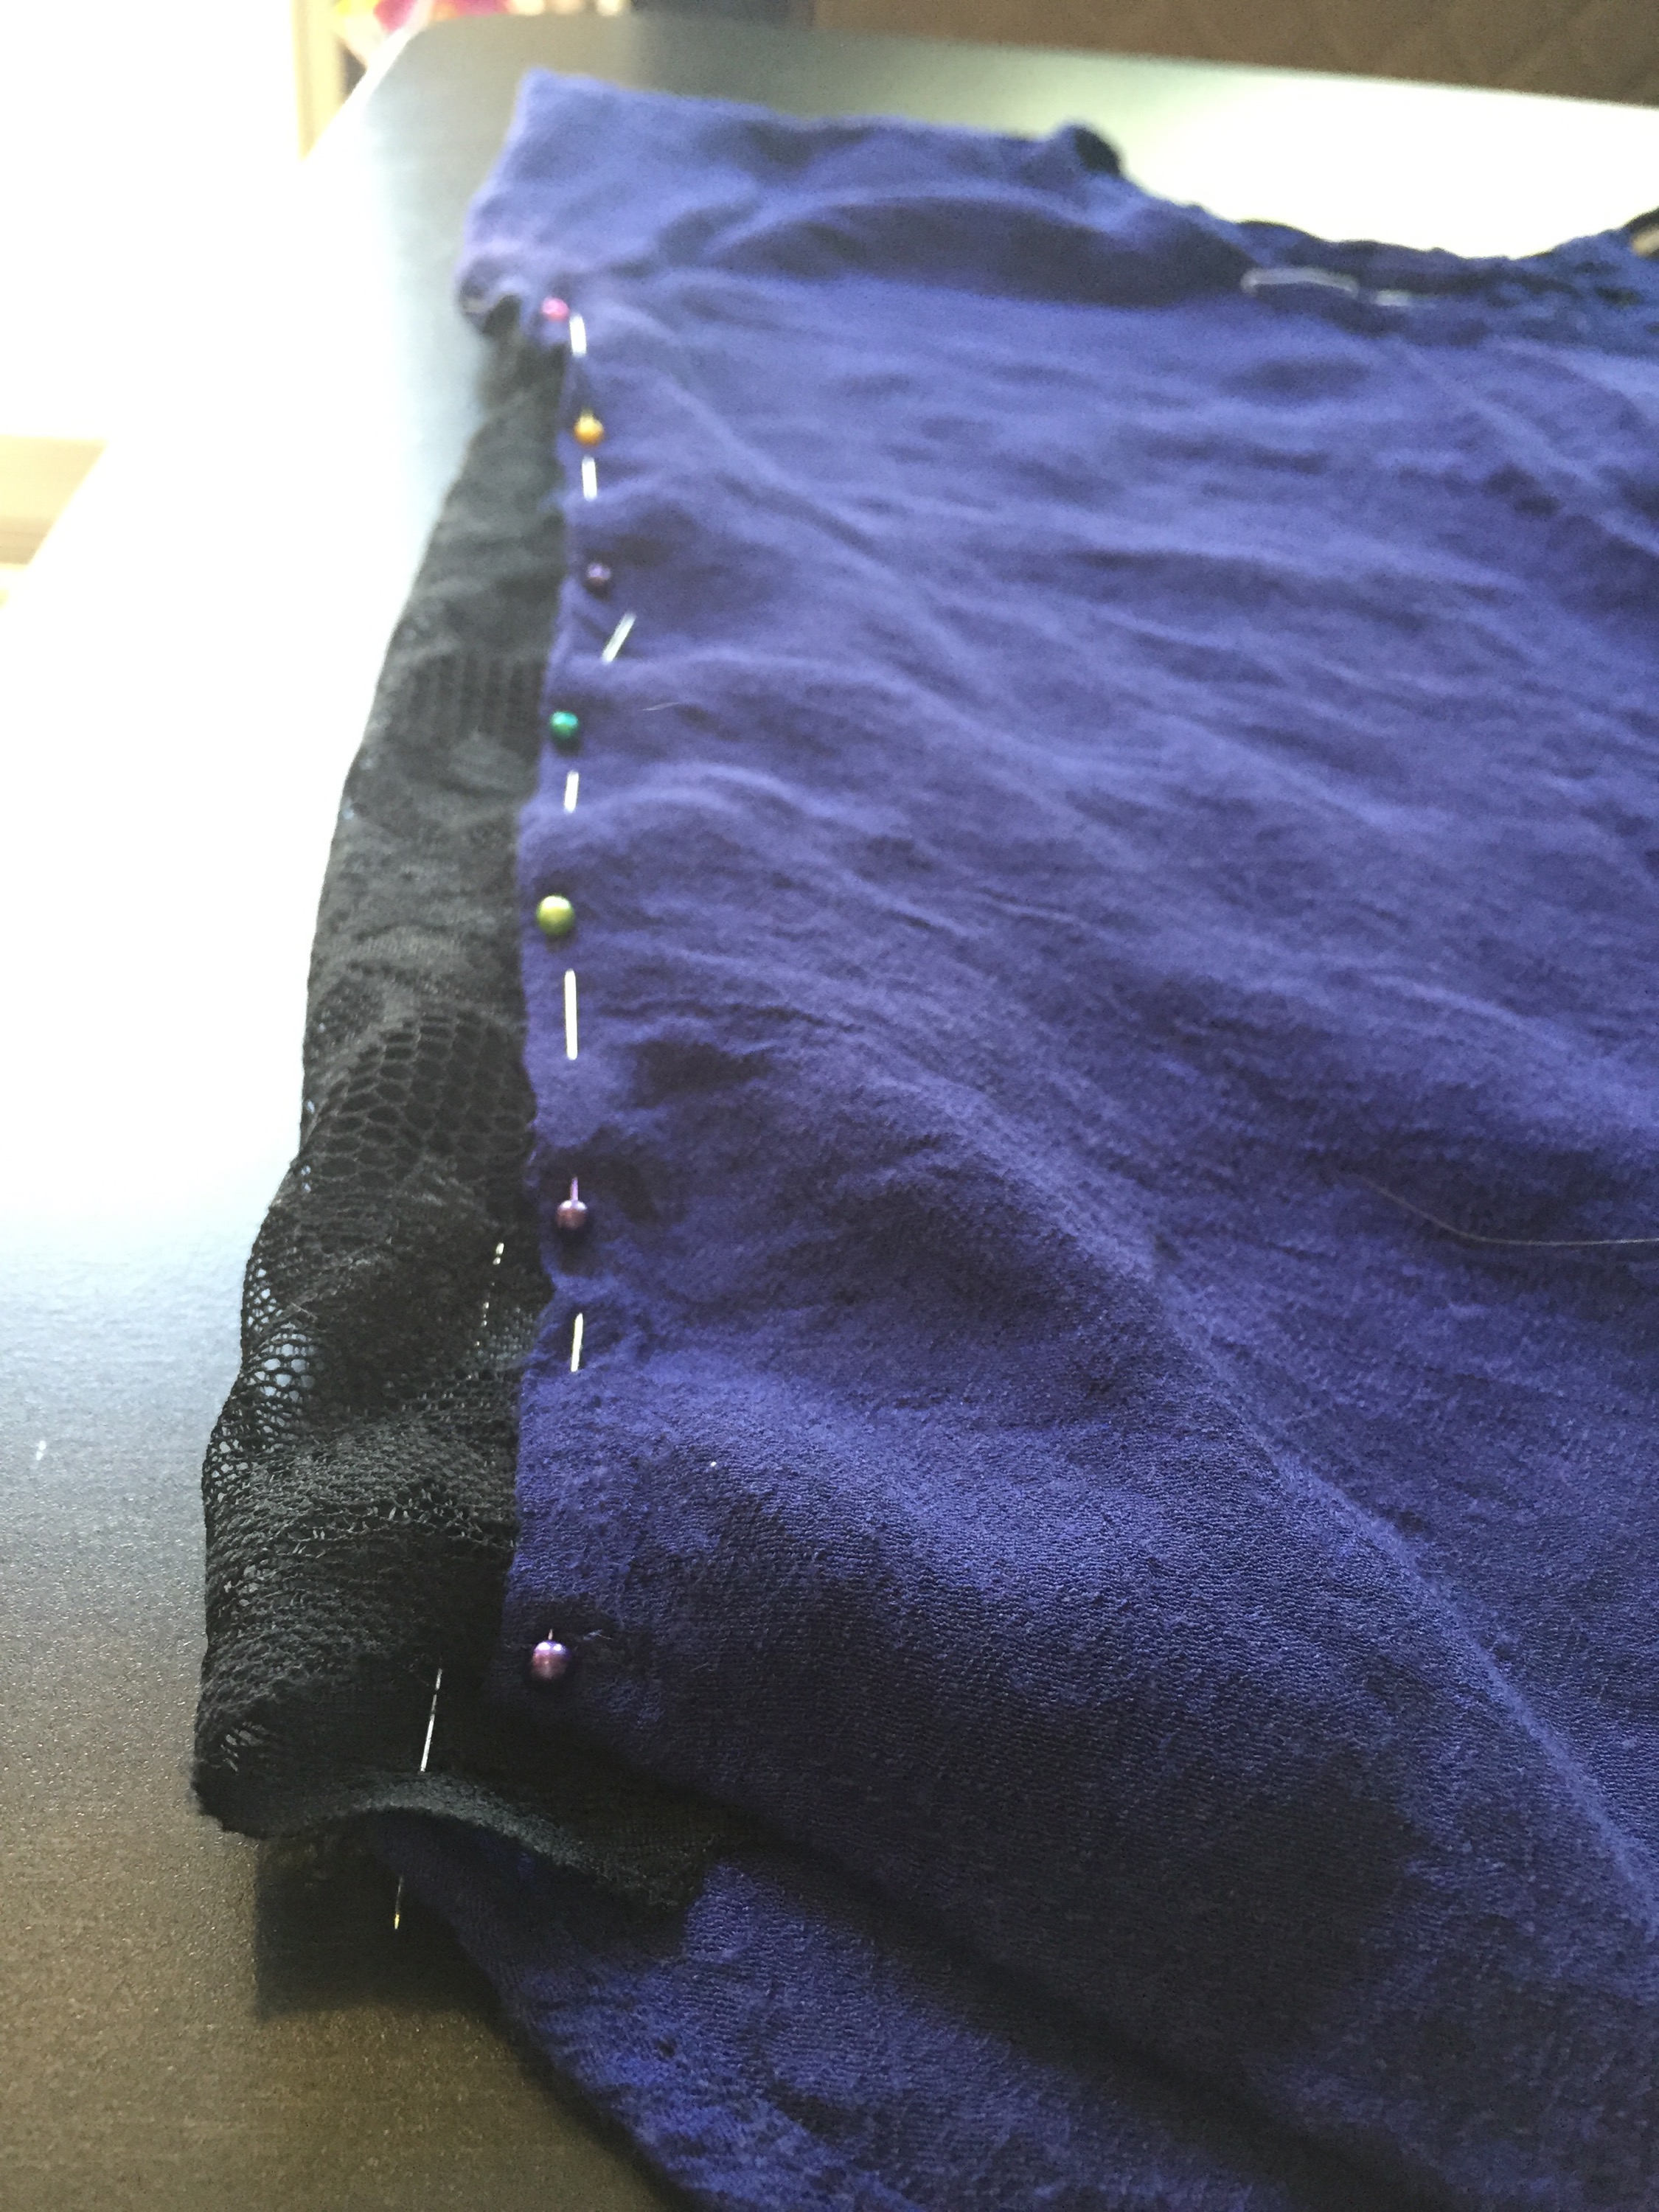
Once I had both sides relatively even (I eyeballed it), I started sewing. I sewed a line up each side, removing pins as I went. (I need to find an easier way to do that, because it always seems like I’m fighting to get the pins out without stabbing myself or breaking the needle or taking the pins out too early and losing my place…).  

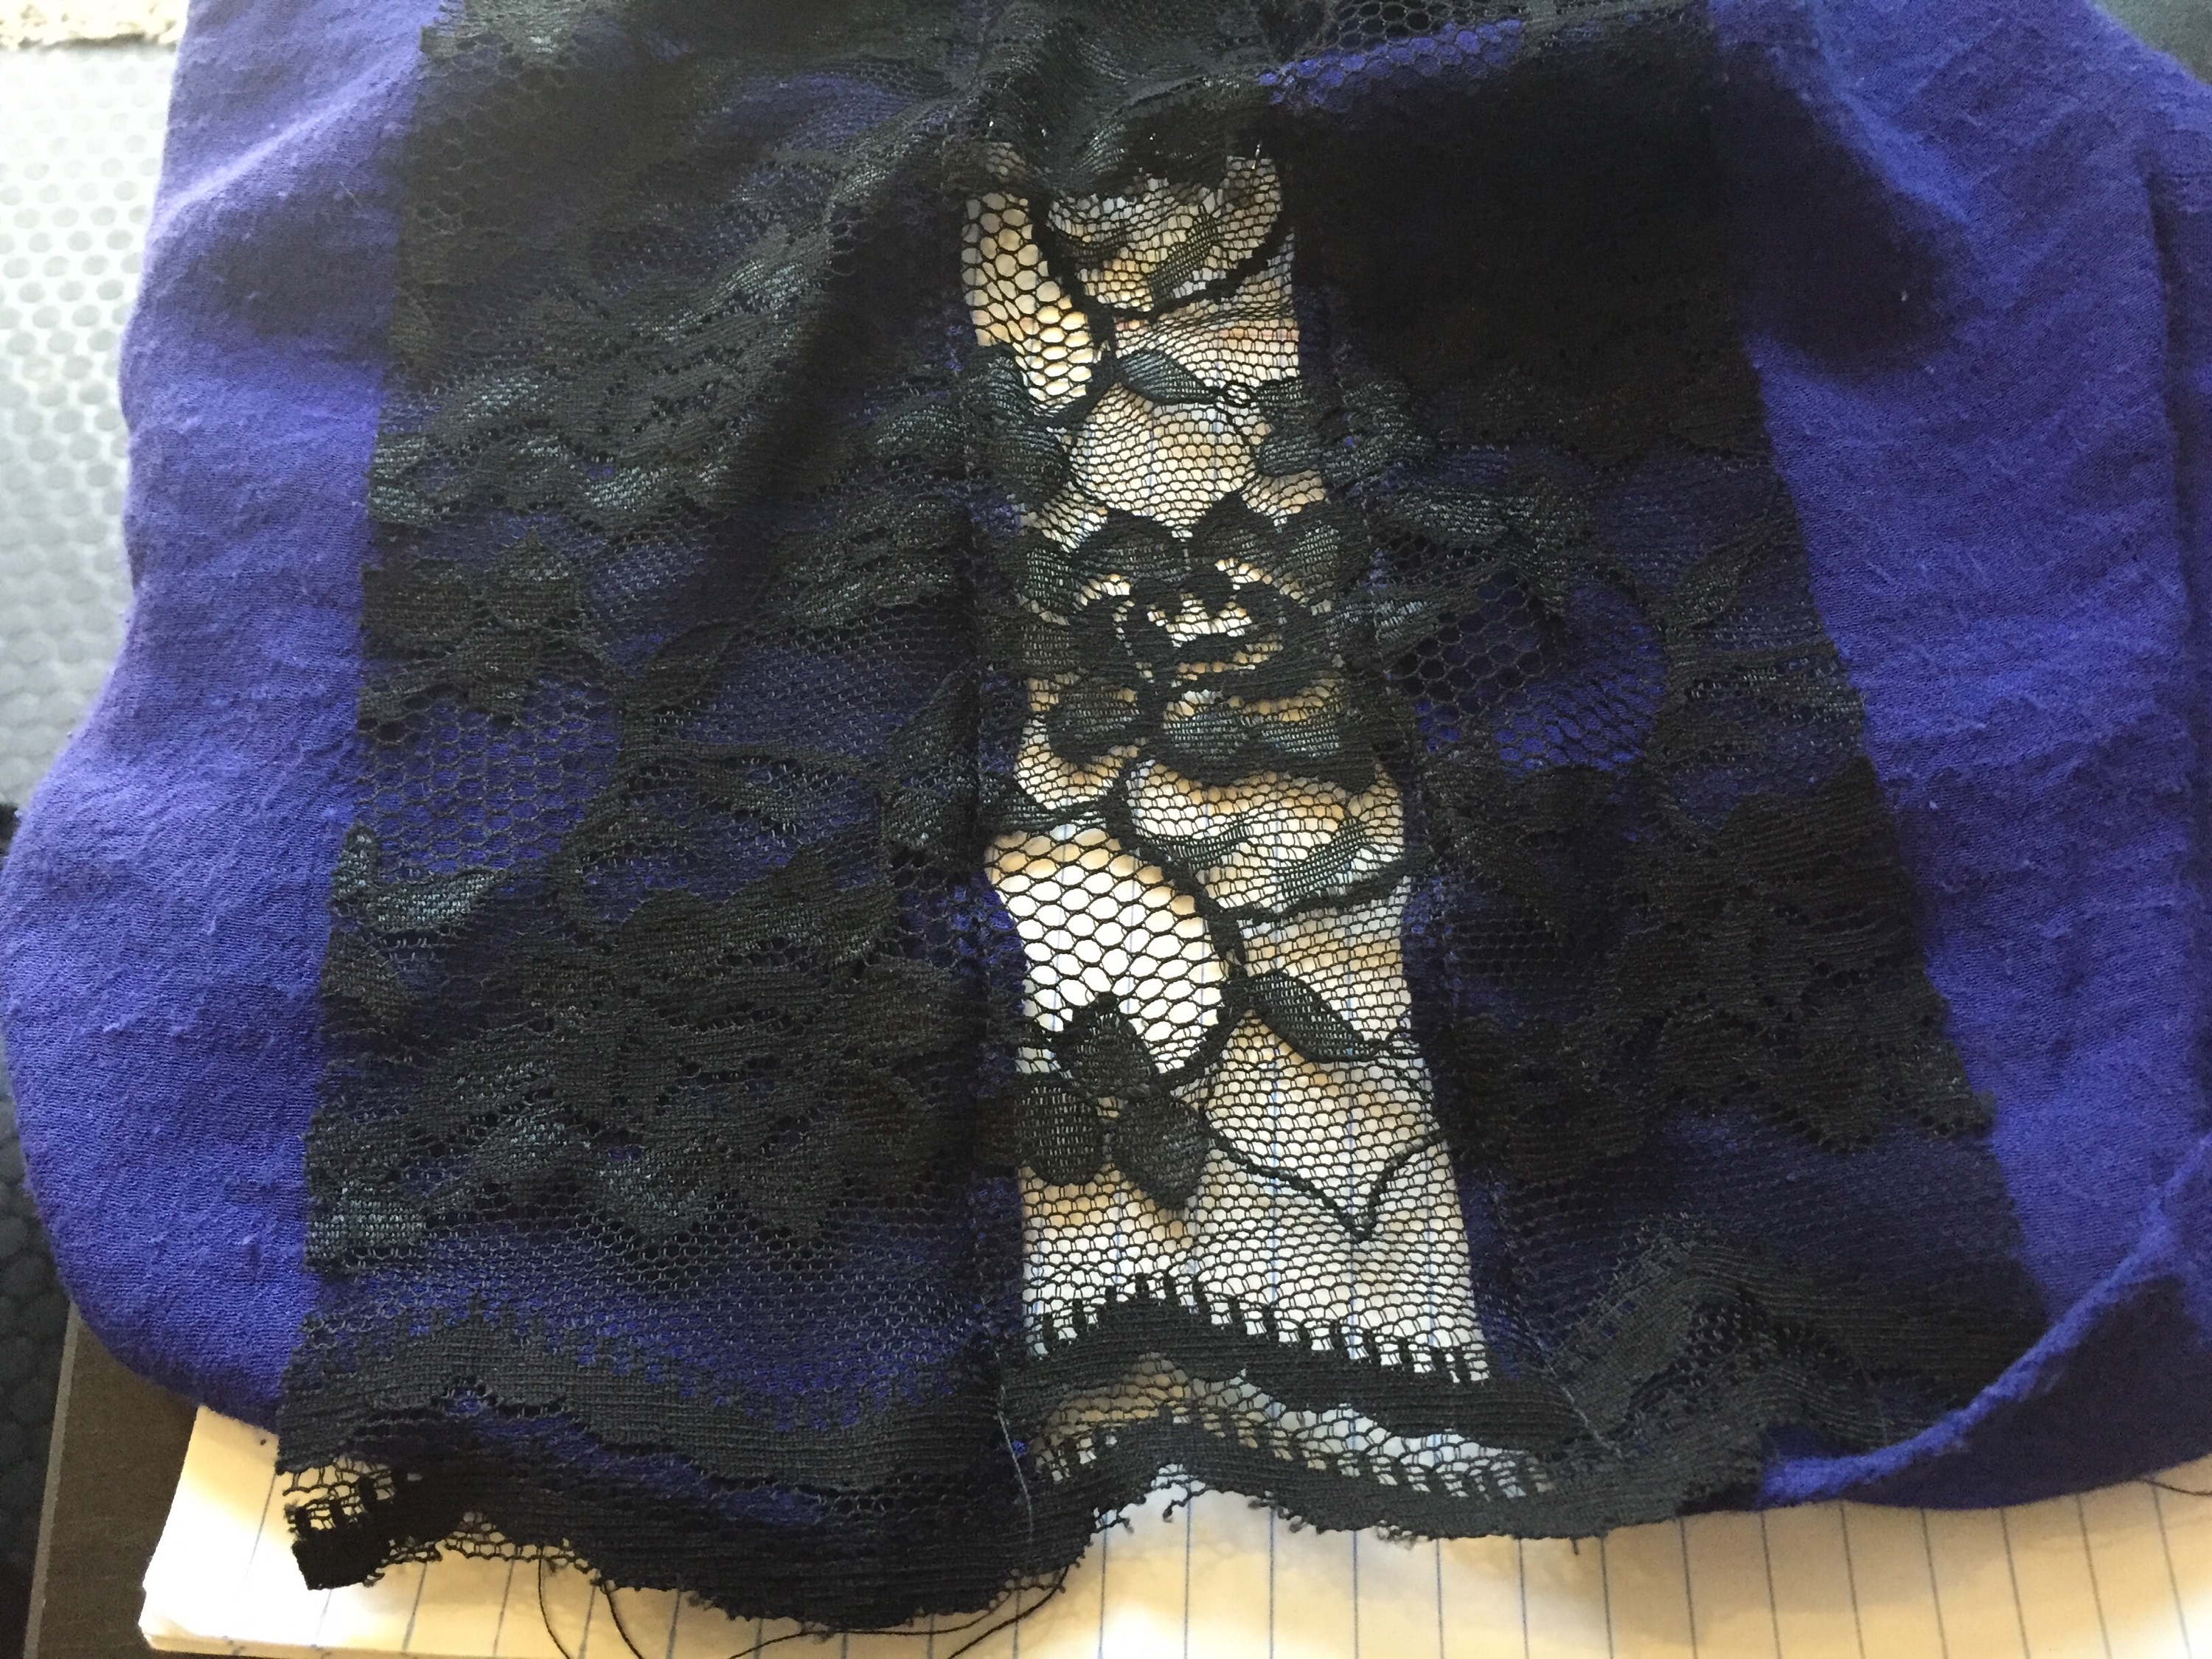
Please excuse the notebook paper, I needed a background to show the lace!


 Anyhow, after I finished both sides of the shirt, I went back and sewed another line, just to be sure it would hold. I don’t think I would do that with regular fabric, but it’s my first time really working with lace, so I wanted to make sure it wasn’t going to pull apart on me.  


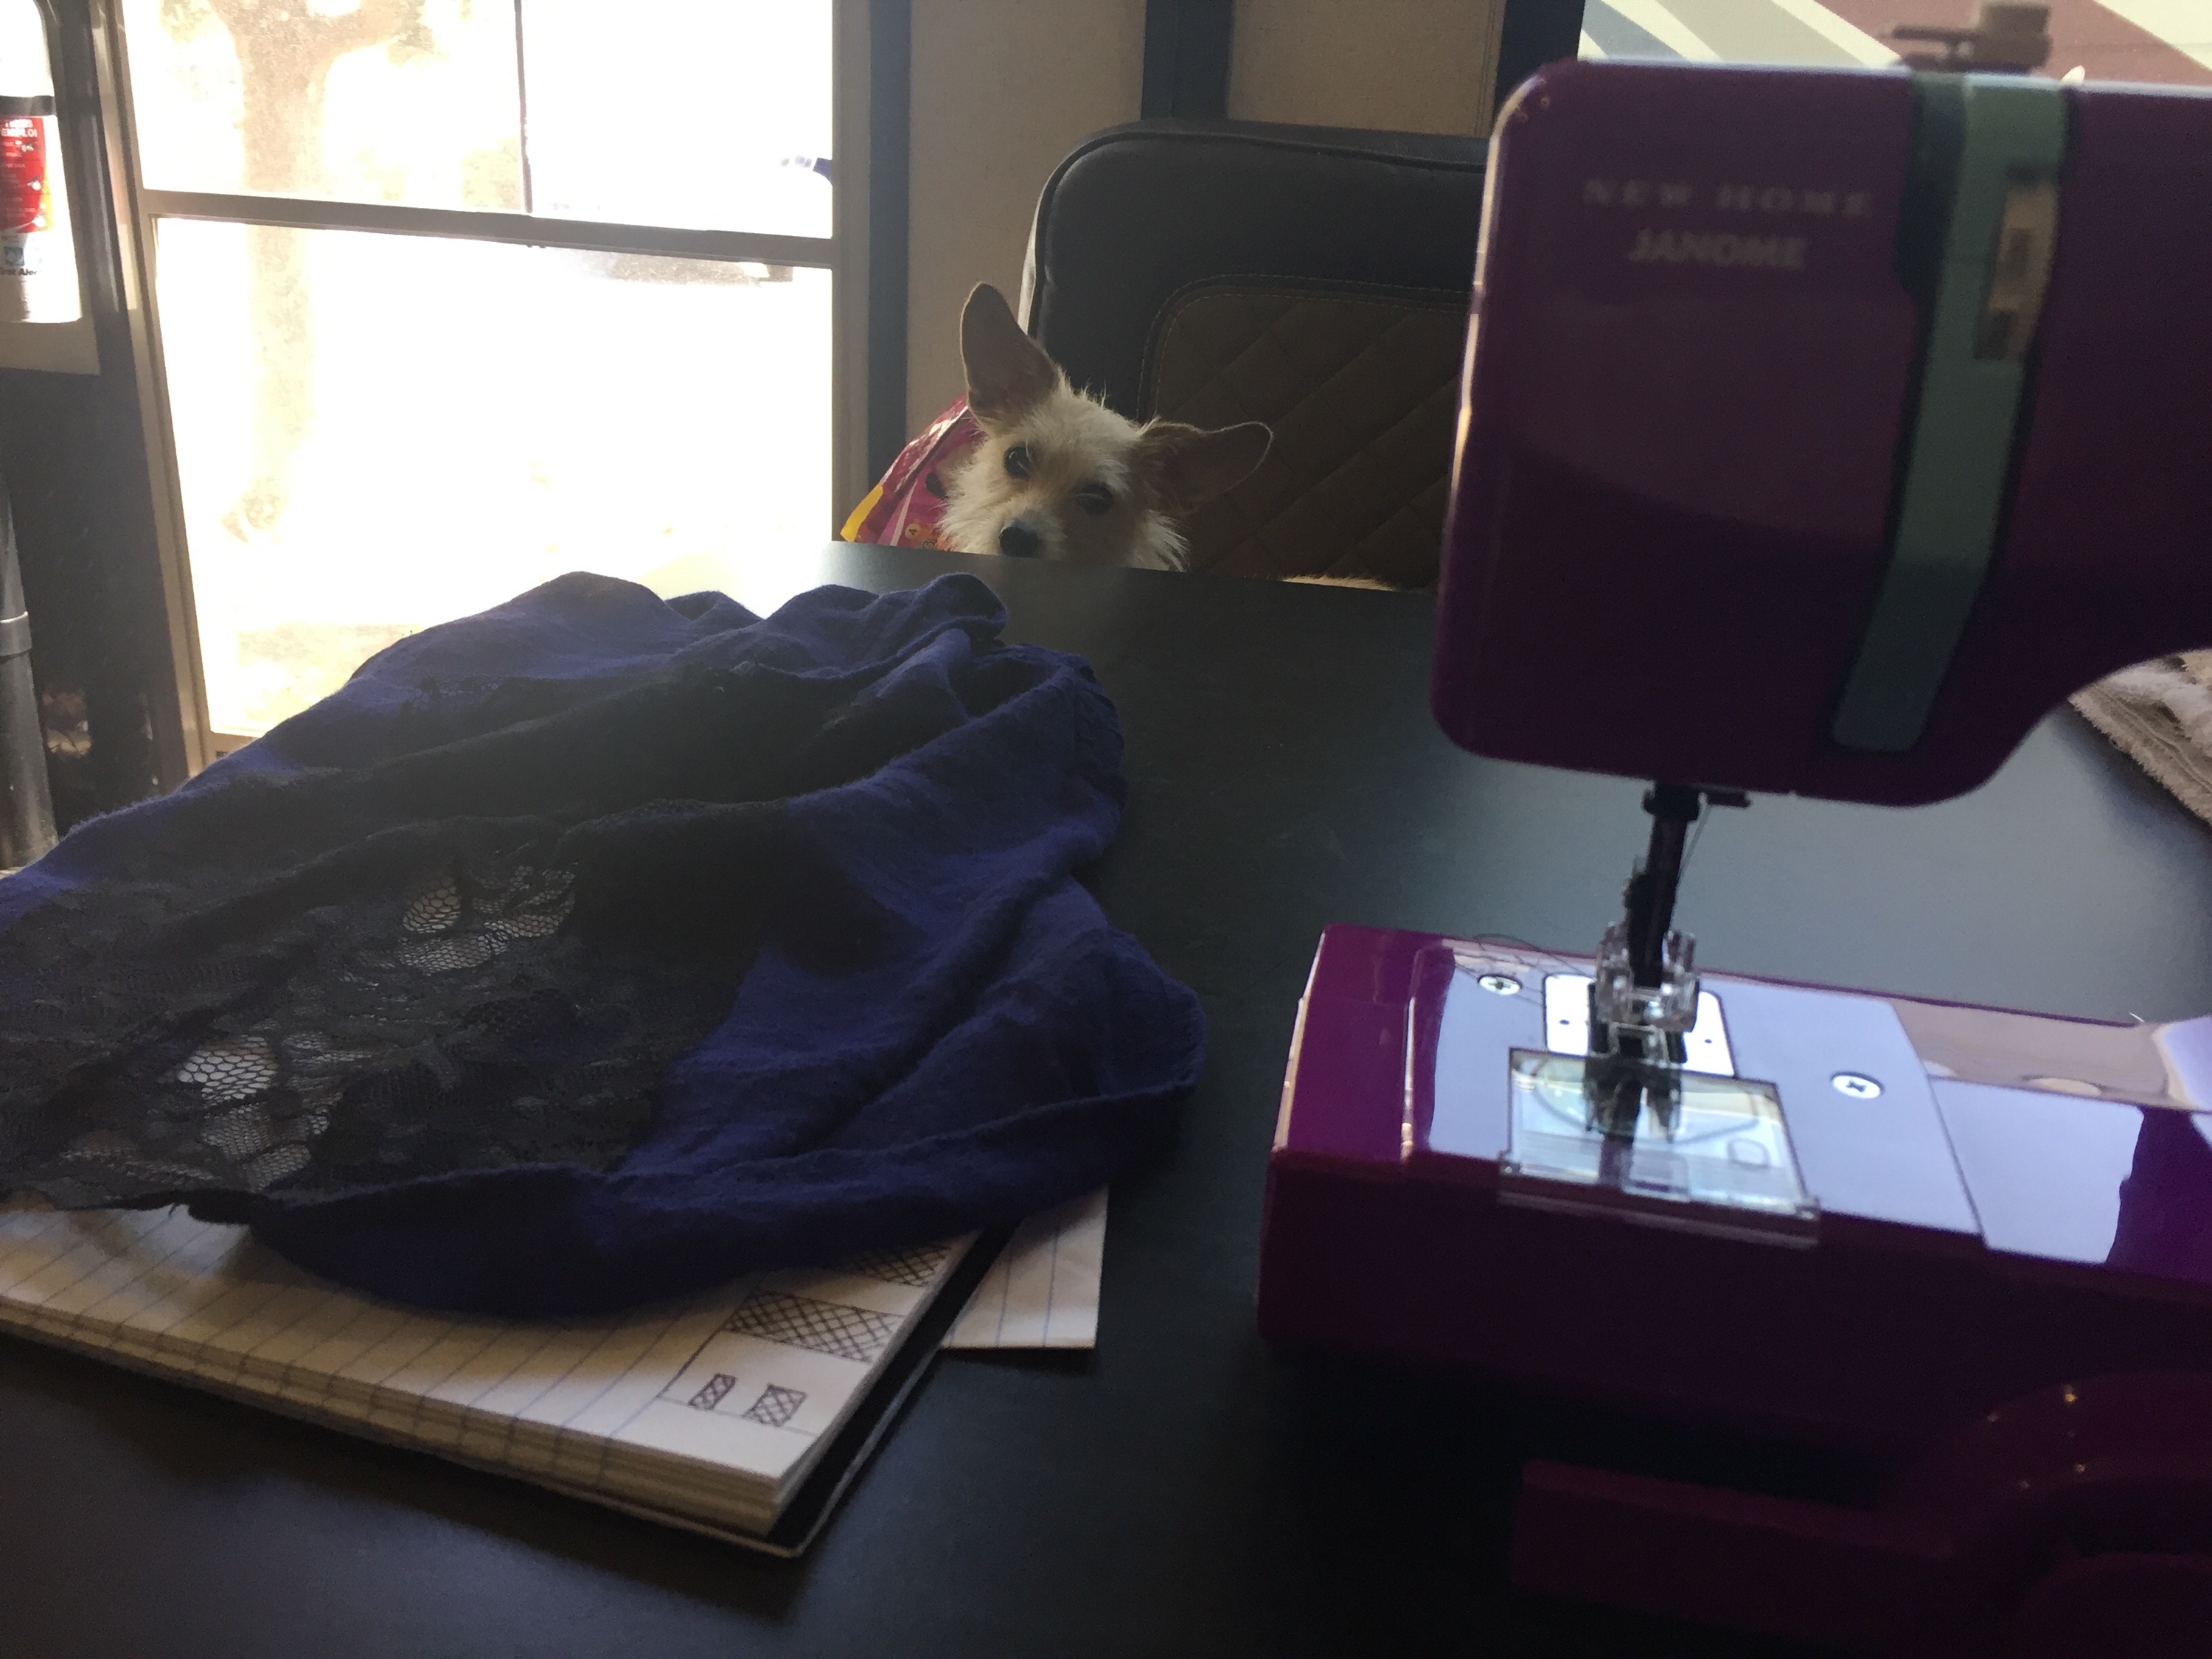
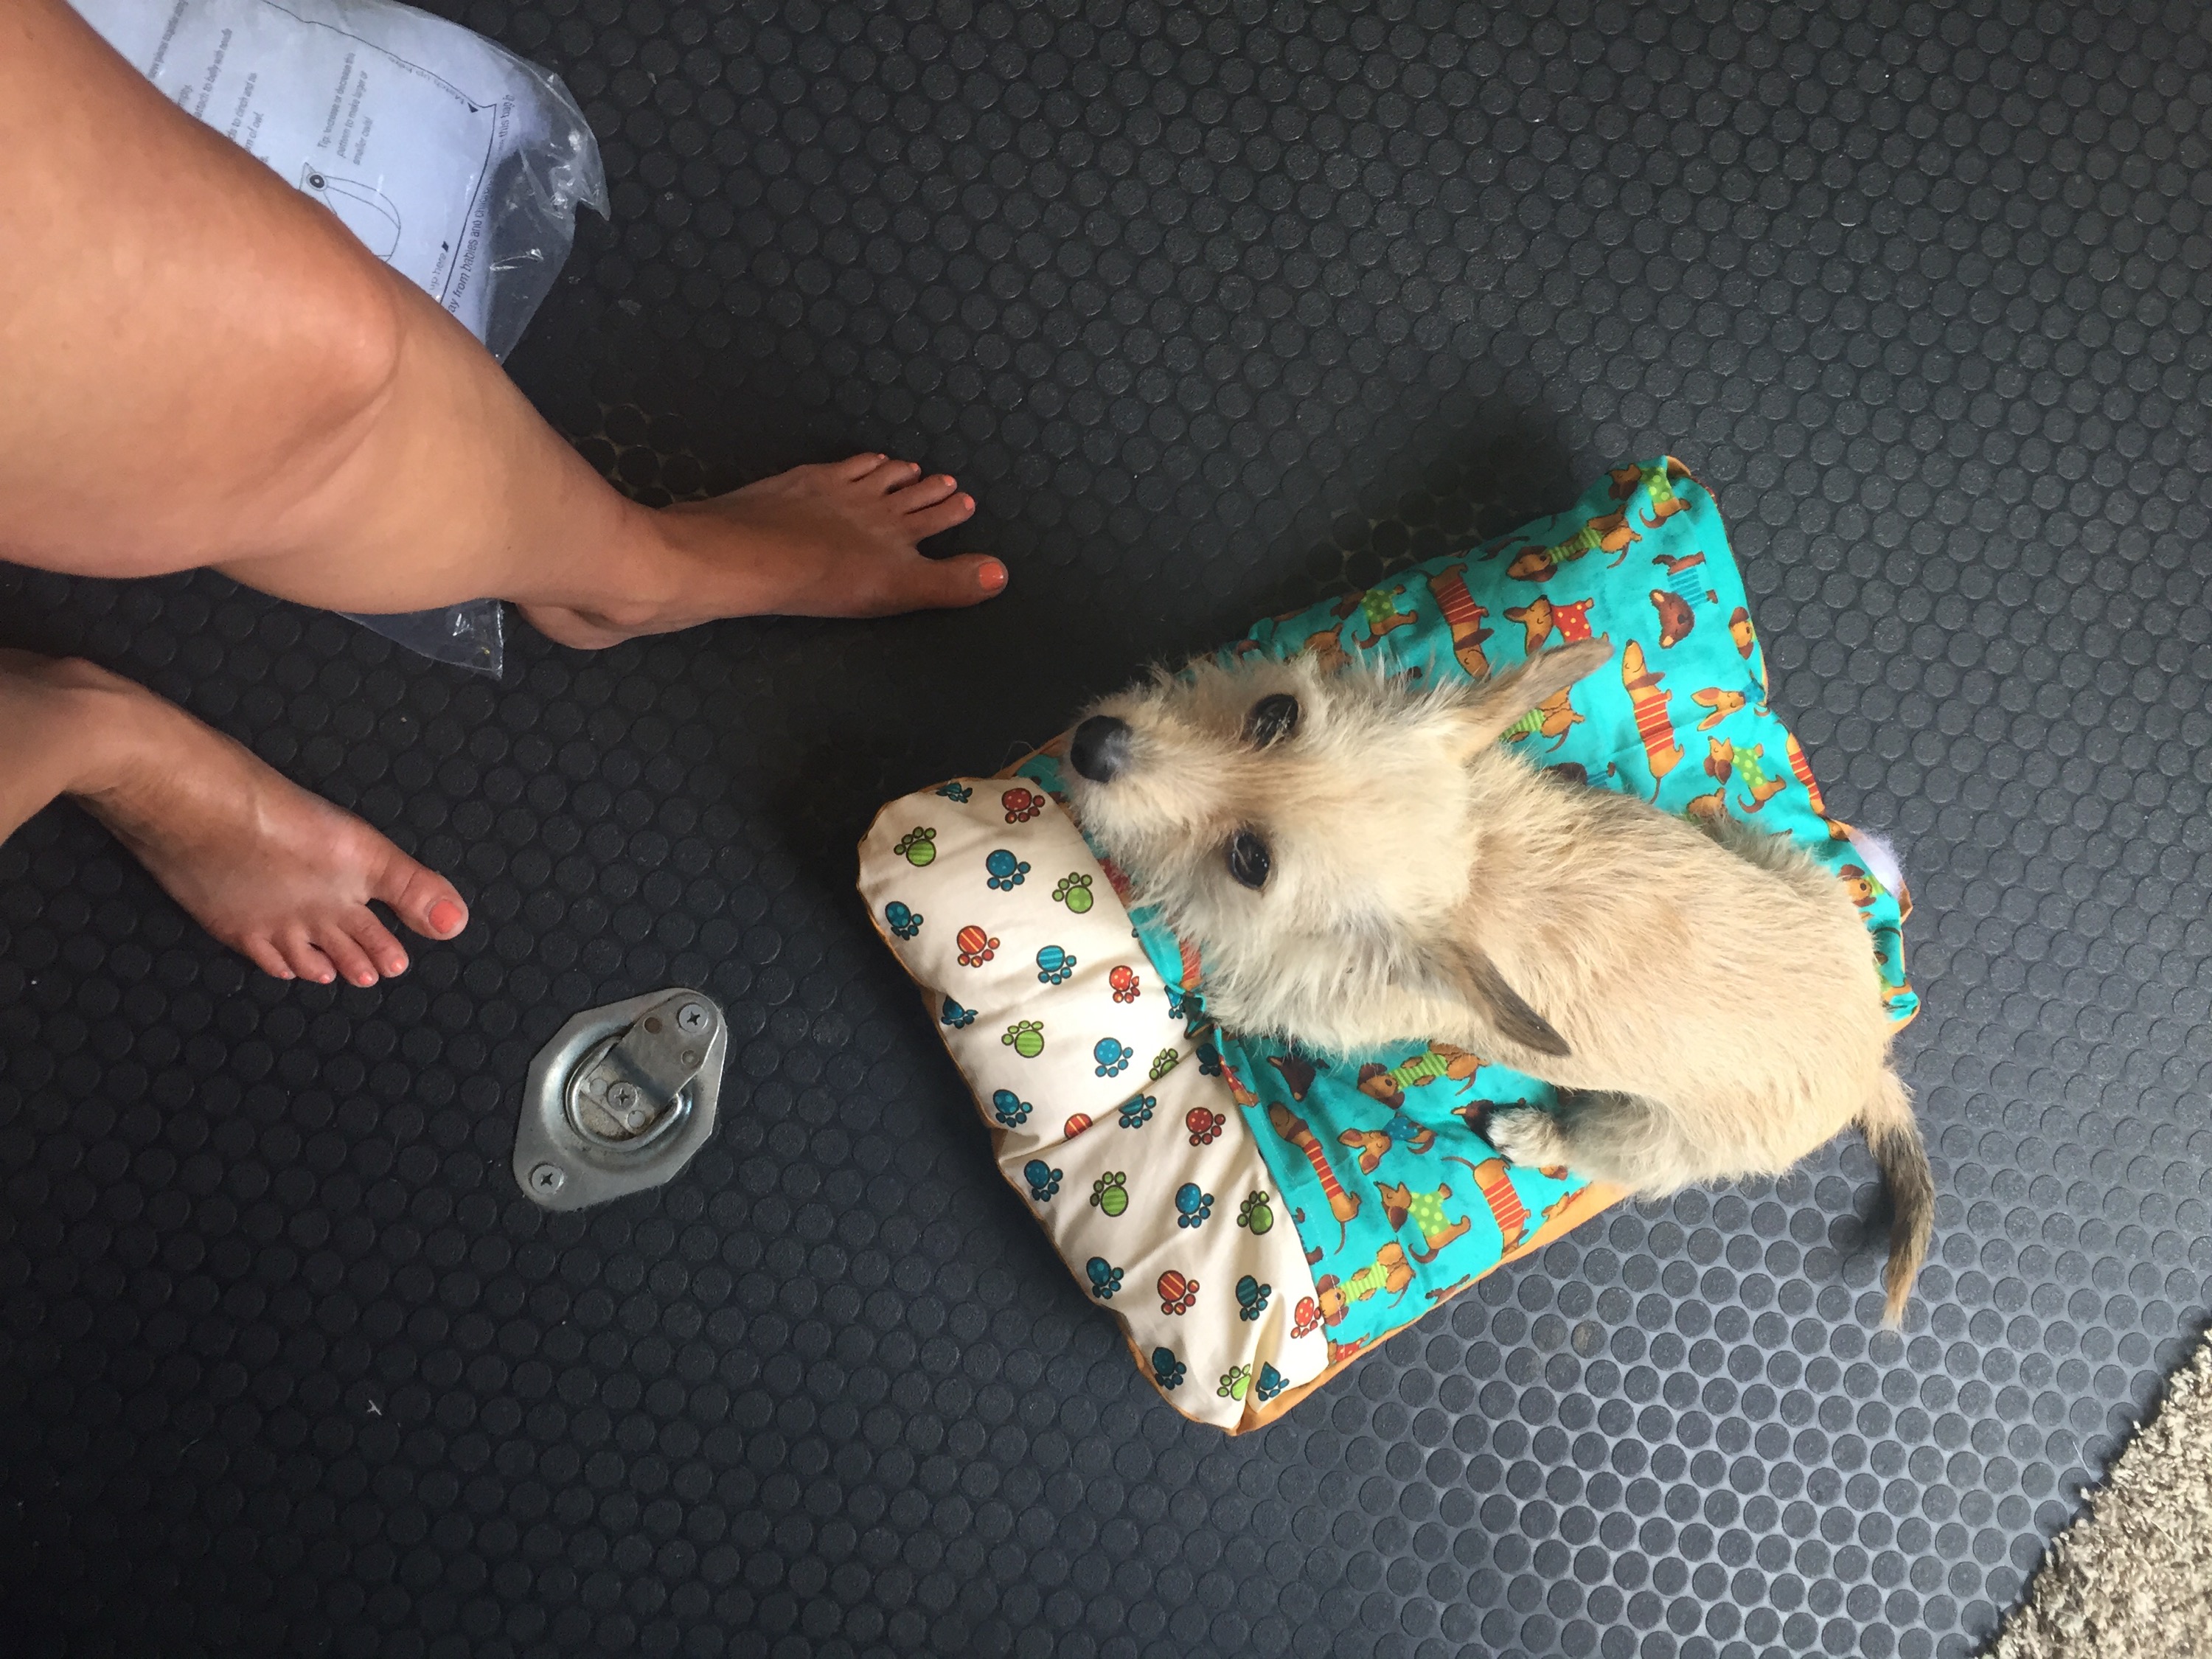
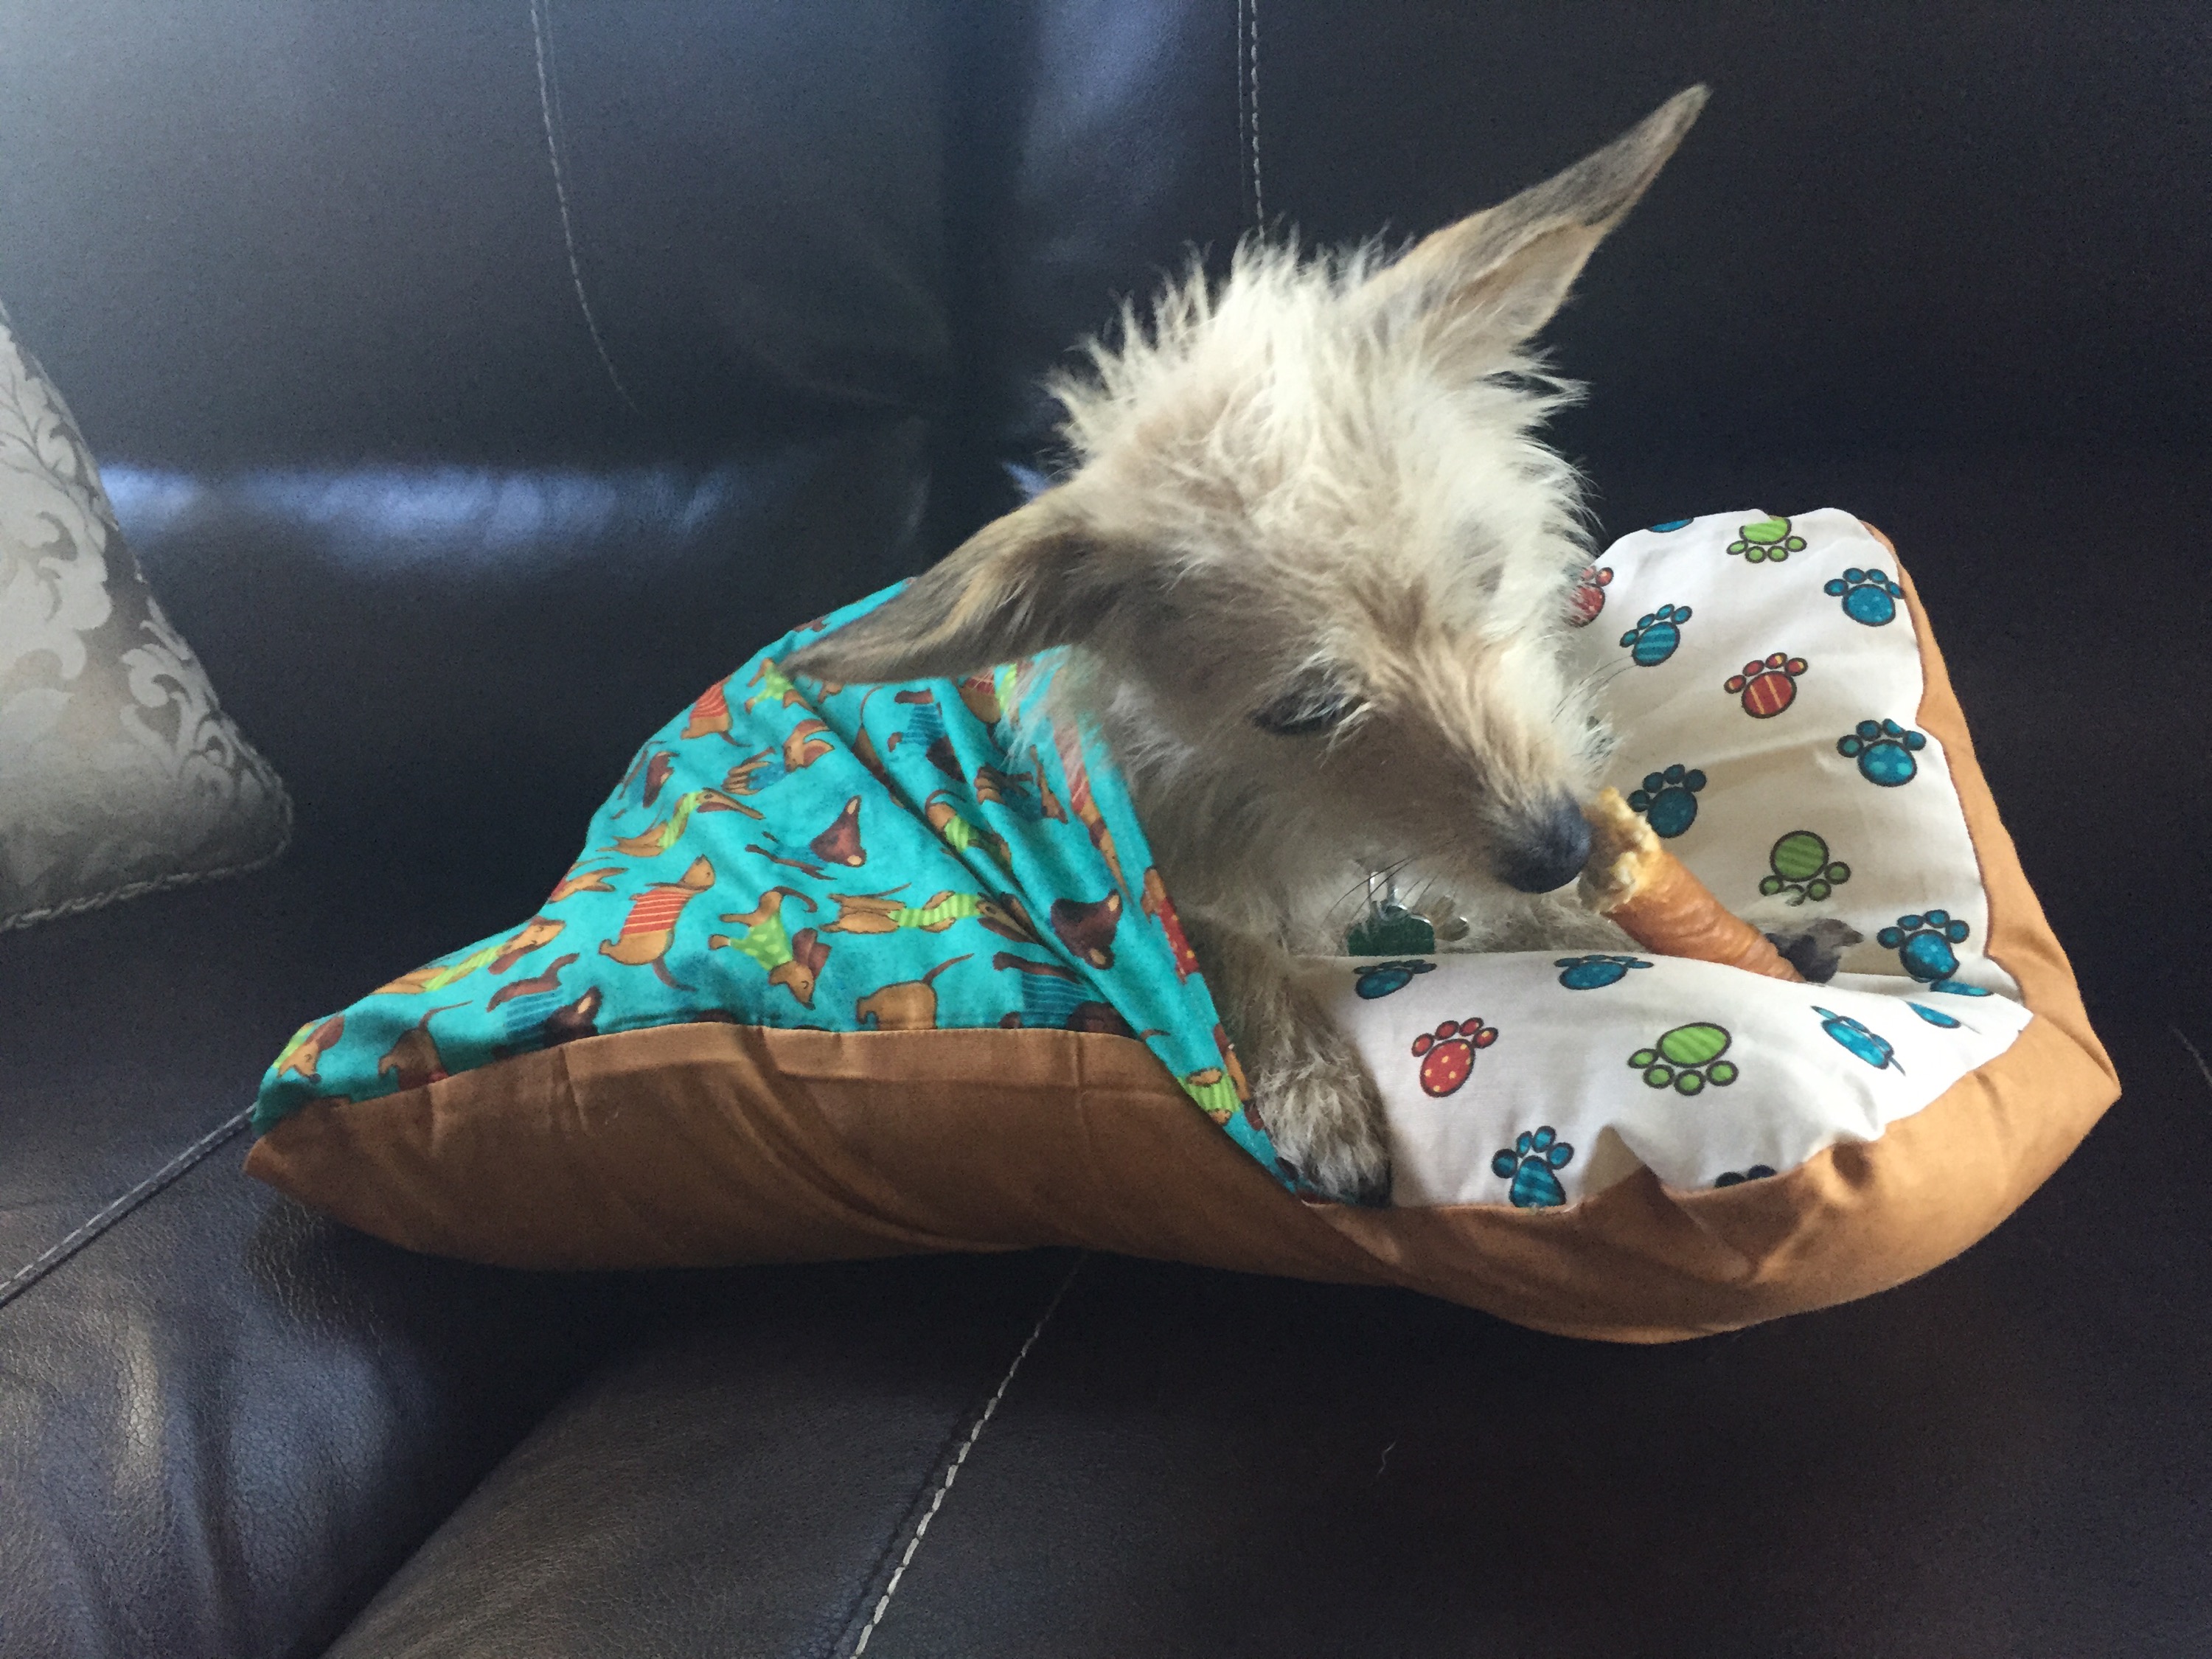
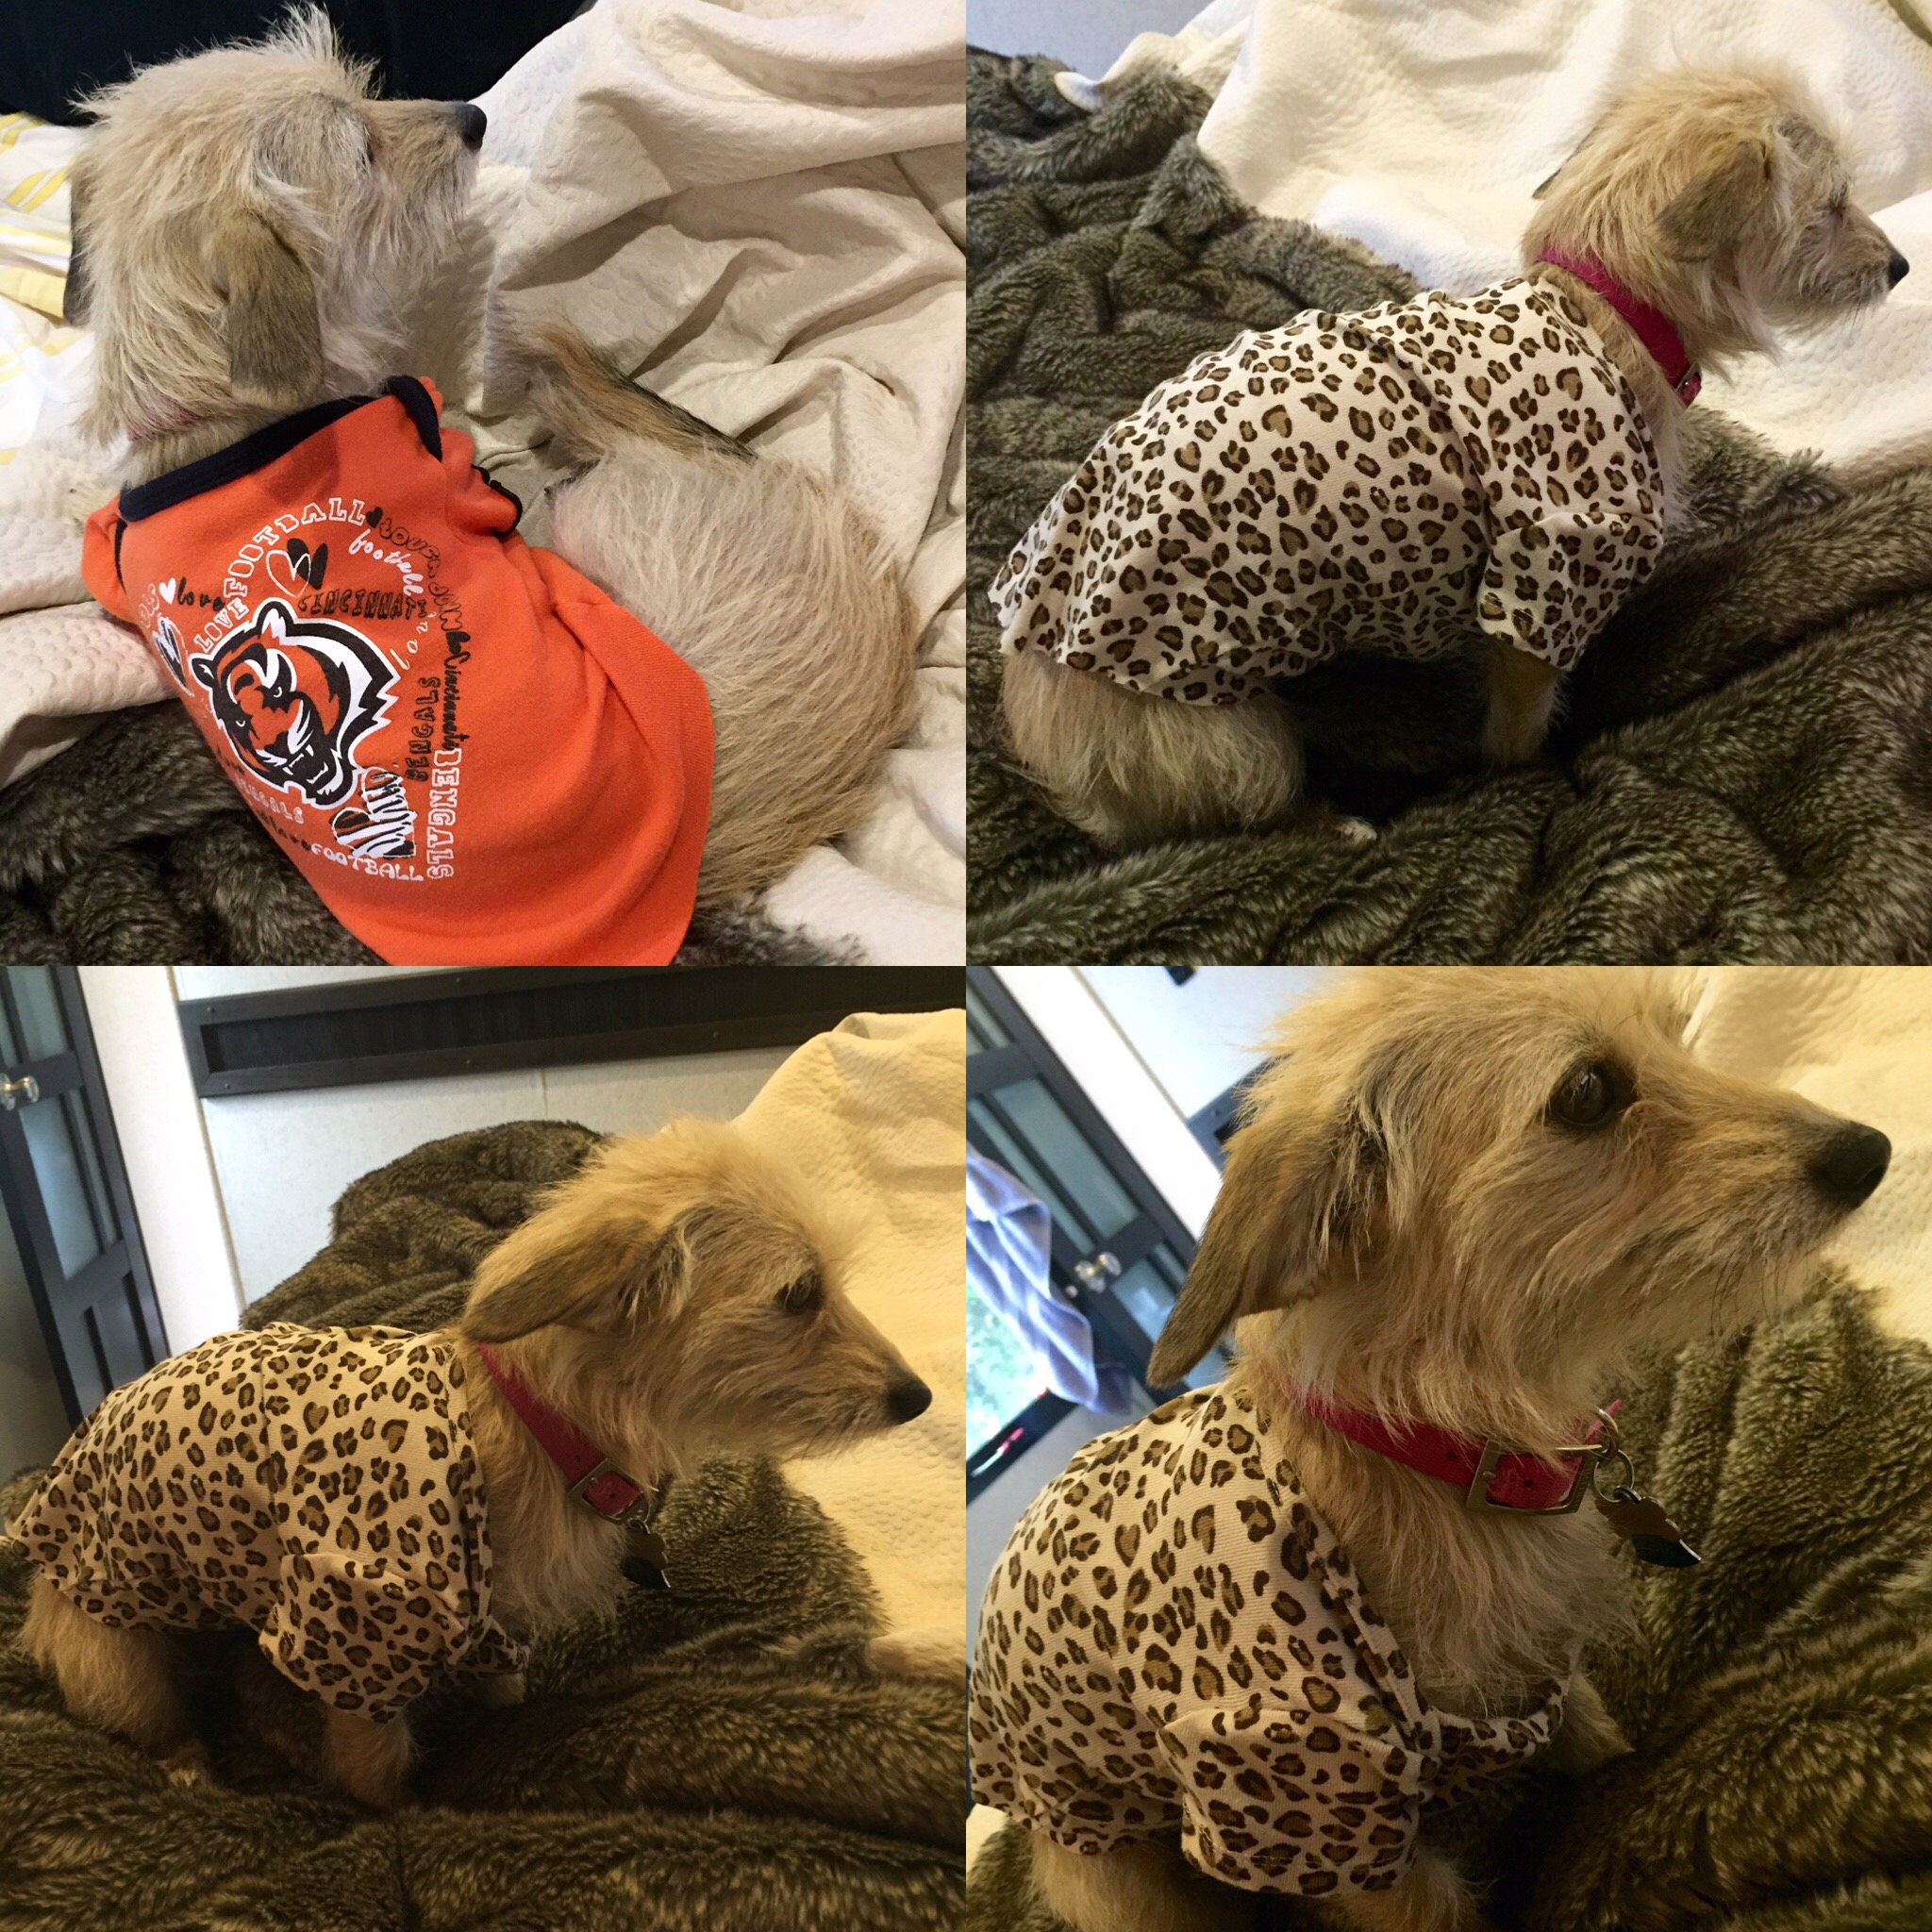
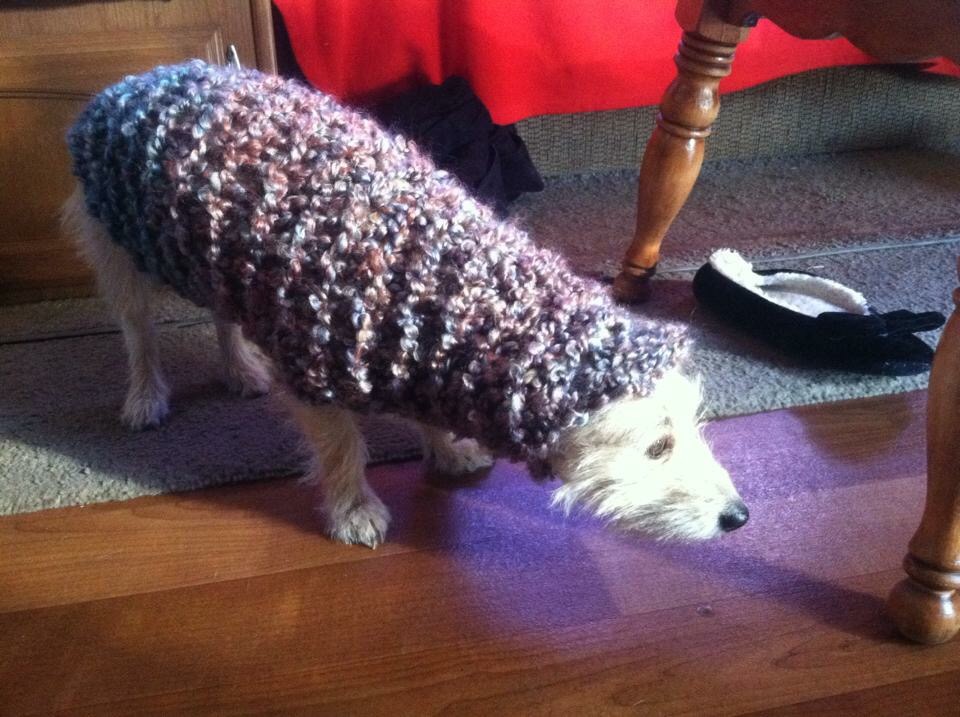
I couldnt bring myself to post without at least a glimpse of the spoiled pup!

 
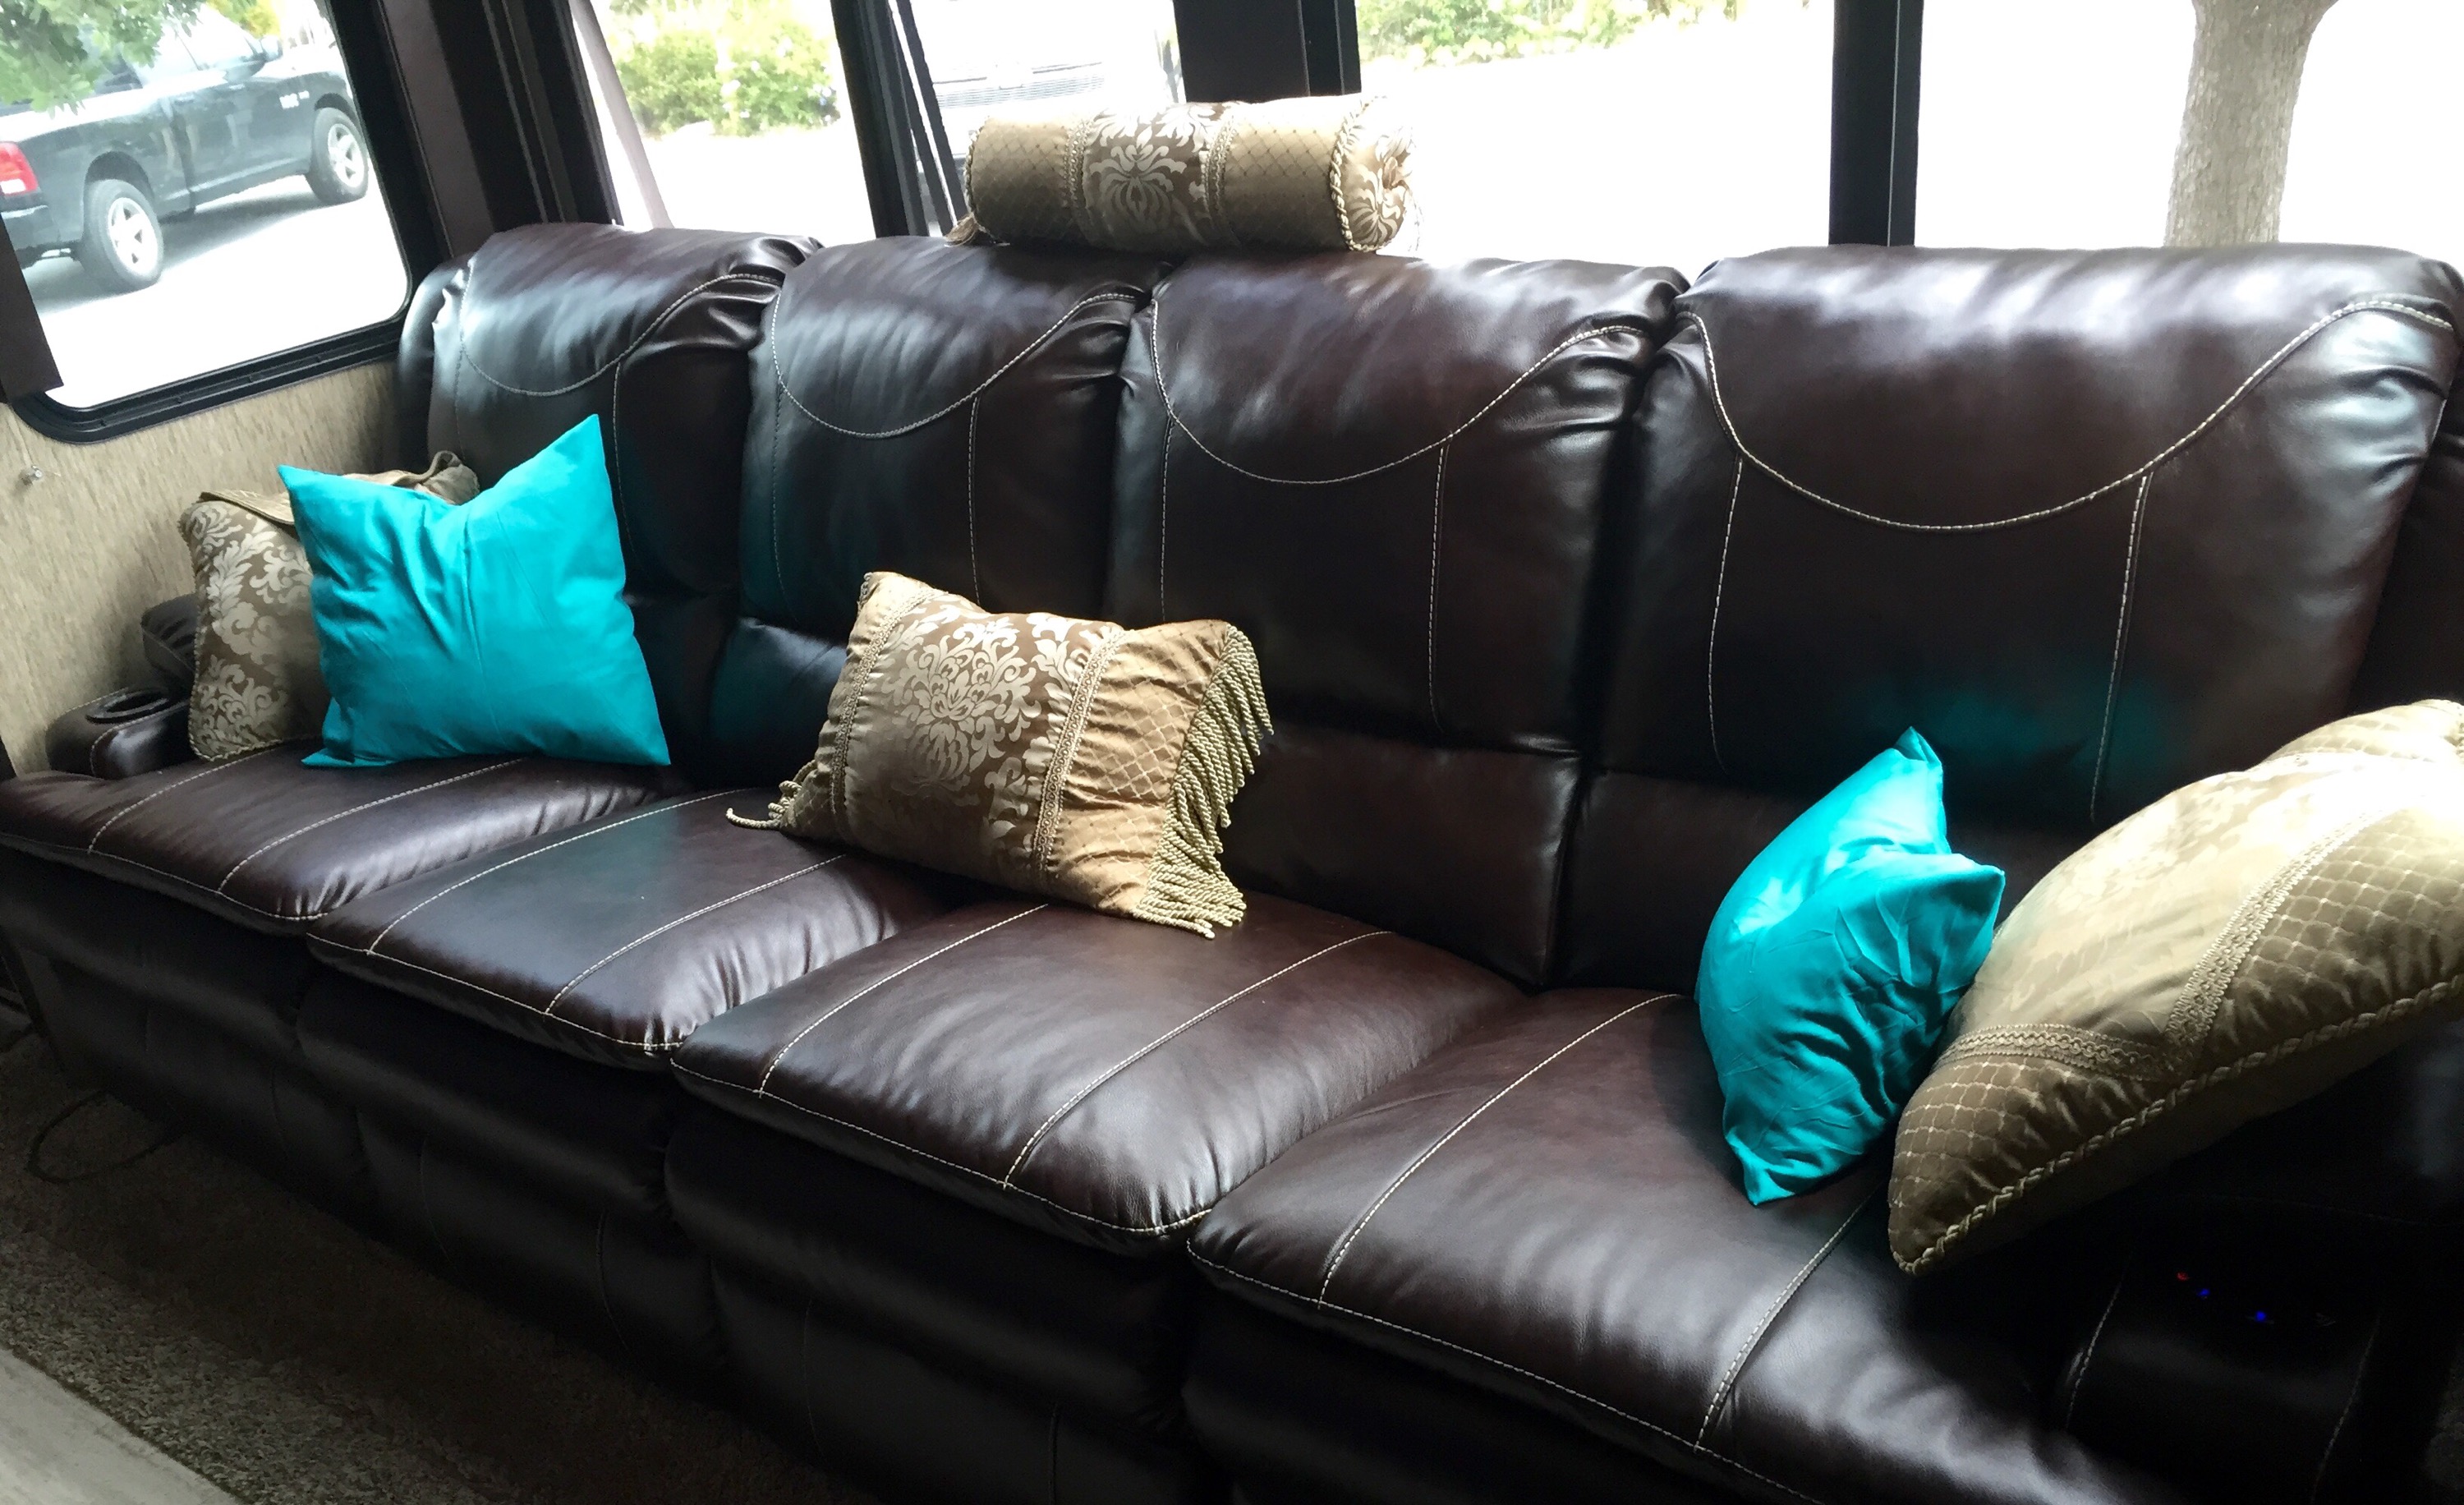
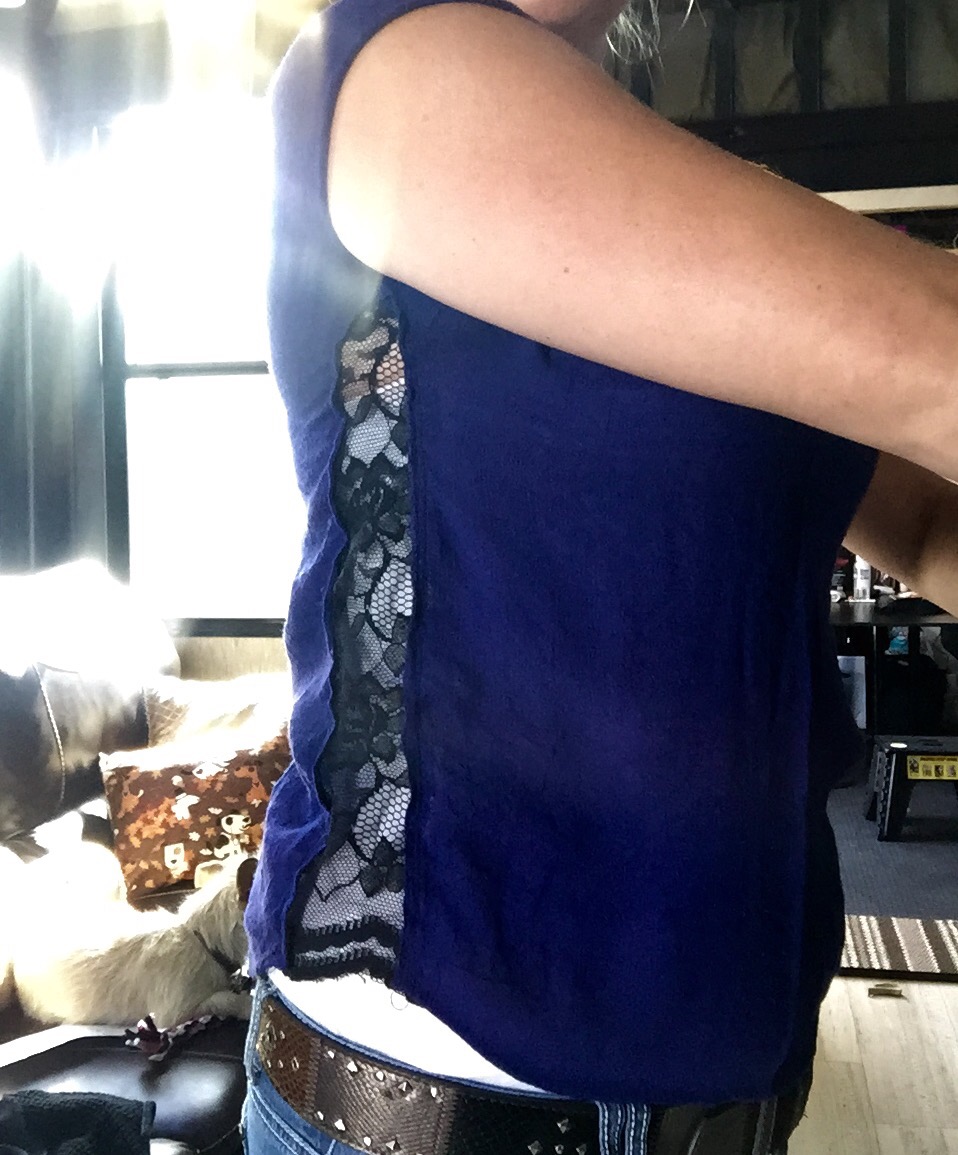
And voila! My top is still cute, and it fits better!  

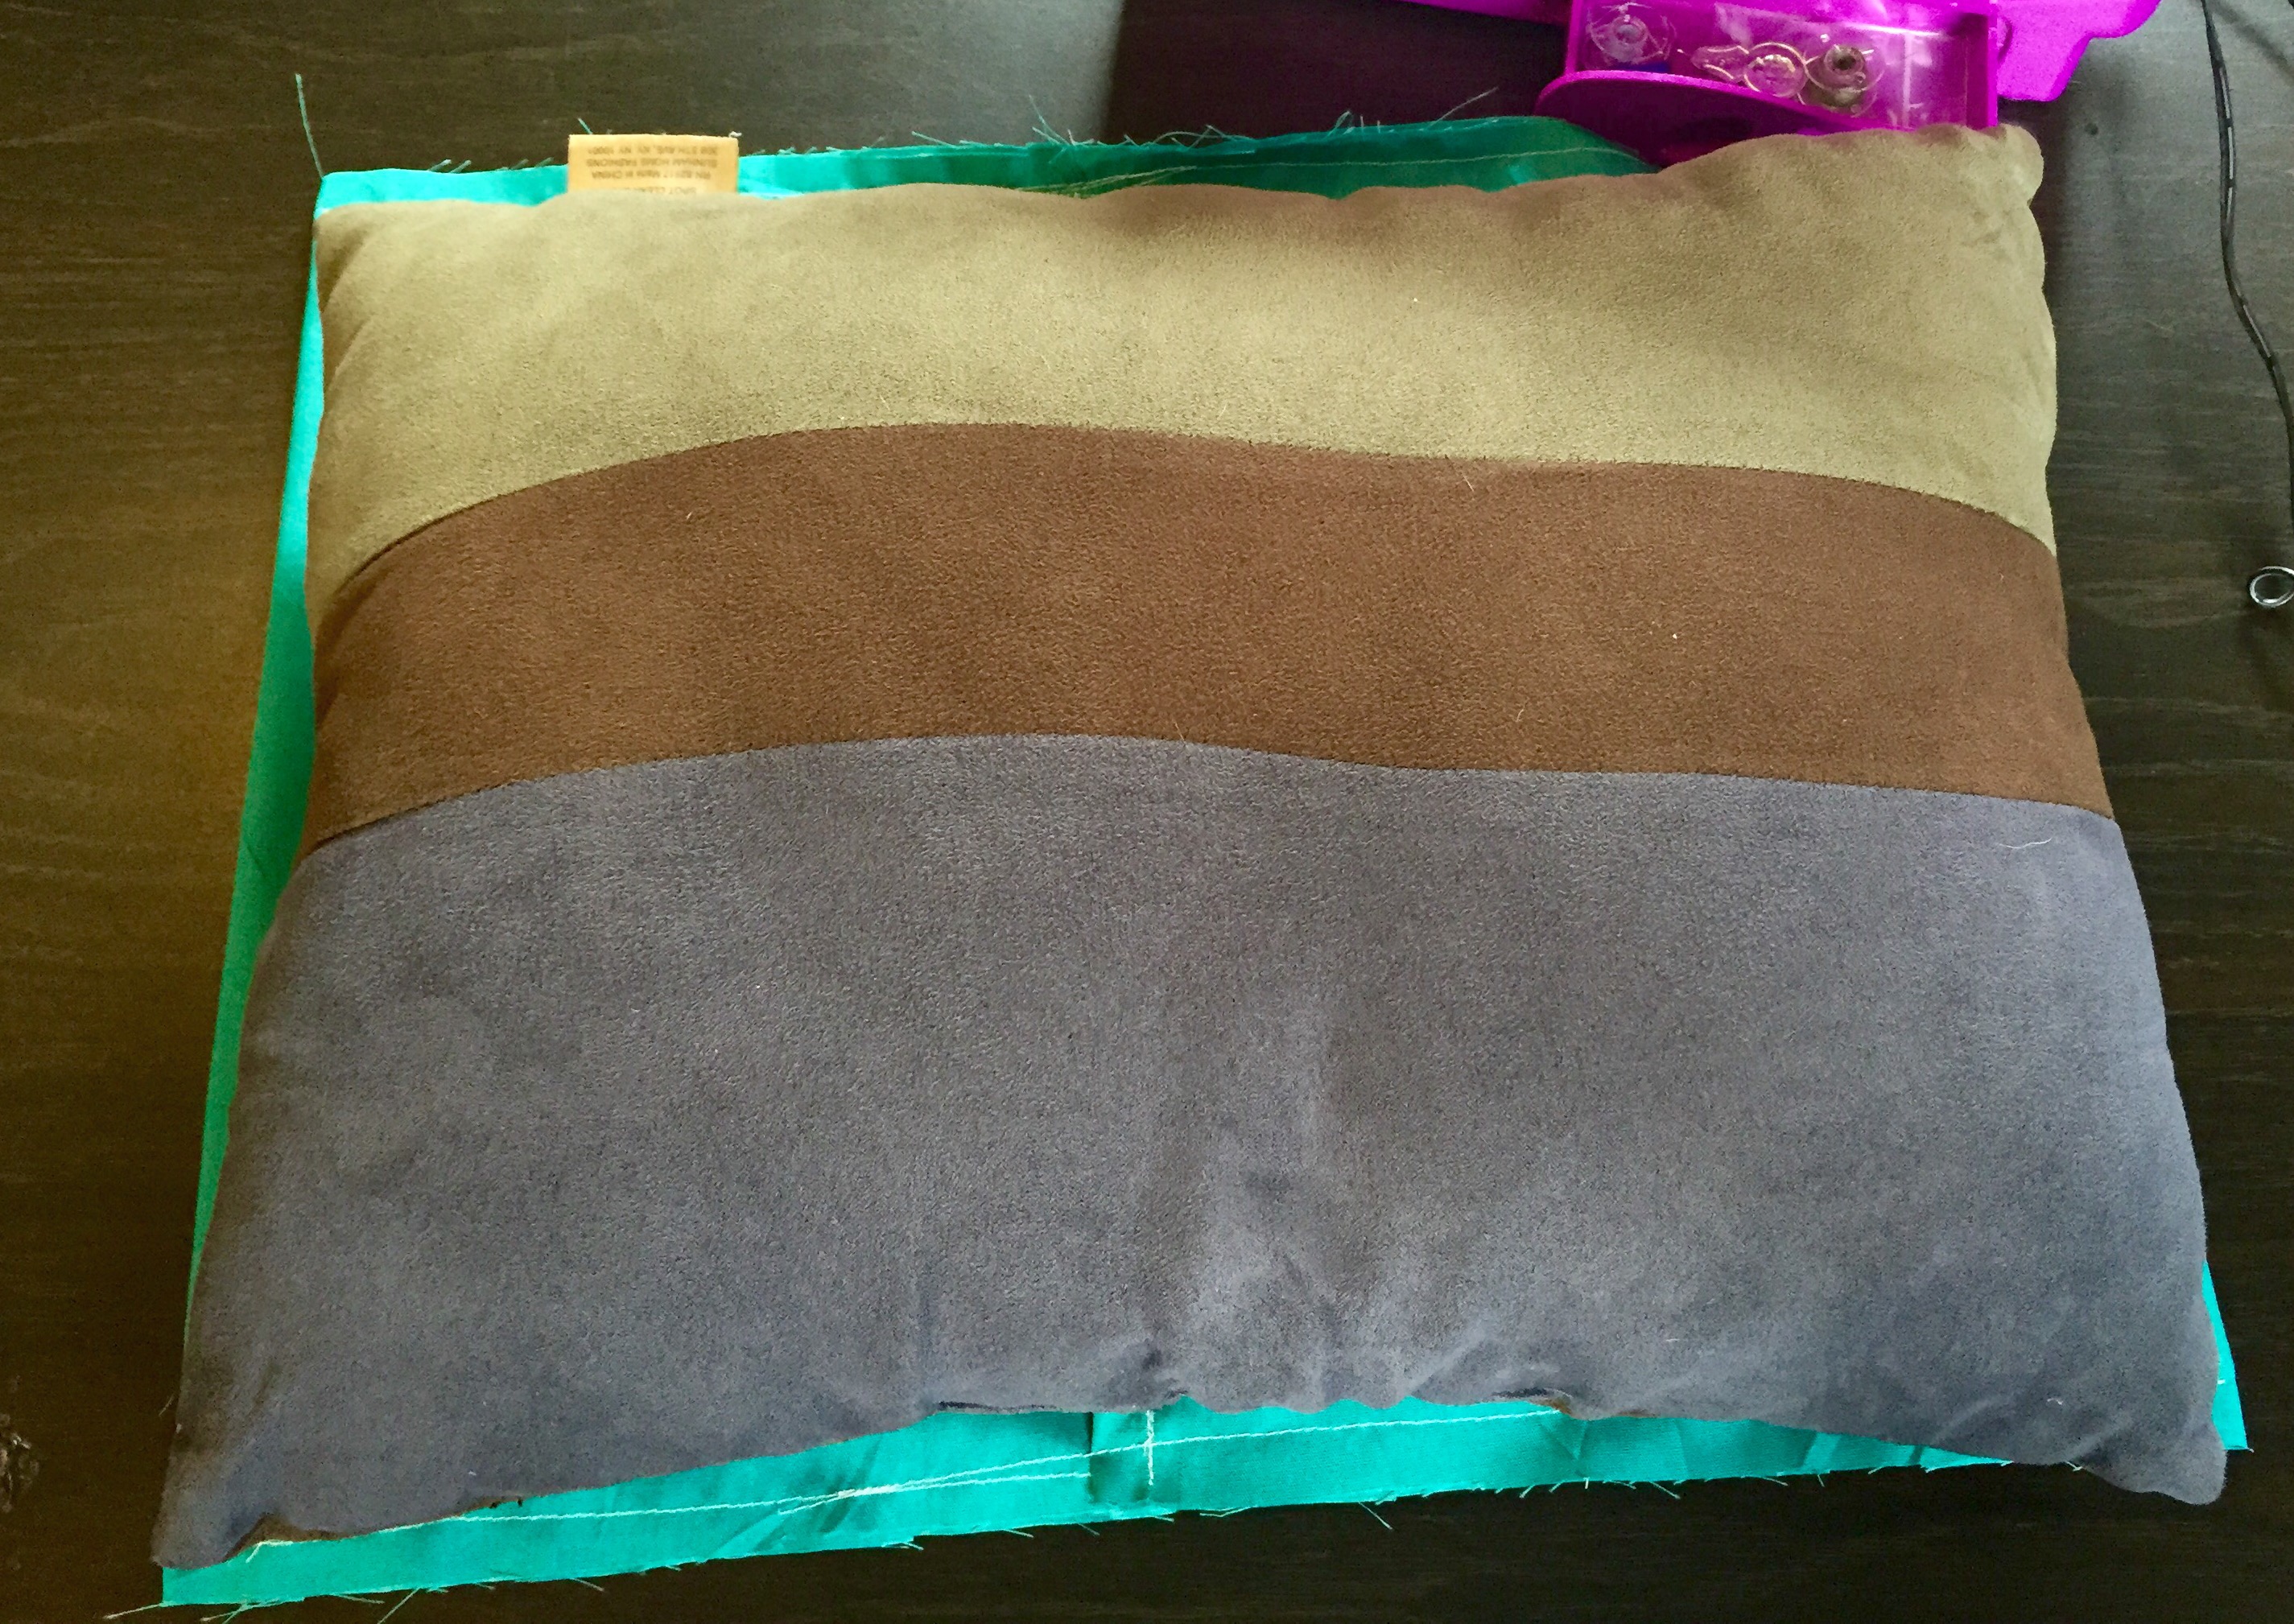
If you are wondering where those cute throw pillows came from, look at the next post!


DIY Pillow Covers: Round 2

Yesterday was a Sad Day… 

Yesterday my mom laid the plaque for my brother’s tree. I wish I could’ve been there.

  
We ordered it from International Bronze when I first got out here to San Francisco. It took almost 2 months. Joe, the designer I spoke with, was really nice and helpful and I recommend them to anyone looking for a plaque.

It’s in Mt. Healthy Park in my hometown. Adam always loved the park and especially the pool. We spent many, many days there when we were younger. They used to have a putt-putt golf course that cost 15 cents, or you could pick up 5 pieces of trash and play for free -that was what we always did! Adam passed his test to swim in the deep end with ease, me, not so much. But one day when the pool was crowded he pretended like he hadn’t taken his test yet, there were a bunch of kids that were going to take theirs at once. (You just had to swim back and forth across the 10-foot part.) But when we all started swimming, Adam helped me and it was too crowded that the lifeguards didn’t see. So from then on I was allowed to jump off the diving board. And that’s all I did was jump, towards the side, holding my nose. No diving for me! Then I would doggy paddle to the ladder and get back out. Thank you Adam. I love you.

So yesterday was pretty sad.

To top it off, it was National Dog Day. (I’ll explain why this was sad…) I made Charlie a new doggy bed. I was Pinteresting, yet again, and found an idea for an envelope dog bed, or a snuggly dog bed, or like a sleeping bag dog bed. I knew I had to make it for her because she is constantly wanting under the covers.

I woke up 5 minutes before Allen’s alarm went off this morning to Charlie whining in my face. I lifted up the blanket so she could crawl under. Still, whining. I laid my hand on her. No more whining. What a baby! 🙂

So I made this bed and I’m pretty sure it instantly became her favorite. (She has 3 – One that came with her from her old family, one I made last week and now this one… Allen says Charlie’s camper footprint is getting too large.)


So when we went to bed, I put it in the closet in the bedroom, for some reason she likes it in there, and both sides of the bed now have other dog beds. So she went in the closet and that’s where she slept, all by herself, almost all night. Without me. I had to sleep alone. Well, not alone, I mean Allen was there, but he’s not the same as my puppy. (Sorry honey, I love you!) So after Allen fell asleep, which he always tends to do a lot faster than me, I was awake and sad because Charlie wasn’t next to me and thinking about my brother, and I think I was awake half the night. Not being able to fall asleep is the worst.

 But, today is a new day, and I get to try out my new Bug-A-Salt rifle! Unfortunately it is not a semi-automatic… I have to pump it and turn the safety off every time. But hopefully I get rid of all these flies that hang around in my front dirt yard!  Good ole San Francisco


By the way, I made Beef Stew for dinner last night if you want the recipe… Yum!

And here are the instructions for the doggy bed on SuzySitcom. One thing I did realize, then I had to redo it, is the instructions say to put the pocket piece and the larger piece right side together. But this is wrong, you need to put the pocket piece and the larger piece both right side facing down… You’ll see!

DIY Pillow Covers!

I thought I would take full advantage of this super foggy, windy, kinda rainy, gloomy day here at Candlestick RV Park and work on an indoor project. I bought a beginner’s sewing machine a few months ago and I haven’t gotten to use it a whole lot yet. I didn’t want anything too complicated. I’ve never used a sewing machine before. I did some research and decided on the Janome portable one in “purple thunder”! It was about $60 from Amazon.  I’ve been trying little things here and there. I’ve made a pair of Allen’s ripped jeans into shorts… I’ve also made a couple of onesie’s into outfits for Charlie… Just by hemming them a little here and there…  I got these at the Flea Market in Dayton, Ohio.

The Bengals one is 0-3months and fits a lot better than the cheetah print which is 6-9months


She was NOT happy that i woke her up to try them on…

For a while now, I’ve been wanting to cover up these hideous (IMHO) throw pillows that Allen has had forever. They are brown and dark blue and just have no personality. Yesterday I took a trip to Walmart (yes, a trip, out here in San Francisco) and I picked up some fabric. I had asked Allen what color he thought would look good and of course his answer was brown or dark blue. No chance. So I got some pretty teal stuff. I kind of followed this picture I found on Pinterest. They are envelope pillow covers. Super easy. I’m not a master seamstress by far! But I’m liking the sewing machine!      

Here is my super simple drawing of how i did the cover…

Overall, I think they look great and add a pop of color!

The gold pillows I found at a thrift store in Cincinnati for 69cents each!

Before I got the sewing machine, I still wanted to make Charlie some clothes… So these are a couple of little things I made for her. She’s such a good sport!

fur coat and booties! She would only wear two at a time, no way was she wearing 4!


She didn’t mind this sweater. She got her arms stuck in the knitted holes while napping one day and that was pretty funny!


she absolutely hated the snood part!