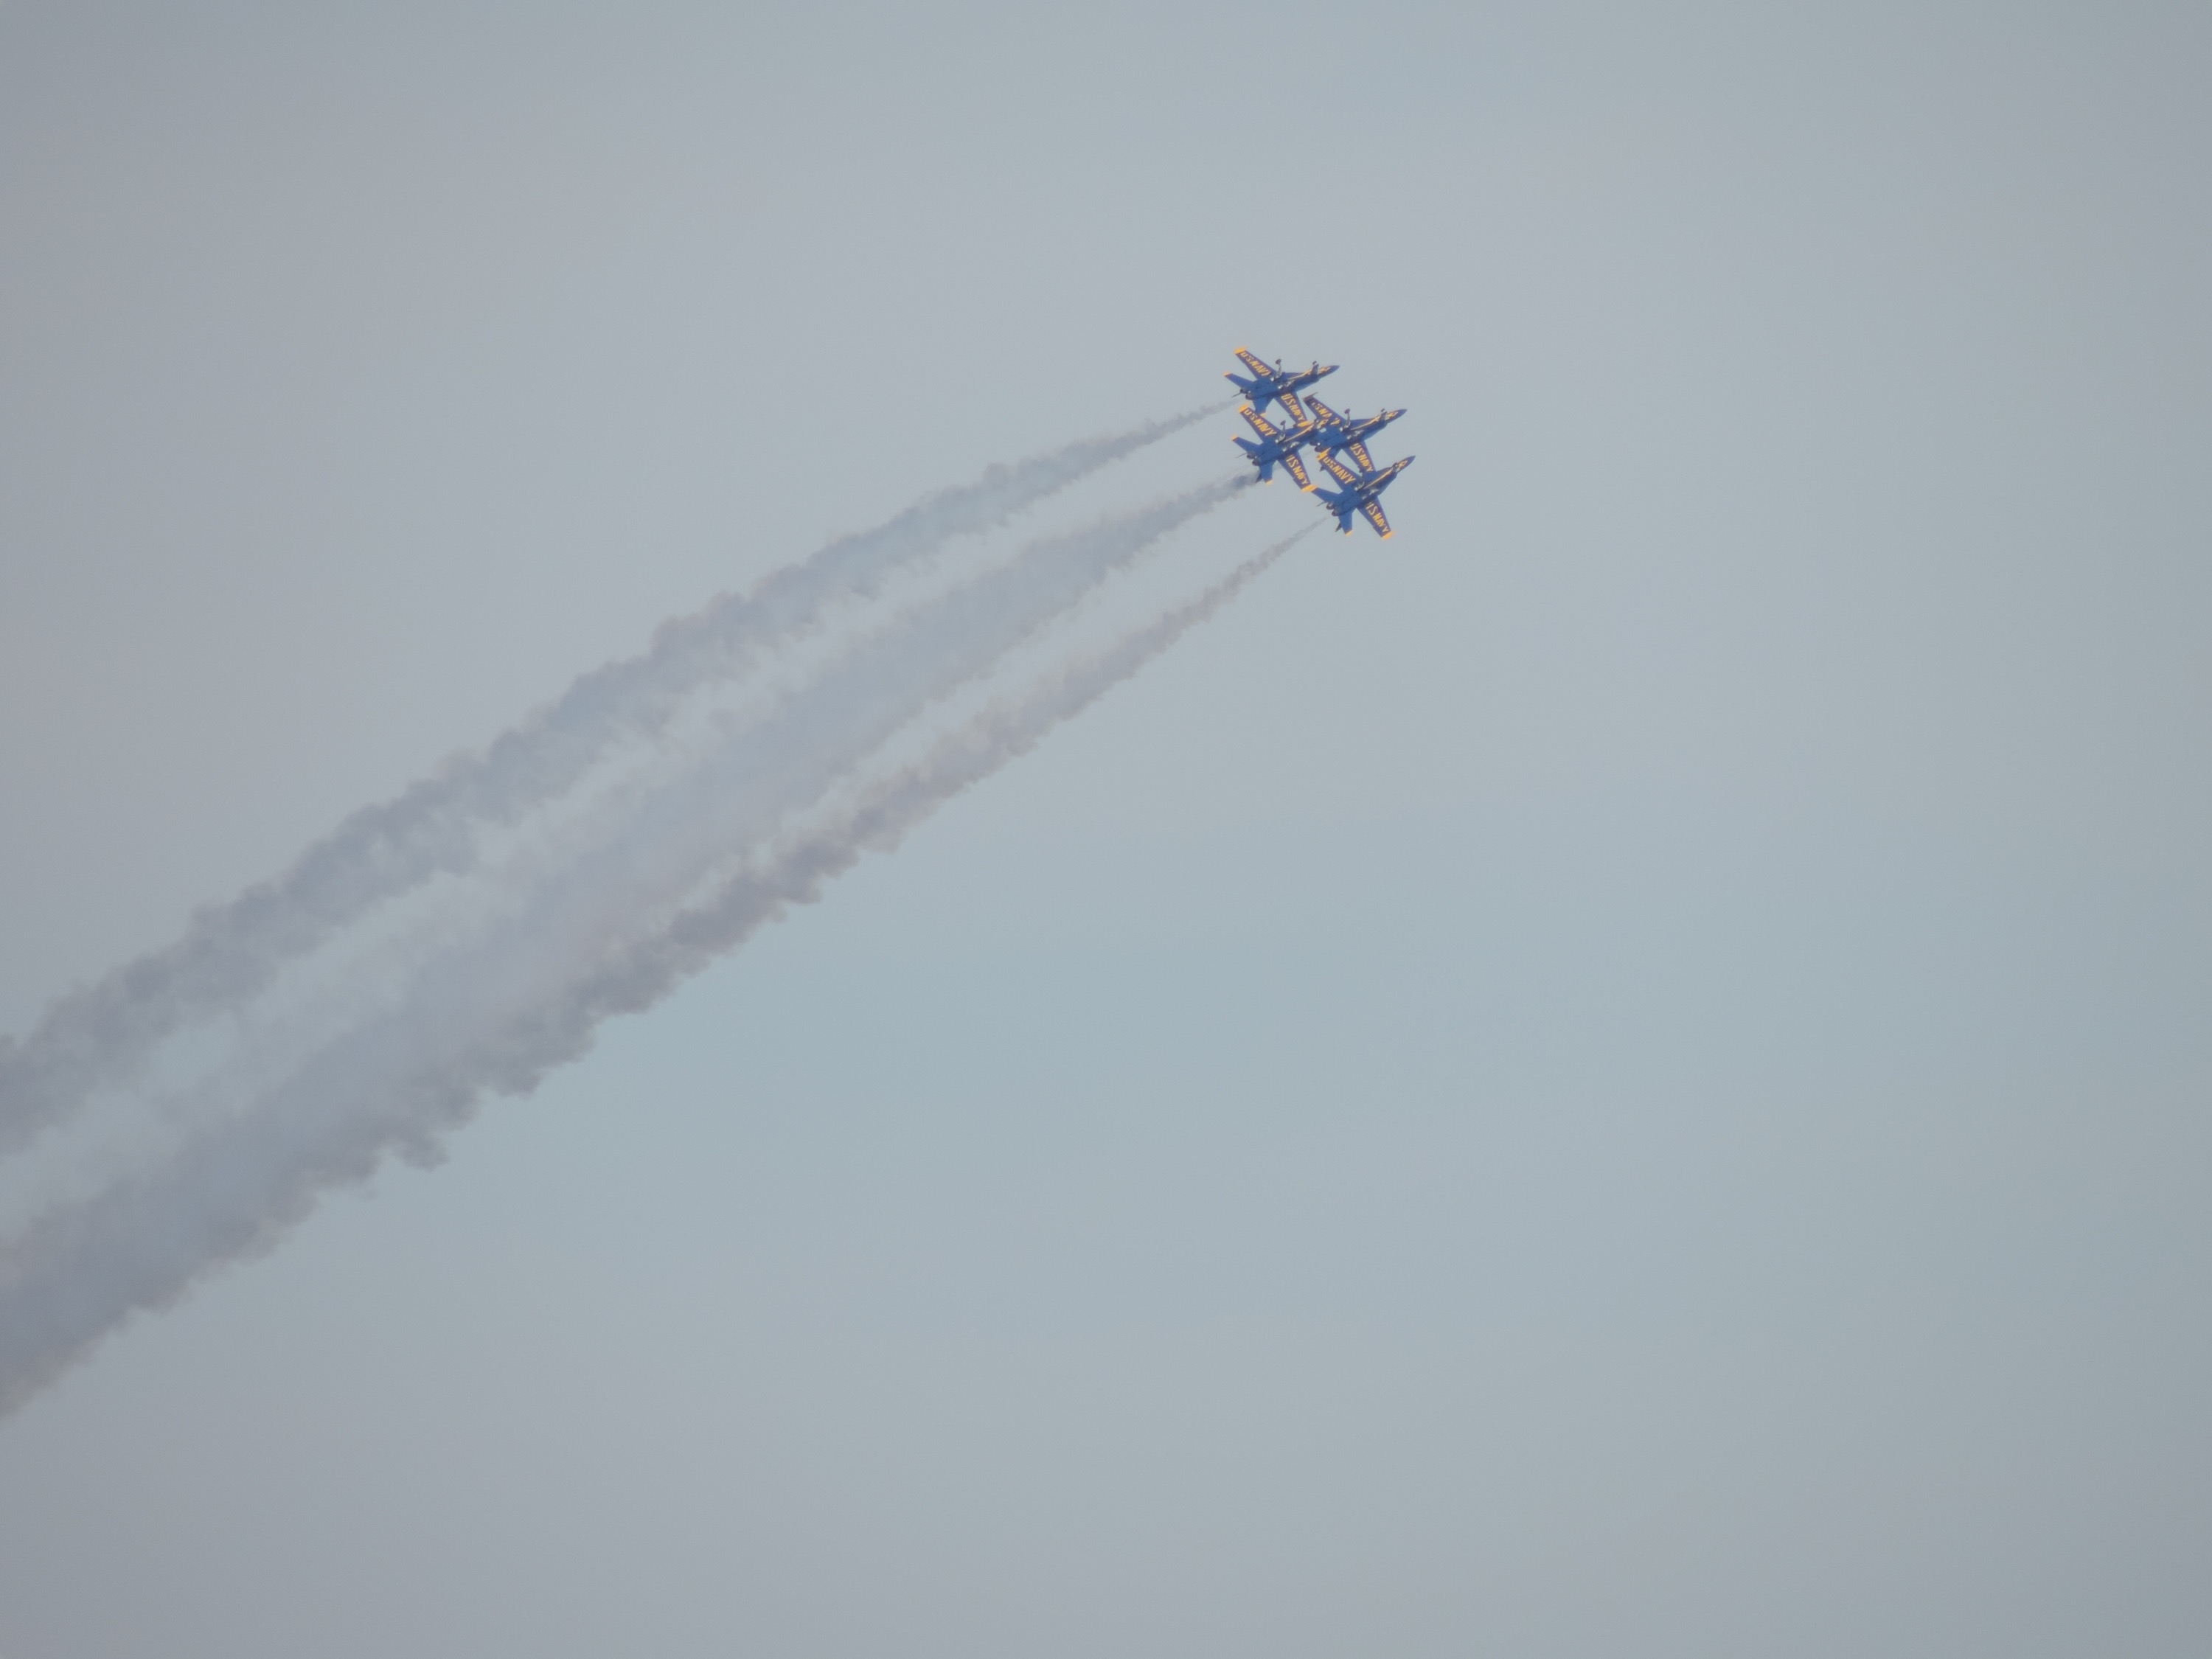
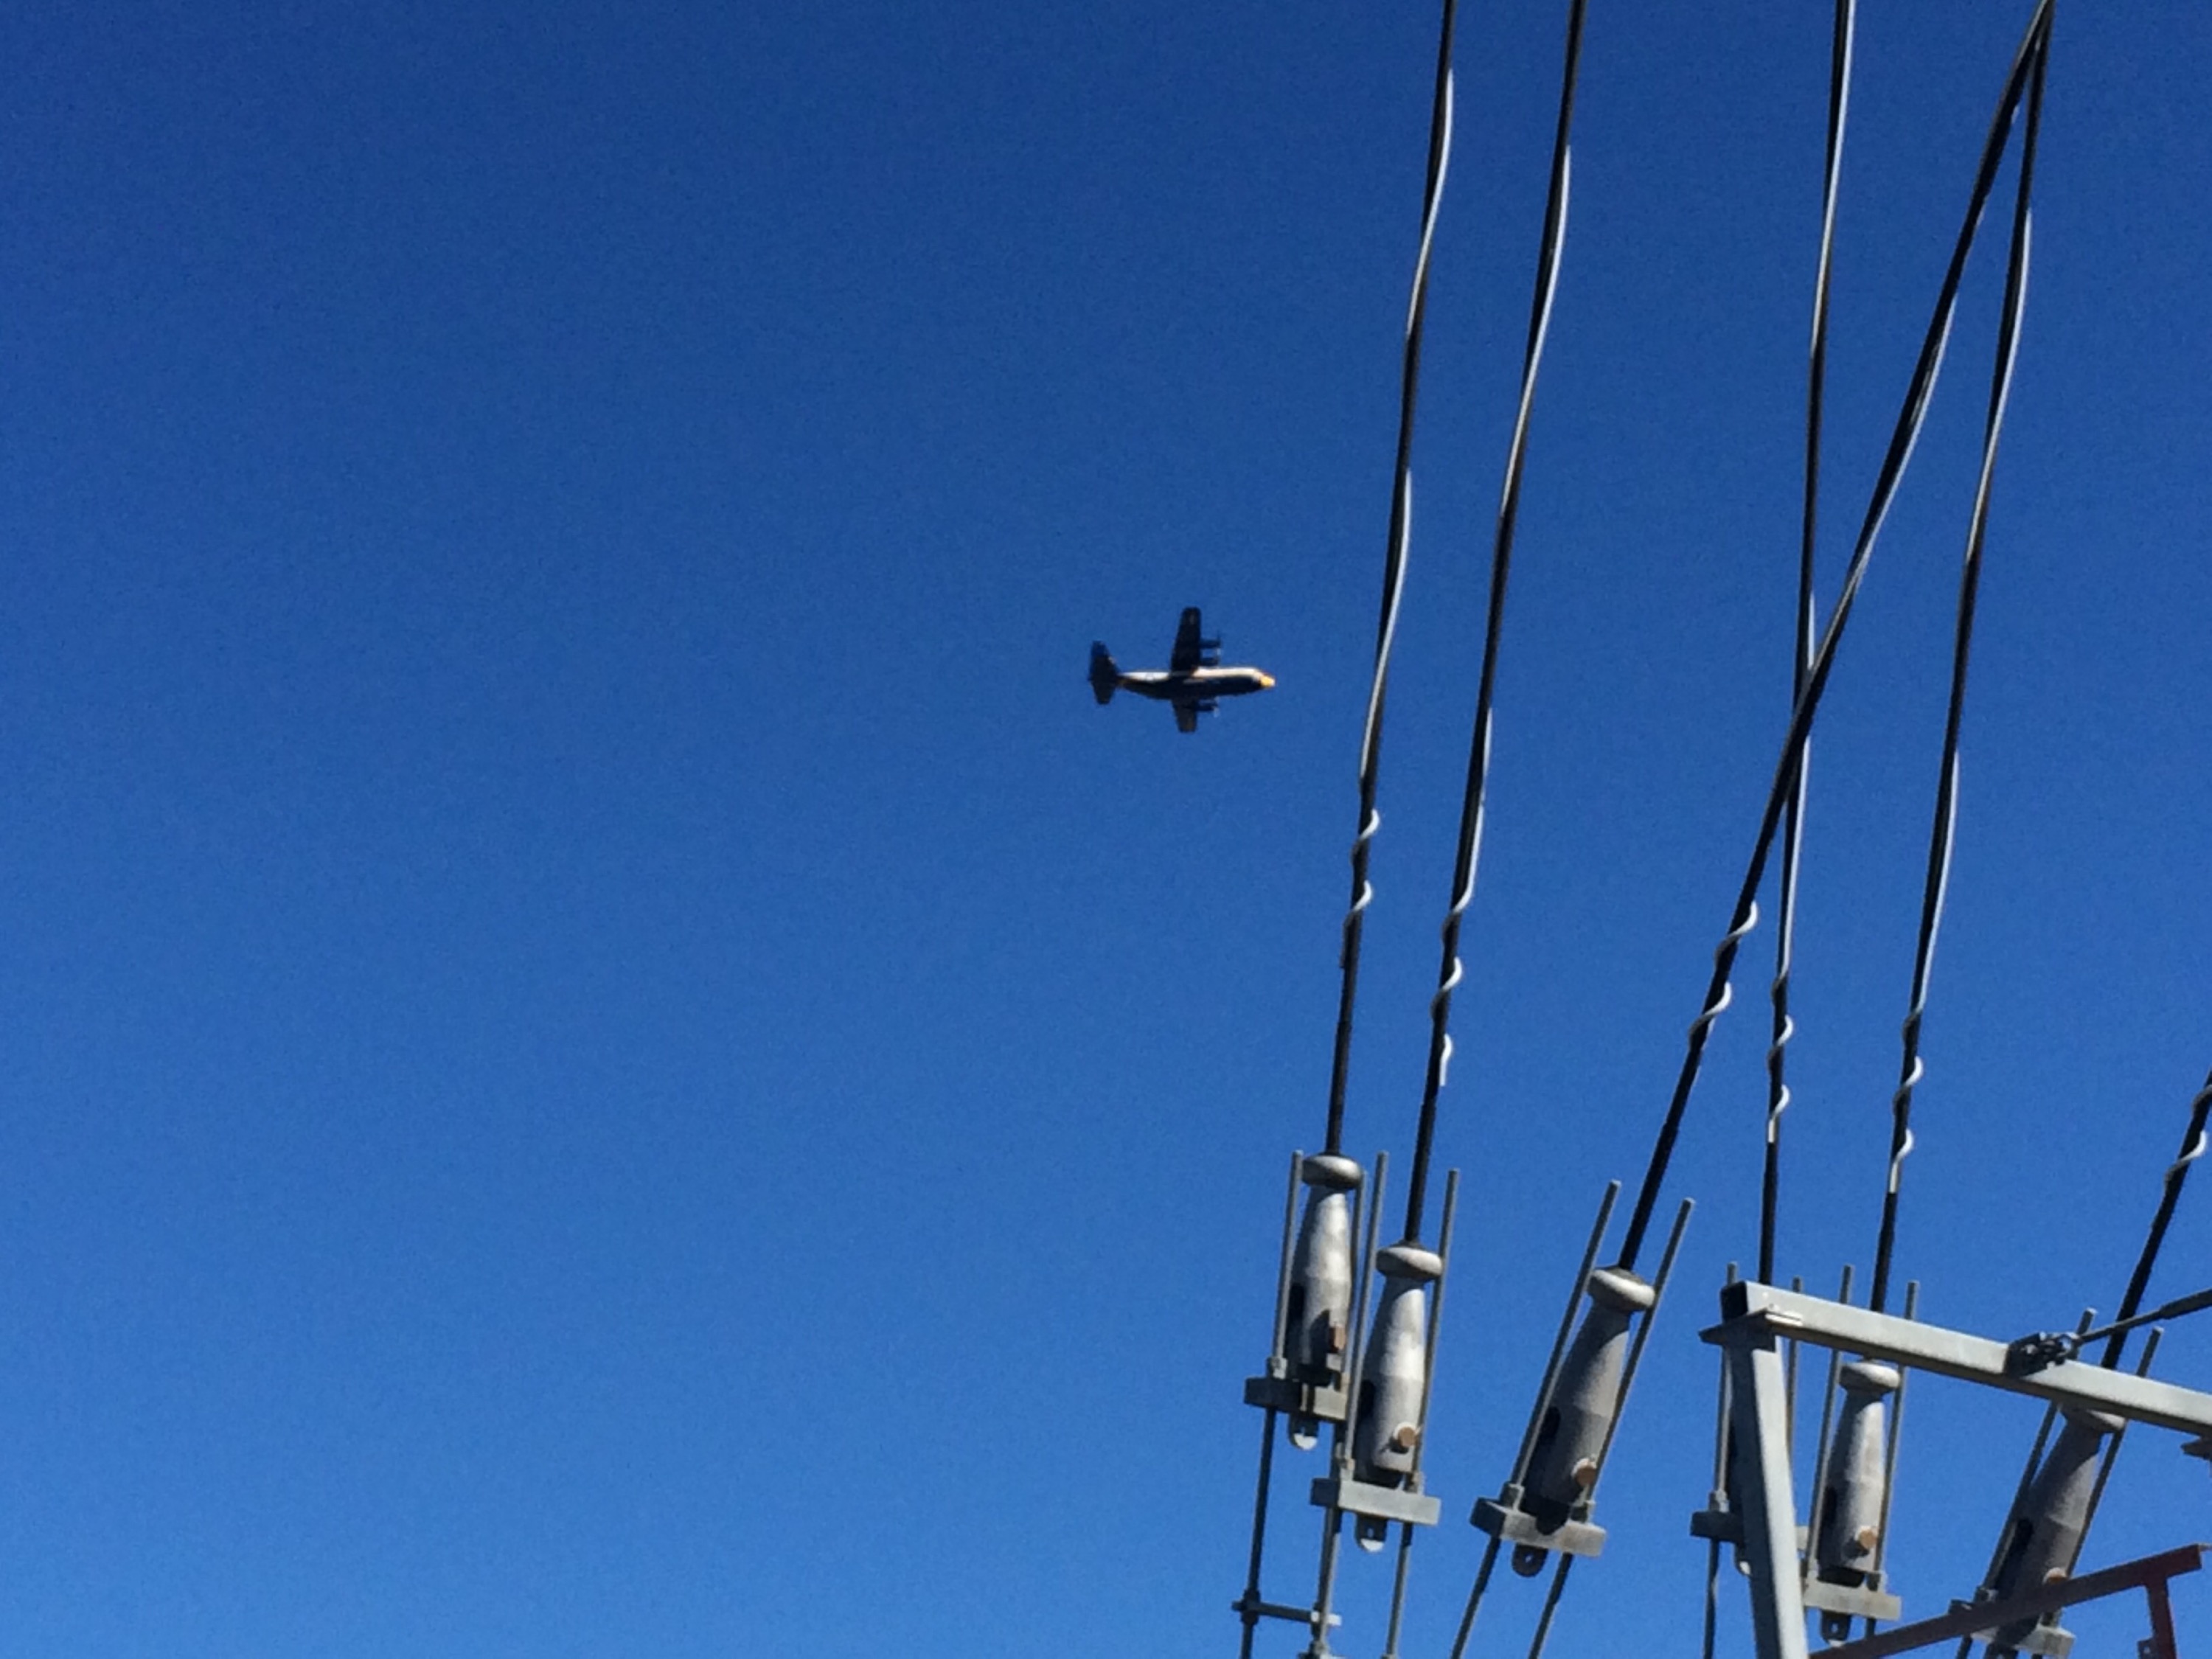
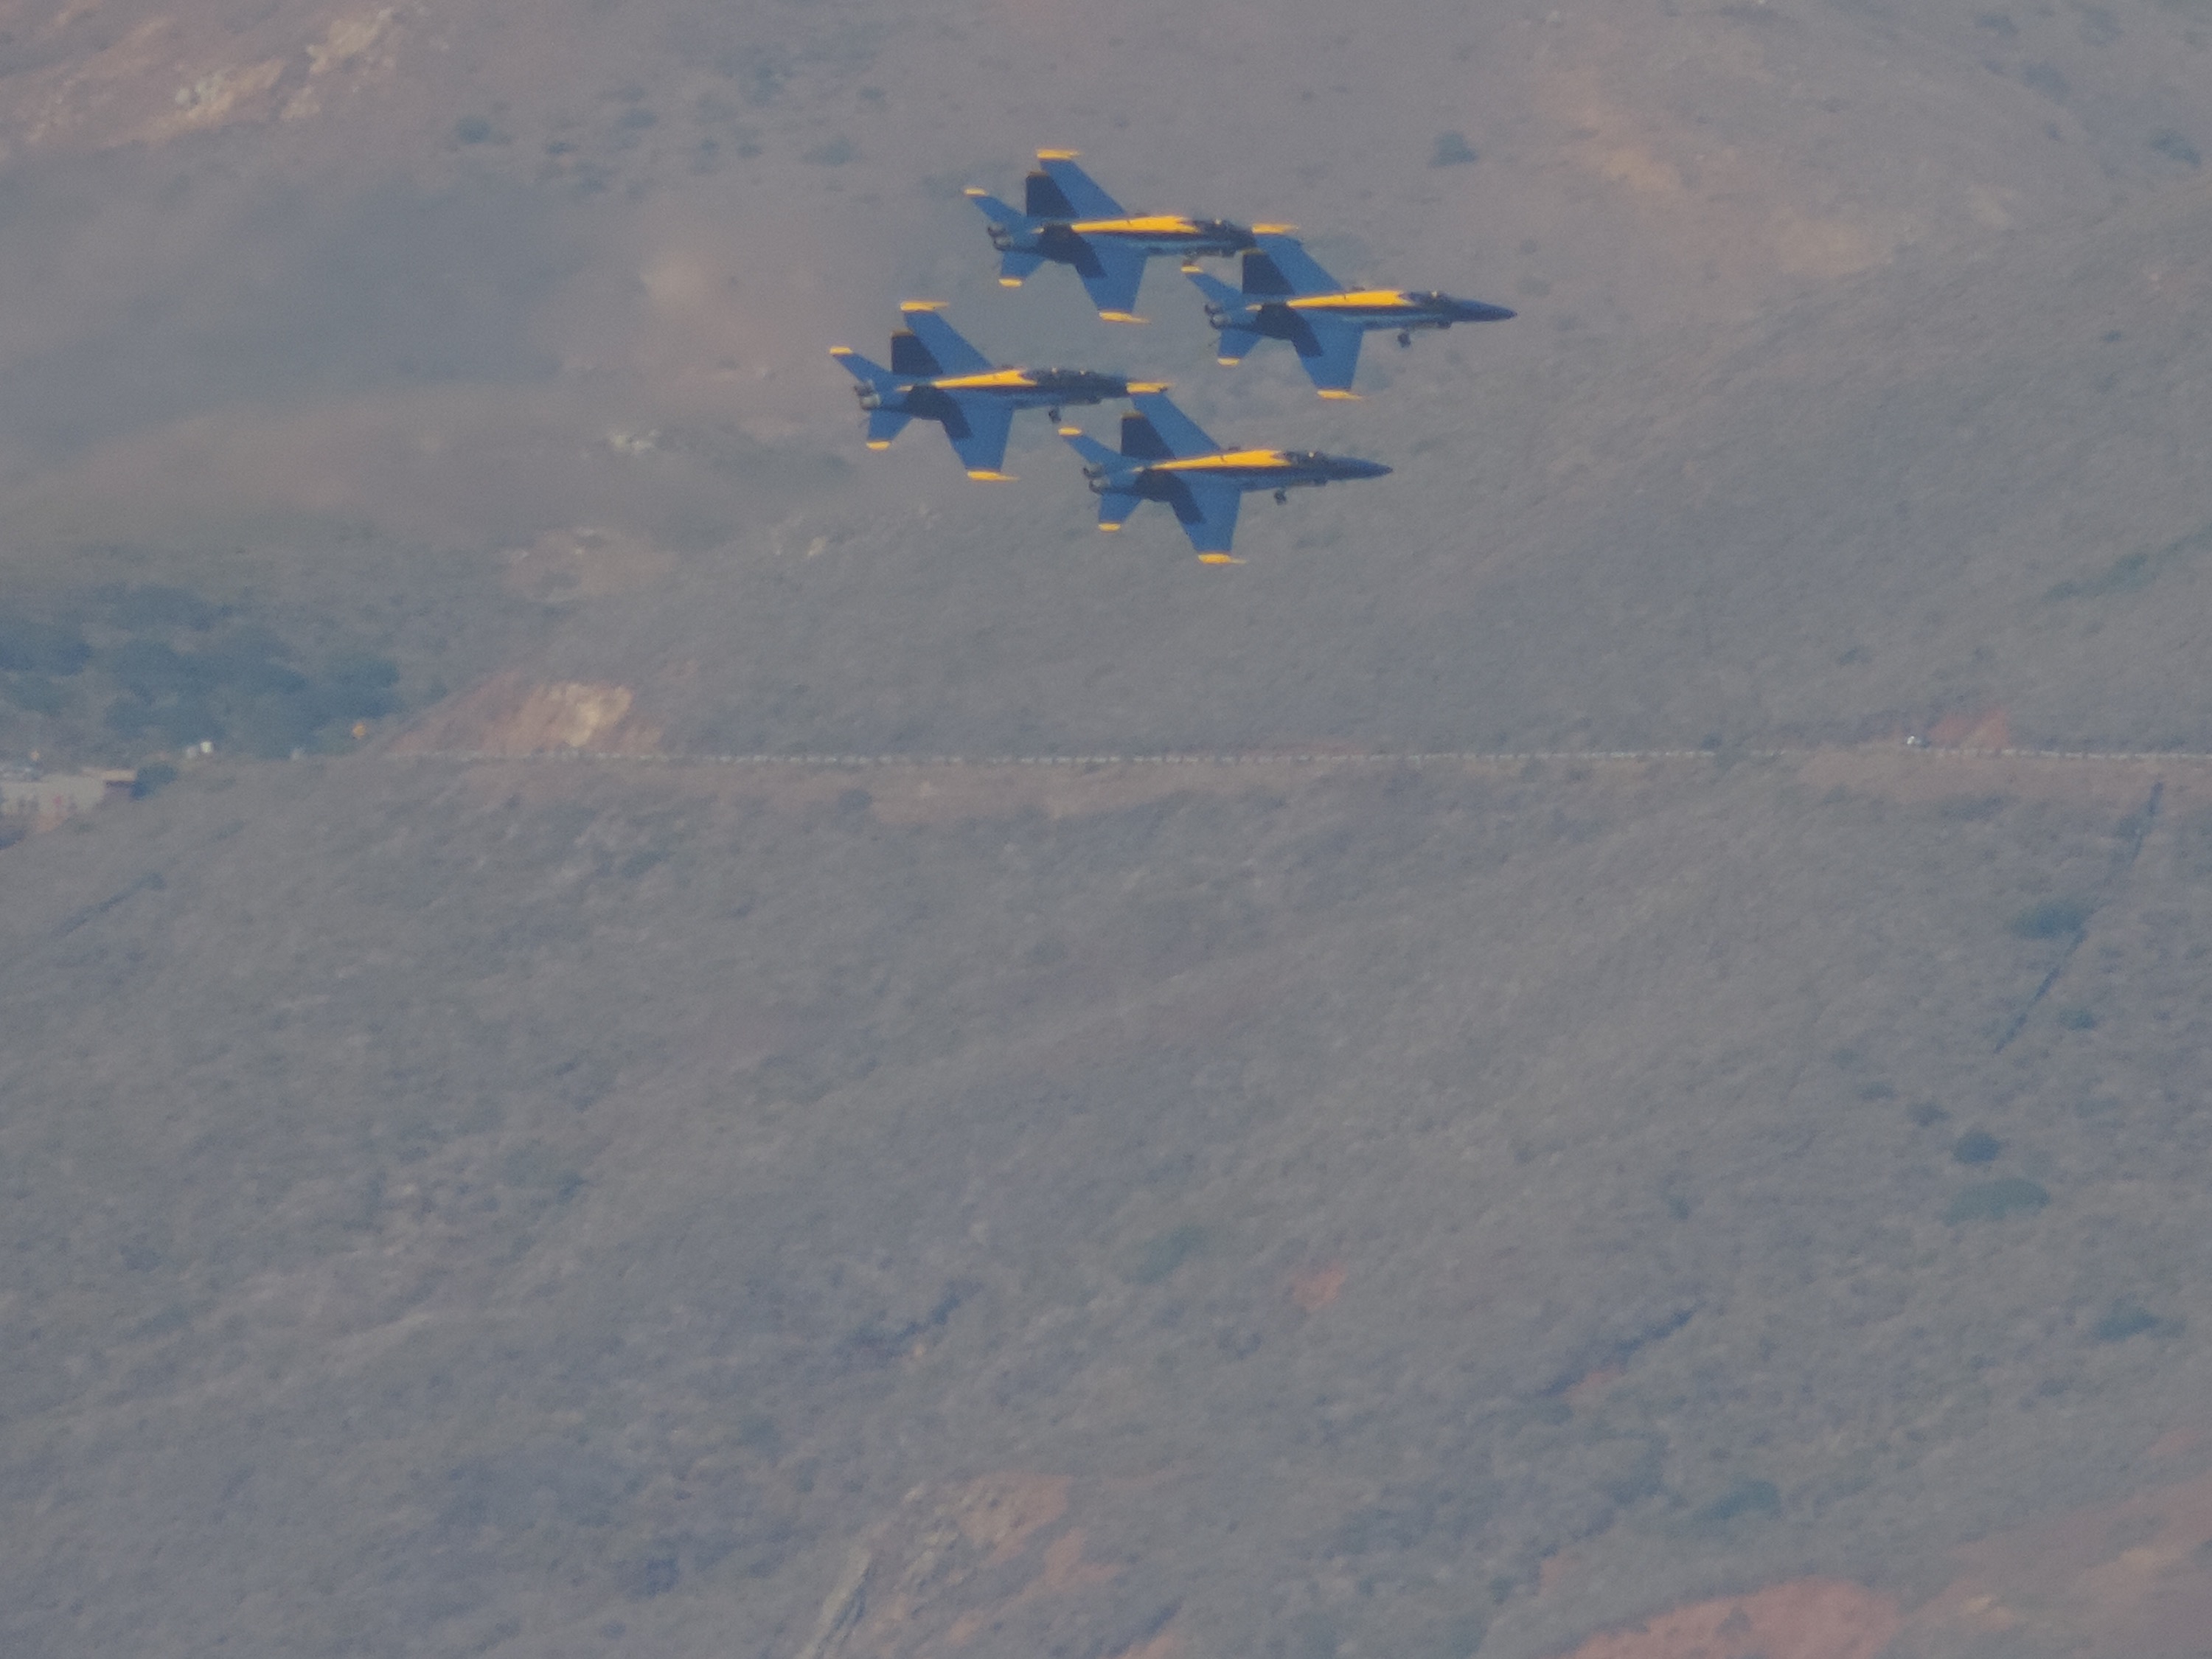
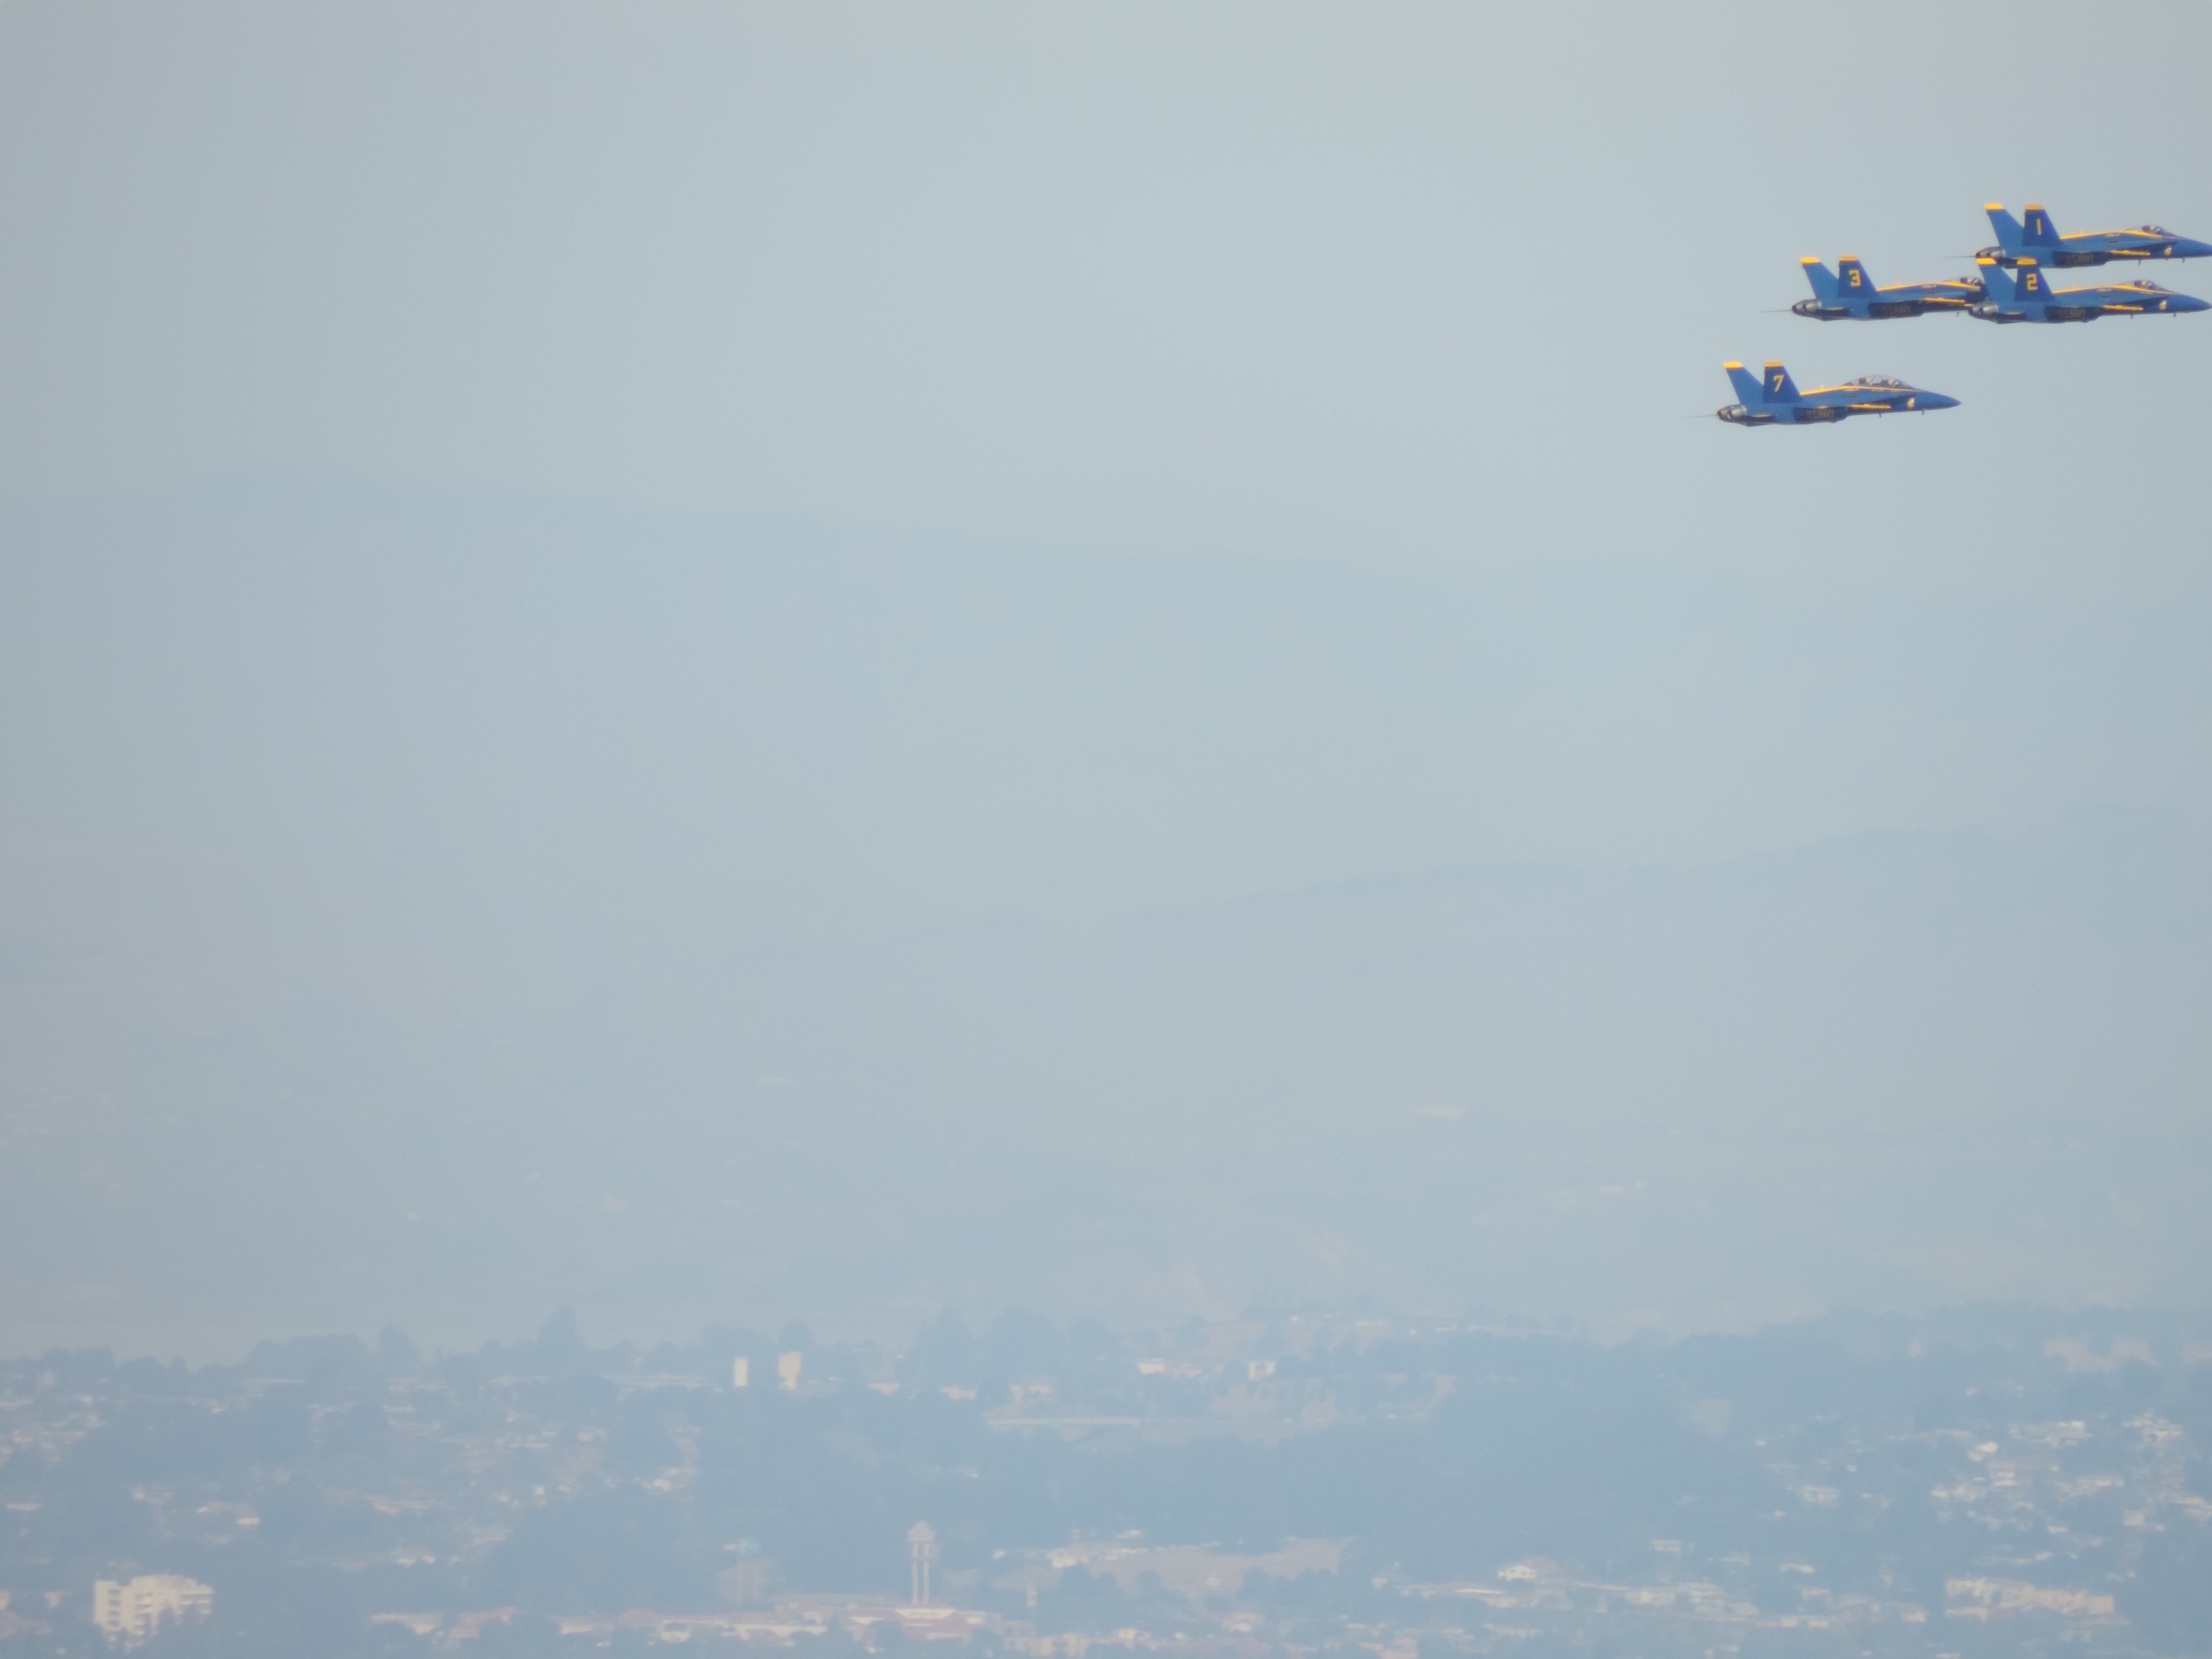
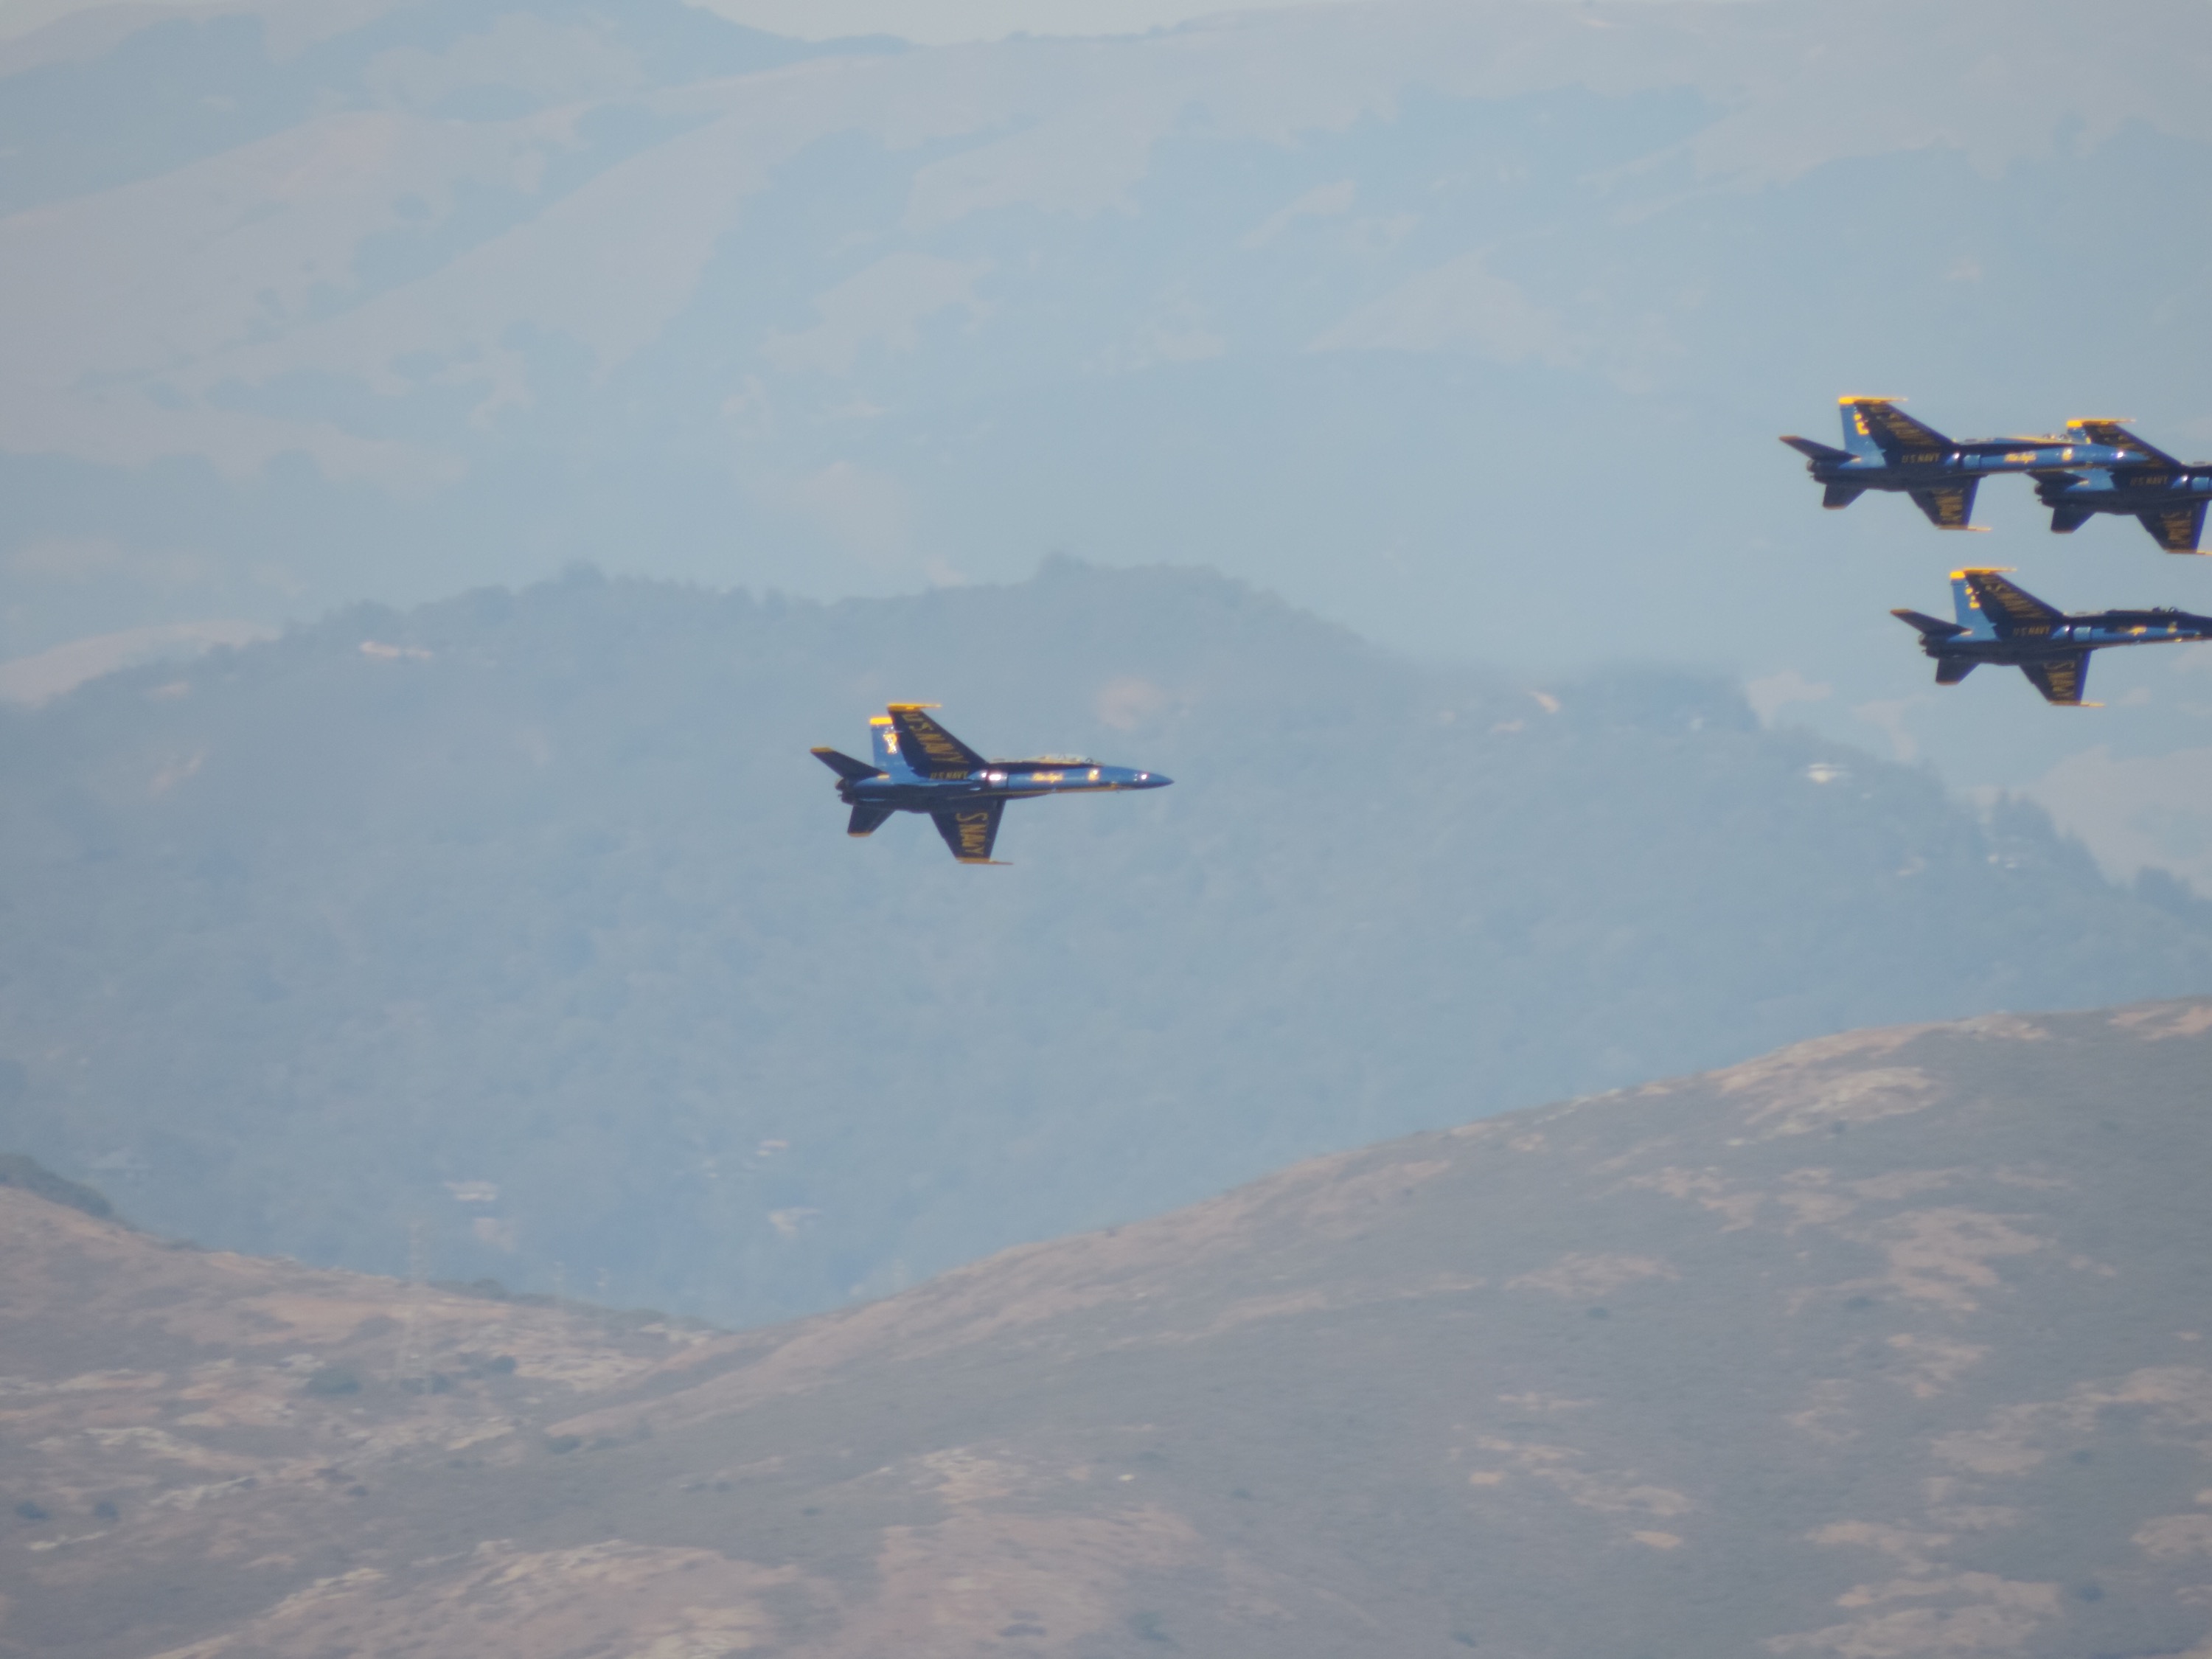
Last week was Fleet Week in San Francisco. Allen lucked out and had an amazing view from the tower. He saw them practicing Thursday then watched the whole show on Friday from level 6 on Sutro! Here’s some pictures he took…
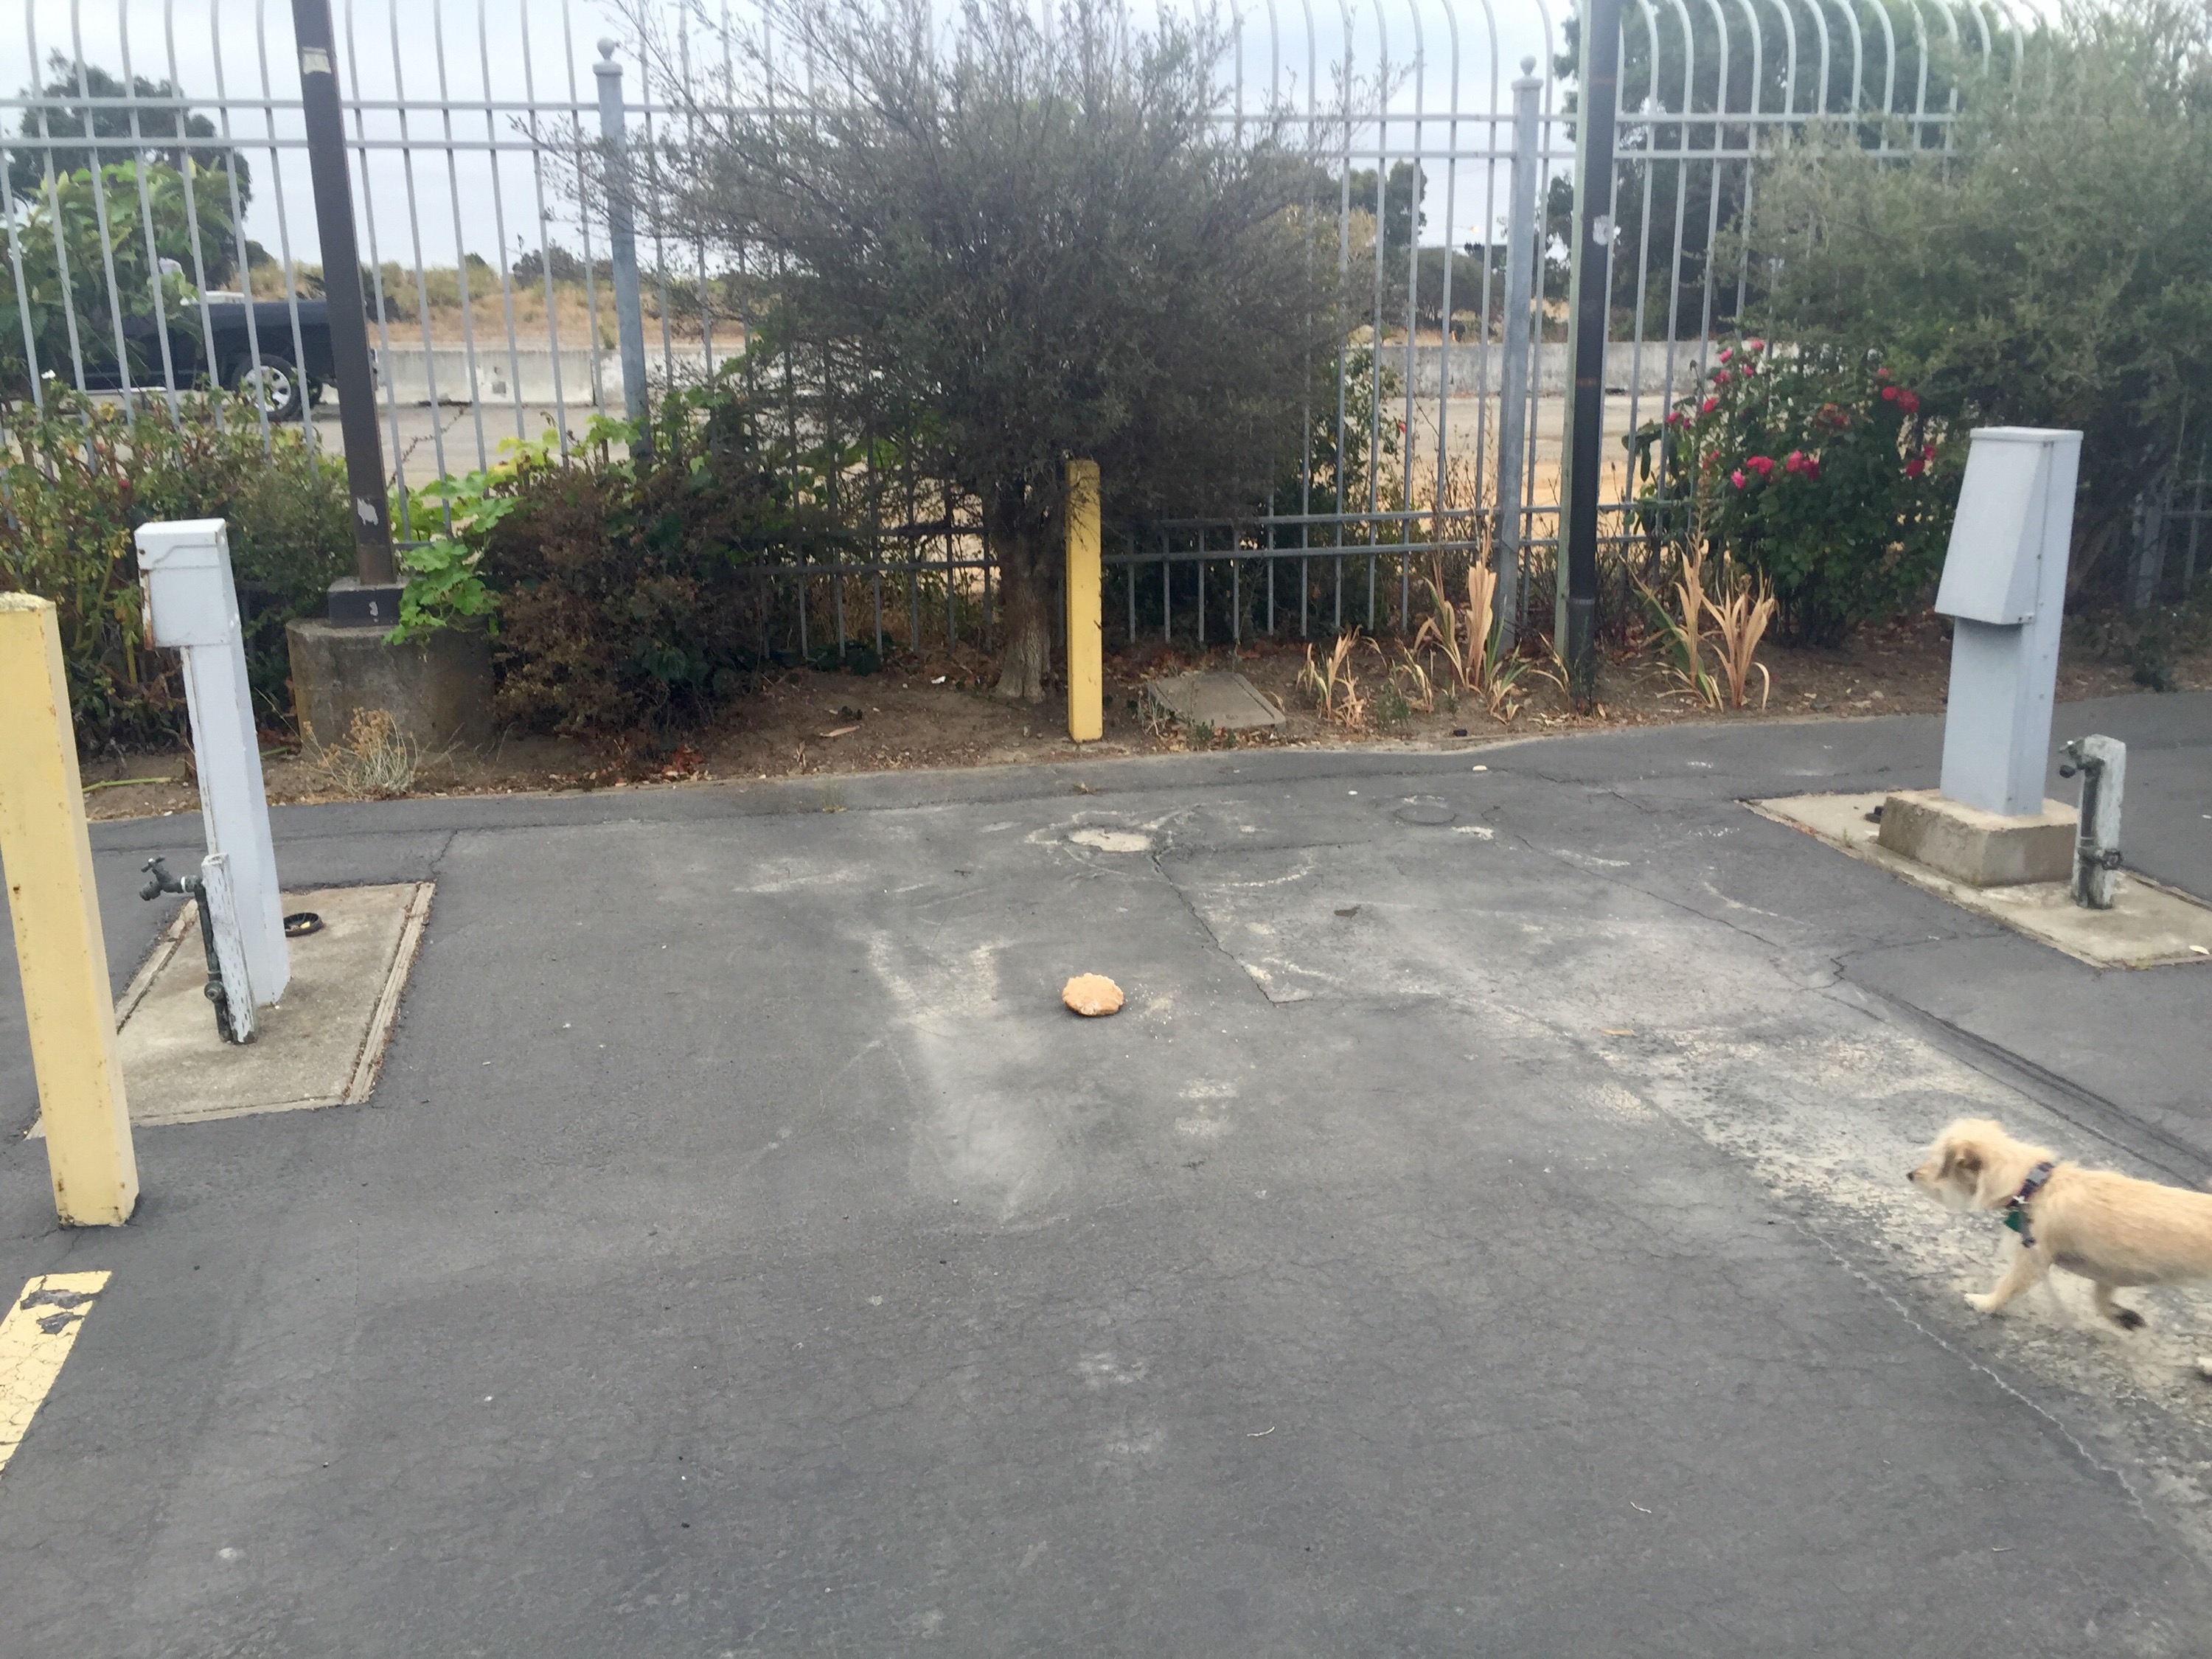
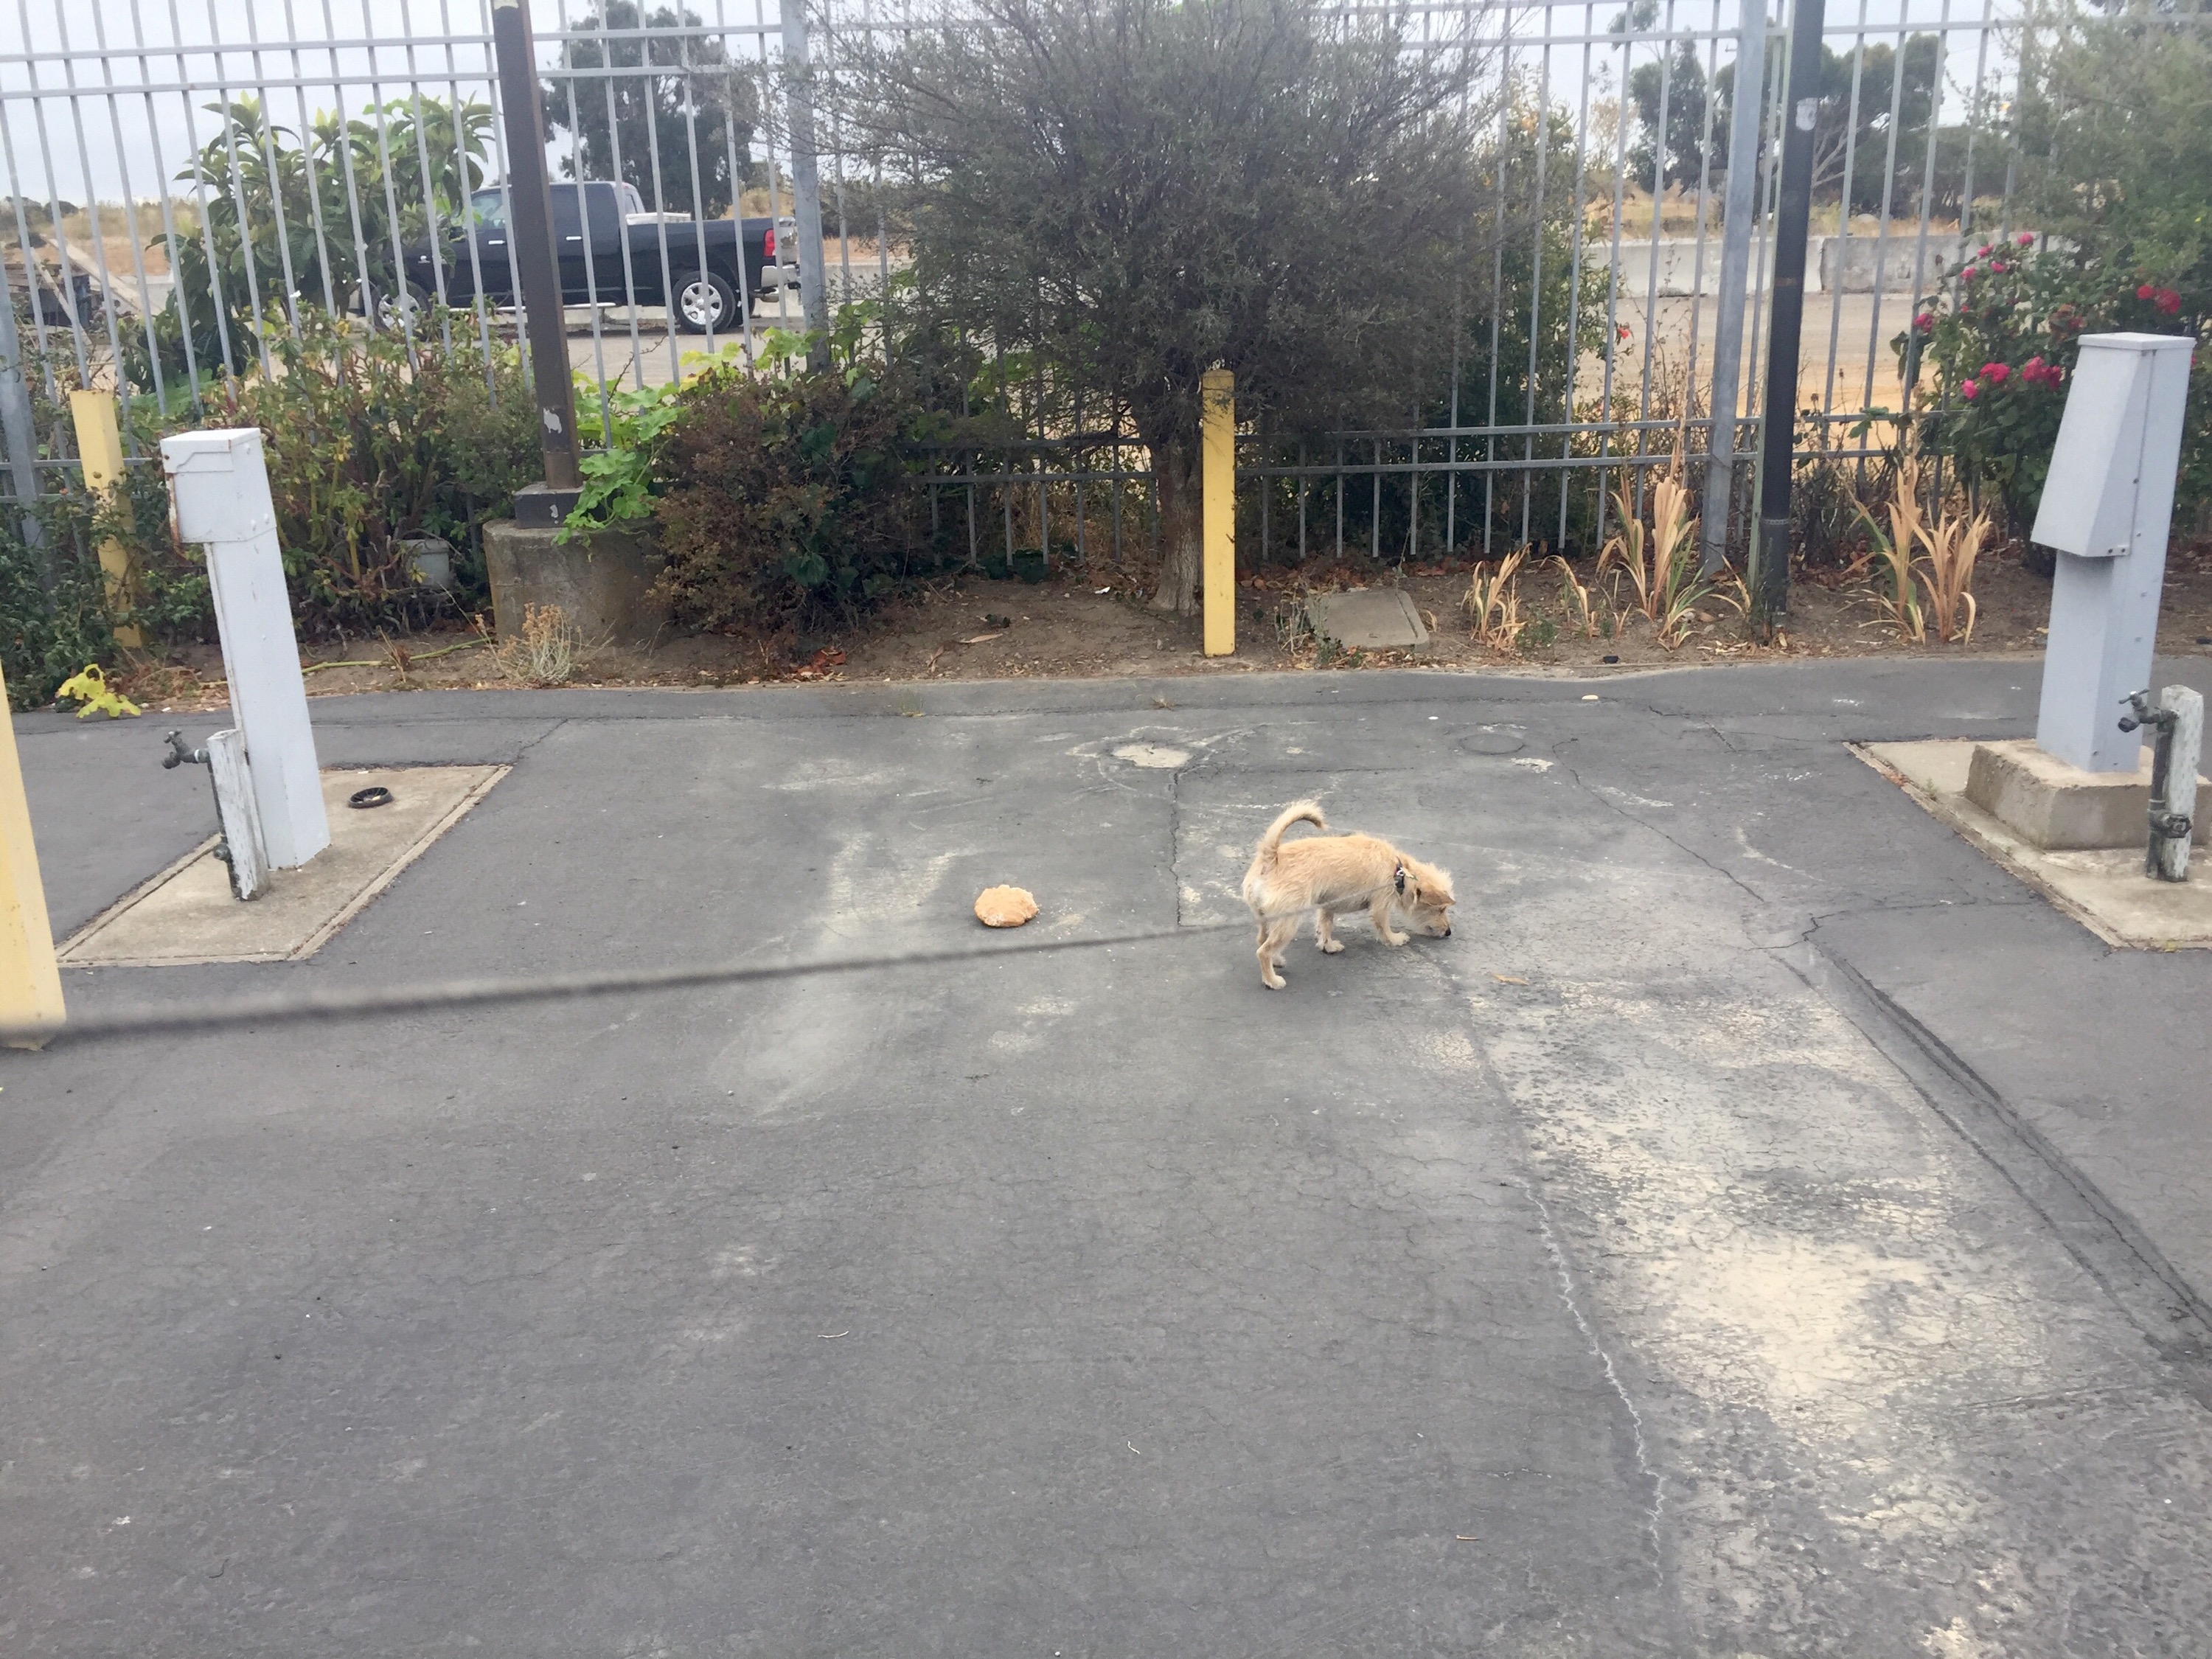
 Saturday he was off work so we took Charlie on a long walk over in Candlestick Recreation Area (right next door to the campground).

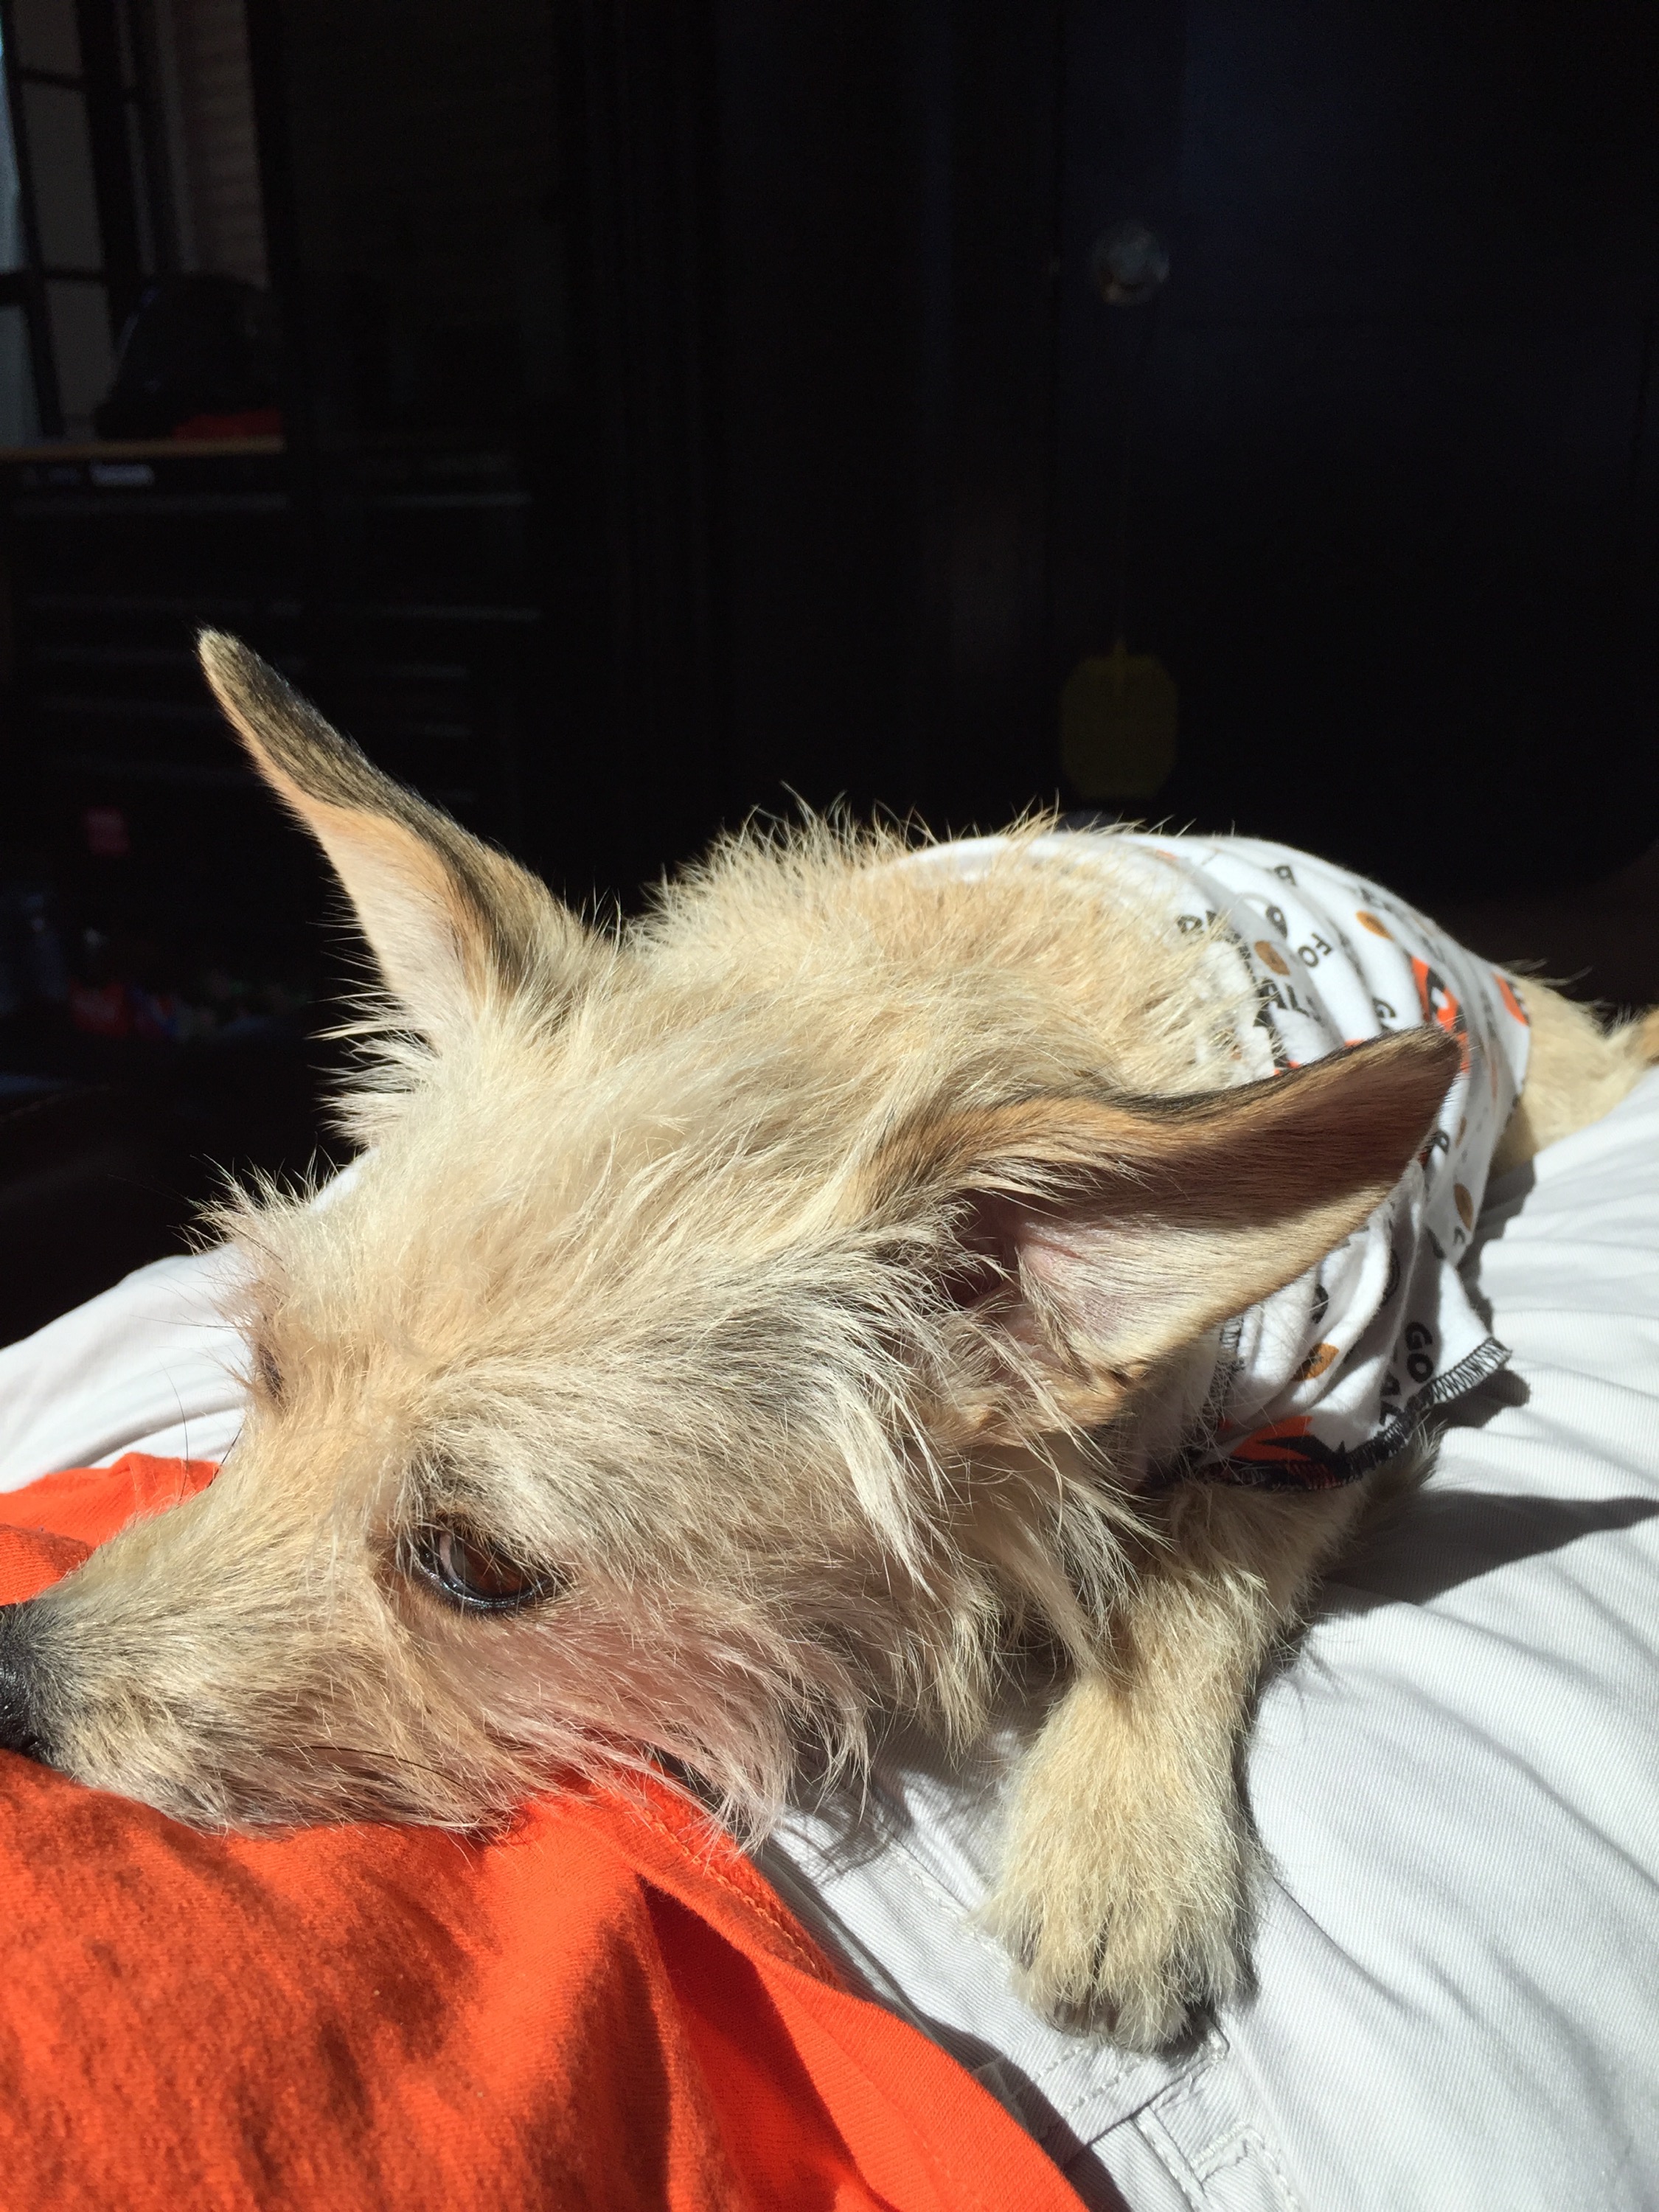
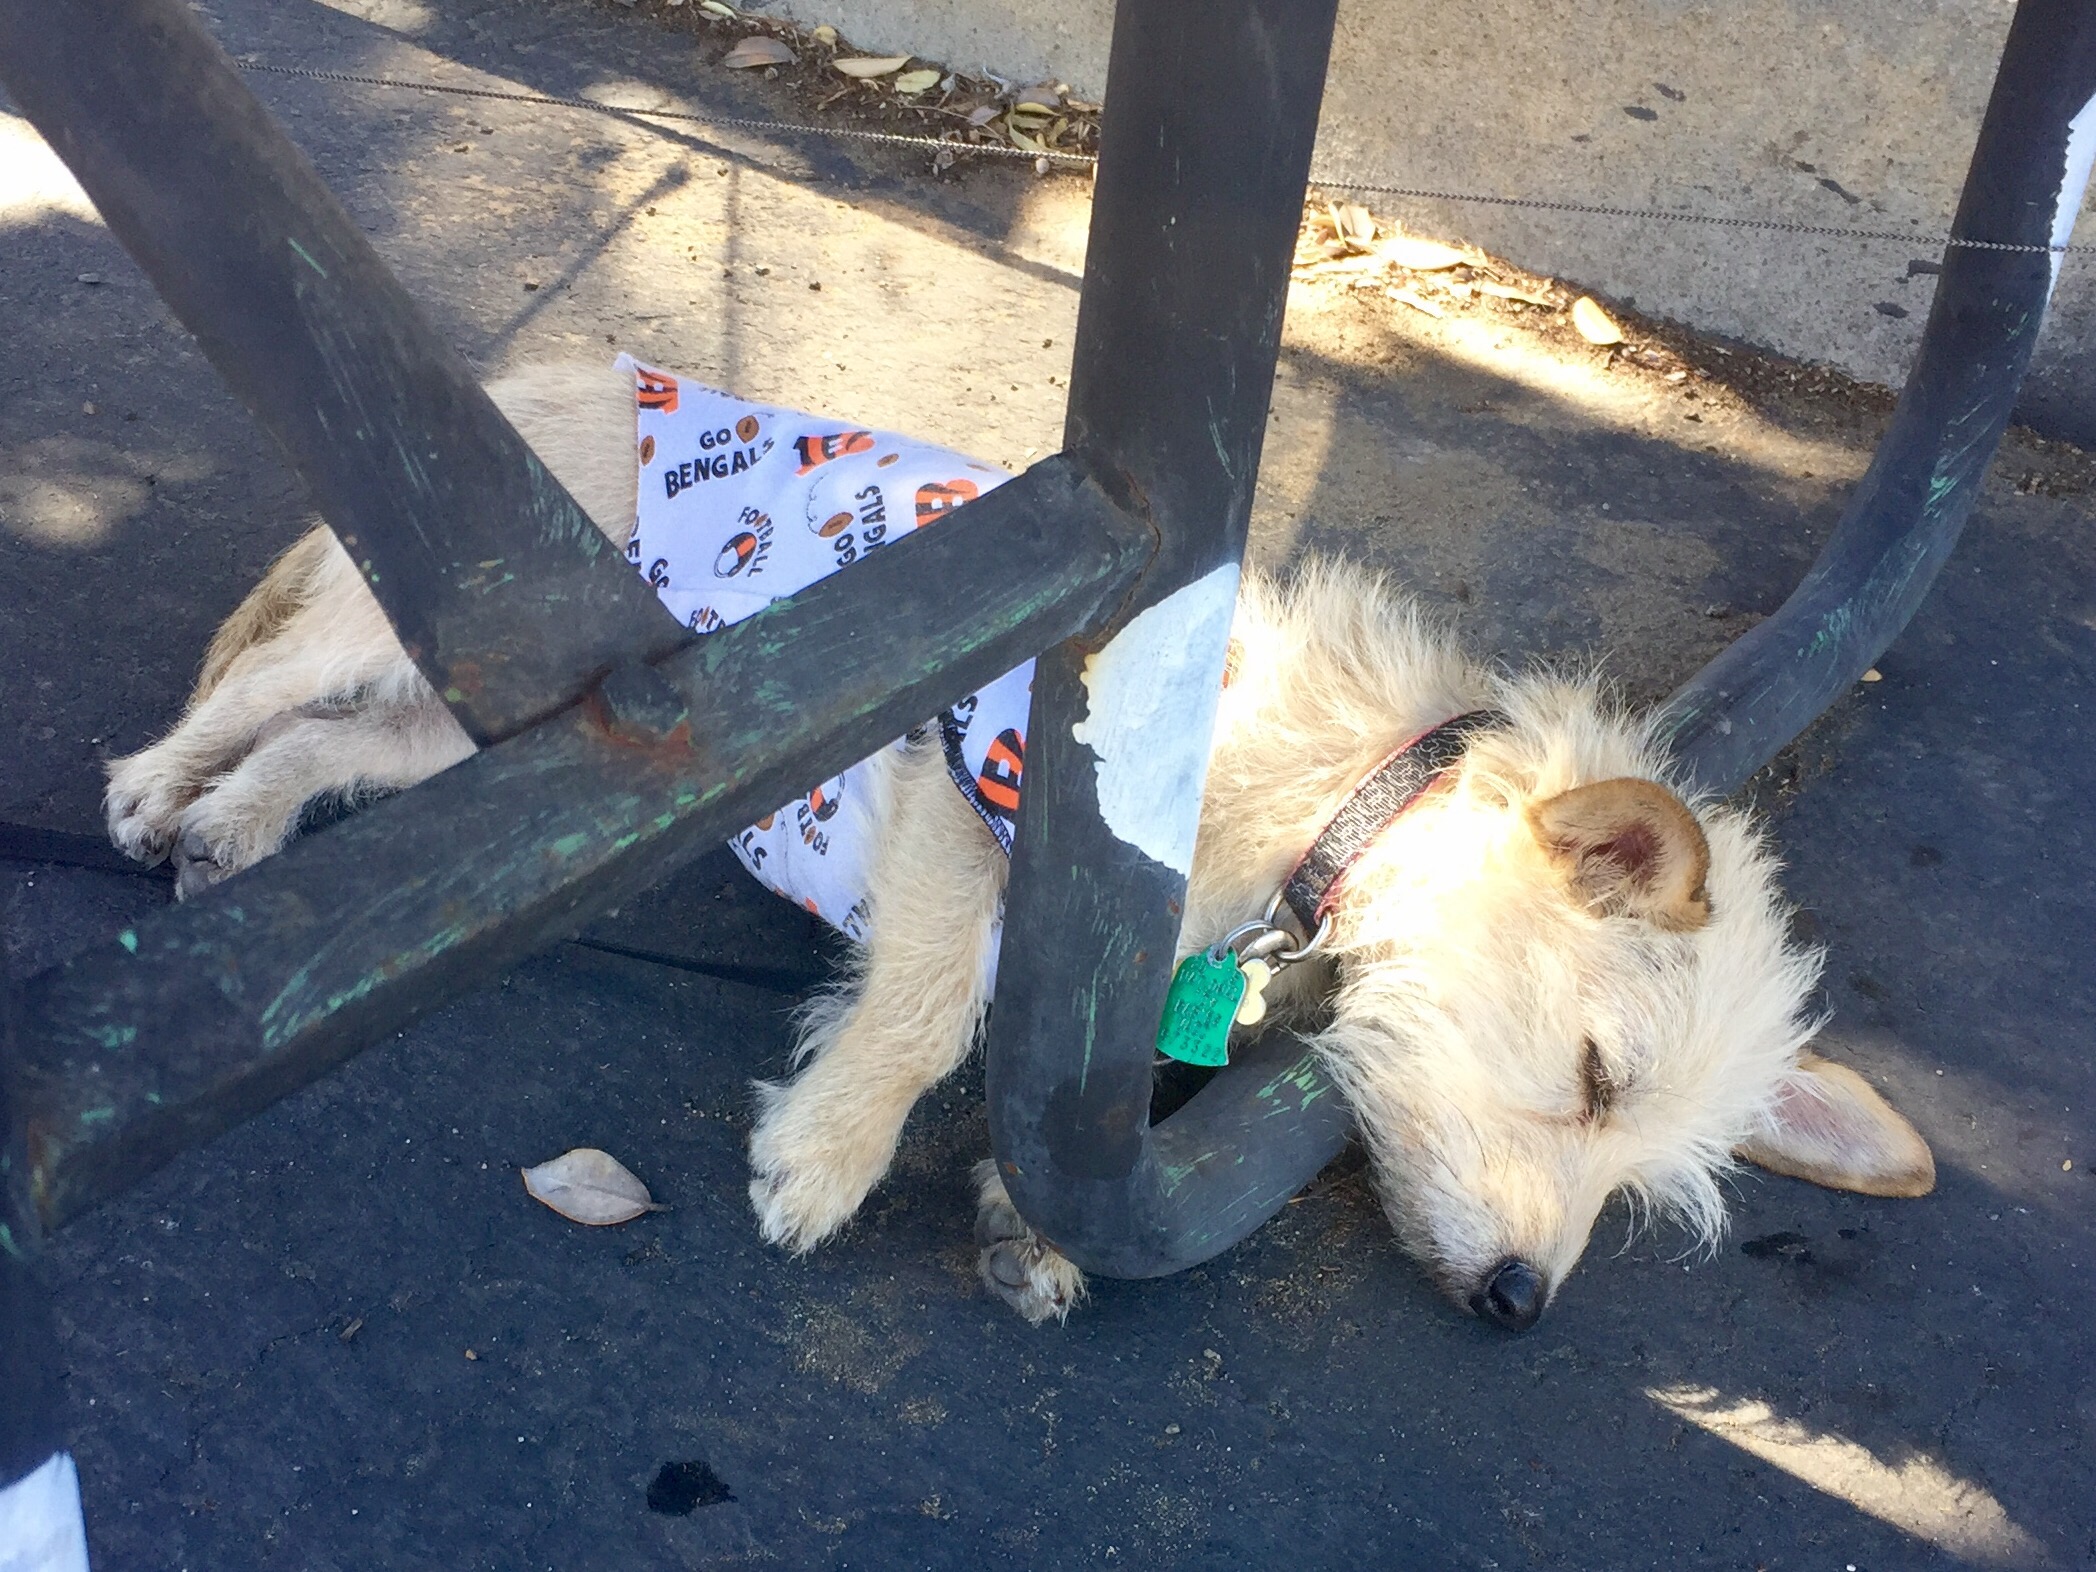
we took a break after about a mile so Charlie could rest her little legs
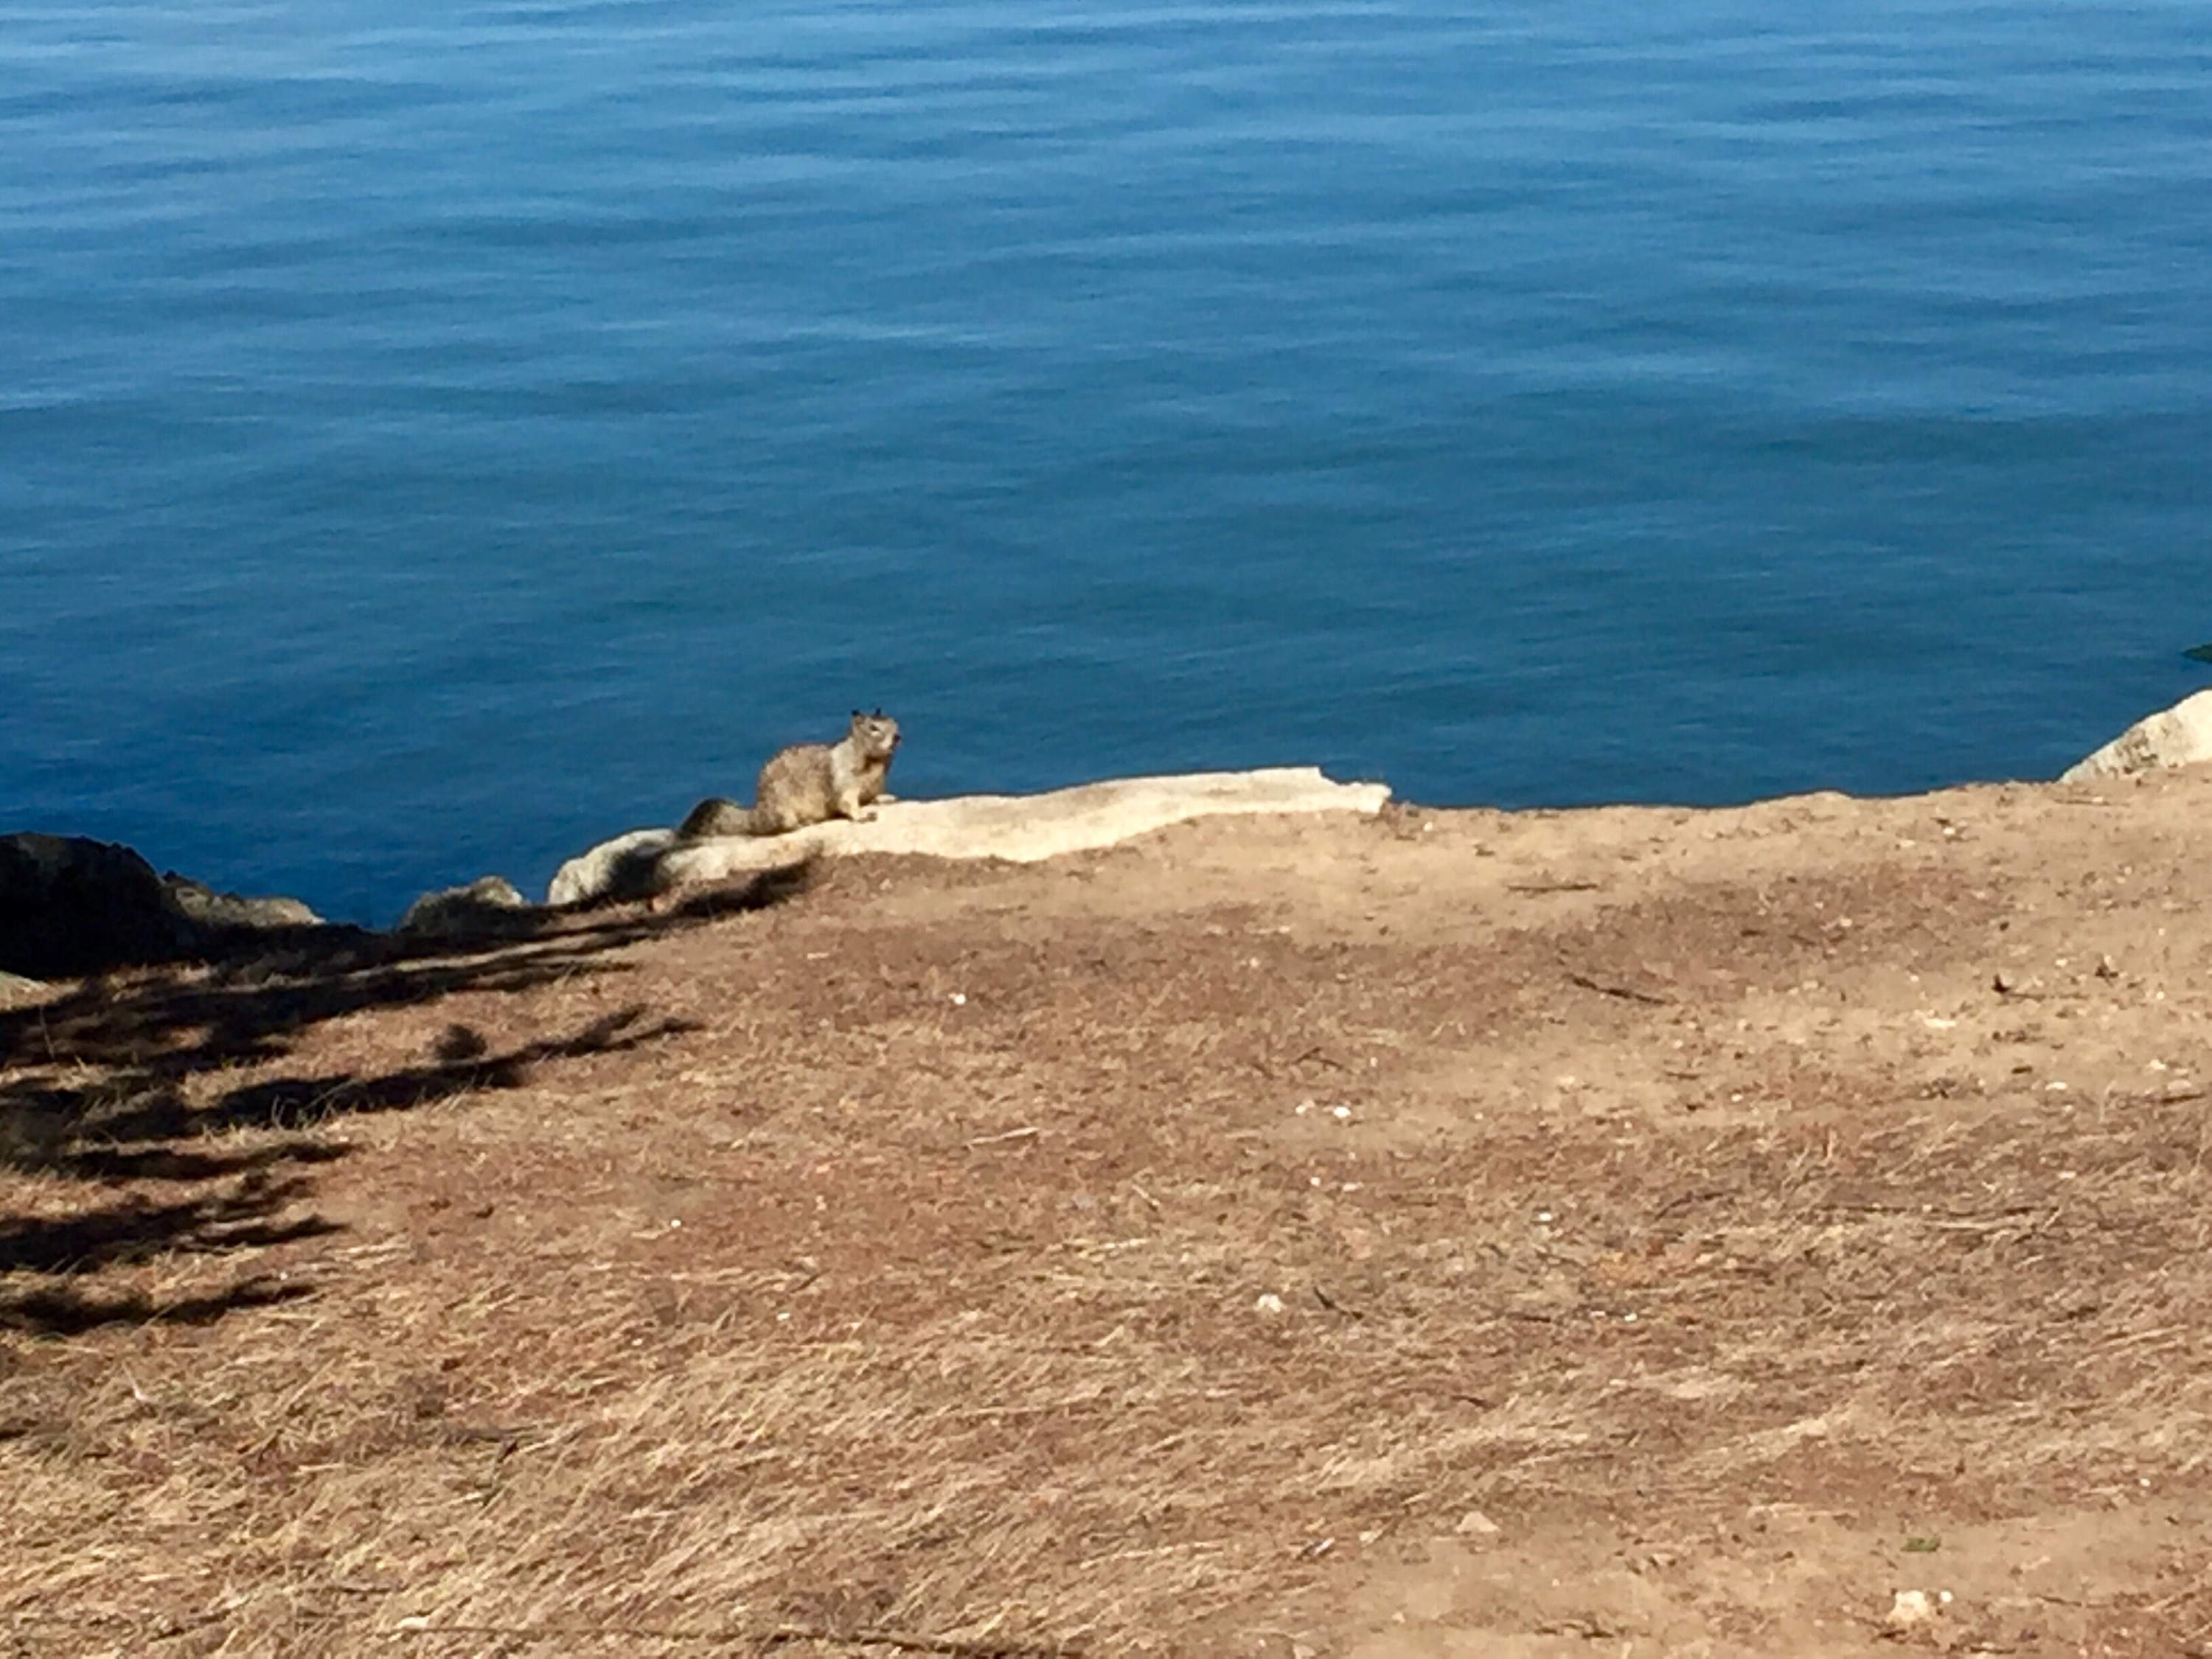
there are ground squirrels all over at the park and Charlie tries to chase them into their holes
Then we headed down to the Wharf to watch the Blue Angels from the ground. We lucked out and found a good spot at the end of an alley. Very neat! I didn’t try to get any photos, they were just TOO fast!
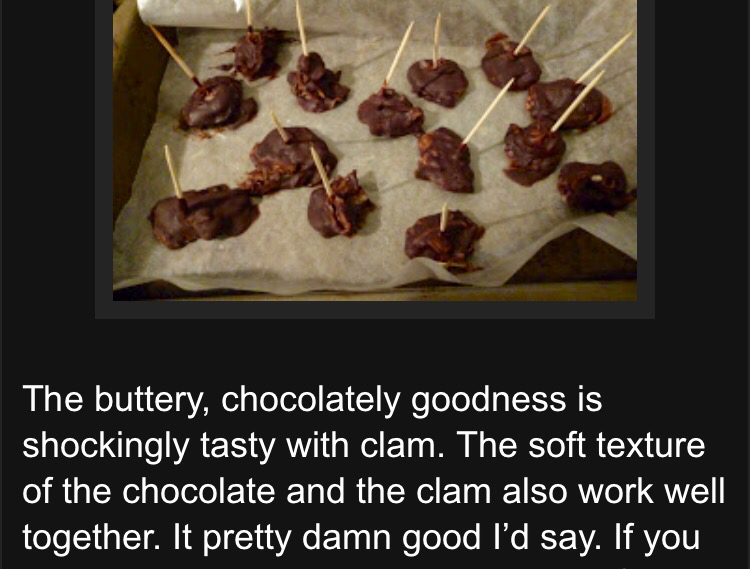
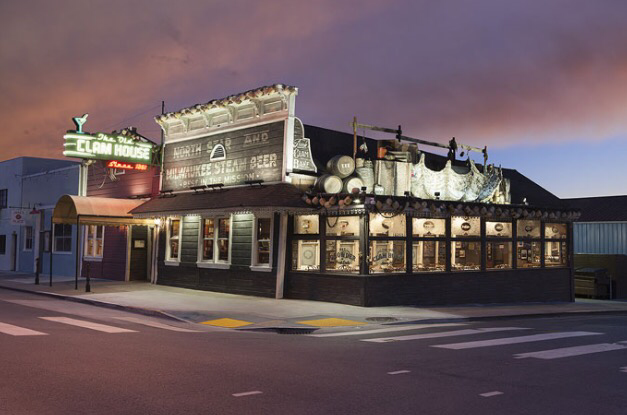
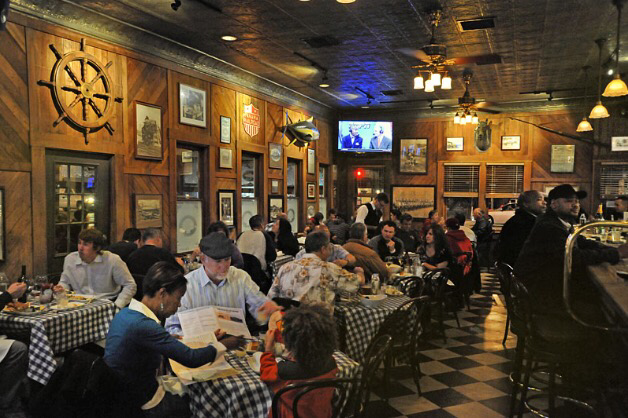
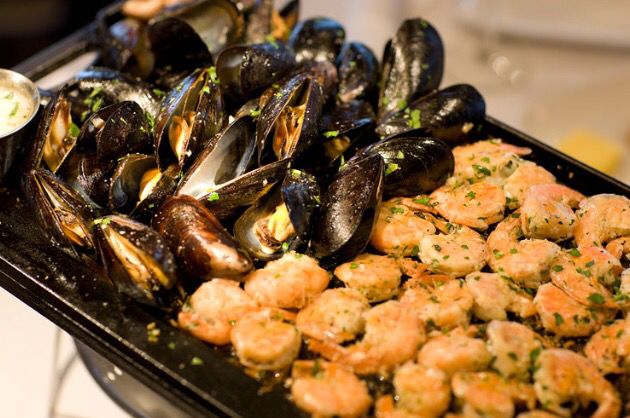
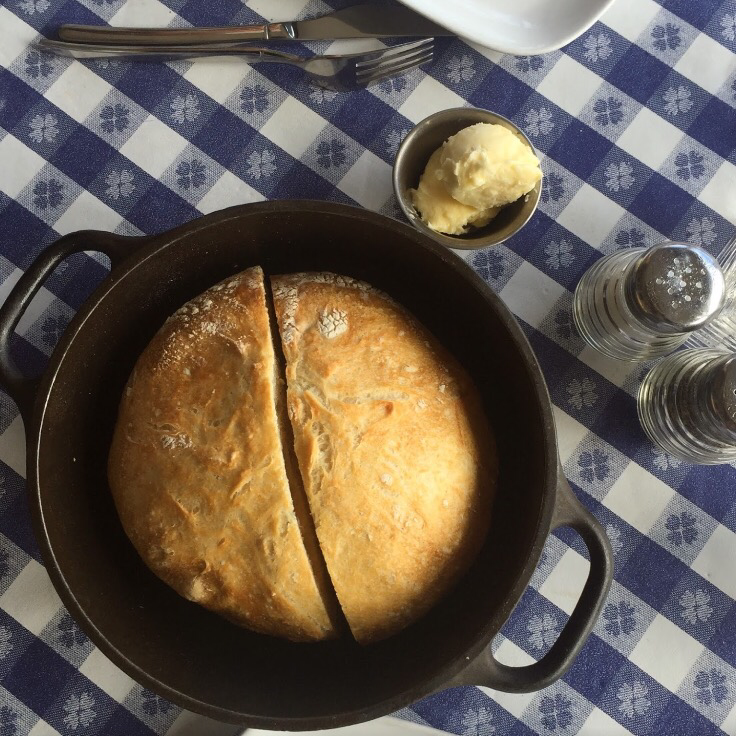
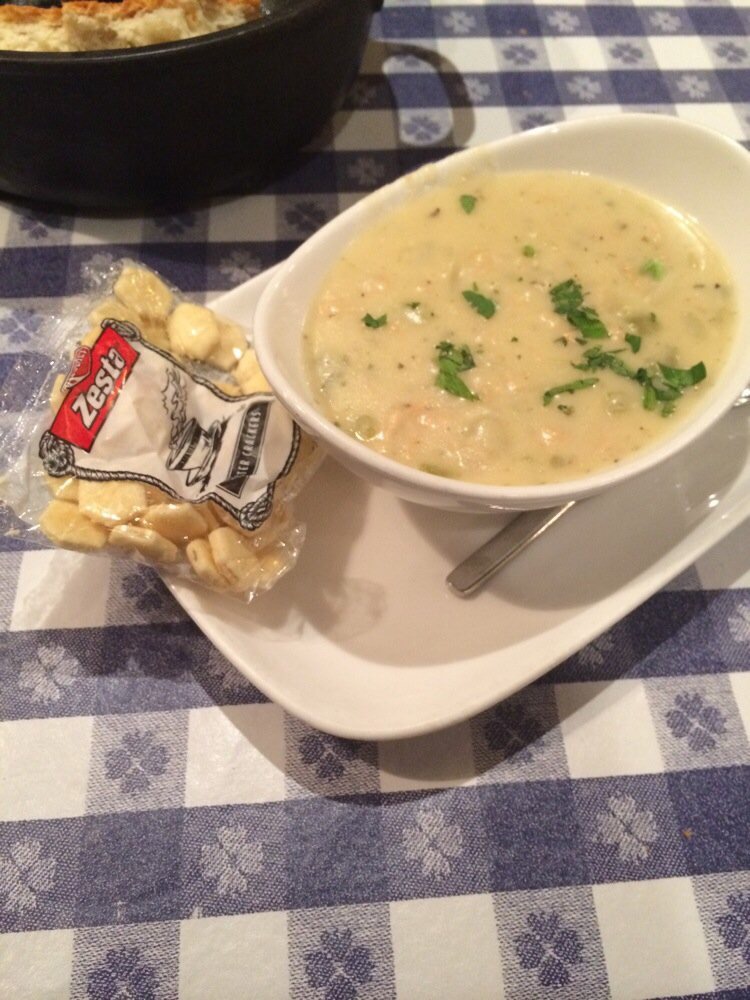
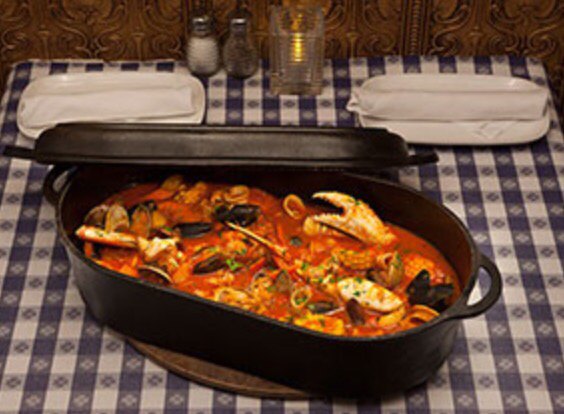
After the show we went to Fog Harbor Fish House on Pier 39. I thought it was going to be better than it was. We had calamari and clam chowder (not nearly as delicious as The Old Clam House). Then I got the Mixed Grill (shrimp, swordfish and salmon), and Allen ordered the Wild Alaskan King Salmon. It had a super disgusting taste to it, almost like propane even though I’ve never tasted propane… So he sent that back and got the Pacific Cod (that was much better). After that we were thoroughly stuffed and headed back home on the bike. Luckily we had a few blocks to walk off dinner 🙂

Mixed Grill
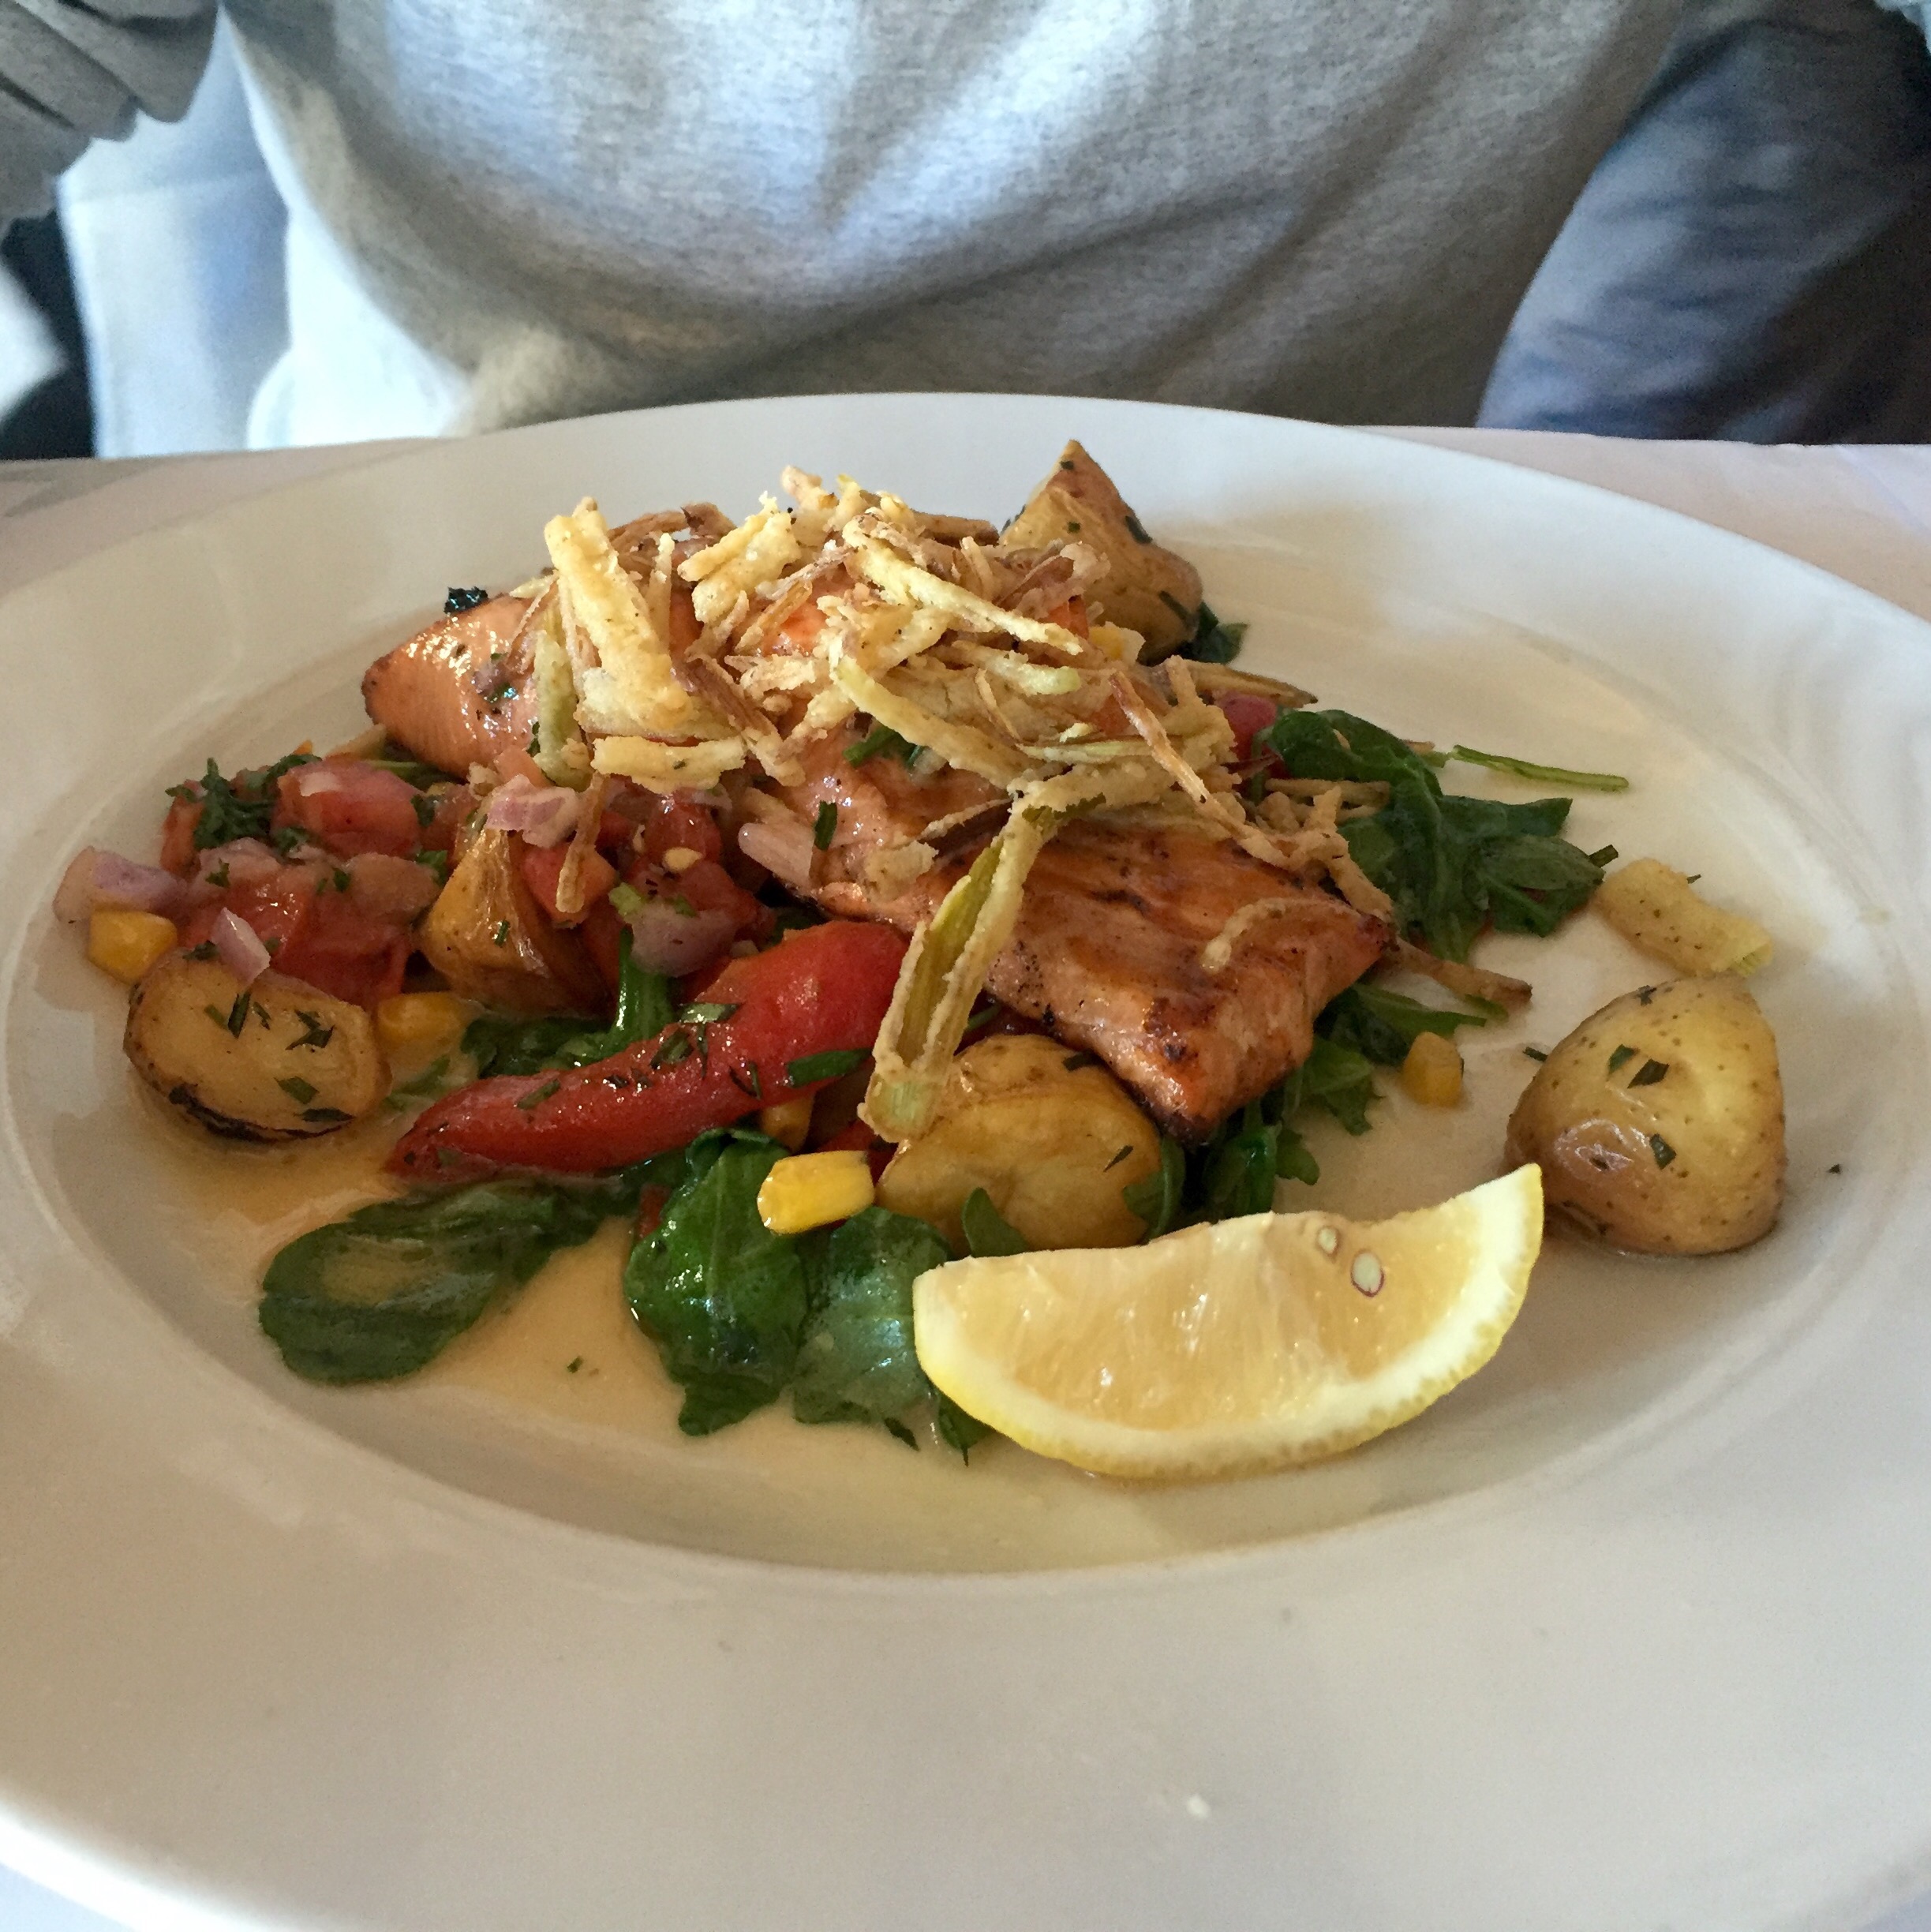
Alaskan King Salmon

Pacific Cod
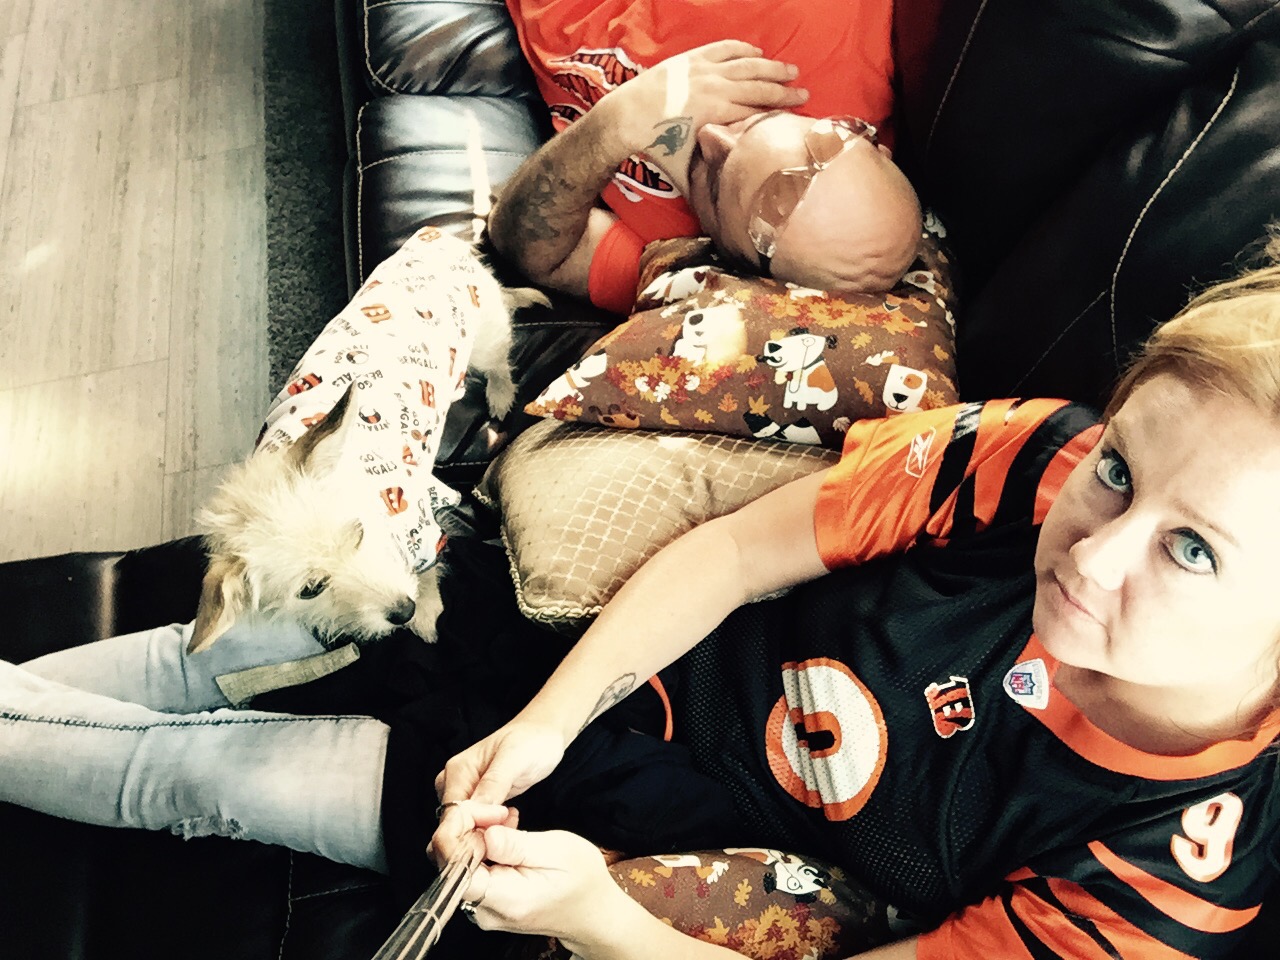
Sunday we watched the Bengals play a really close game against the Seahawks. And we got to stay home because it was actually on local tv!
5-0 now!
We wanted to put the valve in the jacks but there were campers parked where we needed to pull the truck to hook up the camper in order to do that… So that had to wait.
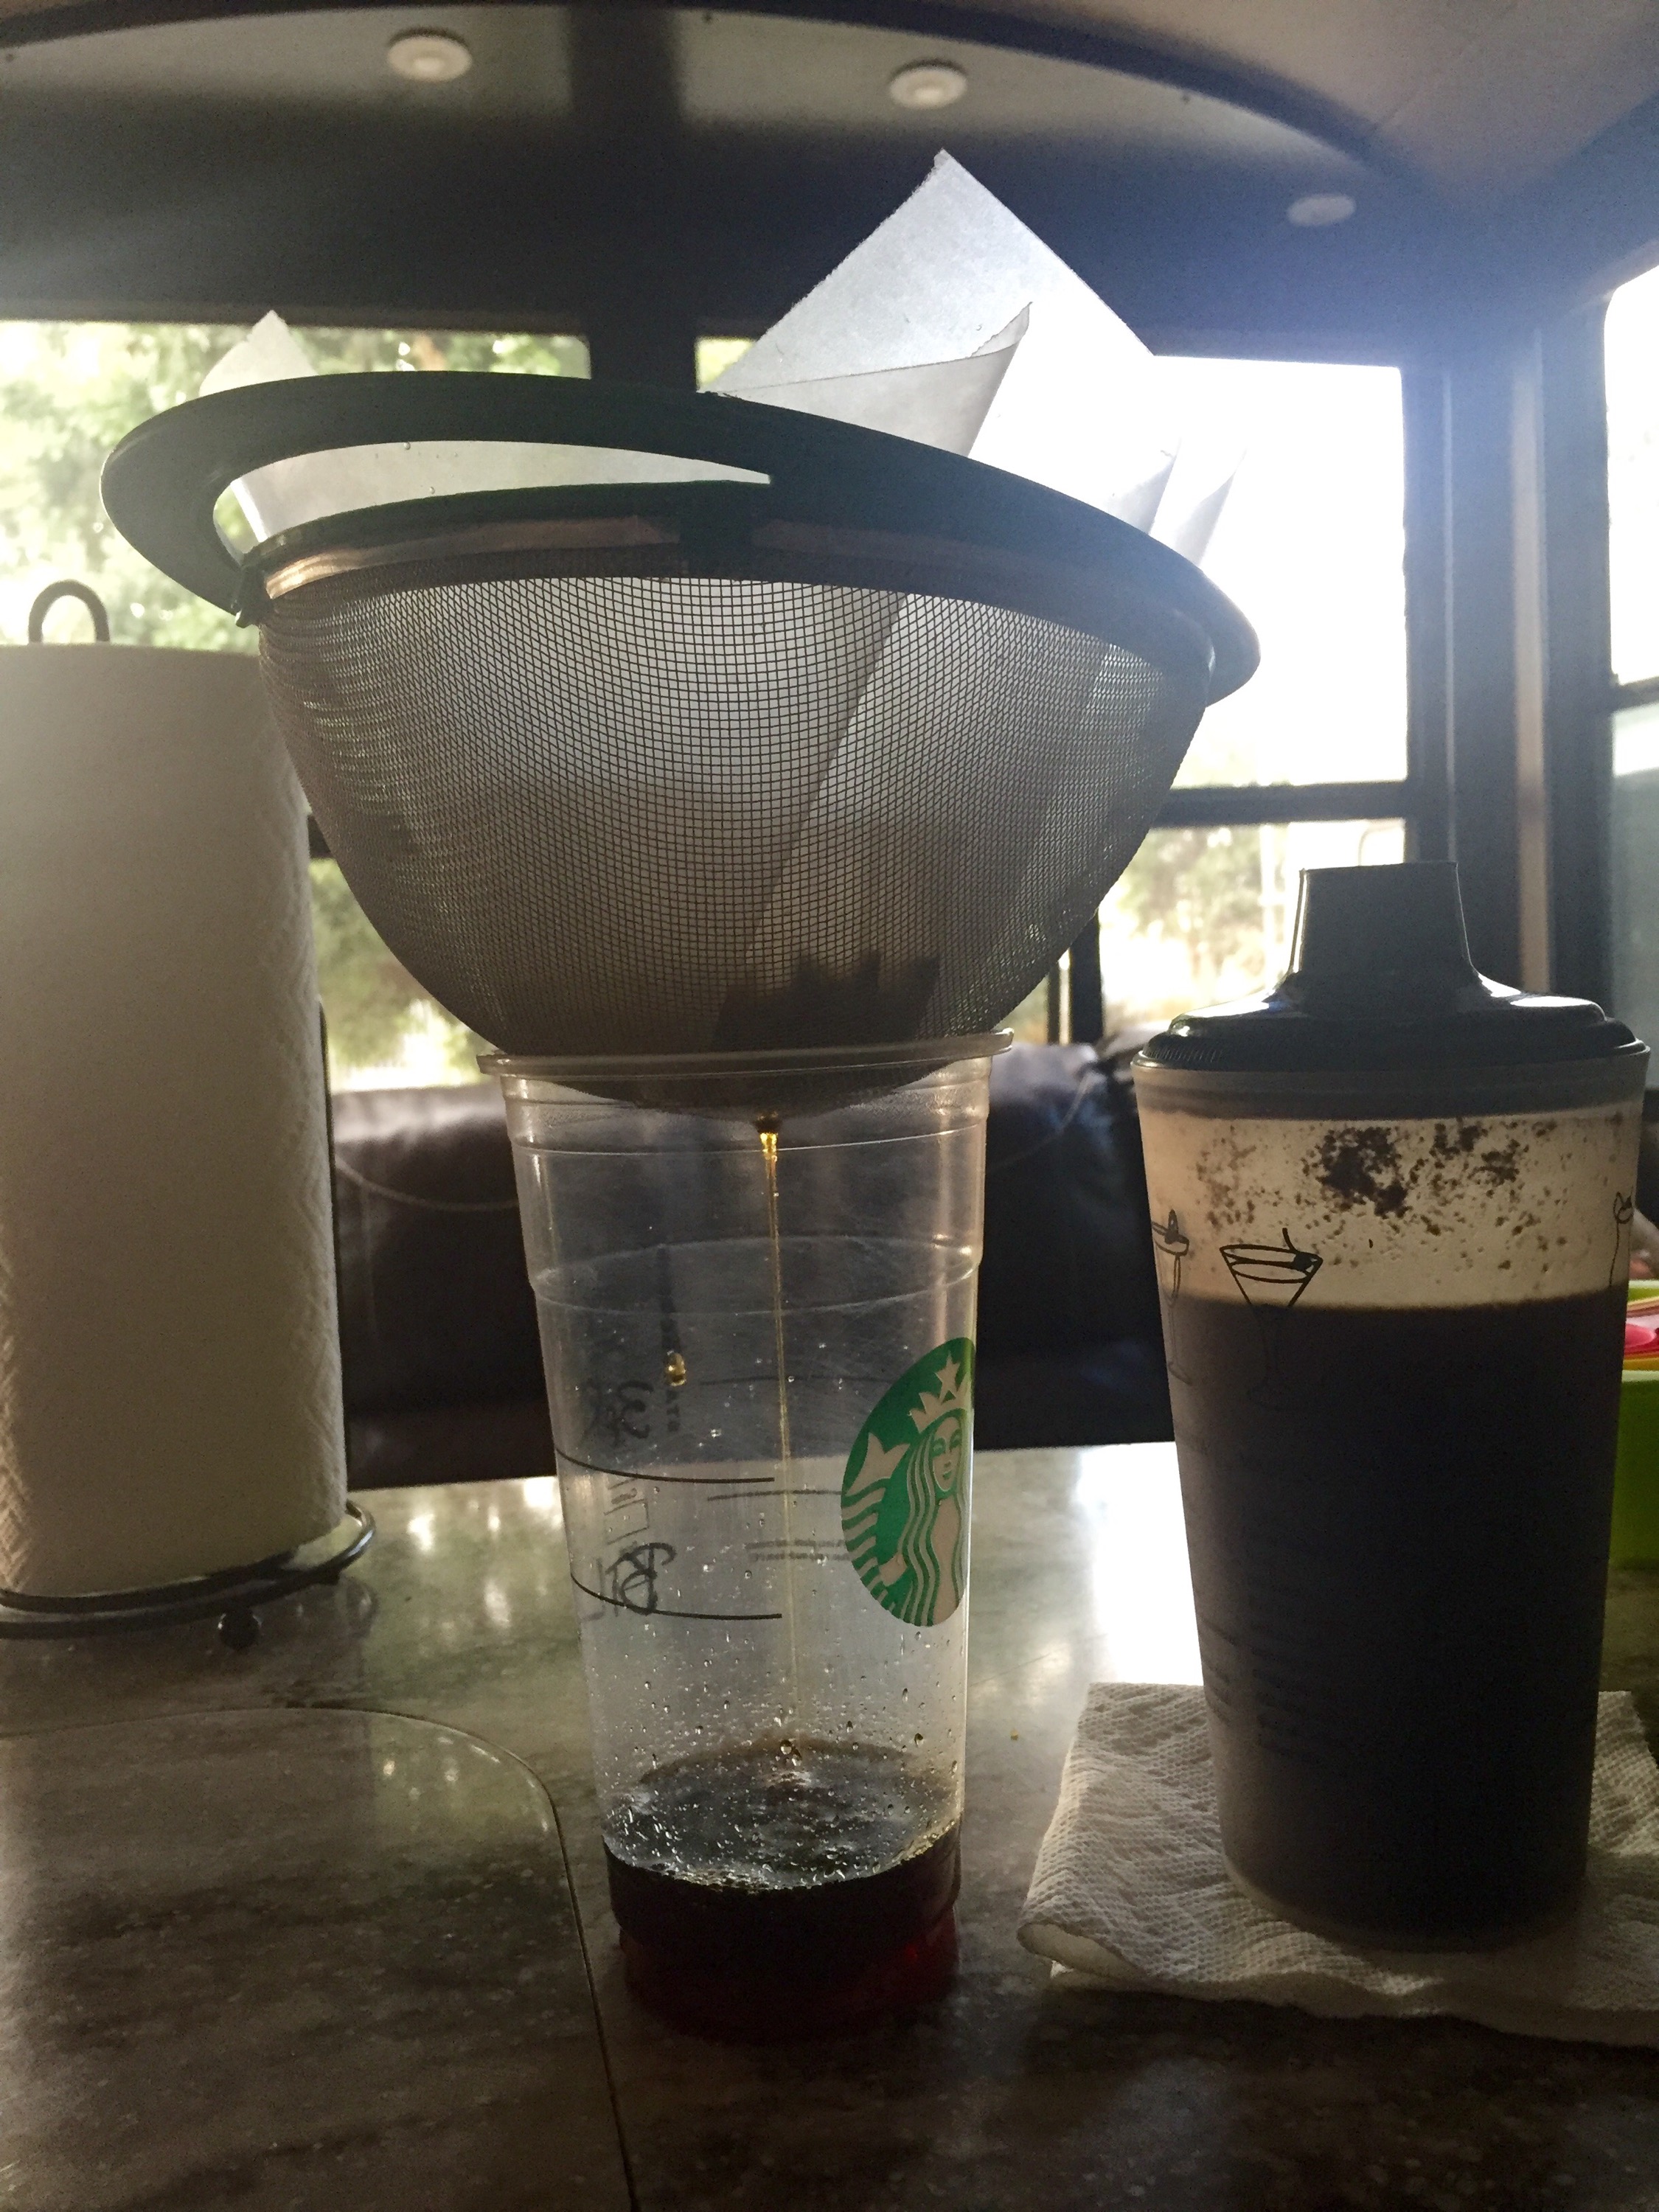
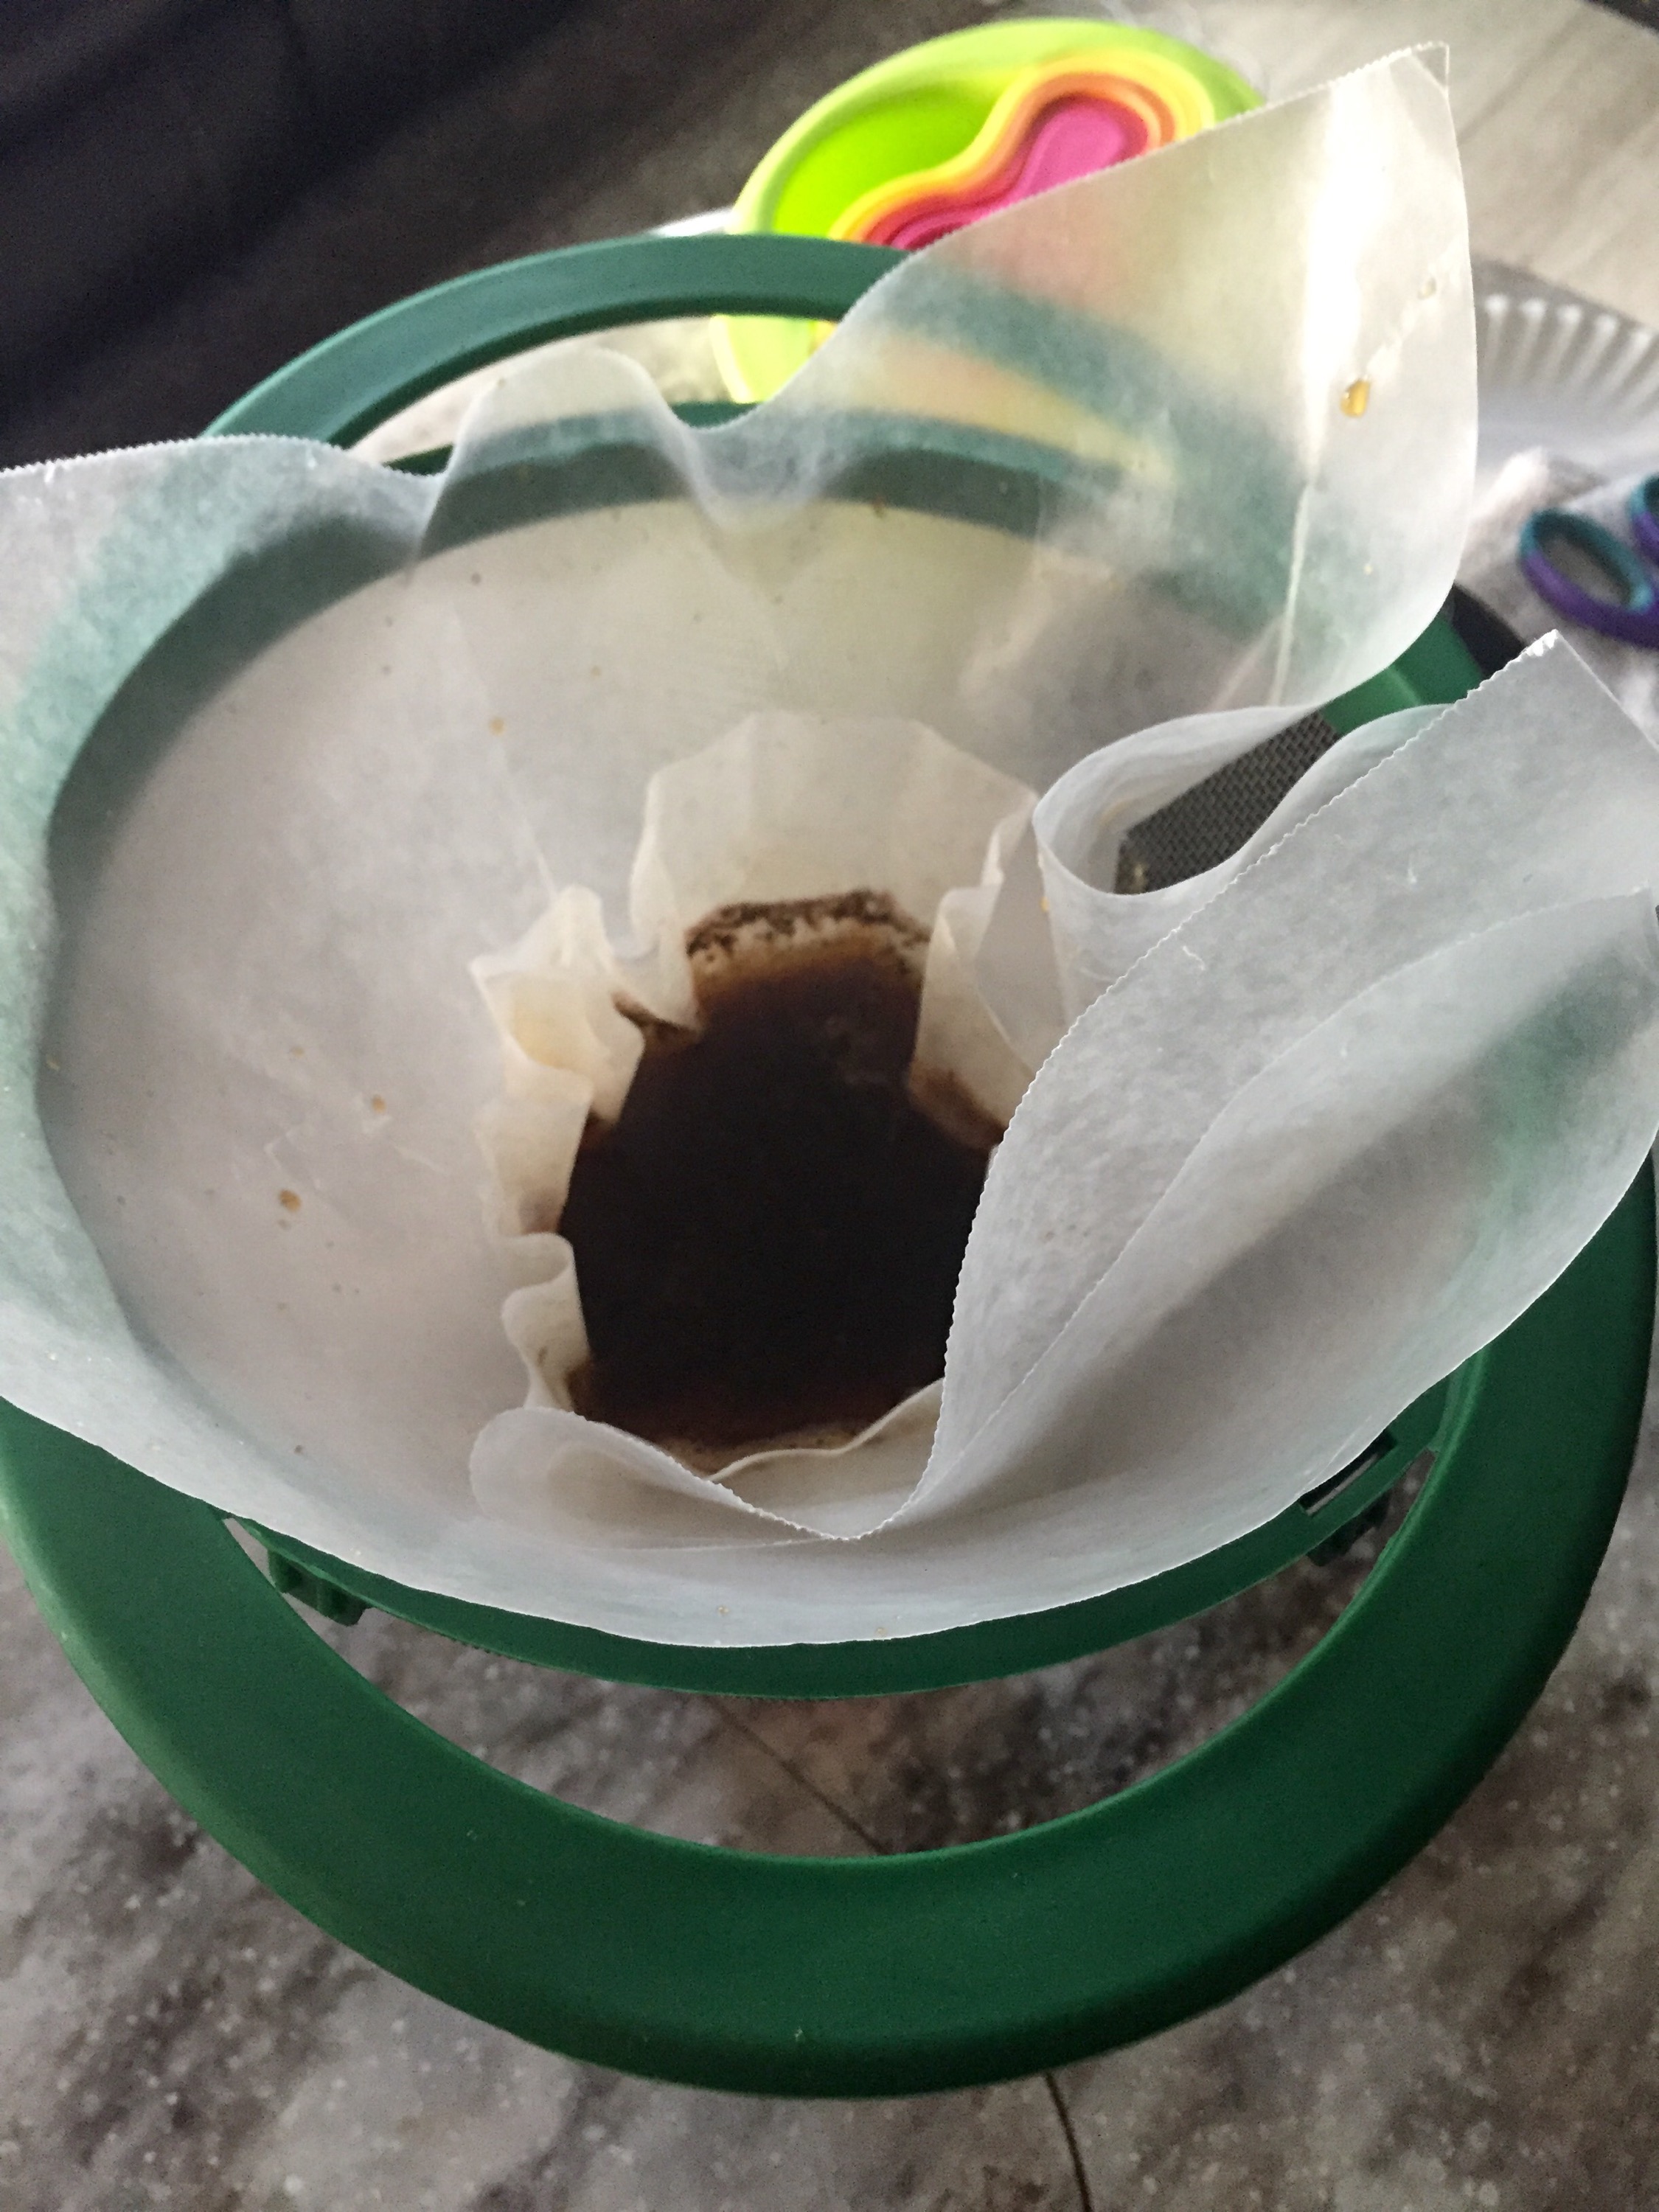
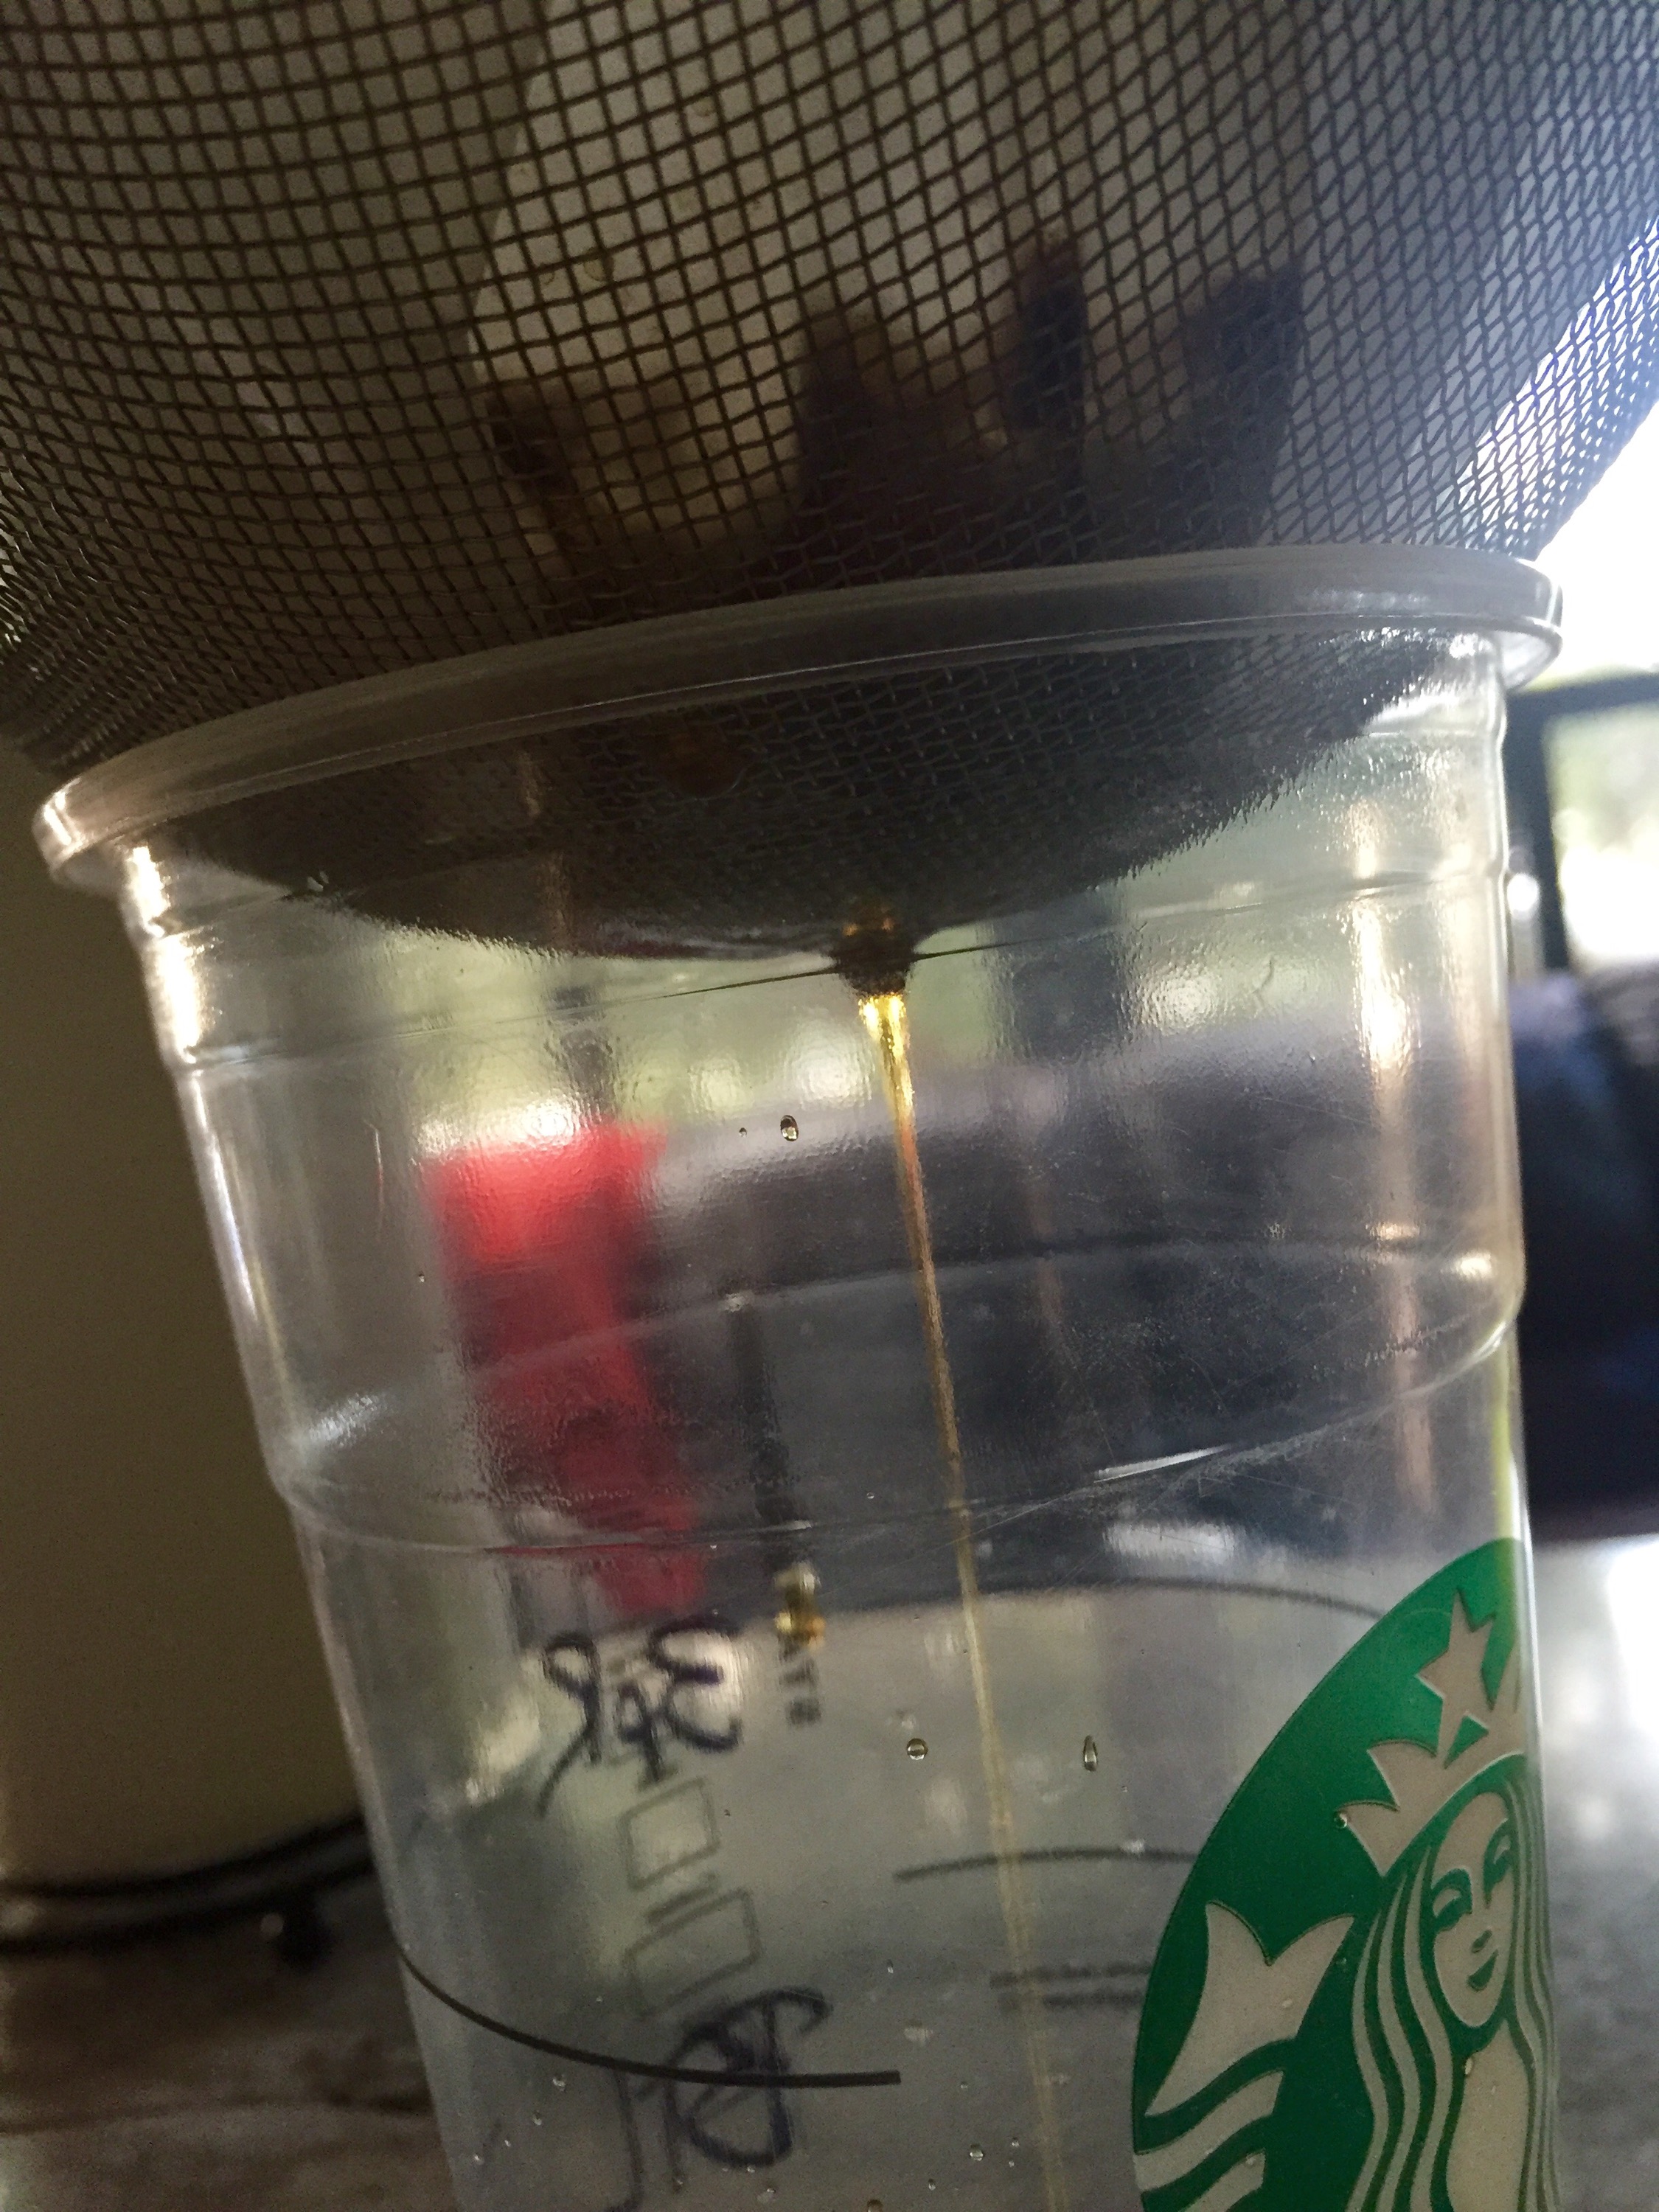
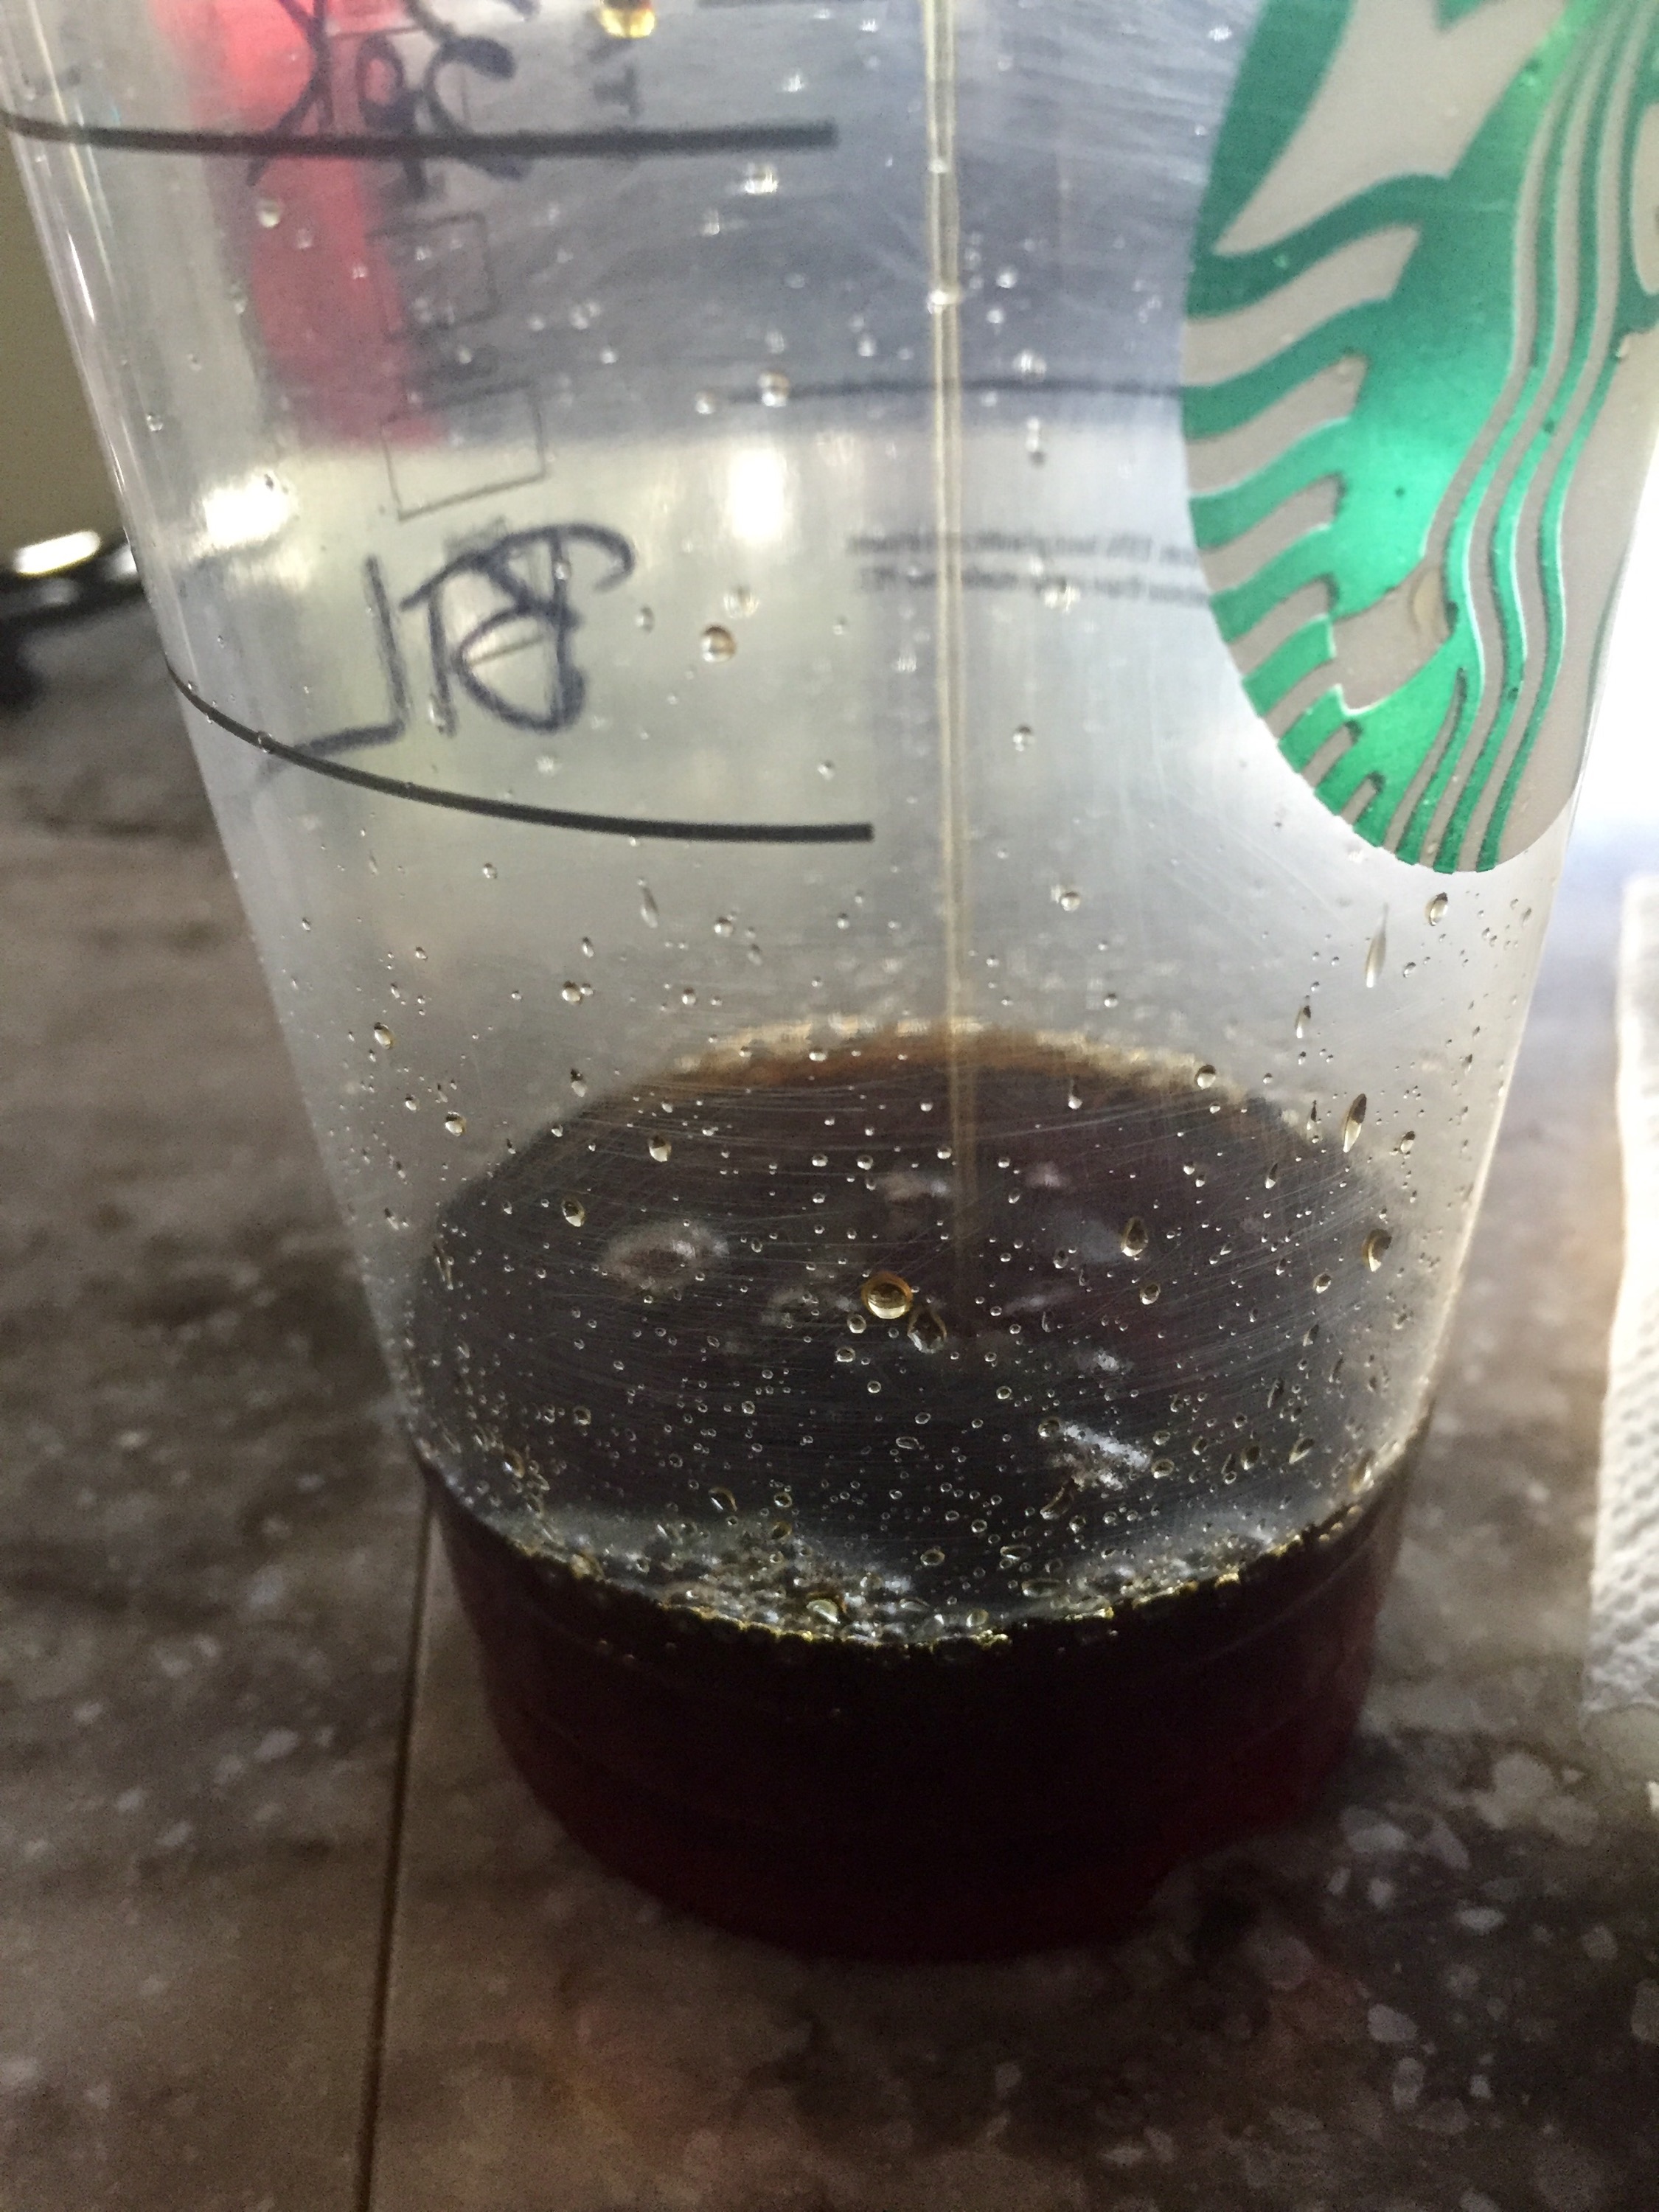
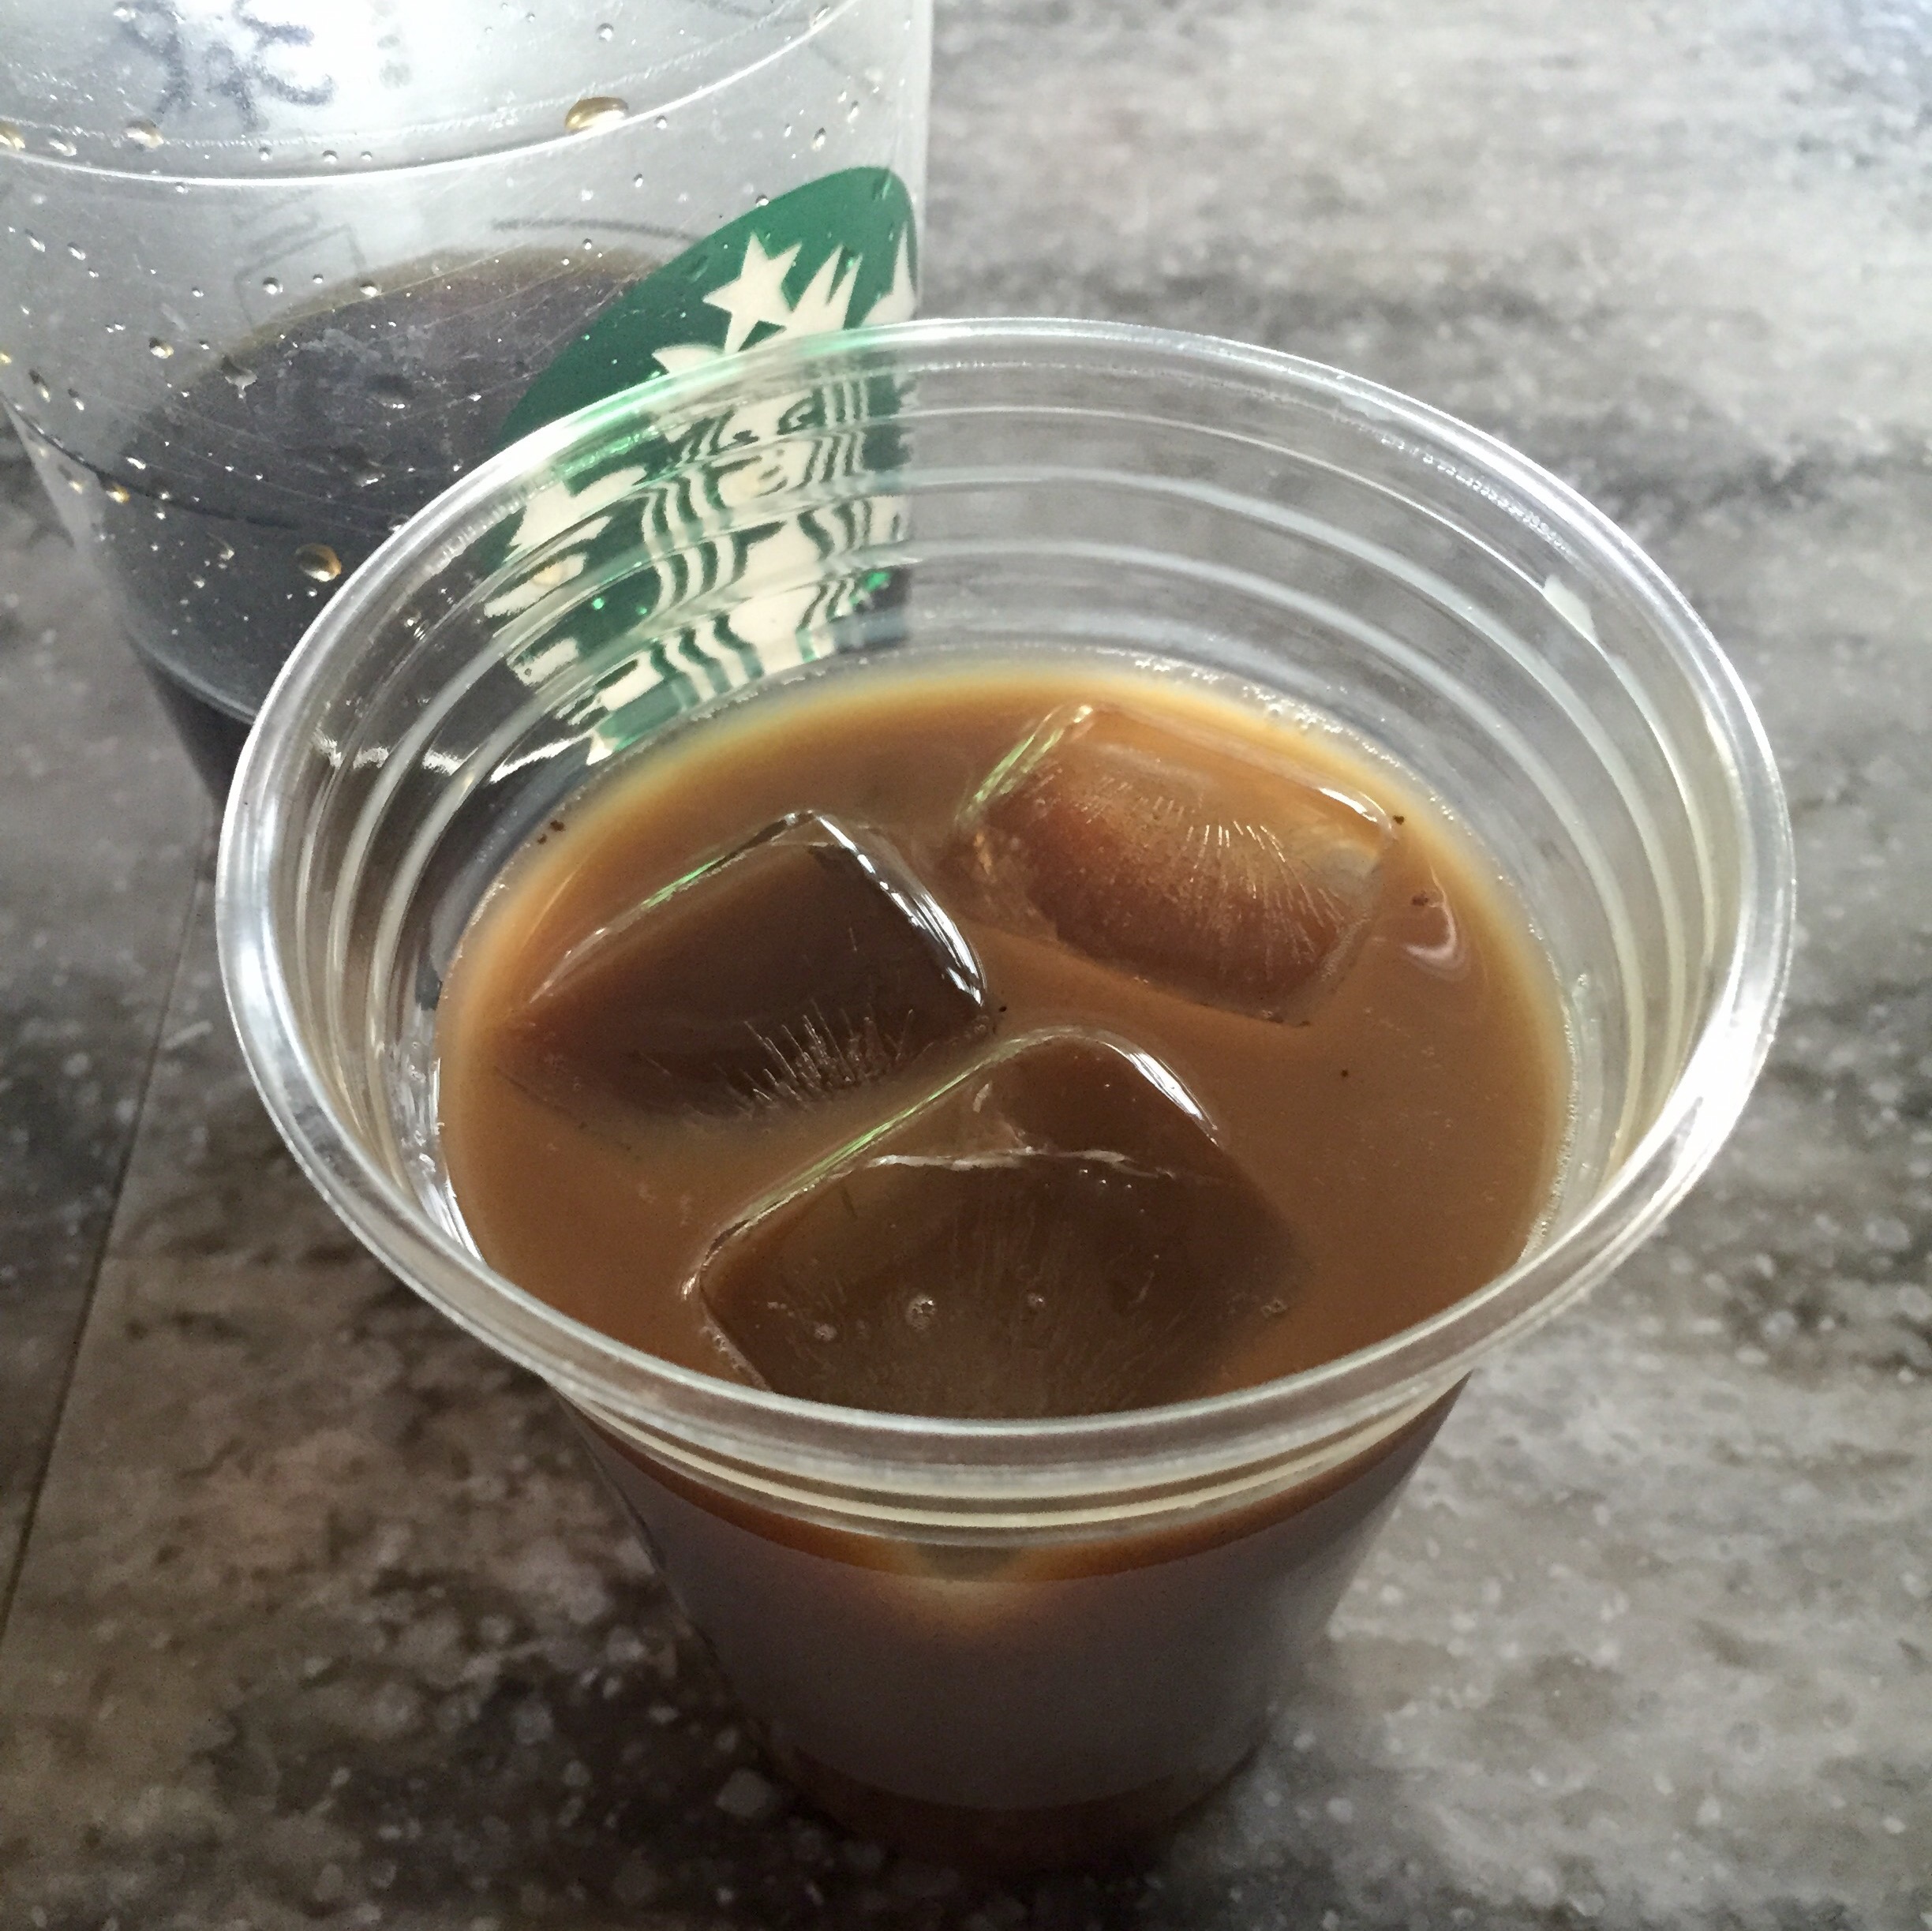
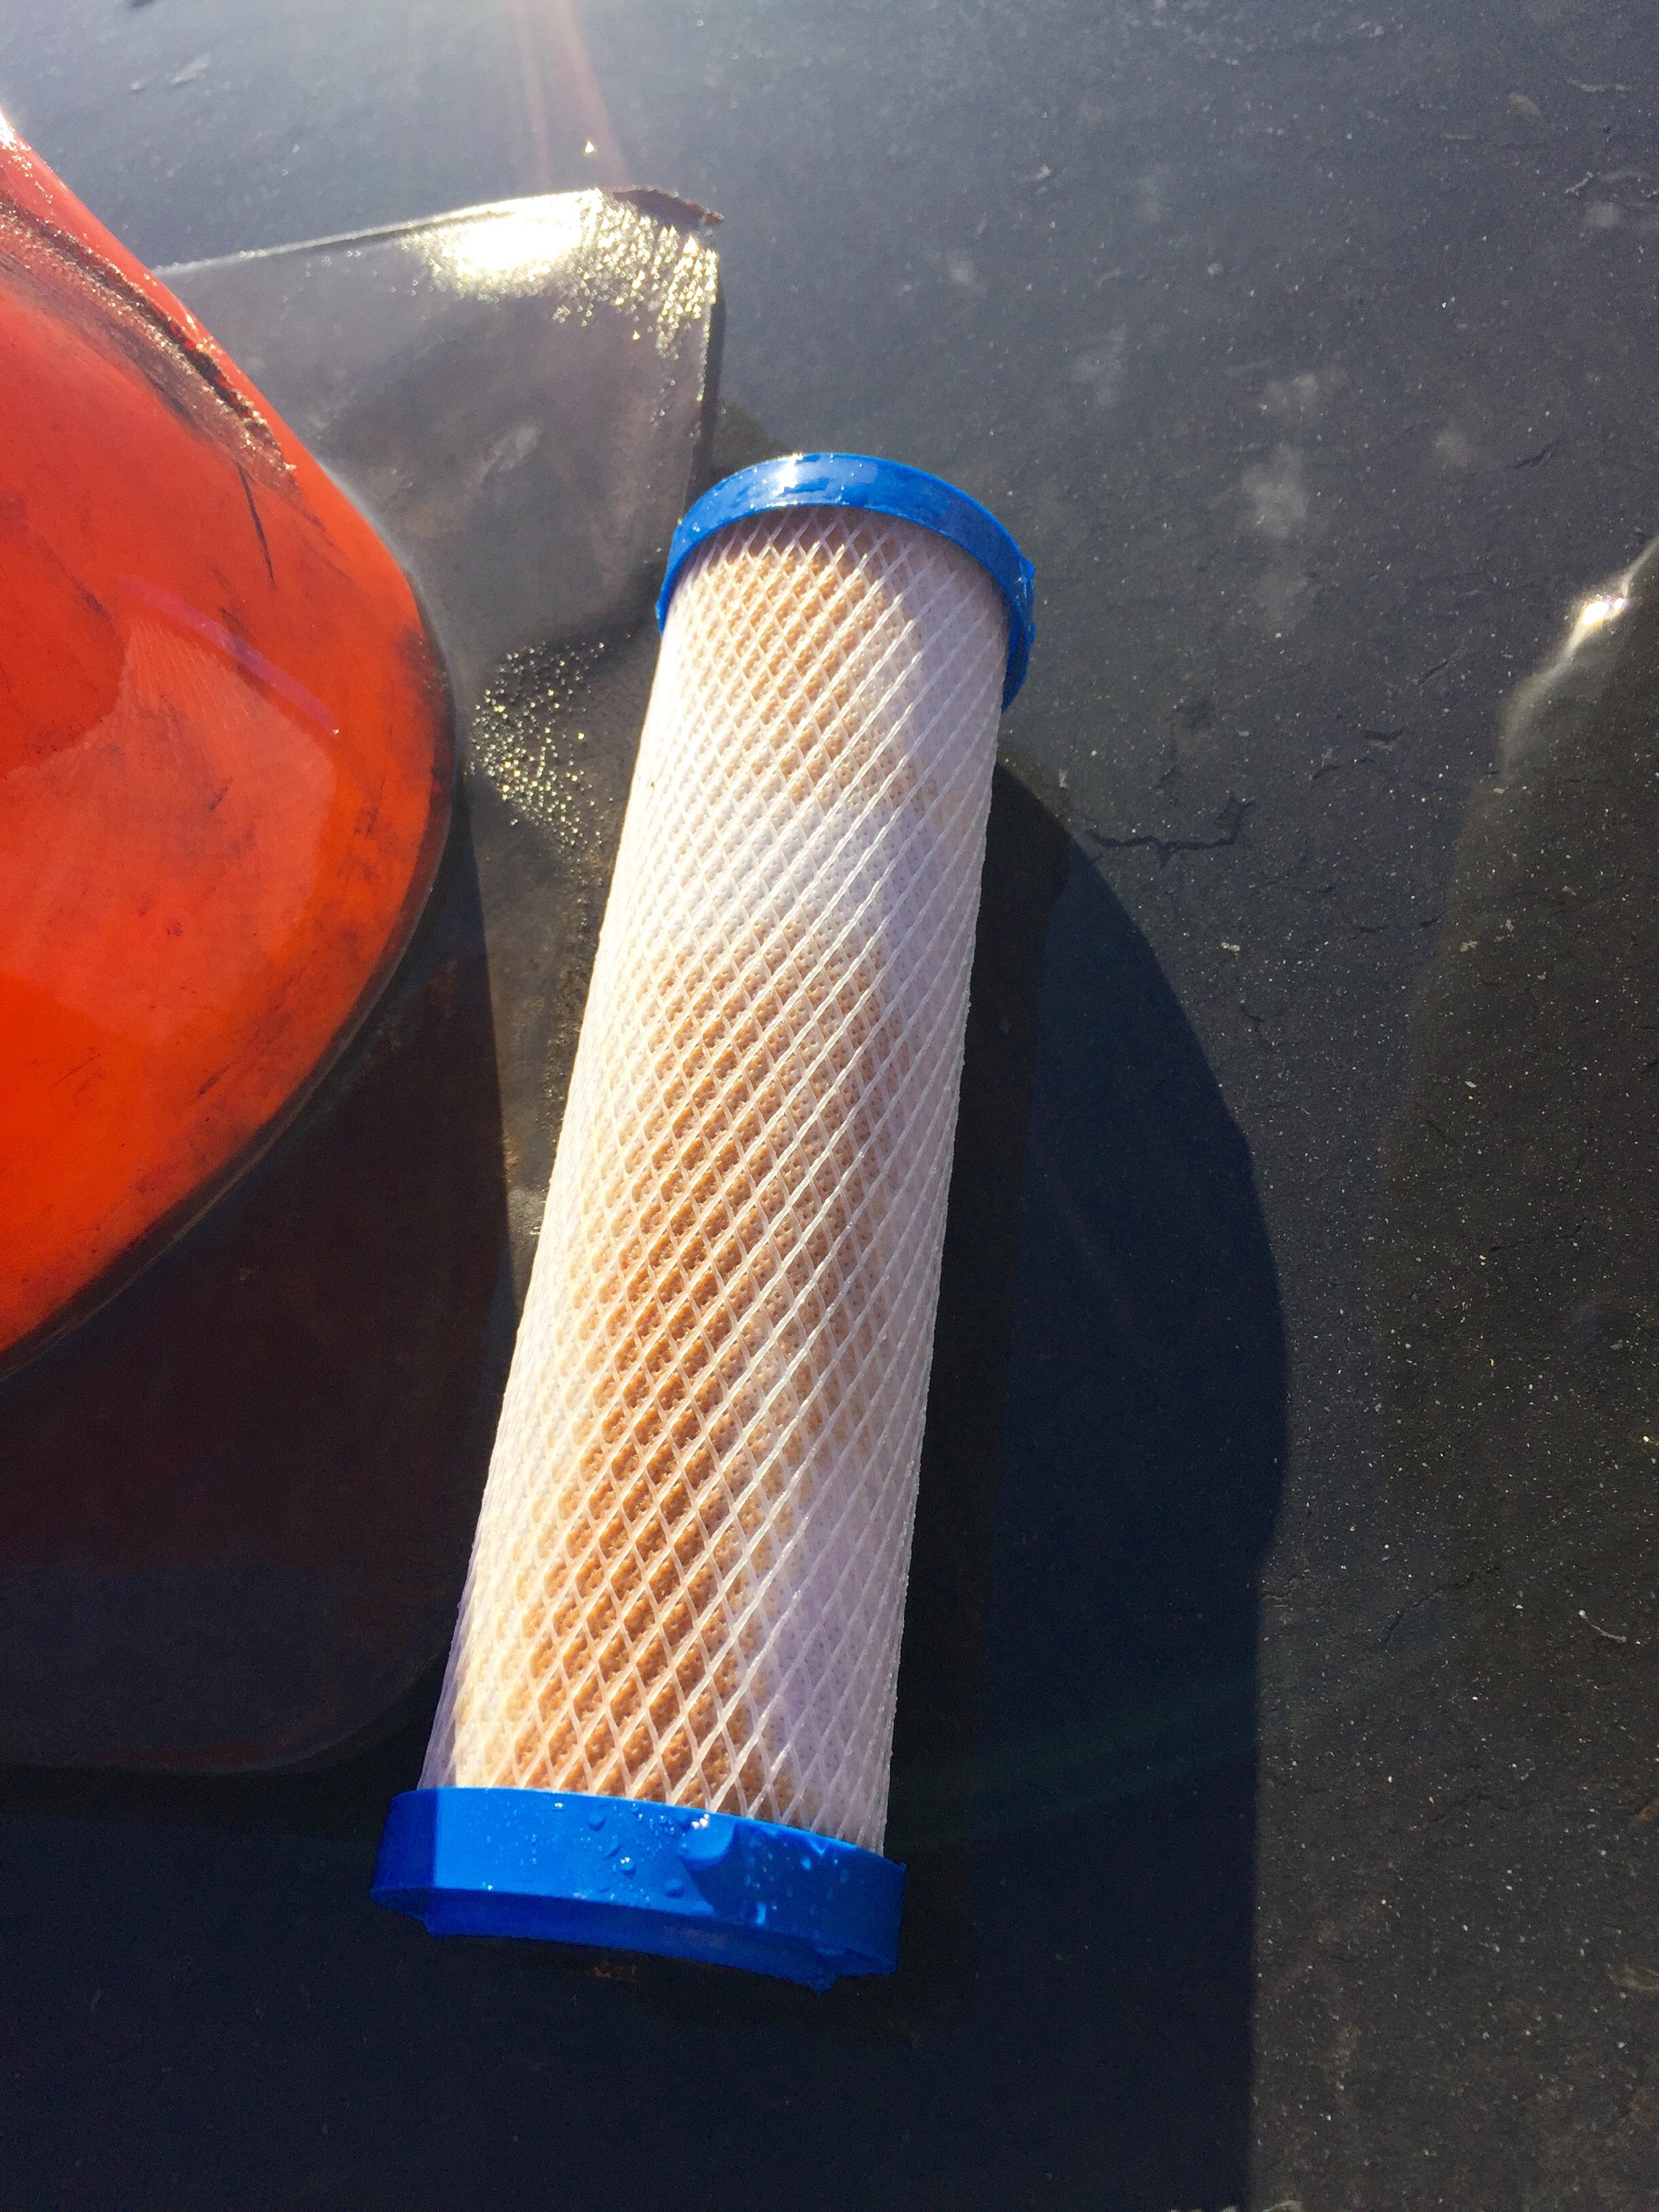
We did try to clean the water filter. The water here is gross and we are going through filters that should last 3 months in half the time. We also have a screen on the hose which gets full of debris in about a week and lessens the water pressure considerably. But there’s nowhere around here to get replacement water filters, so we are stuck with trying to clean them for now.
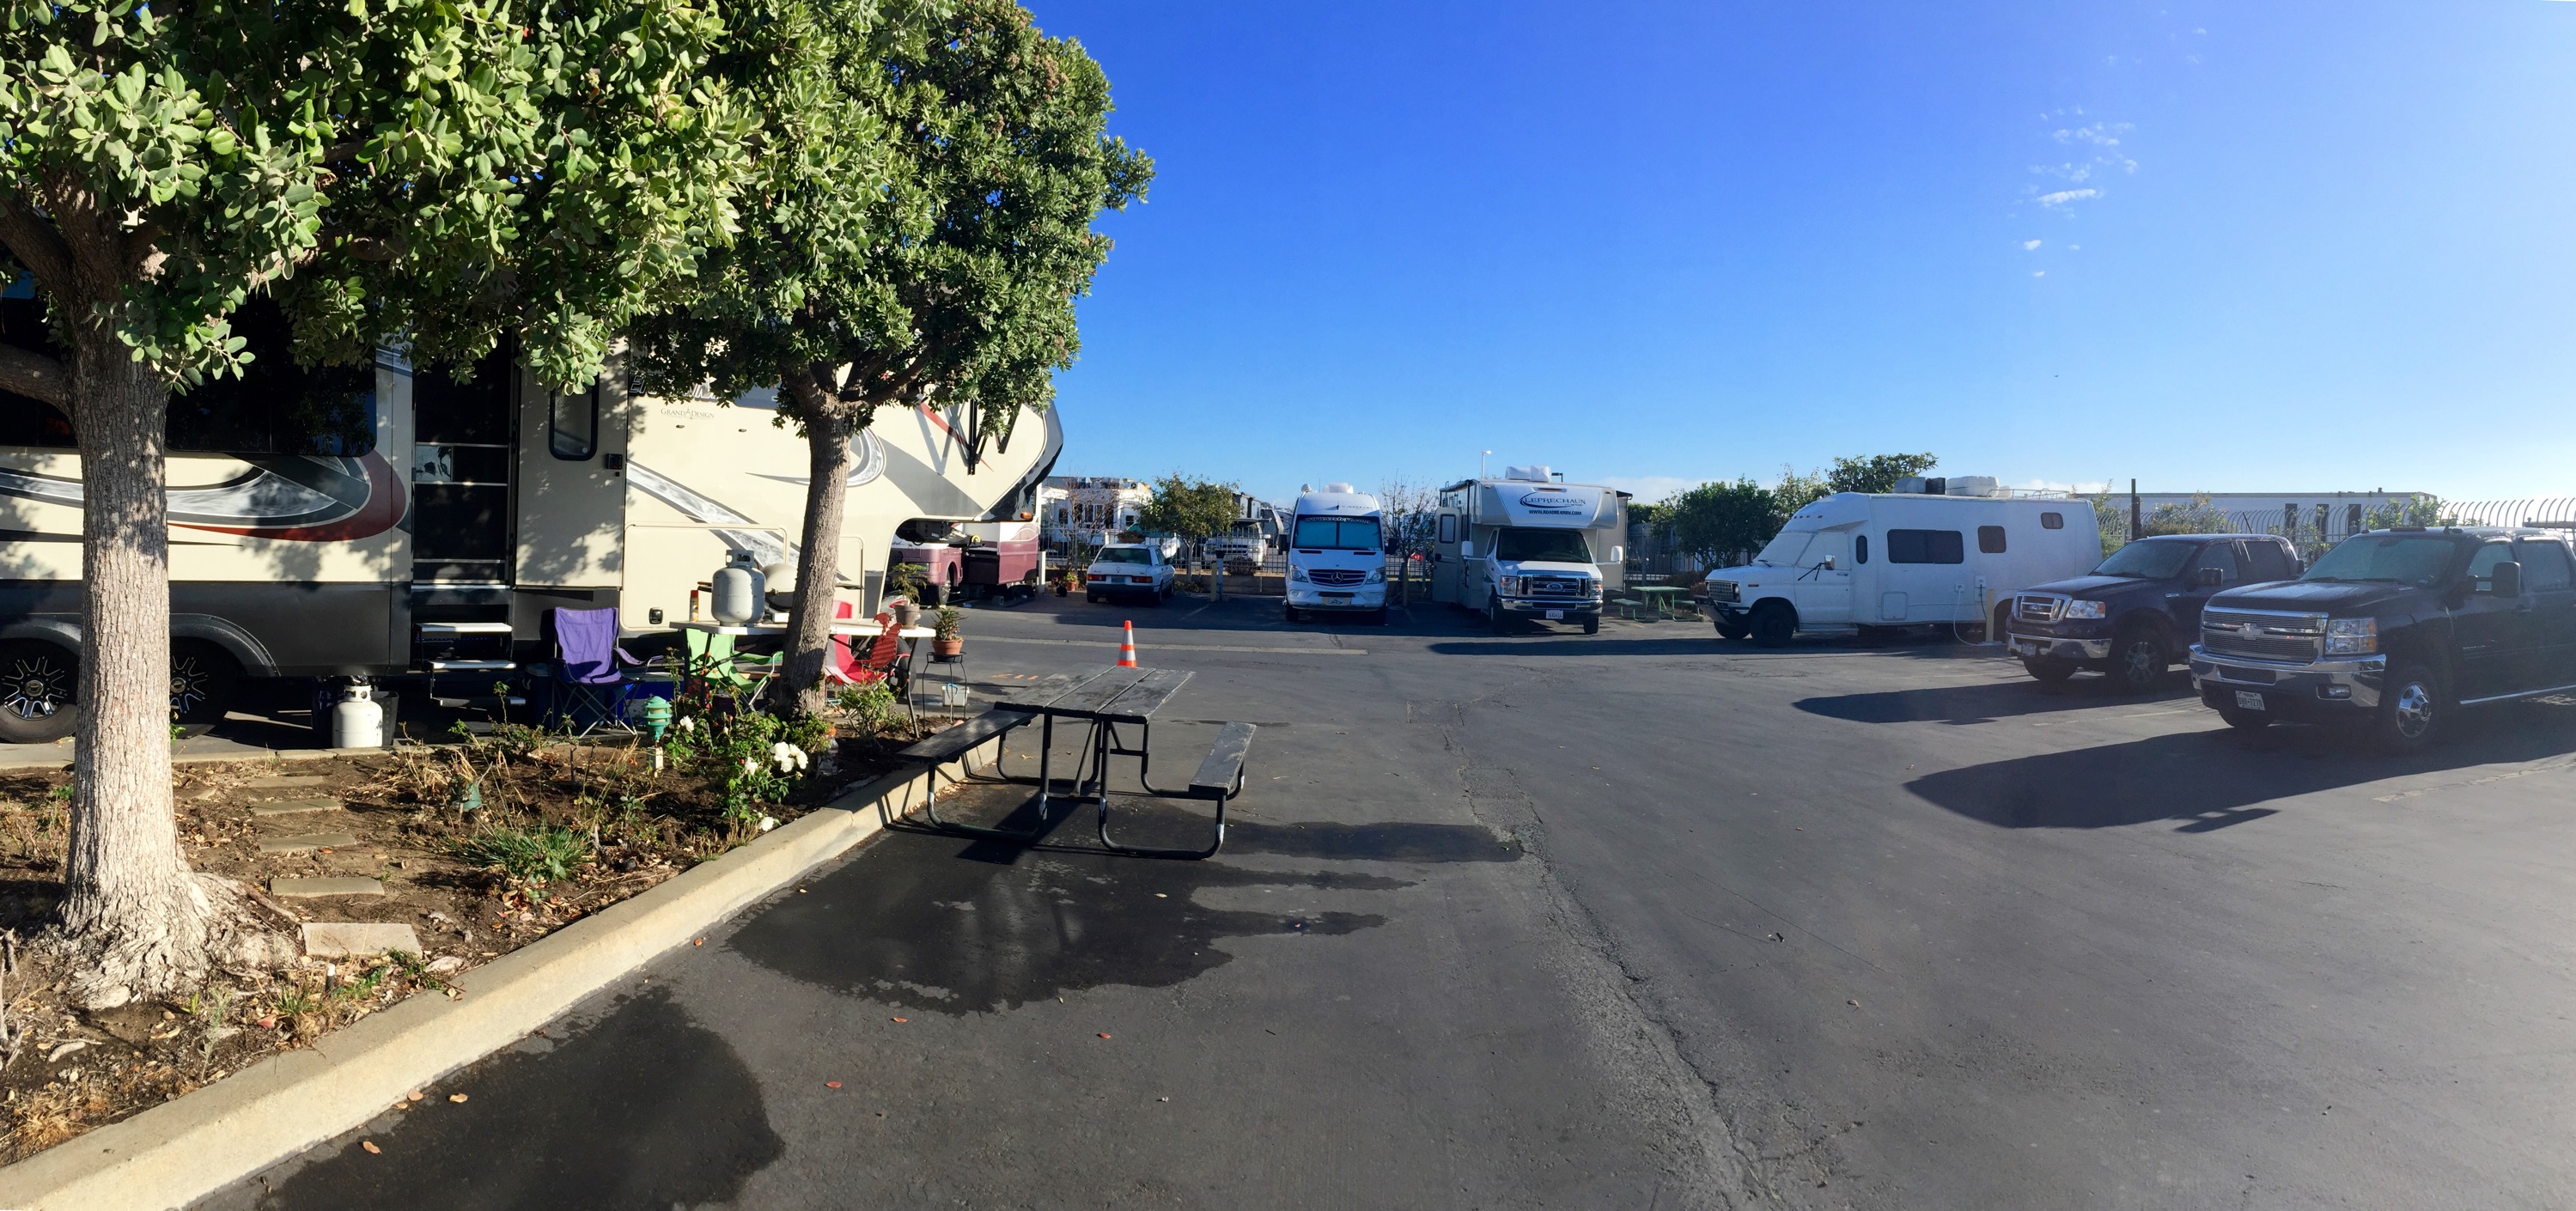
 I hoping to be out of here, if not this coming weekend, then sometime next week! So I started loosely planning our trip. I use the Good Sam trip planner because it lets you put in height requirements and maps out Flying J and Pilot Travel Centers and rest areas and campgrounds along the way. We are going to go through South Dakota to change our domicile then on to Dallas to bring down the tower at Fair Park. Hopefully that job takes us until Christmastime. I’m just excited to get the heck out of San Francisco and this asphalt parking lot!