I Like Big Buns and I Cannot Lie….

Hamburger buns that is.

Homemade hamburger buns.

Big homemade hamburger buns.

I’m still trying to get away from buying bread at the store. If I can make it at home then I know what’s in it, it’s cheaper, and it tastes better. So I just did a Google search and found this recipe on So Very Blessed.

Here’s what I did:

Put all these ingredients in the bread machine in the order you are supposed to. 

  • 1 cup of warm milk
  • 3tbs vegetable oil
  • 1 egg
  • 3 1/2 cups white flour
  • 1tbs sugar
  • 1tsp salt
  • 2tsp yeast

Set your machine for the “dough cycle”. After about 2hrs, whenever it’s finished, take the dough ball out and divide it into 6 – LARGE – (or 8 if you want smaller buns) equal parts. Shape into a bun. (Make a round ball and kind of pat it down a little.) Put these on a greased baking sheet, cover with a towel and let them sit for almost an hour.  They will puff up a little.


After the hour, brush them with an egg wash (1 egg white with 2tbs water) and sprinkle with sesame seeds. You don’t HAVE to do this, but I like it. You could do minced onion on top if you wanted, I think it’d be delicious, but I would wait to do the egg wash and onion until just a few minutes before they are finished because the onion will burn if you leave it in too long, then you have ruined buns! 

Stick these puppies in a 400 degree oven (or a 375 degree convection microwave oven) for about 12 minutes. Keep an eye on them so they don’t get too dark. 


I suggest letting them cool completely before slicing. We had chicken salad on these last night for dinner and tonight I’m grilling burgers for them. (delicious 1/2 turkey, 1/2 hot Italian sausage burgers… yum!)

For lunch yesterday, during the terrible Bengals game, we had those bagels I made the other day with some leftover chili I thawed out for lunch. (perfect for the rainy day we had here in Texas) Allen thought they were delicious, and he claims to not be a bagel fan! (He had two!) I’ll have to make them again soon!

Daily bread (and homemade bagels)!

BREAD

So I have still been searching for a recipe that makes really good sandwich bread. Even though Allen likes most of them, some more than others, I haven’t really found one fit for a pb&j… (And I love pb&j sammies!) But I stumbled across one 2 days ago. I can’t believe one simple step made such a world of difference!

a text from my boo yesterday at lunchtime

Here’s the recipe I used from food.com:

  • 1 cup of hot water
  • 2tsp yeast
  • 3tbs sugar
  • 1/4 cup olive oil
  • 1tsp salt
  • 3 cups white flour (not bread flour)

The trick is to put the hot water, yeast and sugar in the bread pan and let it sit for about 10 minutes. The yeast will foam a little. Then you add the remaining ingredients, set the machine to basic cycle with rapid crust. So. Delicious.


BAGELS

Also, I tried my hand at homemade bagels yesterday! I made them my version of Everything Bagels… I found the recipe on King Arthur Flour’s site (here). I cut the recipe in half since Allen isn’t a huge fan of bagels… Here’s my version and it made 4 normal size bagels.

  • 1/2 tbs yeast
  • 2 cups bread flour
  • 1 tsp salt
  • 1/2 tbs brown sugar
  • 3/4 cup lukewarm water

Put all that in the bread machine and set it for bagel dough. Once it’s finished, cut the dough into 4 equal parts and shape into smooth, round balls. (Or try your best at smooth and round) Then place them on a baking sheet, lined with parchment paper, lightly greased, cover with plastic wrap and let them sit for about a half hour.

  During the half hour, mix together in a large, wide pan:

  • 64oz. water
  • 2tbs brown sugar
  • 1tbs sugar

Bring all that to a boil then reduce it to a simmer. Preheat the oven to 425 (or convection oven to 400). Then poke a hole through the center of the doughball and twirl around your pointer finger until the hole is about 2″ in diameter. (Mine look perfect, right?)

Put the bagels into the water bath. Cook, simmering, for 2 minutes on one side then flip them over and cook for another minute.

IMG_3705-0

Take them out and place them back on the parchment lined baking tray. Sprinkle with seasoning if desired… (It’ll stick better if you brush the tops of the bagels with an egg wash first – 1 egg white mixed with 2 tbs water)

My “everything” seasoning mix…

  Bake them in the oven for 15 minutes, flip them over, bake 10 minutes more. Then if you still want them a little darker in color, flip them back over, right side up for about 5 minutes. Cool completely on a wire rack before slicing.

I couldn’t wait to try one this morning for breakfast. I flip flopped back and forth between topping it with avocado and crushed red pepper, or making a bacon, egg & cheese sandwich with it. I decided on the avocado, thinking maybe chicken salad would be delicious on it for dinner, then thought I should also do half with traditional cream cheese also.

 Yum! They are chewy and crunchy (after toasting) and they have that bagel flavor. The only thing I might change is my “everything” seasoning. I think it’s a little too salty. I want to hurry and eat these so I can make another batch!

Cooking Thanksgiving Dinner in an RV

This will be my first year making Thanksgiving dinner in a camper!  Last year we got a few days to go home to see family. We were in Oklahoma City at Abe’s RV Park, so it wasn’t too far to Cincinnati… The year before Allen was in India working and I was staying at my mom’s house.

I’ve made Easter dinner (I attempted to cook a very large ham in my slow cooker…All I’ll say about that is: At least we had fun!… And I burnt my finger really bad! And, yes, I made those bunny ears and forced Allen to put them on. That’s it. That’s all I’m saying.)Screen Shot 2015-11-24 at 5.53.12 PM.png

I’ve also made St. Patrick’s Day dinner, Shepard’s pie to be precise…

Screen Shot 2015-11-24 at 5.53.34 PM.png

We made fast friends with the neighbors and didn’t eat until REALLY late! This was at Poche Plantation in Convent, Louisiana… 

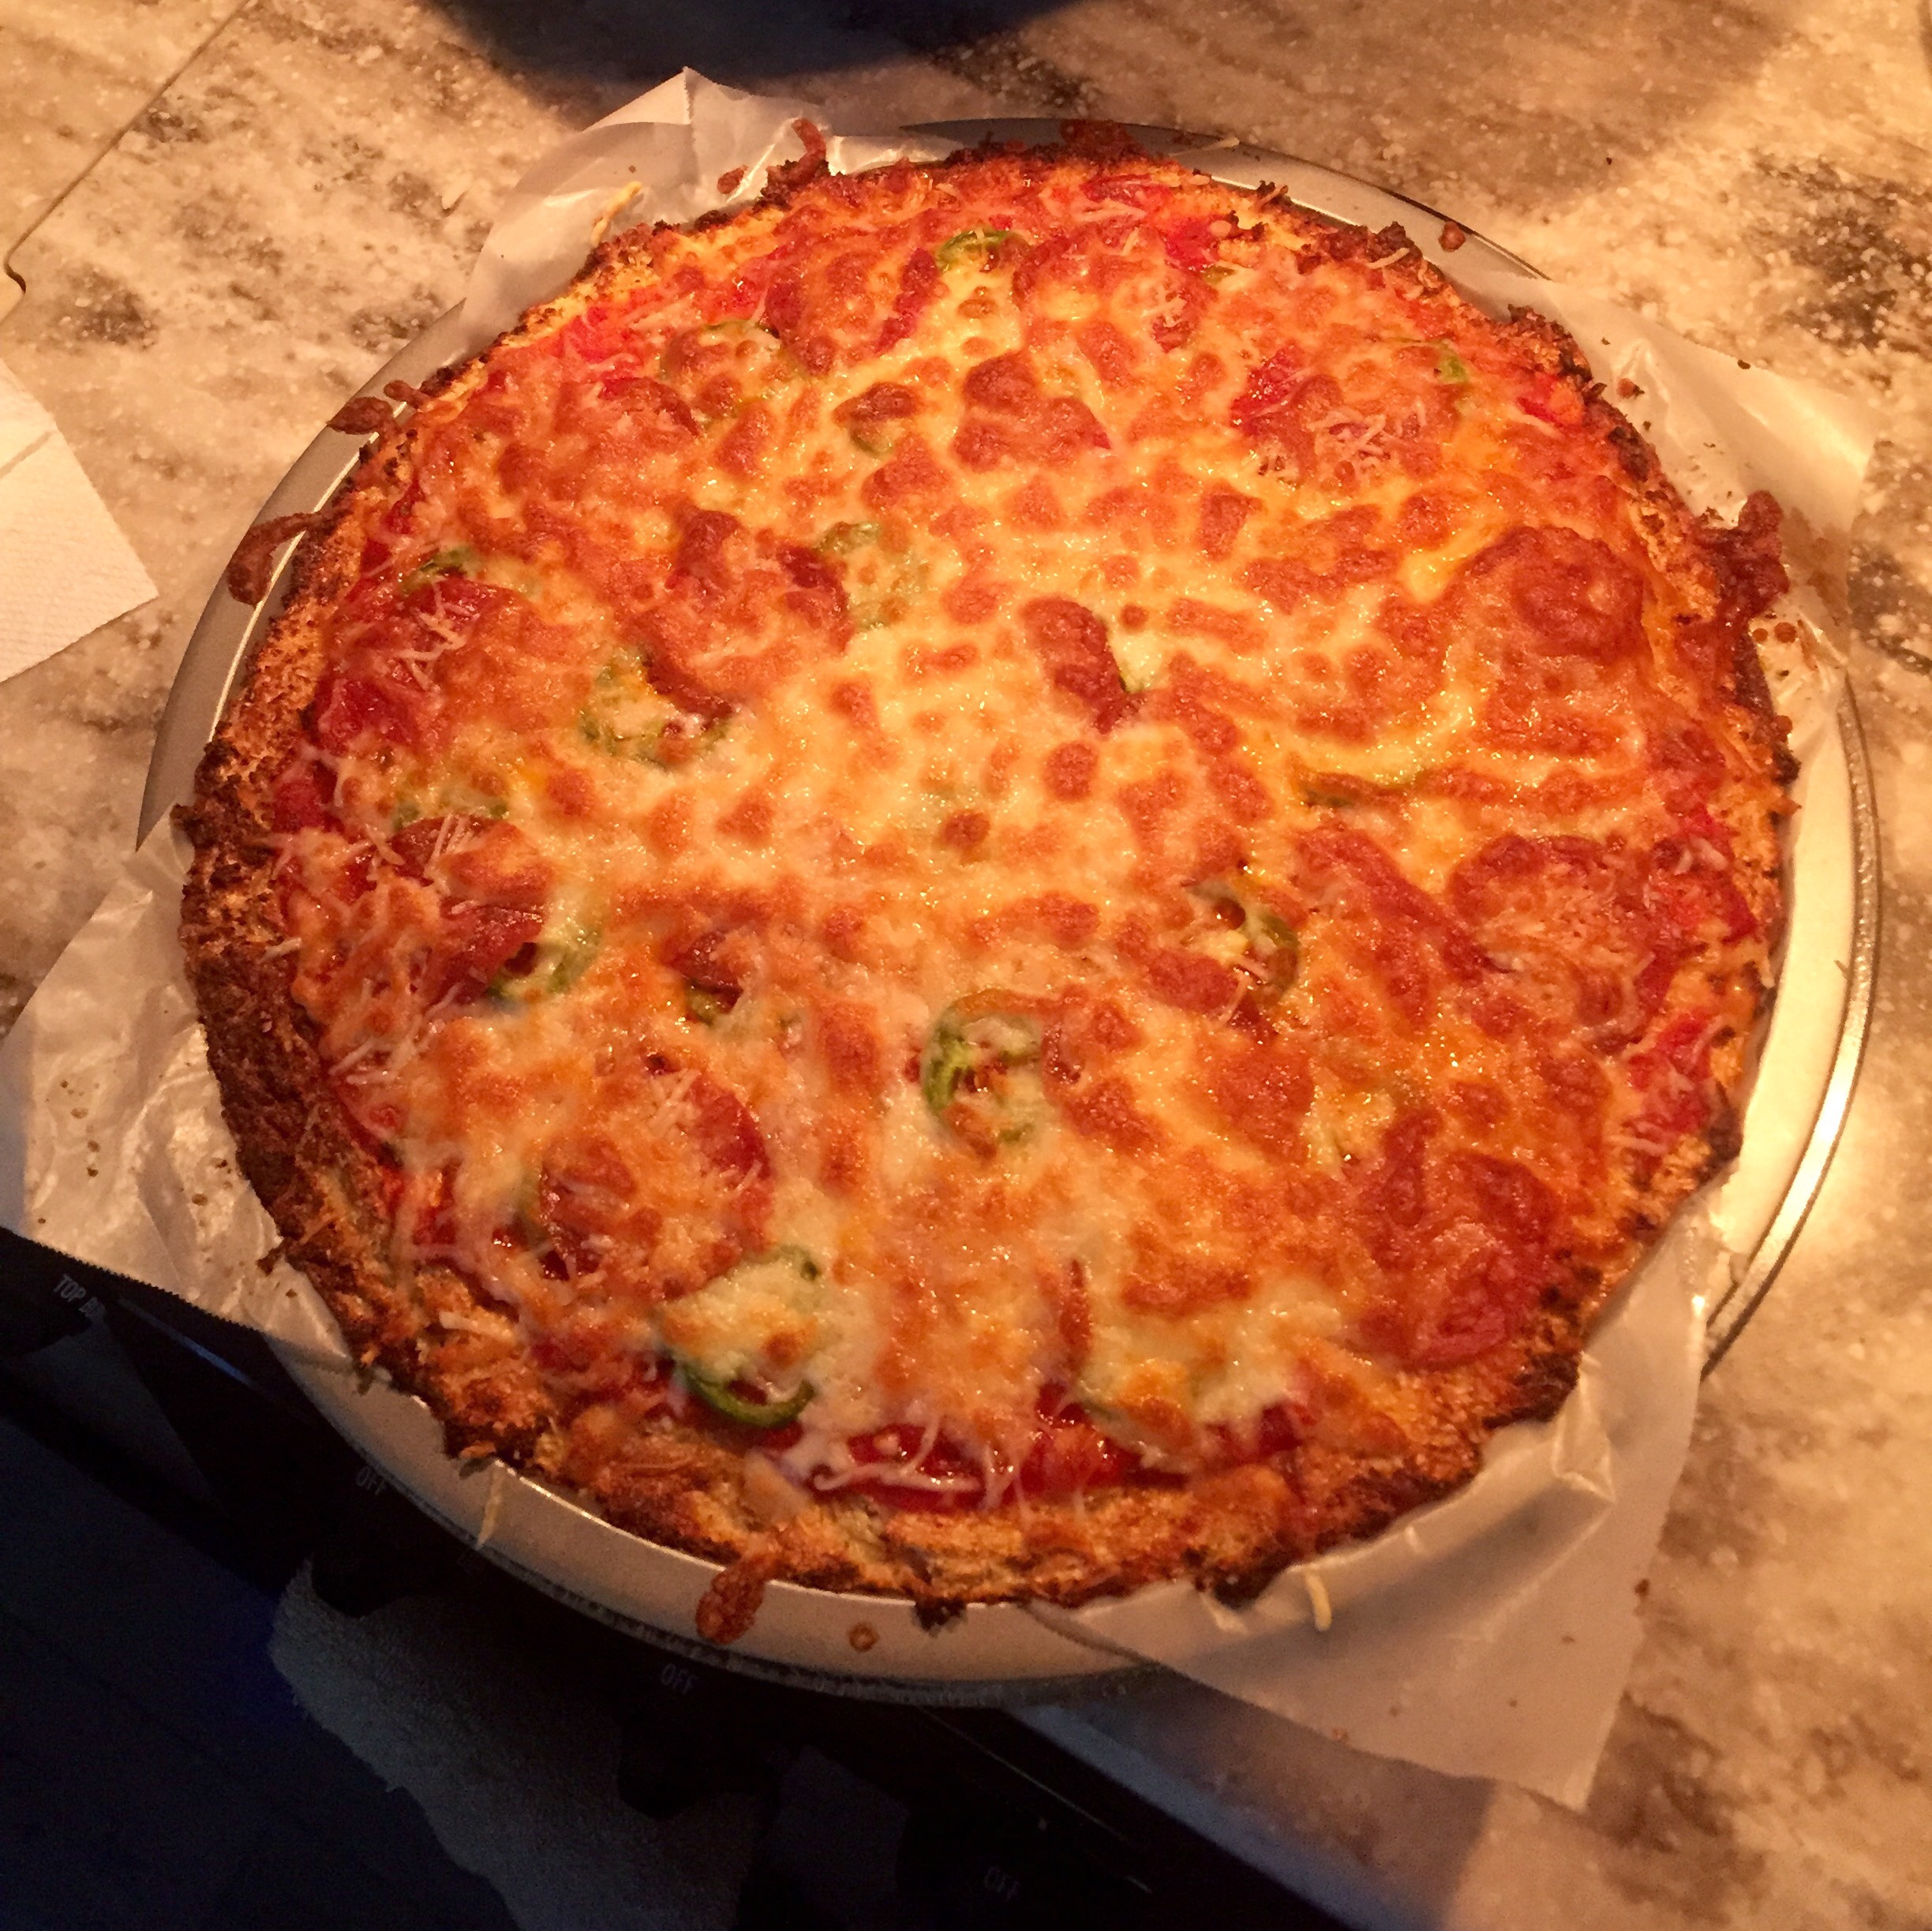
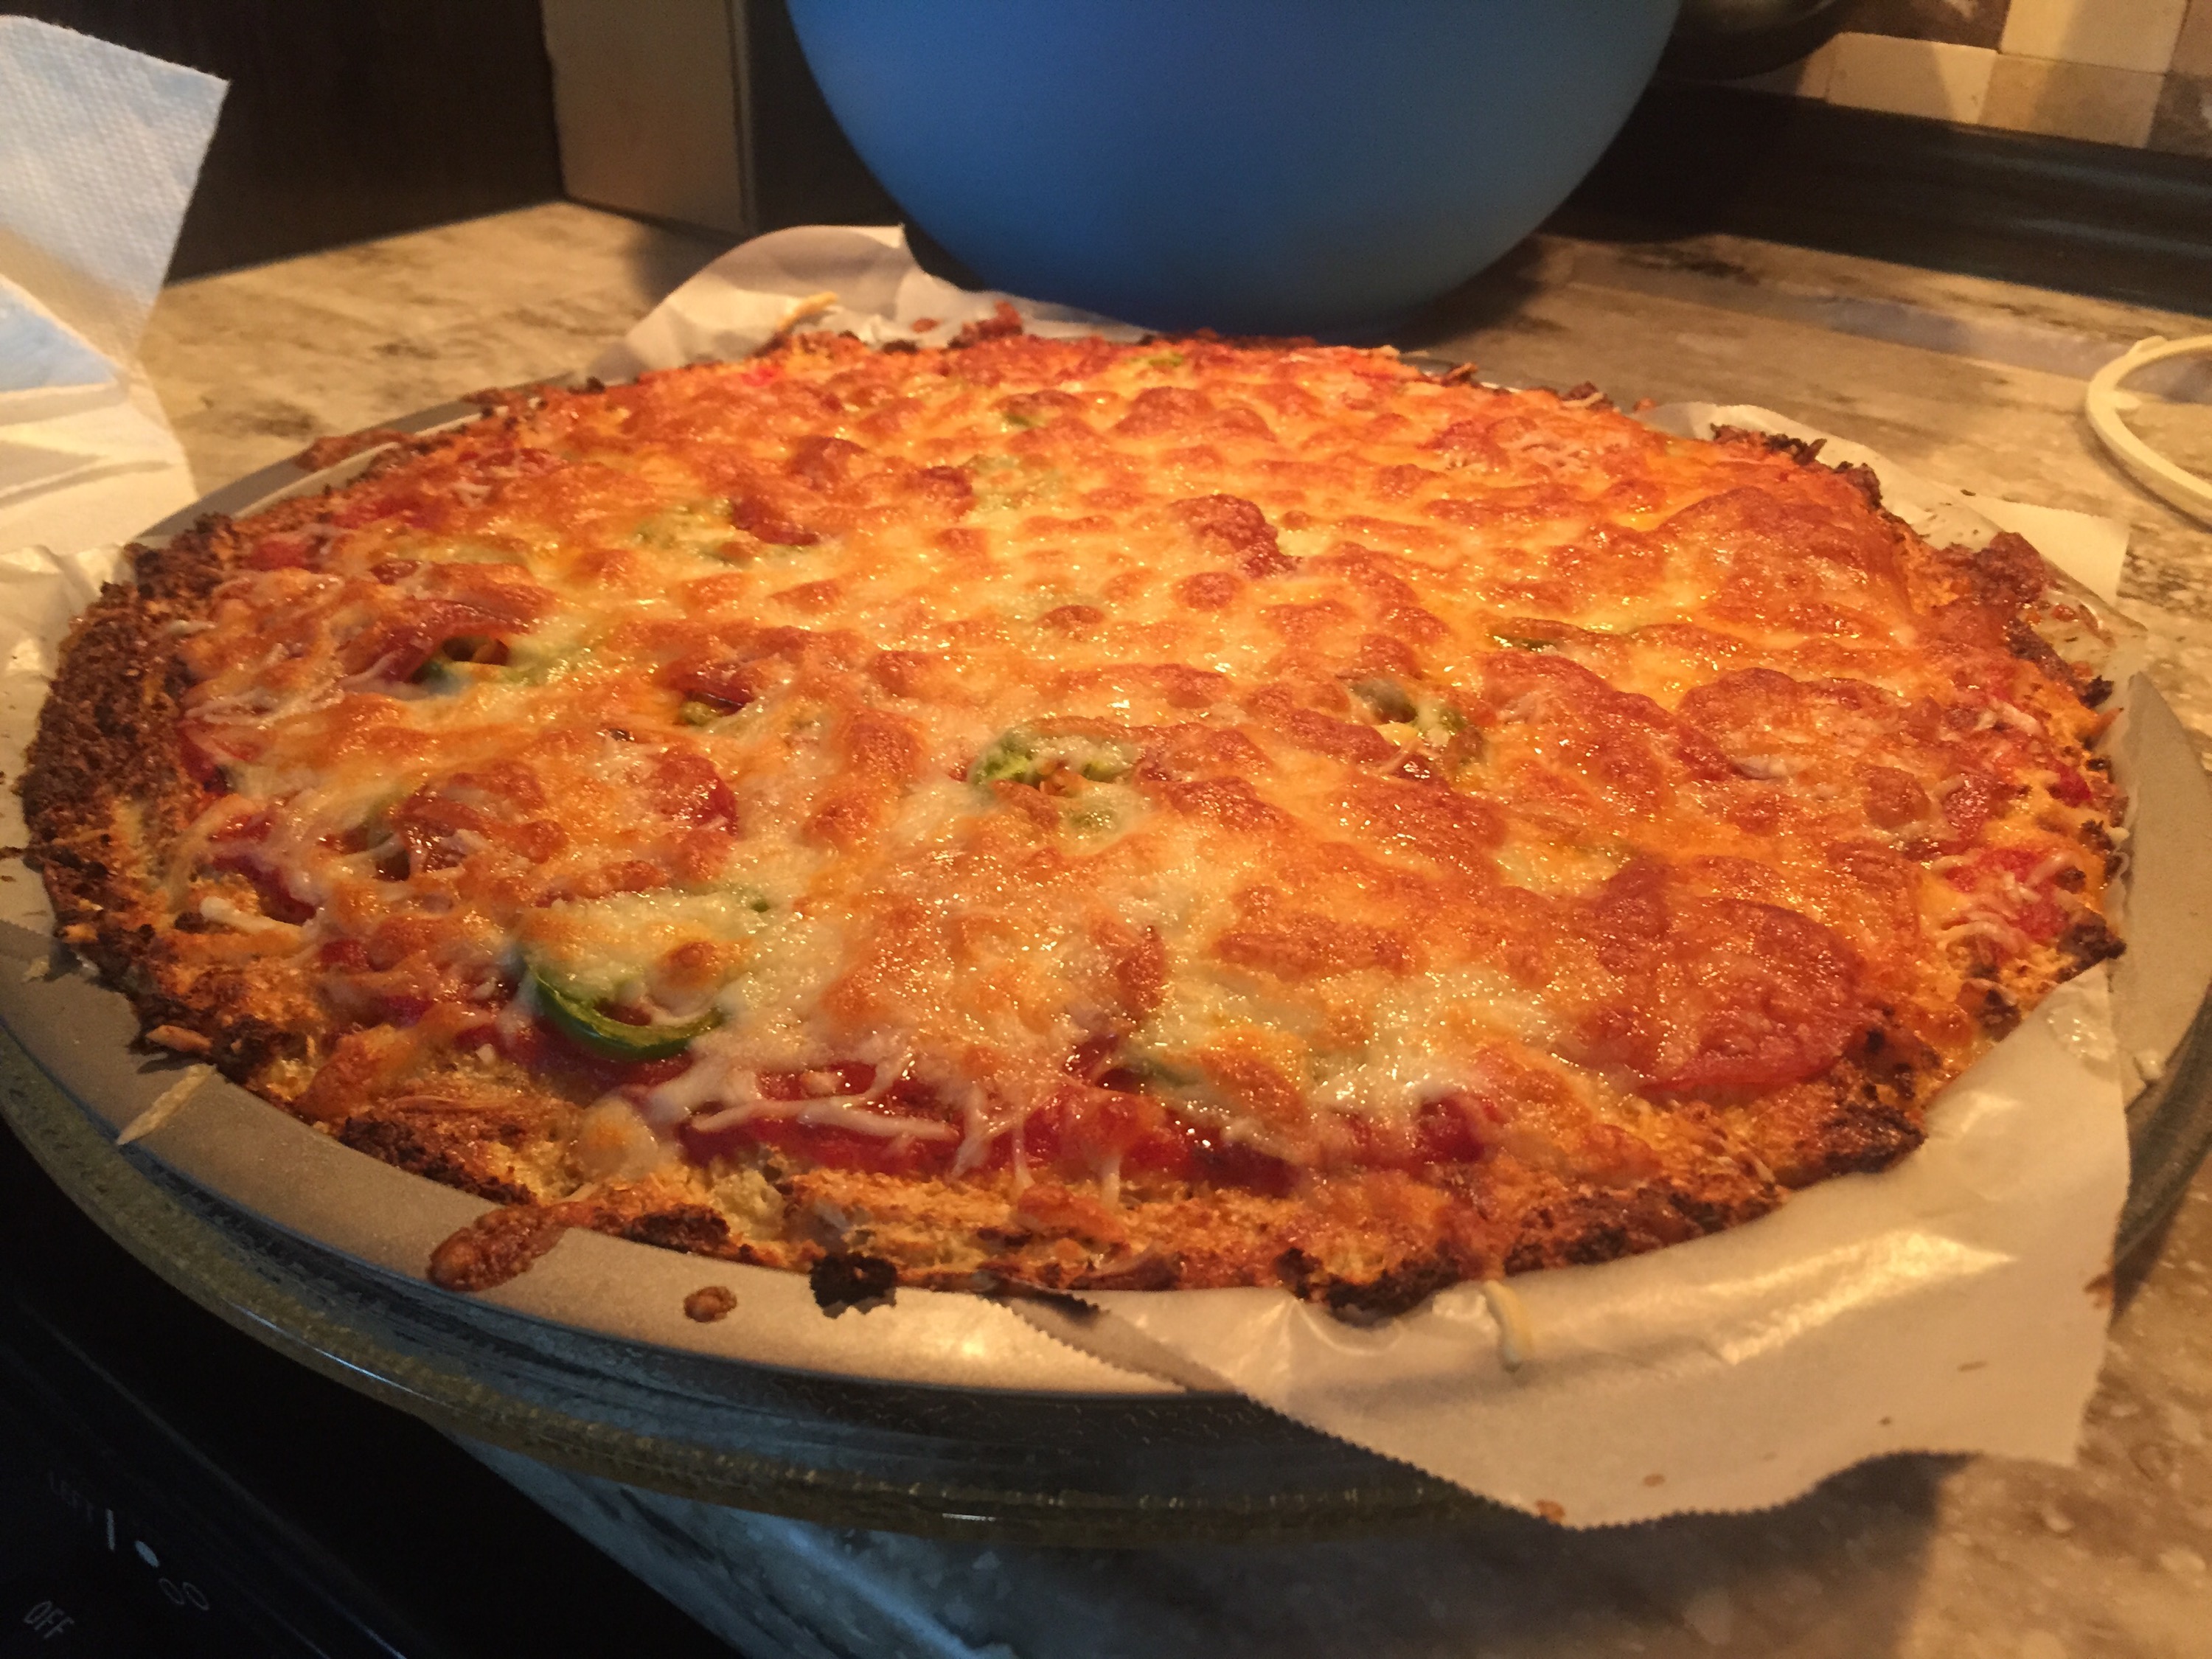
And I cook dinner almost every day in our RV. So I’m no rookie in the kitchen. But Thanksgiving is always more challenging no matter how much space you have! To top things off, I’m not THE best at time management. For example, I make a lot of Rachael Ray’s recipes, her 30-minute meals, and they typically take me around 90 minutes!!! No lie, ask Allen, usually he’s starving by the time dinner is ready.  I can’t help it, I’m just slow… But perfection takes time. Right??

Anyhow, in a camper, space is limited, as is counter space, and cooking space.

Luckily for me, I have the advantage of a new fifth wheel with far more space than the travel trailer we had prior to this. My stove has 3 burners whereas the average stove in a “normal” home has 4. My oven is small. And this one is slightly larger than the oven in our travel trailer was. My saving grace (I think) will be the convection microwave. I absolutely love the thing! I mostly use the conventional oven for storage now because the convection microwave just cooks so much better. Our fridge is huge compared to the one we had in the travel trailer also, so that helps a ton!

I was willing to cook for all the guys on the crew, provided they had some opinions or ideas on what they wanted and where we could all eat. Three of them are staying in the motel a block away and one is next door in the campground. But they are men, and nobody would speak up and say what they wanted to do. So it’s just me and Allen (and Charlie), which makes everything a little easier for me!

We went shopping today and got everything we needed. (I also got a new coat because my old one stopped zipping and we can’t have a non-zipping coat in “Little Canada”!

I measured my convection microwave from top to bottom and decided I could fit 7″ of turkey in there without shoving and squishing! So I was armed with my tape measure… But then we spotted a roasting oven for $25. Boom. Sold! Screen Shot 2015-11-24 at 6.01.42 PM.png

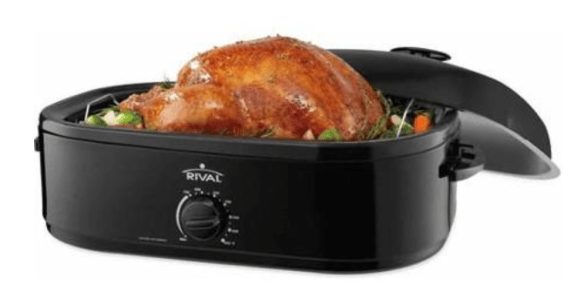
Now (hopefully) I will have a super delicious, juicy, flavorful turkey and have room for other stuff in the convection oven and maybe, just maybe, fingers crossed, I can get by without using the “real oven”, because that thing just stresses me out! Always has.

Screen Shot 2015-11-24 at 6.04.50 PM.png

Thanksgiving is for food and football… And family… And friends… But definitely not for stress! 

So my TENTATIVE plan is to have a turkey in the roasting oven (unstuffed because I don’t want to risk that… ); a small ham, green bean casserole, and stuffing in the convection oven; then gravy, mashed potatoes and cranberry sauce (for me only-Allen’s not a fan) on the stove, with deviled eggs (strictly for me also) and cheesecake in the fridge and freezer, respectively. And let’s not forget the mimosas in the morning…Screen Shot 2015-11-24 at 6.23.32 PM.png

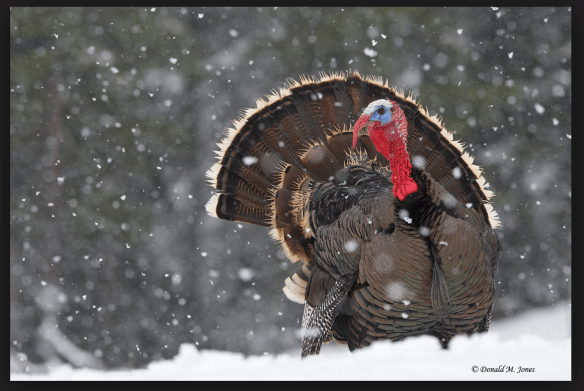
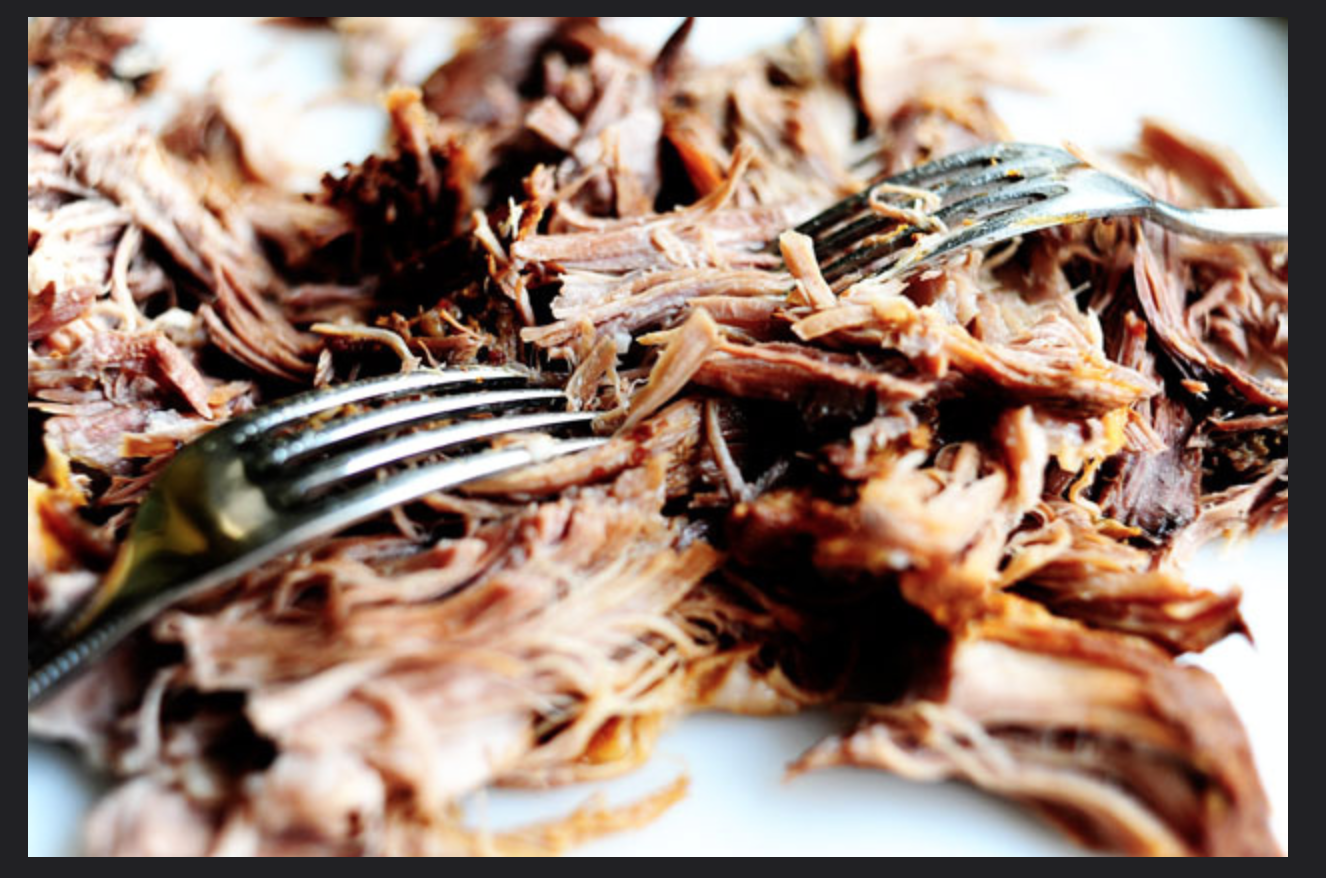
Followed by Wild Turkey later in the day!

Screen Shot 2015-11-24 at 6.24.30 PM

Image: Donald M. Jones  

Not that kind of wild turkey…

This kind!Screen Shot 2015-11-24 at 6.28.09 PM.png

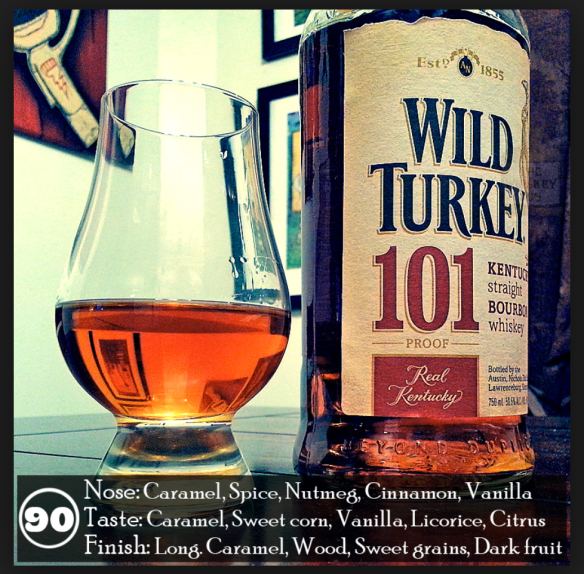
Yum! It’s kind of a tradition of mine that I started when I was in college in San Francisco with no mom to cook for me and no cooking abilities of my own!

I currently have the 15lb turkey Allen insisted we get in a bucket of cold water in the garage where it stays pretty cold (like, we’ve been keeping our beer back there cold, it has one vent and we are using it as a mudroom cold, Charlie shivers upon entering cold… So I think it’ll be okay until Thursday).

I want to make the green bean casserole tomorrow and toss it in the fridge so it’ll just need warming. I don’t want to do the stuffing ahead of time because I love the smell of the trio of onions, celery and garlic all simmering on Thanksgiving morning, so I’ll wait to do that. Then I’ll just have mashed potatoes and gravy and cranberry sauce  to make (super easy-just cranberries, some water, sugar, lemon juice and salt and pepper makes it delicious!)

I’m pretty excited!  I think my planning (albeit tentative) is going to help things go smoothly… Wish me luck!  On the plus side, Allen’s pretty used to waiting for hours to eat, so it should be fine! Screen Shot 2015-11-24 at 6.03.02 PM.png

Sunday Funday doesn’t exist in North Dakota

Allen had to work today. And last Sunday. That kinda puts a damper on the so-called weekend! He works on broadcast towers, you can read more about that jazz here… But they are trying to hurry and finish this job so we can get the heck outta here… I don’t really want to be around when they close the highways! They already closed parts of I-80 that we took to get here. Seems like we left San Francisco just in time to get through the mountains with no snow…

So it’s just me and Charles hanging out today watching football. Luckily the Bengals play tomorrow night so Allen will get to see the game regardless!

I forgot to show off our new home decor I picked up while we were in South Dakota

   They are those wall decals that just peel and stick. You can remove them and move them with no damage. I think they are perfect for our camper. I try not to put holes in the wall if I don’t have to, part of the reason I love Command hooks also! “Home Sweet Home” is above the front door and the other is in the bathroom behind the toilet (I didn’t know where else to put it!)

Anyhow, the other night for dinner I made this Spicy Dr. Pepper Pulled Pork and we made tacos with it. Yum! And super simple!Screen Shot 2015-11-15 at 12.32.18 PM

Here’s the recipe:

Layer the following in the slow cooker, in this order…

  • 1 large onion, quartered, and separated
  • a pork butt or shoulder roast (mine was about 3lbs), make sure you salt and pepper this guy very generously
  • a can of chipotle peppers in adobo
  • a can of Dr. Pepper at room temp (use two cans if you have a giant roast-one was enough for me)

Stick the lid on. Turn it on low.

About 4 hours in, flip the roast over. Flip it again in an hour or two. If it is falling apart, take it out and shred the meat. If not, give it another hour and check again. Once you get the meat out, try and skim some or most of the fat off the top without getting rid of too much juice. Shred it and put it back in the pot for another hour, making sure all the meat is soaking up all that juicy goodness.

I served this on warm flour tortillas (I just heated them in a dry pan over medium heat for about a minute on each side). I topped it with some homemade pico (my version follows), a few sprigs of cilantro, and some pepper jack cheese. Delicious! And we have plenty left over for dinner tomorrow…. I think you should try this tonight! (P.S. I’ve been loving The Pioneer Woman‘s recipes, that’s where I found this one! She made hers in the oven, but since I have a camper oven, I prefer my handy dandy slow cooker.)

Pico de Gallo

  • 4 roma tomatoes, diced
  • 1/2 red onion, diced
  • 1/2 jalapeno, seeded and diced
  • a good squirt of lime juice
  • a palmful of chopped cilantro

I hope you are all having a better Sunday than my super hard-working, loving boyfriend!

Oh, and by the way, Allen said the Potato Bread I made this week beats out all the others for best yet! And I’ve kind of decided that If I keep it in a ziplock baggie vs. the bread baggies I bought, it stays softer and fresher longer…

Fantastic Chili Bread!

I think I want this bread with a big bowl of chili for my last meal! It is SO good!

I made this chili bread yesterday with my Hillbilly Chili for dinner and Allen and I ate almost the whole loaf! We didn’t even bother to take the kneading paddle out, we just tore off chunks at a time…

I found the recipe on this website. It’s full of recipes for the bread machine. I’ve tried a few of them, and most work out, while some are complete failures (i.e.: Lemonade Bread!)

I was a little worried because it doesn’t call for any sugar, but beer has sugar in it… I modified the recipe a little bit to fit what I had available… Here’s what I did:

  • 3/4 cup + 2 tbs Budweiser (any beer would probably work, I actually think a darker hoppier beer would probably be delicious) *I used warm, room temp beer.
  • 1 tsp instant chicken bouillon (or, 1 cube crushed up very finely)
  • 1/4 tsp ground cayenne
  • 1/4 tsp hot chili oil (I usually find this in the Asian section with sesame oil)
  • 1 tbs olive oil
  • 1/8 tsp ground cumin (I eyeballed this because I don’t have a measuring spoon that tiny)
  • 1 1/2 tsp onion powder
  • 1 tsp chili powder
  • 1/4 tsp garlic powder
  • 1/2 tsp salt
  • 2 1/4 cups bread flour
  • 2 tsp yeast

This makes a 1lb loaf. I set my machine to the french bread setting and a medium crust color. The basic/white bread setting would probably work also.

It’s perfect to munch on by itself, it’s spicy and delicious, but even better dipped in chili. If you’re in the market to try a new chili recipe, mine is pretty fantastic! You can find that recipe here. It would actually probably be good served with gumbo too… Maybe I’ll put that on the list for next week!

I’ve been compiling my favorite bread recipes in one spot, if you want to check them out and maybe try one this weekend.

Happy Friday!

Almost an ENTIRE week of bad dinners!

Occasionally, well, more than occasionally, I get on a kick where I want to try lots of new recipes.  I go off of what’s on sale at the store then Google things to make.  I use a lot of Rachael Ray recipes (I too am a garlic fanatic!) but I also get them from all over the web. I usually jot them down on scraps of notebook paper then when it comes time to make them I have to go searching for the little scribbled recipe.

This past week there was a sale on bone-in skin-on chicken thighs.  I hardly ever cook with bone-in chicken, but I thought what the heck, it’s on sale! Here was my menu:

Allen joked on Thursday night that I was 0 for 4 for the week. But I pulled a win out on Friday with the Bacony Egg Noodles! I knew he would like bacon. And I didn’t think everything else was THAT bad…

But tonight we are meeting a guy I went to school with for dinner at The Old Clam House. So that should be delicious and I won’t have to cook it! First we have to take Charlie to get a much needed mani-pedi and go grocery shopping. Since tomorrow will be tied up with football! Go Bengals! Who Dey!

Roasted Garbanzo Beans

I’ve roasted garbanzo beans, or chickpeas, years ago. They are a crunchy, healthy snack and you can flavor them however you want.

I saw a post about Sweet and Spicy Roasted Nuts that caught my attention and it brought back the distant memory of roasted garbanzo beans.
Then my mouth started to water. And I added garbanzo beans to my shopping list.
I was afraid to make them “sweet” because they roast so much longer than the cashews in the original post that gave me the idea. So I just went with a similar concoction to what I’ve done in the past.
IMG_2585-2
Instead of an actual oven, I used our convection microwave. It occurred to me that the reason I haven’t made these in FOREVER is because I haven’t had access to an “oven” that will cook things for long periods of time.  The camper oven is small and heats from the bottom, so it’s a little difficult to use. It’s definitely something you need to adjust to and account for!
Here’s the general recipe I followed:
***Full disclosure: I never measure ingredients (unless I’m using my bread maker). I eyeball and account for my preference of how I want the dish to taste. Sometimes I will use my palm or pinch with my fingers, but it’s nothing I could communicate in an actual measurement. So I say, just go with what you think will taste good. Or measure.
  • 2 cans of garbanzo beans, drained, rinsed, dried
  • olive oil
  • kosher salt
  • cumin
  • chili powder
  • cayenne pepper
Rinse the beans then drain them. I spread them on a paper towels then roll them around a bit to dry them off. I also pick out the little “skins” that fall off. I drizzled them with olive oil then sprinkled them with seasoning.
IMG_2578-0

The wine is only for my sanity, not a part of the recipe!

I roasted them in the convection oven on 375 degrees for about 40 minutes total, I stirred them around twice.
In a regular oven you would do 400 degrees for 30-40 minutes.
I like mine crunchy, so inevitably some of them will get a little burnt. I like those little guys too.
IMG_2582-0
Just to be totally honest, I love these, but Allen thinks they are disgusting.  But then again, he uses that word to describe a lot of things. It drives me nuts. And he knows it.
IMG_2590
He has described as disgusting the following things that come to mind:
  • wine
  • roasted garlic
  • ground turkey (he will eat an entire serving and more of spaghetti or chili or “sausage” though)
  • my toothpaste

Anyway, if you’re in the market for a spicy, crunchy snack, and you’re not as crazy as my boyfriend, I say give these little guys a try!

Cheers to football Sunday!

IMG_2600

Homemade Pizza

Ever since we got the new camper with a convection microwave, I’ve been wanting to make homemade pizza. 

My first attempt at cauliflower pizza did not turn out so well. The directions said to steam and drain the cauliflower, getting rid of the excess moisture, before grating it and maxing it with cheese and egg and shaping it like a pizza crust. I skipped the steaming and draining part so the “crust” never got crispy enough to hold together. I still want to try it again…  


After that didn’t work, and I got the Breadmaker, I decided to make actual pizza dough. This time it came out super delicious! I think the only thing I will do differently next time is bake the crust on its own with no toppings for ten minutes or so beforehand, so it gets a little more done without the cheese and toppings getting too brown.  


pepperoni, jalapenos, bell peppers and onions

  
And by the way, Allen took his very first blog photos for this post! 😉 Good job babe! 

Here is the recipe I used for the dough:

1.5 pounds: 1/2tsp salt, 3cups all-purpose flour, 1-1/2tsp active dry yeast, 1cup water, 2tbs EVOO, and I added about a tbs of Italian seasoning 

  1. Measure all ingredients into bread pan. 
  2. Select the dough cycle on the breadmaker. 
  3. Pat dough into a 12″ round pizza pan. 
  4. Preheat oven to 400• (I did the convection oven to 375• because you always go 25• lower than the recipe calls for. 
  5. Spread sauce and toppings over dough. 
  6. Bake 15-20 minutes. (I went 30 because the convection oven seems to take longer.)

***As I mentioned before, next time I will bake the crust on its own for about 10minutes THEN add the toppings. OR I could bake it in the regular oven. Since camper ovens are so small, they tend to burn the bottom of everything, since that’s where the heat comes from. We usually try to avoid using it altogether.  But that might be perfect for pizza!

On another note about the camper oven: we discovered in the old camper, before we had a convection oven in our lives, that if you cover the oven rack with aluminum foil, it helps to distribute the heat a little more evenly, but it also takes longer for things to cook.