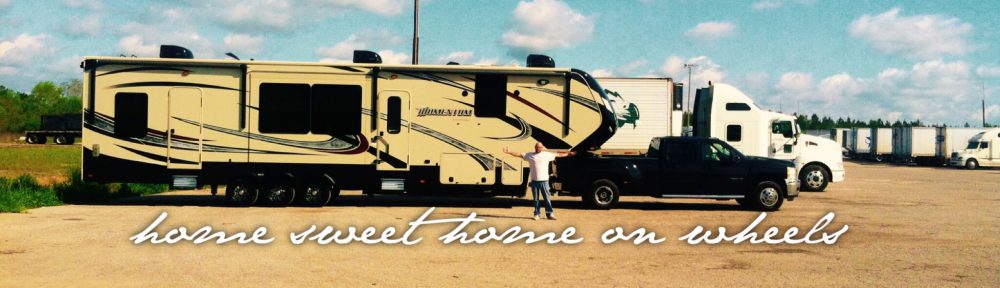
Yesterday when I got lost in the endless Pinterest maze, I was actually looking for a way to transfer an image onto fabric. Since I made my pillow covers, I’ve been thinking they looked a little plain. I found a solution (I think!)
I still want to add to this but, now I know how to do it! It’s super easy! You need:
- A printer
- Wax paper
- Scissors
- Fabric
That’s it!

Remember everything will transfer in reverse. Good thing this was a test on scrap fabric!

Word… And my Sutro coffee cup…

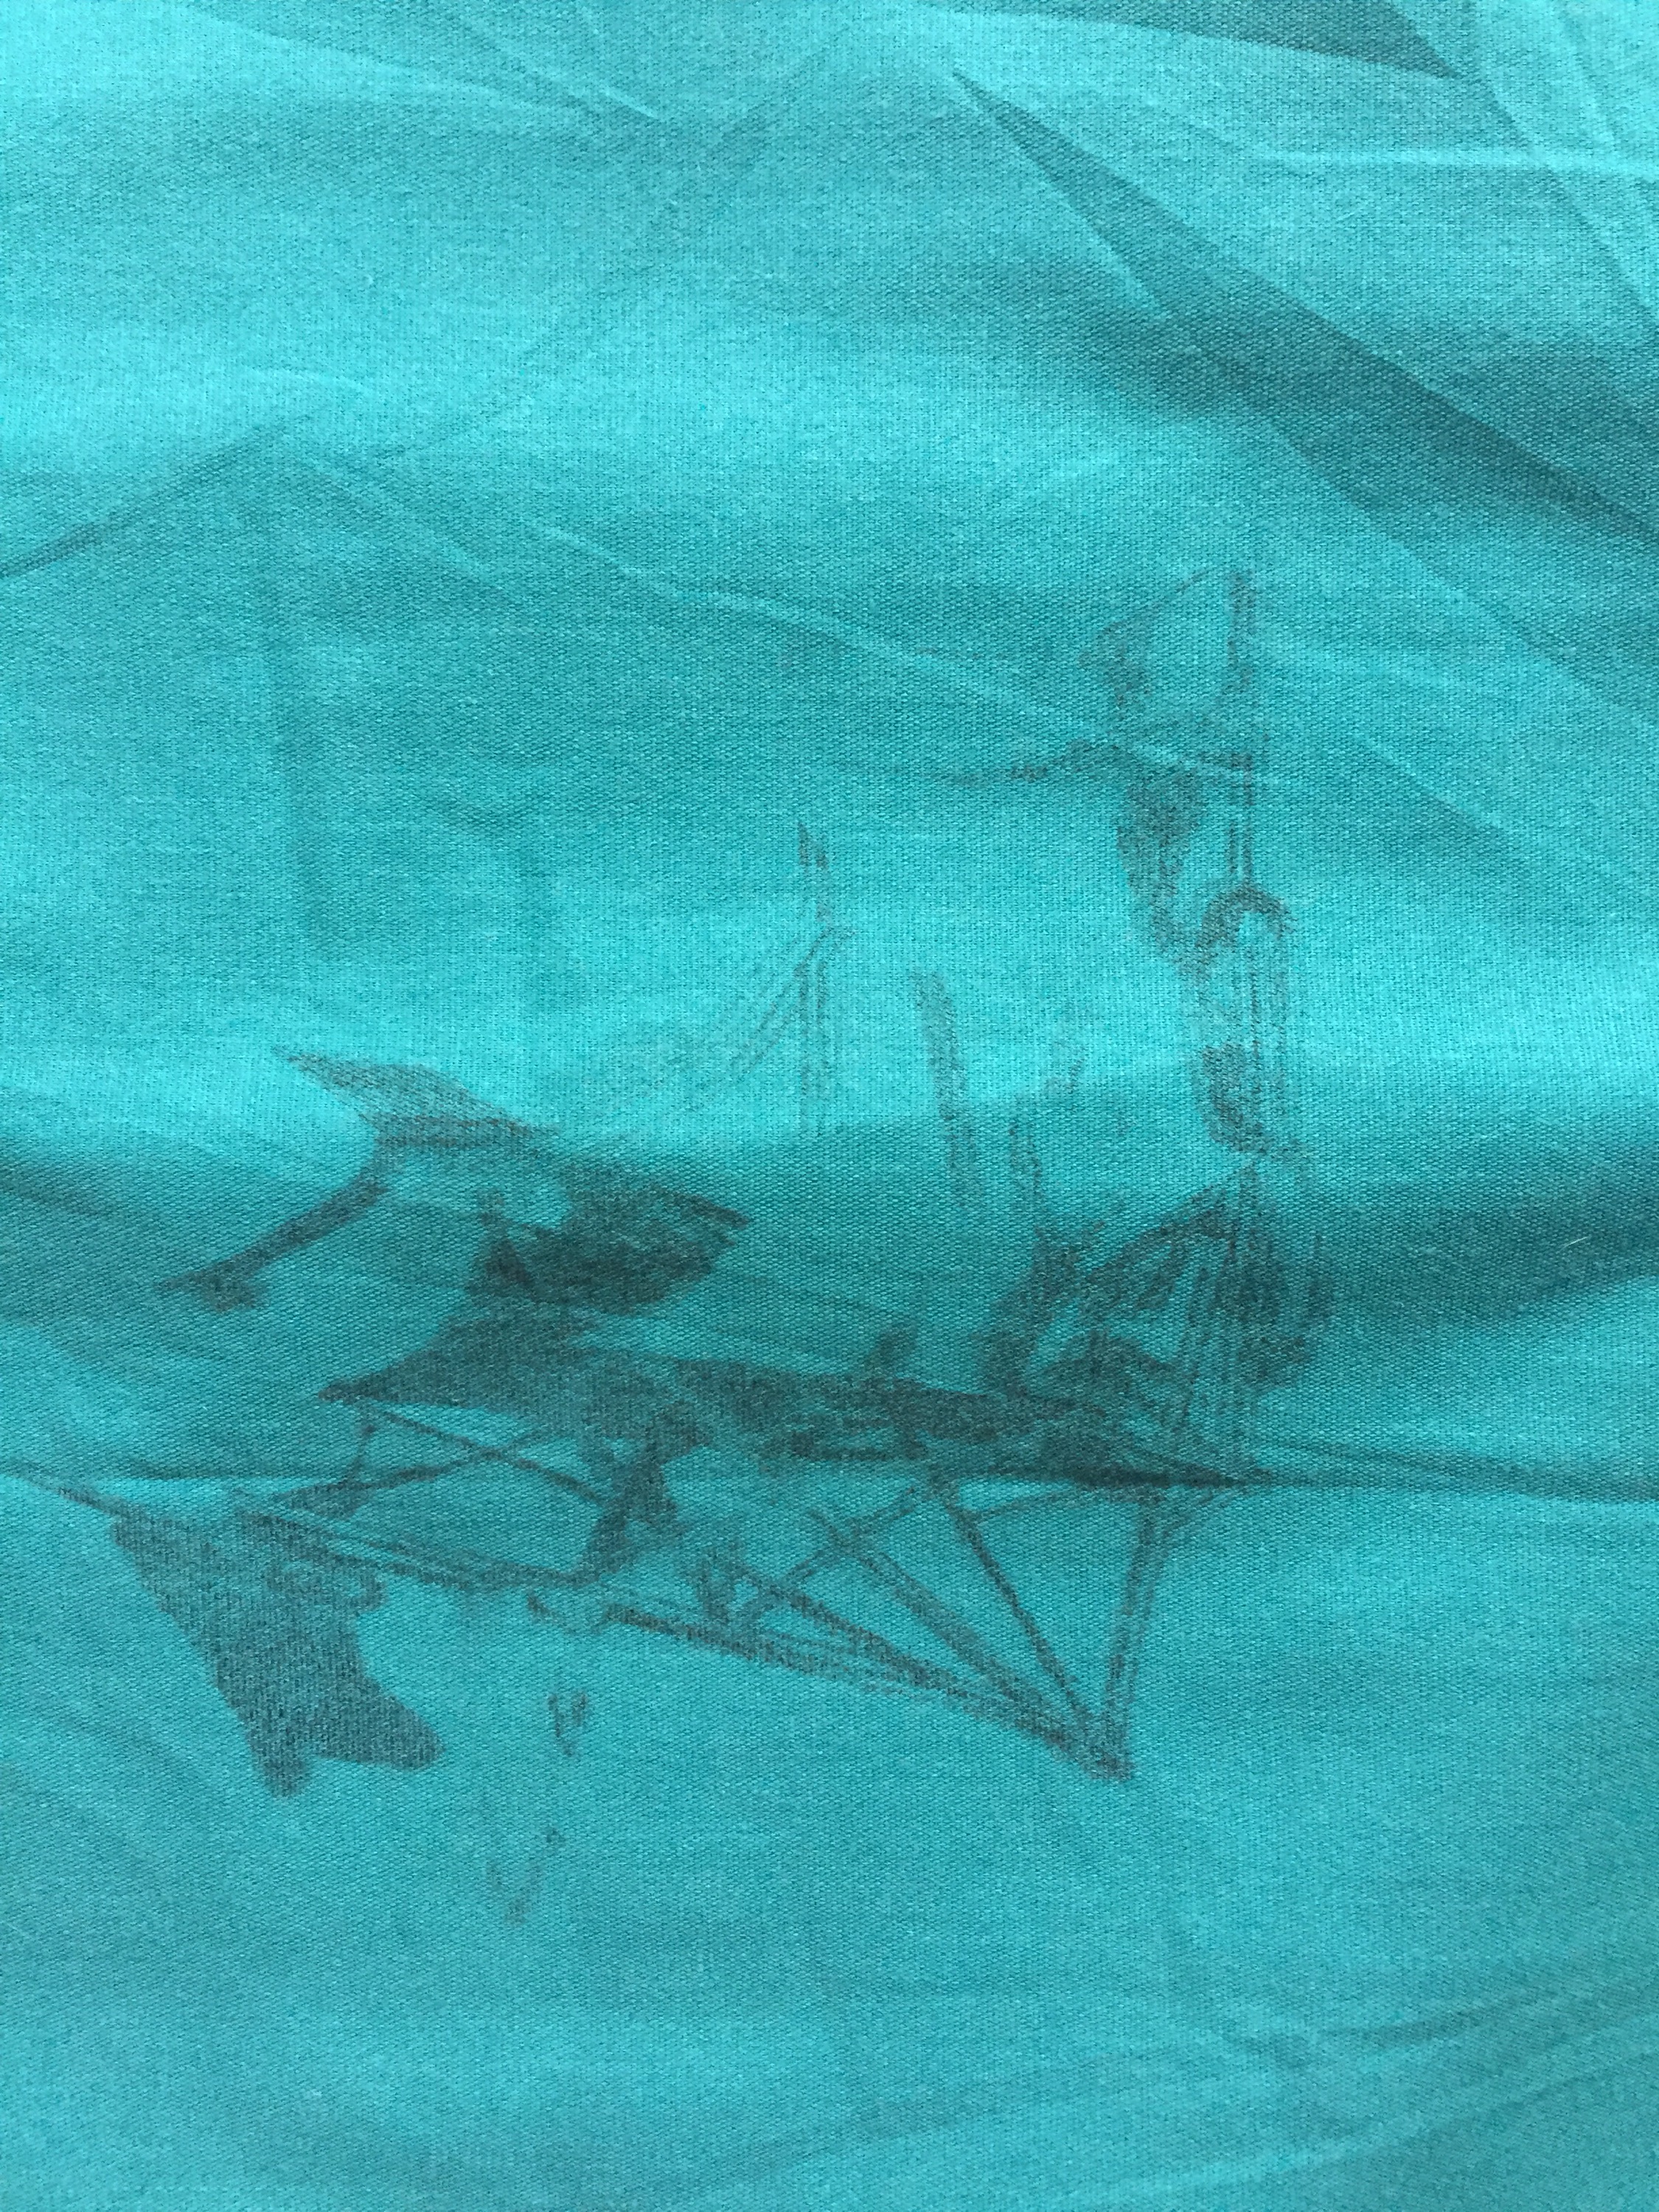
I need to figure out what else I’m going to put on this pillow cover because the chair turned out pretty small in comparison.
 The chair is a drawing I did when we finally had to get rid of the original. It was around 13years old and it finally gave out in Oklahoma City. We definitely got a lot of use out of it!
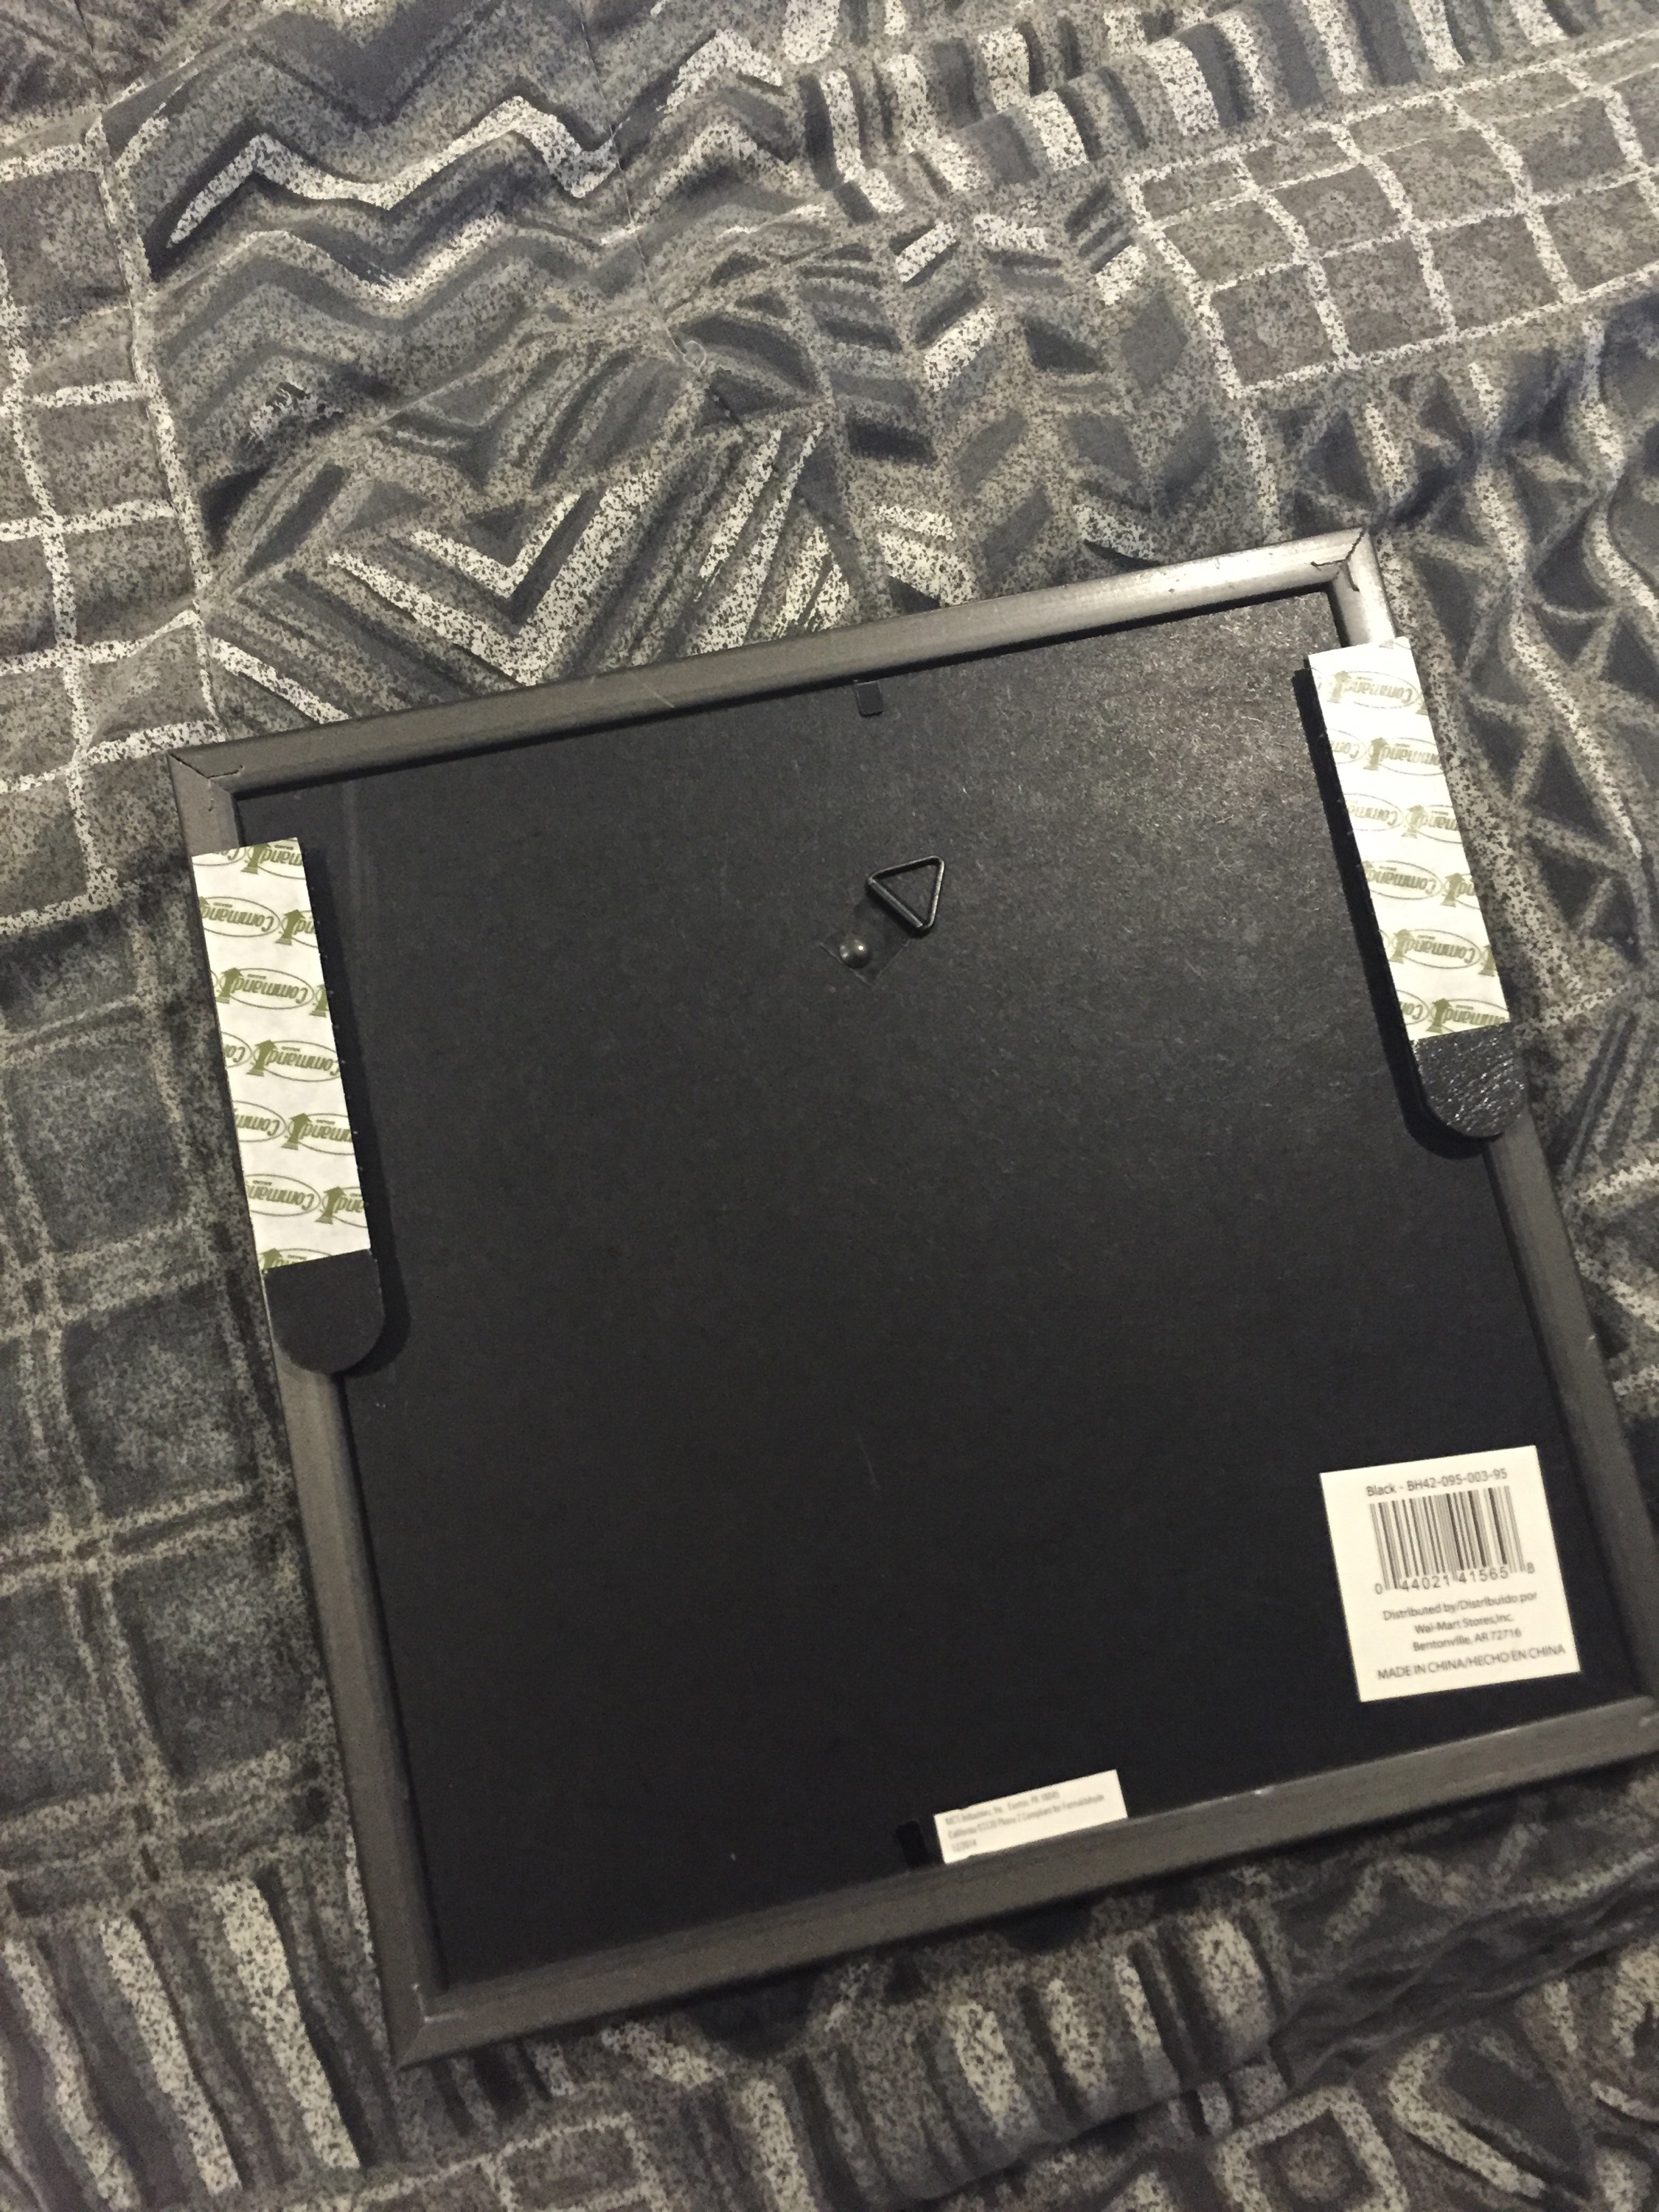
I just hung up these two guys this past weekend. The top one was a DIY I made for Allen’s birthday present. We picked up some Command damage-free picture hanging strips. They are kind of like Velcro but they snap together. I love all the Command products!
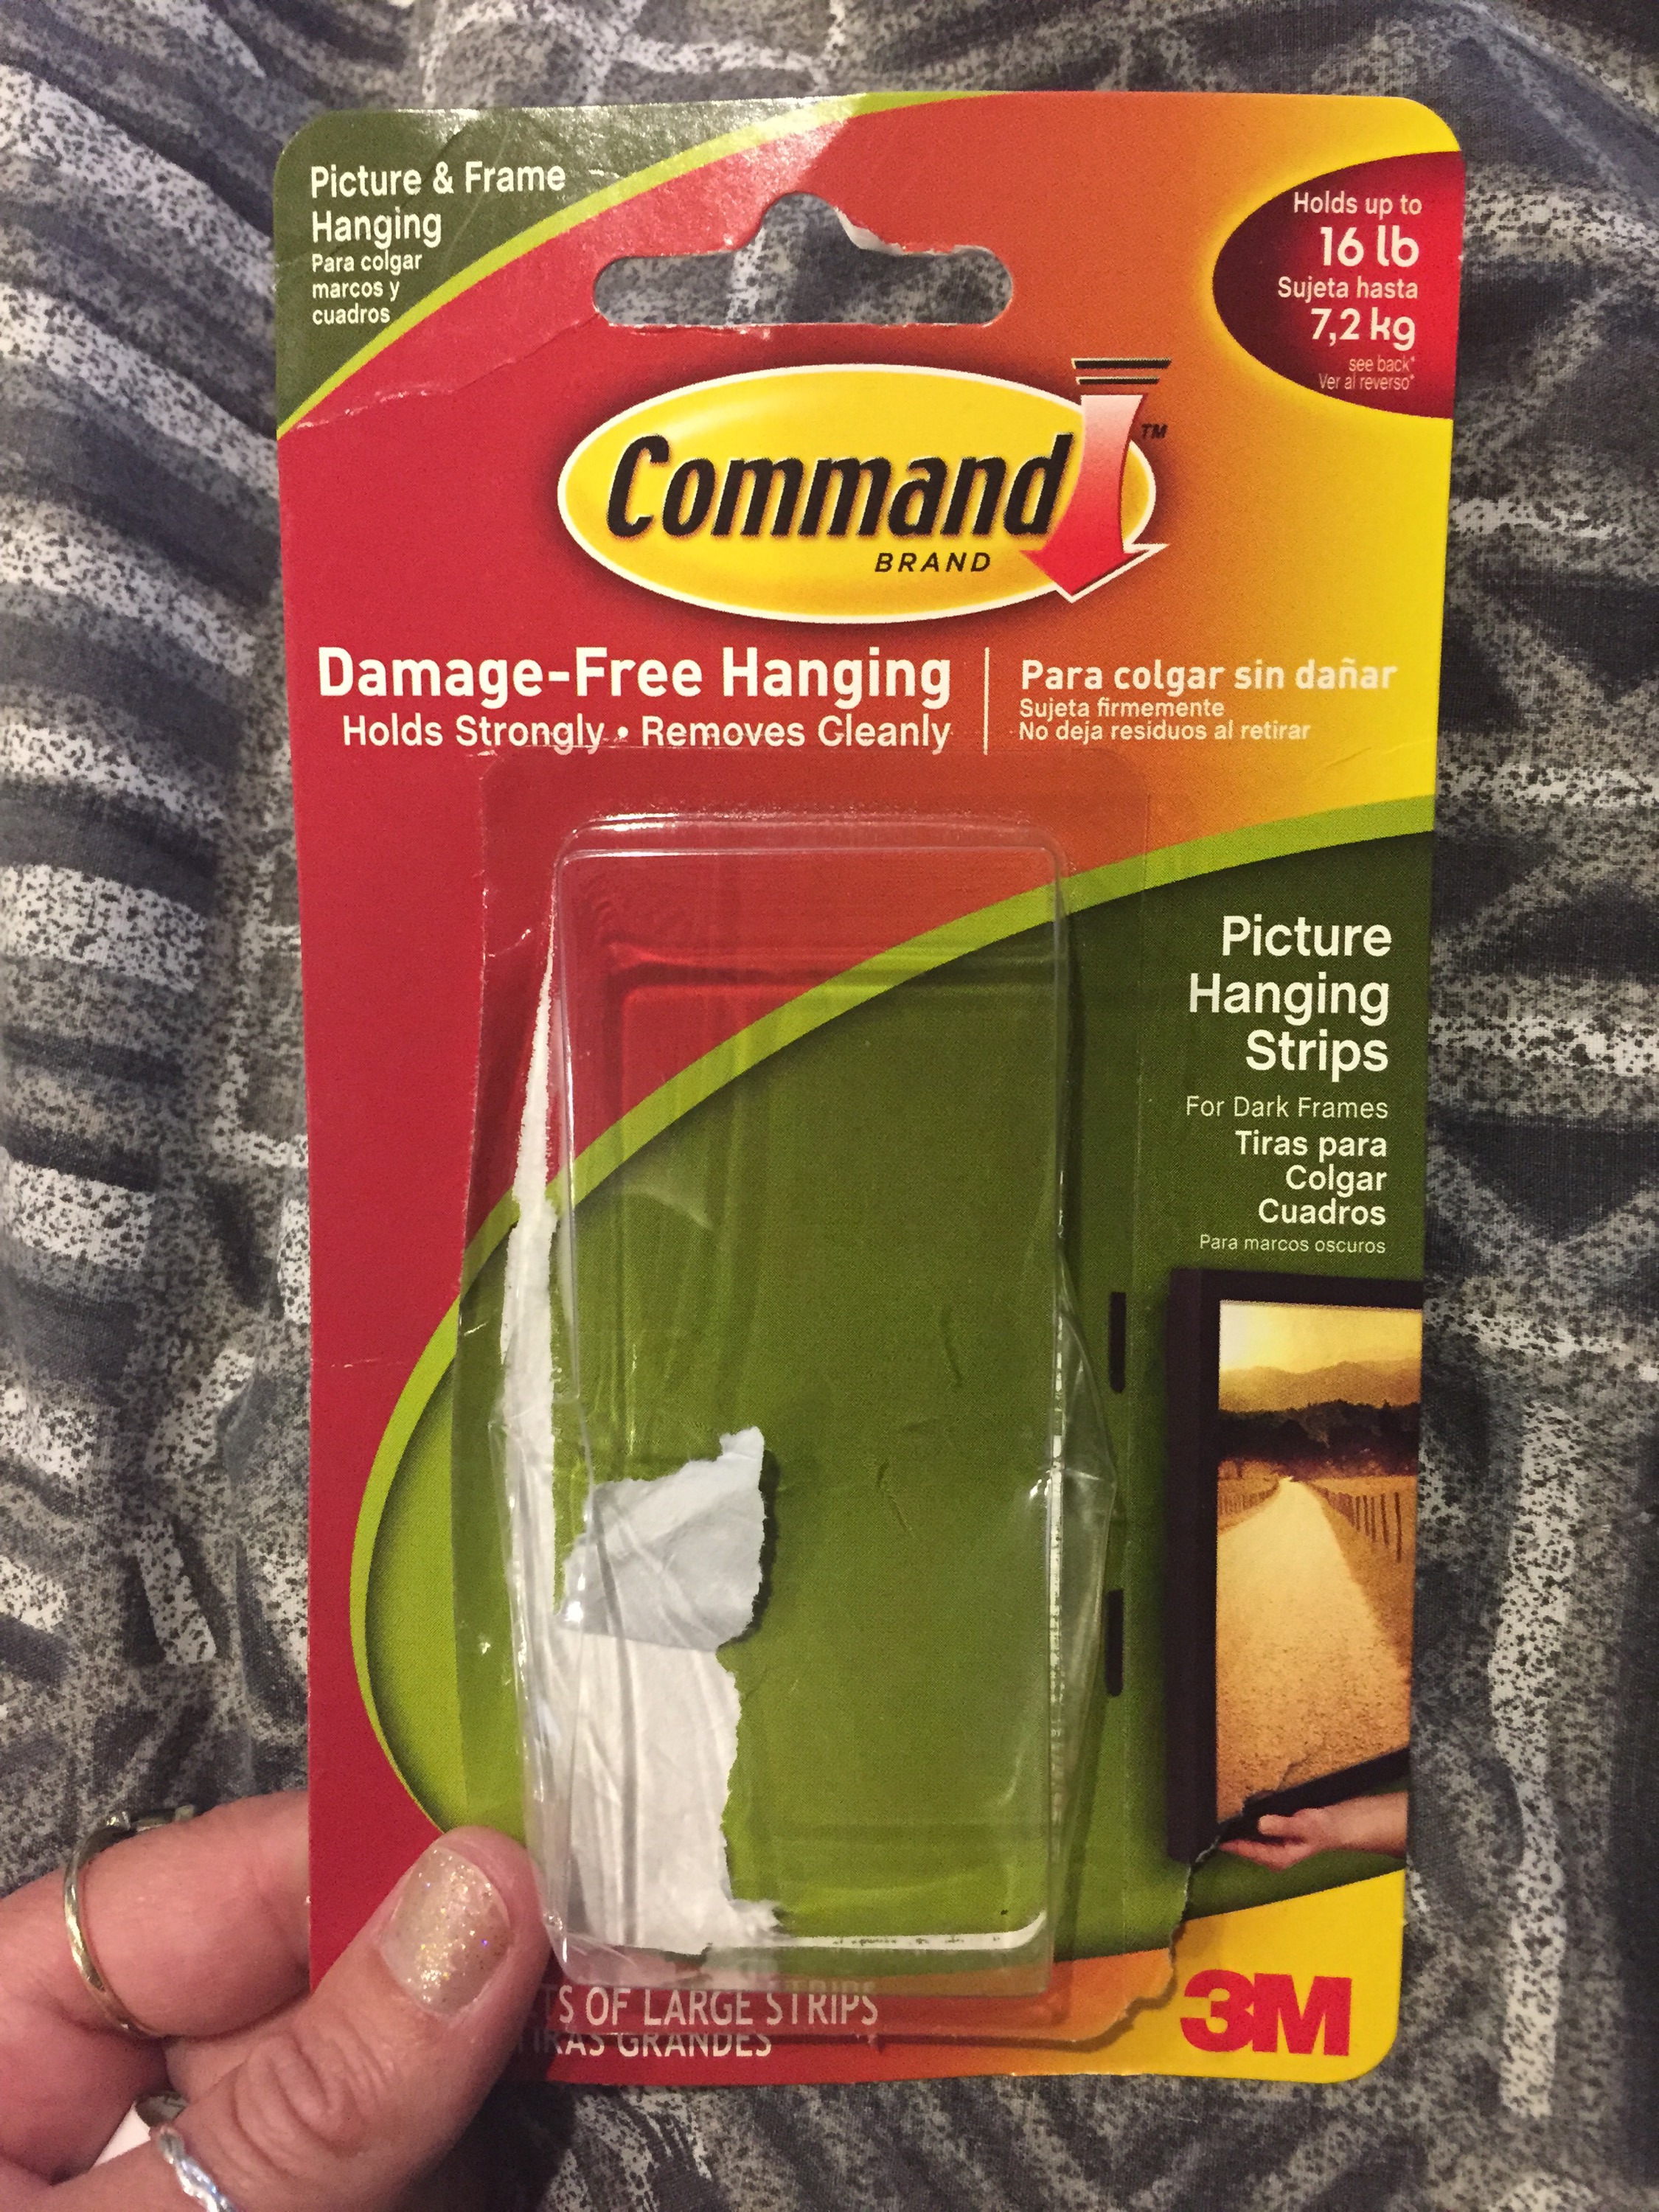
With a camper, space is limited so the more you things you can hang and keep out of the way, the better… But you can’t really put nails in the wall, and the studs are never where you need them to be. I still wanted to hang some things to make it more “ours”… They are holding so far! Here are some more Command products currently in use:

On the backsplash behind the stove

On the bathroom wall
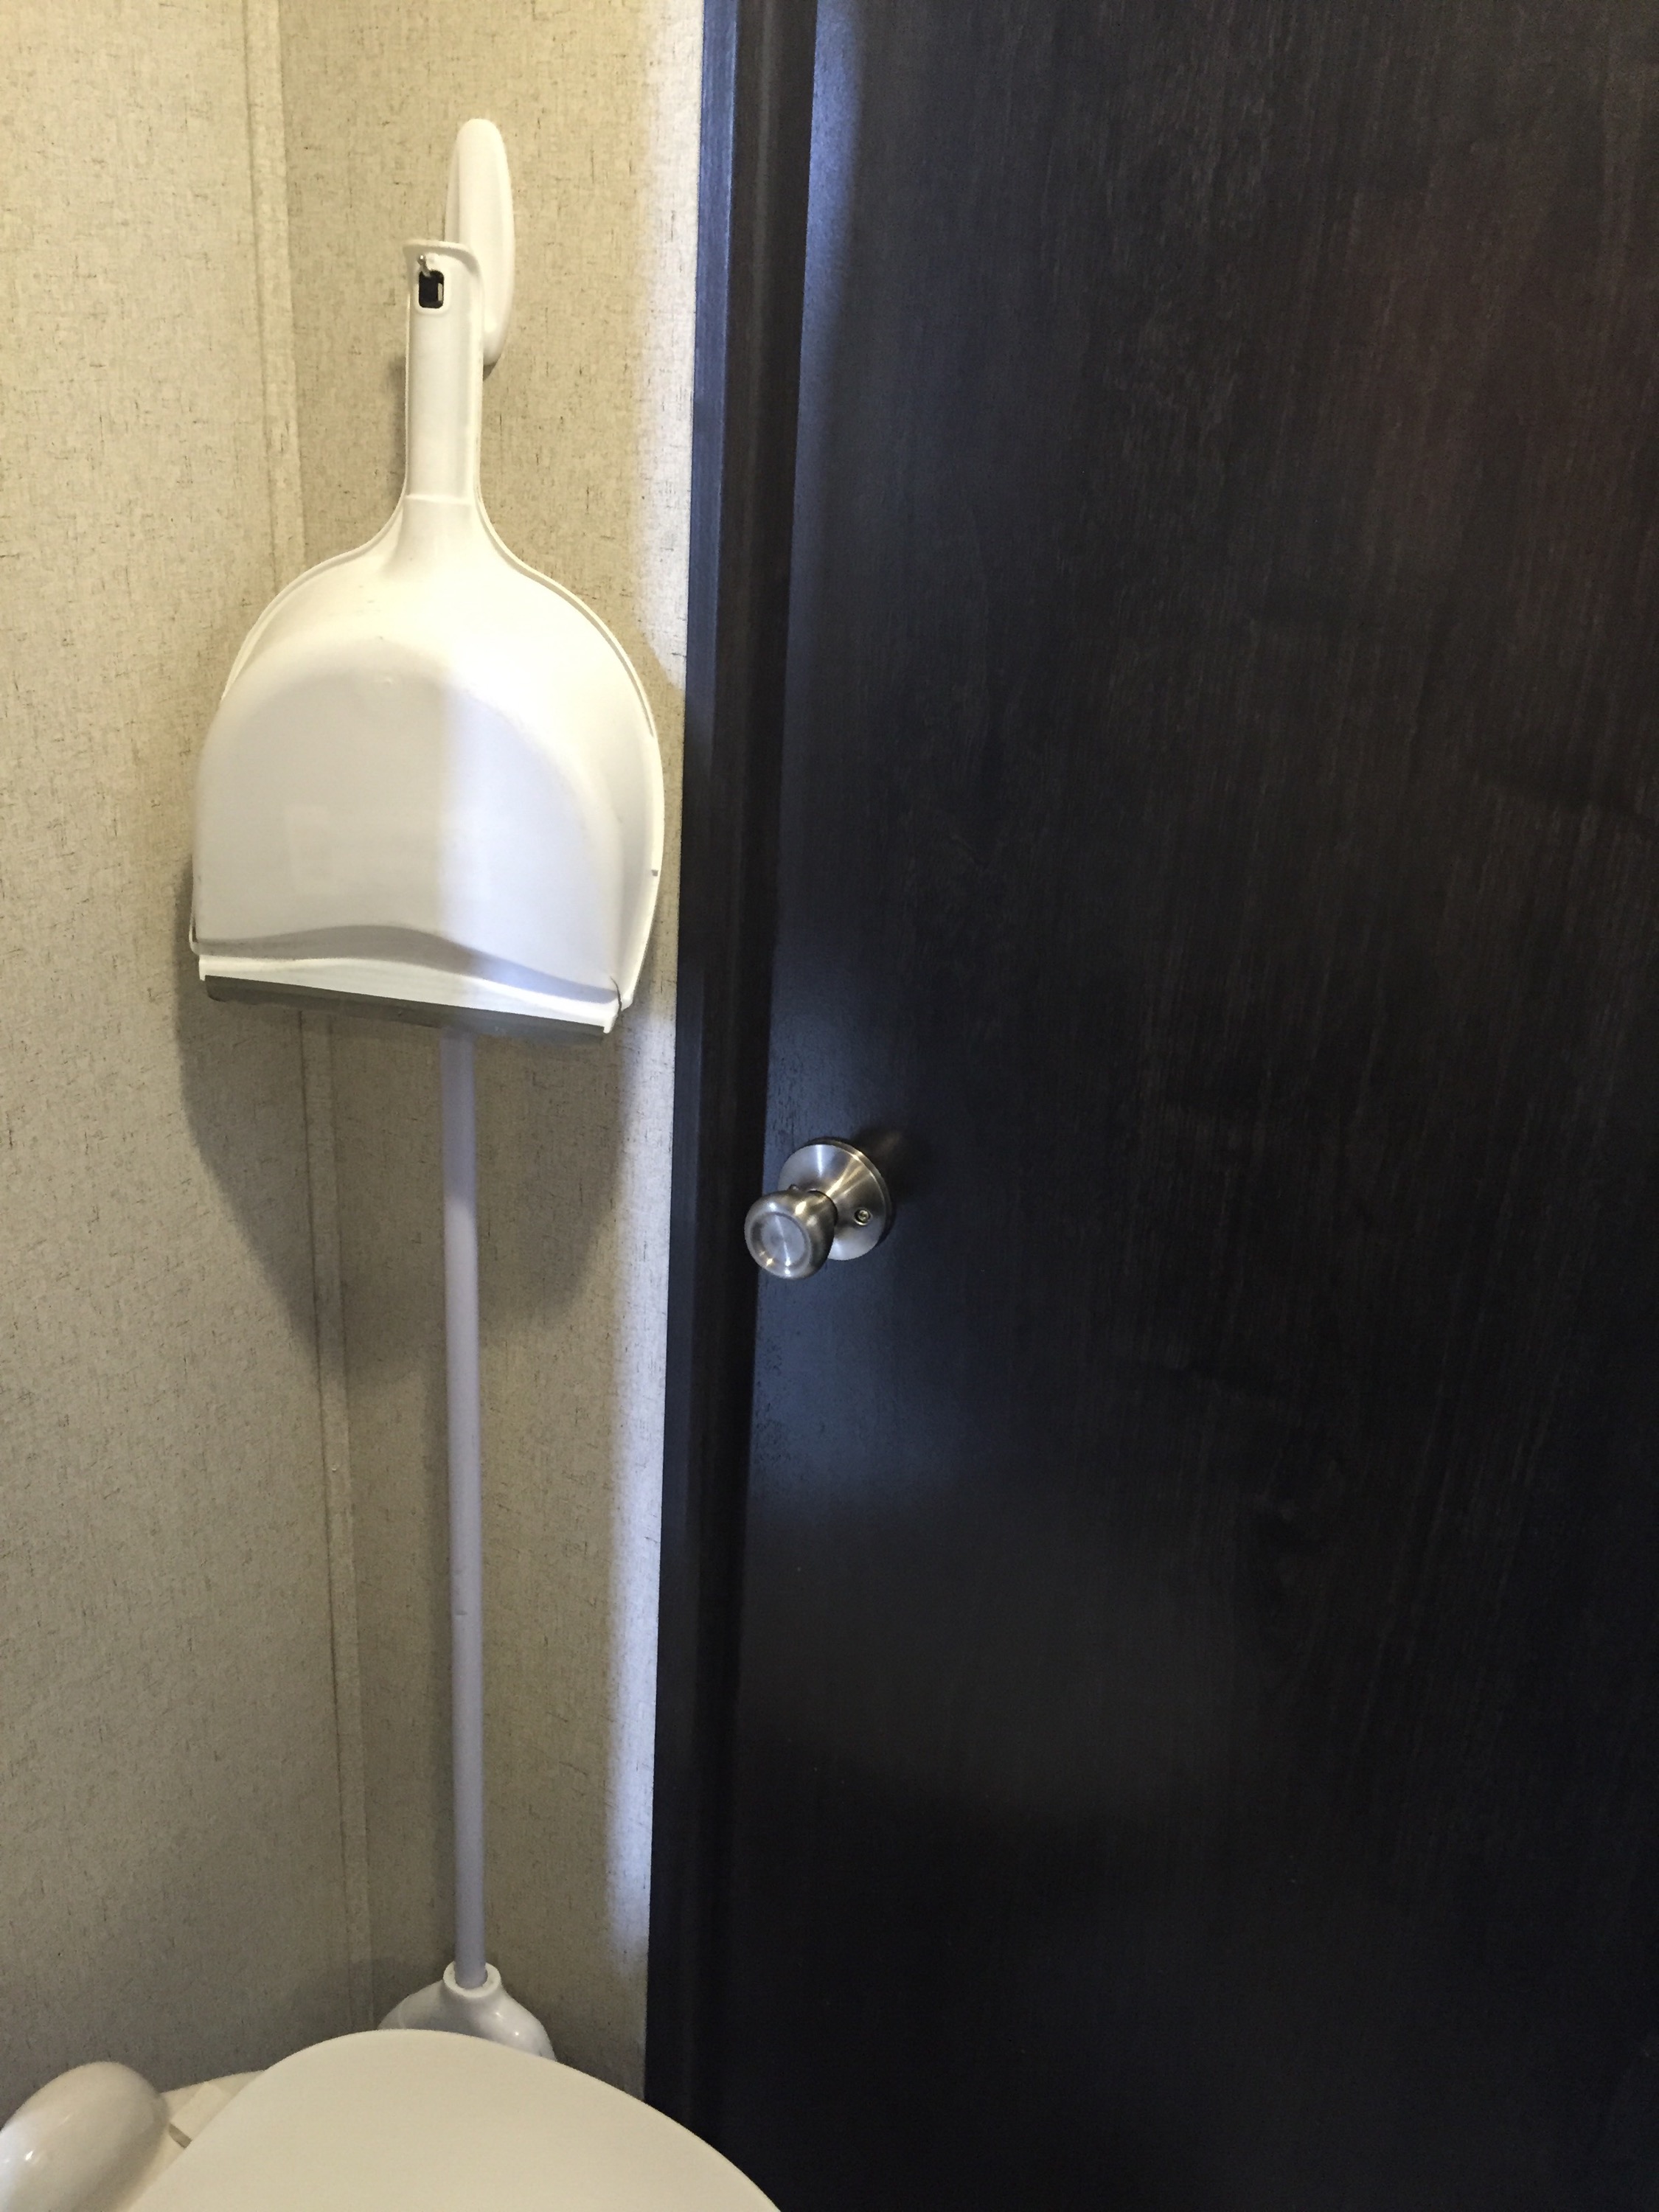
In the half bath AKA broom closet!

