Grilled Tuna with Mango Salsa over Rice

I love seafood. It’s healthy, it’s delicious, it’s easy to cook (once you figure out never to OVER cook it). 

I usually make this Mango Salsa to go with salmon but since I couldn’t find any salmon to my liking, we went with tuna steaks instead. (I think frozen is perfectly delicious if super fresh isn’t available…)

I always preheat the grill and get it smokin’ hot while the fish is thawing out and getting seasoned with love. Ok, I use Canadian steak seasoning in place of actual love for the tuna! (With salmon I use Old Bay and white pepper with a smidgen of garlic salt). 

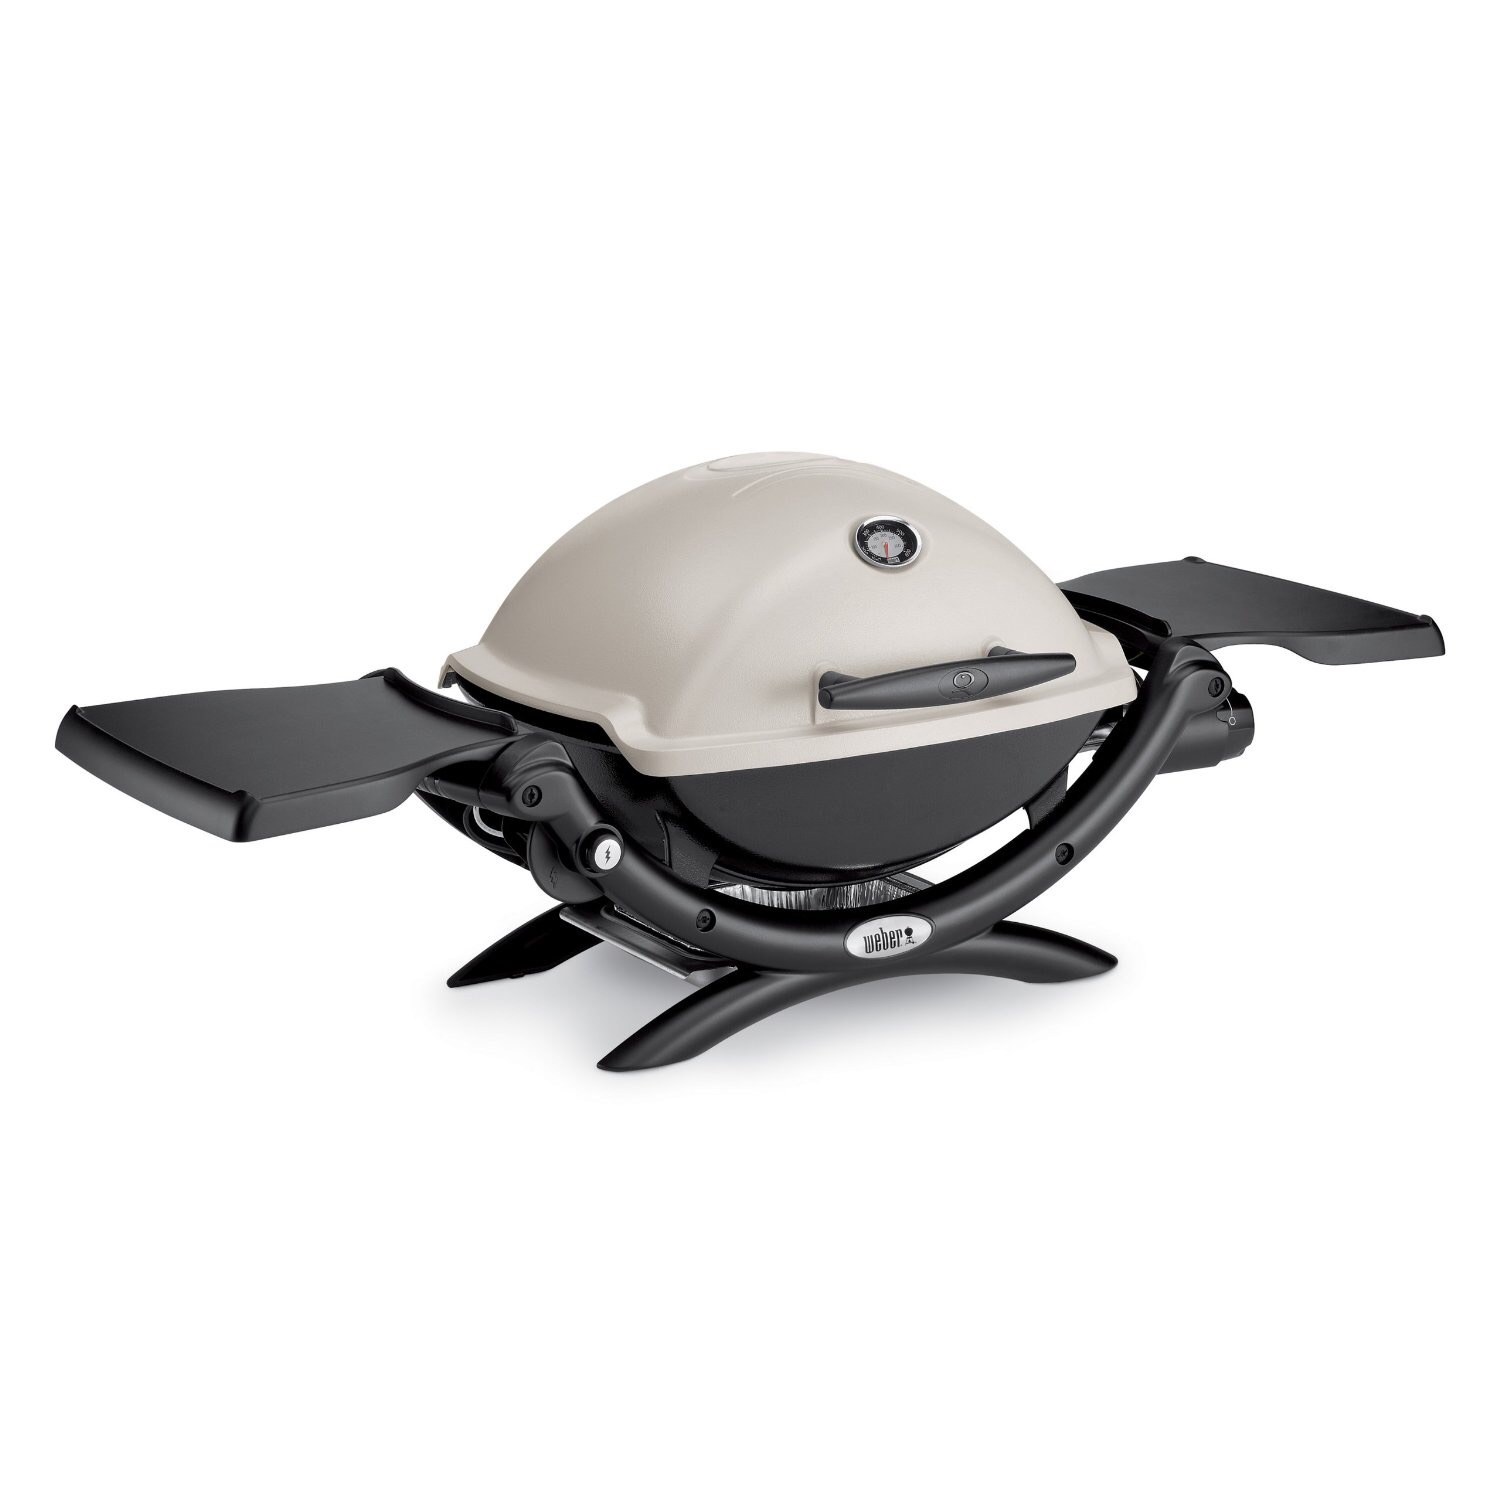
Be sure to oil the fish then place it on the smokin’ hot grill, close the lid and leave it alone. Depending on how actually smokin’ hot your grill gets, will determine when you should flip the tuna. We have a Weber Q (the back side is being weird as of late and not staying lit, so it’s not getting as super hot as I would prefer).  

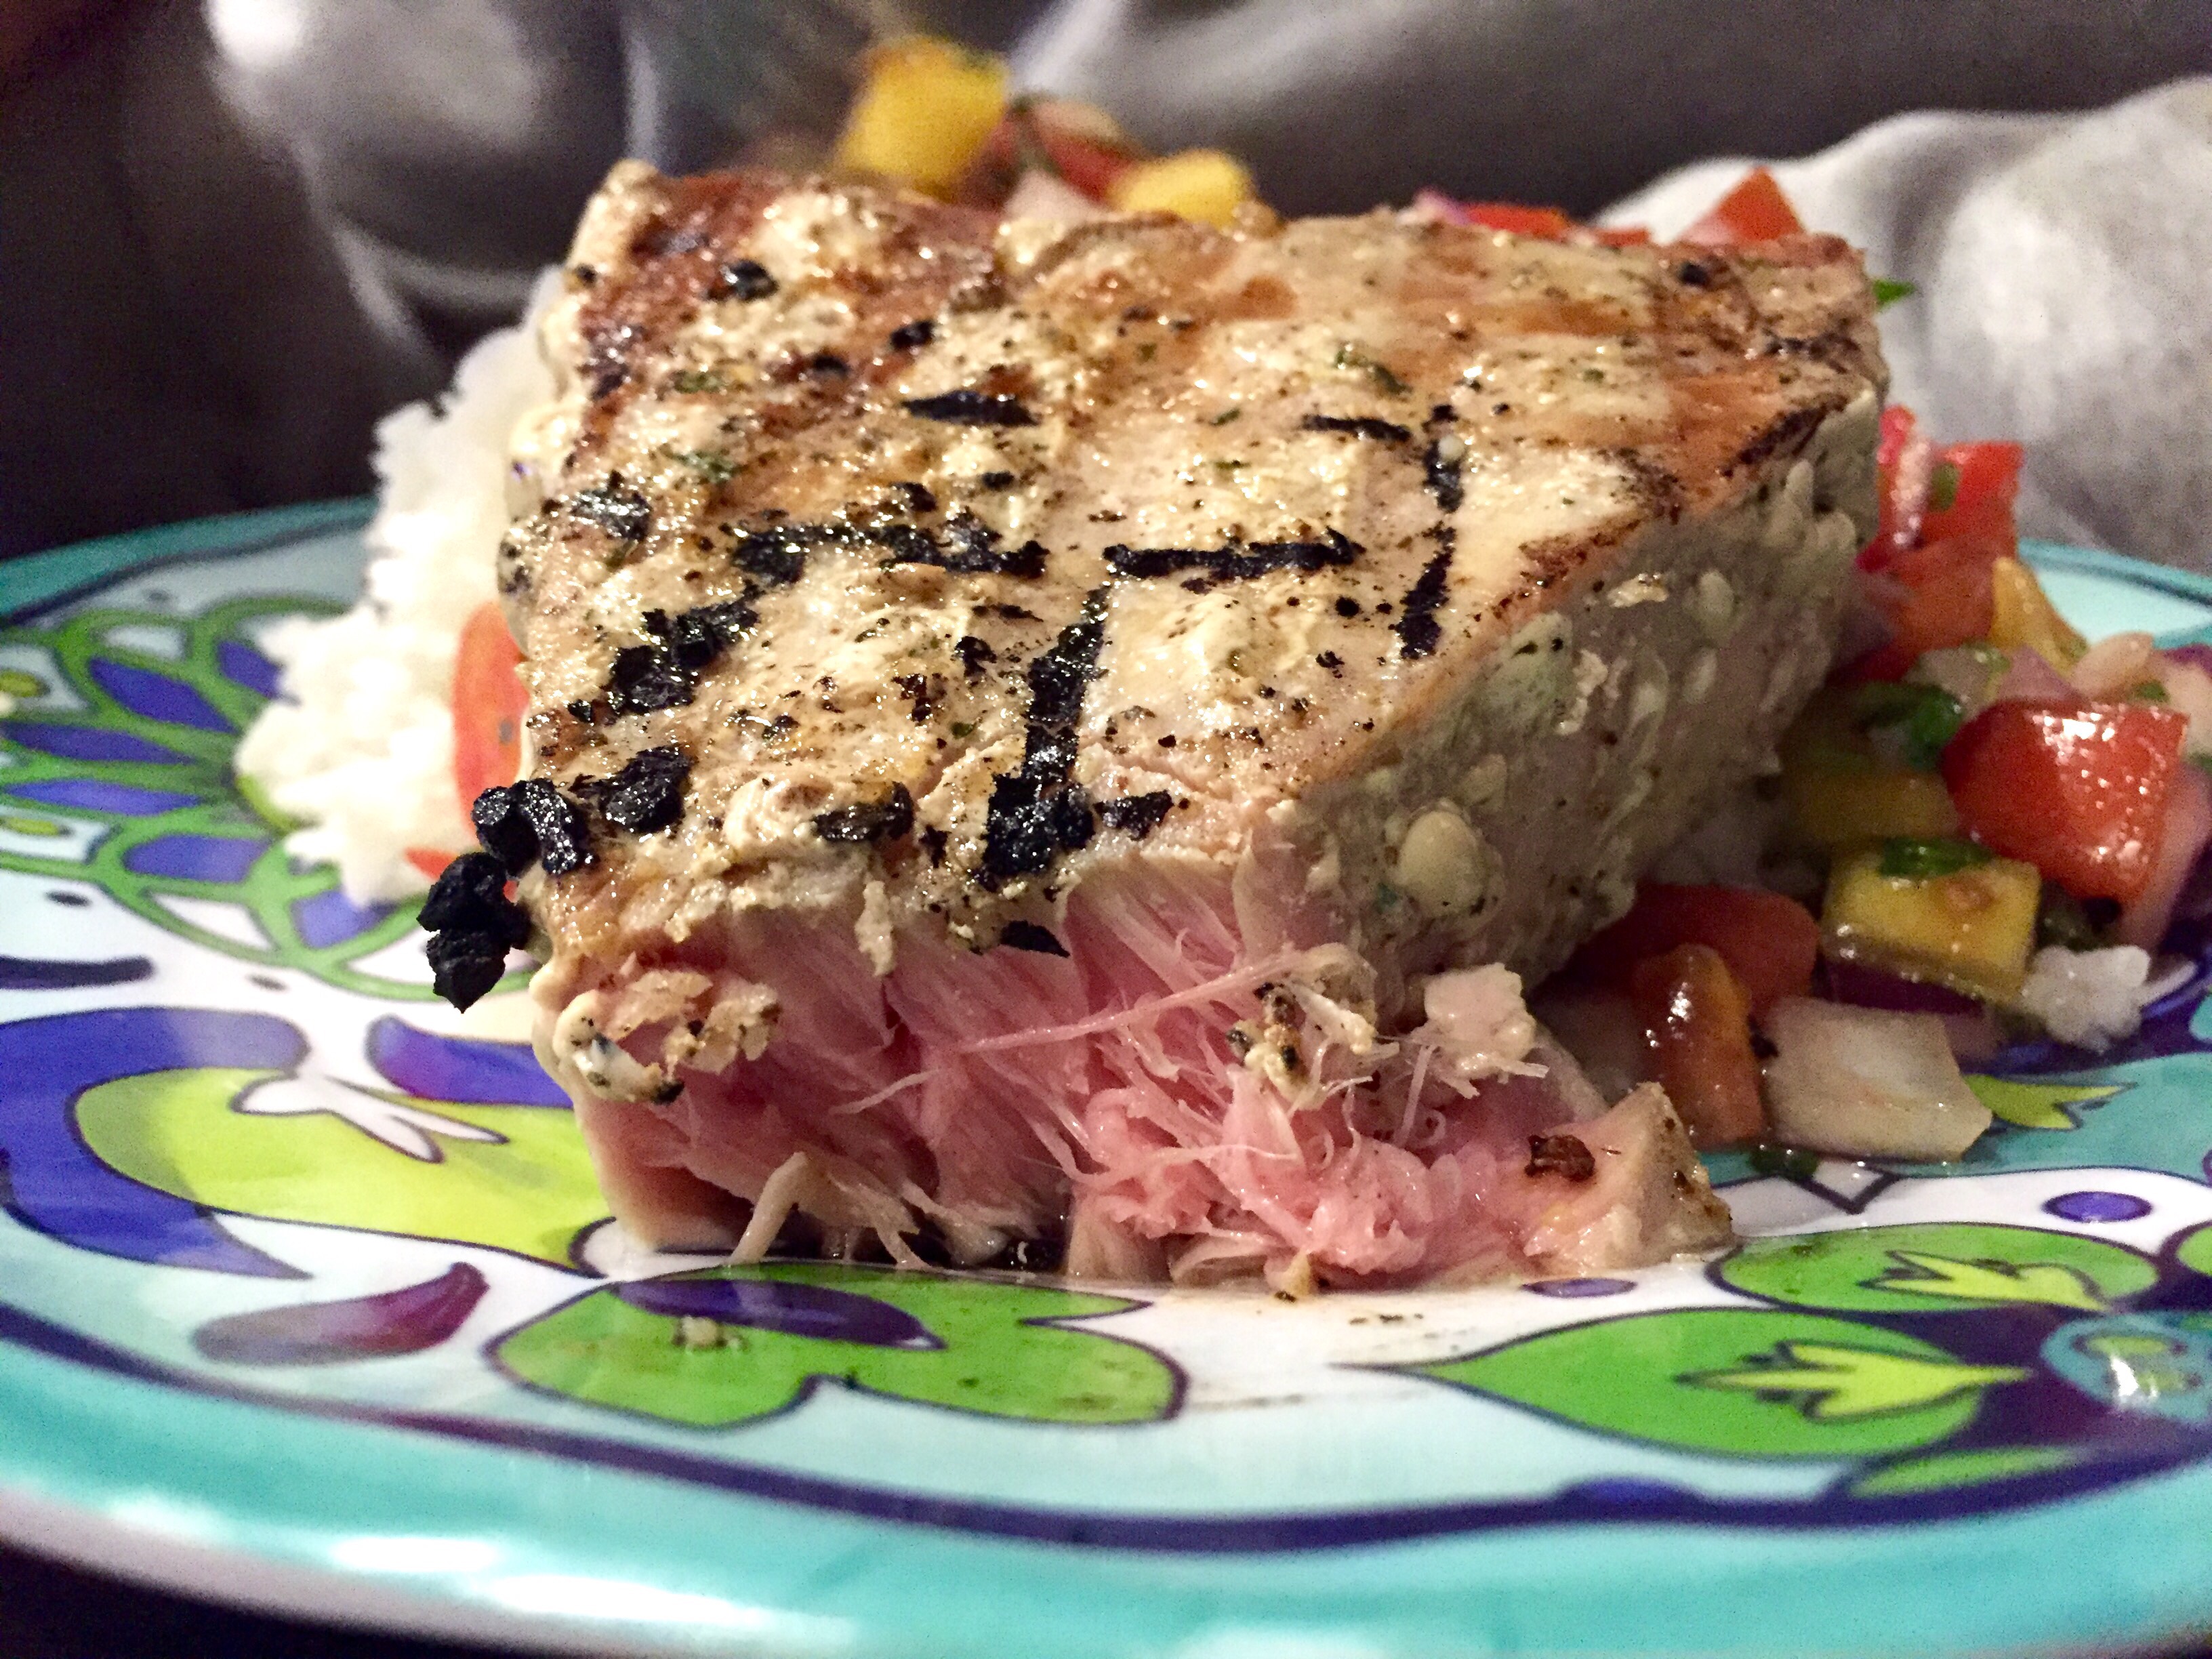
 But usually about 4 minutes is good, then flip the tuna steak. (It should let you flip it easily, fish tells you when it’s ready, it’ll stick if it’s not). Do about 3 minutes on the other side and you’re finished!  

 Now on for the really tasty part that gives the whole meal a kick… 

Mango Salsa

  • 1 ripe mango, diced
  • 1/2 small red onion, diced
  • 2 Roma tomatoes, diced
  • Lemon or Lime juice
  • 1-2 tsp sugar (depends on the sweetness and ripeness of your mango)
  • A squeeze of rooster sauce aka Sriracha sauce (you can choose how spicy you want it to be)

I mix all these yummy things together at least an hour ahead of time to give them time to get acquainted and mingle and develop some delicious juice to hang out in.  

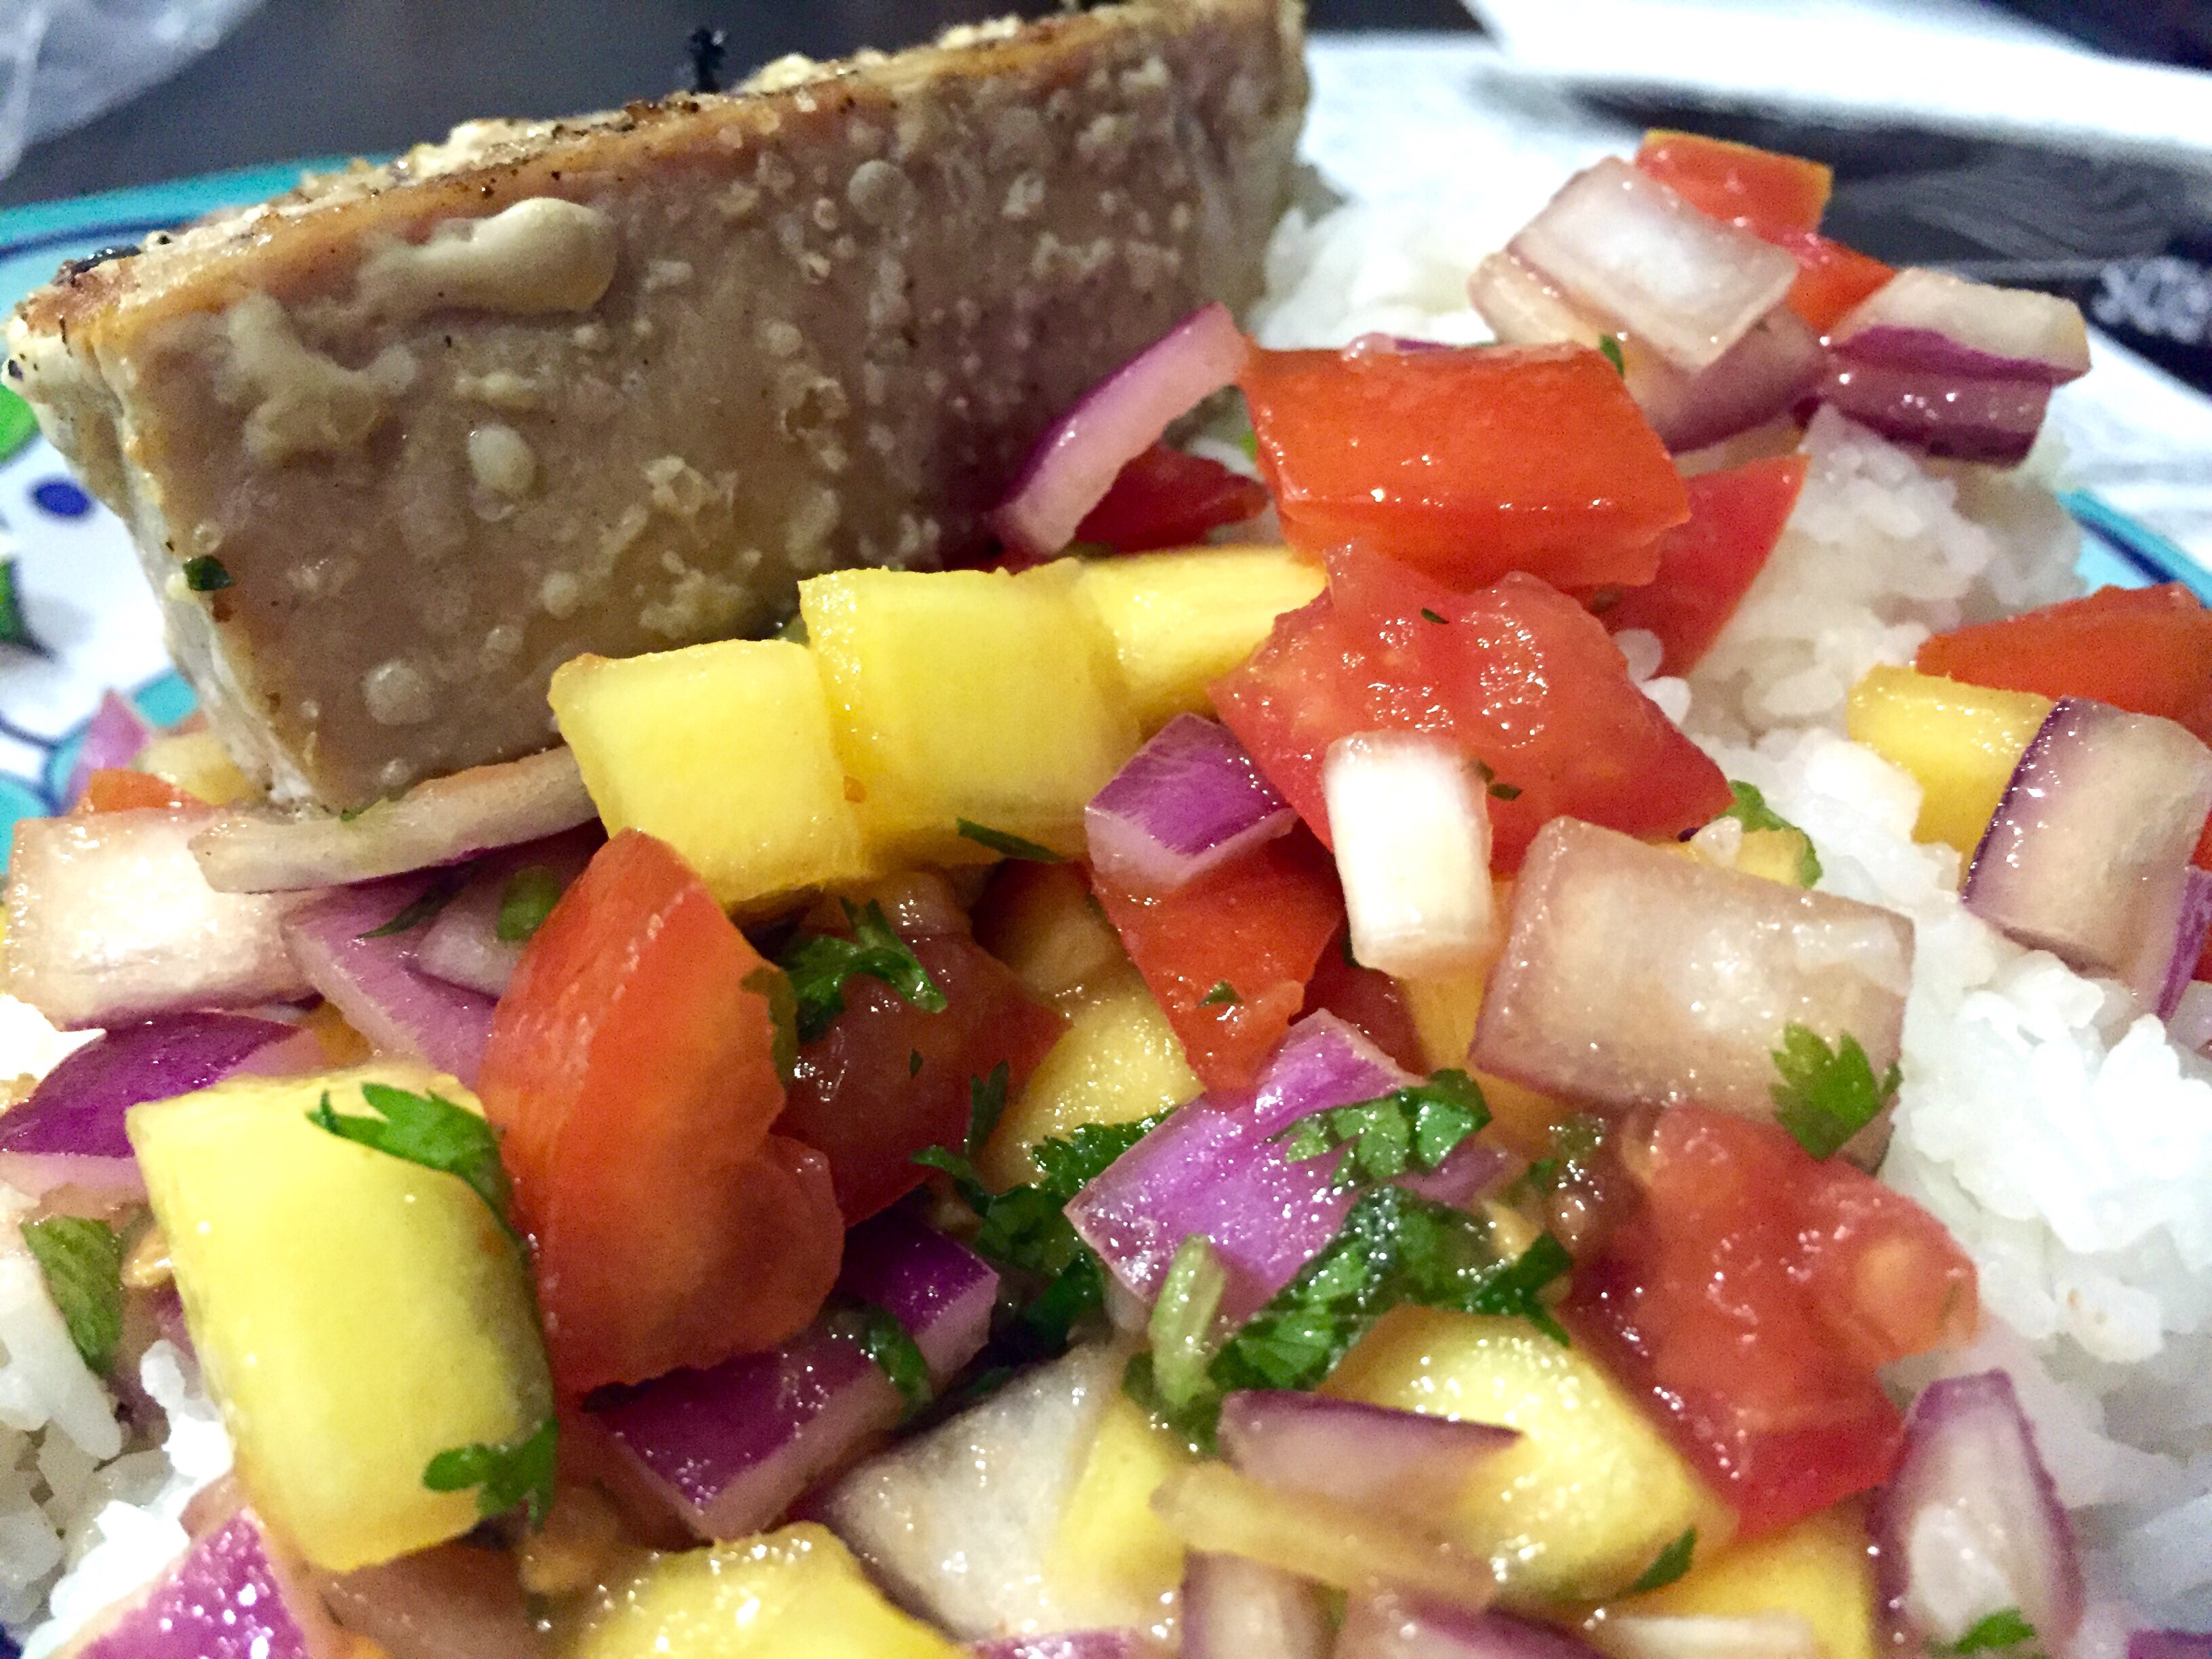
 I serve the tuna over steamed white rice and top it all off with the mango salsa. Yum! And it’s all good for you!  


Back in the swing of things…

After about 3 weeks off, visiting family and getting things done on the camper, we are back in Texas and back to our normal routines. Allen is back at work (his body definitely knows this!) and me and Charlie are back to killing time together. 

I feel like I’m getting a lot done, even if it’s little things… 

  • I fixed our pantry drawer that was acting up (the middle one) and now all three of them open further than they did before – definitely a plus!   
  • I reorganized the pantry and everything fits a lot better now. I posted a while back about my favorite “camper-sized” things… Well, my mom is awesome and got us the Magma nesting pots I was dying to have! So I was able to get rid of all our old mismatched pots and pans that were crammed into one drawer and make room for the k-cup brewer she also got me (Allen isn’t grown up enough to drink coffee yet, I’m still working on that!).    

    “the hot mess before”

     
  • Allen picked up some LED lights for the pantry also so we put those in and now I can actually see what’s in there!   
  • I liked those so much that we got another pack for the bathroom closet. Once I put them in there I saw how much of a hot mess that area really is so I had to reorganize that. I only tossed about 3 bottles of stuff but I somehow have way more room!  
  • Since we put the toolbox in the cubby, our garage is a whole lot bigger! So we got that cleaned out when we got down here and set it up.     
  • Now I’m in the process of trying to get this hideous sticker off the front of our washer/dryer. We didn’t take it off when it was brand new so I feel like it got baked on with use. Goo Gone isn’t working so it’s just the sticker vs my fingernails… I. Will. Win.     

We are also trying to eat healthy, and very inexpensively… Which is a little difficult to plan out, but I’m trying. See: Cheap, Easy, Healthy, Delicious Black Bean Soup. I’ve also kept us stocked with a wannabe 7-layer salad (wannabe because it doesn’t have nearly 7 layers but it’s still delicious).

I also started keeping a written budget. I had one going for the last couple months of 2015 but kind of let it slip in December. It’s difficult to do while traveling and expenses and income changes dramatically depending on what part of the country we are in at the moment. So we are starting fresh. So far we are most definitely in the red! But I’m hoping to get a better idea of where our money goes and trim it back here and there wherever we can. After all, we have a Smart Car goal to get to in a little over a year! 

Cheap, Easy, Healthy, Delicious Black Bean Soup

Yes, this soup is all of those things. It’s so good. I made it last night for dinner and just had the rest (a 1/2 bowl) for lunch. Yum! FullSizeRender-20.jpg

I’ve been wanting to make black bean soup for a couple months now and I’ve had 2 cans of black beans in my pantry just waiting to be used. I don’t know what happened or why I didn’t make it, but I’m fairly sure I bought these cans of beans the LAST TIME we were here at the RV Ranch in Keene… That means they’ve been out to San Francisco, over to Winnemucca, NV; Rawlins, WY; Hermosa & Salem, SD; up to Hillsboro, ND; down to Council Bluffs, IA; through Oklahoma City; back to Keene, TX; up to Sparta, KY via West Memphis, AR; and back down here via Dickson, TN and Texarkana. These are, were, some travelin’ beans!

Allen and I both put on a little teensy tiny bit of hibernation weight in North Dakota so I’m all about trying to make healthy meals for us this year!  Not to mention, as I’m sure a lot of folks are right now, we are just hanging on until tax return time! The holidays combined with three weeks off work are fun and all, but we are definitely feeling that now!

Anyway, I try to save these recipes I find as bookmarks on my phone or write them down somewhere but this one just disappeared… So I went searching via Google yesterday and found recipes from the Pioneer Woman (I love most of her recipes for just about everything), Epicurious (Jennifer from Tyler, TX specifically-I did write that down!), and Food Network

I didn’t have all the ingredients for any of them so I mixed and matched and used what I had… Here’s my version:

Cheap, Easy, Healthy, Delicious Black Bean Soup

  • 1-2 tbs bacon grease
  • 1 medium onion, diced
  • 4 cloves of garlic, minced
  • 1 jalapeno, some of the ribs and seeds removed, diced
  • dash of oregano
  • dash of cayenne pepper
  • dash of ancho chili pepper
  • dash of chili powder
  • a large dash of cumin
  • 2 cups of beef broth
  • 2 cans low sodium black beans, undrained
  • 1 roma tomato, diced
  • 1-2 tbs jarred salsa
  • about a 1/2 cup frozen corn, maybe more
  • salt to your liking
  • palmful of chopped cilantro

Saute onion and jalapeño in bacon grease over medium heat until just getting soft. Then add garlic. Add all the spices. Once the garlic begins to get fragrant, give it about 30 more seconds and add the broth. Stir to combine, bring to a boil. Add your beans and give those a stir. Then add corn, as much as you prefer really. Once the corn warms up, give it a taste. I probably added about a teaspoon of salt, maybe a tad more, but I didn’t measure. Let that simmer for about 20 minutes to bring the flavors together then stir in your cilantro. I topped mine with a dollop of sour cream and more cilantro, with a little bit of green onion last night. Today for lunch I topped it with a diced avocado and that was absolutely scrumptious! 


Grand Design RV & Colerain RV

Grand Design & Colerain RV
After our terrible experience with the mobile tech down in Dallas, Ray at Grand Design said to send in our receipts for reimbursement and hooked us up with Colerain RV in Cincinnati to get things resolved. 

The new year break must’ve done him good because he’s been a whole lot nicer to deal with since! He set it up for Colerain RV to send someone out to our camper in Sparta, KY. 

But when I talked to them to schedule it, Debbie said she would rather us bring it in to make things easier. They had us in and out in one day! 

Ray had the parts rushed overnight – thank you!

  We gave them the slide motors for the schwintek system on the bedroom slide and they put those in. They also replaced the control box. But said that ultimately we need the whole system replaced. Right now the bedroom is all the way in… Daggone Lippert… 

The tank heater on the back bathroom black tank was bad so that was replaced. Also, the valve for the black tank in front was replaced so hopefully we are done with that leaky nastiness!

I just emailed David at Grand Design with a few questions and he got right back to me with answers. Turns out the weight limit for the garage floor and the ramp door is 2500lbs. So if we get a Smart Car and the bike in there that’ll work! 

We parked the camper in Allen’s parents’ driveway last night and picked it up this morning. We also had dinner with my mom last night.  

 We are aiming to get to Dickson, TN… Not far, but we have a couple days so no need to rush. It’s gloomy today and I kind of want a nap to be honest!

Underbelly Overhaul!

After our not-so-excellent experience with a mobile RV tech, we decided this had to be done! When Allen and I put our heads together and work to make something happen, we usually rock it. (And if we want to kill each other along the way, at least we come out the other side still in love!) Continue reading

Piping Pillows!

I finally learned how to do piping! And I’m absolutely loving it! I’ve been wanting to publish this blog post for a while, but I wanted to surprise my mom more with her new throw pillows! 

The piping isn’t THAT difficult, I think it just took some trial and error and figuring out what works best. 

I don’t have a “zipper foot” on my sewing machine but I can get the needle to move to the left of center a little and that’s what I did.  

 First I’ll start with the pillows. I bought two 16×16 pillow forms and 4 different fabrics, 1yd each. Which turned out to be too much but I think I can squeeze two more pillows out of the leftover fabric. 

 I decided to fancy them up a bit and use more than one fabric. I cut three pieces for the front of the pillow in alternating patterns.  

  • 17×3
  • 17×7
  • 17×8

Total size is 17×18, but once you factor in the extra inch for the two seams it ends up being about 17×17. 

 
For the back, I made them envelope style and cut two pieces, a top and bottom envelope piece, both the same size. 

  • 17×13
  • 17×13

I factored in an inch for the hem on each piece, then 7″ overlap on the envelope part. (I’ve done less overlap in the past but I didn’t want the pillow peeking out at all.)

So I sewed the front pieces together then I hemmed the back pieces. Then it was time for the piping! 

I bought 1/4″ piping in a package. I cut bias strips of fabric to cover it. (This just means to cut the strips on a diagonal, so the fabric has a little more stretch to it.  

   
Then I sewed the bias strips together to make one long strip, longer than I needed to go around the whole pillow. 

Once I got that ready, I laid the piping inside and folded it up and pinned it in place. Then I sewed down the side of the piping.  


I found it helped to push the piping against my fingers to keep it straight.  

 
After that was ready to go, I pinned it to the front part of my pillow cover. The pillow cover should be right side up, with the piping laying on top with the open edge of fabric along the edge of the pillow cover.  I pinned that down. 

   
Around the corners I cut little slits to allow the piping to bend and still lay somewhat flat.  

 
Then I sewed all around. I started a couple inches from the beginning of the piping to give myself room to tuck in the other end, to make it look continuous. 

After I had the piping attached to the front of the pillow cover, I laid the back pieces face down on top, pinned them in place, then sewed all around that, finishing it up. Easy peasy! 

After those, I made Christmas pillow covers for us.  

 
Don’t mind Charlie in the background please! 

Happy New Year!

My Boyfriend’s CRAZY!

Nuts. Psychotic. Looney. Out of his mind. Cuckoo. Bonkers. 

He’s also very brave. Hardworking. Courageous. Adventurous. Daring. 

The proof is in the pudding.  


Thank goodness he’s done with that part of his life for the rest of the year! I get to enjoy him safely on the ground for a couple of weeks!

We are taking off tomorrow, heading to Cincinnati, well, our home won’t make it all the way to Ohio but we will! Our friends put in a 50AMP outlet for us, and are letting us use their water and septic tank! How awesome are they??! Thanks Brandi and Tommy!

Haven’t decided if we are stopping once or twice along the way yet. It’s right around 1,000 miles. I have some campgrounds in mind thanks to the Good Sam trip planner. I love that thing. 

We are going to go fill the propane tanks and get some food for the road (almost totally out of groceries now!) then get the bike back in the garage and strap everything down to hopefully get an early start tomorrow!

Our 1st Mobile RV Tech Experience…

This is a follow-up post to Finally, Some Customer SERVICE! from last week.

You know how when your “check engine” light comes on, and you finally get a chance to take it in to have it looked at, but on the way to the shop, the light goes out? Continue reading

I Like Big Buns and I Cannot Lie….

Hamburger buns that is.

Homemade hamburger buns.

Big homemade hamburger buns.

I’m still trying to get away from buying bread at the store. If I can make it at home then I know what’s in it, it’s cheaper, and it tastes better. So I just did a Google search and found this recipe on So Very Blessed.

Here’s what I did:

Put all these ingredients in the bread machine in the order you are supposed to. 

  • 1 cup of warm milk
  • 3tbs vegetable oil
  • 1 egg
  • 3 1/2 cups white flour
  • 1tbs sugar
  • 1tsp salt
  • 2tsp yeast

Set your machine for the “dough cycle”. After about 2hrs, whenever it’s finished, take the dough ball out and divide it into 6 – LARGE – (or 8 if you want smaller buns) equal parts. Shape into a bun. (Make a round ball and kind of pat it down a little.) Put these on a greased baking sheet, cover with a towel and let them sit for almost an hour.  They will puff up a little.


After the hour, brush them with an egg wash (1 egg white with 2tbs water) and sprinkle with sesame seeds. You don’t HAVE to do this, but I like it. You could do minced onion on top if you wanted, I think it’d be delicious, but I would wait to do the egg wash and onion until just a few minutes before they are finished because the onion will burn if you leave it in too long, then you have ruined buns! 

Stick these puppies in a 400 degree oven (or a 375 degree convection microwave oven) for about 12 minutes. Keep an eye on them so they don’t get too dark. 


I suggest letting them cool completely before slicing. We had chicken salad on these last night for dinner and tonight I’m grilling burgers for them. (delicious 1/2 turkey, 1/2 hot Italian sausage burgers… yum!)

For lunch yesterday, during the terrible Bengals game, we had those bagels I made the other day with some leftover chili I thawed out for lunch. (perfect for the rainy day we had here in Texas) Allen thought they were delicious, and he claims to not be a bagel fan! (He had two!) I’ll have to make them again soon!

Daily bread (and homemade bagels)!

BREAD

So I have still been searching for a recipe that makes really good sandwich bread. Even though Allen likes most of them, some more than others, I haven’t really found one fit for a pb&j… (And I love pb&j sammies!) But I stumbled across one 2 days ago. I can’t believe one simple step made such a world of difference!

a text from my boo yesterday at lunchtime

Here’s the recipe I used from food.com:

  • 1 cup of hot water
  • 2tsp yeast
  • 3tbs sugar
  • 1/4 cup olive oil
  • 1tsp salt
  • 3 cups white flour (not bread flour)

The trick is to put the hot water, yeast and sugar in the bread pan and let it sit for about 10 minutes. The yeast will foam a little. Then you add the remaining ingredients, set the machine to basic cycle with rapid crust. So. Delicious.


BAGELS

Also, I tried my hand at homemade bagels yesterday! I made them my version of Everything Bagels… I found the recipe on King Arthur Flour’s site (here). I cut the recipe in half since Allen isn’t a huge fan of bagels… Here’s my version and it made 4 normal size bagels.

  • 1/2 tbs yeast
  • 2 cups bread flour
  • 1 tsp salt
  • 1/2 tbs brown sugar
  • 3/4 cup lukewarm water

Put all that in the bread machine and set it for bagel dough. Once it’s finished, cut the dough into 4 equal parts and shape into smooth, round balls. (Or try your best at smooth and round) Then place them on a baking sheet, lined with parchment paper, lightly greased, cover with plastic wrap and let them sit for about a half hour.

  During the half hour, mix together in a large, wide pan:

  • 64oz. water
  • 2tbs brown sugar
  • 1tbs sugar

Bring all that to a boil then reduce it to a simmer. Preheat the oven to 425 (or convection oven to 400). Then poke a hole through the center of the doughball and twirl around your pointer finger until the hole is about 2″ in diameter. (Mine look perfect, right?)

Put the bagels into the water bath. Cook, simmering, for 2 minutes on one side then flip them over and cook for another minute.

IMG_3705-0

Take them out and place them back on the parchment lined baking tray. Sprinkle with seasoning if desired… (It’ll stick better if you brush the tops of the bagels with an egg wash first – 1 egg white mixed with 2 tbs water)

My “everything” seasoning mix…

  Bake them in the oven for 15 minutes, flip them over, bake 10 minutes more. Then if you still want them a little darker in color, flip them back over, right side up for about 5 minutes. Cool completely on a wire rack before slicing.

I couldn’t wait to try one this morning for breakfast. I flip flopped back and forth between topping it with avocado and crushed red pepper, or making a bacon, egg & cheese sandwich with it. I decided on the avocado, thinking maybe chicken salad would be delicious on it for dinner, then thought I should also do half with traditional cream cheese also.

 Yum! They are chewy and crunchy (after toasting) and they have that bagel flavor. The only thing I might change is my “everything” seasoning. I think it’s a little too salty. I want to hurry and eat these so I can make another batch!